
japanese waffle
intro
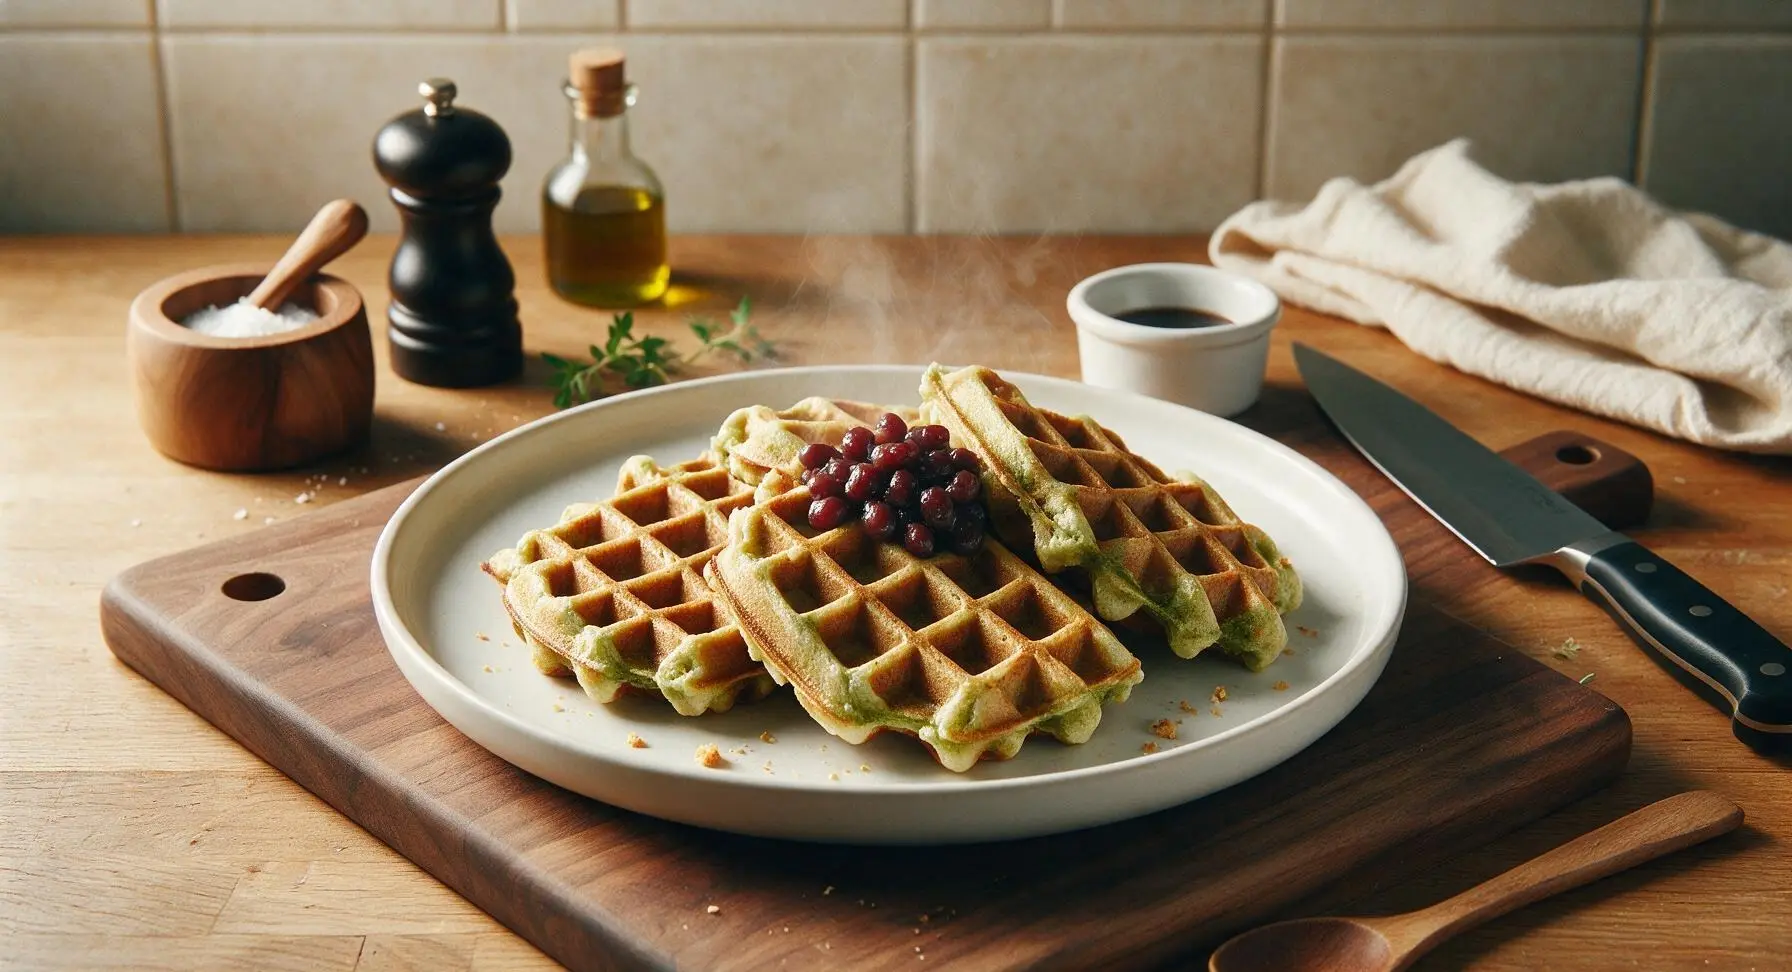
Fluffy, slightly chewy mochi-kissed Japanese waffles with crisp golden edges, subtle matcha warmth, and classic sweet red bean toppings—light, portable, and perfect for spring picnics.
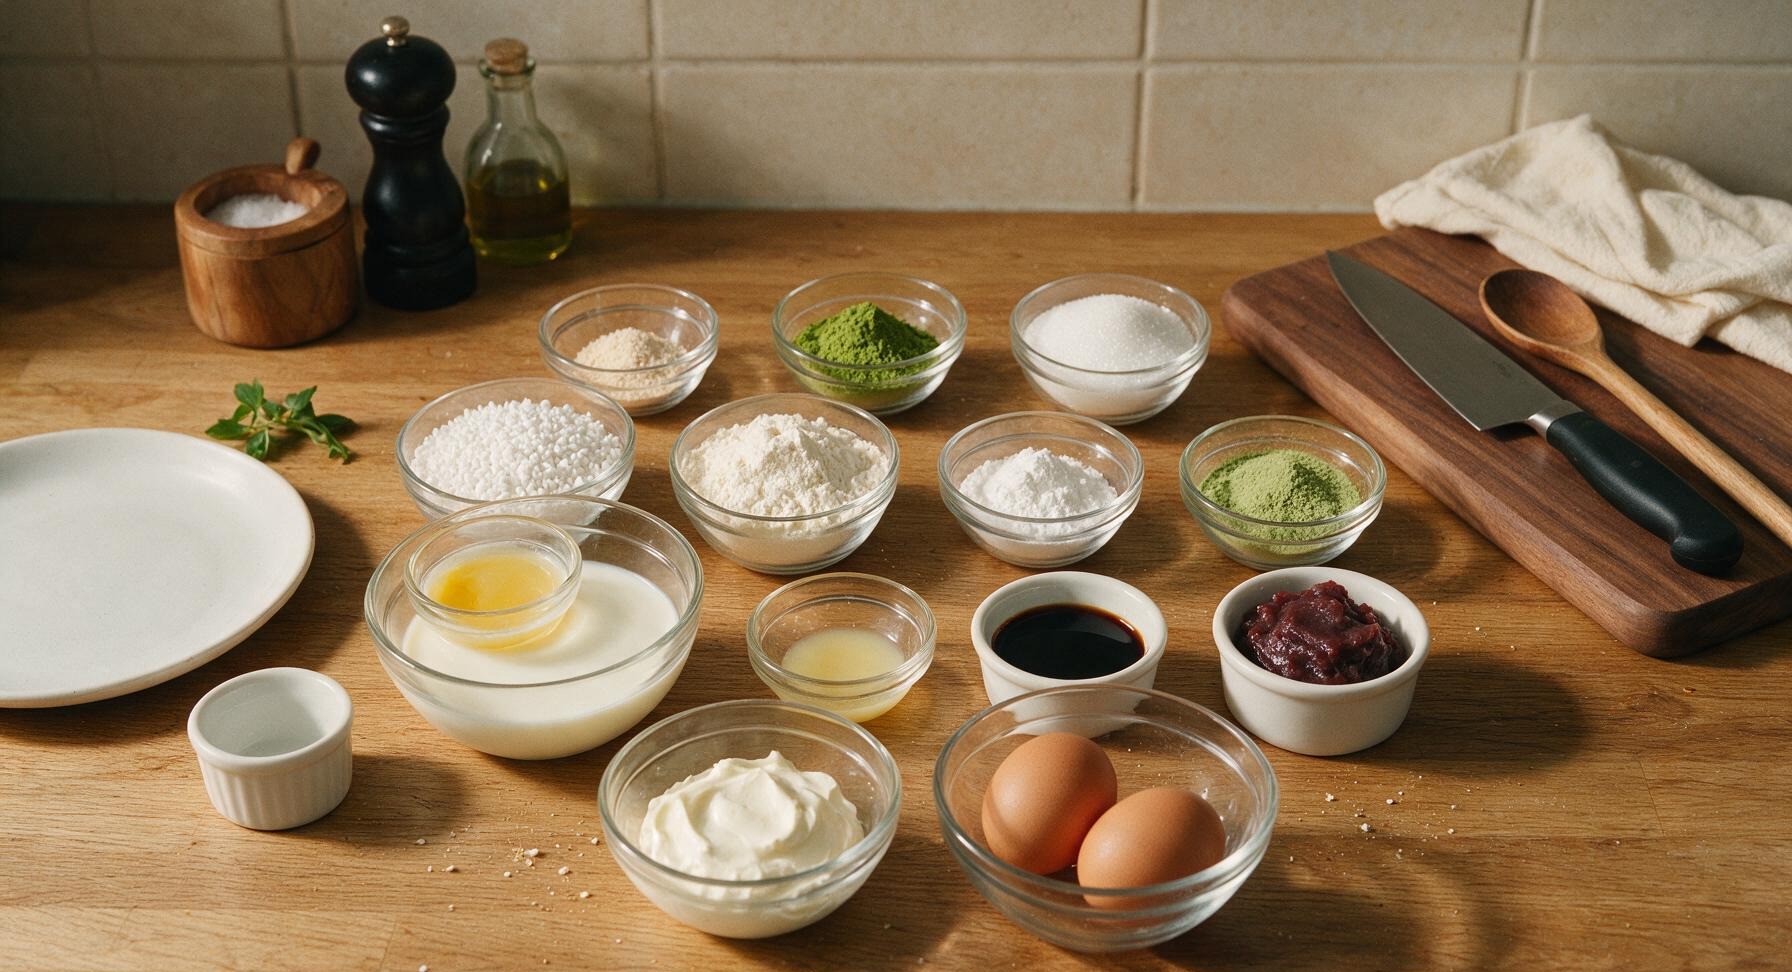
Ingredients
Steps
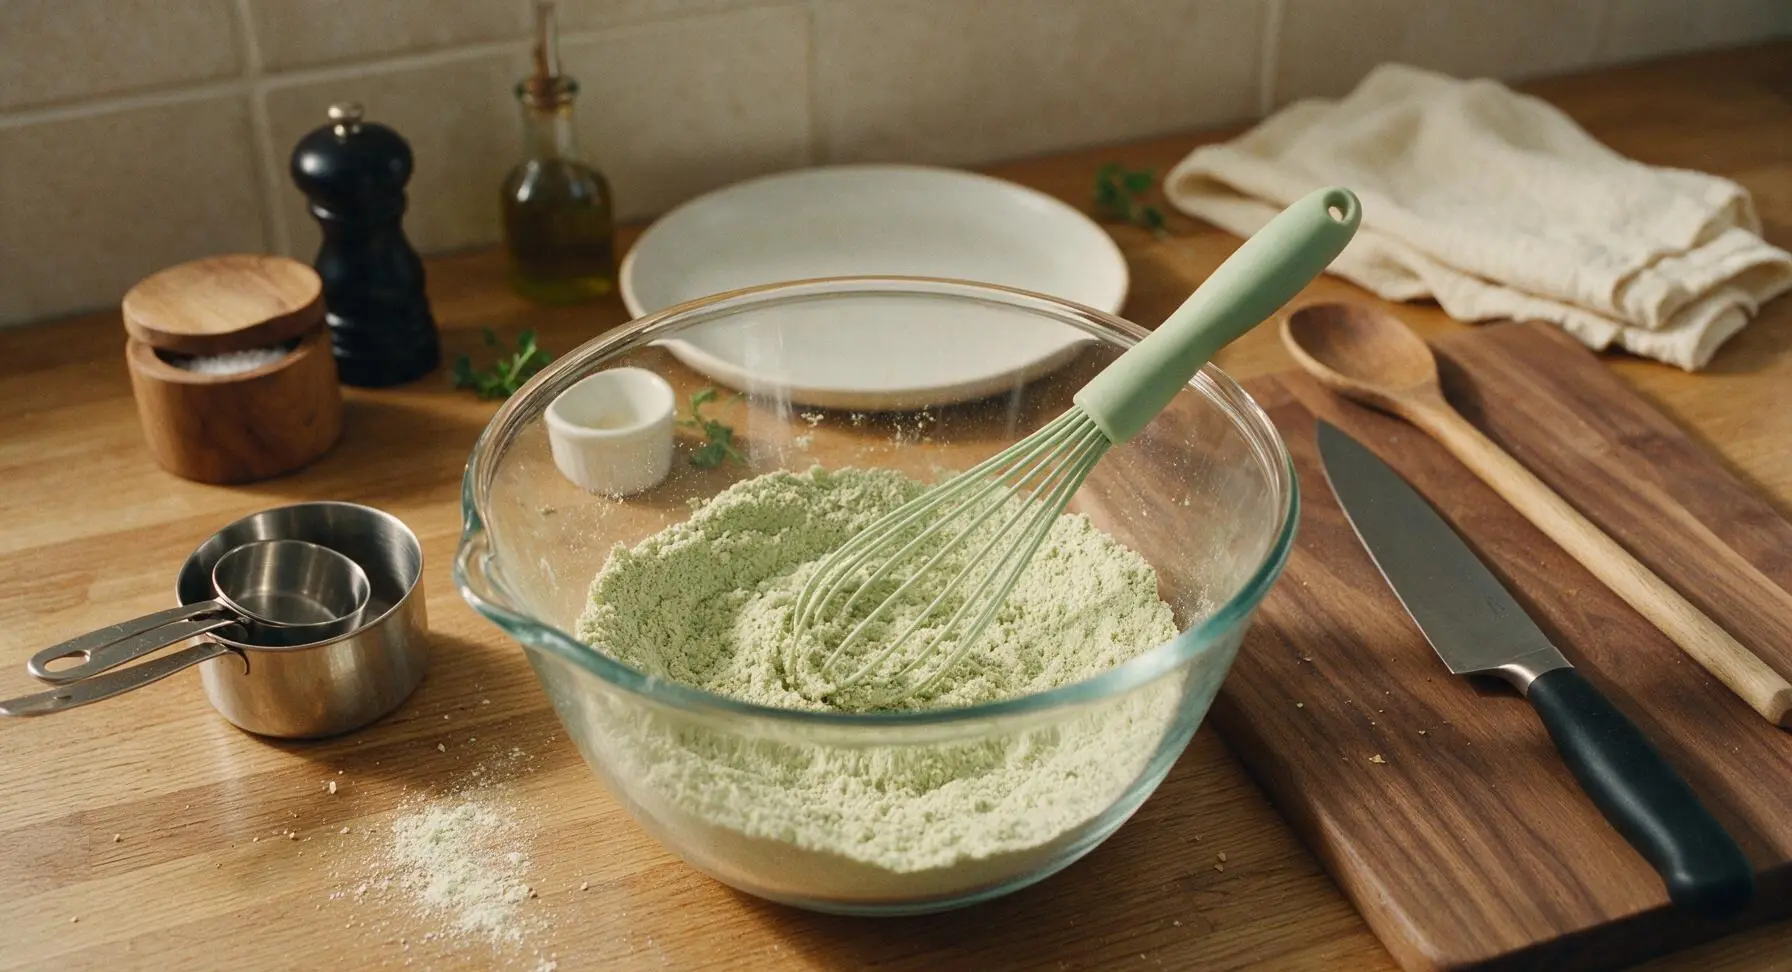
Whisk Dry Ingredients
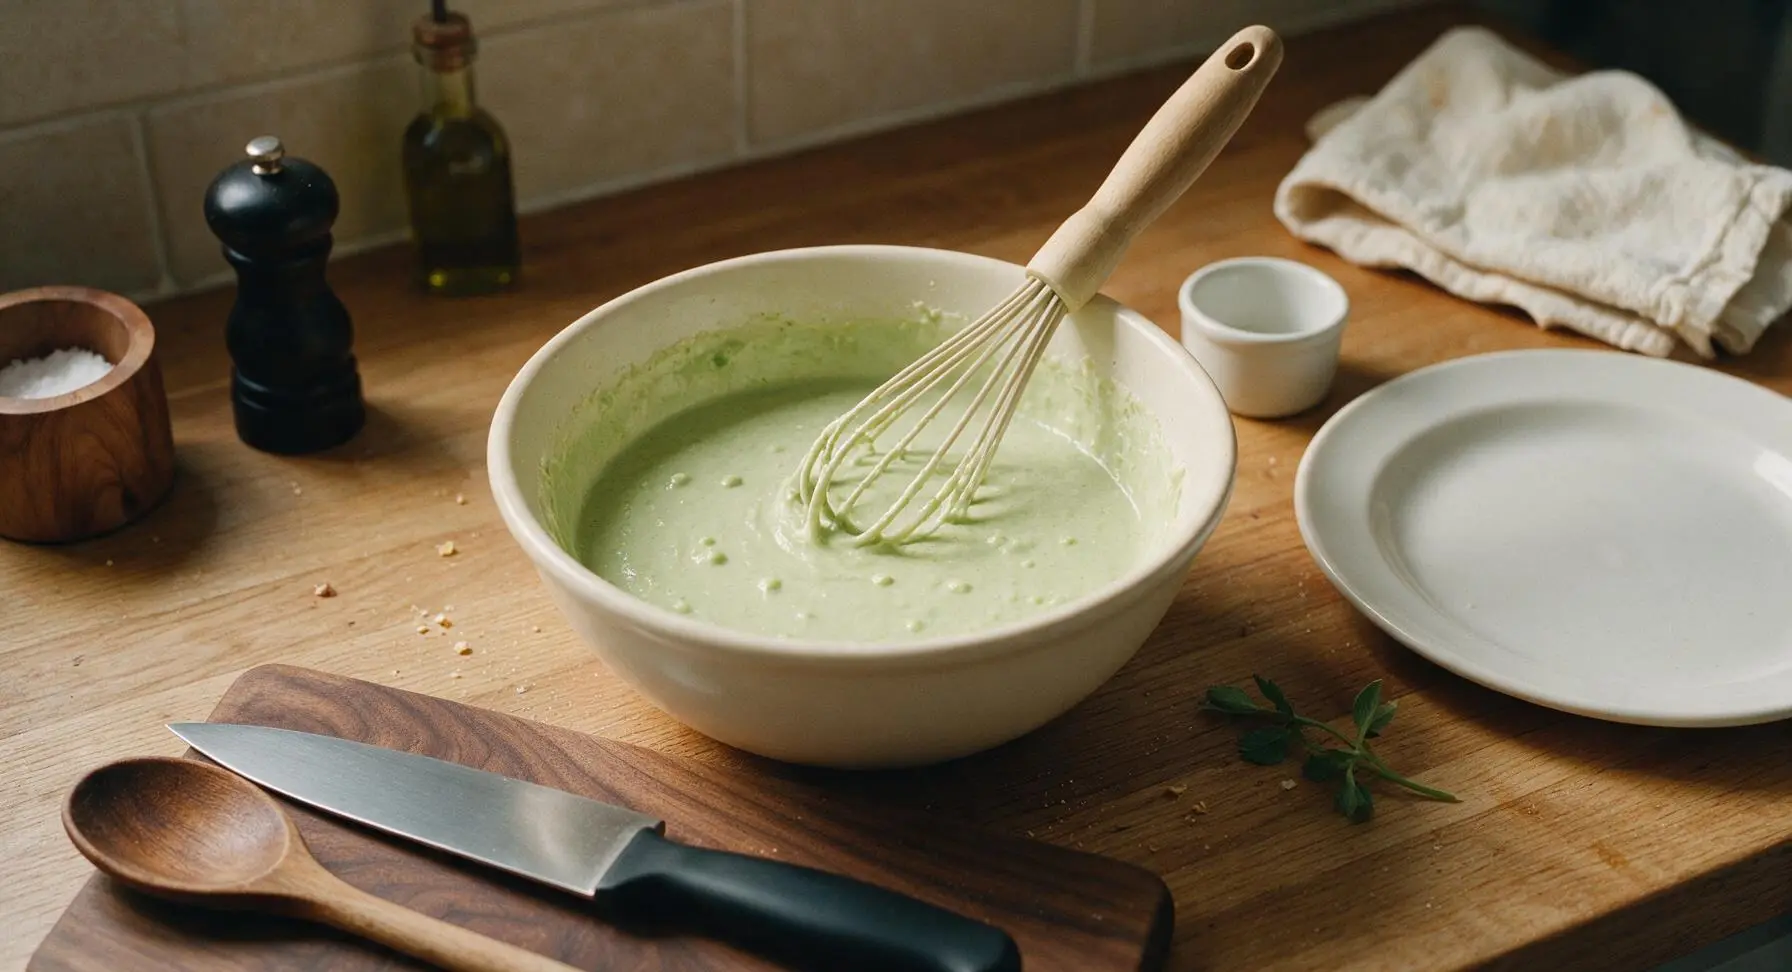
In the clear 2L borosilicate mixing bowl, combine 180g all-purpose flour, 30g shiratamako glutinous rice flour, 2 tsp baking powder, 2 tbsp granulated sugar, 1 tsp matcha powder, and 1/4 tsp fine sea salt. Use the pale green silicone whisk to stir for 30 seconds until all dry ingredients are evenly mixed, with no clumps of matcha visible. The finished dry mixture should be a uniform pale green, free of white or dark green streaks.
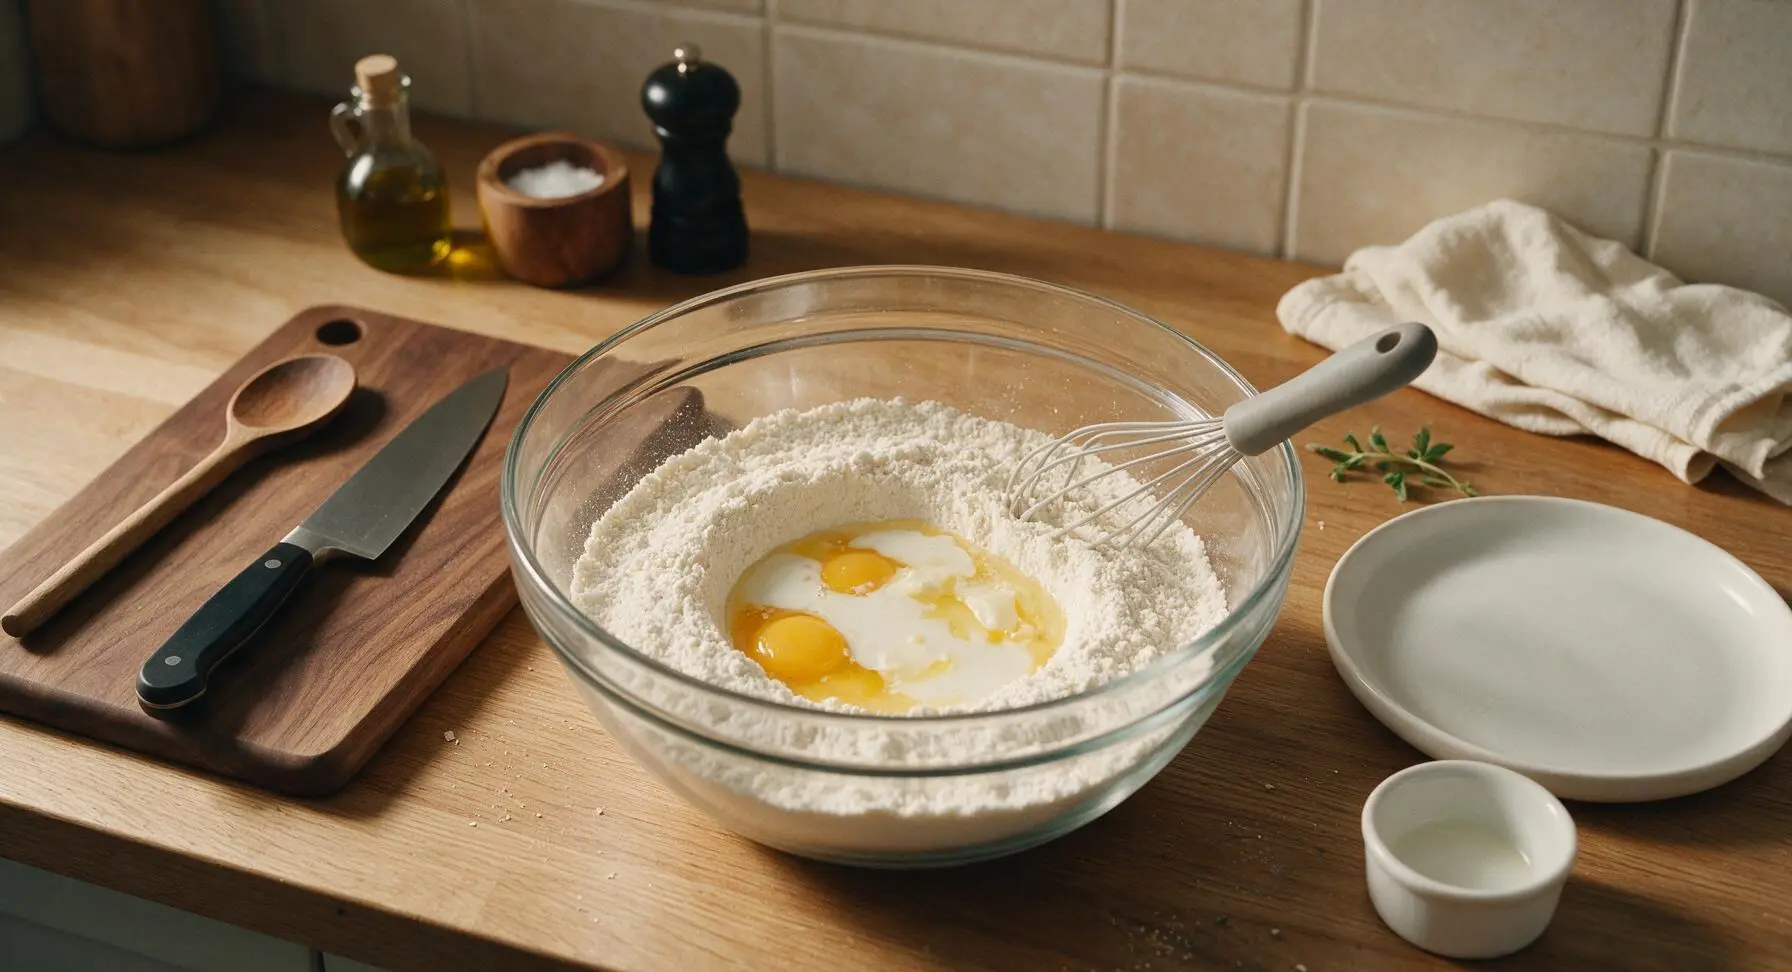
Mix Wet Ingredients
Create a small 5cm wide well in the center of the dry ingredient mixture. Crack 2 large eggs into the well, then pour in 200ml whole milk, 30g cooled melted unsalted butter, and 1 tsp vanilla extract. Whisk slowly from the center outwards, gradually incorporating dry ingredients into the wet, until the batter is just combined. Stop mixing as soon as no dry flour streaks remain; small pea-sized lumps are acceptable, as overmixing will develop gluten and create tough waffles.
Preheat Waffle Iron
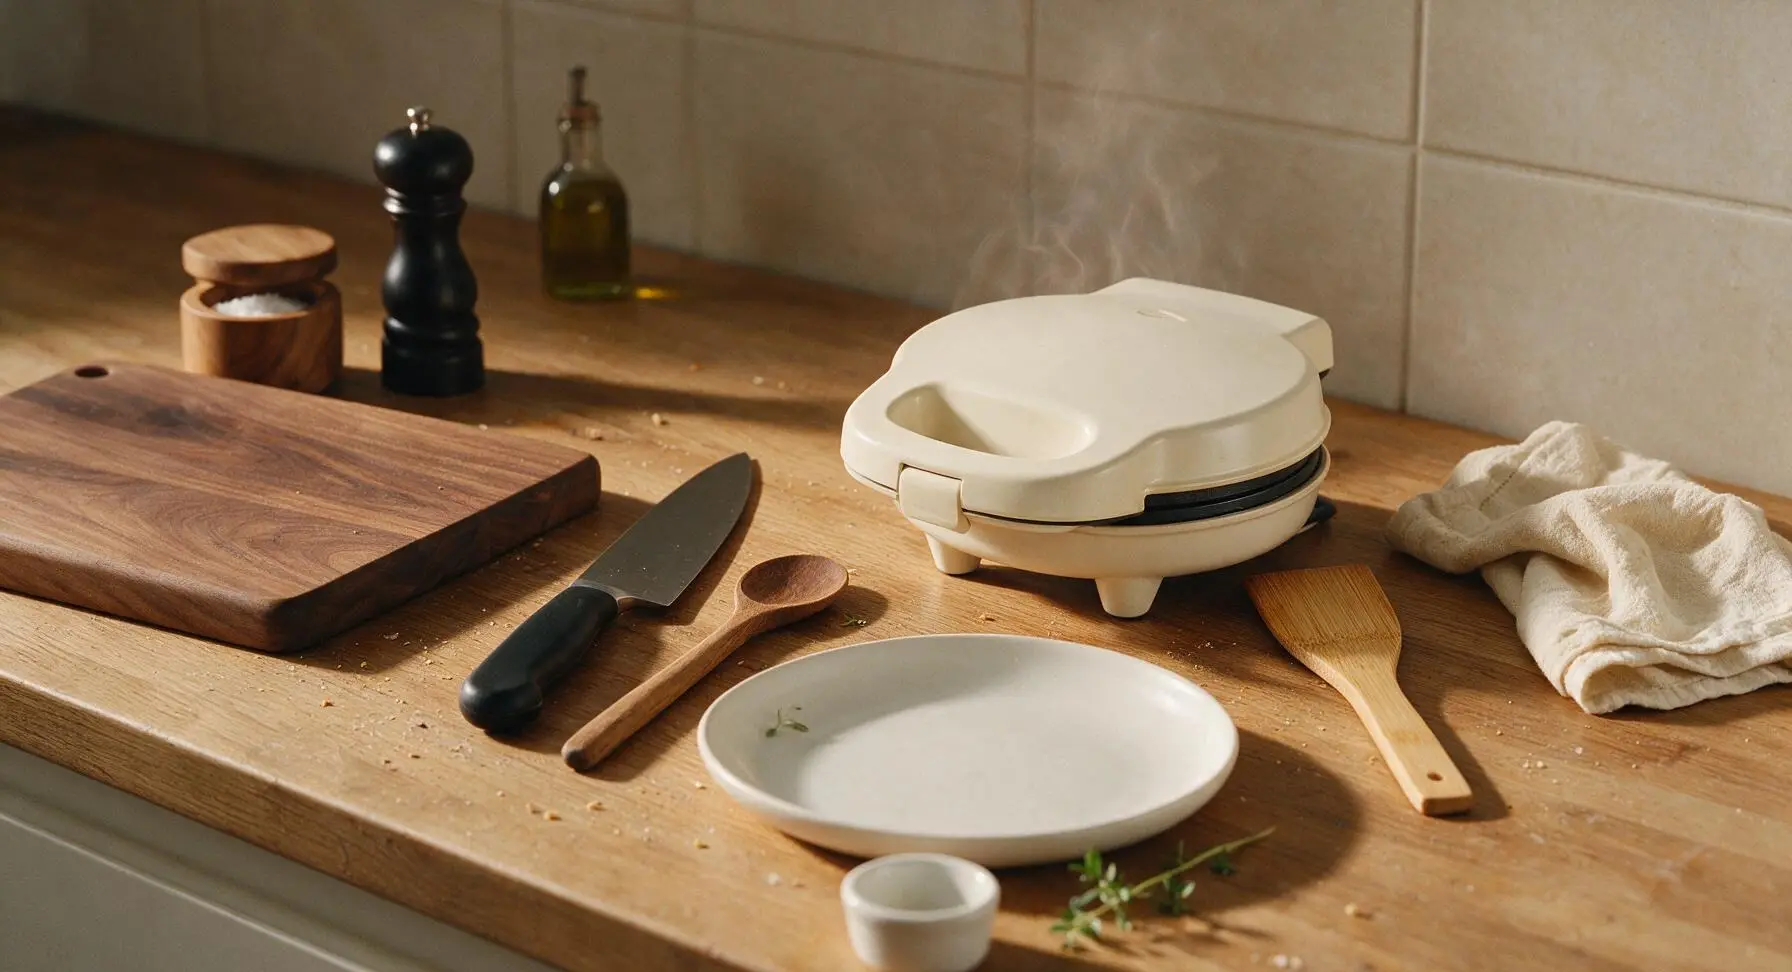
Move the matte cream white electric waffle maker from its permanent back-right position to the center-right cooking area, plug it in, and set to medium heat (180C/350F). Close the lid and preheat for 3-4 minutes, until the built-in ready indicator light illuminates, or a drop of water flicked onto the plate sizzles and evaporates in 2 seconds. Lightly brush the grid plates with a tiny amount of melted butter if your waffle maker does not have a durable non-stick coating.
Cook Waffle Batter
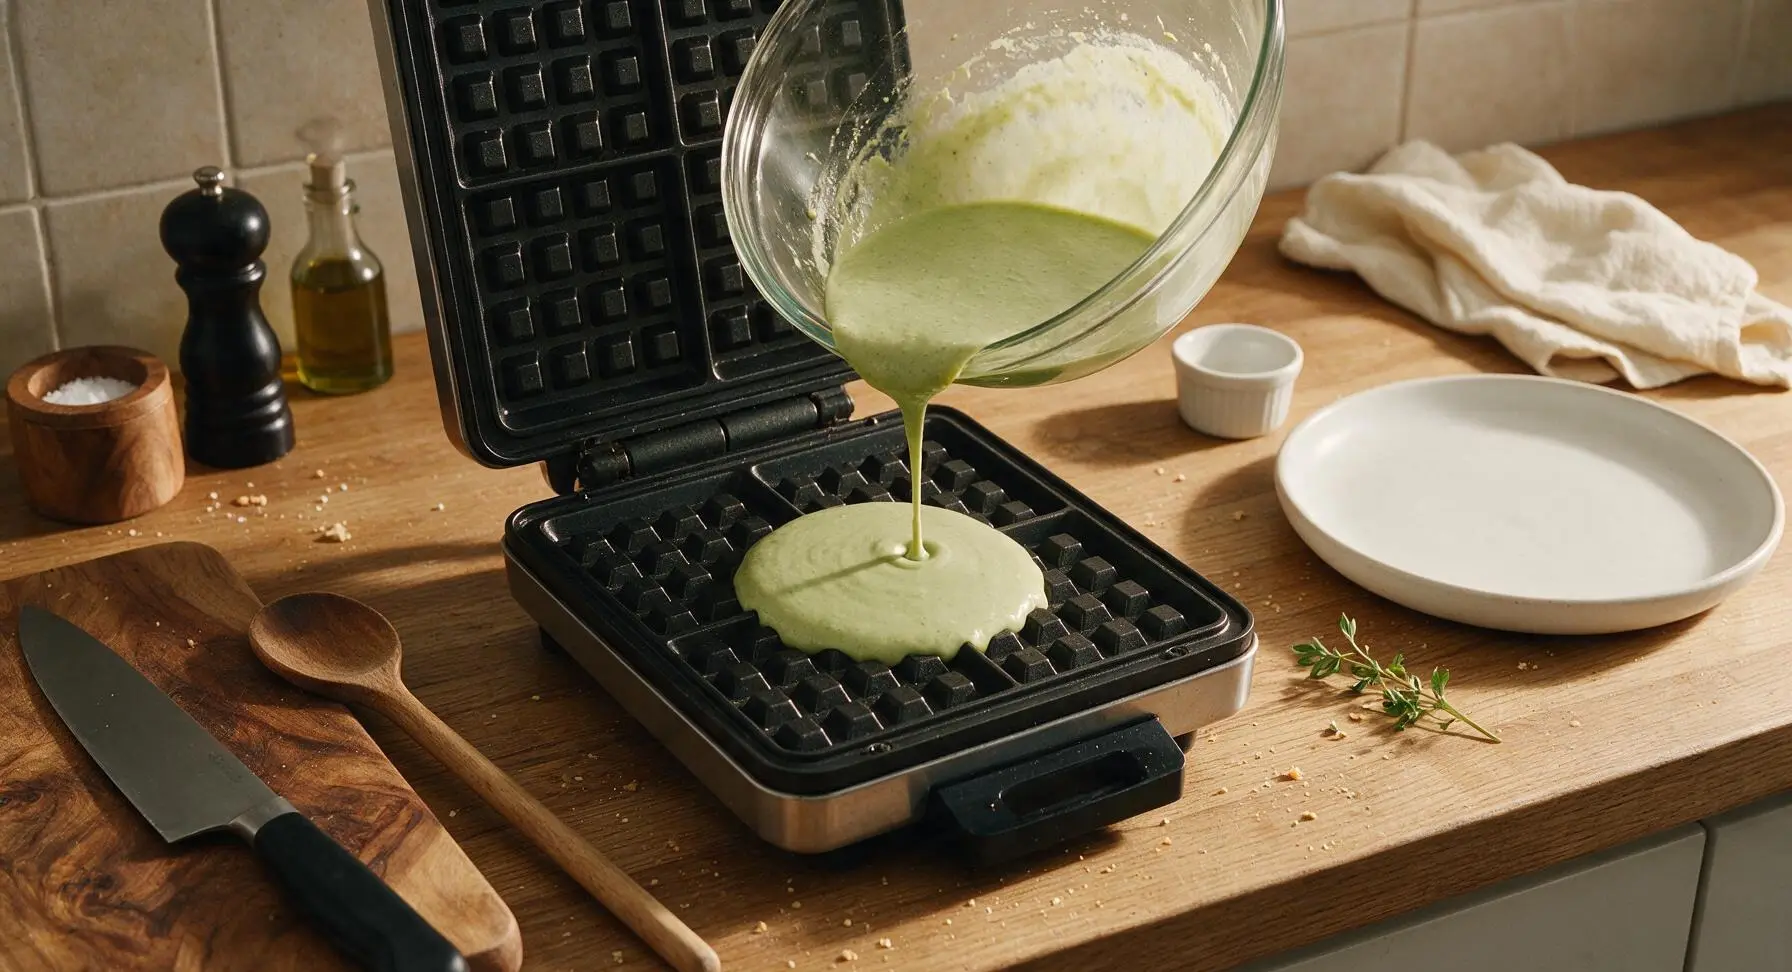
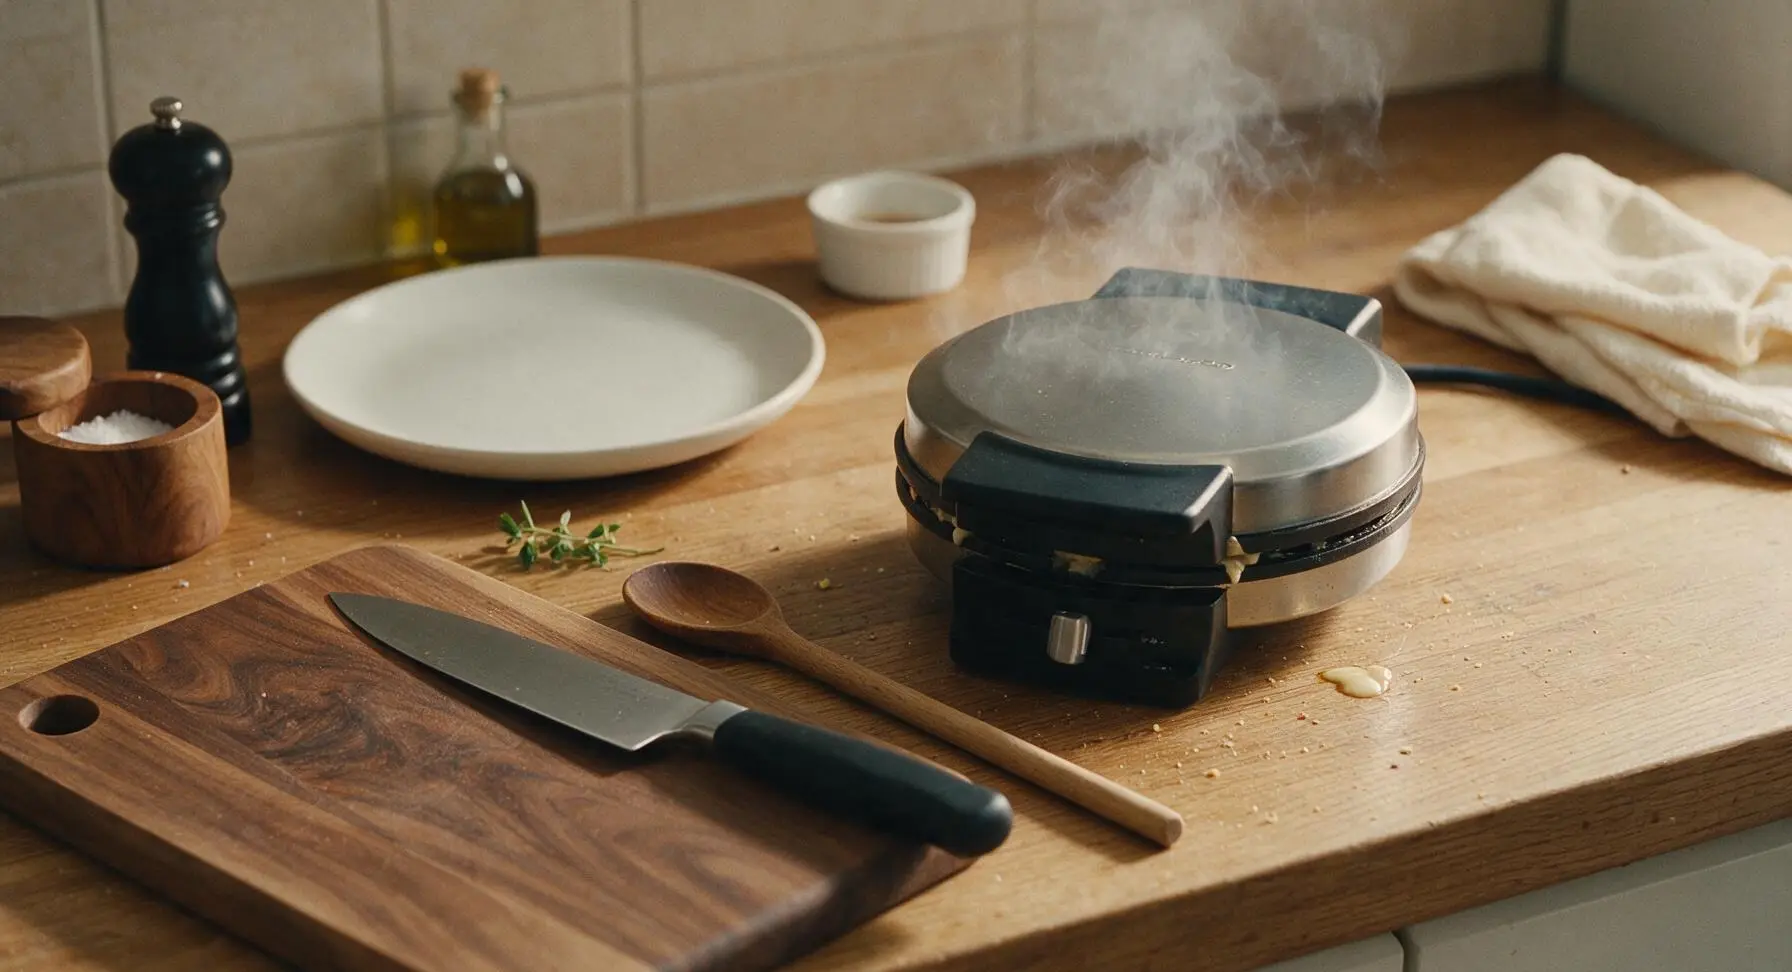
Open the preheated waffle iron and pour 120ml (1/4 of the total batter) onto the exact center of the lower grid plate. Close the lid gently without pressing down firmly (pressing squeezes out batter and creates dense, flat waffles). Cook for 3 to 3.5 minutes, until thin streams of steam stop escaping from the waffle iron edges, and the waffle is deep golden brown with crisp edges. Do not open the lid before the 3-minute mark, as this will cause the partially set waffle to tear.
Rest Cooked Waffles
When the waffle finishes cooking, open the lid and use the bamboo spatula to carefully lift the waffle from the grid, taking care not to tear the soft raised edges. Transfer the waffle to the matte chrome wire cooling rack, moved from its back-center position to sit adjacent to the waffle maker, and let it rest for 1 minute before plating—this allows air circulation to keep edges crisp, instead of trapping steam that makes waffles soggy. Repeat cooking the remaining 3 batches of batter, stacking finished waffles loosely on the rack.
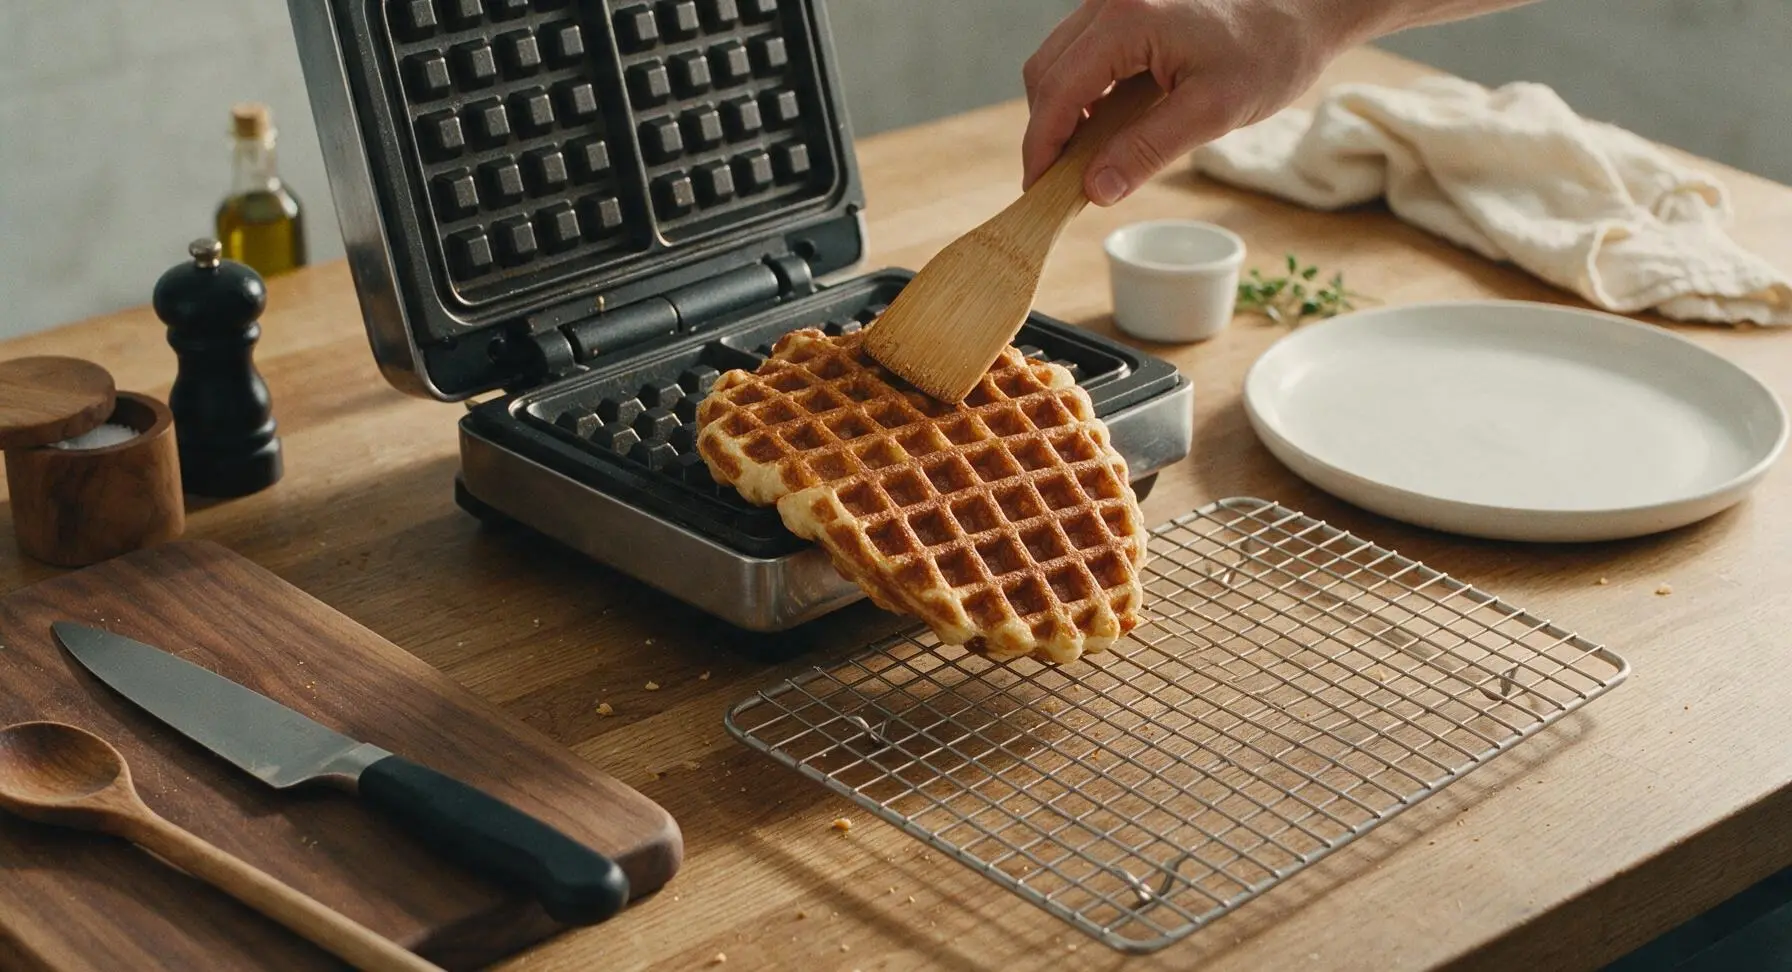
Plate and Garnish
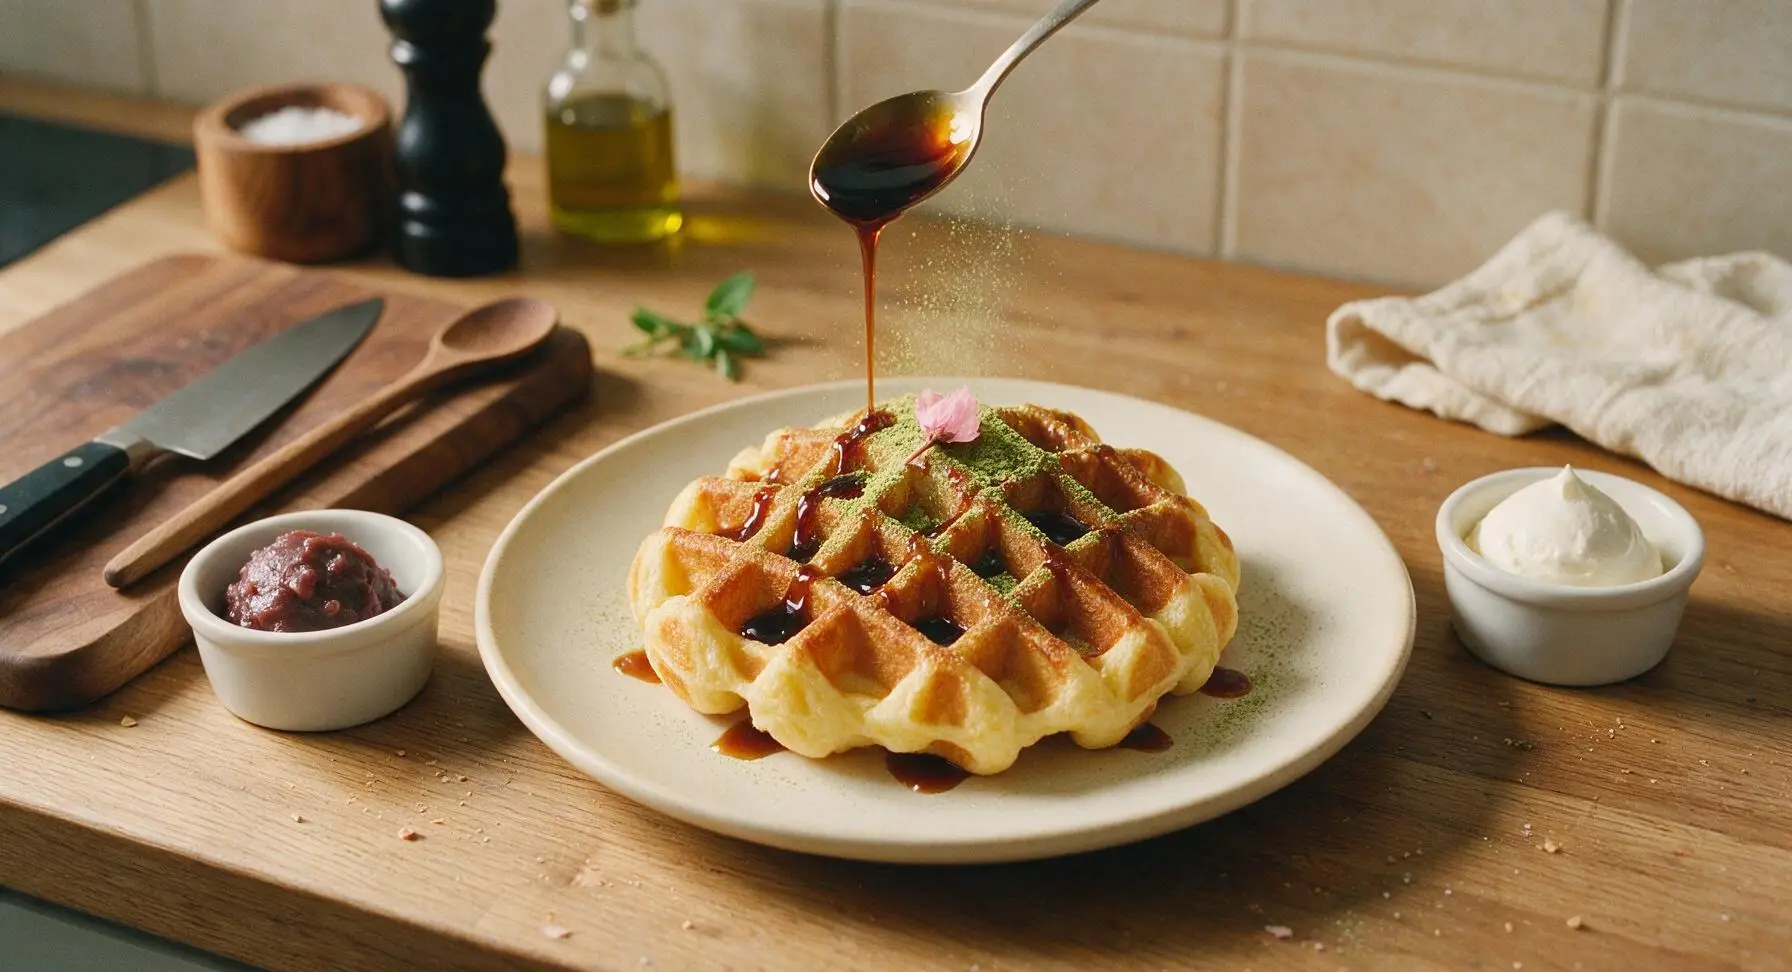
Place one warm rested waffle centered on the matte cream 23cm ceramic plate. Add a 25g dollop of smooth sweet red bean paste to the left side of the waffle, and a 20g softly rounded quenelle of lightly sweetened whipped cream to the right side. Drizzle 1.5 tsp of kuromitsu black sugar syrup across the waffle's raised grid ridges, then dust very lightly with 1/8 tsp matcha powder through a fine sieve. Top with a single edible pickled cherry blossom petal for a seasonal spring garnish, if desired.
Tips
2.Rest cooked waffles on a wire rack, not directly on a plate: Hot waffles release steam that gets trapped against solid plate surfaces, turning crisp edges soft and soggy in under 60 seconds. Elevating waffles on the rack allows even air flow to preserve crisp edges for 10-15 minutes, perfect for packing for a picnic.
3.Seek out shiratamako glutinous rice flour for the authentic texture: Unlike regular mochiko (which is milled from long-grain glutinous rice), shiratamako is milled from short-grain mochi rice for a finer, softer texture that adds a delicate, springy chew without making waffles gummy or dense.






OMG these are a total game changer for our weekend breakfasts! I was worried the mochi texture would be weird for my kids who only eat plain frozen waffles, but they devoured them in 10 minutes flat. Dusted with a little powdered sugar and served with fresh strawberries, SO good. Can’t believe how easy they were too, total cook time was barely 15 minutes like the recipe said!
I’ve been searching for a mochi waffle recipe that doesn’t turn out gummy in the middle and this is IT! Fluffy on the outside, perfectly chewy on the inside, no weird sogginess even after I let a couple cool on the wire rack. I added a tiny splash of vanilla extract and a sprinkle of matcha powder to half the batter and it slapped. 10/10 will make again for my next potluck.
Made these in my dorm waffle maker between classes and they turned out perfect! Super minimal ingredients, no fancy equipment needed, and they hold up really well if you make a batch ahead for quick breakfasts during the week. I ate mine with a drizzle of Nutella, no notes.
Okay I was skeptical because “fluffy mochi waffles” sounded too good to be true, but wow. These are lighter than regular mochi waffles I’ve had at restaurants, and they don’t get tough when they cool down. Only thing is I had to cook mine about 30 seconds longer per waffle than the recipe said because my waffle iron runs a little cool, but that’s an easy fix. Definitely adding these to our regular brunch rotation!
Made these for my family dinner dessert last night, served them warm with a scoop of red bean ice cream on top and everyone went back for seconds. Even my dad who “hates fancy food” said they were the best thing I’ve baked all year. So easy to throw together too, I was shocked how little cleanup there was!
Not gonna lie, I thought mochi waffles would be too sweet for my taste, but these have the perfect subtle sweetness so you can go savory or sweet with toppings. I topped mine with a fried egg, a little soy glaze, and furikake and it was chef’s kiss. Great for when you want something a little different for breakfast without a ton of work.
Quick question – can I make these with oat milk instead of dairy milk? I have a dairy allergy and I’ve been dying to try mochi waffles forever but don’t want to waste ingredients if the texture gets messed up!
My granddaughter has been begging me to make mochi waffles after she had them at a friend’s house, and this recipe did not disappoint. She said they’re even better than the ones she had at the cafe! I didn’t have any fancy toppings so we just used maple syrup and a little butter, and they were delicious. Easy enough for an old guy like me to follow too, no confusing steps.
Meal prep win! I made a double batch on Sunday, popped them in the freezer, and toasted them straight from frozen all week for quick breakfasts before work. They get perfectly crispy in the toaster, no sogginess at all. Way better than the store-bought frozen waffles I used to buy, and way cheaper too.
Wait hold on, these are naturally gluten free if you use certified gluten free mochiko right? I have celiac and I’ve been craving waffles forever but most gluten free waffle recipes taste like cardboard. These look so chewy and good I could cry. Running to the store for glutinous rice flour after work today!
Tried making these last night and my batter was way thicker than I thought it should be, almost like playdough? Did I mismeasure the flour? They still tasted good but they were a little denser than the fluffy ones in the photos. Any tips?
I brought these to my monthly book club potluck last night and people literally hovered around the waffle iron waiting for the next batch to cook. I set out a little topping bar with whipped cream, fruit, chocolate sauce, red bean paste, and coconut flakes so people could customize their own. 10/10, zero leftovers, everyone asked for the recipe link!
These taste exactly like the mochi waffles I used to get from the little shop down the street from my college dorm in Tokyo, but so much easier to make at home! I dipped the edges in cinnamon sugar after cooking and paired them with a hot latte, and it was the perfect lazy Sunday treat. Will be making these every weekend from now on.