
Jjim Turkey
intro
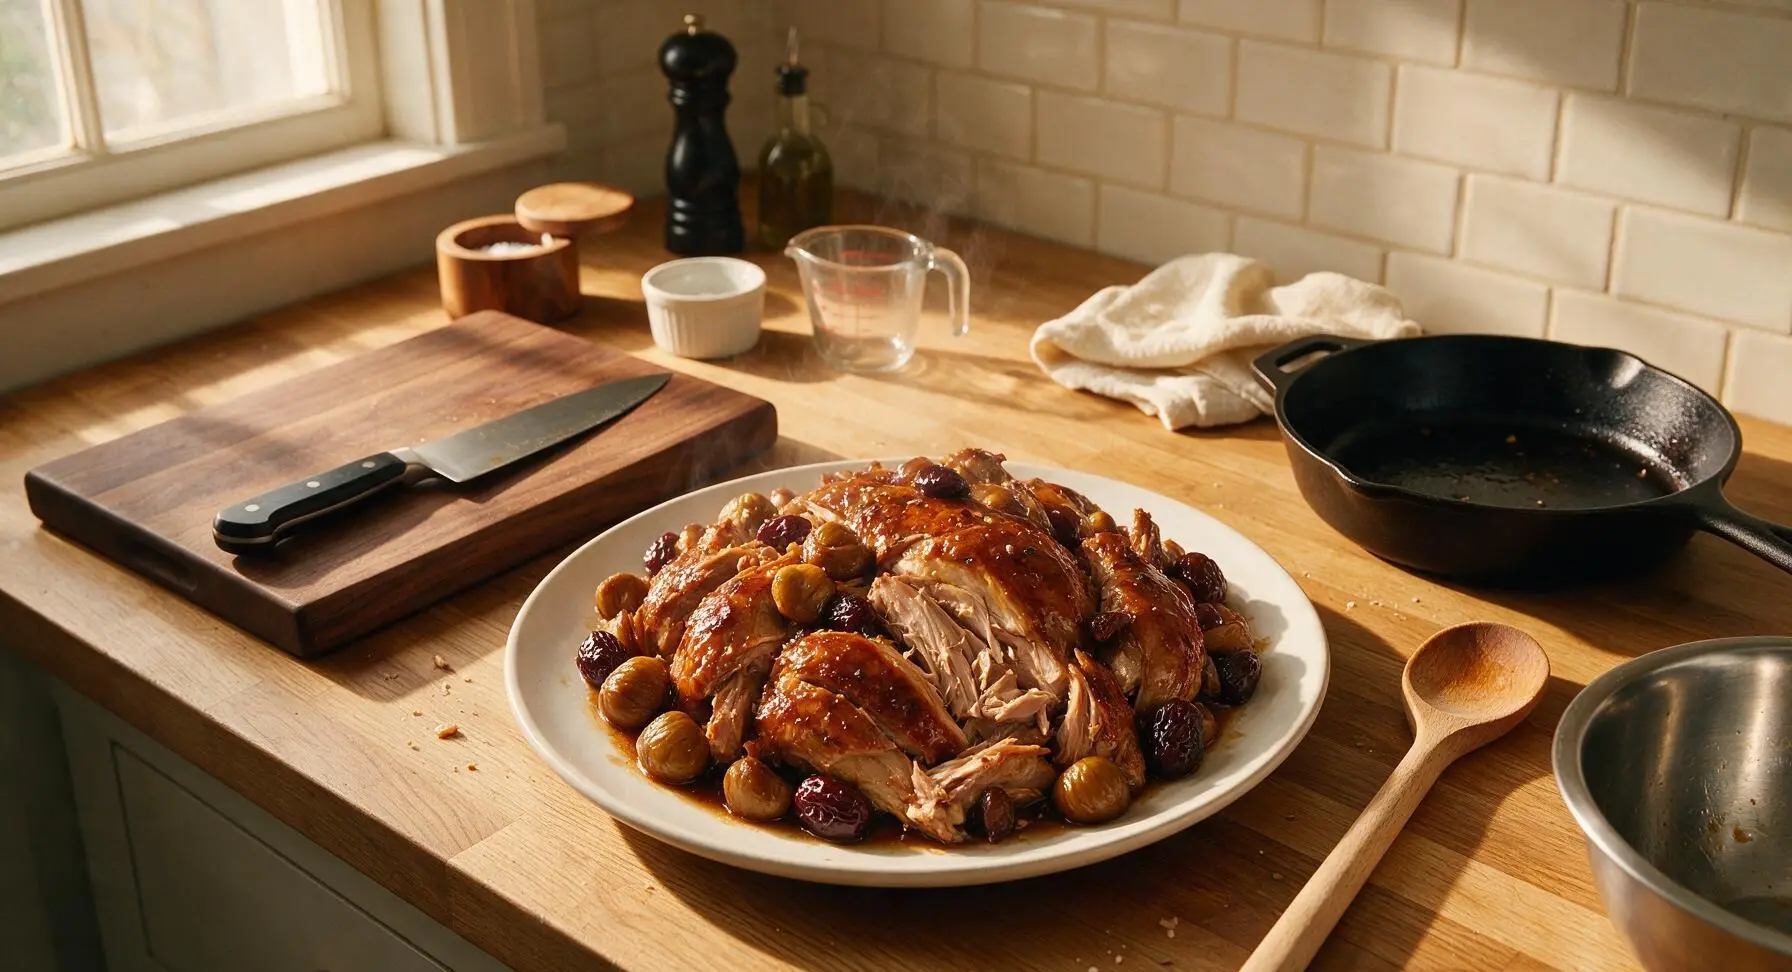
Tender, fall-off-the-bone Korean-style braised turkey coated in glossy savory-sweet soy glaze, studded with chestnuts and jujubes—a cozy, flavorful Thanksgiving centerpiece.
Ingredients
Steps
Prep Turkey and Aromatics
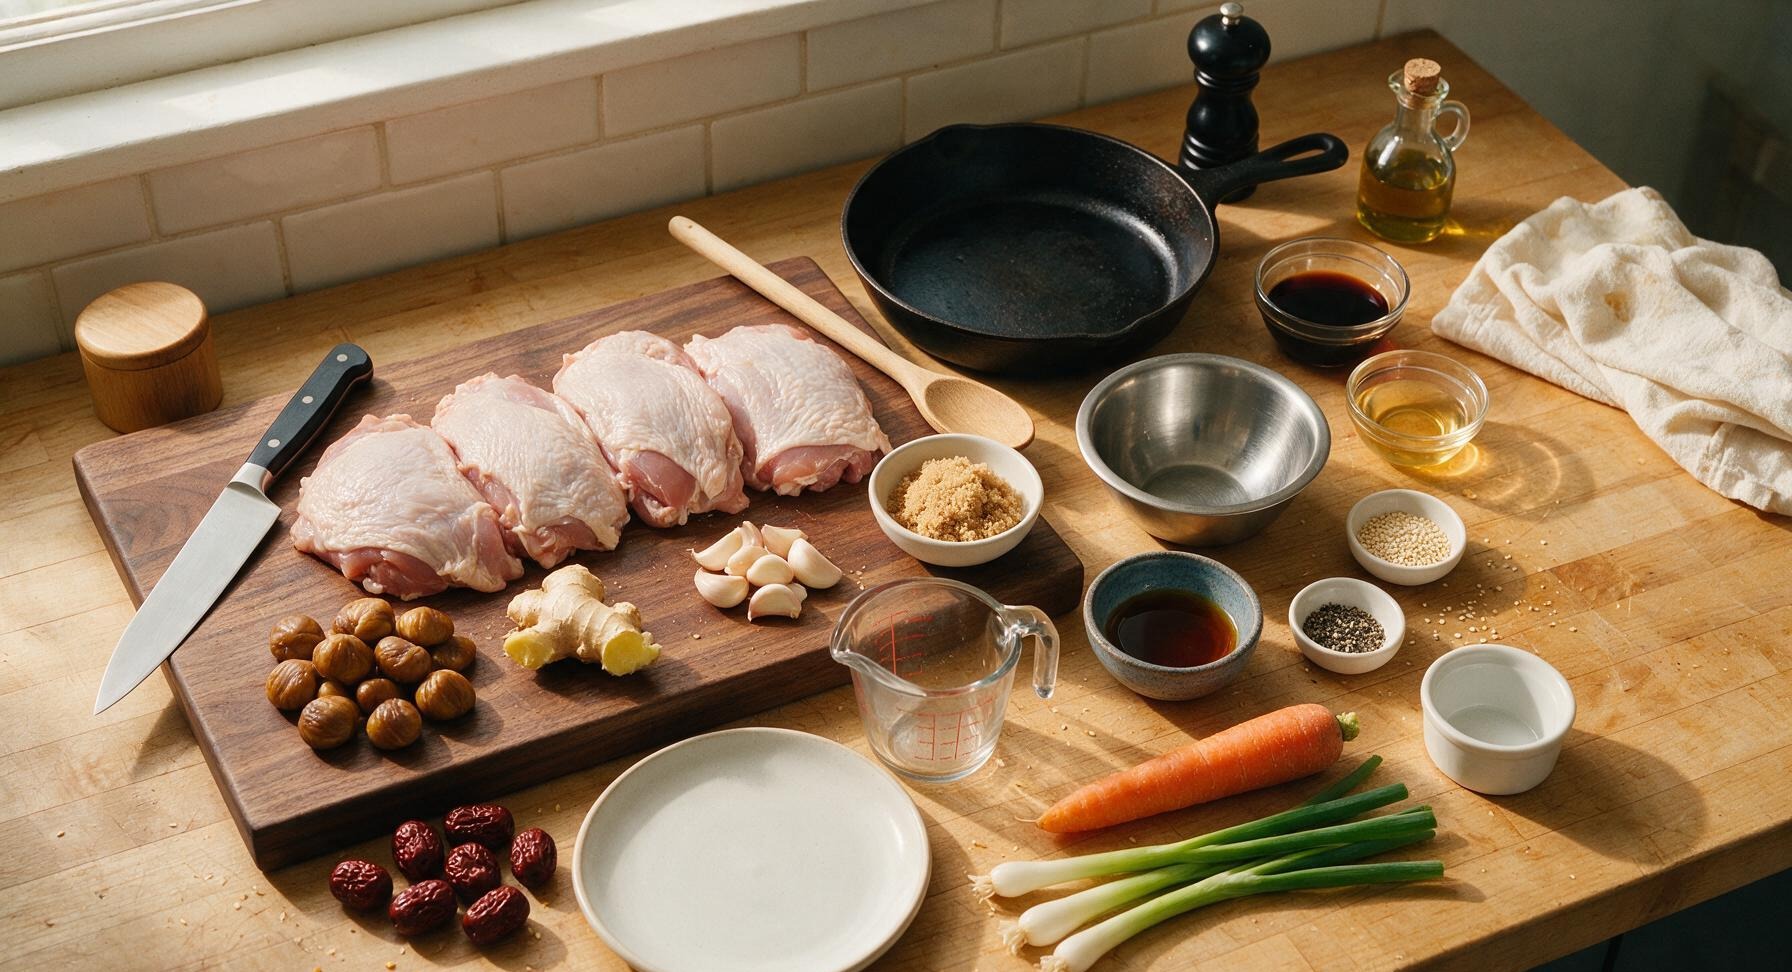
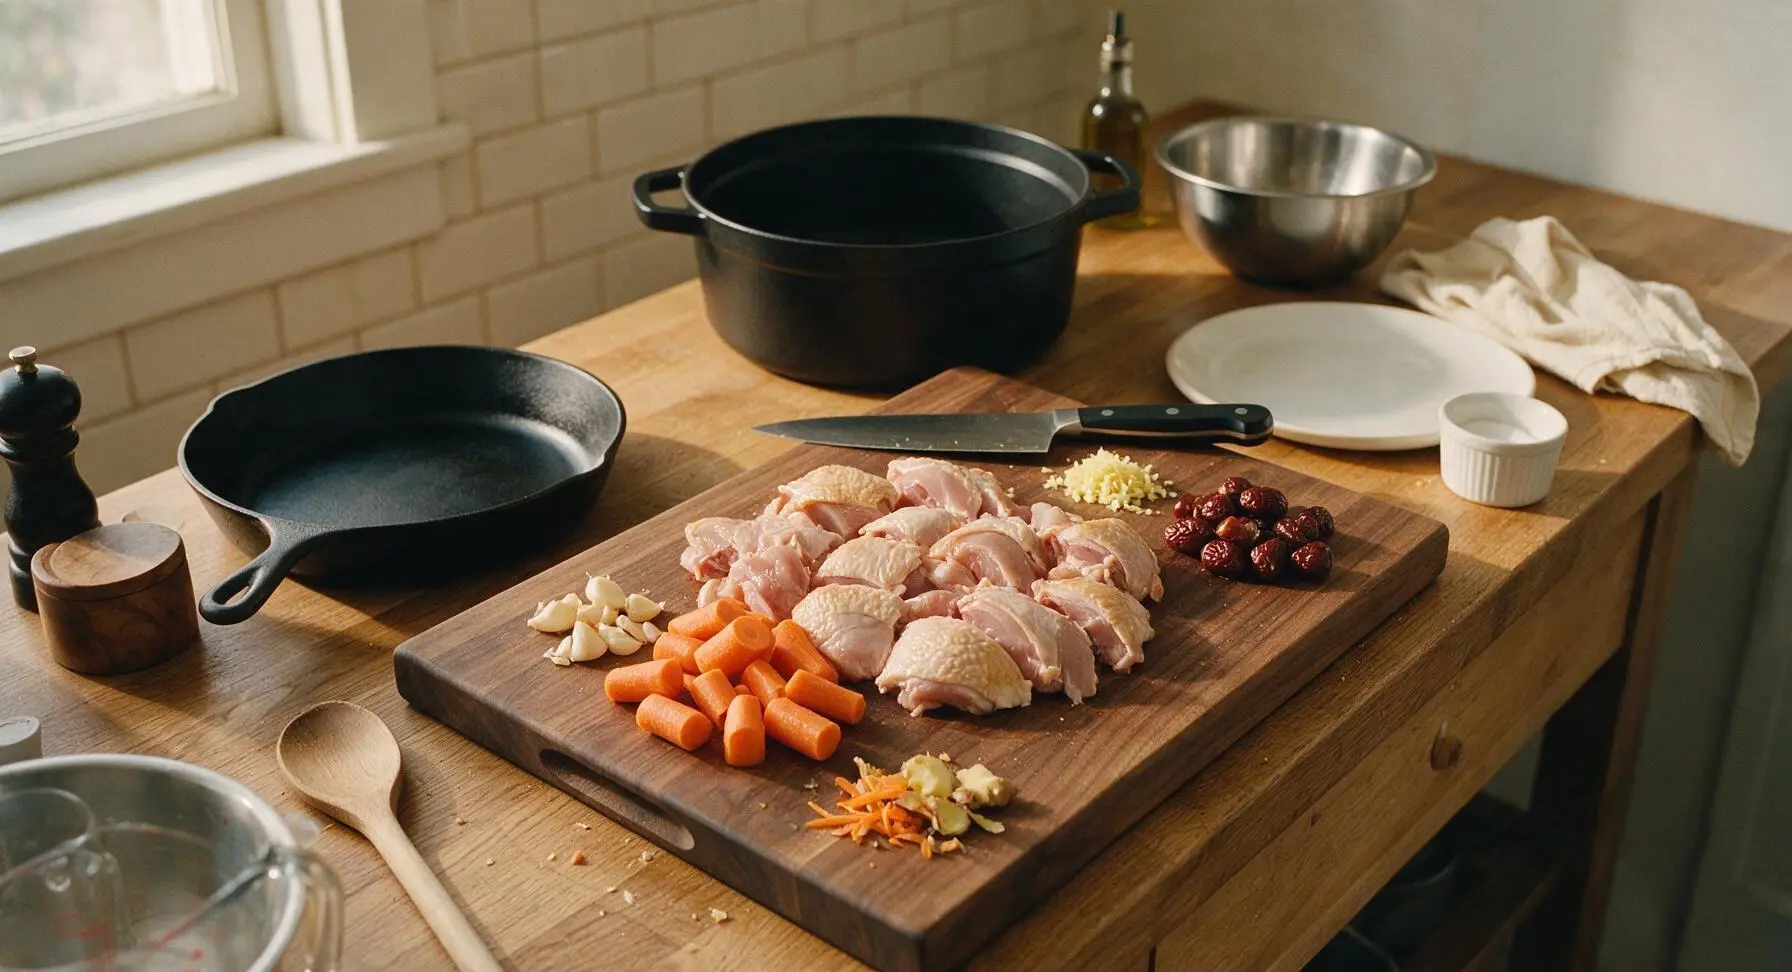
Pat the skin-on turkey thighs completely dry using a clean section of the linen towel, then use the chef knife on the maple cutting board to cut the turkey into 5cm (2-inch) chunks, leaving the skin attached to each piece. Peel and lightly crush 8 garlic cloves, grate 2 tablespoons of peeled fresh ginger, cut 1 large carrot into 5cm rolling chunks, trim 4 scallions: cut the white and light green sections into 5cm lengths for braising, and thinly slice the dark green tops to reserve for garnish. Use the tip of the chef knife to pit 8 dried jujubes, removing the hard inner seed. Small scraps of ginger peel and carrot trim will collect at the corner of the cutting board as you work.
Mix Braising Marinade
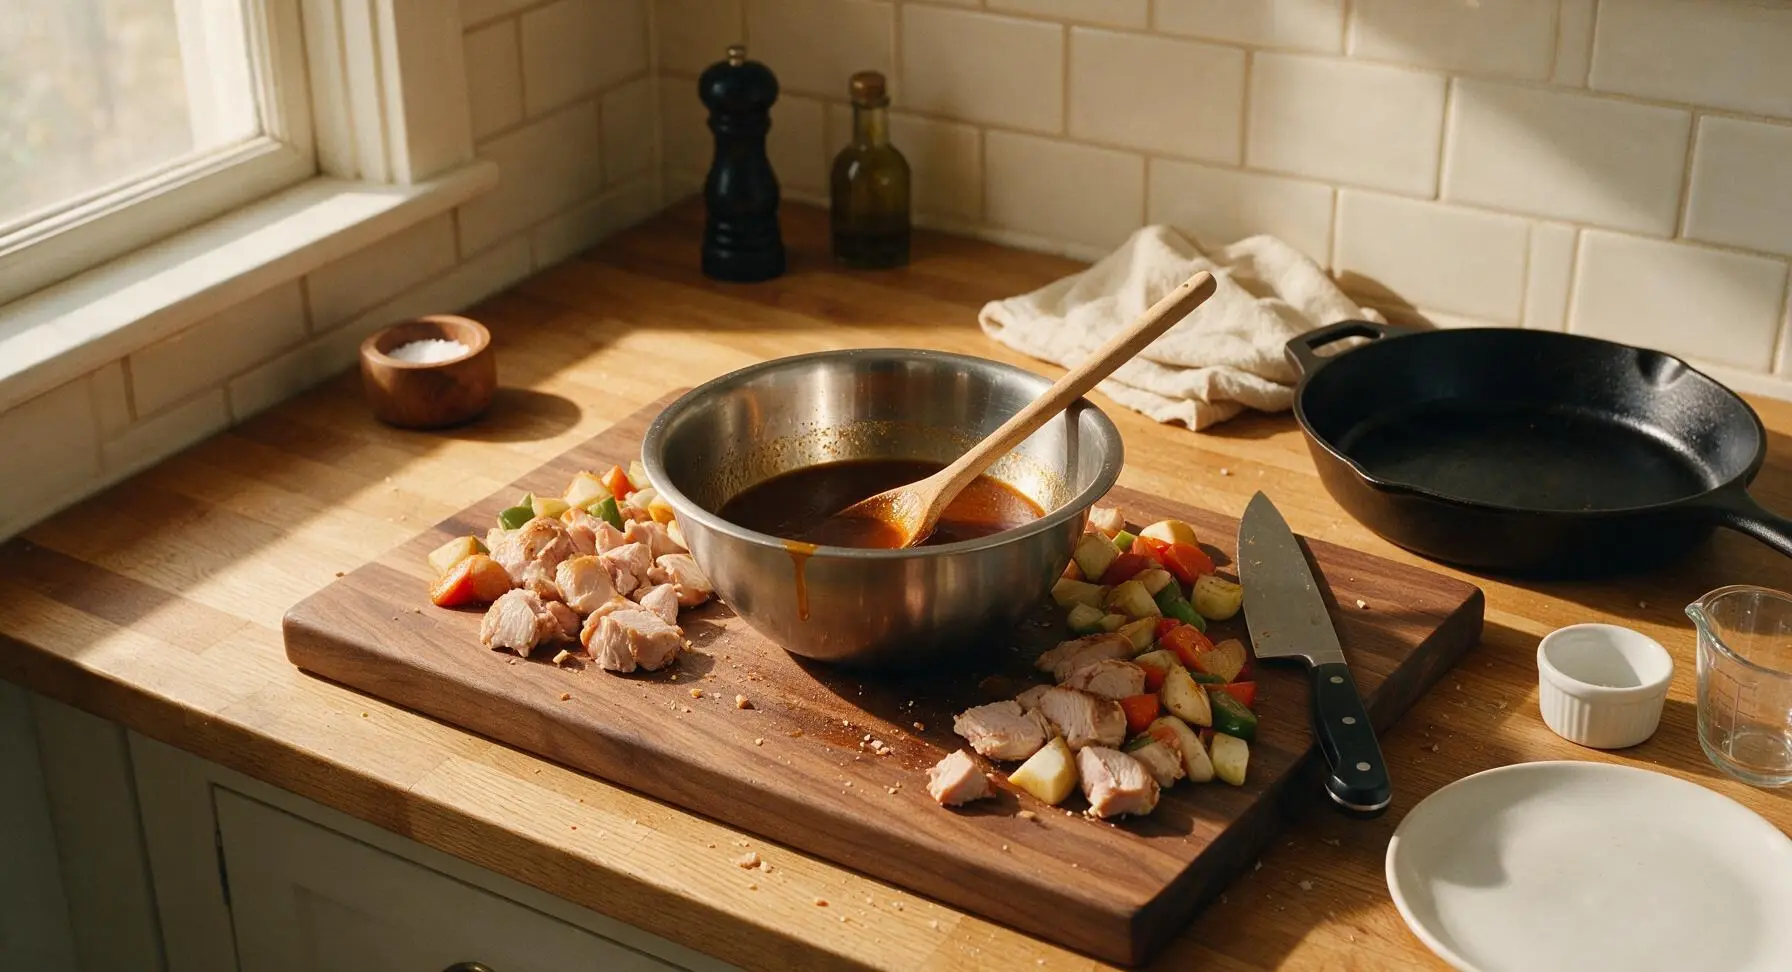
Place the medium stainless steel mixing bowl on the center of the cutting board. Add 120ml low-sodium soy sauce, 60ml mirin, 3 tablespoons light brown sugar, 1 tablespoon toasted sesame oil, crushed garlic, grated ginger, and 1/2 teaspoon coarse black pepper to the bowl. Stir with the beech wood spoon for 30 seconds until the brown sugar is fully dissolved, with no grainy sugar crystals left at the bottom of the bowl, forming a smooth dark amber marinade.
Sear Turkey Skin-Side Down
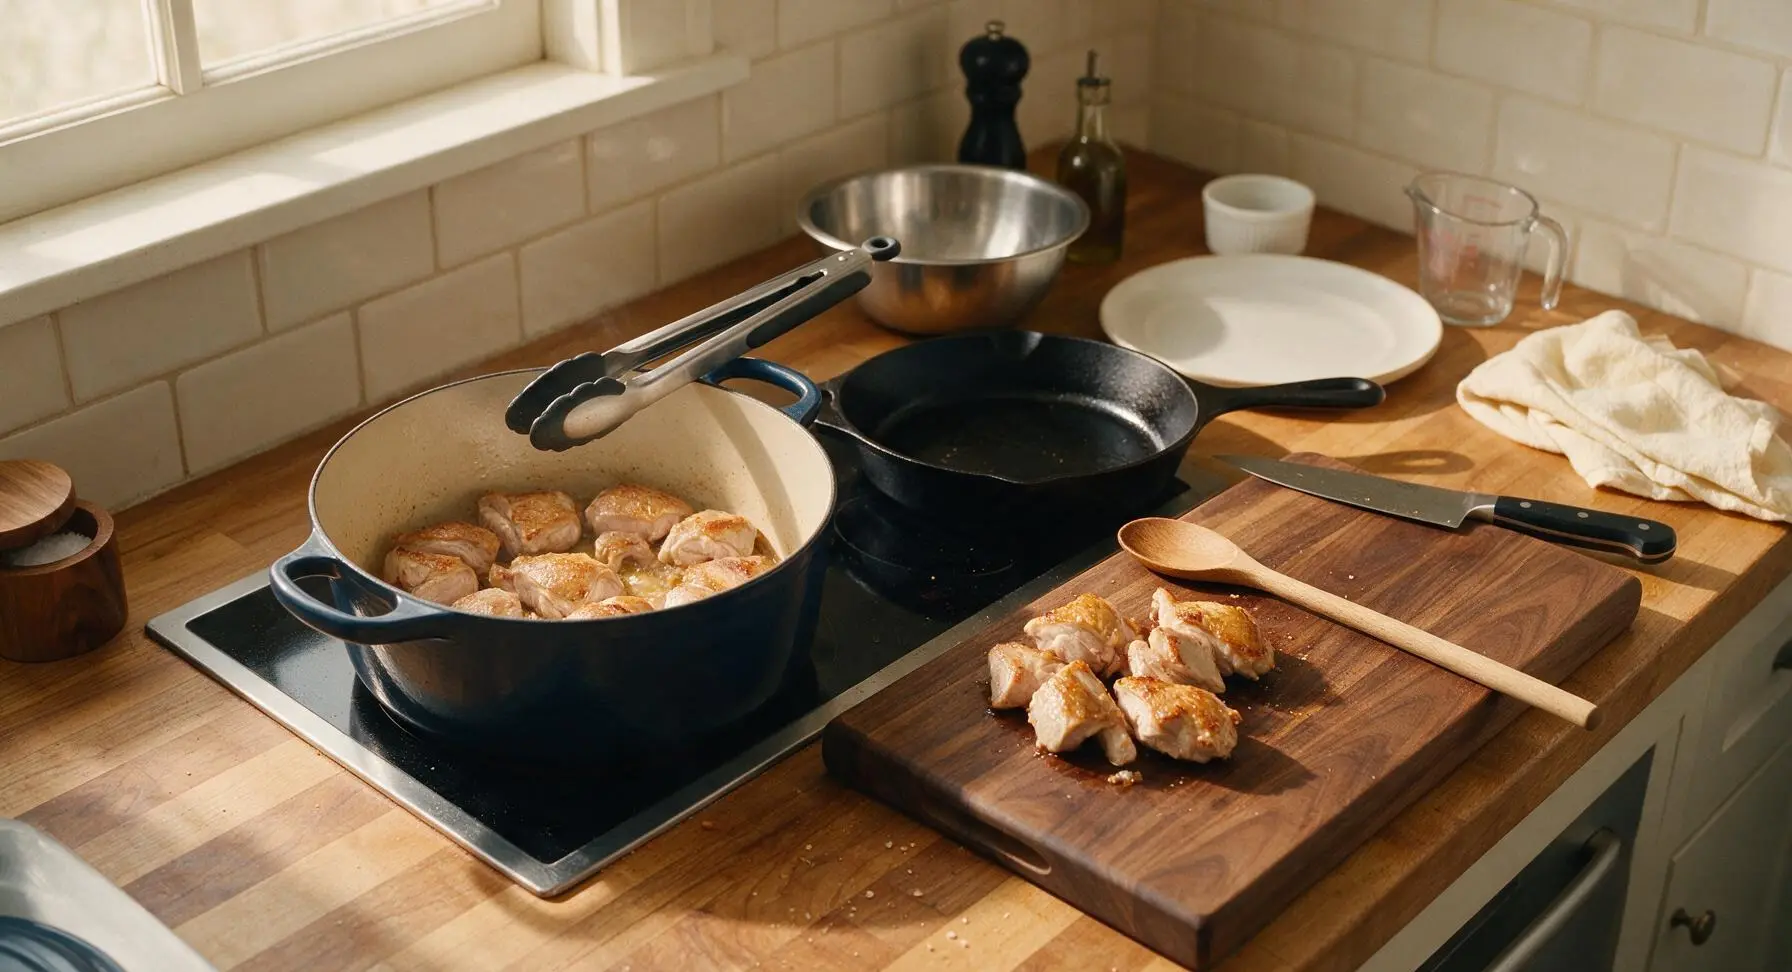
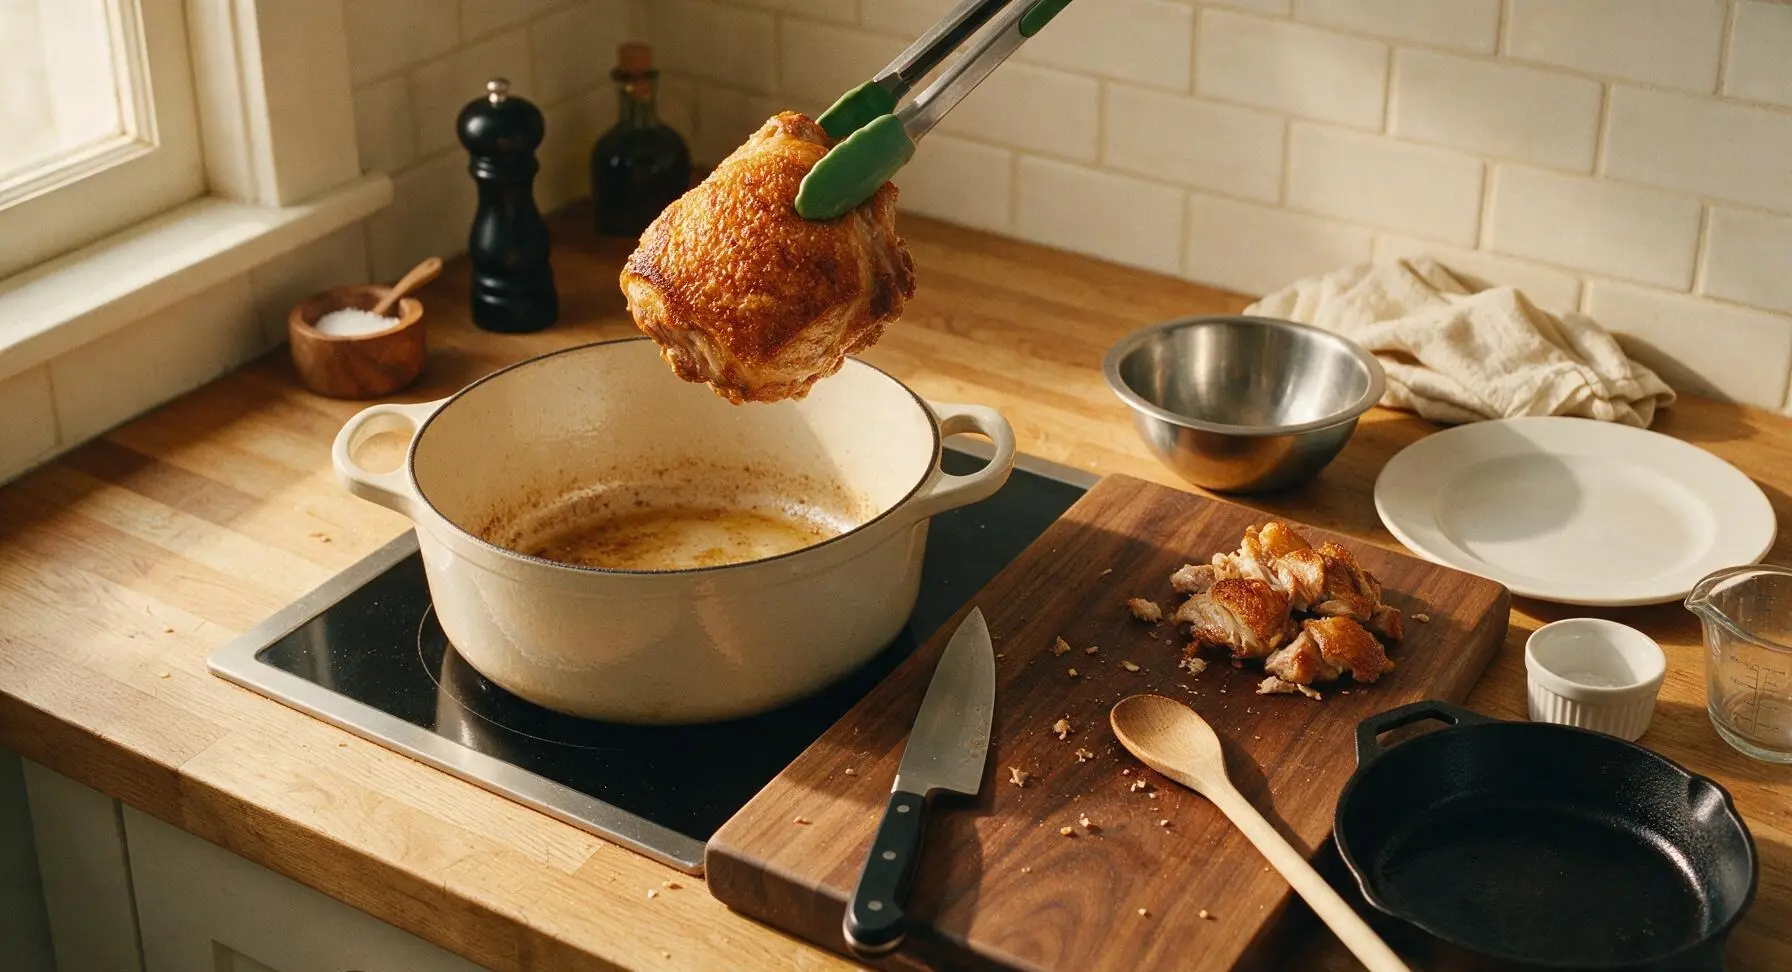
Place the enameled Dutch oven on the left induction burner over medium heat. Wait 2 minutes for the pot to heat fully (no extra oil is needed, as turkey skin will render fat as it cooks). Add turkey chunks in a single layer, skin-side down, leaving 2cm of space between each piece to avoid crowding. Work in 2 batches if needed. Sear for 4-5 minutes per side, using the silicone-tipped tongs to flip pieces, until the skin is deep golden brown and crisp, and rendered fat pools lightly at the bottom of the pot. Transfer seared pieces temporarily to the edge of the cutting board while you finish searing all batches.
Combine Braising Ingredients
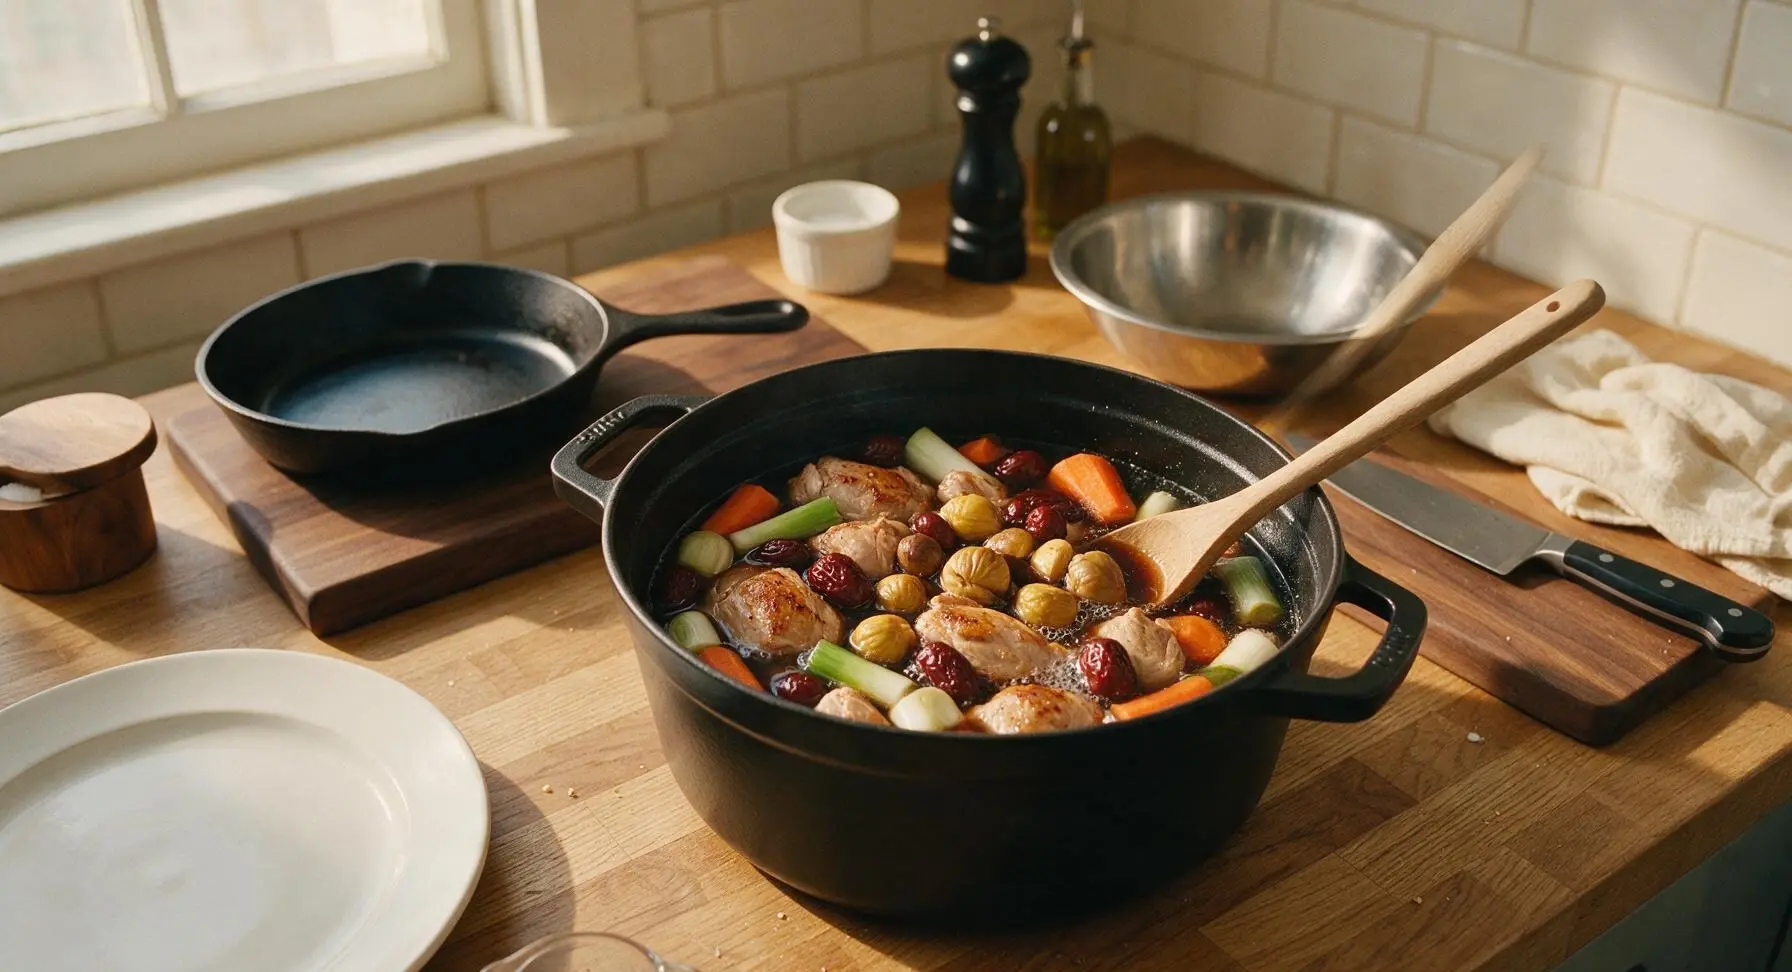
Return all seared turkey chunks to the Dutch oven. Pour the prepared soy marinade evenly over the turkey, then add the carrot chunks, 150g peeled chestnuts, pitted jujubes, and 5cm scallion sections. Pour 120ml (1/2 cup) of cool water into the pot, then stir gently with the beech wood spoon to coat every ingredient in marinade. Bring the liquid to a gentle, low simmer (small bubbles breaking slowly at the edge of the pot) over medium heat, then turn heat to the lowest setting.
Braise Until Tender
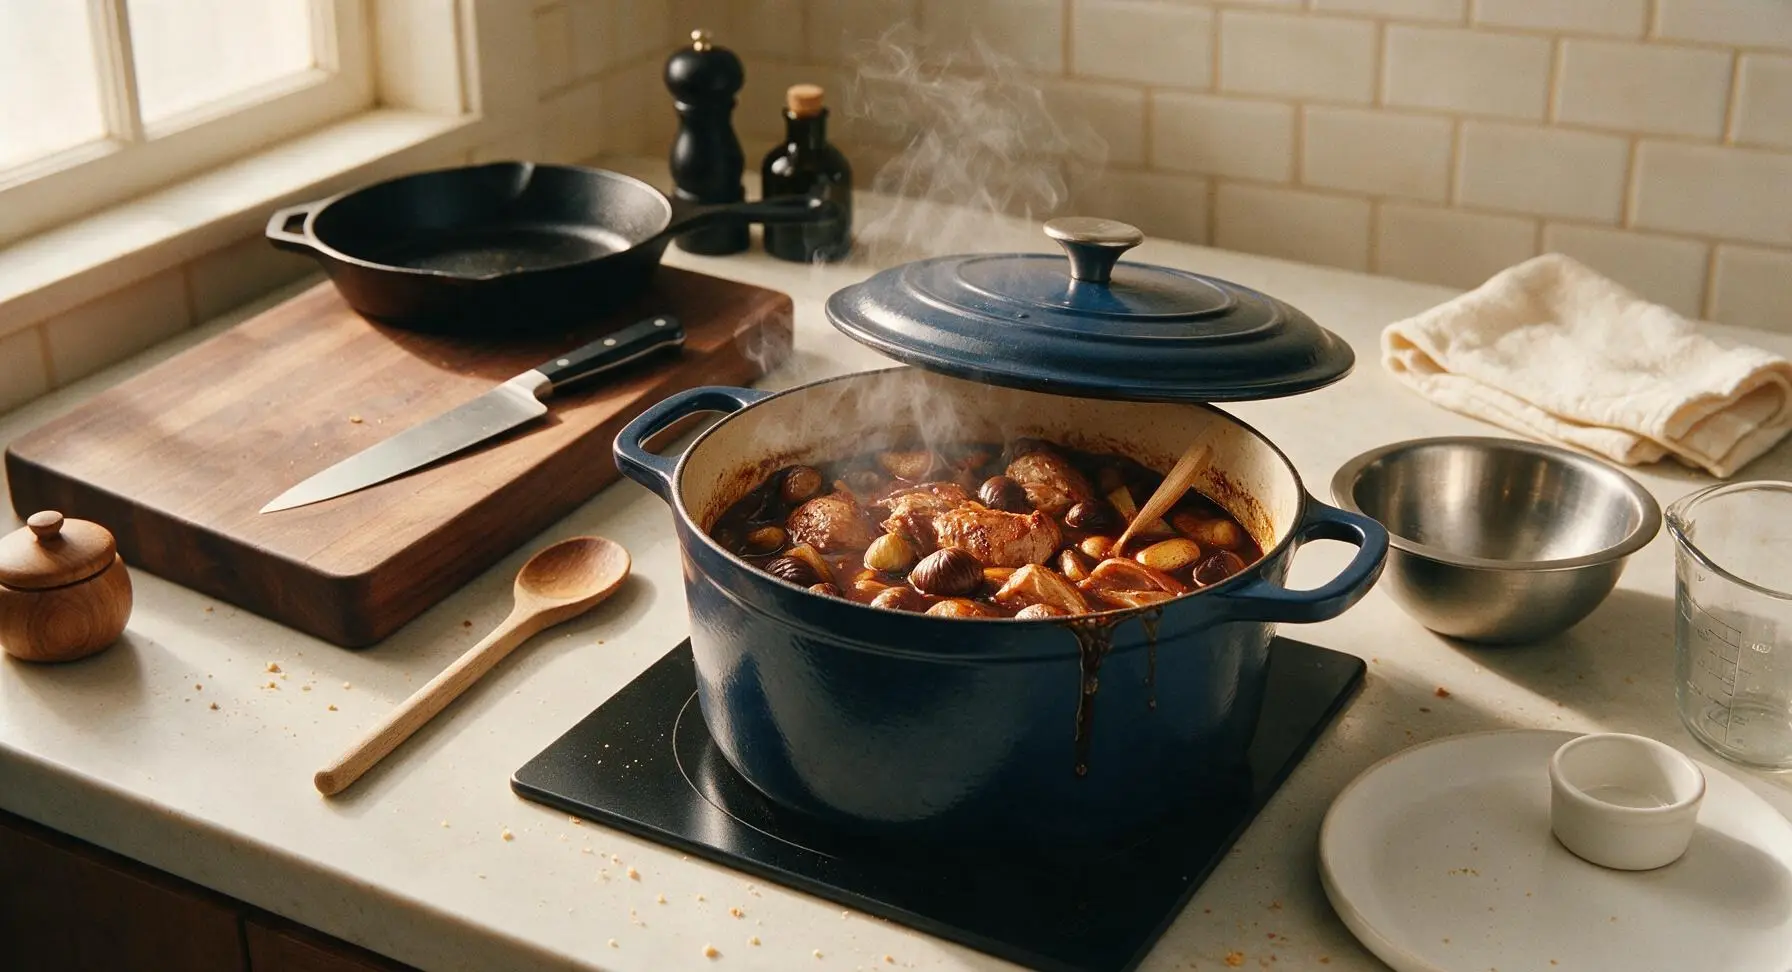
Cover the Dutch oven with its matching navy lid, propping it open a 1cm gap to allow small amounts of steam to escape. Keep heat on the lowest setting to maintain a gentle simmer, and braise for 1 full hour, stirring gently every 20 minutes with the wooden spoon to prevent ingredients from sticking to the pot bottom. The turkey is done when a fork slides into the thickest chunk with no resistance, and the chestnuts are soft when pierced with the tip of a knife.
Reduce to Glossy Glaze
Remove the lid from the Dutch oven, turn heat up to medium-low, and simmer the braising liquid uncovered for 8-10 minutes, stirring occasionally with the wooden spoon. The liquid will reduce by roughly half, thickening into a sticky, glossy glaze that coats the back of the spoon when lifted. Skim any small pools of excess rendered fat from the surface of the glaze with a spoon if desired for a lighter finish.
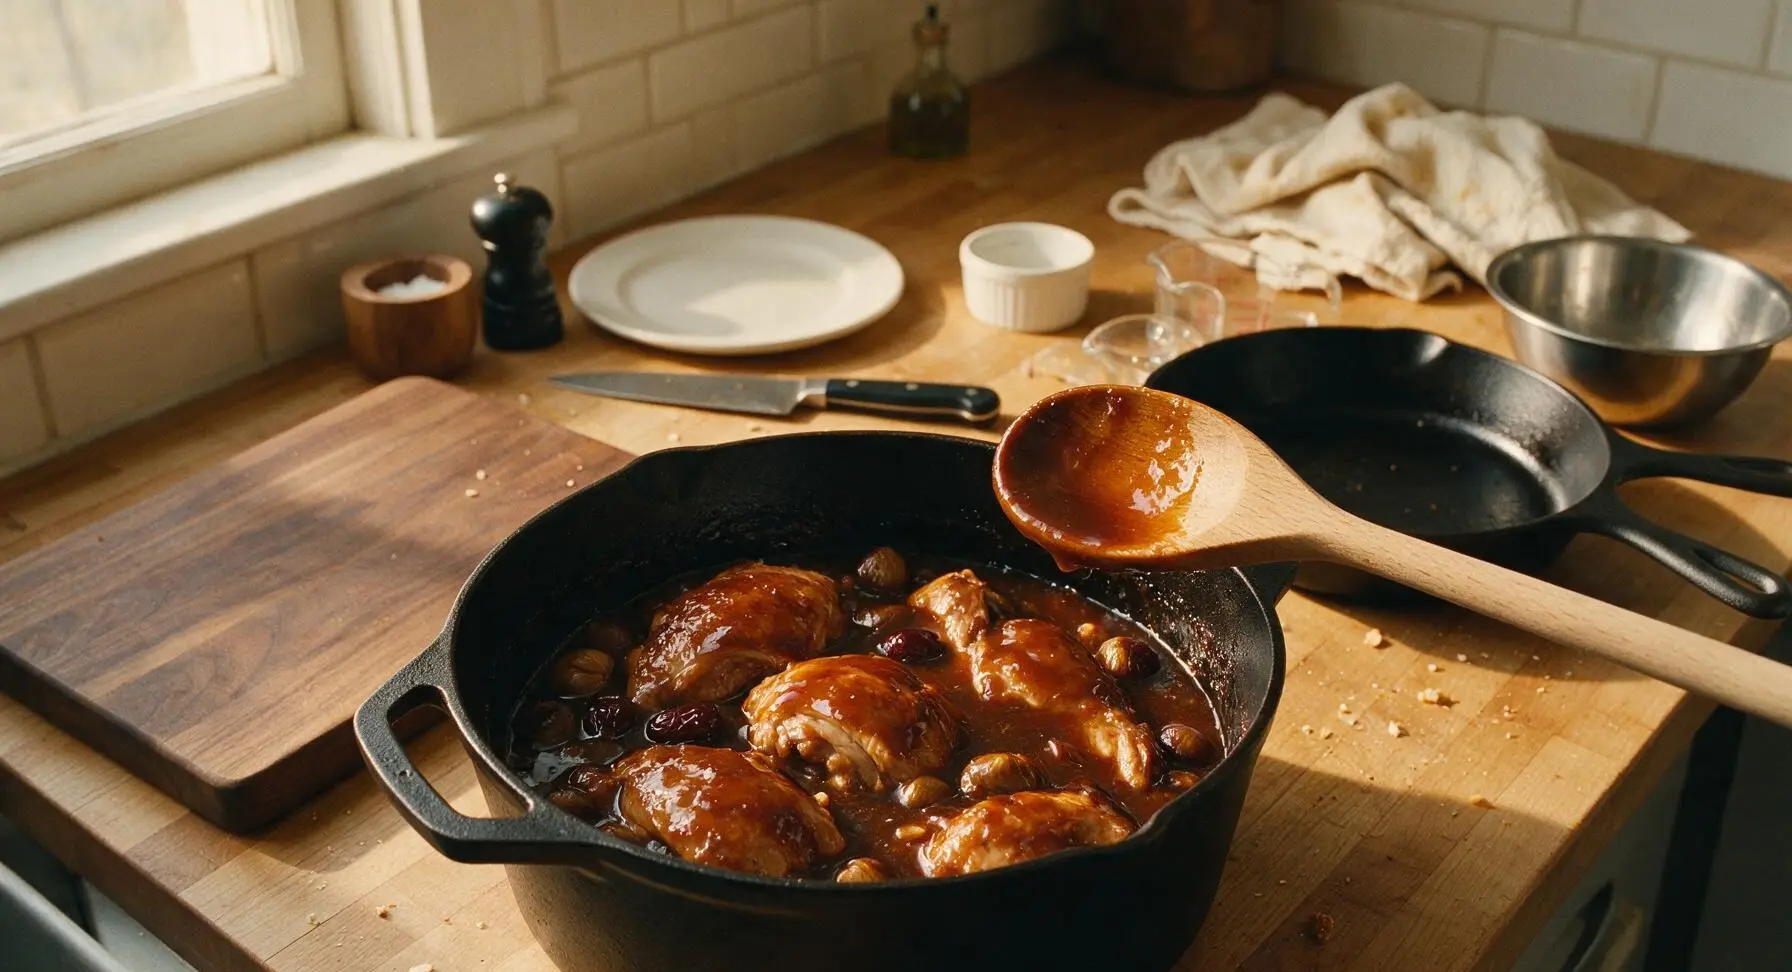
Plate and Add Garnish
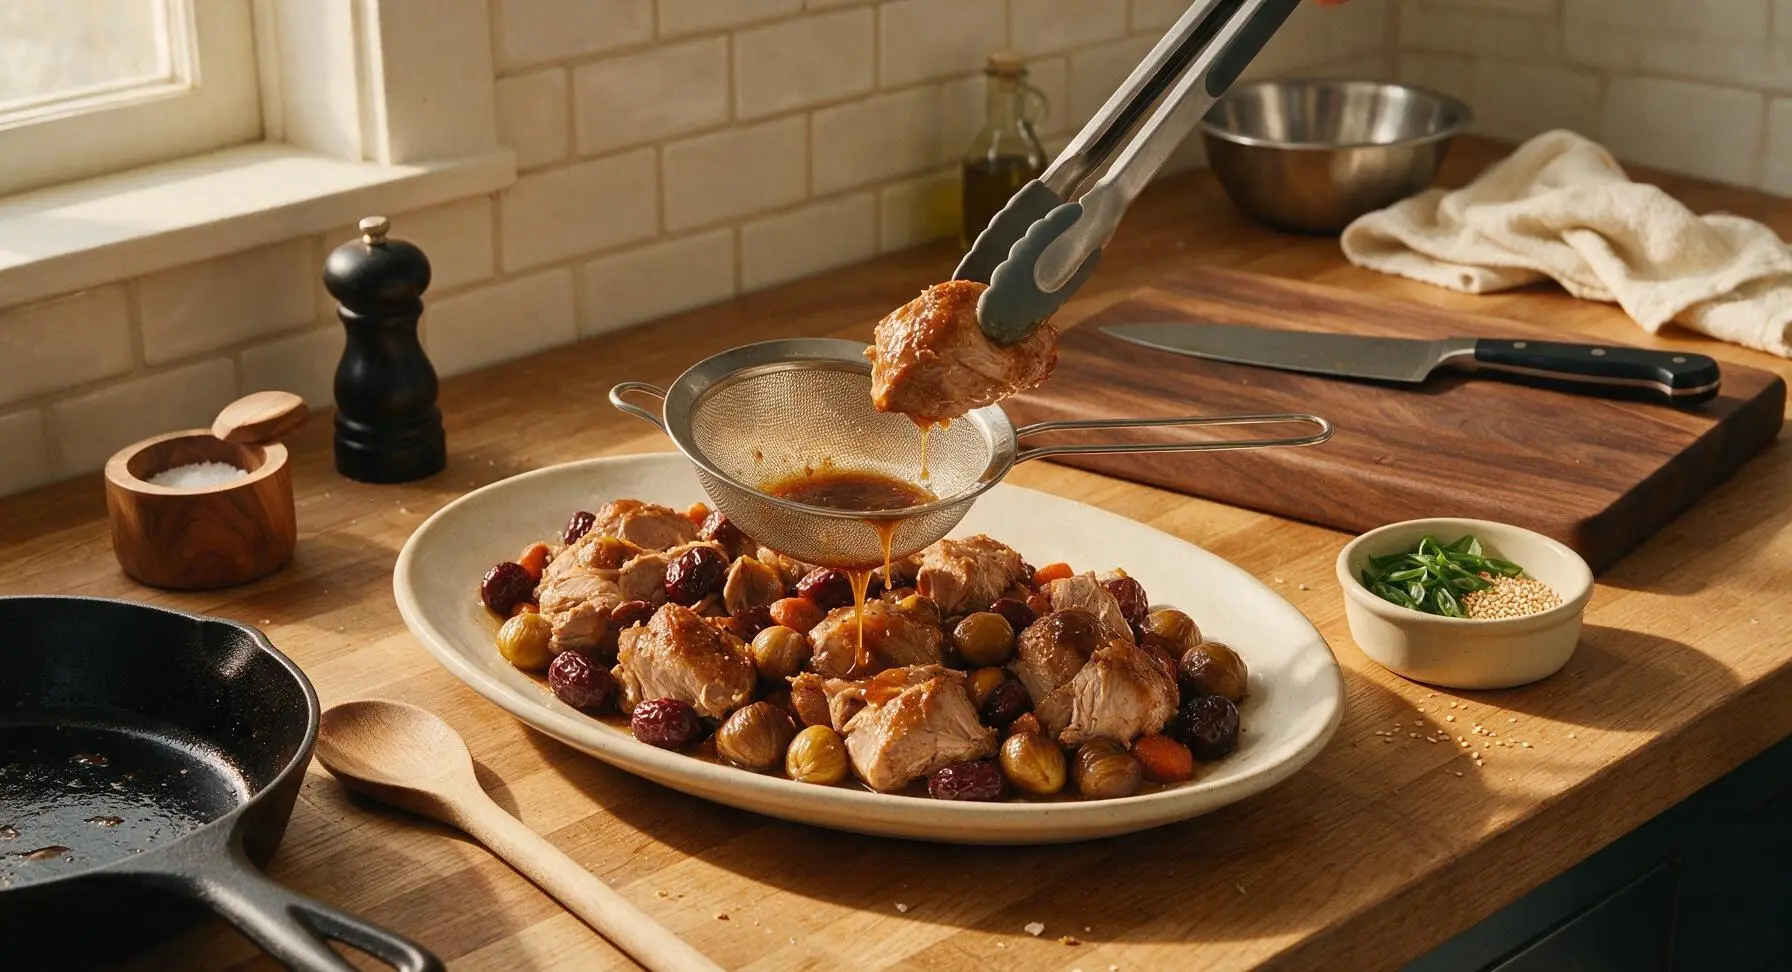
Use the silicone-tipped tongs to transfer turkey, chestnuts, jujubes, and carrot pieces to the large oval off-white ceramic serving platter, arranging them in a loose natural pile. Hold the small fine-mesh strainer over the platter, and pour the remaining thick glaze through the strainer to catch any small burnt bits or solid particles, drizzling the smooth glaze evenly over the top of the dish. Garnish with the reserved thinly sliced dark green scallions and 1 teaspoon of toasted white sesame seeds.
Tips
2.Avoid crowding the Dutch oven when searing turkey: overpacked pieces will steam instead of forming a crisp, golden brown crust, which is key to adding savory depth to the braising liquid. Cook in two small batches if needed, leaving 2cm of space between each piece.
3.Prop the lid slightly ajar during braising: a fully sealed lid traps too much steam, causing the liquid to boil rapidly and make turkey tough, while leaving the pot fully uncovered lets liquid evaporate too fast before the meat softens. A 1cm gap creates the perfect gentle simmer.






OMG this Jjim Turkey was an absolute game changer for our weekly family dinner! I was worried it’d be too tricky since it’s medium difficulty, but the steps were so straightforward even my teen helped stir the braising liquid. The meat was fall-off-the-bone tender, SO good, even my super picky 7 year old asked for seconds. 10/10 will be making this for our fall potluck next month!
Solid recipe! Cook time was exactly 1 hour 20 minutes like listed, which I appreciate because so many recipes lie about timings. I portioned this out for my weekly meal prep with some rice and roasted veggies, and it kept great all week. Only note: I wish it had a little more depth of umami, so I added a splash of fish sauce, next time I’ll do that from the start.
Just pulled this out of the oven and my whole apartment smells insane. I was nervous about trying a Korean braised dish for the first time but this recipe broke everything down so clearly. Can already tell this is gonna be a new regular in my rotation. No notes!!
My kids loved it!!! I swapped the regular soy for low-sodium because that’s what I had in the pantry, and it still turned out absolutely perfect. The sweet and savory glaze is so addictive, my husband ate three servings last night and asked when I’m making it again. Worth every minute of the cook time!
Taste was great, but I ran into a little trouble with the cook time? I followed the directions exactly but my turkey was still a little tough at the 1 hour 20 minute mark, had to leave it in for another 25 minutes. Maybe my oven runs cool? Flavor was on point though, just frustrated I had to wait longer to eat lol.
Made this for my roommate’s birthday dinner last night and everyone was raving. We paired it with pickled radishes and sticky rice, just like the serving suggestions said, and it felt like we got takeout from our favorite Korean spot in Seattle but way cheaper. 100% making this again for Friendsgiving this year.
Great base recipe! I added some chestnuts and jujubes like my grandma used to put in her jjim dishes, and it was such a nostalgic hit. The only reason it’s not 5 stars is I wish there was a note about what cut of turkey works best—I used breast and it was a little dry, next time I’ll use thigh like I should’ve known.