
Johnnycakes / Journey Cakes
intro
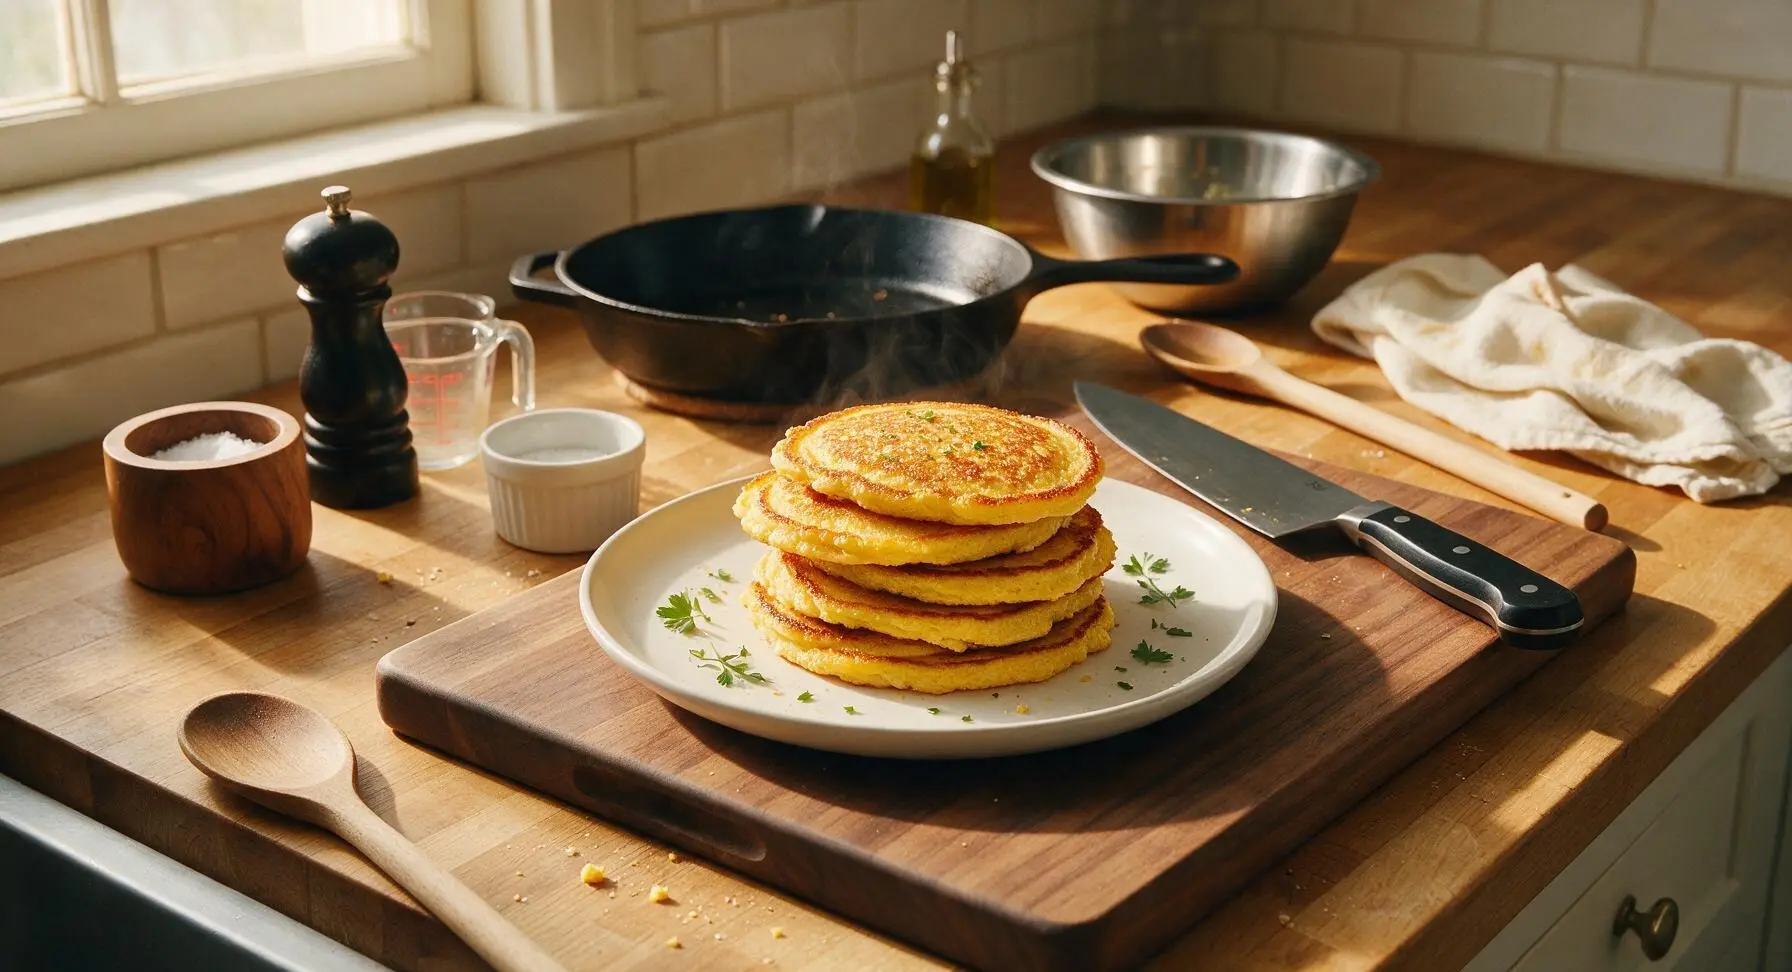
Crisp-edged, tender golden cornmeal Johnnycakes (journey cakes) are a historic colonial staple, sturdy enough to pack for travel, delicious warm with butter and maple syrup.
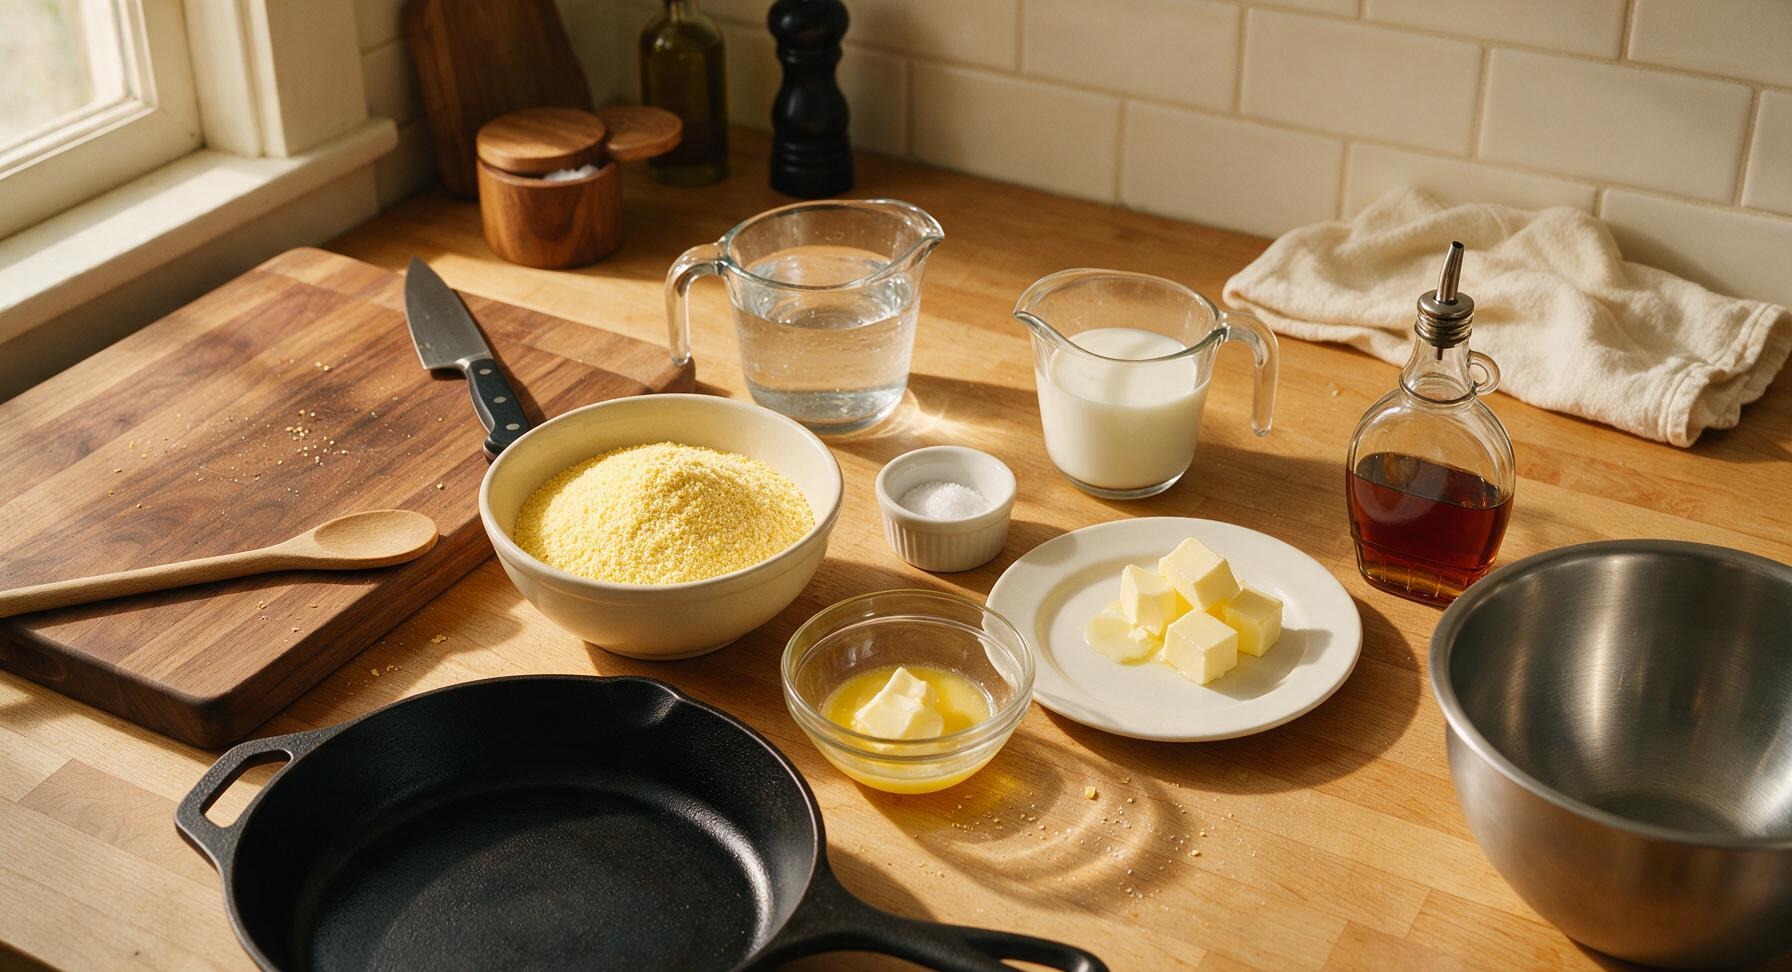
Ingredients
Steps
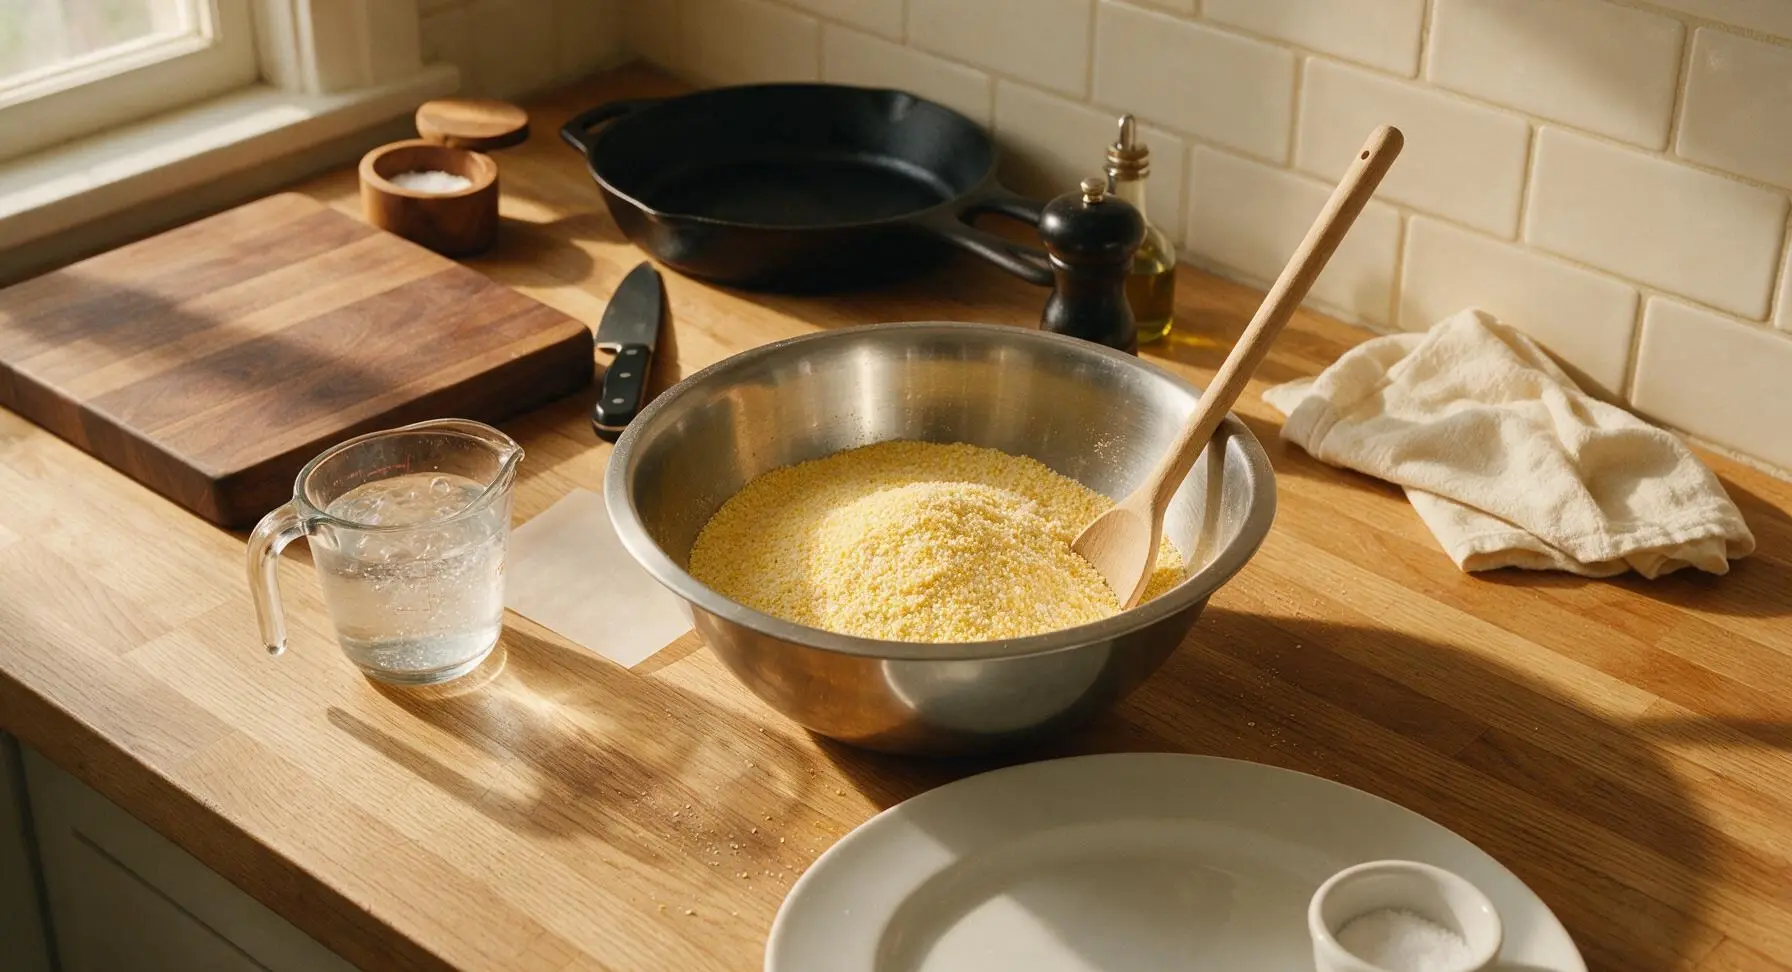
Mix Dry Ingredients
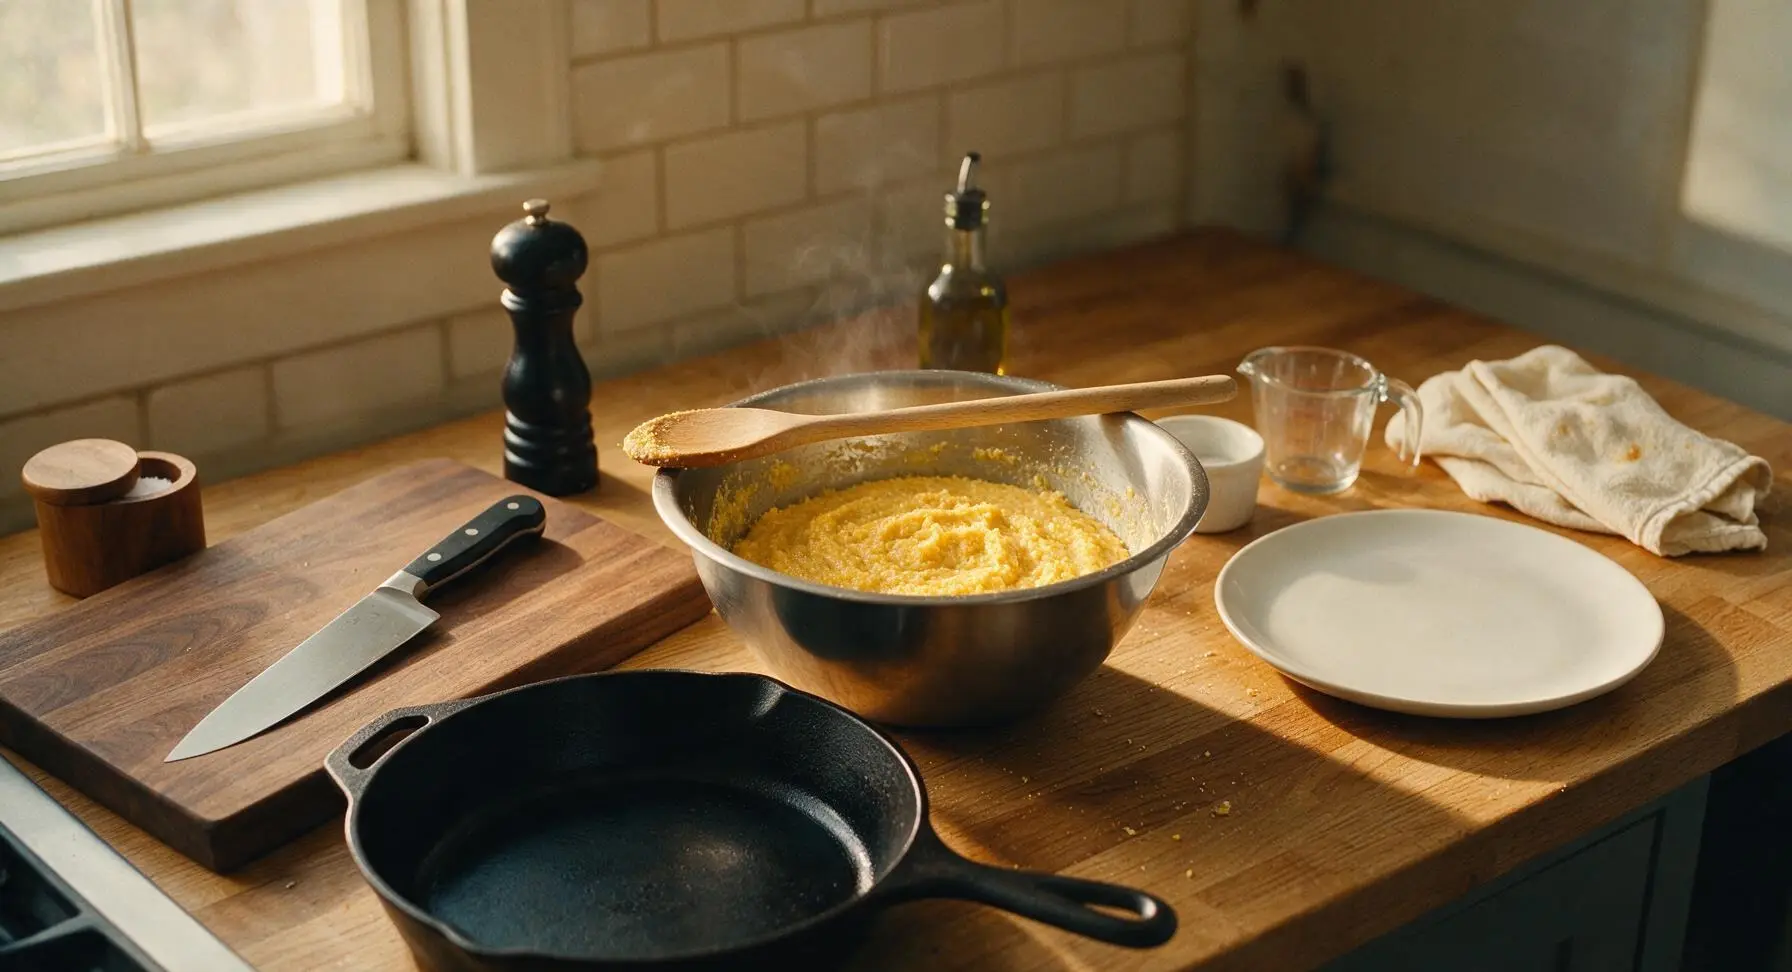
Add 1 ½ cups fine-ground yellow cornmeal and 1 teaspoon fine sea salt to the medium stainless steel mixing bowl. Stir briefly with the long-handled beech wood spoon to evenly distribute the salt, breaking up any small clumps of cornmeal with the back of the spoon. Stop stirring when the mixture is a uniform pale golden yellow with no visible white salt streaks.
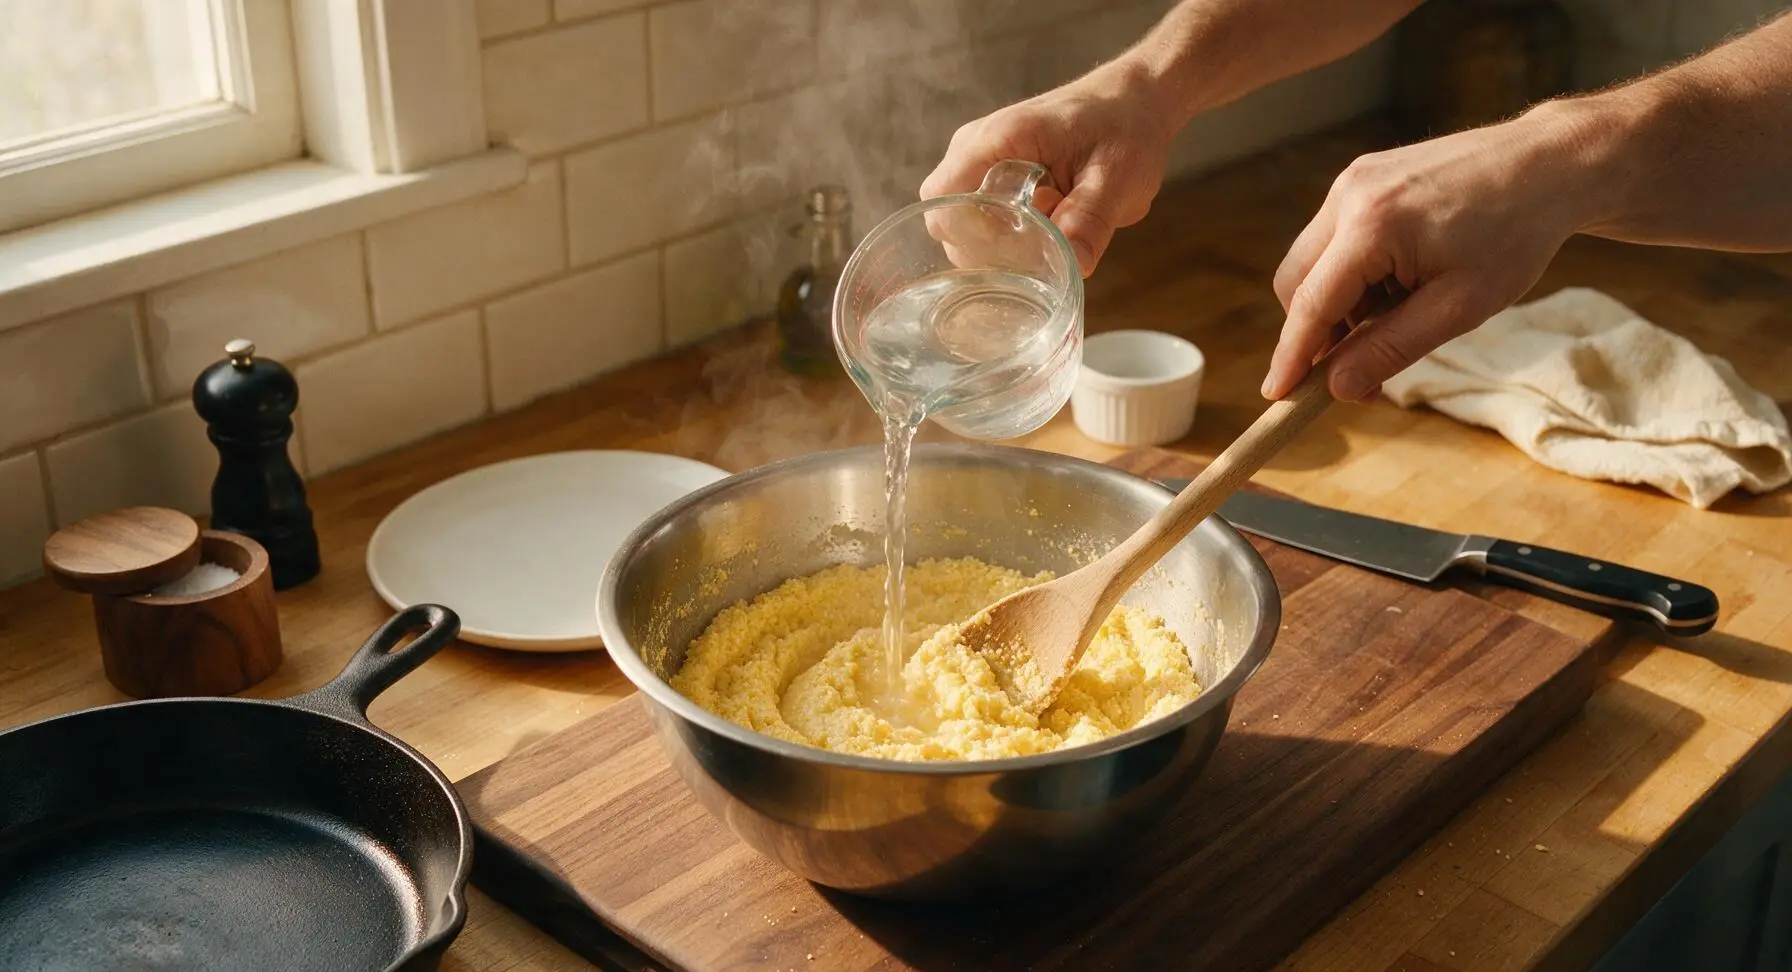
Scald Cornmeal Base
Slowly pour 1 cup of boiling water into the cornmeal mixture, stirring constantly with the beech wood spoon to avoid lumps. Stir for 30 seconds until all cornmeal is evenly moistened, forming a thick, coarse paste with no dry powdery pockets. Let the mixture rest for 5 minutes at room temperature to allow the cornmeal to absorb water and soften.
Adjust Batter Thickness
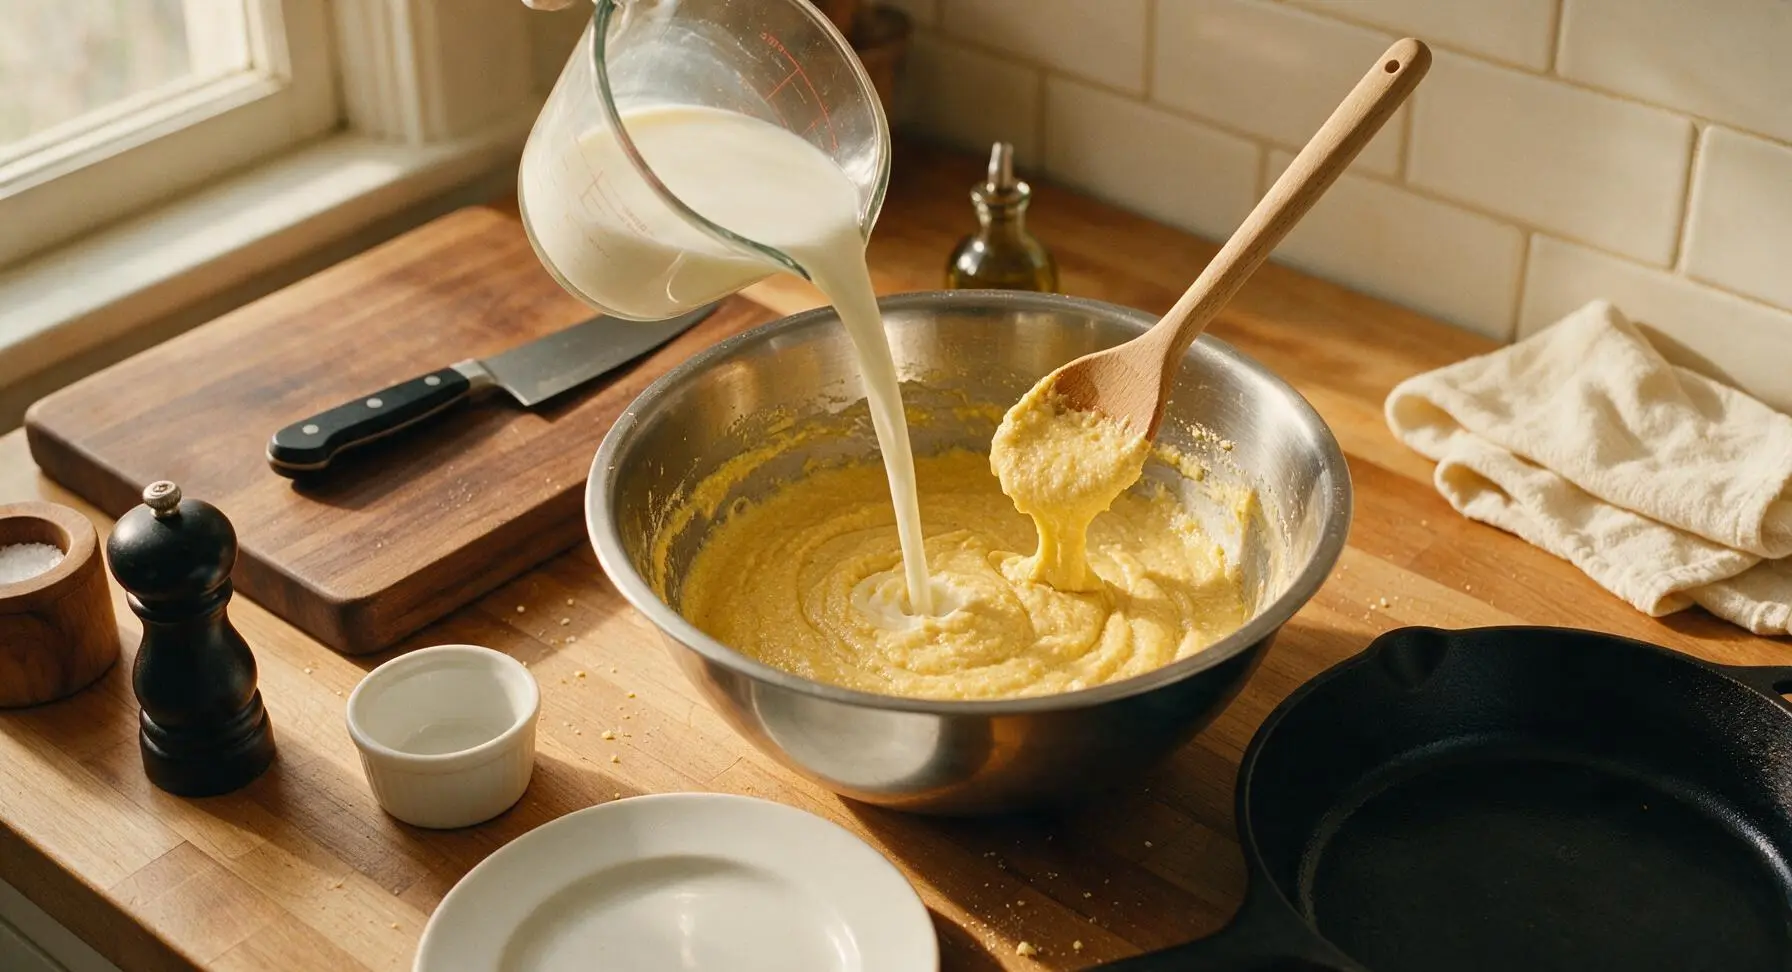
After the 5-minute rest, stir ½ cup whole milk into the cornmeal paste, mixing thoroughly with the beech wood spoon until the batter is smooth, thick but pourable. The correct consistency will coat the back of the spoon and drip slowly in thick, heavy clumps, rather than running freely like thin pancake batter. If the batter is too stiff, add 1 extra tablespoon of milk at a time until it reaches the right texture.
Preheat Cast Iron Skillet
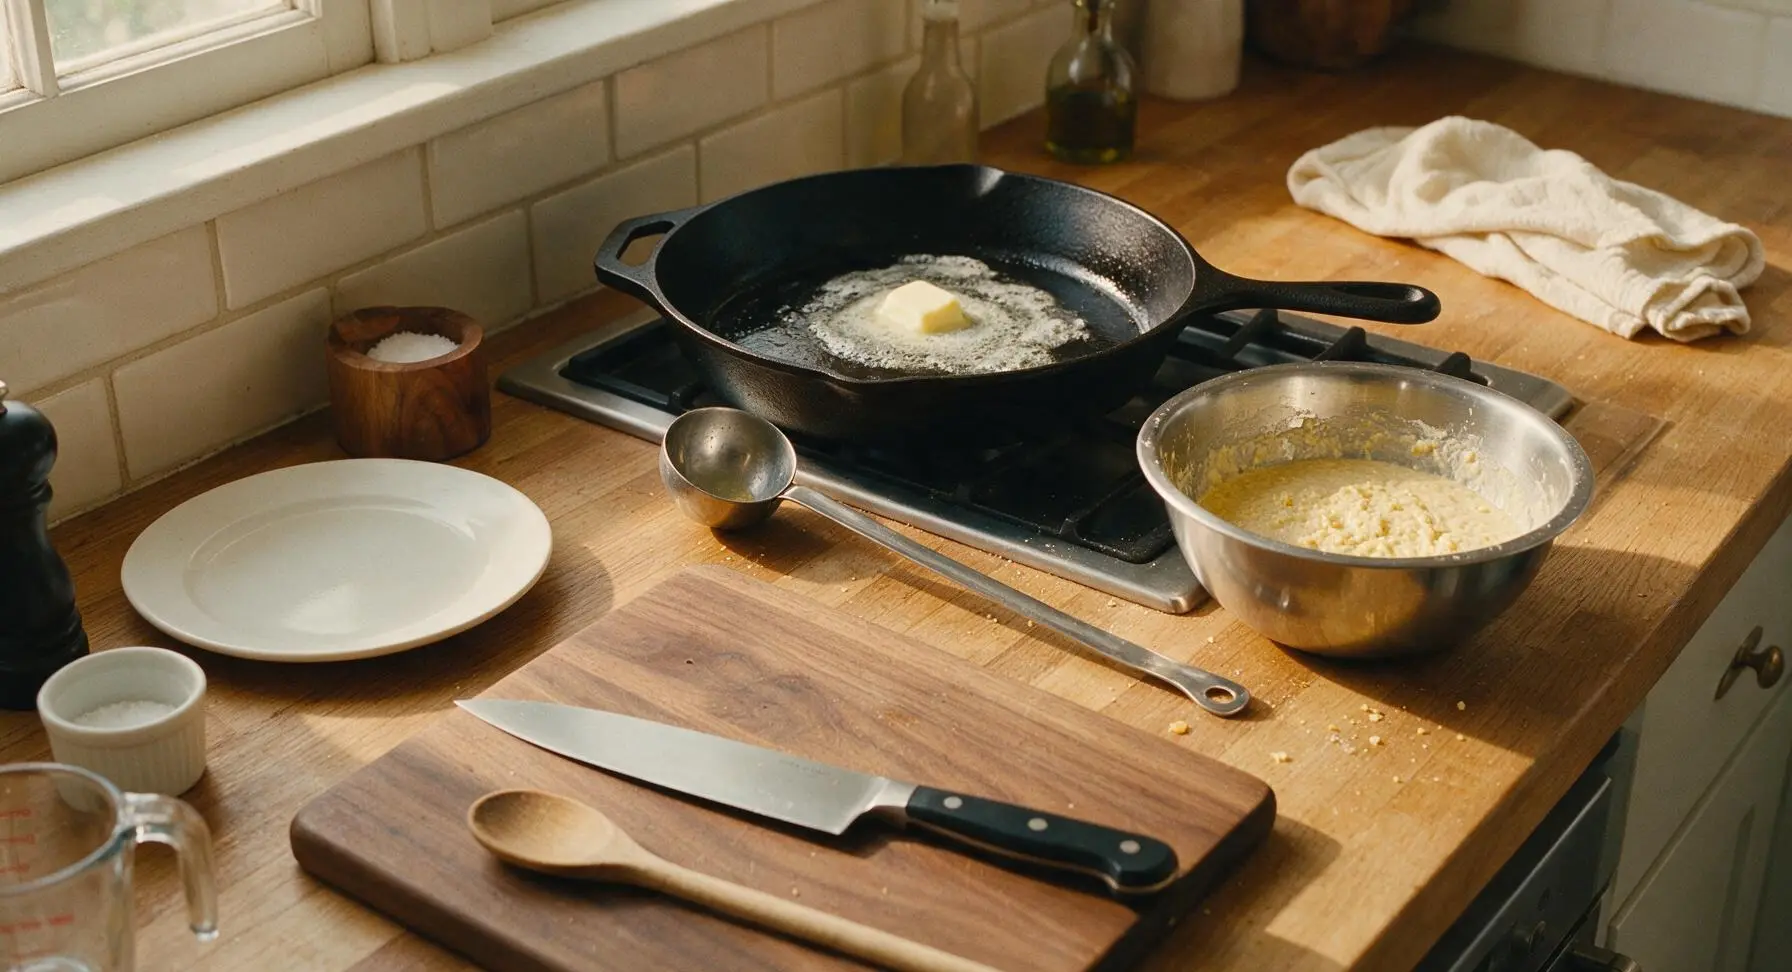
Place the 12-inch matte black cast iron skillet on the stovetop work zone over medium heat (350°F / 175°C). Add 1 tablespoon of unsalted butter to the skillet, swirling the pan as the butter melts to coat the entire cooking surface evenly. Wait until the butter stops foaming and releases a faint nutty aroma, about 1 minute – do not let the butter turn brown or burn.
Cook First Cake Side
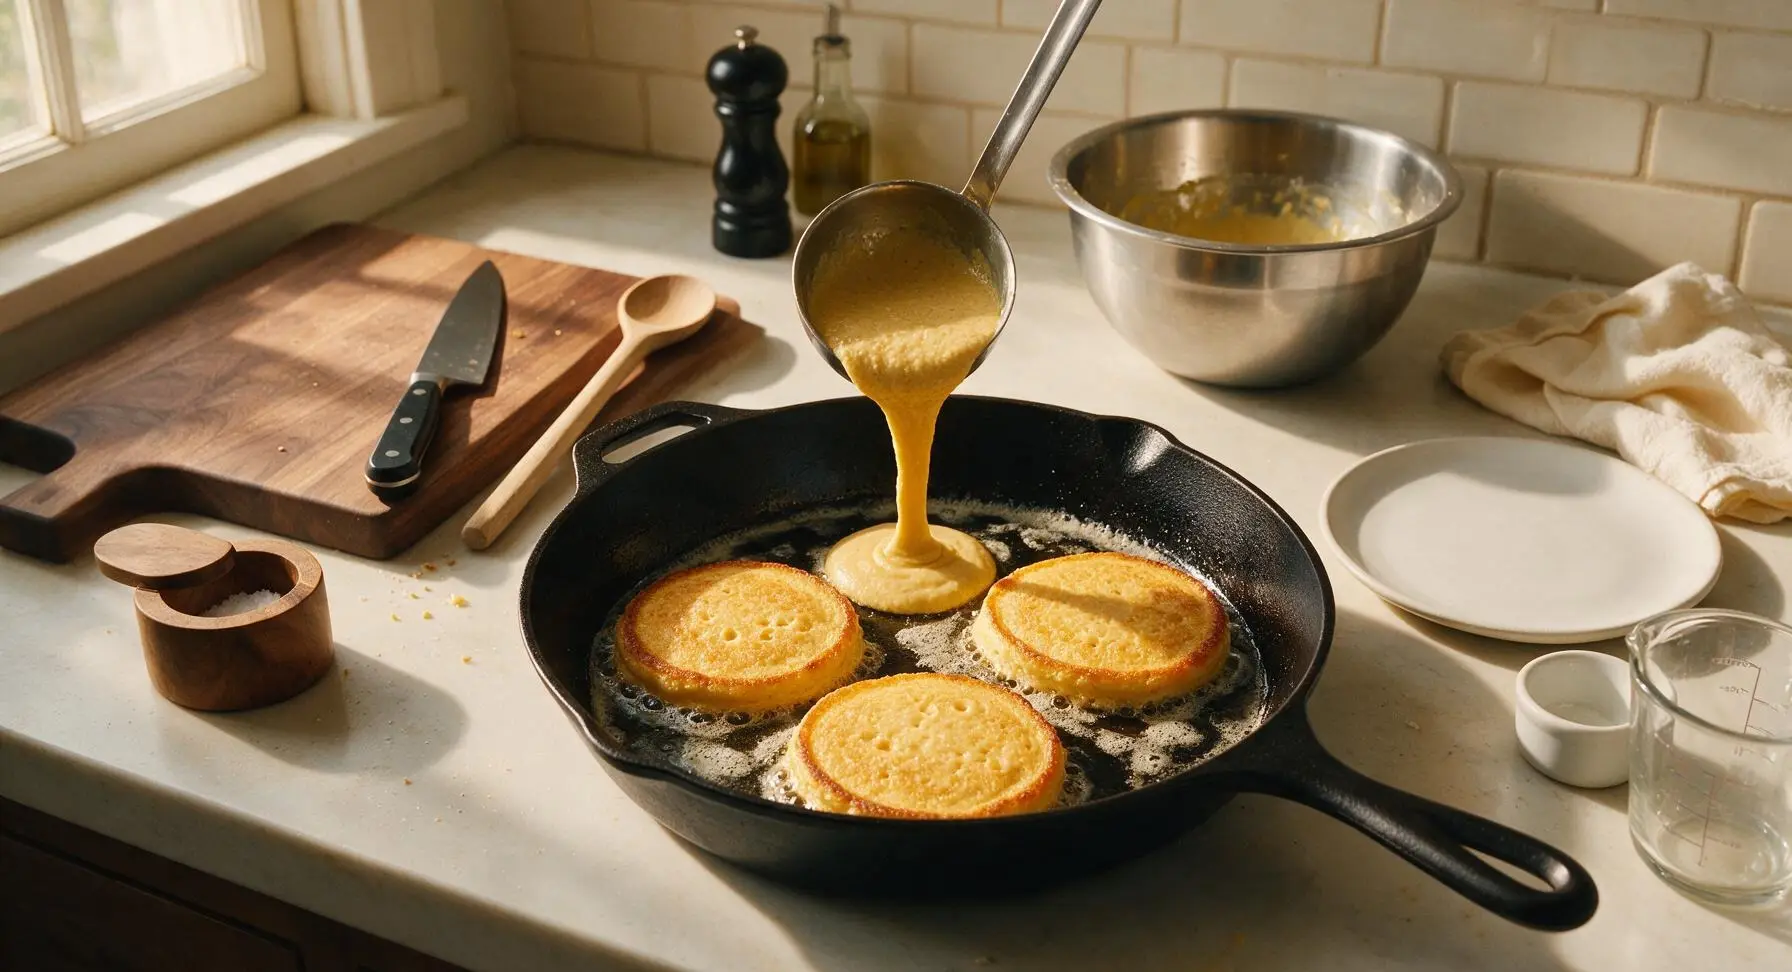
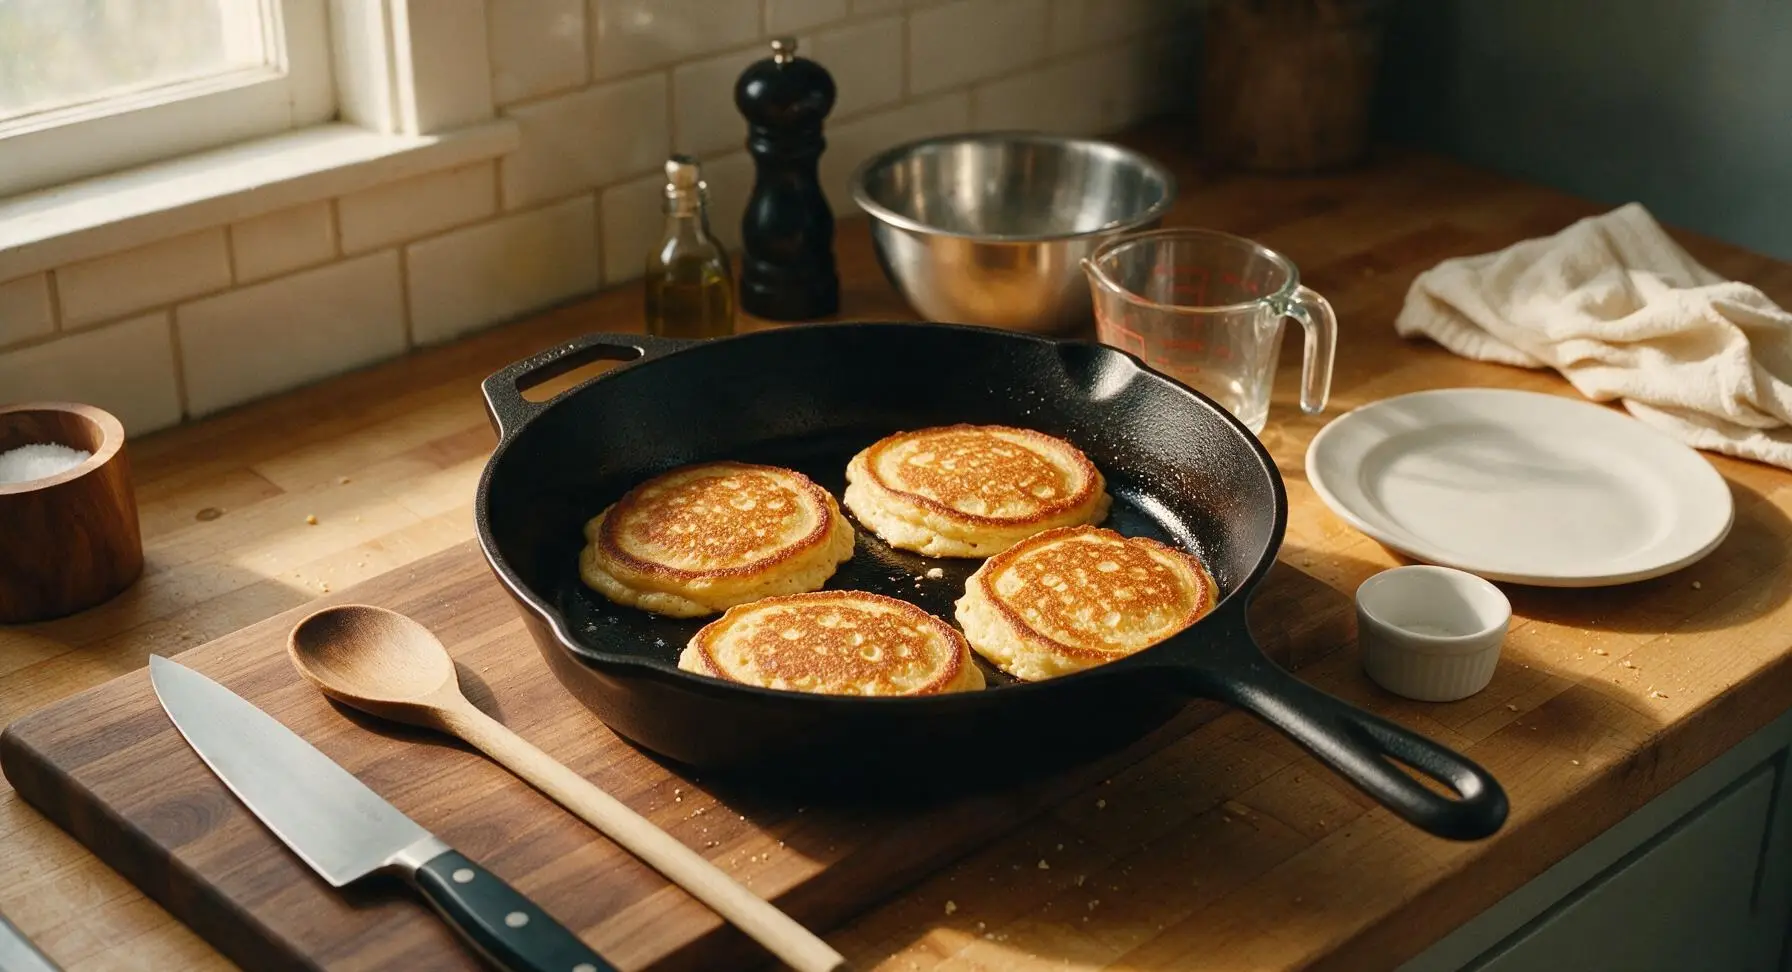
Use the 60ml stainless steel ladle to pour ¼-cup portions of batter onto the preheated buttered skillet, leaving 5cm of space between each cake (cook 3-4 cakes per batch to avoid overcrowding). Cook for 4-5 minutes on the first side, until the edges are deep golden and crisp, and small bubbles pop and set across the top surface of the batter. Resist the urge to press down on the cakes while they cook, as this will squeeze out moisture and make them tough.
Flip and Finish Cakes
Use the thin flexible stainless steel turner spatula to carefully flip each Johnnycake. Add ½ tablespoon of extra butter to the skillet between batches if the surface looks dry or cakes start to stick. Cook the second side for 3-4 minutes, until golden brown and crisp, and the center of each cake is fully set (no raw batter oozes out when you press the edge gently). Transfer cooked cakes to a temporary paper-towel lined surface to drain excess butter while you cook the remaining batter, making 8 total cakes.
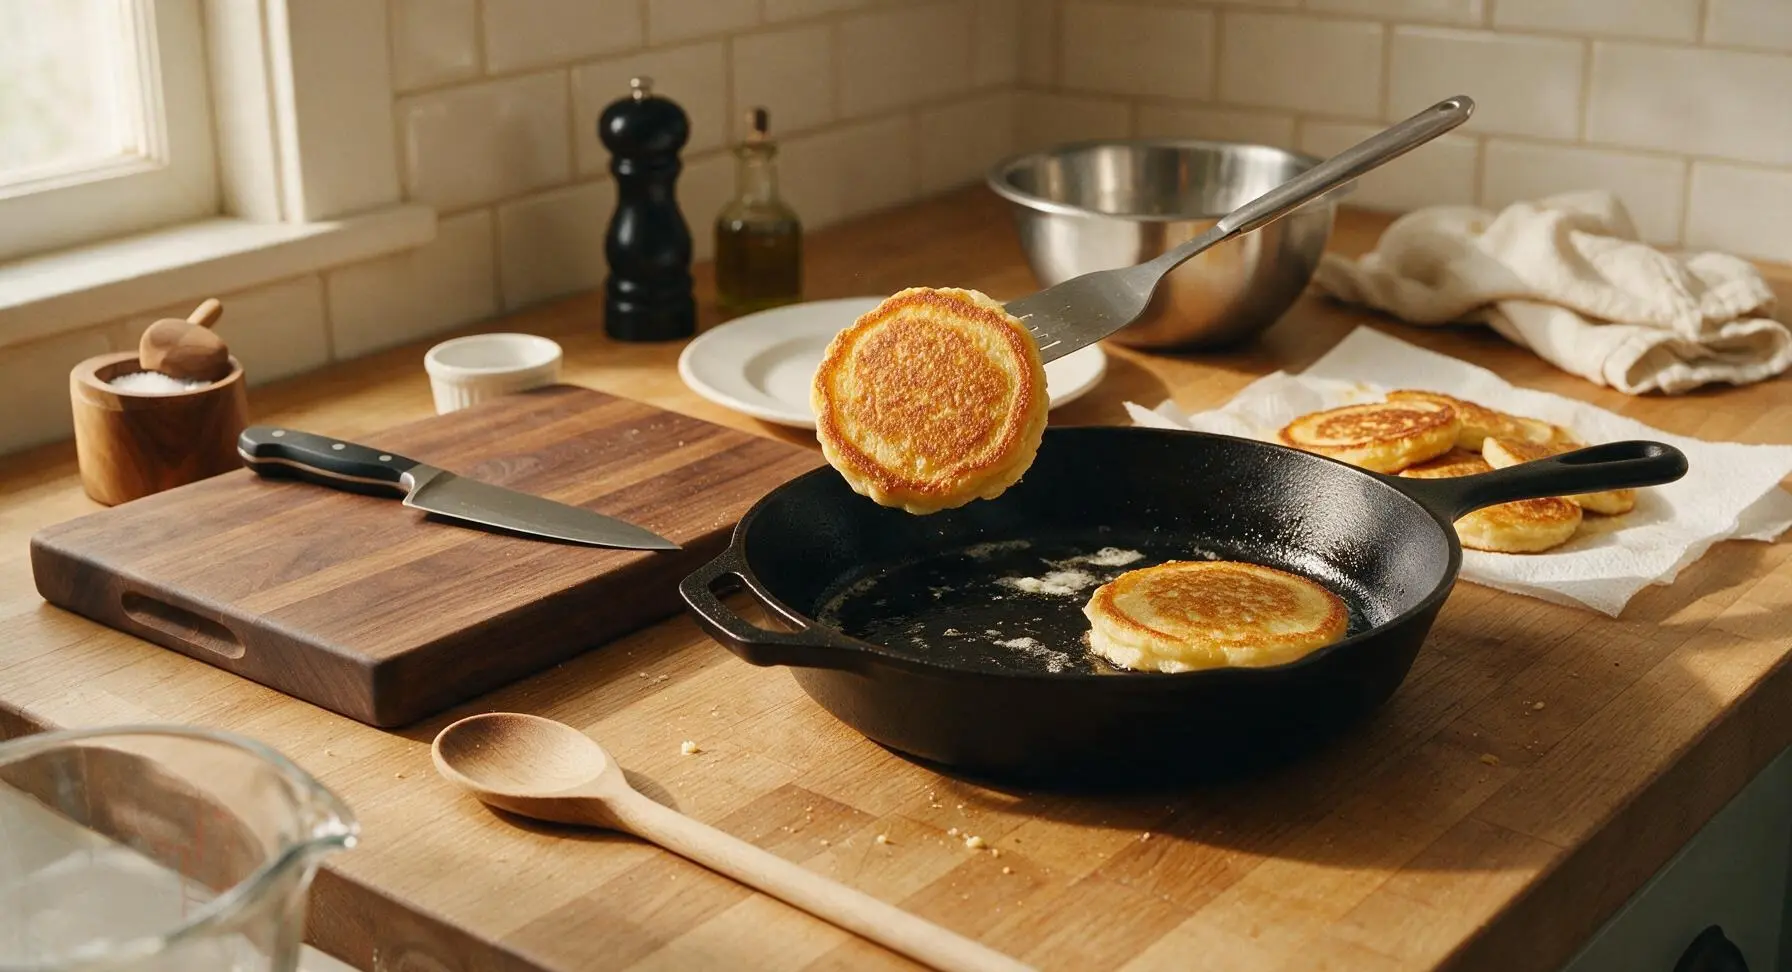
Plate and Serve Warm
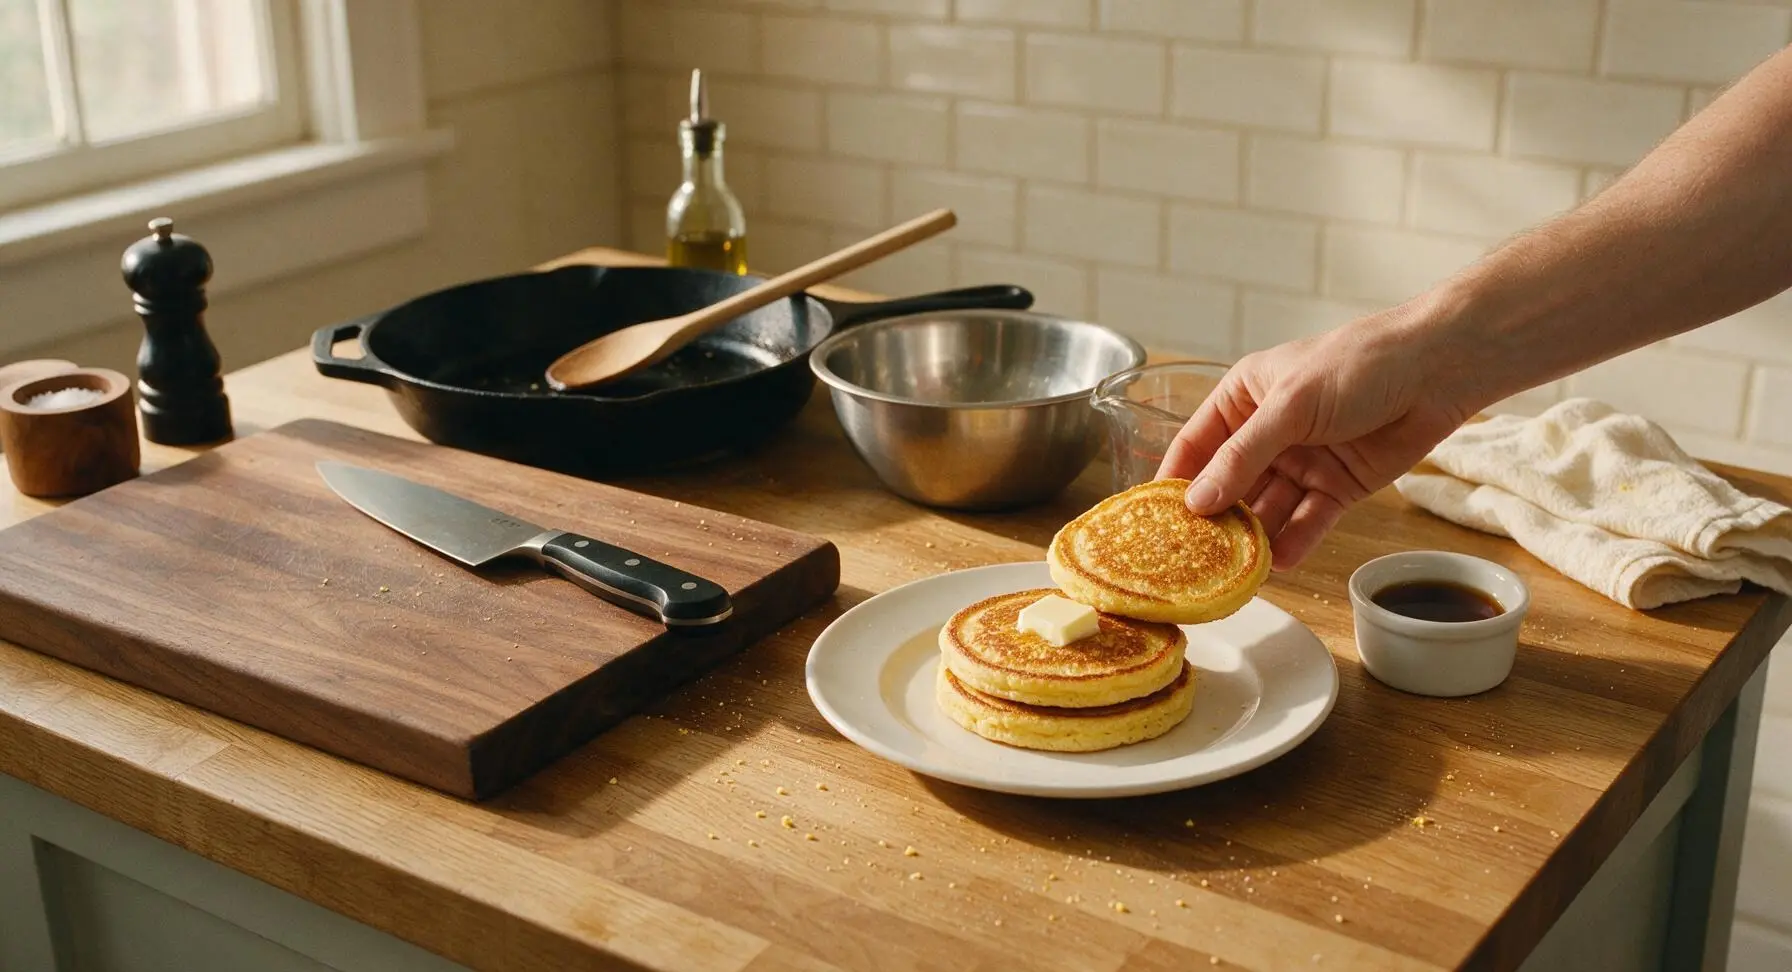
Stack 2 warm Johnnycakes per serving on the cream-speckled stoneware dinner plate. Top with a thin pat of remaining unsalted butter, letting it melt into the warm cake surface, and drizzle lightly with pure maple syrup. Serve immediately while the edges are crisp and centers are soft and tender.
Tips
2.Never skip the boiling water scald step: pouring boiling water over cornmeal gelatinizes the surface starches, which acts as a binder to hold the cakes together without wheat flour or eggs – this is what gives Johnnycakes their sturdy, portable texture that made them a staple for long cross-country journeys.
3.Maintain steady medium heat on your skillet: if the pan is too hot, the cake edges will burn black before the center cooks through; if it is too cool, the cakes will absorb excess butter and turn soggy instead of developing their signature lacy, crisp golden edge.






OMG these were SO good! I whipped these up for a quick Saturday breakfast when we realized we were out of bread and pancake mix, and my kids practically begged for seconds. I slathered them with a little salted butter and warm maple syrup, total game changer. Can't believe how easy they are too, 20 minutes flat with no fancy ingredients I had to run to the store for.
Haven't had johnnycakes since my grandma used to make 'em on camping trips when I was a kid! Brought these to our neighborhood potluck last weekend and everyone was asking for the recipe. I added a handful of fresh corn kernels right into the batter for a little extra texture, chef's kiss.
These are my new go-to for weekday meal prep! I make a big batch on Sunday, pop them in the fridge, and reheat for 30 seconds in the toaster for breakfast all week. Way more filling than regular pancakes, and they don't get soggy like toast does. 10/10.
Wait, I was so nervous to make these because I burn literally every pancake I make, but these were foolproof! Even my slightly lumpy batter turned out golden and crispy on the edges, soft in the middle. Cook time was right on 20 minutes total too, no waiting forever for batter to rise or anything. Only knock is I wish they had a tiny bit more natural sweetness, but that's an easy fix with extra maple syrup!
Grew up calling these journey cakes! My great aunt used to pack them for long road trips when we'd drive down to visit family in Florida, they hold up so well even after hours in a cooler. I was worried this recipe wouldn't live up to my memory, but it's spot on.
Wait, are these naturally gluten free? I used my fine ground cornmeal that's certified GF and didn't add any wheat flour, and they turned out perfect! I was so happy to find a quick bread recipe I don't have to swap 5 ingredients for to make it work for my diet.
Made these for brinner last night with a side of fried chicken and hot honey, and my roommate said it's the best meal I've ever cooked. The slight corn sweetness pairs so good with savory, salty sides, I'm never going back to regular biscuits with my fried chicken.
Made these over our camp stove last weekend on our camping trip and they were way easier than flipping pancakes over an open fire! Didn't have to pack any fancy mix, just brought a bag of cornmeal, some salt, and a little tin of butter. Total hit with the whole group.
First recipe I've ever made completely from scratch without calling my mom for help! They came out a little lumpy but tasted amazing, I ate three straight off the griddle before I even remembered to put toppings on. Super easy for total newbies like me.
I skipped the sweet toppings and topped these with melted cheddar and a fried egg for brunch today, and it was chef's kiss. The crisp edge on these is so much better than English muffins for egg sandwiches, I'll be making these every weekend from now on. Knocked a star off because my first two stuck to the pan a little before I remembered to add more butter, but totally my mistake, not the recipe's!