
jollibee fried chicken

title 1
jollibee fried chicken
⏱️ cook time 20 minutes
🍽️ servings 4
⚡ Difficulty medium

intro

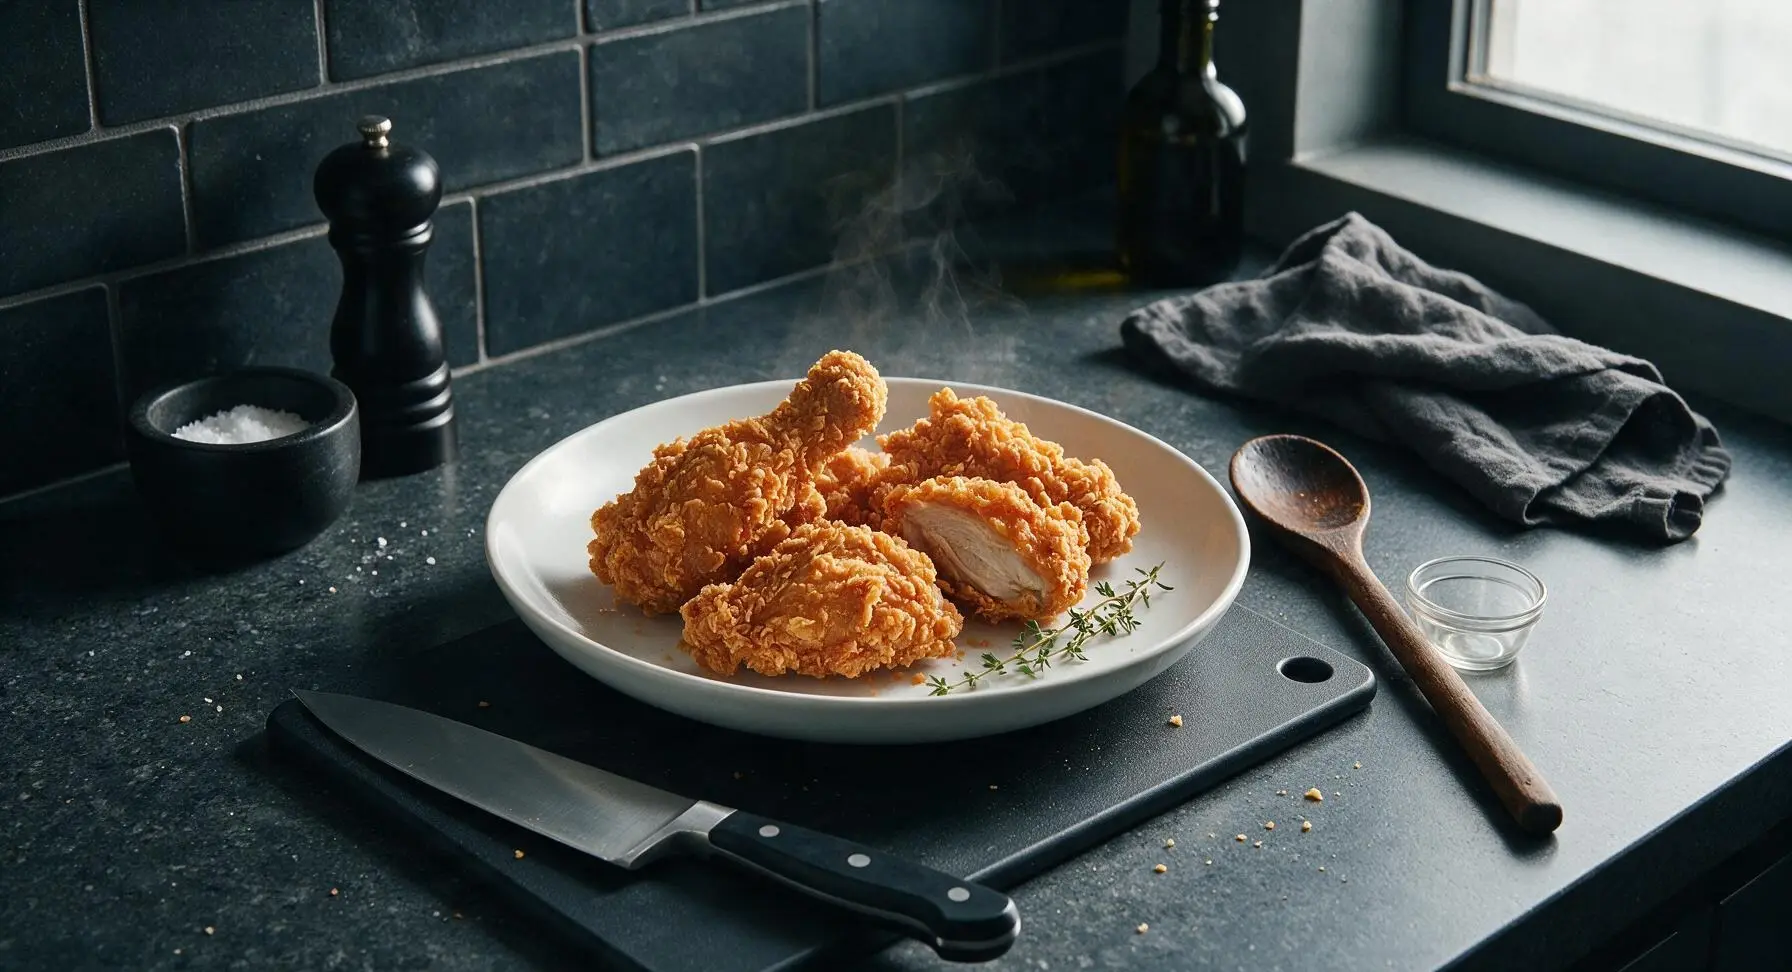
Shatteringly crisp, juicy copycat Jollibee Chickenjoy, the iconic Filipino fried chicken with savory seasoned meat and a craggy golden crust, perfect for casual family meals.

Ingredients
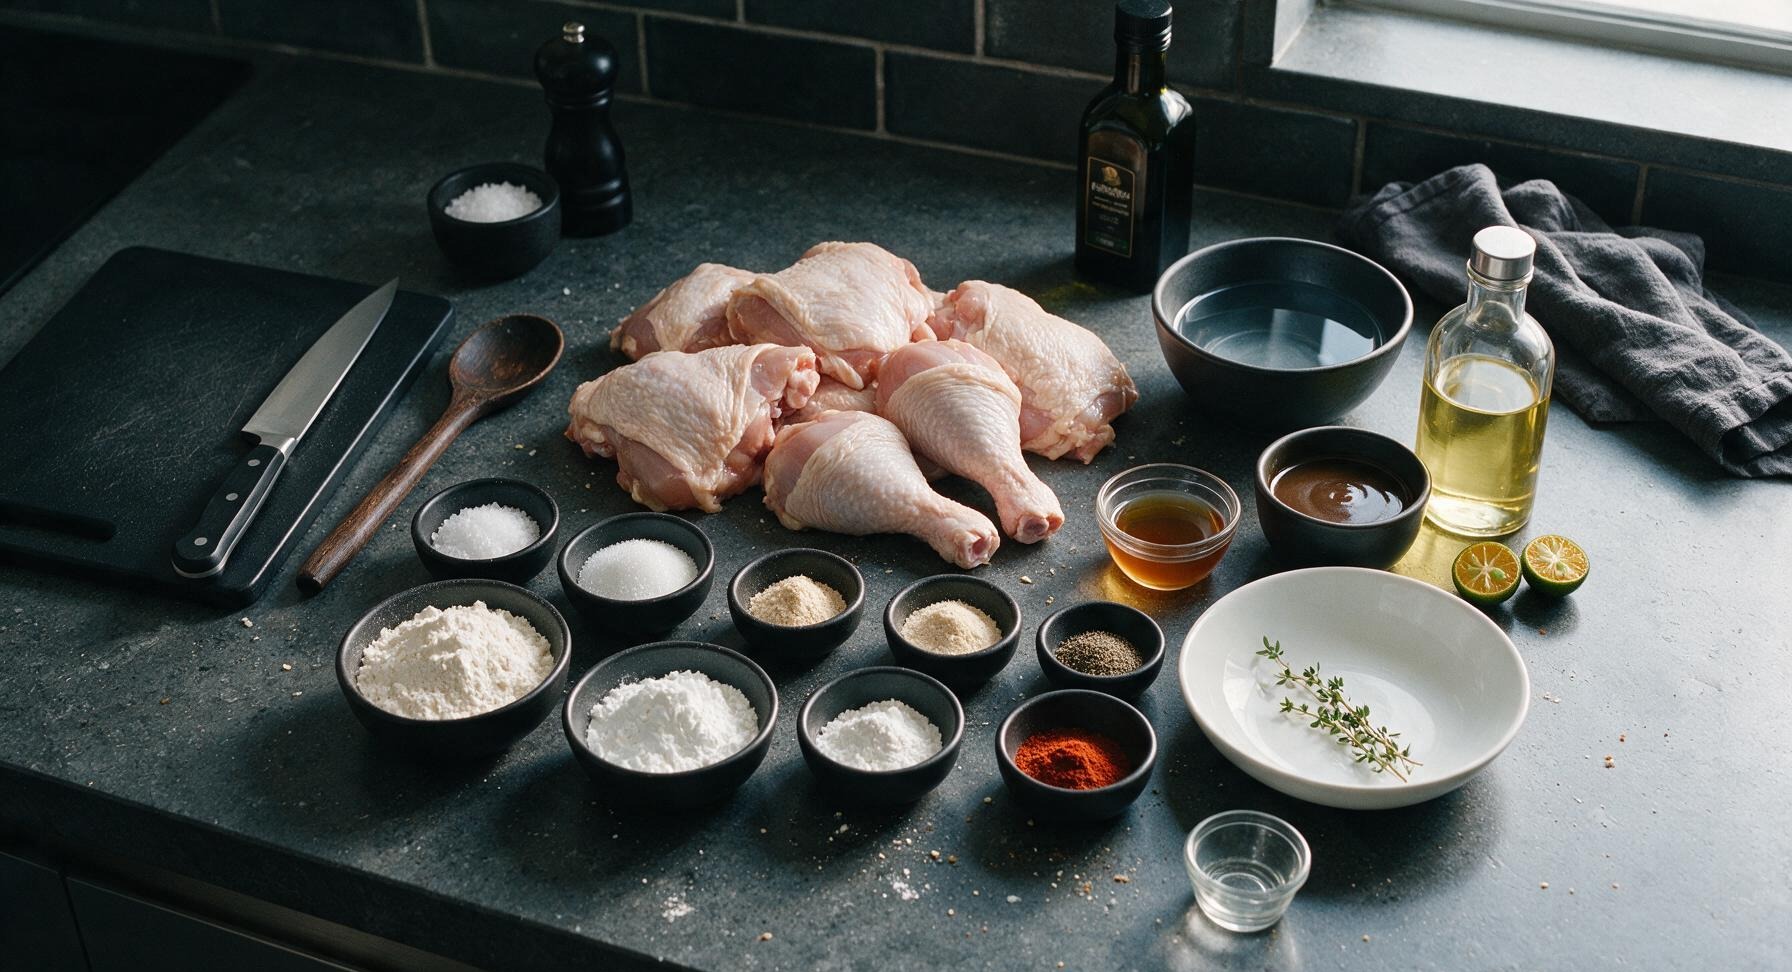
Bone-in, skin-on chicken (mix of thighs and drumsticks) 1.2kg
Cold water 4 cups
Kosher salt 3 tbsp
White granulated sugar 2 tbsp
Fish sauce 2 tbsp
Garlic powder 2 tsp
Onion powder 2 tsp
Ground black pepper 1.5 tsp
All-purpose flour 1.5 cups
Cornstarch ½ cup
Baking powder 1 tsp
Sweet paprika ½ tsp
Neutral canola oil 1.5L
Prepared chicken gravy ½ cup
Fresh calamansi 2 pieces

Steps

1

Mix the Chicken Brine

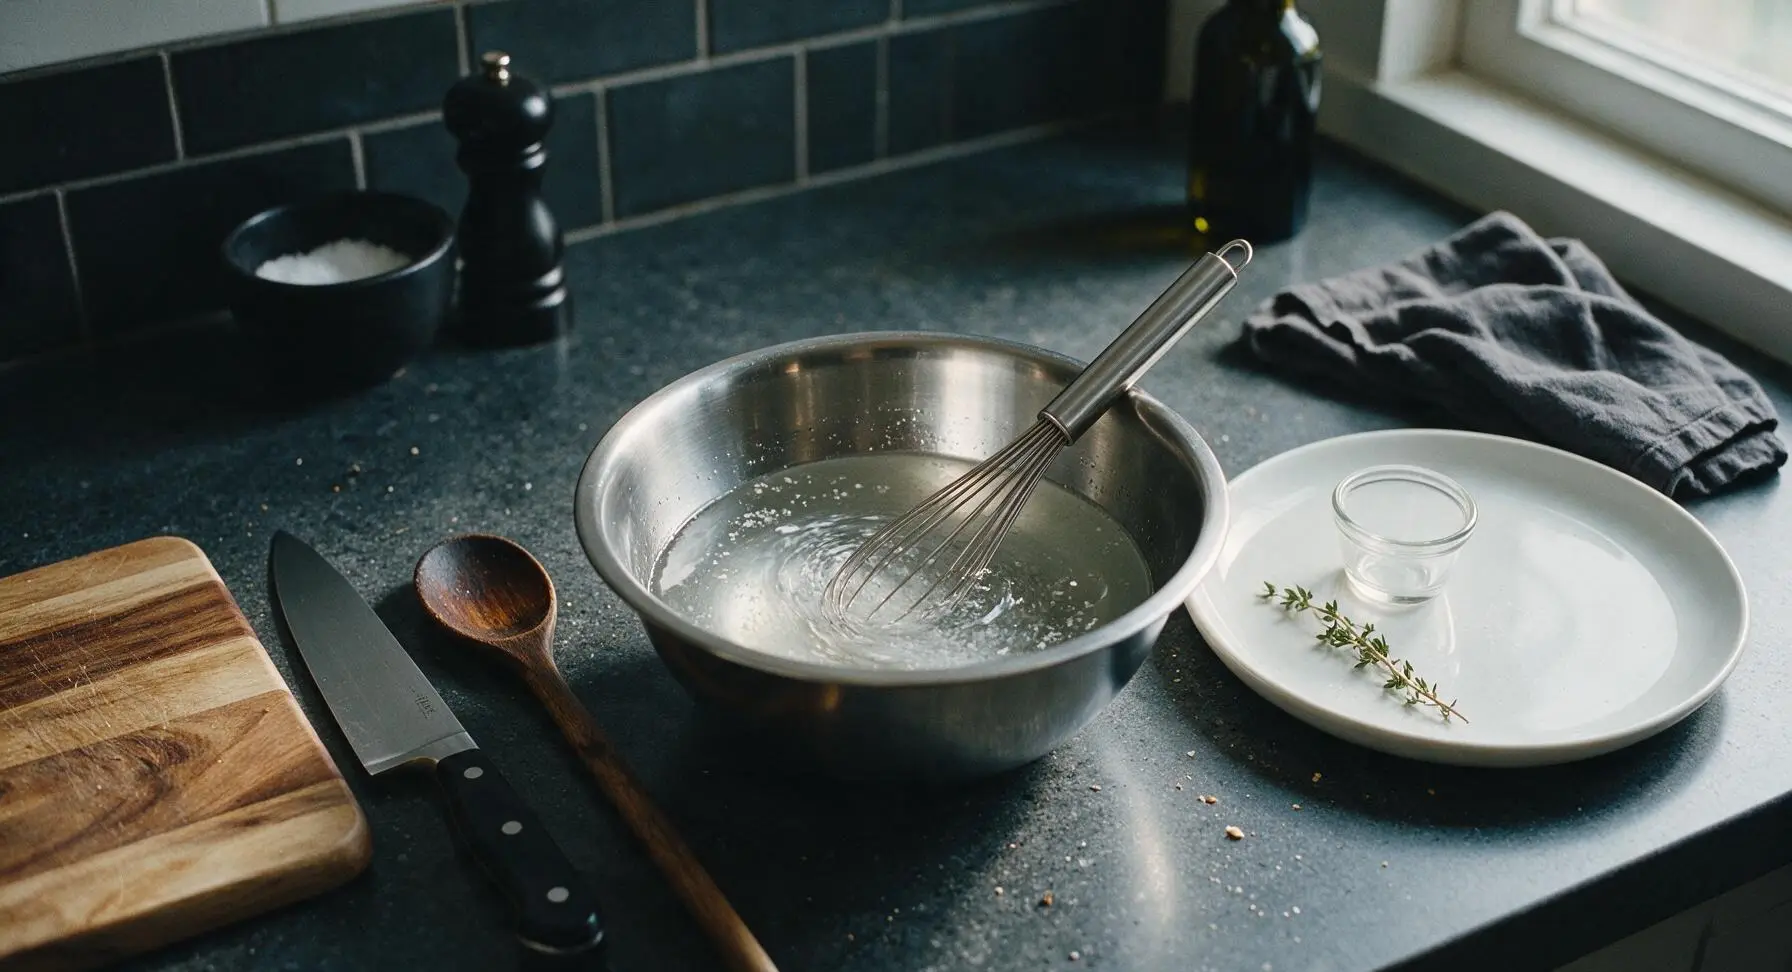
In the polished stainless steel mixing bowl, combine 4 cups cold water, 2 tbsp kosher salt, 2 tbsp white sugar, 2 tbsp fish sauce, 1 tsp garlic powder, 1 tsp onion powder, and ½ tsp ground black pepper. Stir with the stainless steel whisk until salt and sugar fully dissolve, with no visible grains at the bottom of the bowl.
Step 1
step1:Mix the Chicken Brine
2

Submerge Chicken in Brine

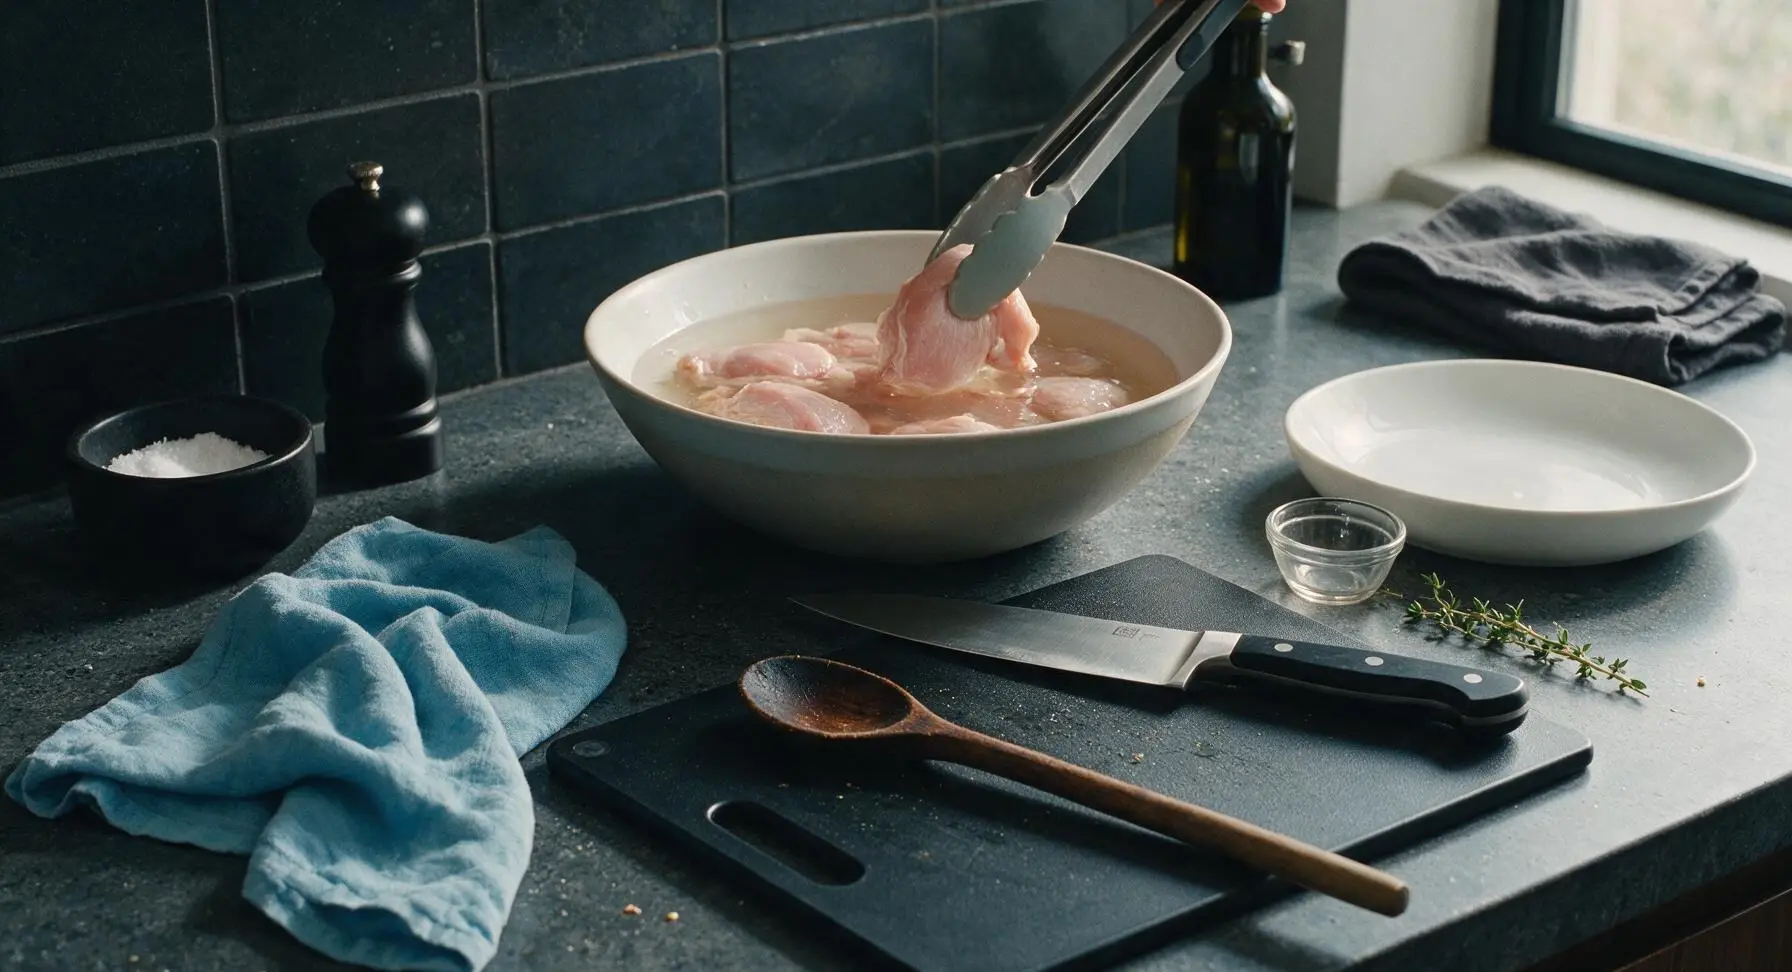
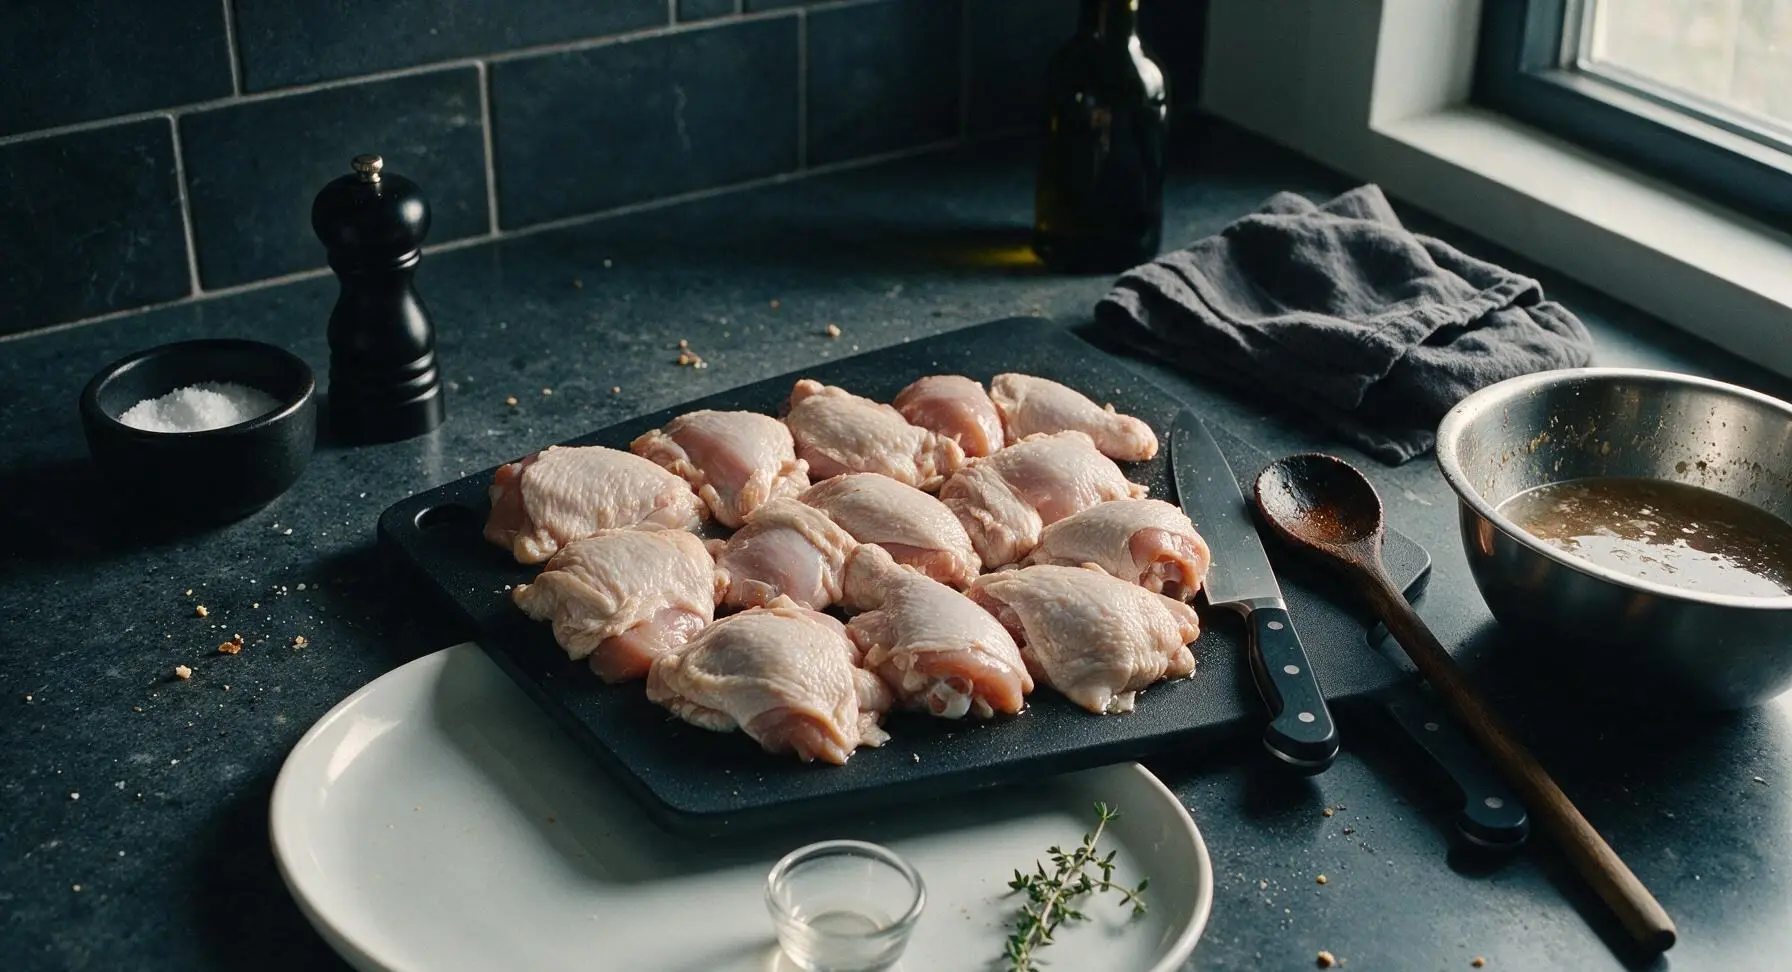
Pat the chicken pieces dry with the sky blue linen towel, then submerge fully in the brine. Cover the bowl and refrigerate for a minimum of 2 hours (up to 4 hours for maximum juiciness); do not brine longer than 6 hours or the meat will become overly salty. Remove chicken from brine and pat completely dry with paper towels before breading.
Step 2
step2:Submerge Chicken in Brine
Step 2
step2:Submerge Chicken in Brine
3

Combine Breading Ingredients

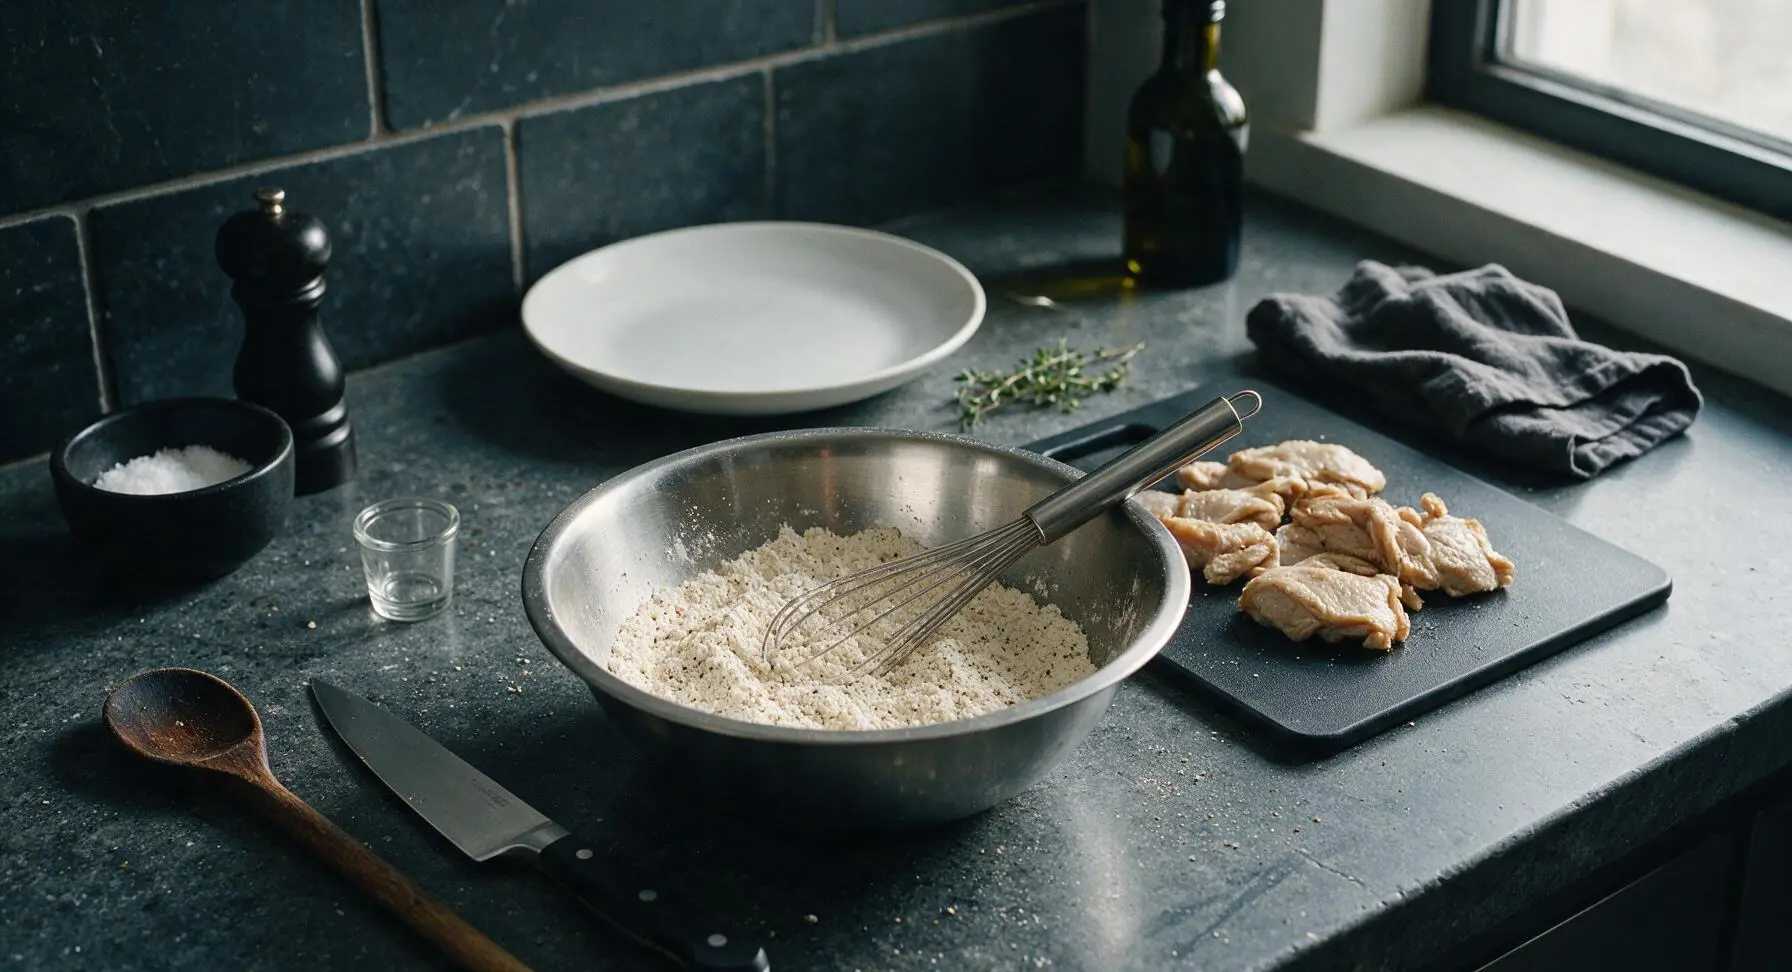
Wipe out the stainless steel mixing bowl, then add 1.5 cups all-purpose flour, ½ cup cornstarch, 1 tsp baking powder, remaining 1 tbsp kosher salt, remaining 1 tsp garlic powder, remaining 1 tsp onion powder, remaining 1 tsp ground black pepper, and ½ tsp sweet paprika. Whisk thoroughly until all ingredients are evenly combined, with no clumps of spice or starch visible.
Step 3
step3:Combine Breading Ingredients
4

Dredge Chicken Evenly

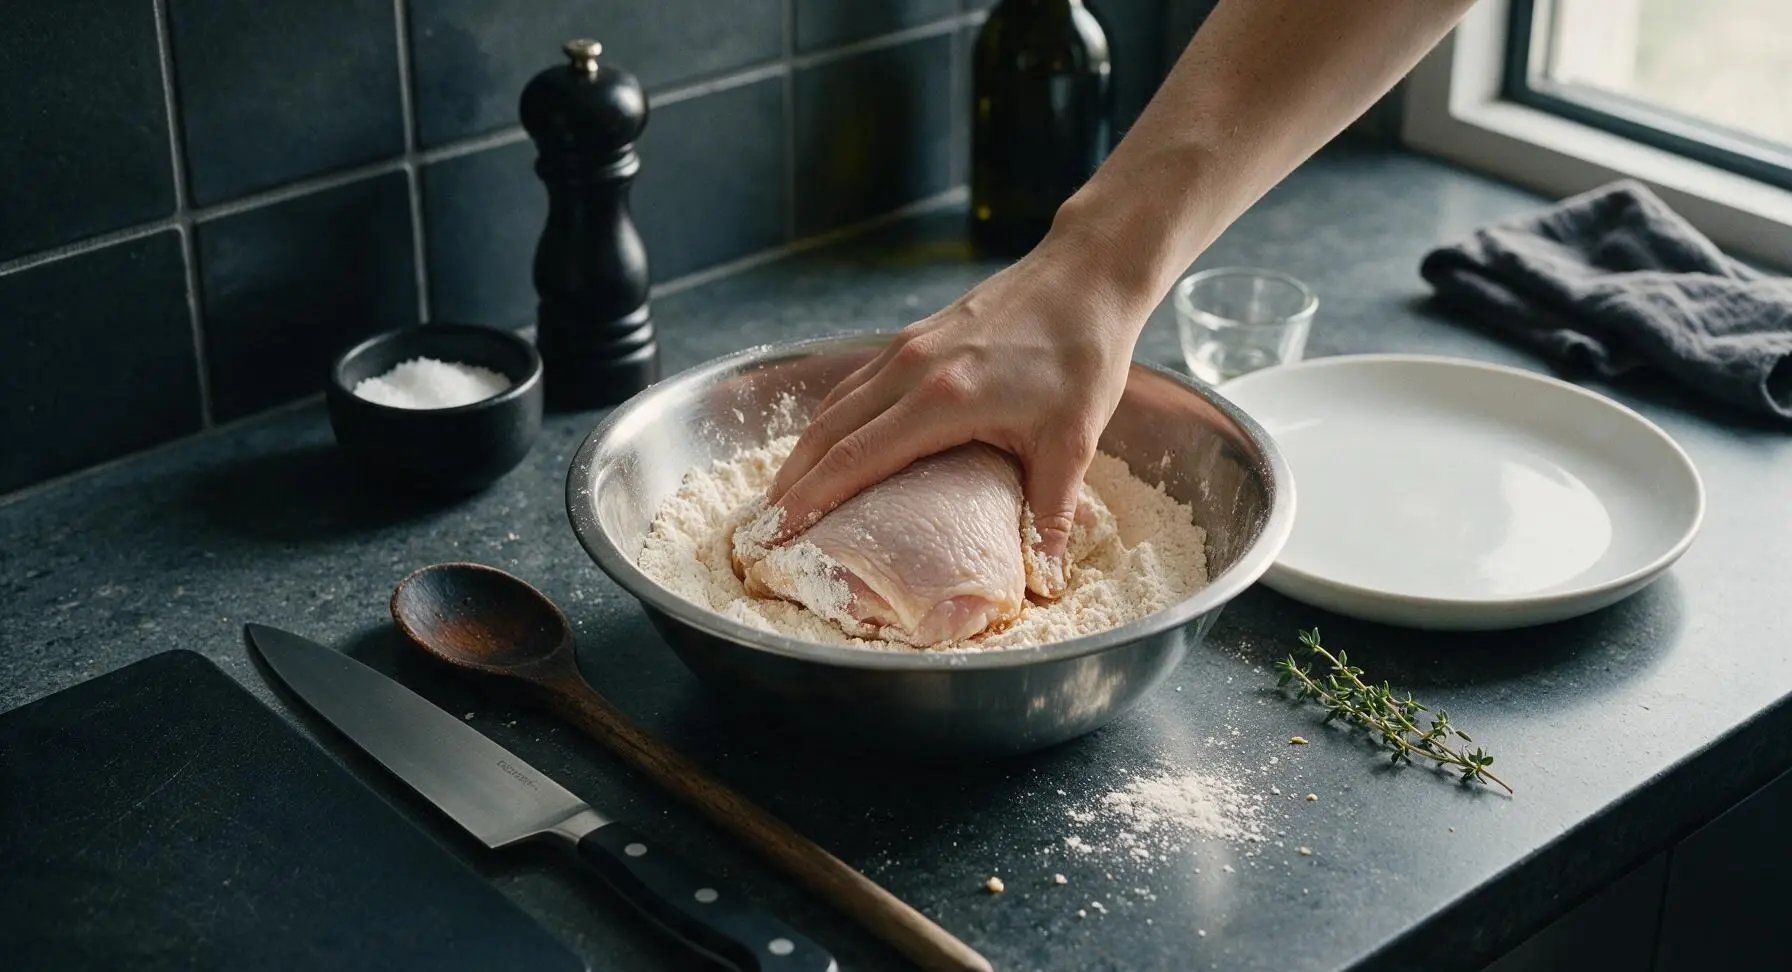
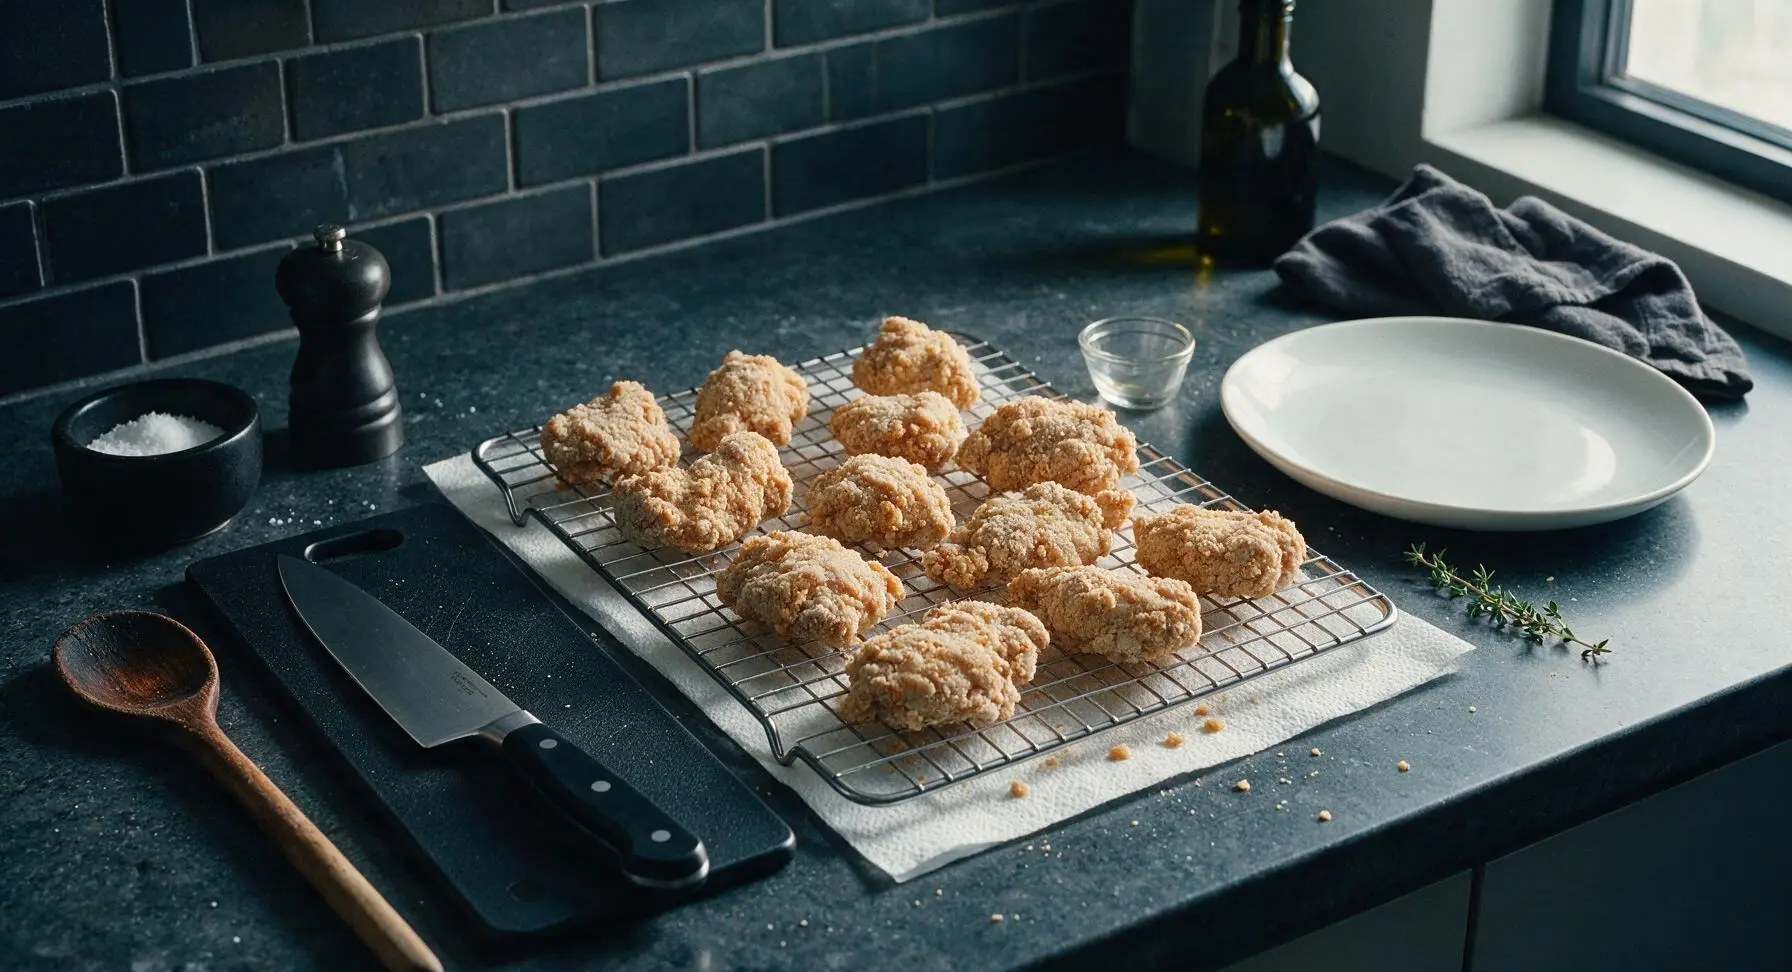
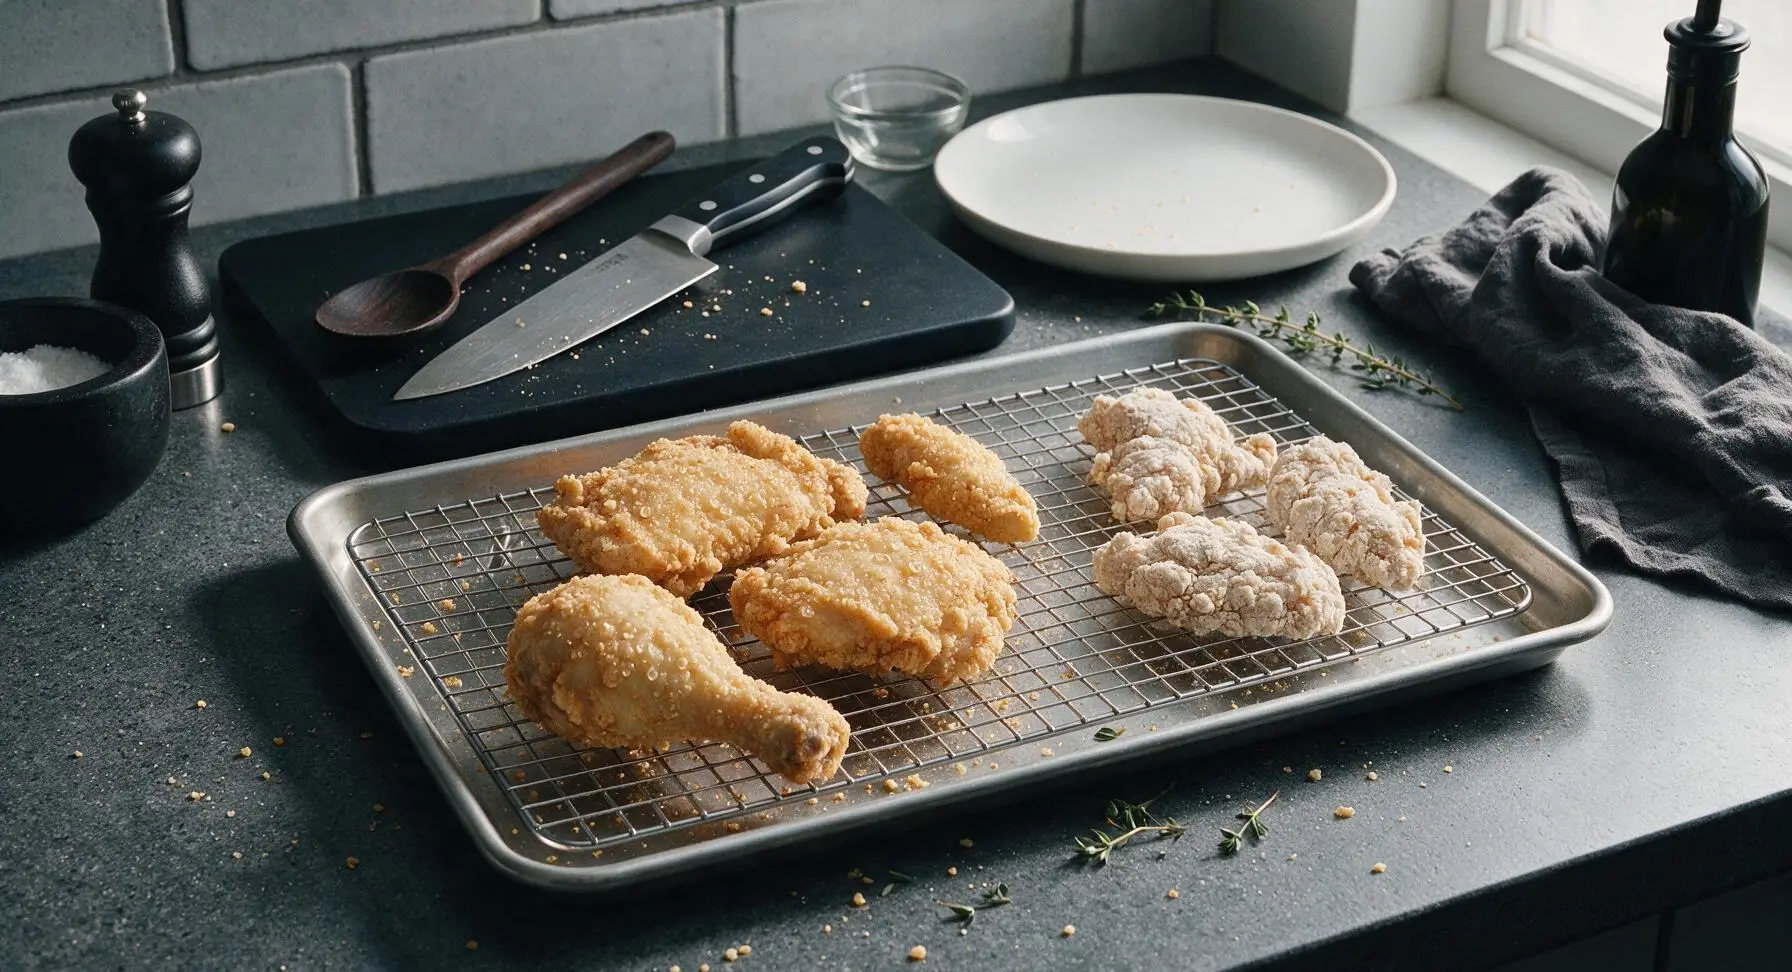
Working one piece at a time, press chicken firmly into the breading mix, making sure to cover every surface including under loose skin flaps. Lift the chicken and shake off excess breading, then set on the chrome wire cooling rack for 10 minutes to allow the coating to set; this creates the iconic craggy, shatter-proof crust. For extra crispness, press a second thin layer of breading onto the chicken after 5 minutes of resting.
Step 4
step4:Dredge Chicken Evenly
Step 4
step4:Dredge Chicken Evenly
5

Heat Oil for Frying

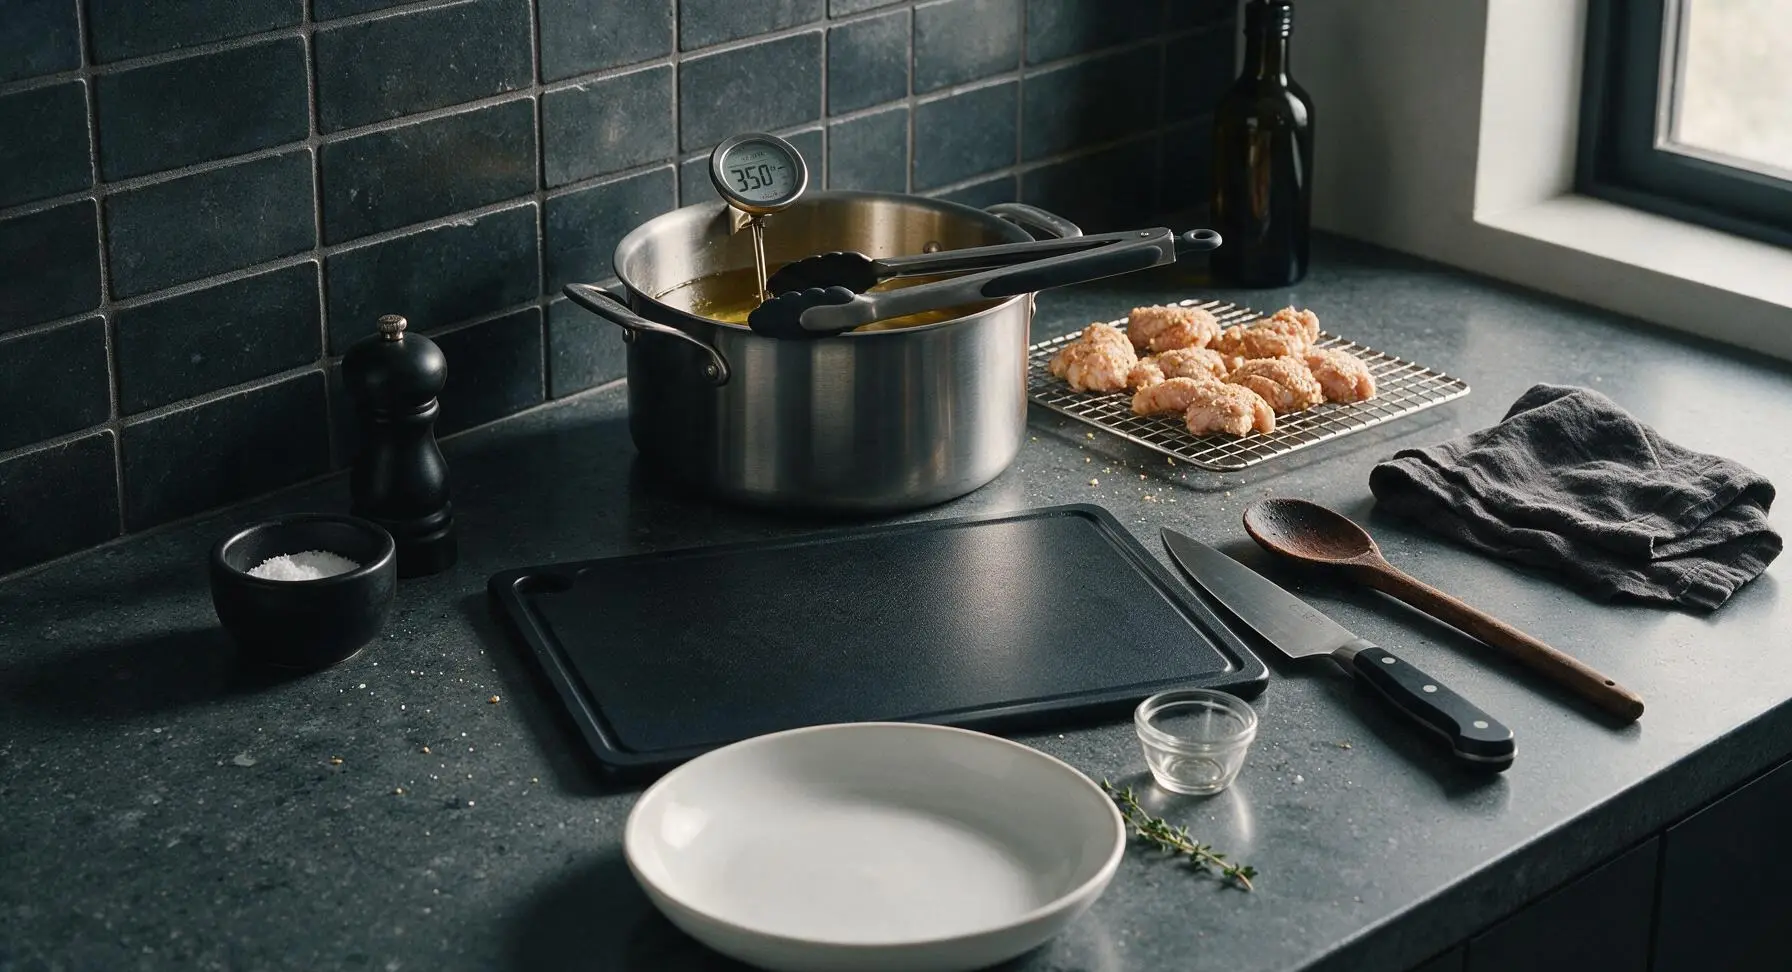
Pour 1.5L neutral canola oil into the brushed stainless steel deep stock pot, moved to center-back counter position. Clip the digital instant-read thermometer to the pot edge, and heat oil over medium-high heat until it reaches a steady 350°F (175°C). Do not let oil exceed 375°F at this stage, as this will burn the breading before the chicken cooks through.
Step 5
step5:Heat Oil for Frying
6

First Fry Chicken Pieces

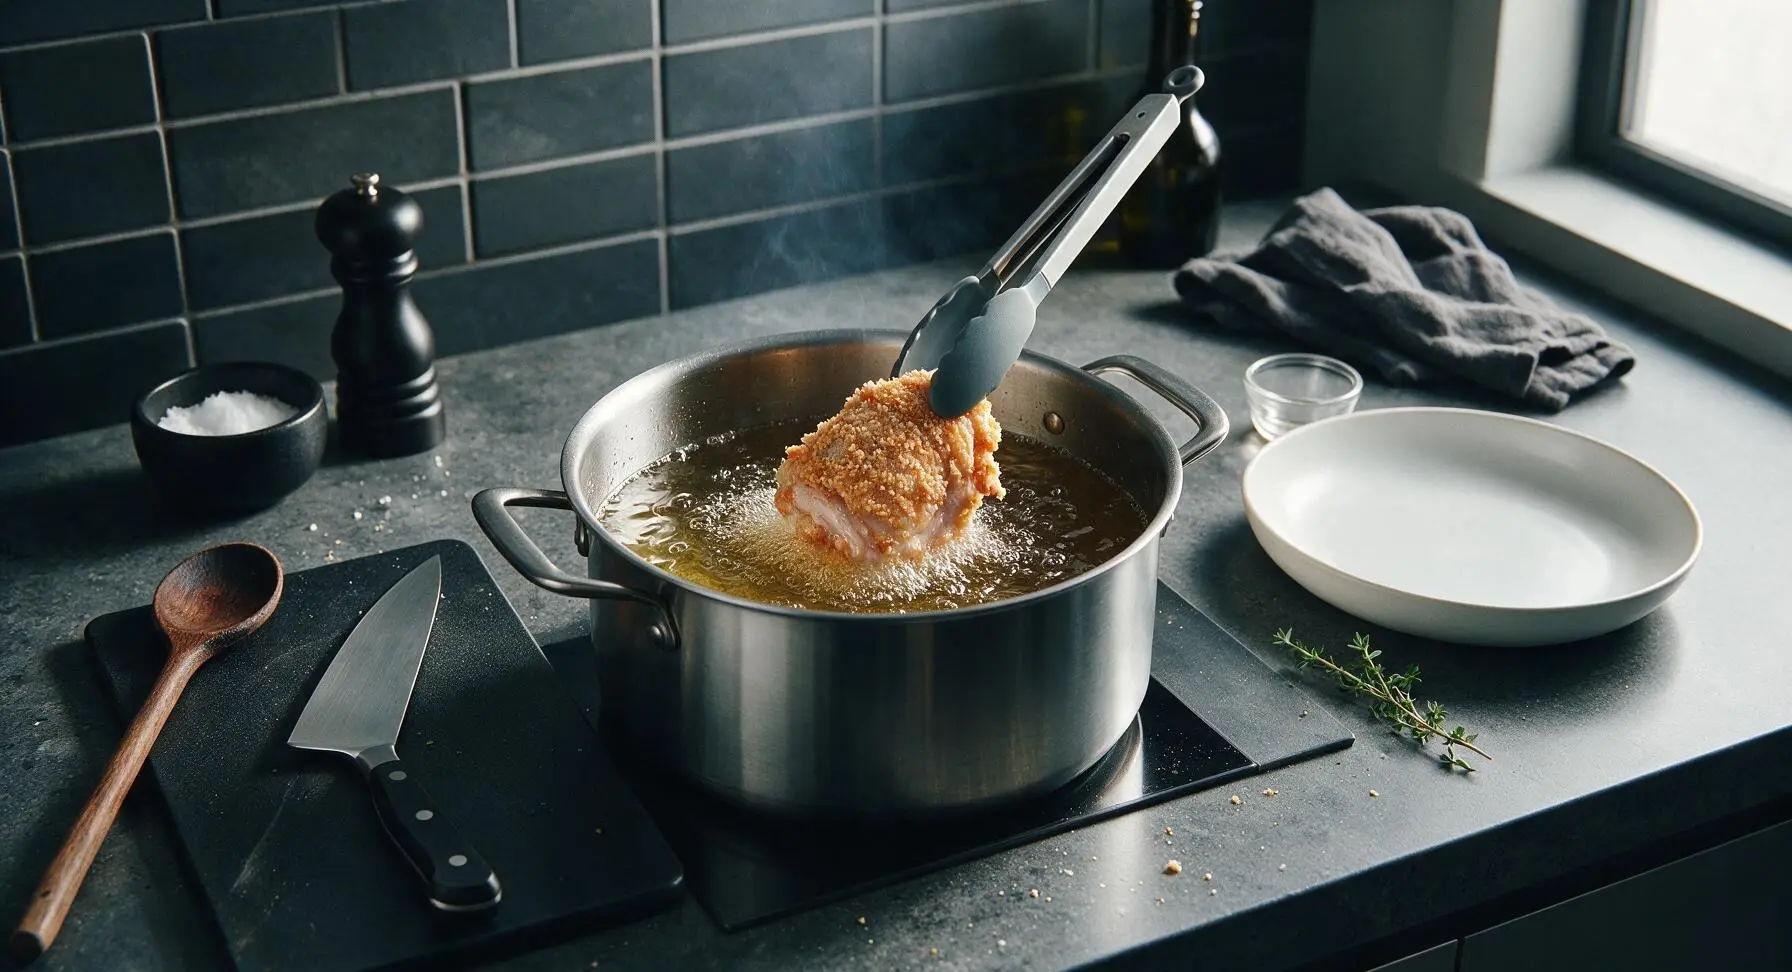
Using the silicone-tipped tongs, carefully lower 2-3 pieces of chicken into the hot oil, skin-side down. Do not overcrowd the pot (fry in 2 batches to maintain consistent oil temperature). Fry for 7 minutes per batch, until the coating is pale golden and firm, and chicken is partially cooked through. Remove from oil and place back on the wire cooling rack to rest for 5 minutes before the second fry.
Step 6
step6:First Fry Chicken Pieces
Step 6
step6:First Fry Chicken Pieces
7

Second Fry for Crispness

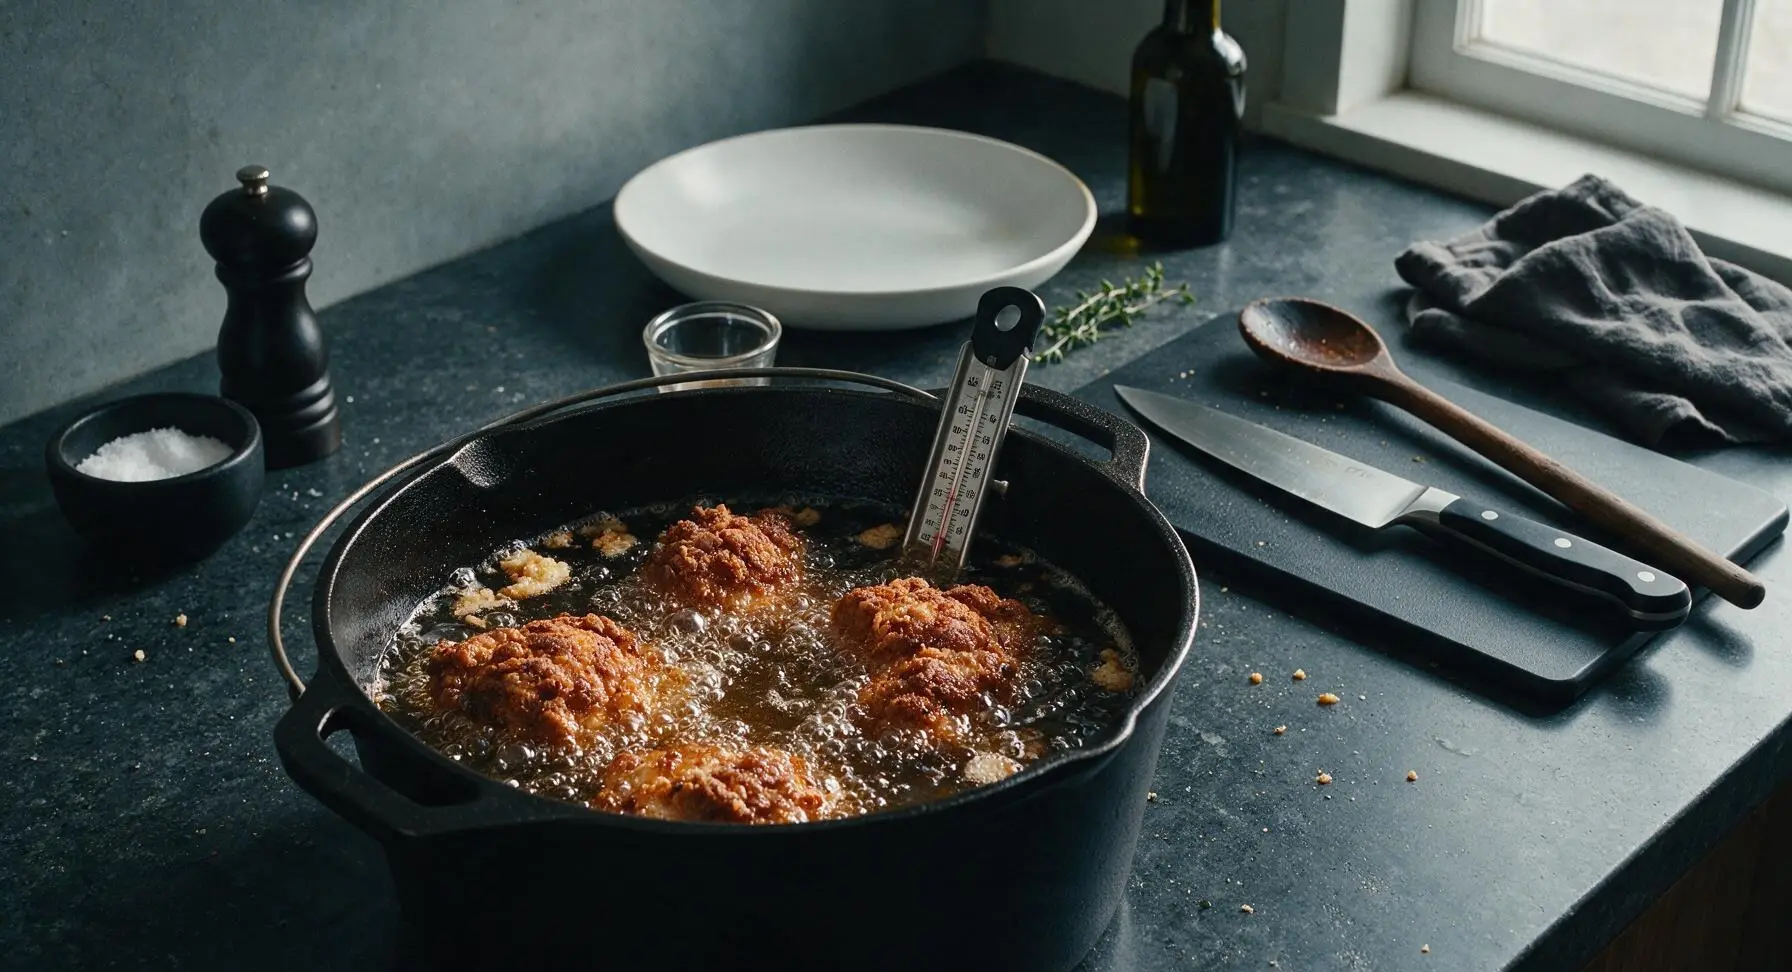
Once all chicken has completed its first fry and 5 minute rest, increase oil temperature to 375°F (190°C). Return all chicken pieces to the hot oil in batches, and fry for a final 3-4 minutes, until the crust is deep golden brown, craggy, and shatteringly crisp. Verify internal temperature at the thickest part of the thigh: it should read 165°F (74°C) for safe consumption.
Step 7
step7:Second Fry for Crispness
8

Drain and Rest Chicken

Use tongs to lift finished chicken from the oil, holding each piece over the pot for 2 seconds to let excess oil drip off. Place chicken back on the wire cooling rack (lined with fresh paper towel) to drain for 3 minutes; do not place directly on a solid plate immediately, as trapped steam will make the crust soggy. Lightly season with a pinch of fine salt while the crust is still hot.
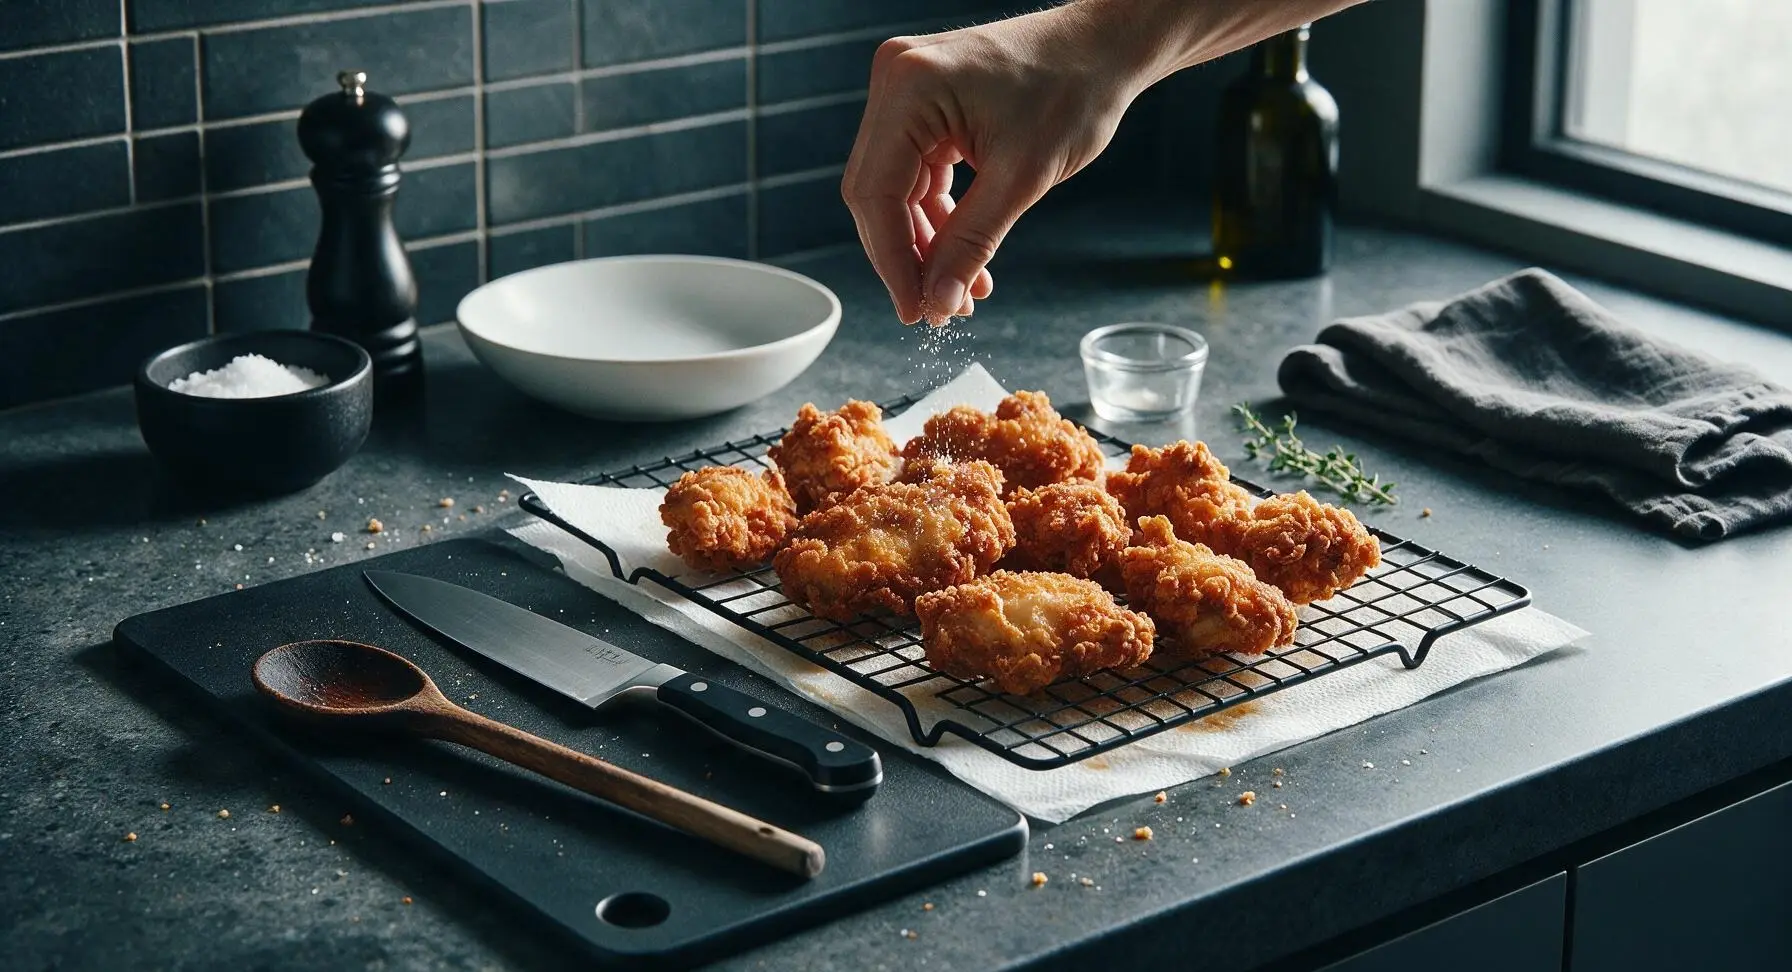
Step 8
step8:Drain and Rest Chicken
9

Plate and Serve Hot

Arrange the drained fried chicken on the cream white speckled dinner plate, placing one halved calamansi on the plate edge for squeezing over the chicken. Fill the matching small dip bowl with warm chicken gravy, and serve immediately while the crust is crisp and the meat is hot and juicy.
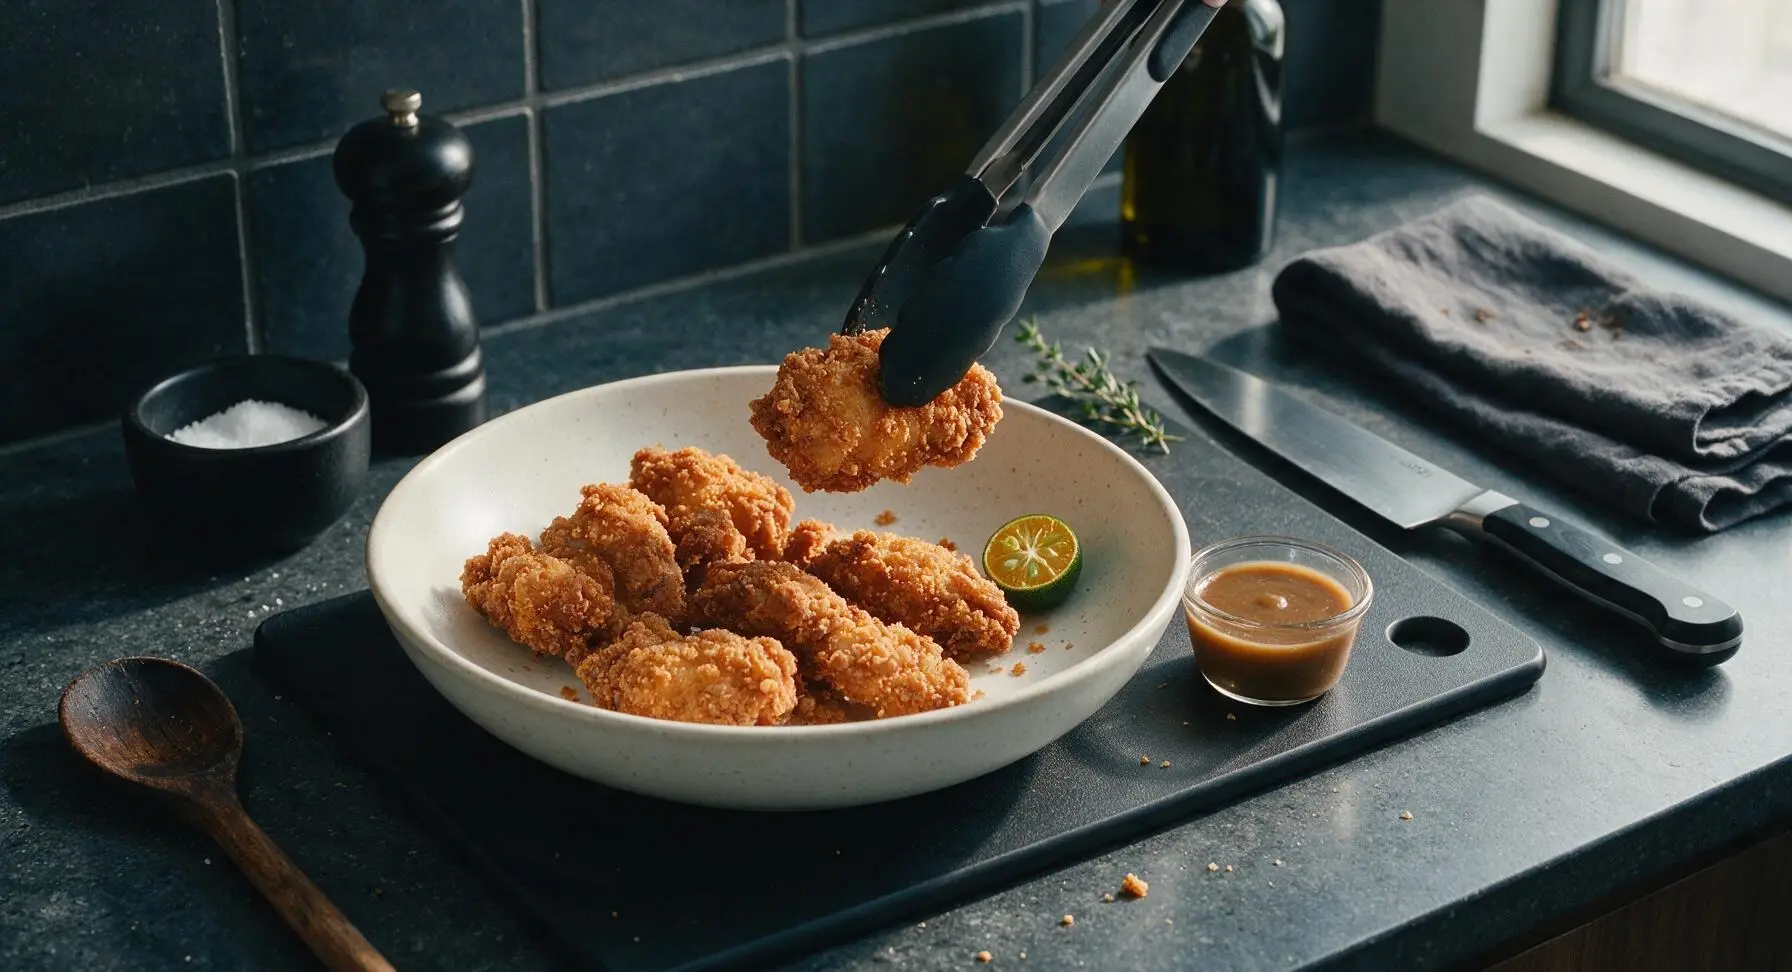
Step 9
step9:Plate and Serve Hot

Tips

1.Pat chicken completely dry after brining before breading: any remaining surface moisture will cause the breading to slide off during frying and prevent a shatteringly crisp crust, as excess water creates steam that softens the coating.
2.Do not skip the 10-minute rest after breading and the 5-minute rest between the first and second fry: resting allows the flour coating to hydrate and adhere tightly to the chicken skin, so it won’t separate or fall off while eating, matching Jollibee’s signature clingy, crisp crust.
3.Always use a thermometer to monitor oil temperature: if oil is too cool, the chicken will absorb excess oil and turn greasy; if too hot, the breading will burn before the thickest part of the chicken reaches the safe 165°F internal temperature.


✨ You May Also Like

Main Course
🍜 United Kingdom

A showstopping classic of tender seared beef, savory mushroom duxelles, and crisp prosciutto wrapped in flaky golden puff pastry, baked to juicy perfection.

⏱️ 2 hours 1Main Course ★ 4.7
Main Course
🍜 India

Tender charred marinated chicken simmered in a rich, spiced creamy tomato sauce, this iconic Anglo-Indian curry pairs perfectly with basmati rice or warm naan.

⏱️ 50 minuteMain Course ★ 4.6
Main Course
🍜 Thailand

Classic tangy, sweet, and savory Thai stir-fried rice noodles with shrimp, tofu, and crunchy garnishes, balancing all five core Thai flavor profiles.

⏱️ 30 minuteMain Course ★ 4.5
Main Course
🍜 United Kingdom

Crispy golden beer-battered cod and fluffy double-fried chips, served with tangy tartar sauce and malt vinegar: the timeless, beloved British pub comfort classic.

⏱️ 45 minuteMain Course ★ 4.7
Main Course
🍜 Mexico

Smoky, chile-marinated pork tacos with caramelized pineapple, fresh cilantro, and lime: a beloved classic Mexican street food perfect for casual summer gatherings.

⏱️ 1 hour 45Main Course ★ 4.8
Main Course
🍜 United States

Crunchy Fritos corn chips layered with savory beef chili and melted cheddar, topped with cool, zesty fixings for a beloved, cozy Tex-Mex comfort food.

⏱️ 35 minuteMain Course ★ 4.8

jollibee fried chicken:Frequently Asked Questions

1.Why does this recipe call for bone-in, skin-on chicken thighs and drumsticks instead of boneless cuts? ▾
Bone-in, skin-on thighs and drumsticks are non-negotiable for that authentic Chickenjoy bite! The bone insulates meat as it fries, locking in juiciness and adding deep, savory flavor, while the skin renders to create the perfect base for that shatteringly crisp craggy crust. Boneless cuts dry out far faster and won’t match the iconic texture you’re craving.
2.What purpose does the simple brine of cold water, kosher salt, sugar, and fish sauce serve? ▾
That straightforward brine is the secret to well-seasoned, juicy meat all the way to the bone, not just flavor on the crust! Cold water lets kosher salt and white granulated sugar penetrate evenly without making outer meat mushy, while fish sauce adds that signature umami depth without a noticeable fishy taste. Brine 4–6 hours for best results; brining over 12 hours will make chicken too salty.
3.Why is cold brine specified instead of room temperature or warm brine? ▾
Cold brine serves two key purposes: first, it keeps chicken at a food-safe temperature below 40°F the entire brining time, preventing risky bacteria growth. Second, it firms up chicken skin slightly, which helps breading adhere better and fry up extra crisp instead of sliding off mid-cook. Warm brine unevenly cooks the outer meat layer and leads to a soggier crust.
4.How do I get that signature craggy, shatteringly crisp crust instead of a smooth, hard fried chicken shell? ▾
After brining, pat chicken completely dry, then dip in a thin batter of cold water and seasoned flour, followed by a second toss in dry flour, pressing firmly to create small, craggy clumps. Let coated chicken rest 15 minutes before frying so the breading sets; this stops coating from falling off and creates that iconic crunchy, uneven crust.
5.Can I substitute the fish sauce in the brine if I don’t keep it in my pantry? ▾
Fish sauce adds that specific umami savoriness that makes Chickenjoy taste distinct, but if you don’t have it, swap it 1:1 for low-sodium soy sauce plus a tiny pinch of MSG (if you use it) to match that depth. Skip heavier swaps like oyster sauce, which adds an overly sweet, briny flavor that throws off the brine’s balanced profile.
6.What oil temperature gives me crispy chicken without undercooked meat or burnt crust? ▾
Keep your frying oil held steady at 350°F for the entire cook time, using a clip-on candy thermometer to monitor it closely. If oil is too hot, crust burns before meat near the bone cooks through; if too cool, breading soaks up excess oil and turns soggy and greasy instead of light and crisp. Cook thighs and drumsticks 12–14 minutes total.
7.Do I need a dedicated deep fryer to make this, or can I use a regular stovetop pot? ▾
You absolutely don’t need a dedicated deep fryer for great Chickenjoy! A heavy-bottomed Dutch oven or deep stockpot works perfectly, as long as you fill it no more than halfway with oil to prevent dangerous bubbling over when adding chicken. Grab a reliable thermometer to track oil temp, and use a wire rack over a baking sheet to drain chicken instead of paper towels.
8.Why do you recommend draining fried chicken on a wire rack instead of paper towels? ▾
Draining hot fried chicken directly on paper towels traps steam against the crust, which turns that perfect shatteringly crisp coating soft and soggy in just a couple of minutes. A wire rack lets air circulate all around the chicken as it rests, keeping crust crisp while excess oil drips away. Let chicken rest 5 minutes before serving so juices redistribute in the meat, too.
9.How do I confirm the chicken is fully cooked without overcooking it to dry, tough meat? ▾
The most reliable method is to use an instant-read meat thermometer, stuck into the thickest part of the thigh or drumstick without touching bone. Aim for 165°F right when you pull it from the oil; the temperature will rise 3–5 degrees as it rests. Cutting into chicken to check doneness lets all those precious juices run out, leading to dry, less flavorful meat.
10.Can I brine the chicken longer than 6 hours for extra flavor, or will that ruin it? ▾
I don’t recommend brining this chicken for longer than 8 hours max, even for meal prep. The kosher salt and fish sauce in the brine will break down meat proteins too much over longer brine times, leading to mushy, overly salty meat instead of juicy, well-seasoned bites. If prepping ahead, brine 4 hours, pat chicken dry, and store covered in the fridge for up to 24 hours before frying.
11.What’s the best way to reheat leftover Chickenjoy so the crust stays crisp instead of soggy? ▾
Skip the microwave, which turns crust rubbery and makes meat soggy. For best results, arrange leftover chicken on a wire rack set over a baking sheet, and reheat in a 375°F oven for 10–12 minutes, until crust is crisp again and internal temp hits 145°F. If short on time, an air fryer set to 360°F for 6–8 minutes works great too; just flip chicken halfway through.

Comments (12)

2 hours ago

OMGGGG I’ve been craving Chickenjoy ever since the closest Jollibee to me closed last year and this recipe is SPOT ON. The crunch is insane, that little hint of umami in the breading is exactly what I remembered! Made this for my roommates last night and we all ate way too much. 10/10 no notes.

yesterday

Game changer for weeknight family dinners! My 7 and 9 year old are super picky and they both asked for seconds, which never happens — my kids loved it so much they begged me to make it again this weekend. Cook time was exactly 20 minutes like the recipe said, super doable even after a long work day. Will be adding this to our regular rotation for sure.

3 days ago

Brought a big batch of this to our neighborhood potluck last weekend and people were hovering over the platter asking for the recipe before I even set it down! The crunch held up way better than regular fried chicken even after sitting out for an hour. SO good, I felt like a total rockstar.

1 week ago

Made this in my tiny dorm kitchen with a cheap deep fryer I got off Facebook Marketplace and it turned out way better than I expected! Way cheaper than ordering takeout, I meal prepped a bunch of pieces to eat throughout the week and they even crisp back up great in the air fryer. Only note is I added a little extra paprika because I like a tiny kick.

5 minutes ago

Wait, I tried this last night and my breading kept sliding off the chicken! Did I do something wrong? I followed the recipe exactly but all the coating came off when I put it in the oil. Flavor was still good but I missed that super crispy crunch everyone is talking about 😭

just now

Hi Amy! So sorry the breading slid off on your first try! The most common fix for this is making sure your chicken is patted totally dry before dipping, and that you let the coated pieces rest for 10-15 minutes before frying so the breading adheres properly. Also, make sure your oil is holding steady at 350F before you add the chicken — too-cold oil can make coating fall off too! Give it another go, I promise that crunch is worth it.

2 days ago

As someone who grew up eating Jollibee in the Philippines before moving to Illinois, I can confirm this is legit! I was skeptical because no copycat ever gets that specific savory crunch right, but this had me tearing up a little it was so close to the real thing. Even my Filipino mom approved, which is the highest possible rating.

yesterday

Omg if your mom approved I have to try this this weekend! I’ve been too intimidated to make fried chicken from scratch but this is the sign I needed. Did you use a deep fryer or a Dutch oven on the stove?

5 days ago

This looks amazing! Does anyone know if this works with a gluten free all purpose flour blend for the breading? My kid has celiac so we can’t do regular wheat flour but he’s been begging to try Jollibee style chicken after seeing his friends talk about it.

3 days ago

Hi Gigi! Great question — several readers have tested this with a 1:1 gluten free all purpose flour blend (the kind with xanthan gum works best) and had fantastic results! Just make sure to follow the same resting step for the breading, and you’ll get that same great crunch. Let us know how it turns out if you give it a try!

2 weeks ago

Made a double batch of this on Sunday for meal prep and it’s been perfect for quick lunches all week! I reheat pieces in the oven at 400F for 10 minutes and the crunch comes right back, no sogginess at all. Way better than the fast food fried chicken I used to grab on my lunch break.

1 week ago

Thanks for the reheating tip! I always struggle with leftover fried chicken getting soggy in the microwave, can’t wait to try the oven trick when I make this this week.

30 minutes ago

How important is the brine step? I’m super short on time tonight and wondering if I can skip it and still get good flavor, or if I should plan ahead to make it this weekend instead.

5 minutes ago

Hi there! The brine is what gives the chicken that signature juicy, well-seasoned flavor all the way through, so we don’t recommend skipping it if you can help it! If you’re short on time, you can cut the brine time down to 1 hour (instead of the recommended 4) and still get great results, it just won’t be quite as juicy. Hope that helps!

1 week ago

OMG I made this for my partner’s birthday dinner last night since he’s obsessed with Jollibee and he said it was better than the actual restaurant! I served it with some garlic rice and adobo on the side and it felt like we were back at the Jollibee we went to on our first date in Manila. 1000/10, will make this for every special occasion from now on.

5 days ago

This makes us so happy to hear, Rosa! Serving it with garlic rice is such a perfect call, that’s exactly how we eat it at our house too. So glad it made the birthday dinner special!

3 days ago

This is such a cute date night idea! I was trying to think of something fun to make for my boyfriend’s birthday next month and this is perfect, he’s been begging me to try making fried chicken forever. Did you use bone-in thighs or drumsticks?

2 days ago

Wait, I saw some copycat recipes say Jollibee uses a secret milk powder in their breading? Does this recipe include that? I’ve tried two other copycat recipes before and they were missing that little something, but all the reviews here look so good I’m tempted to try this one next.

yesterday

I was wondering the same thing! I made this last weekend and didn’t add milk powder but it still tasted exactly like Jollibee to me. I think the combination of garlic powder, paprika, and that tiny bit of sugar in the breading hits the exact same note!

yesterday

Great question! We tested this recipe with and without milk powder, and found that the seasoning blend we use hits that exact classic Chickenjoy flavor without it, so you don’t need to track down any special ingredients. If you love that extra milky note though, you can absolutely add 2 tbsp of powdered milk to the flour mix for an extra boost!

yesterday

Tried making this today for our Sunday family dinner and it was a home run! I usually grill all our meats so I was nervous about frying on the stove, but the instructions were super easy to follow. My teen said it’s better than KFC, which is the highest praise possible from a 16 year old, lmao. Only thing I messed up was I didn’t have enough oil in my Dutch oven so I had to flip the pieces more often, but they still came out crispy.

yesterday

This gives me so much hope! I’ve never fried chicken on the stove before because I’m scared of splattering oil, do you have any tips for keeping the mess down?

2 hours ago

Oh man, I was worried about splatters too! I got one of those cheap splatter screens from the dollar store and it caught 99% of the oil mess, total game changer. Also don’t drop the chicken in from high up, lower it in slowly with tongs and way less oil jumps out!



