
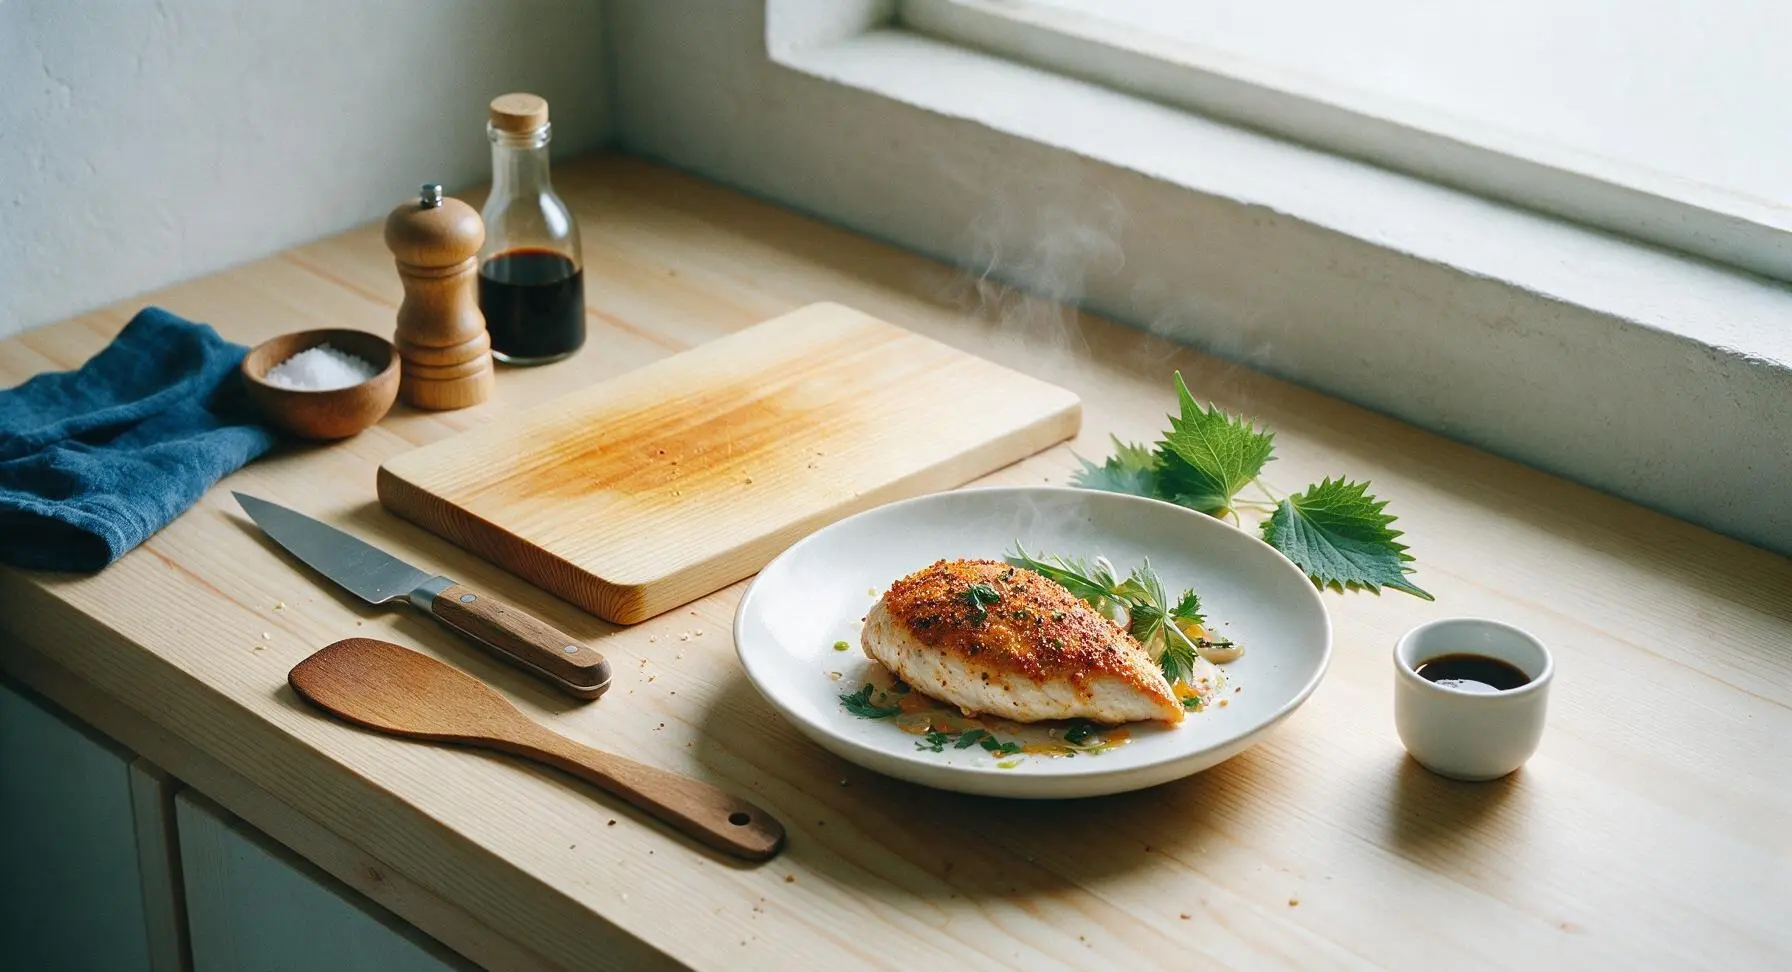
juicy chicken breast in air fryer

title 1
juicy chicken breast in air fryer
⏱️ cook time 12 minutes
🍽️ servings 4
⚡ Difficulty easy

intro

Juicy, tender chicken breast with a crisp golden spiced crust, made fast in the air fryer for a simple, protein-packed meal ready in under 30 minutes.

Ingredients
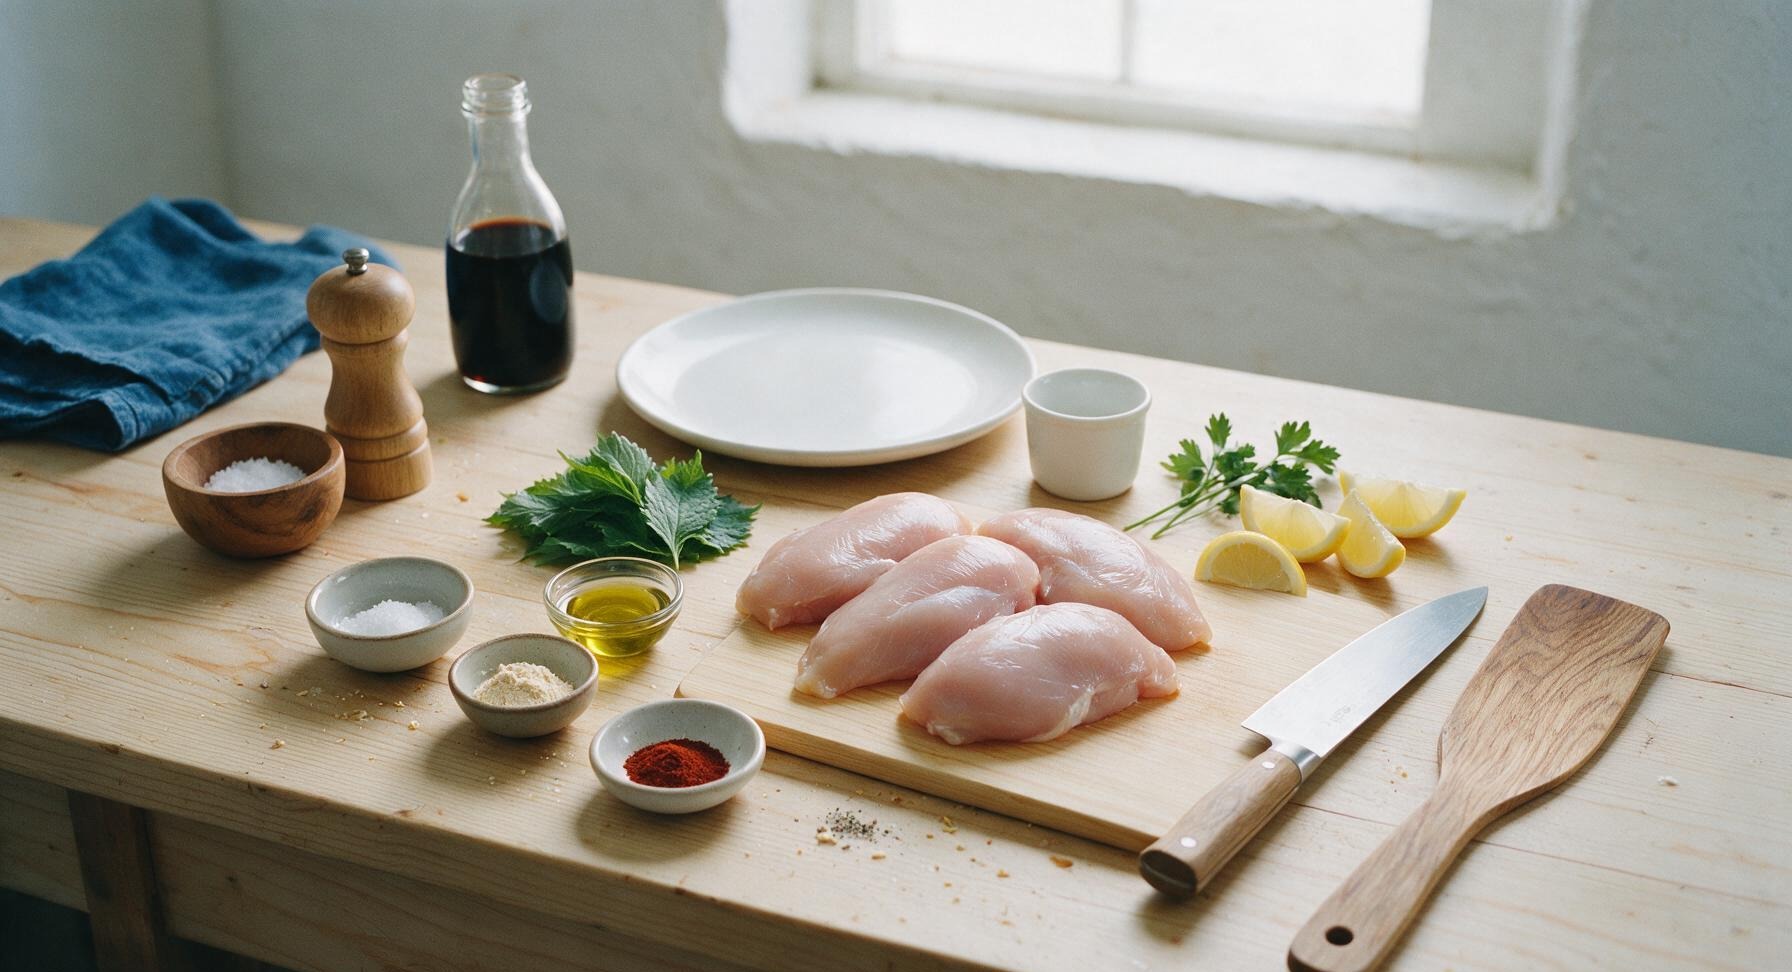
Boneless, skinless chicken breasts 4 (6oz / 170g each, ~680g total)
Extra-virgin olive oil 1 tablespoon
Kosher salt 1 teaspoon
Garlic powder 1 teaspoon
Smoked paprika ½ teaspoon
Freshly ground black pepper ½ teaspoon
Fresh flat-leaf parsley (optional garnish) 2 sprigs
Lemon wedges (optional, for serving) 4

Steps

1

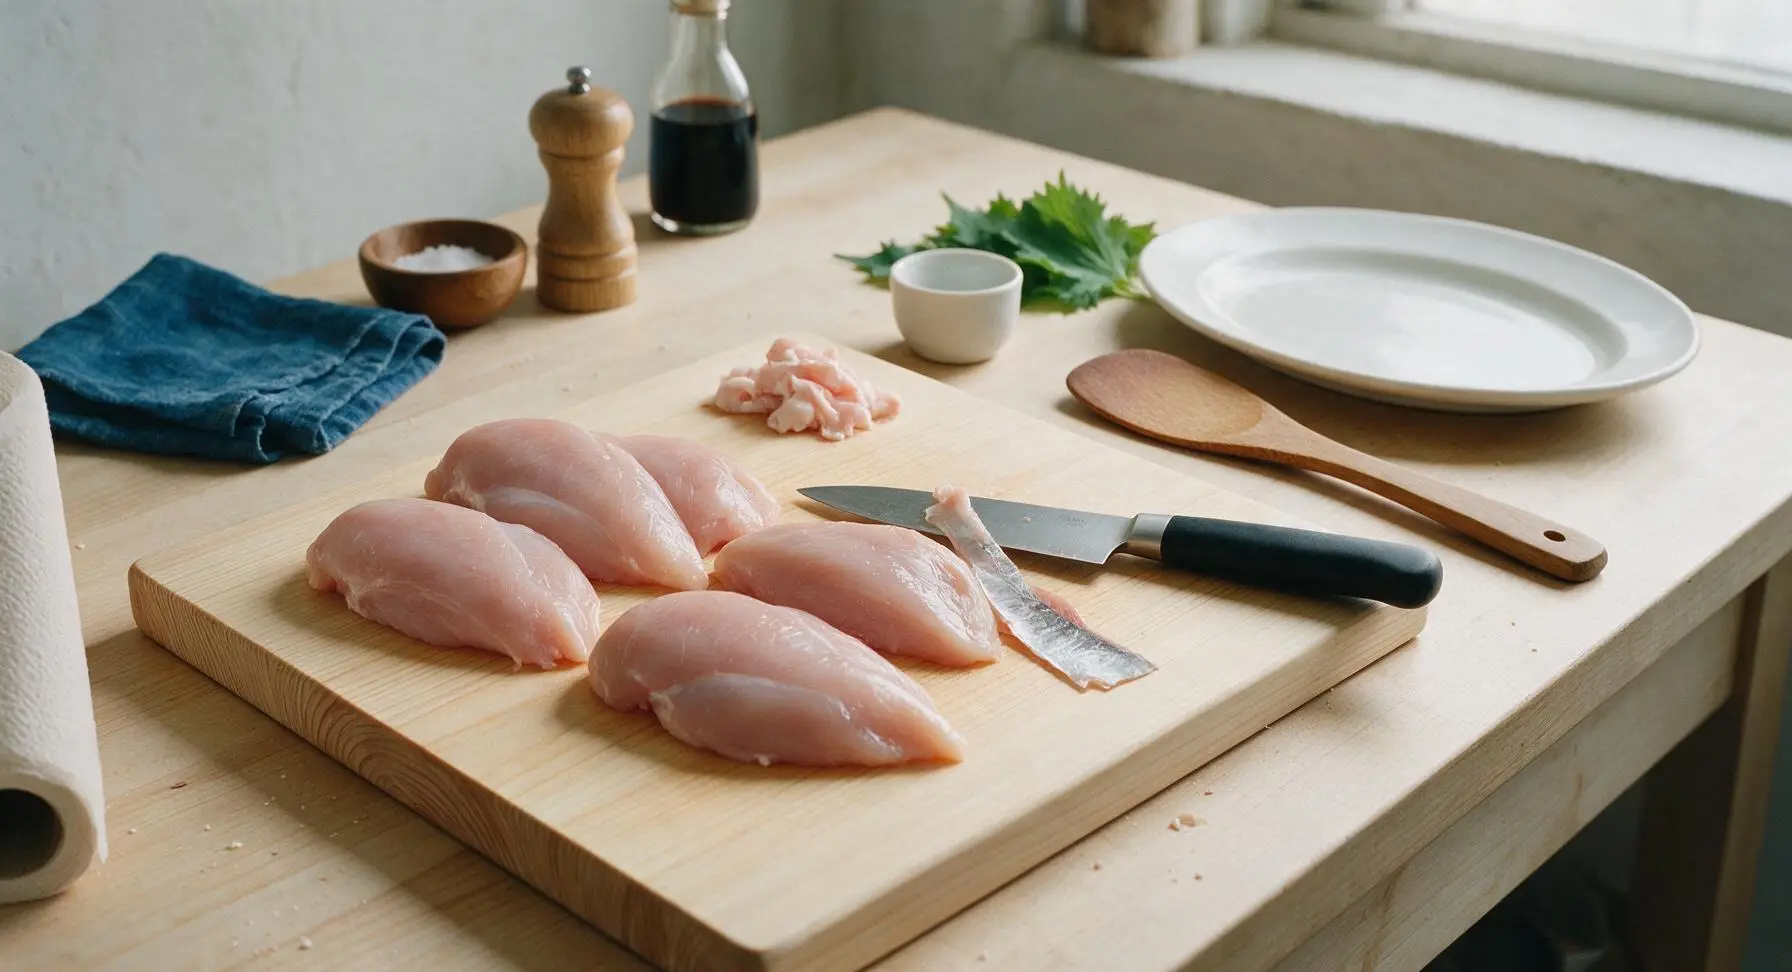
Trim Chicken Breasts

Place the 4 raw chicken breasts on the maple cutting board. Use the chef knife to trim off any excess loose fat, silver skin, or ragged edges from each breast. If any breast is thicker than 1.5 inches at its thickest point, butterfly it slightly by slicing horizontally through the thickest part (do not cut all the way through) and opening it like a book to create an even 1.5-inch thickness across the whole breast for uniform cooking.
Step 1
step1:Trim Chicken Breasts
2

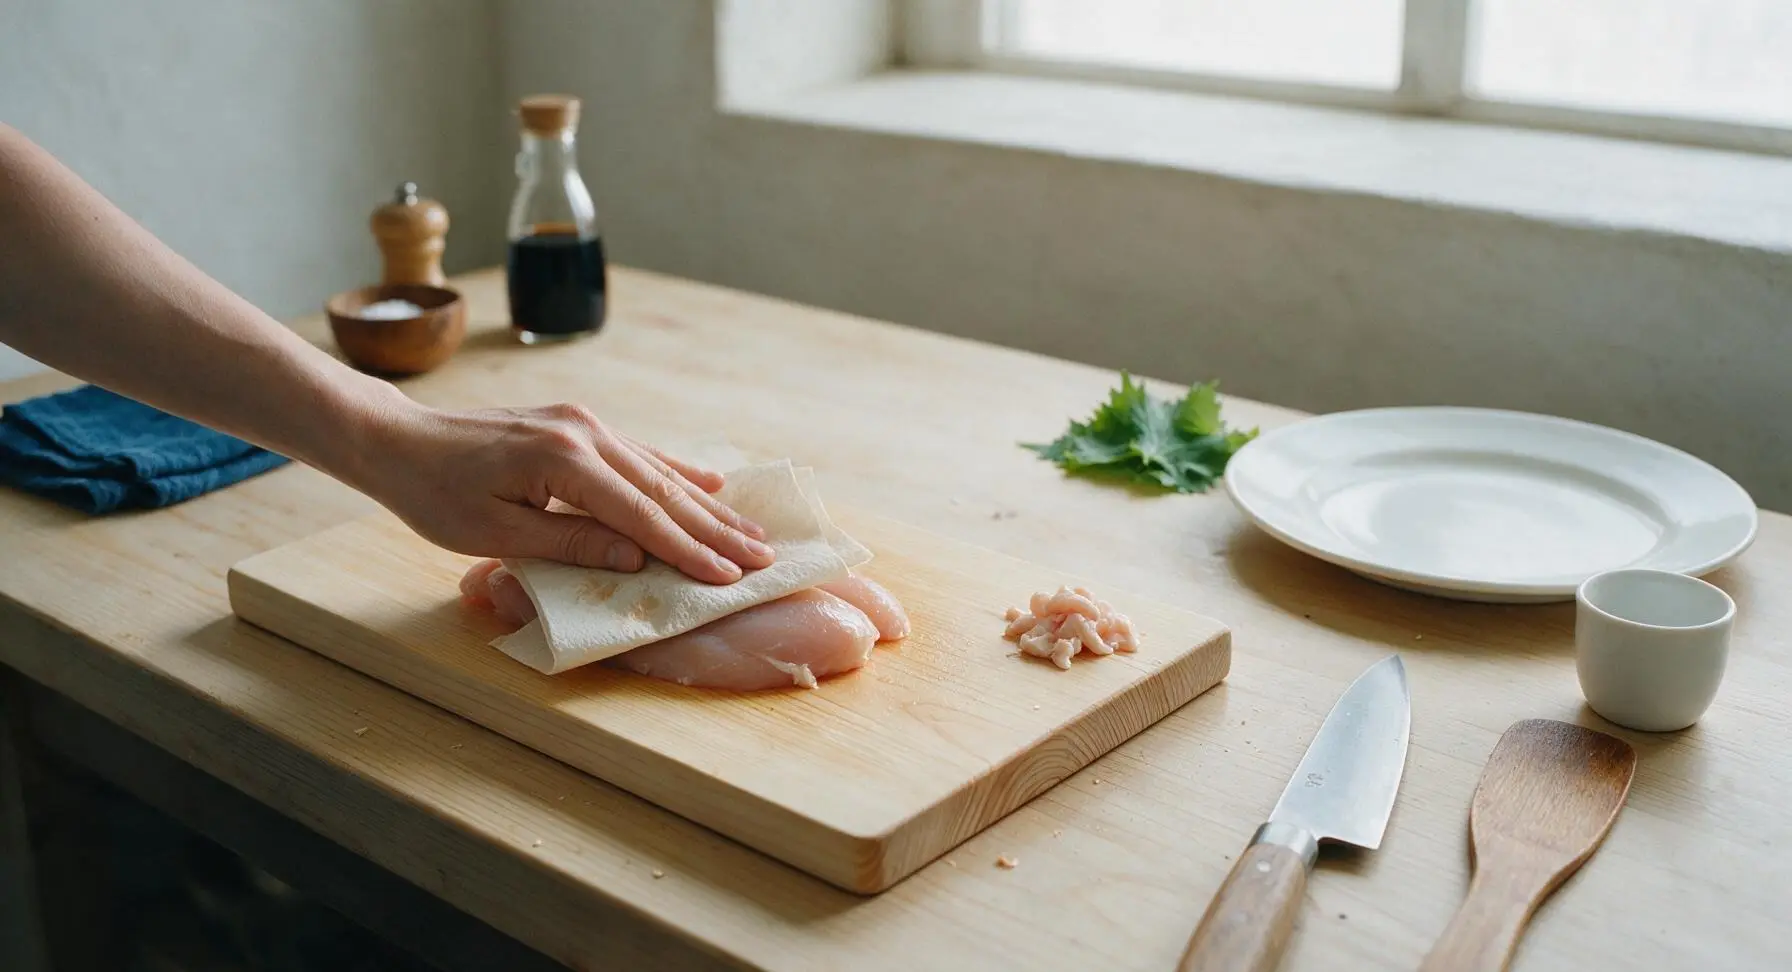
Pat Chicken Dry

Tear off 2 sheets of paper towel from the roll. Firmly pat every surface of each trimmed chicken breast completely dry, removing all visible surface moisture. Discard used damp paper towels off frame; this step is critical to creating a crisp, non-soggy crust in the air fryer.
Step 2
step2:Pat Chicken Dry
3

Mix Dry Seasoning

In the small stainless steel mixing bowl, combine 1 teaspoon kosher salt, 1 teaspoon garlic powder, ½ teaspoon smoked paprika, and ½ teaspoon freshly ground black pepper. Stir with the tip of the chef knife until the spices are evenly blended into a uniform reddish-tan mixture.
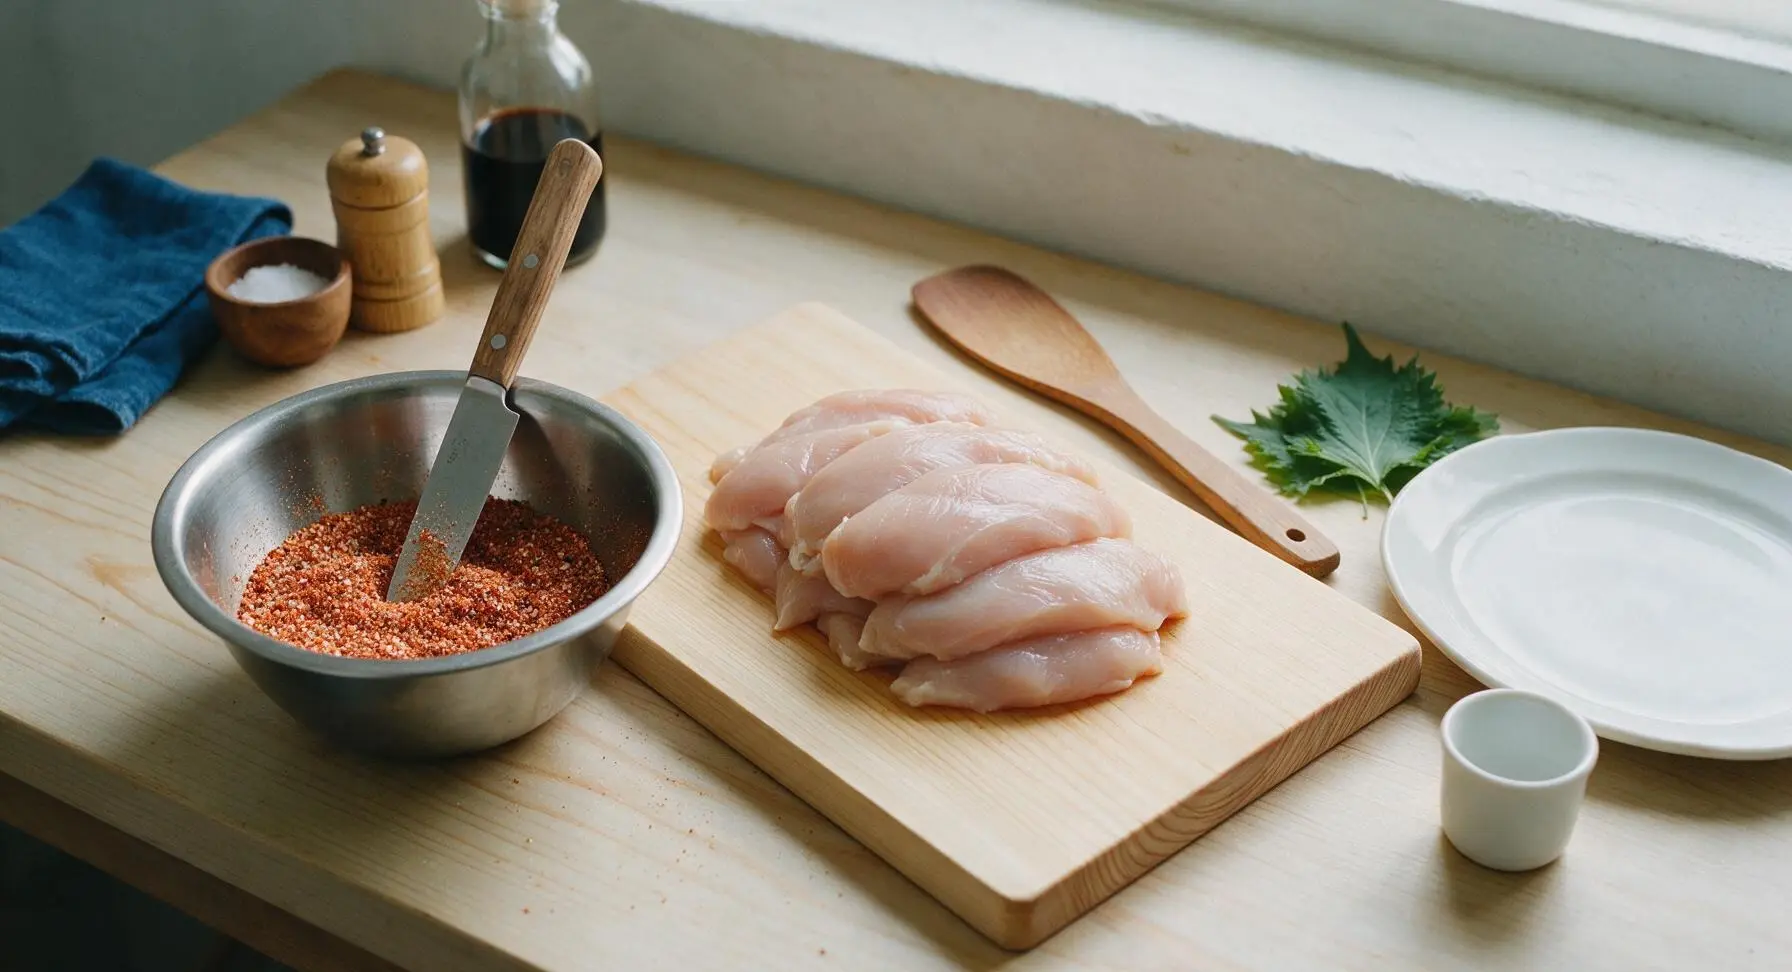
Step 3
step3:Mix Dry Seasoning
4

Season Chicken Evenly

Drizzle 1 tablespoon of olive oil over all surfaces of the chicken breasts, rubbing with clean hands to spread a thin, even coat across every side. Sprinkle the mixed seasoning blend evenly over the top, bottom, and sides of each breast, pressing gently so the spice adheres to the oiled surface, with no bare pink patches left.
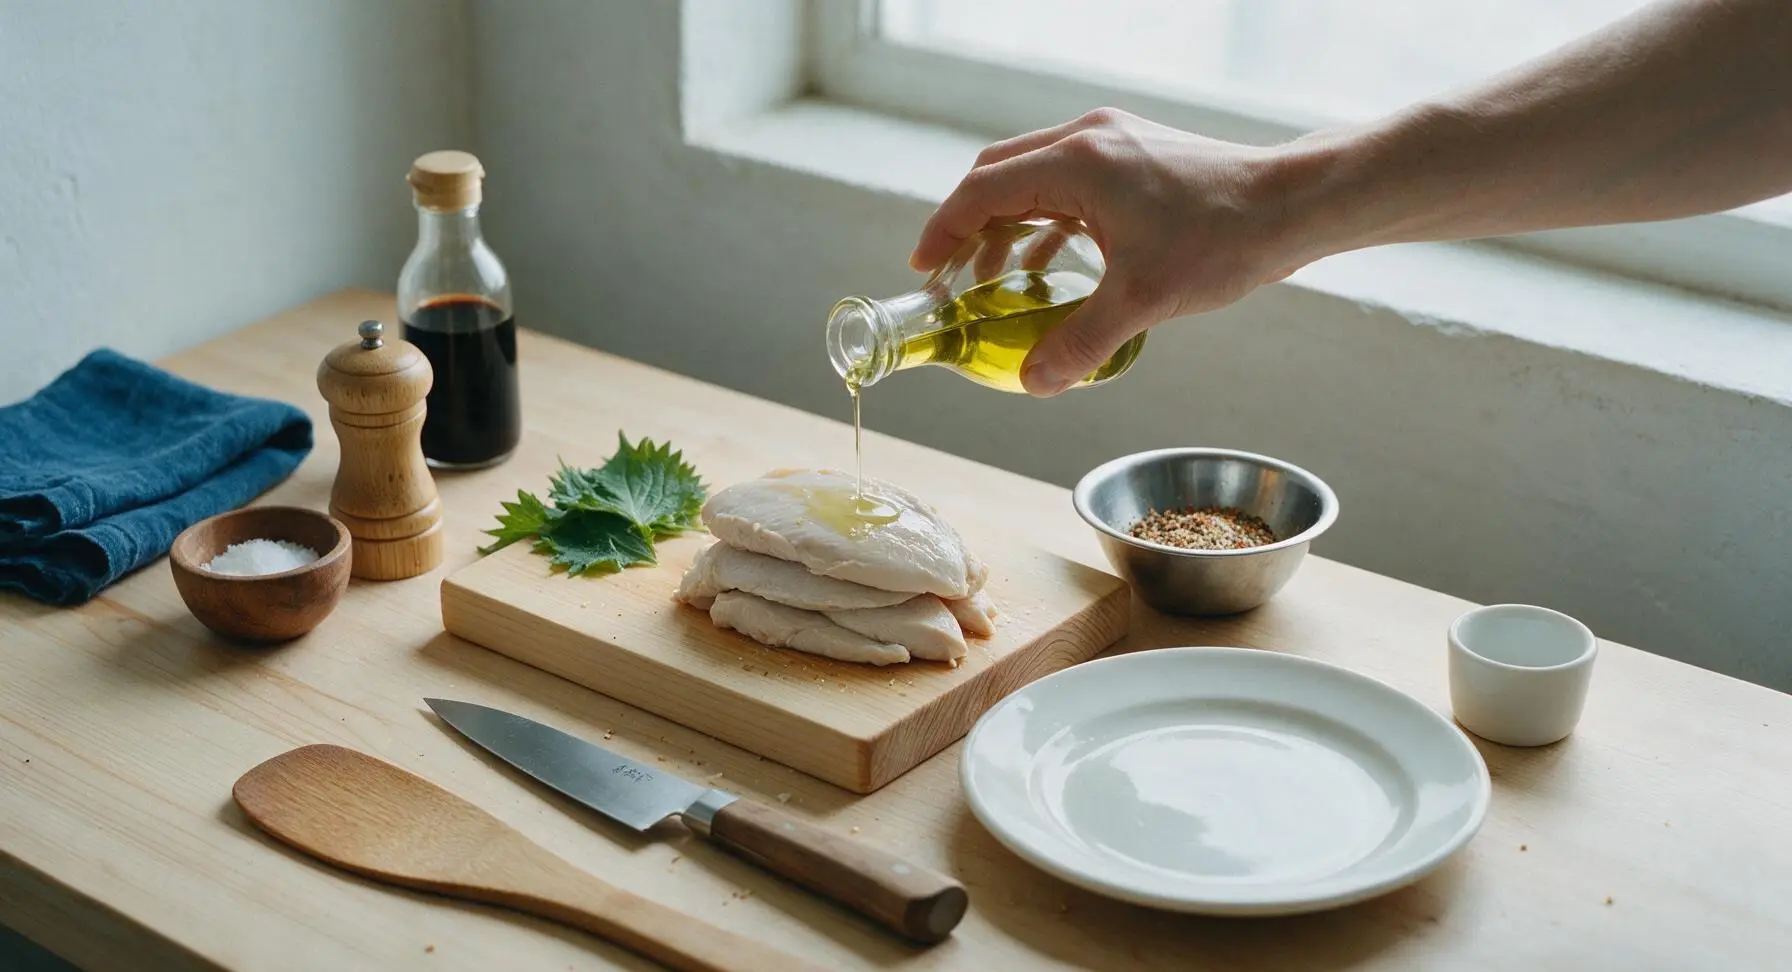
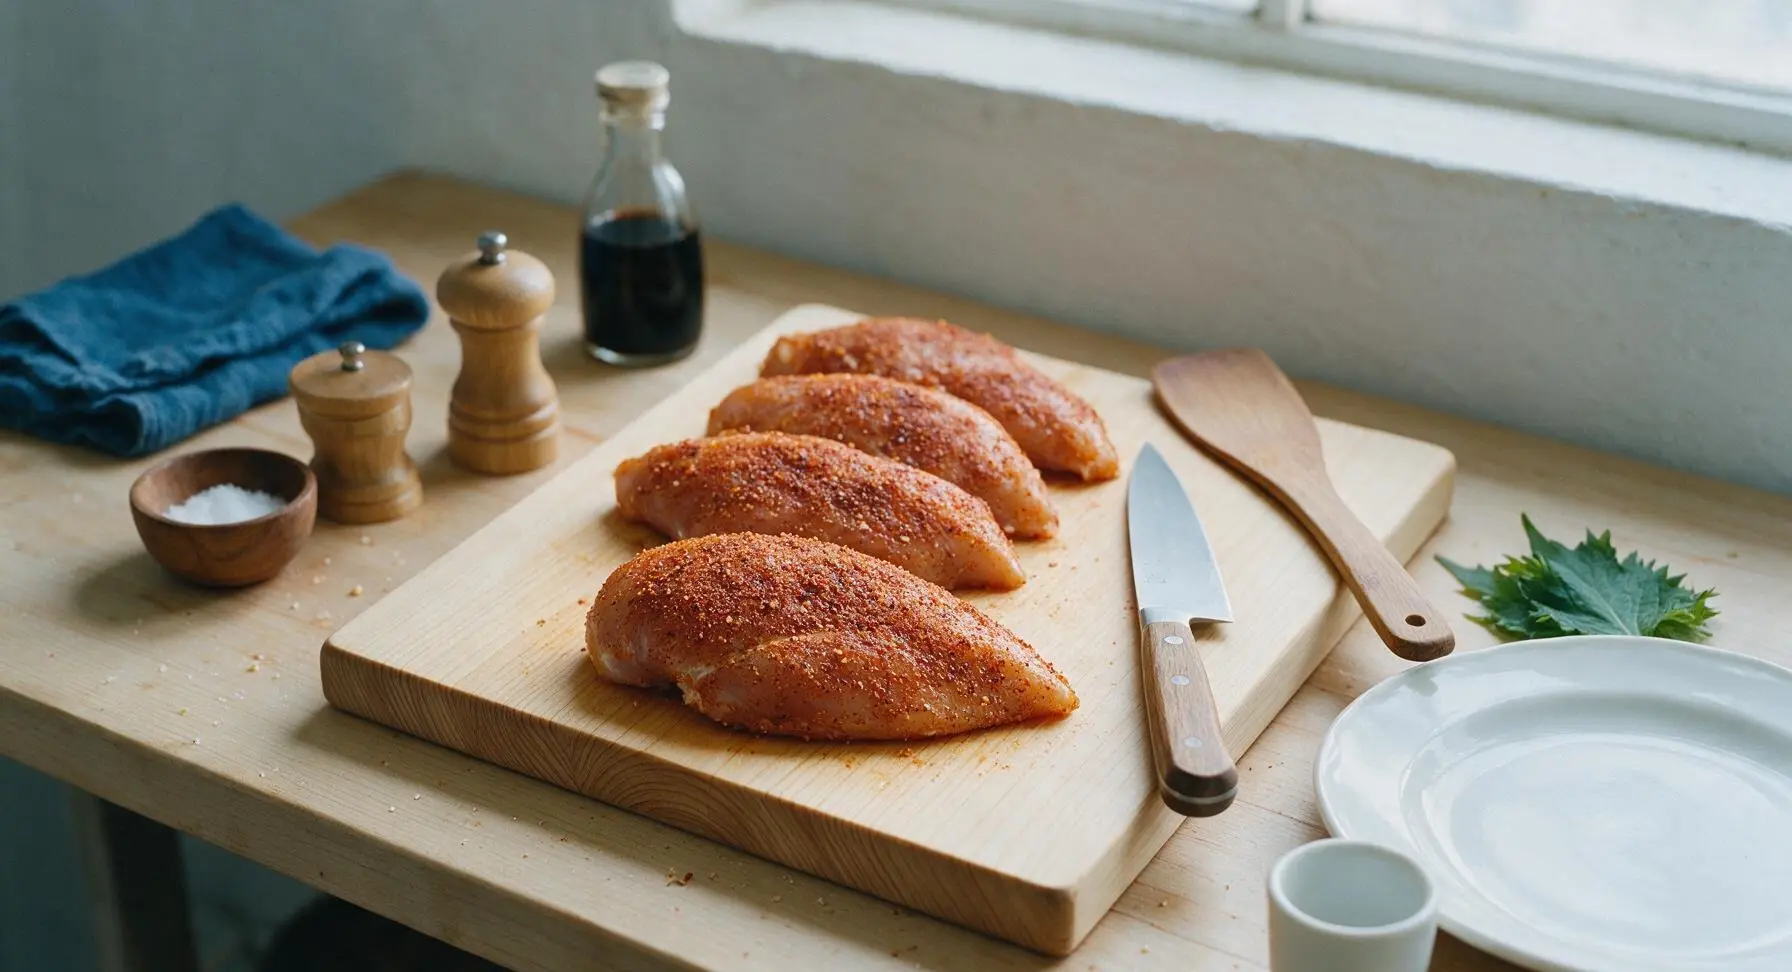
Step 4
step4:Season Chicken Evenly
Step 4
step4:Season Chicken Evenly
5

Arrange in Air Fryer

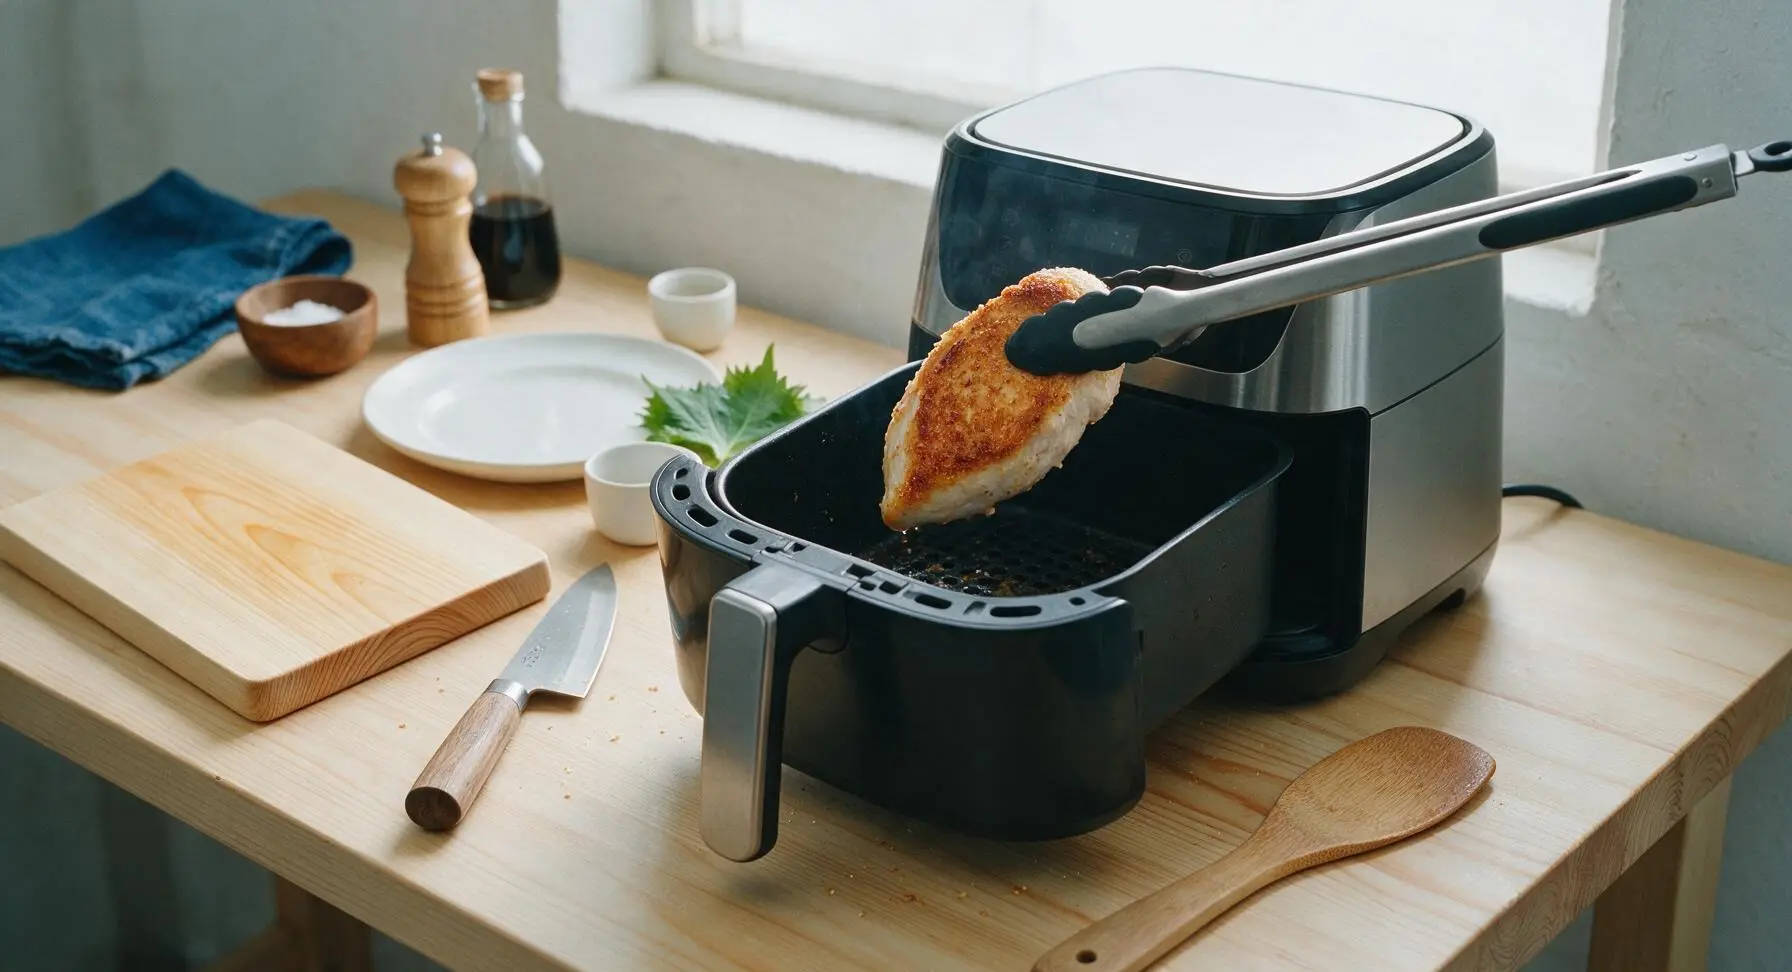
Preheat the air fryer to 380°F (193°C) for 3 minutes. Once preheated, arrange the seasoned chicken breasts in a single layer in the air fryer basket, leaving ½ inch of space between each breast to allow air circulation; do not stack the breasts, as this will cause uneven cooking. Cook in 2 batches if your air fryer is smaller than 5 quarts.
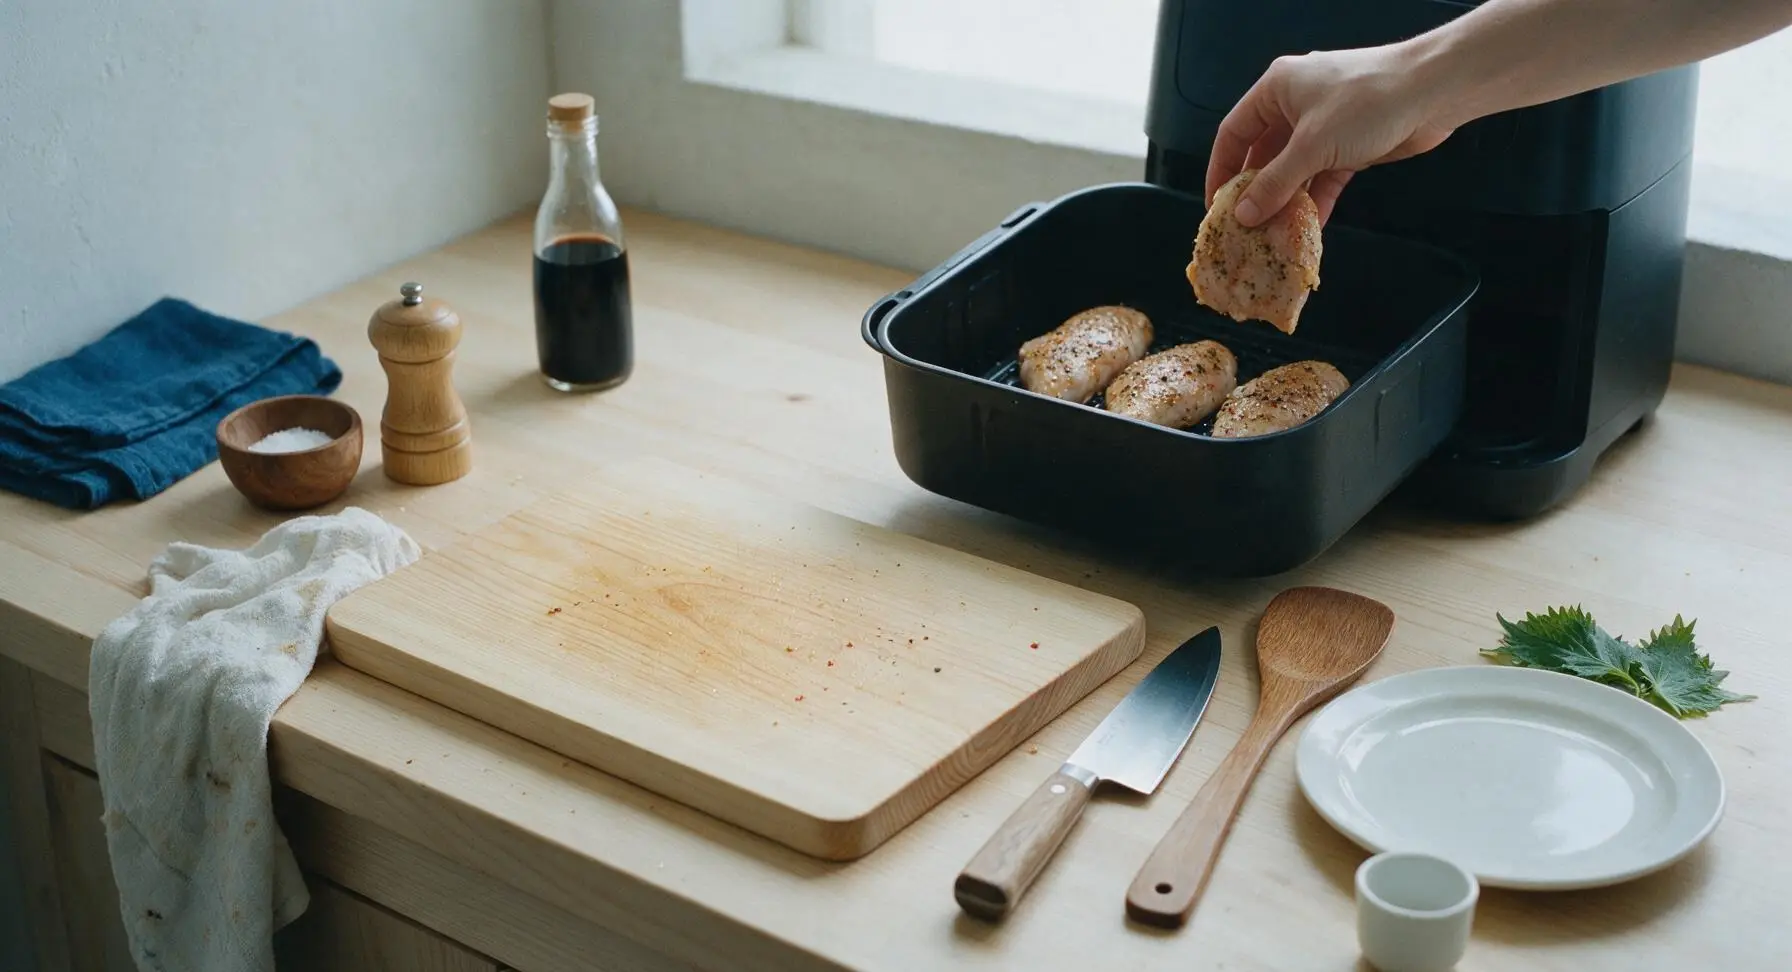
Step 5
step5:Arrange in Air Fryer
6

Cook Chicken Thoroughly

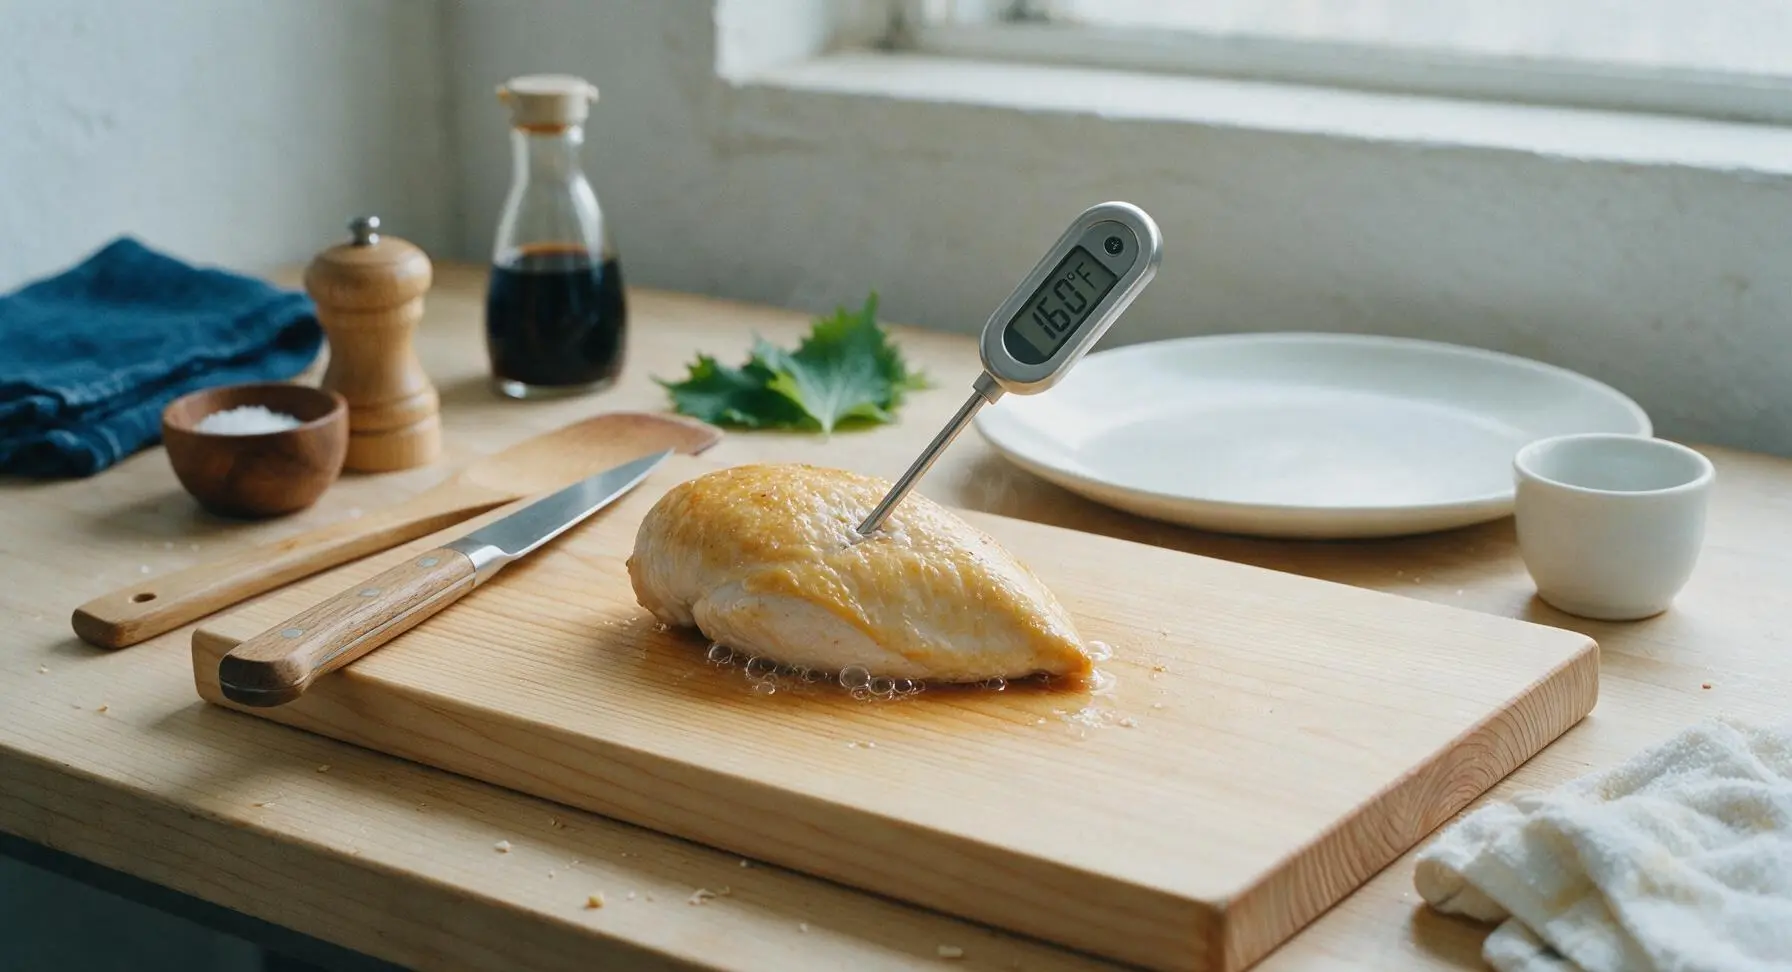
Slide the basket back into the air fryer and cook for 6 minutes, then pull the basket out, flip each chicken breast with the silicone-tipped tongs, and cook for another 5-6 minutes. Check doneness by inserting the digital instant-read thermometer into the thickest part of the largest breast: it should read 160°F (71°C), as carryover cooking will raise the temperature 5°F during resting to reach the food-safe 165°F (74°C).
Step 6
step6:Cook Chicken Thoroughly
Step 6
step6:Cook Chicken Thoroughly
7

Rest and Slice Chicken

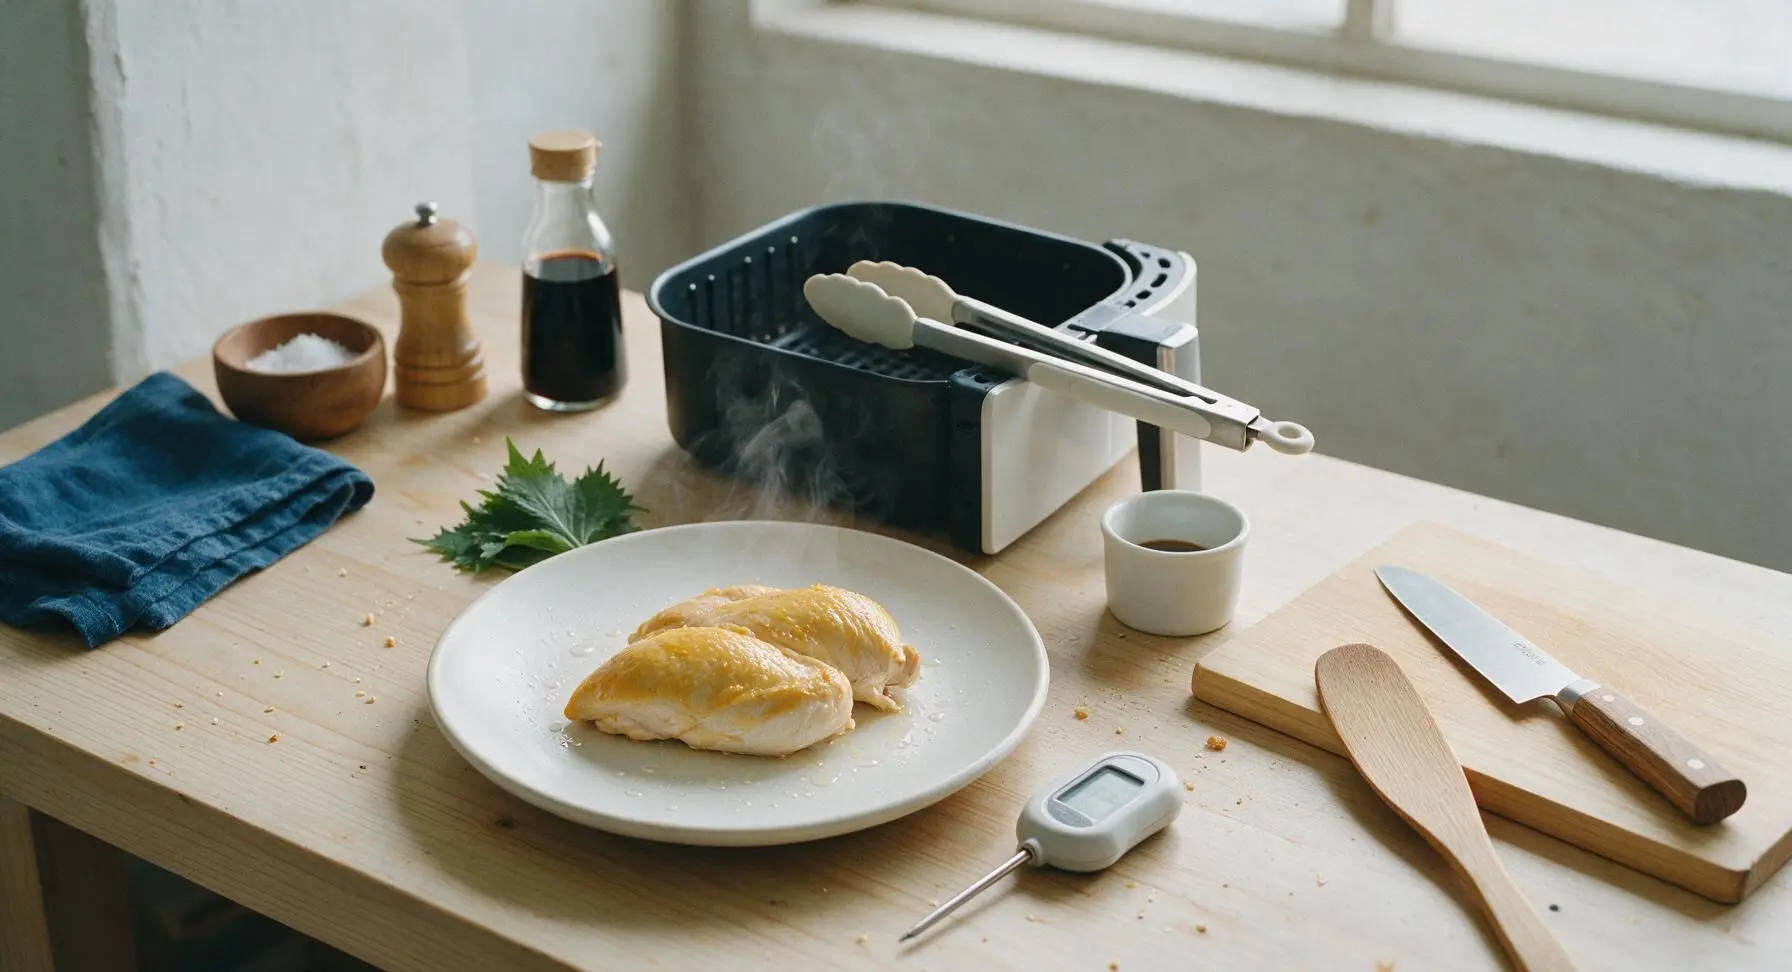
Use the silicone-tipped tongs to transfer cooked chicken breasts from the air fryer basket to the matte warm white ceramic dinner plate. Let rest, uncovered, for 5 full minutes—cutting immediately will cause all the juices to run out onto the plate. After resting, slice each breast against the grain into ½-inch thick slices, fan across the plate, and garnish with a fresh parsley sprig.
Step 7
step7:Rest and Slice Chicken

Tips

1.Never skip patting chicken dry: excess surface moisture will steam the meat instead of allowing a crisp crust to form, and prevents seasoning from sticking evenly, leading to bland, unevenly cooked bites.
2.Pull chicken at 160°F, not 165°F: carryover cooking will raise the internal temperature by 5°F as the chicken rests, so waiting until it hits 165°F in the air fryer will result in dry, chalky, overcooked meat.
3.Do not stack or overcrowd the air fryer basket: hot air needs space to circulate around each breast; overcrowding creates steamed, soggy patches and uneven cooking, so cook in batches if you have a smaller air fryer.


✨ You May Also Like

Main Course
🍜 United Kingdom

A showstopping classic of tender seared beef, savory mushroom duxelles, and crisp prosciutto wrapped in flaky golden puff pastry, baked to juicy perfection.

⏱️ 2 hours 1Main Course ★ 4.7
Main Course
🍜 India

Tender charred marinated chicken simmered in a rich, spiced creamy tomato sauce, this iconic Anglo-Indian curry pairs perfectly with basmati rice or warm naan.

⏱️ 50 minuteMain Course ★ 4.6
Main Course
🍜 Thailand

Classic tangy, sweet, and savory Thai stir-fried rice noodles with shrimp, tofu, and crunchy garnishes, balancing all five core Thai flavor profiles.

⏱️ 30 minuteMain Course ★ 4.5
Main Course
🍜 United Kingdom

Crispy golden beer-battered cod and fluffy double-fried chips, served with tangy tartar sauce and malt vinegar: the timeless, beloved British pub comfort classic.

⏱️ 45 minuteMain Course ★ 4.7
Main Course
🍜 Mexico

Smoky, chile-marinated pork tacos with caramelized pineapple, fresh cilantro, and lime: a beloved classic Mexican street food perfect for casual summer gatherings.

⏱️ 1 hour 45Main Course ★ 4.8
Main Course
🍜 United States

Crunchy Fritos corn chips layered with savory beef chili and melted cheddar, topped with cool, zesty fixings for a beloved, cozy Tex-Mex comfort food.

⏱️ 35 minuteMain Course ★ 4.8

juicy chicken breast in air fryer:Frequently Asked Questions

1.How do I make sure my air fryer chicken breast stays juicy instead of turning out dry? ▾
The biggest tricks are patting chicken fully dry before seasoning, coating it with a thin even layer of olive oil to lock in moisture, and never overcooking it. Use an instant-read meat thermometer to pull it the second the thickest part hits 165°F, then let it rest 5 minutes so juices redistribute instead of running out when you slice.
2.What temperature should I set my air fryer to for this recipe? ▾
Set your air fryer to 375°F for this recipe. That temp is hot enough to build that crisp, golden spiced crust without overcooking the outer layers before the center cooks through. If you have a compact air fryer that runs extra hot, knock the temp down 25°F to avoid burnt seasoning spots.
3.How long does it take to cook chicken breast in the air fryer? ▾
Cook time depends on your breast thickness—most 6 to 8 ounce boneless, skinless breasts take 12 to 16 minutes total at 375°F. Flip the chicken halfway through cooking to get even crispness on both sides, and always rely on internal temperature over strict cook times for perfect, consistent results.
4.Do I need to preheat my air fryer before adding the chicken? ▾
Yes, preheating for 3 minutes before adding chicken makes a huge difference for that crisp crust and even cook. A preheated basket sears the spiced oil coating the second the chicken hits it, preventing sticking, cutting down on uneven cook times, and helping the crust set fast instead of getting soggy.
5.Can I use frozen chicken breast for this recipe? ▾
You can, but you’ll need to adjust the method. Thawing chicken completely gives the juiciest, crispiest results, but if you’re in a pinch, cook frozen breasts at 360°F for 20 to 25 minutes, flipping halfway, until they hit 165°F internal. Note the crust won’t be as crisp as it is on thawed, patted-dry chicken.
6.Why does my seasoning burn before the chicken is done cooking? ▾
Burnt seasoning usually stems from two common mistakes: using too much oil that drips and smokes, or setting your air fryer too high. Stick to 1 teaspoon of olive oil per breast, don’t pile loose seasoning on the chicken surface, and brush off excess spice that could fall into the basket and burn.
7.Do I need to flip the chicken breast halfway through cooking? ▾
Absolutely—flipping halfway through ensures both sides get evenly crisp and the chicken cooks at the same rate all the way through. If you skip flipping, the side touching the basket will darken and crisp faster, while the top stays soft and pale, leading to uneven doneness across each breast.
8.How thick should the chicken breasts be for best results? ▾
Aim for breasts that are 1 to 1.5 inches thick at their thickest point for the most even cook. If you have extra-thick breasts, pound the thicker end flat with a meat mallet before seasoning to create uniform thickness; this stops the thin end from overcooking and drying out before the center is done.
9.Can I add extra seasonings beyond the paprika, garlic powder, and salt? ▾
Of course! That base seasoning is just a versatile starting point. Feel free to add black pepper, onion powder, dried oregano, a pinch of cayenne for heat, or a light sprinkle of parmesan the last minute of cooking. Skip sugary rubs until the last 2 minutes, since sugar burns very fast in the air fryer.
10.How do I keep chicken from sticking to the air fryer basket? ▾
The best prevention is preheating the basket first, and making sure your chicken has a thin, even coat of olive oil. Skip aerosol nonstick sprays, as many have additives that can damage air fryer basket coatings over time. For extra insurance, lay a small piece of perforated parchment in the basket before adding chicken.
11.What internal temperature means the chicken is safe to eat? ▾
The FDA recommends cooking poultry to a minimum internal temperature of 165°F, measured at the thickest part of the breast. Don’t let it go much higher than that—once you hit 170°F, the muscle fibers seize up and the chicken will quickly turn dry, tough, and chewy instead of juicy.
12.Why do I need to let the chicken rest after cooking? ▾
Resting cooked chicken for 5 minutes after you pull it from the air fryer lets the hot, fast-moving juices inside the muscle fibers settle and redistribute. If you slice into it right away, all those juicy, flavorful juices will run out onto your plate instead of staying in the meat, leaving you with dry chicken.
13.Can I meal prep this chicken to eat later in the week? ▾
Absolutely—this chicken is perfect for meal prep. Let cooked chicken cool completely, then store it in an airtight container in the fridge for up to 4 days. Slice it right before you eat it for best results, and reheat slices in the air fryer at 350°F for 2 to 3 minutes to crisp the crust back up.
14.Do I have to use extra-virgin olive oil, or can I swap for another oil? ▾
Extra-virgin olive oil works great here because it has a mild flavor and high enough smoke point for air fryer temps, but you can absolutely swap it. Avocado oil is a fantastic neutral swap with an even higher smoke point, or you can use melted ghee for a richer, buttery flavor. Skip low-smoke-point oils like toasted sesame oil.
15.My chicken breasts are different sizes—how do I cook them evenly? ▾
If your breasts are mismatched sizes, first pound thicker ones to match the thickness of the smallest breast as much as possible. Start checking the smaller breasts for doneness 2 to 3 minutes earlier than the estimated cook time, and pull them as soon as they hit 165°F, leaving larger ones to finish cooking to avoid dryness.

Comments (8)

3 days ago

OMG this is a total game changer! I’ve been struggling to make chicken breast that isn’t dry and rubbery for my kids’ school lunches and weeknight dinners, and 12 minutes in the air fryer? *Chef’s kiss* It came out so juicy I couldn’t believe it! My oldest asked for seconds before he even finished his first serving. 10/10 will be adding this to my weekly meal prep rotation for sure.

2 days ago

Wait did you pound the chicken to even thickness first? I tried a different air fryer chicken recipe last week and the thick parts were still raw while the edges were crispy 😅

2 days ago

So great to hear your family loved it! Quick tip for Jake too – pounding the chicken to an even 1-inch thickness makes such a big difference for even cooking, no raw spots or overcooked edges! We always recommend it for the juiciest results.

5 days ago

Super easy recipe, perfect for when I get home late from soccer practice with the kids. Only note is that my air fryer runs a little hot, so I had to knock 2 minutes off the cook time, otherwise it would’ve been a touch dry. Still turned out really well, tossed it in a little buffalo sauce for wraps later in the week.

3 days ago

Thanks for the honest feedback! Air fryer temperatures can vary so much between models, so that’s such a great callout for other readers. We’re glad you were able to adjust it to work for your wraps – that buffalo sauce addition sounds delicious!

1 week ago

SO good! I made this last night for date night with my boyfriend, served it with roasted broccoli and mashed cauliflower, and he thought I ordered takeout from that fancy fast-casual chicken place downtown. Cannot believe how simple it was, zero cleanup too since I used a little parchment liner in the air fryer basket.

1 week ago

Wait a second, 12 minutes total? No flipping halfway? I feel like every air fryer recipe I’ve tried says you have to flip everything, so I was skeptical, but I followed the directions exactly and it was perfect! Juicy all the way through, nice little crispy crust on the outside from the seasoning I used (added a little paprika and garlic powder, chef’s choice).

5 days ago

Ooh the paprika and garlic powder addition sounds chef’s kiss! I’m making this for my neighborhood potluck this weekend, do you think it’ll hold up okay if I make it a couple hours ahead?

3 days ago

I didn’t flip either and mine came out great! I think because the air circulates all around you don’t even need to, saves so much time. Perfect for post-gym dinners when I’m ravenous and don’t want to wait.

yesterday

First time cooking chicken breast in my air fryer ever and I was so nervous I’d mess it up! My husband is super picky about dry chicken, so I followed this recipe step by step, used the meat thermometer to check for 165F like it said, and he said it’s the best chicken I’ve ever made. Win for the new wife!

30 minutes ago

Yay congrats on the win! Pro tip: let it rest for 5 minutes after you take it out before slicing, it locks in even more juice. I learned that the hard way after slicing too early and having all the juice run out on the cutting board 😂

2 weeks ago

Made this for my church potluck on Sunday and it was a total hit! I sliced it up and put it on a platter with little dipping sauces (honey mustard, ranch, BBQ) and people were asking me for the recipe before we even finished the main course. So easy to make a big batch too, I did 3 breasts in my 6qt air fryer in two batches no problem.

5 minutes ago

Finally tried this after seeing the comment thread the other day! Pounded my chicken to 1 inch like Chef Admin suggested, seasoned it with that smoky BBQ rub I love, and it came out perfectly juicy, no raw spots at all. Way better than the last recipe I tried that left me with dried out chicken jerky lmao.

just now

That makes us so happy to hear, Jake! So glad the even thickness tip worked out for you – that BBQ rub addition sounds absolutely perfect for summer cookouts when you don’t feel like firing up the grill.

2 hours ago

I’ve made this recipe three weeks in a row for my Sunday meal prep and it’s been a total lifesaver for quick work lunches! Quick question before my next batch: can I marinate the chicken overnight in the fridge before air frying it? I usually do a lemon-herb marinade for my chicken, and I don’t want it to get soggy or mess up the 12 minute cook time.

30 minutes ago

I marinate mine for 4-6 hours all the time and it turns out great! Just pat the surface a little dry with a paper towel before you put it in the air fryer and you’ll still get that nice crispy outside, no sogginess.

5 minutes ago

Great question! Overnight marinating works perfectly with this recipe, just be sure to pat the chicken dry as mentioned before you air fry to get that crisp exterior. The lemon-herb marinade sounds delicious – that’s one of our favorite combinations too!



