
julian's belgian waffles
intro
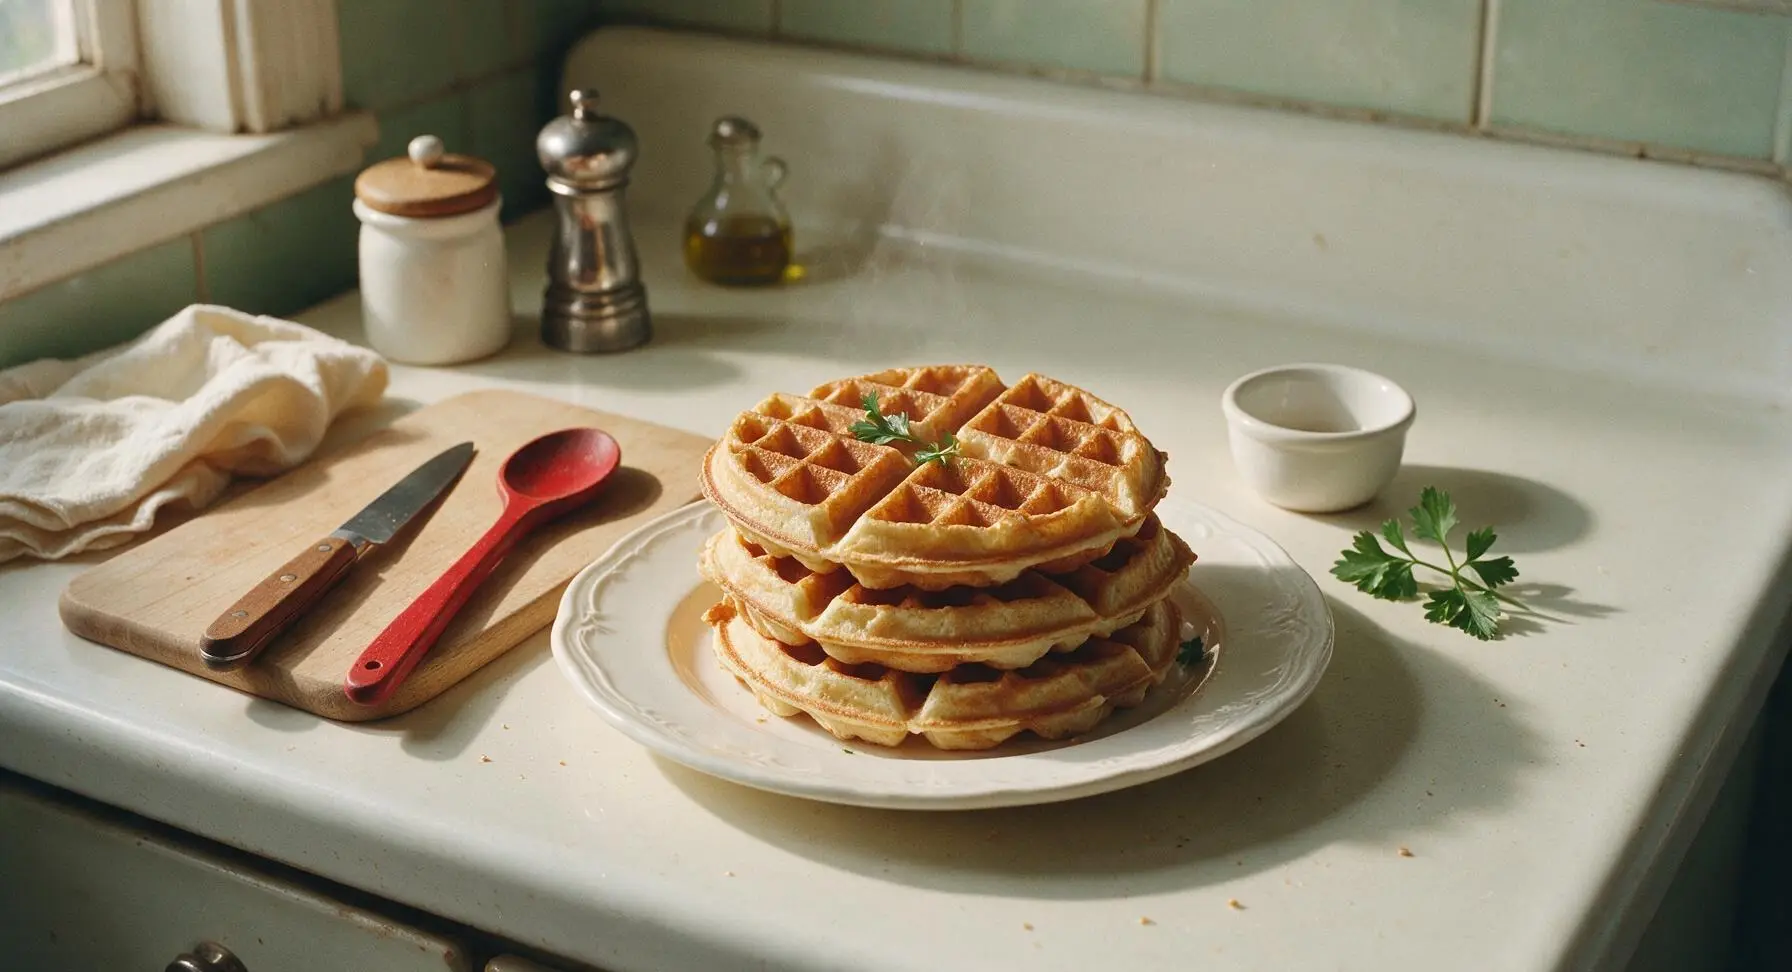
Crisp caramelized edges, fluffy deep pockets, and a light vanilla-kissed crumb—Julian’s famous Belgian waffles are made for lazy weekend mornings, piled high with favorite toppings.
Ingredients
Steps
Prep Dry Ingredients
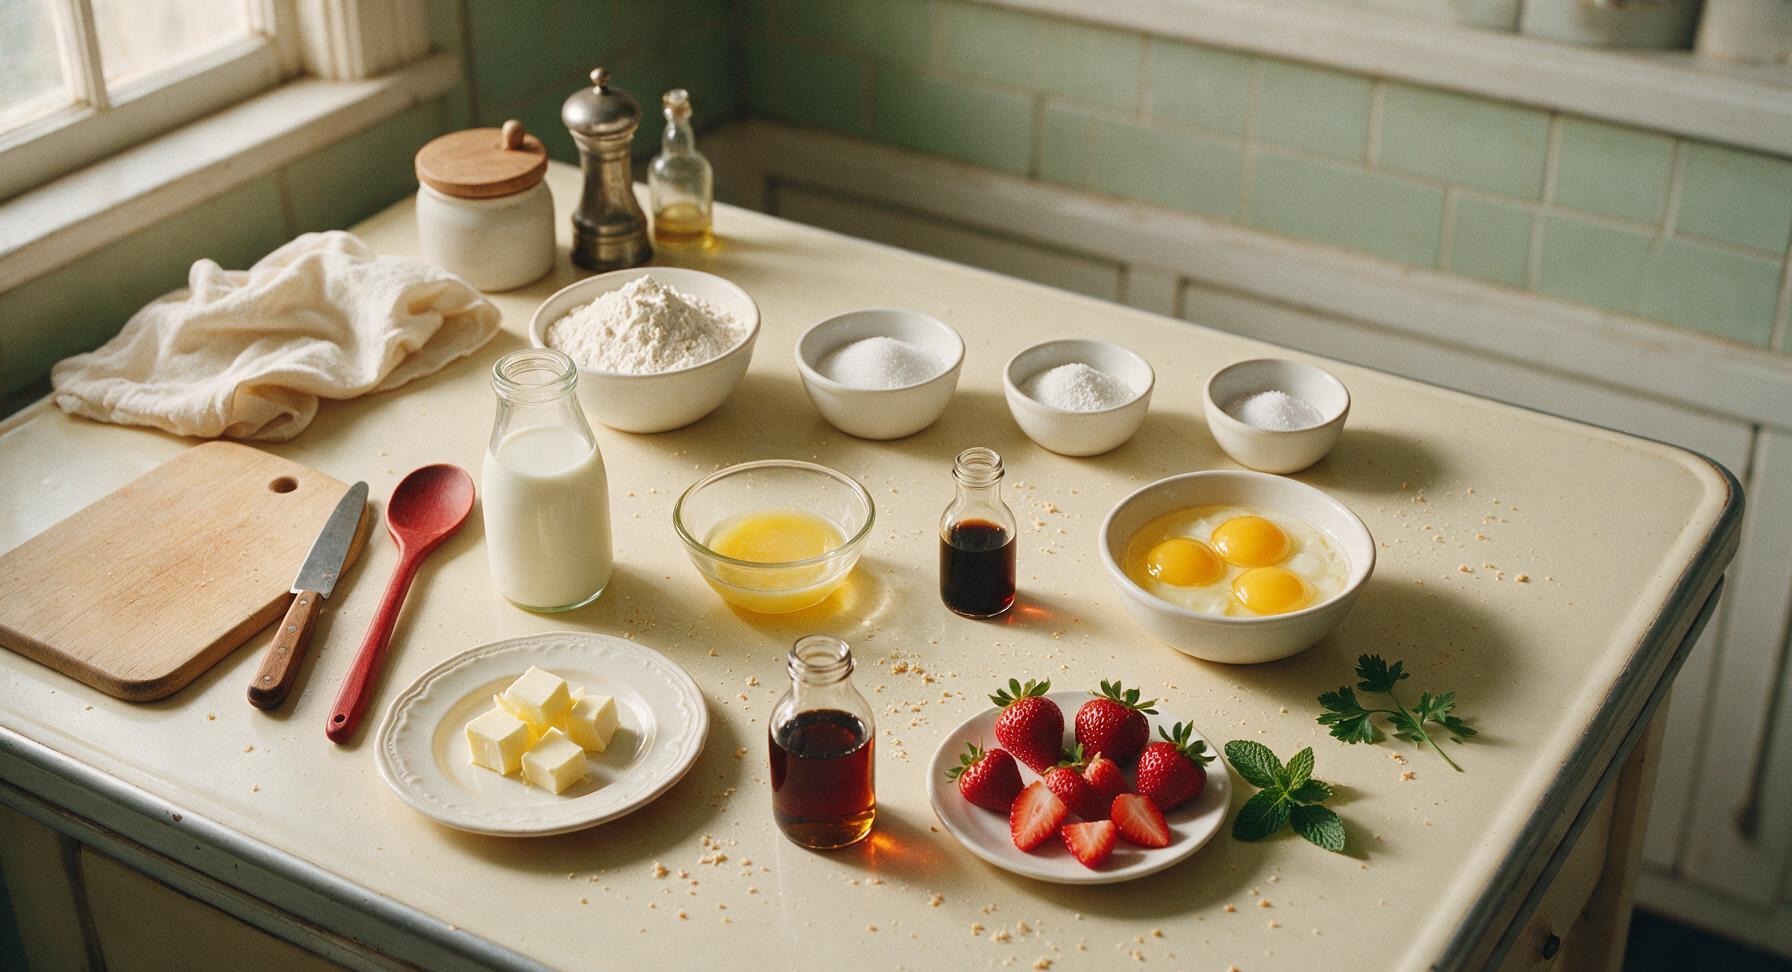
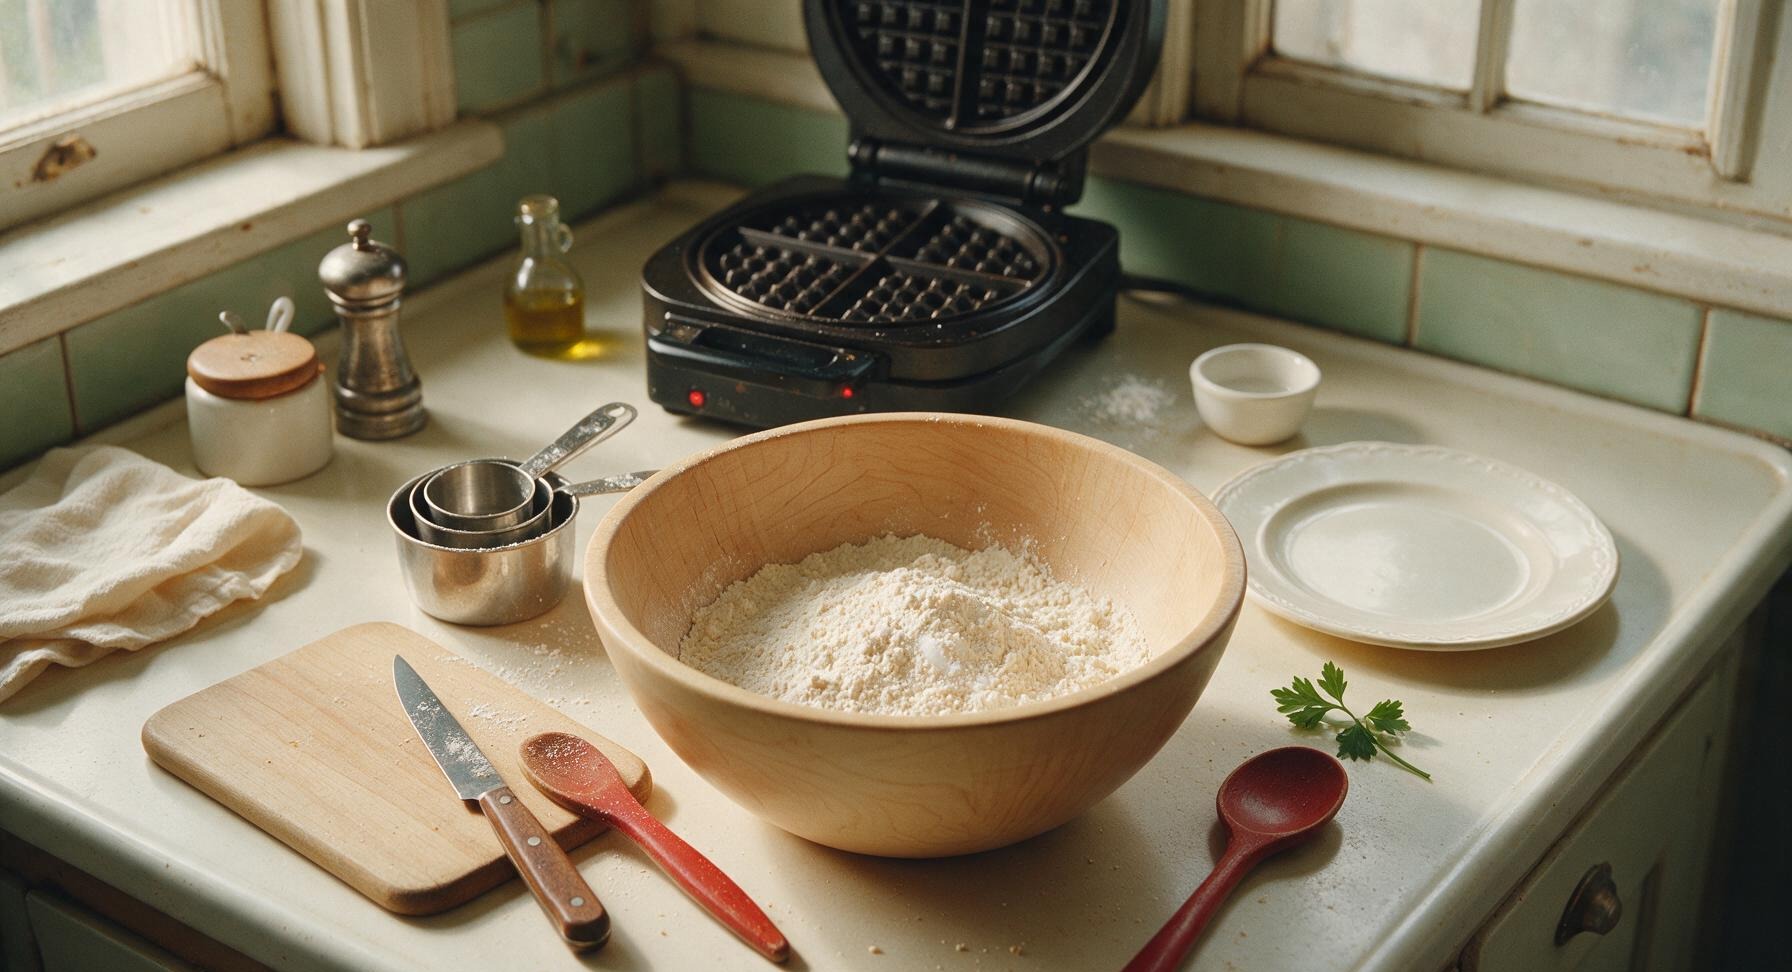
Plug in the matte black cast aluminum Belgian waffle maker to preheat to 375°F (190°C, medium-high crisp setting). In the large light maple mixing bowl, combine 2 cups all-purpose flour, 3 tablespoons granulated sugar, 2 teaspoons baking powder, and 1/2 teaspoon fine sea salt. Whisk with a fork for 30 seconds until evenly blended, with no visible clumps of leavening.
Separate Yolks and Whites
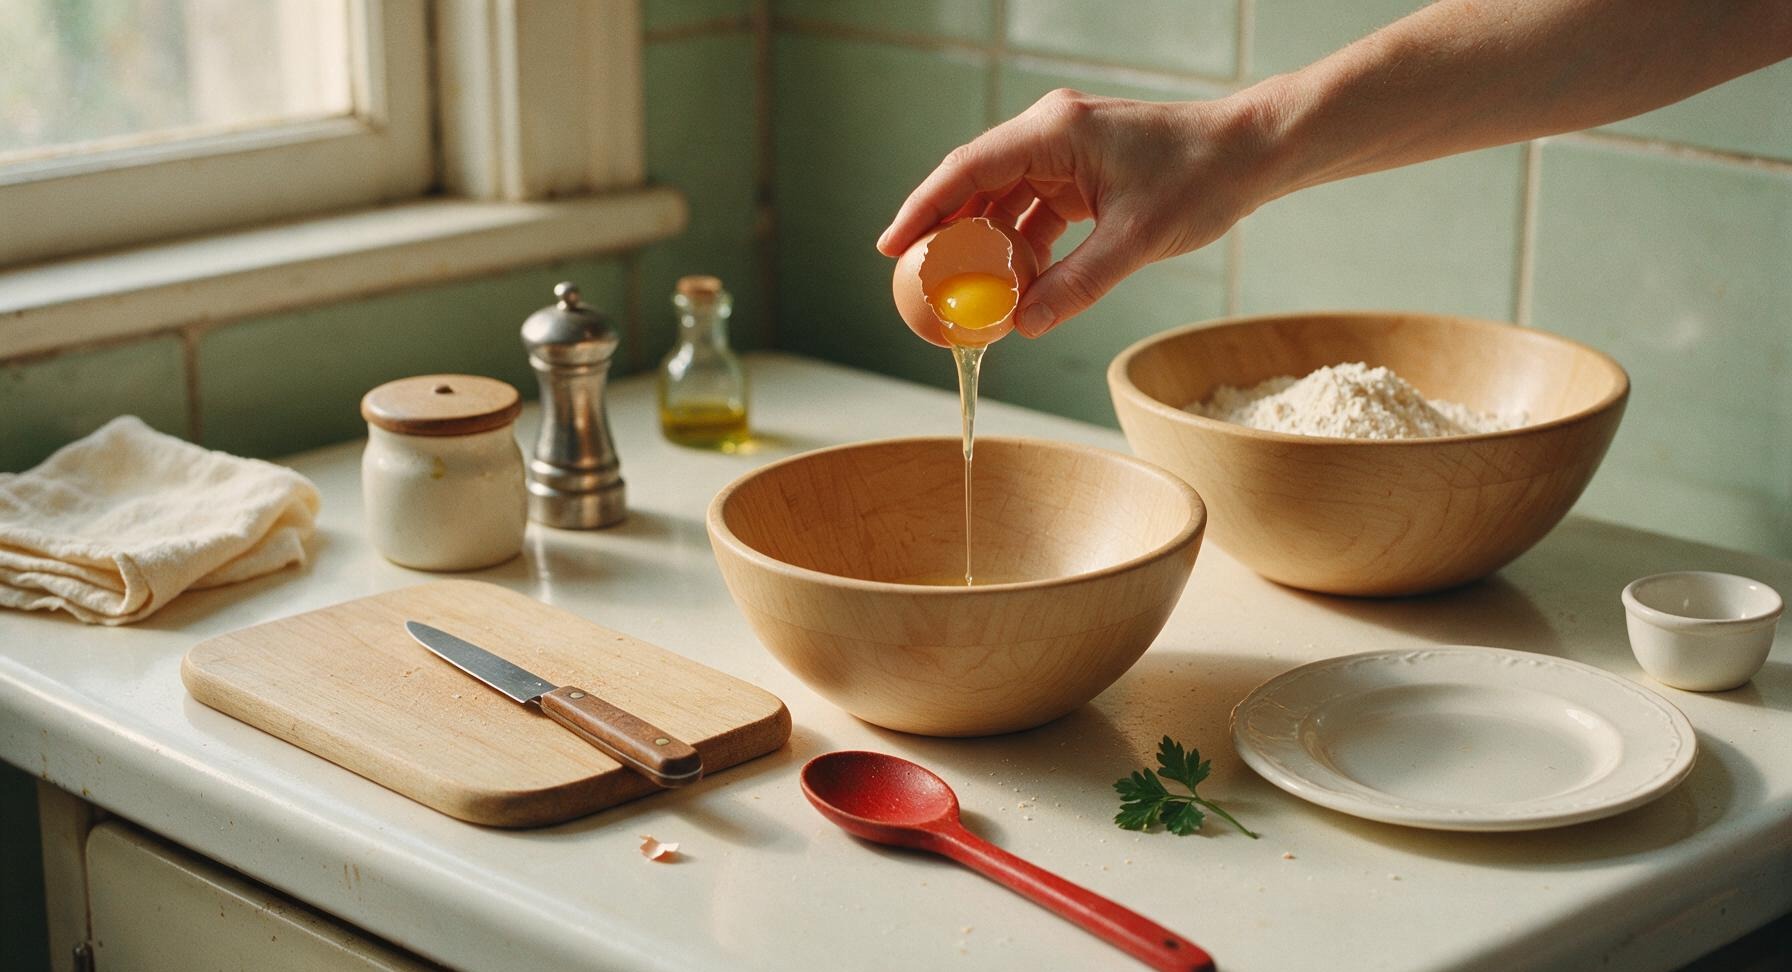
Crack 3 large cold eggs one at a time. Carefully drop each egg yolk directly into the center of the dry ingredient mixture in the large maple bowl, and pour each egg white into the completely clean, dry medium maple bowl. Ensure no trace of yolk falls into the egg whites, as even a small amount will prevent whites from whipping to full volume.
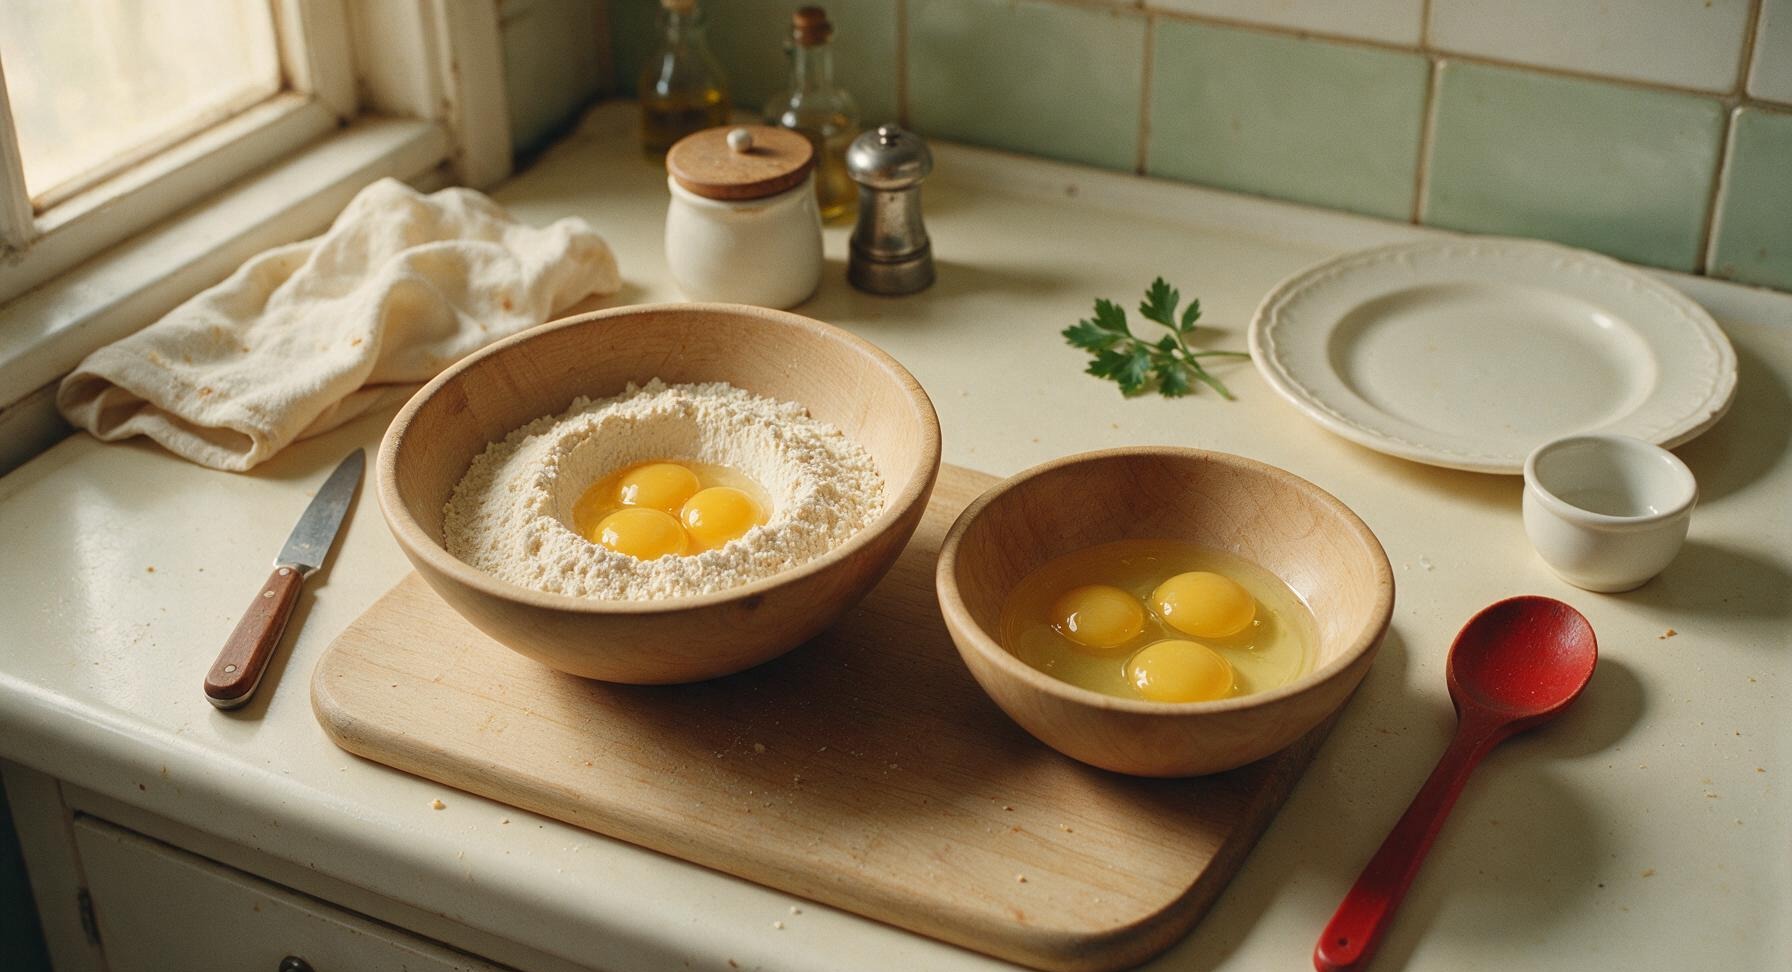
Combine Wet Batter Base
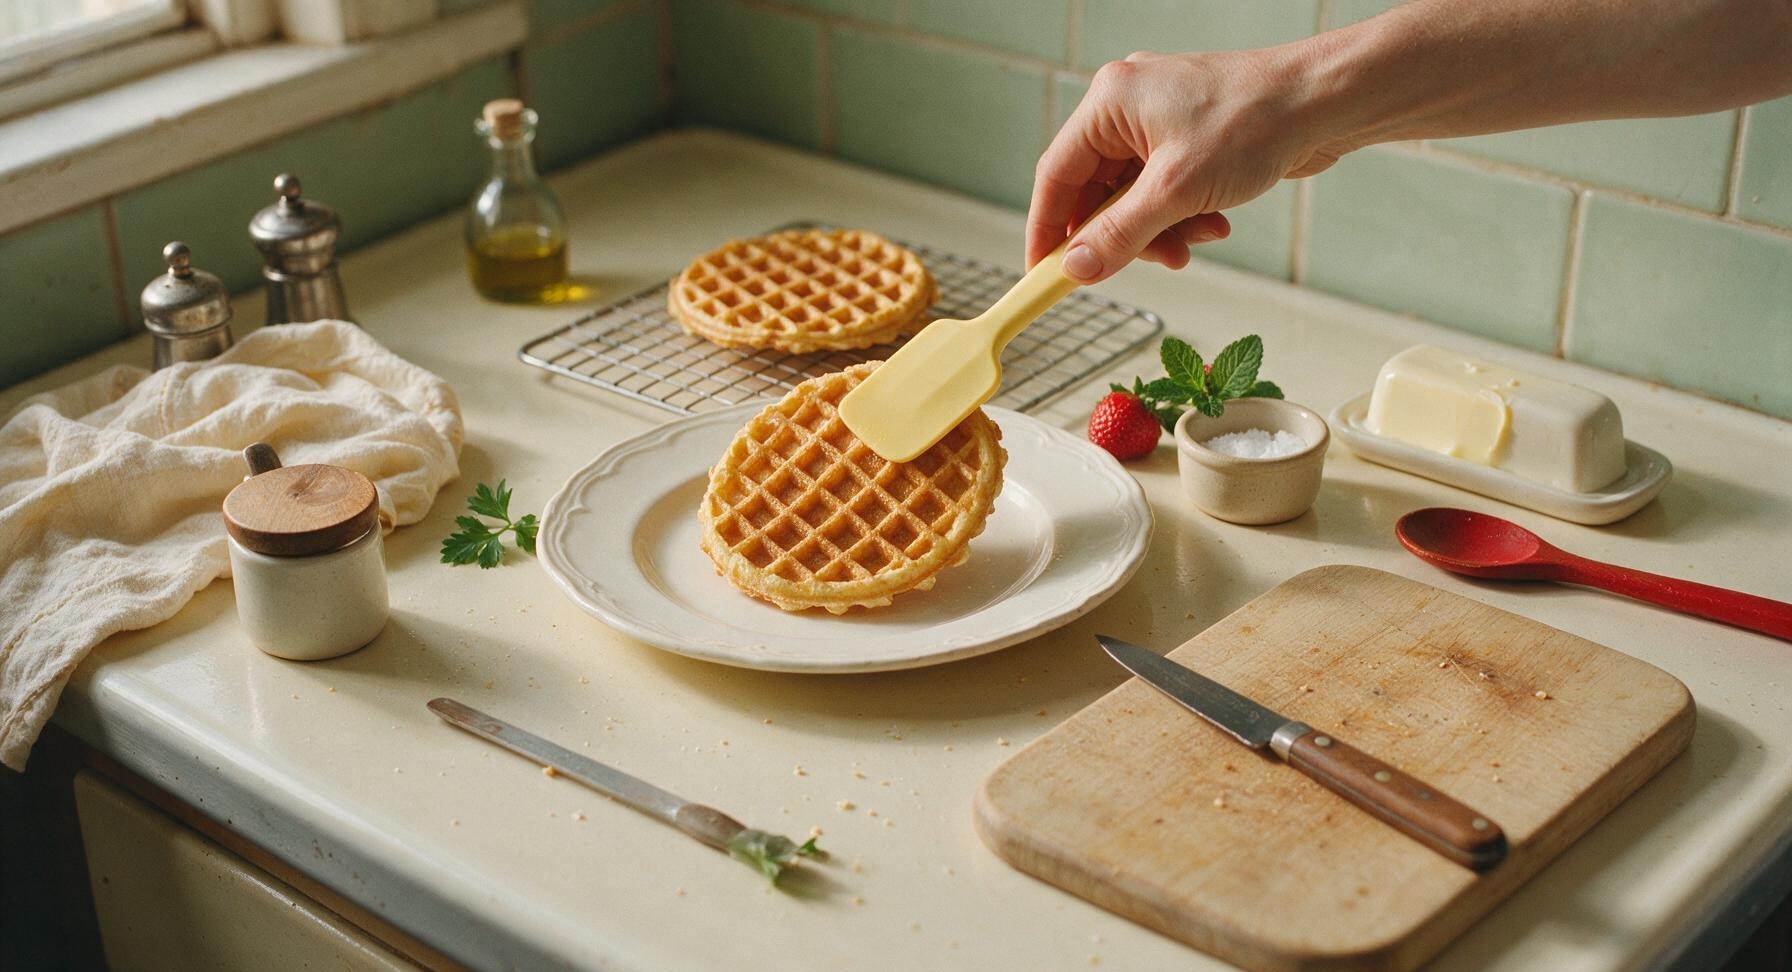
Add 1 3/4 cups whole milk, 1/3 cup cooled melted unsalted butter, and 1 teaspoon pure vanilla extract to the large mixing bowl with the dry ingredients and egg yolks. Use the pale butter yellow silicone spatula to stir the mixture just until no large dry flour streaks remain; the batter will be slightly lumpy, which is normal—do not overmix, as this will make tough waffles.
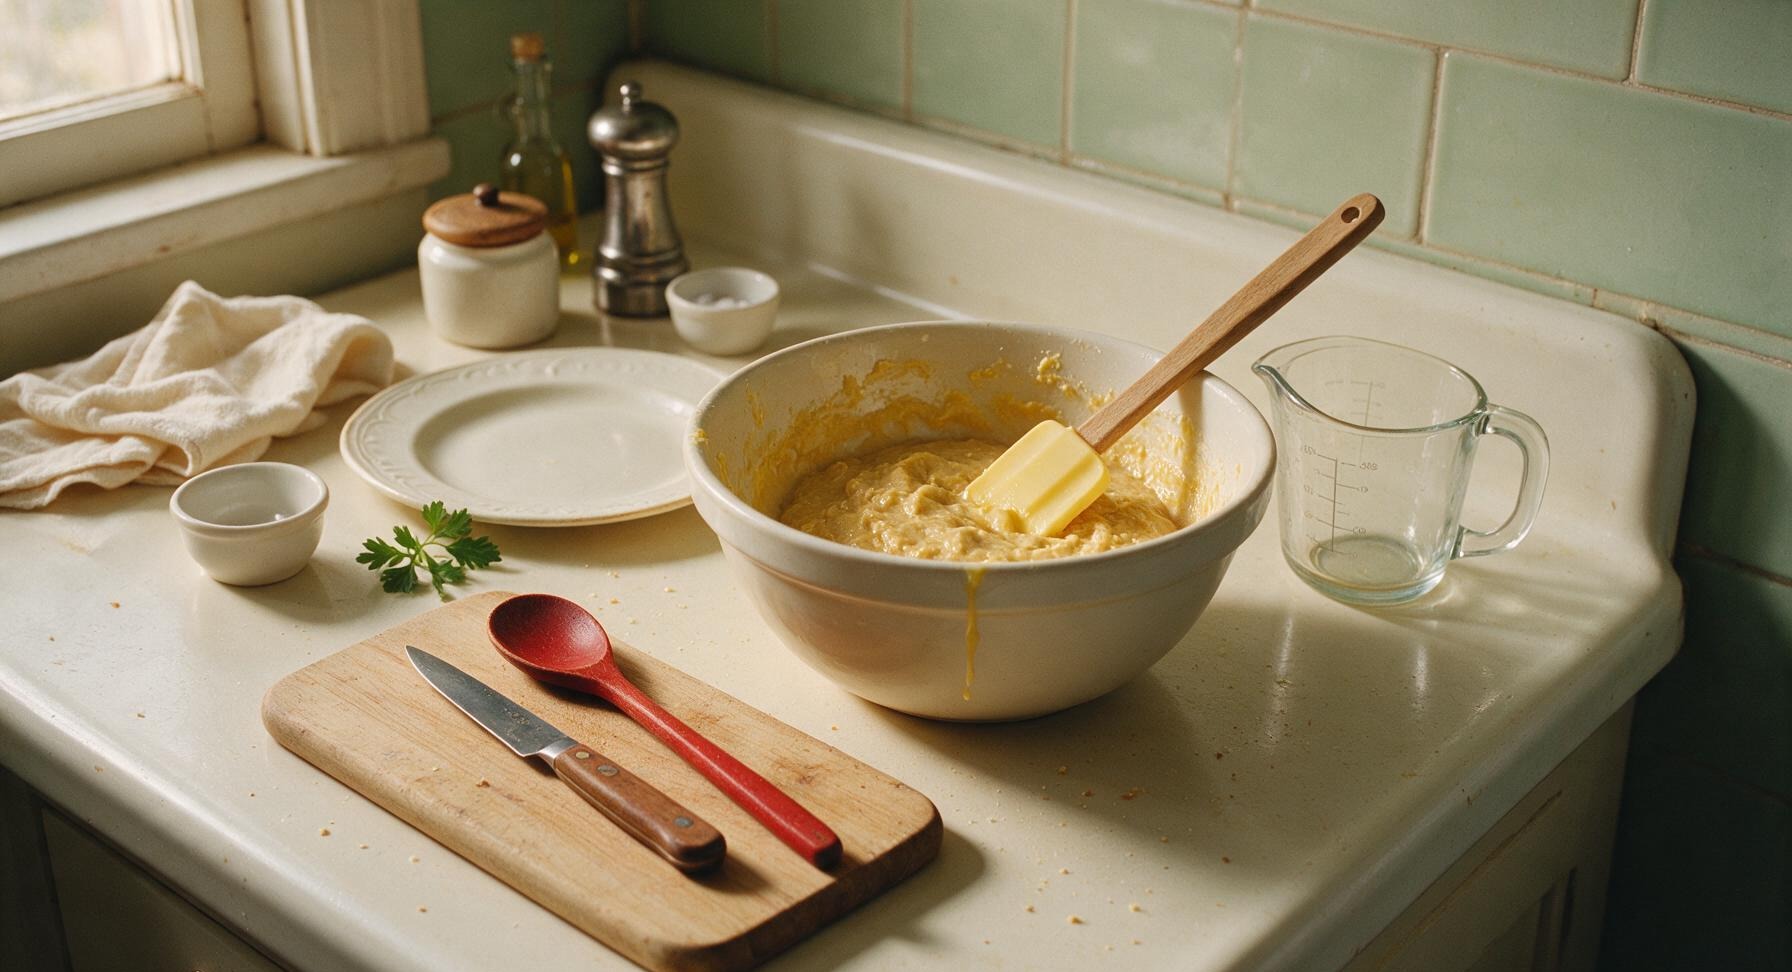
Whip Egg Whites Stiff
Attach the stainless steel beaters to the matte white handheld electric whisk. Beat the egg whites in the medium maple bowl on medium-high speed for 2-3 minutes, until they form glossy, stiff peaks that stand straight up when the beaters are lifted, with no drooping at the tips. Do not overwhip to the point of dry, crumbly whites.
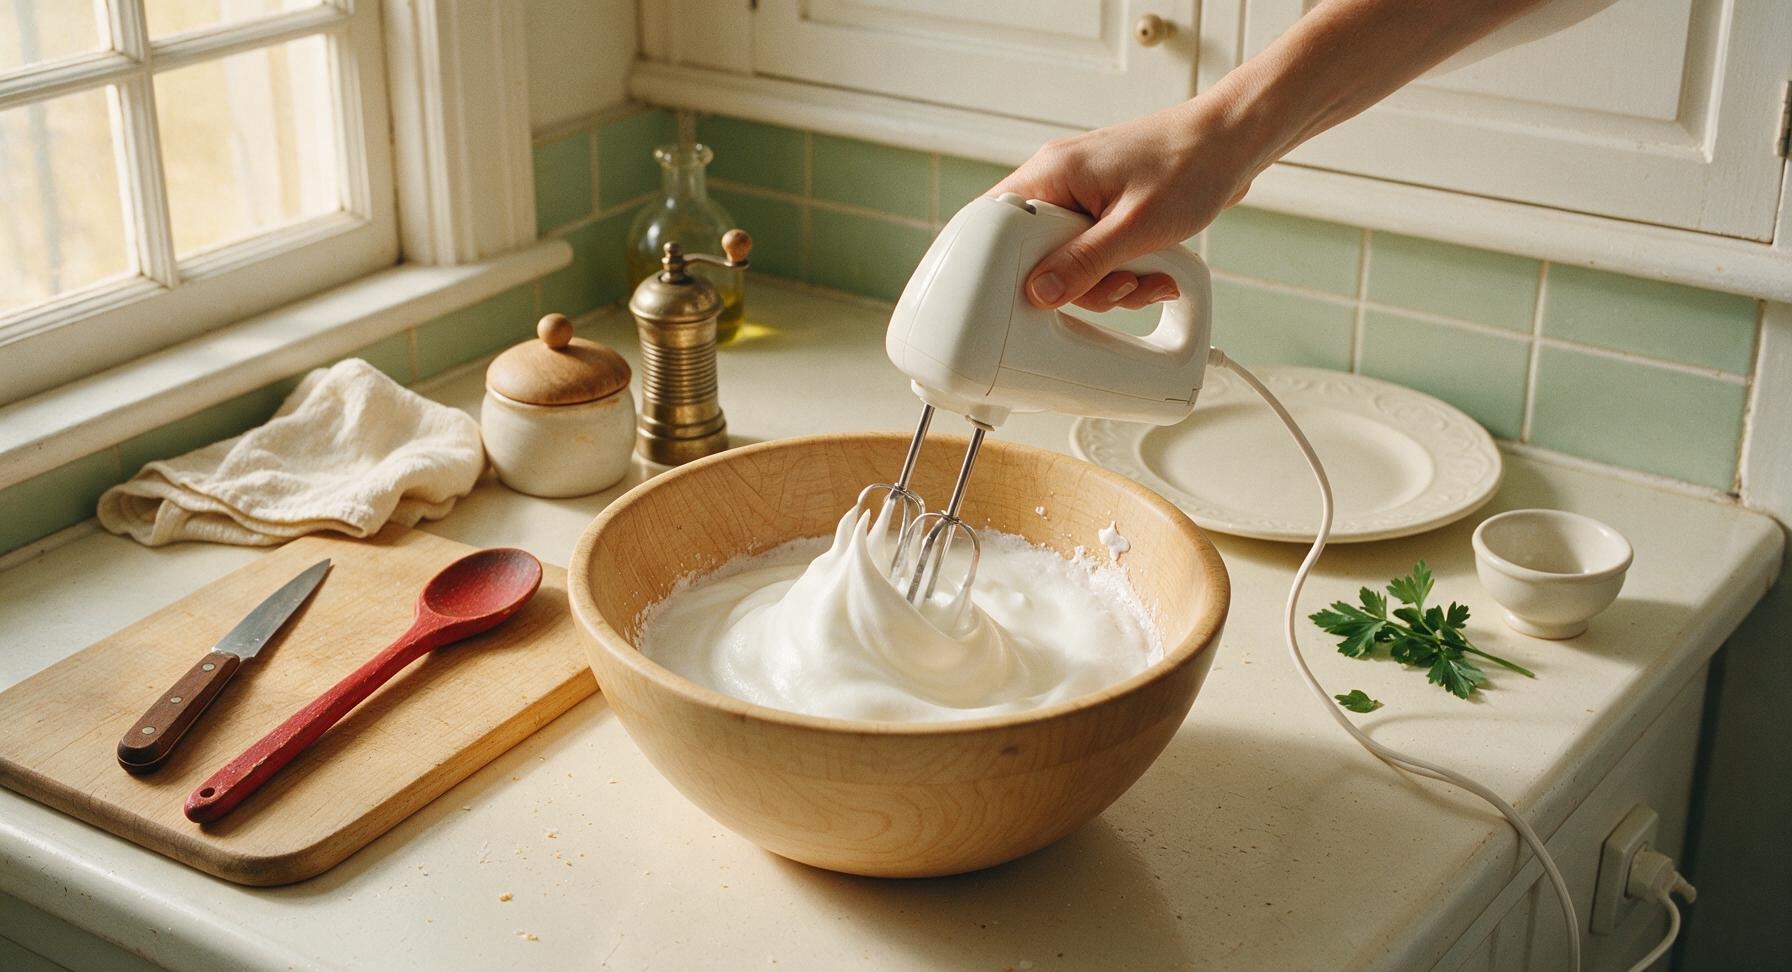
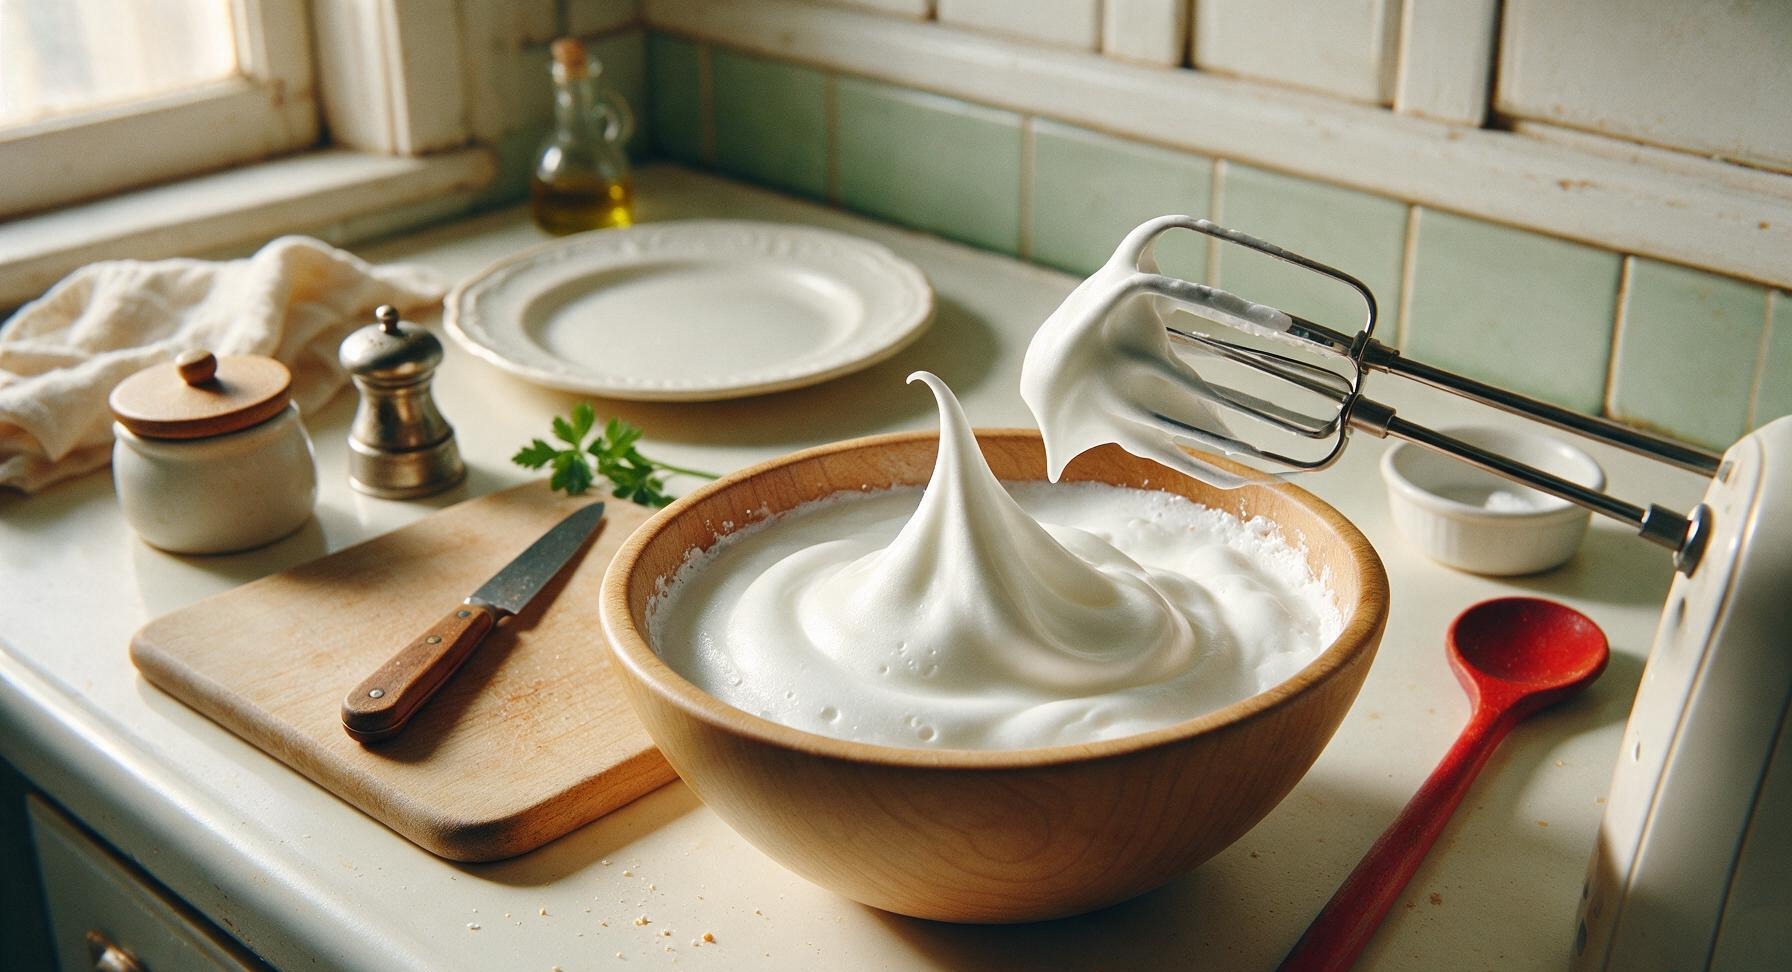
Fold Whites Into Batter
Use the butter yellow silicone spatula to scoop one third of the whipped egg whites into the thick batter in the large bowl, stirring gently to lighten the batter. Add the remaining egg whites in two batches, folding in slow, sweeping motions from the bottom of the bowl up, just until no large streaks of white remain. Stop folding as soon as the batter is evenly combined; a few small white flecks are acceptable, as overfolding will deflate the air and lead to dense waffles.
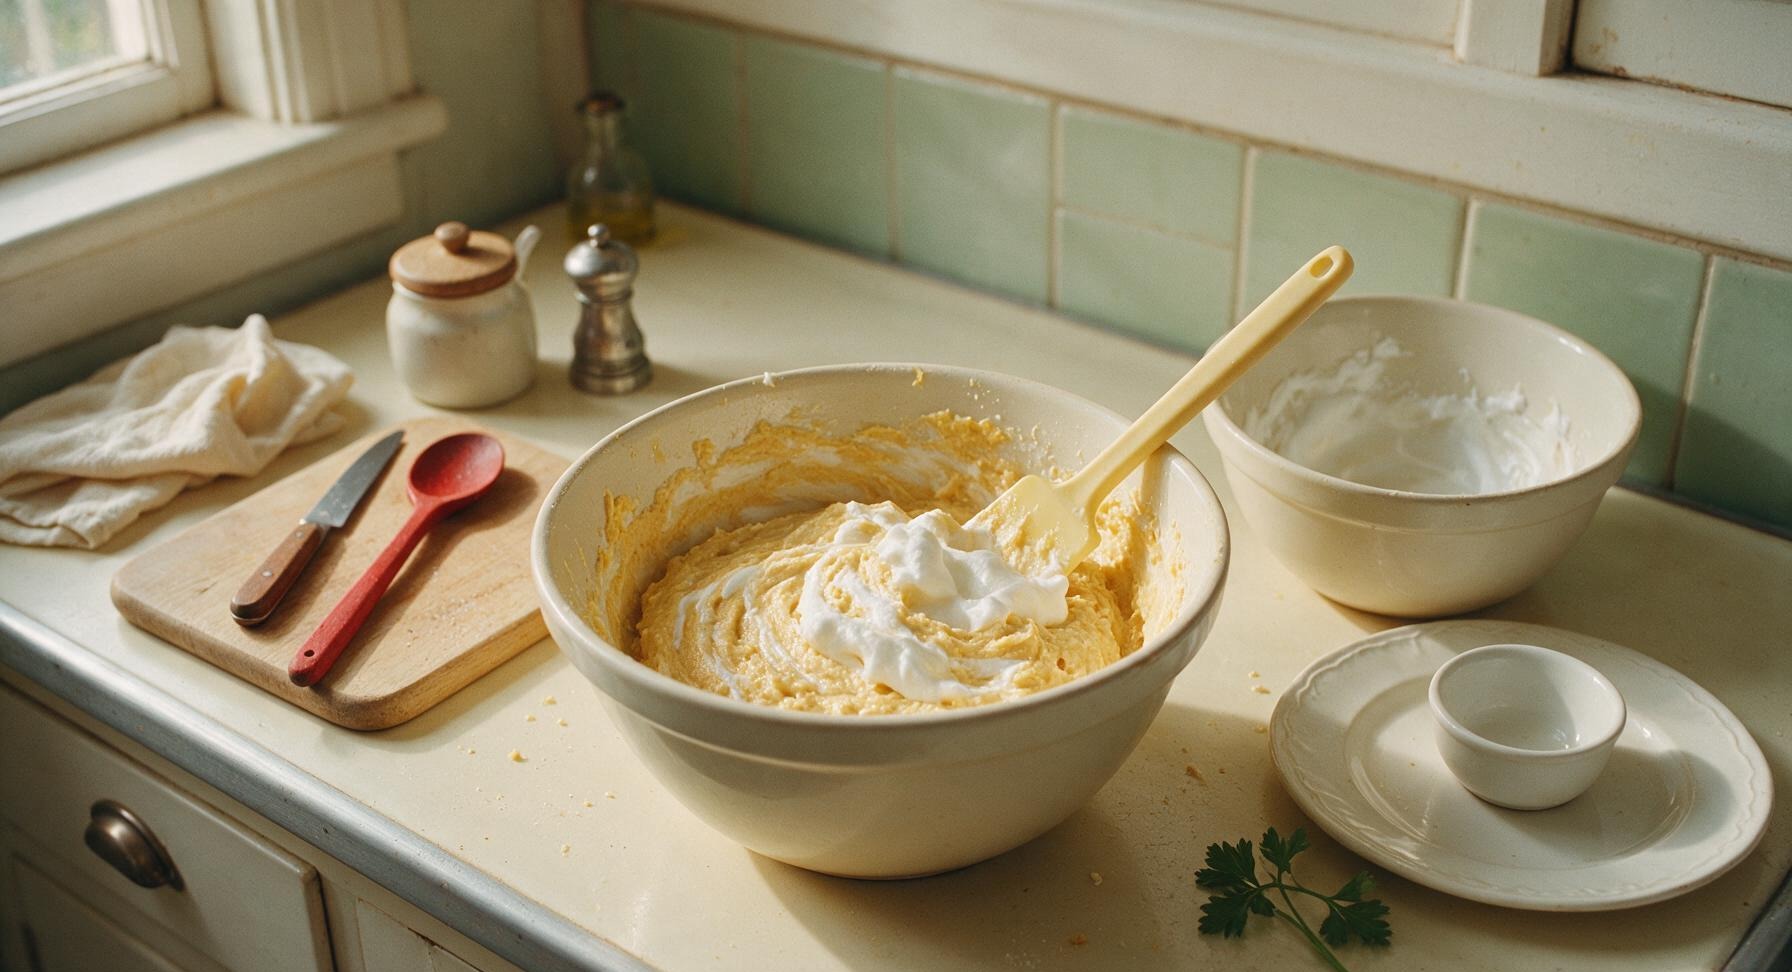
Cook Waffles Until Crisp
Once the waffle maker indicates it is fully preheated, scoop 3/4 cup of the light airy batter directly onto the center of the hot waffle grid. Close the lid, lock it, and cook for 3 1/2 to 4 minutes, until the waffle is deep golden brown, crisp on the edges, and no visible steam escapes from the sides of the waffle maker. Do not open the lid early, as this will cause the waffle to split and stick.
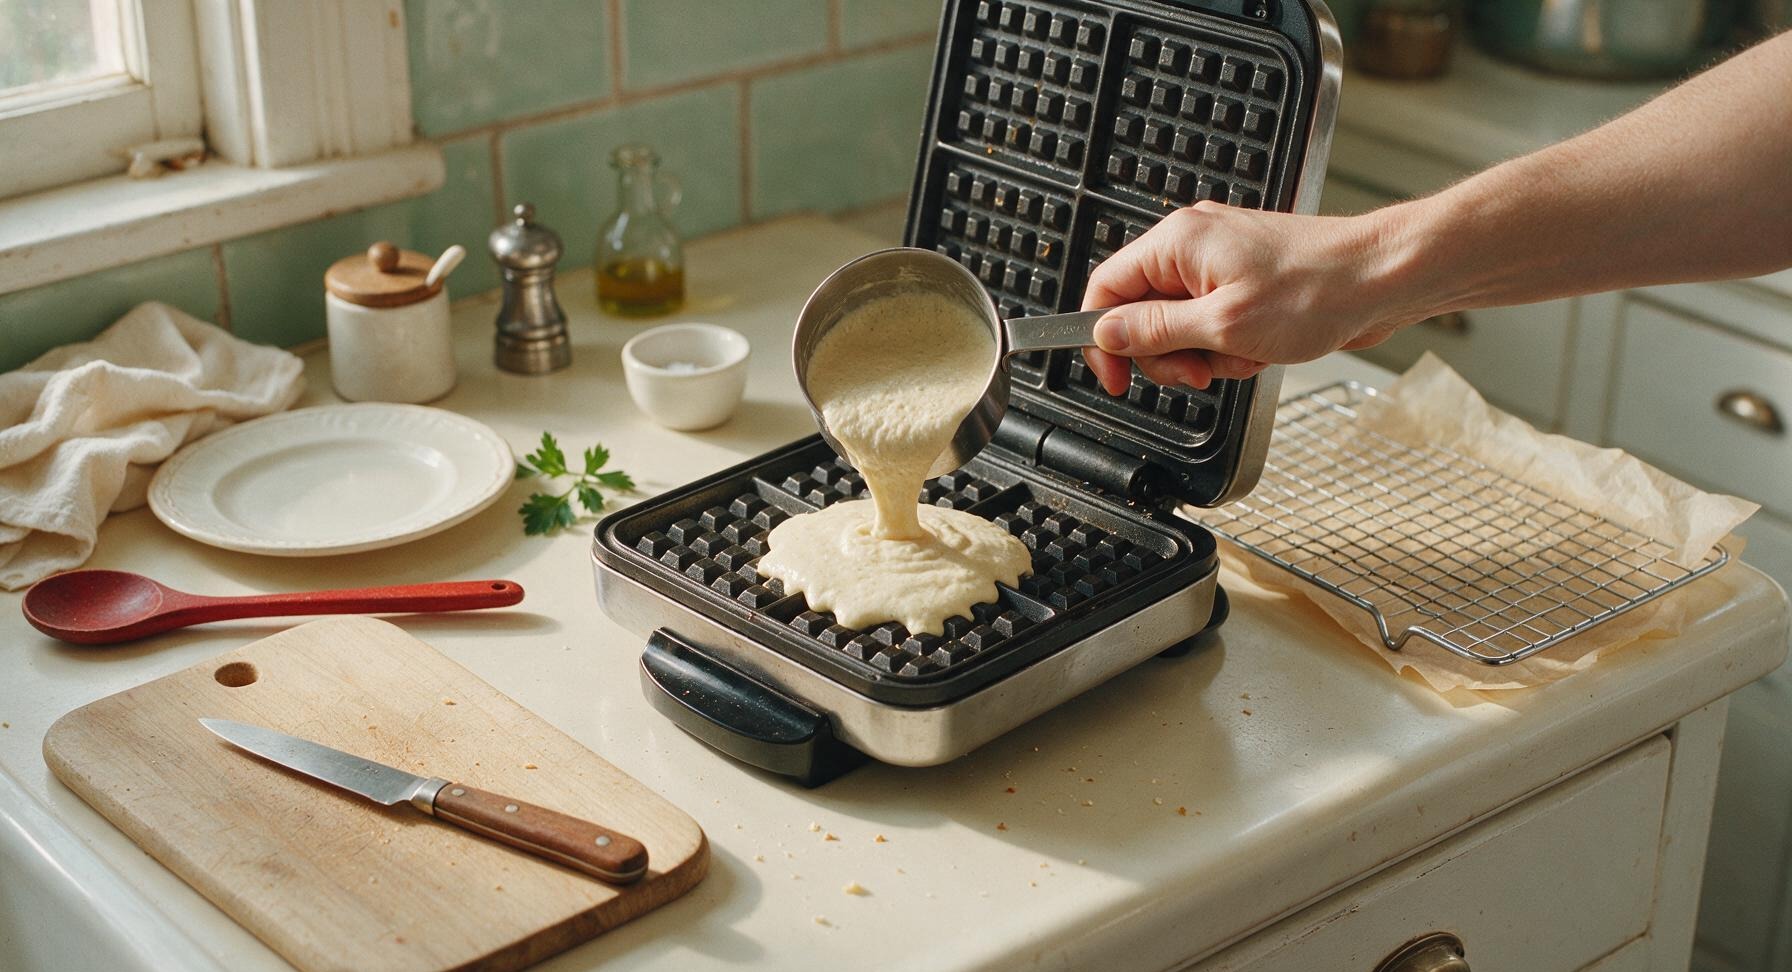
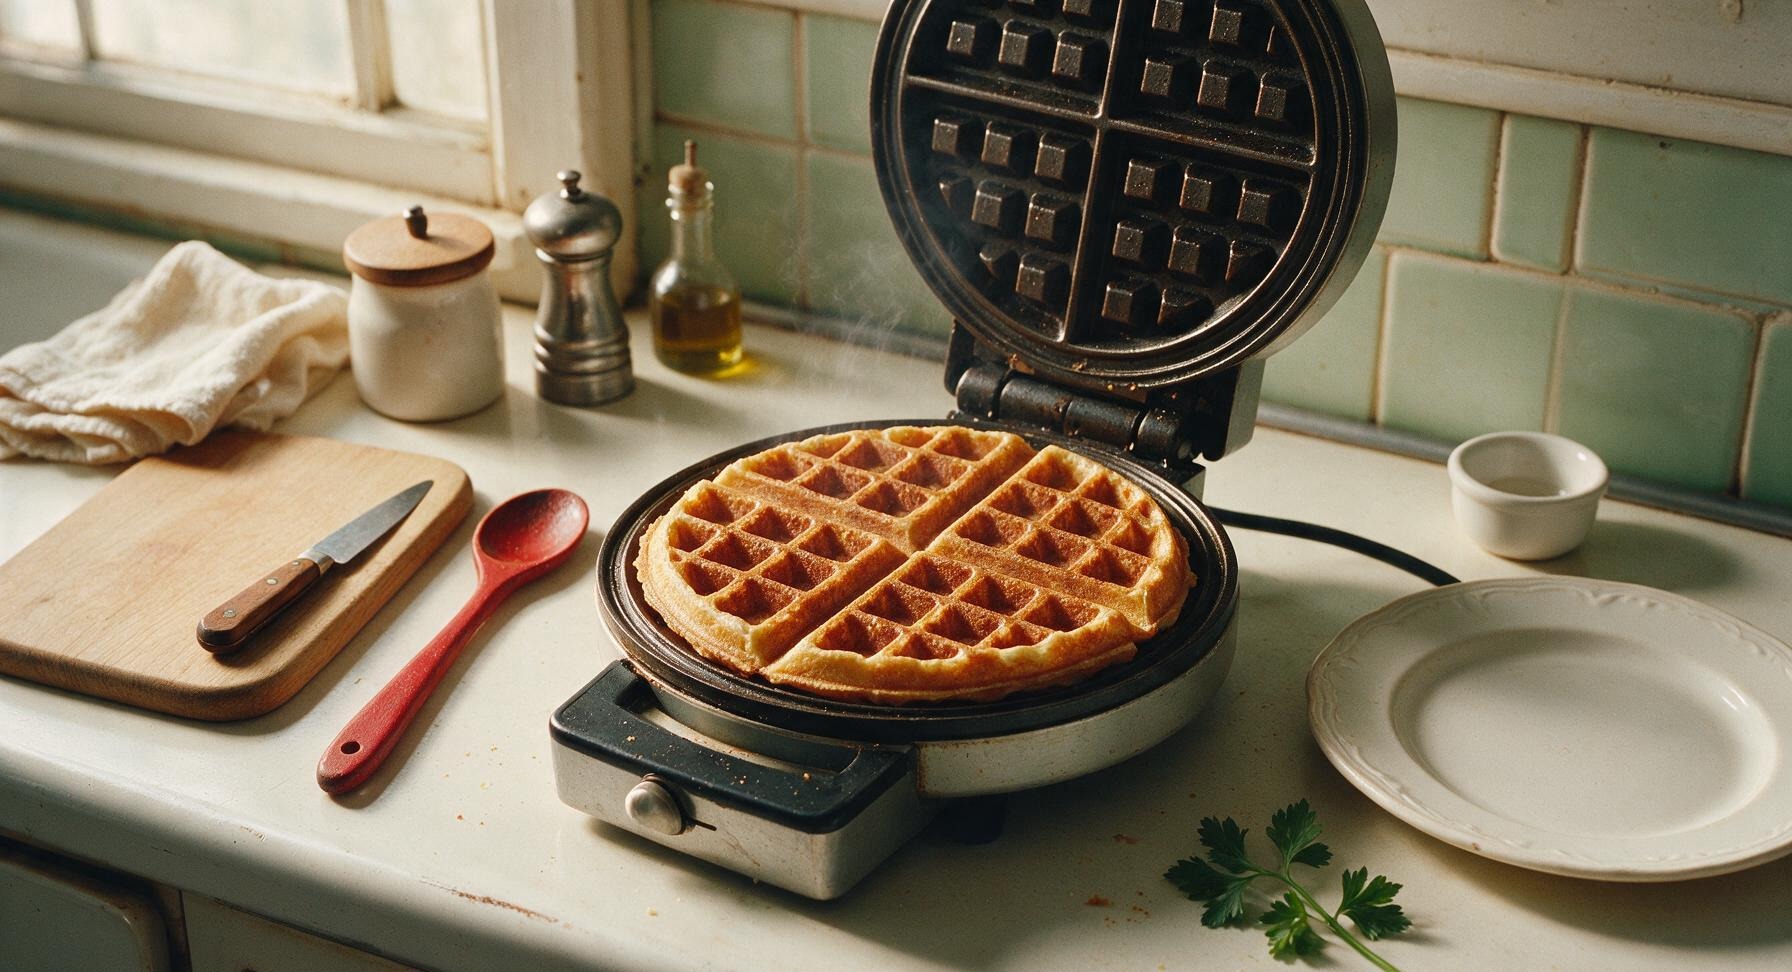
Rest Waffles On Rack
Use the silicone spatula to gently lift the cooked waffle from the iron, and transfer it directly to the parchment-lined chrome wire cooling rack. Do not stack waffles on top of each other, as trapped steam will make crisp edges turn soggy. Repeat the cooking process with the remaining batter, yielding 4 total waffles.
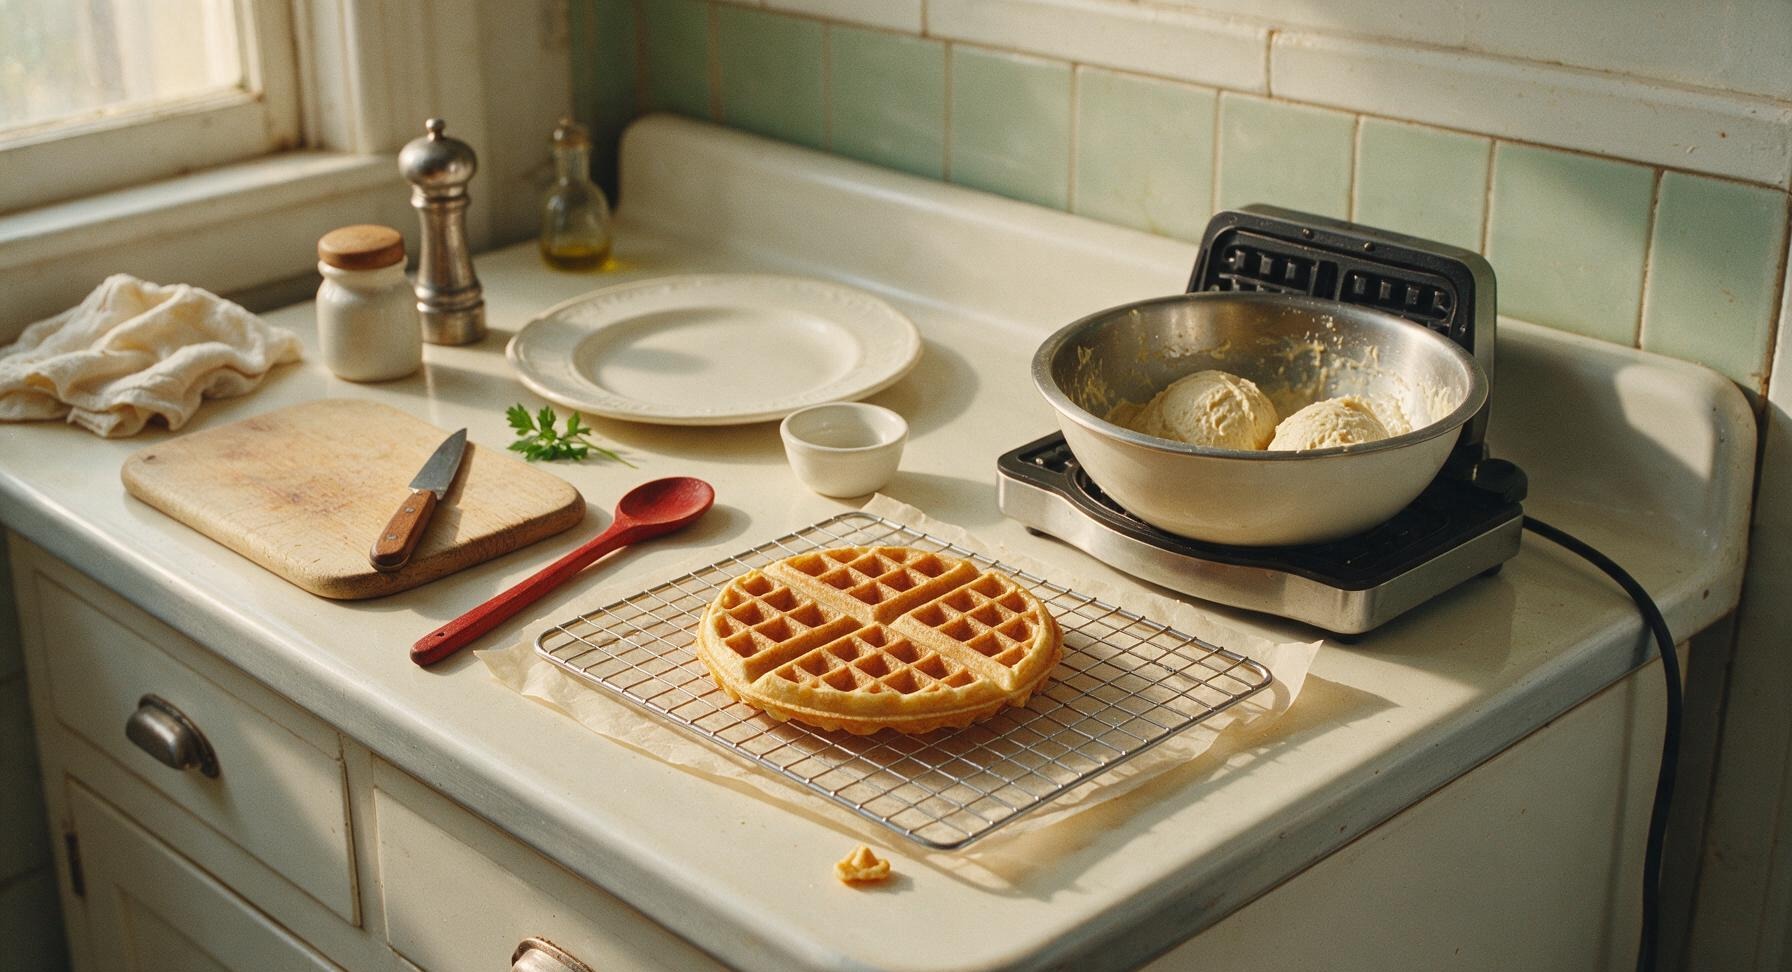
Plate and Serve Warm
Transfer one warm, crisp waffle to the cream stoneware dinner plate. Top with a thin pat of salted butter, a light diagonal drizzle of pure maple syrup, and 3 sliced fresh strawberries fanned at the 3 o’clock position. Tuck a small sprig of fresh mint next to the fruit for a bright pop of color, and serve immediately while the waffle is hot and edges are crisp.
Tips
2.Resist the urge to lift the waffle maker lid before the 3.5 minute cook time elapses: opening early breaks the sealed heat environment, can cause the soft, uncooked waffle to tear and stick to the grid, and prevents the raised grid edges from developing their signature caramelized crispness.
3.Rest cooked waffles directly on the wire cooling rack instead of stacking them or placing them on a solid plate: trapped steam from hot waffles condenses against flat, non-vented surfaces, turning perfectly crisp edges soft and soggy in under 60 seconds.






Made these for my friend’s potluck brunch last weekend and people were begging me for the recipe! So crispy, not soggy at all even when I held them in a warm oven for 20 minutes while everyone arrived. Only note is I added a tiny dash of cinnamon to the batter, chef’s kiss. Will absolutely be making these again.
As someone who burns 90% of the breakfast foods I attempt, these were foolproof! OMG, 20 minutes start to finish, no fancy ingredients, and my teenager actually said ‘this is better than the diner waffles’ which is the highest possible compliment in our house. SO good.
I made these over the weekend and they were incredible! Has anyone tried making a big batch of these and freezing them for quick weekday breakfasts? I’m always looking for easy make-ahead options for my kids before school, and these would be perfect.
Wait, is this recipe supposed to make thinner batter than regular boxed waffle mix? Mine seemed really runny when I mixed it up, I almost added extra flour but decided to follow the directions exactly and they turned out perfect? Wild, I was convinced I messed it up!
These are solid! I swapped the regular milk for oat milk because that’s all I had in the fridge, and they still came out fantastic. Topped mine with fresh strawberries and a drizzle of maple syrup, *chef’s kiss*.
Took me 22 minutes total from grabbing the ingredients out of the pantry to taking the first waffle off the iron, which is basically the advertised 20 minutes for someone as clumsy as I am. Crisp edges, soft center, not too sweet so you can load up on toppings without it being cloying. Great base recipe.
These taste so good! Quick question though — I don’t have a Belgian waffle maker, only a regular thin waffle iron. Will this recipe still work, or do I need to adjust the cook time?
Made these for my son’s soccer team breakfast before an early game this weekend, and every single kid asked for seconds! Even the kid who ‘hates all breakfast food’ ate two full waffles. My kids loved it, I’ll be doubling the batch next time for sure.
I added a handful of mini chocolate chips to the batter and topped mine with whipped cream and sprinkles for a fun dessert waffle night with my roommates. We all agreed these are way better than the frozen waffles we usually buy for late night snacks.
Love that all the ingredients are just pantry staples I already have at home, no running to the grocery store for fancy buttermilk or special flour. Tastes way fancier than it has any right to for how easy and cheap it is to make. 10/10.
I had the absolute best Belgian waffles on a trip to Brussels last year and have been chasing that flavor ever since. I tried four other recipes before this one, and this is the closest I’ve gotten to that perfect crisp, light texture at home! So happy I found this.
Just got my first waffle iron for my birthday and this was the first recipe I tried! I was so nervous I’d mess it up, but the directions were super straightforward and my first waffle came out perfectly golden. No burnt spots, no raw batter in the middle, total win.
Made these for our monthly brunch club meetup and everyone was raving. I set up a topping bar with fresh fruit, Nutella, peanut butter, whipped cream, and different syrups so people could customize theirs, and the waffles held up perfectly even with all the heavy toppings. No soggy mess! Total game changer for group brunches.