
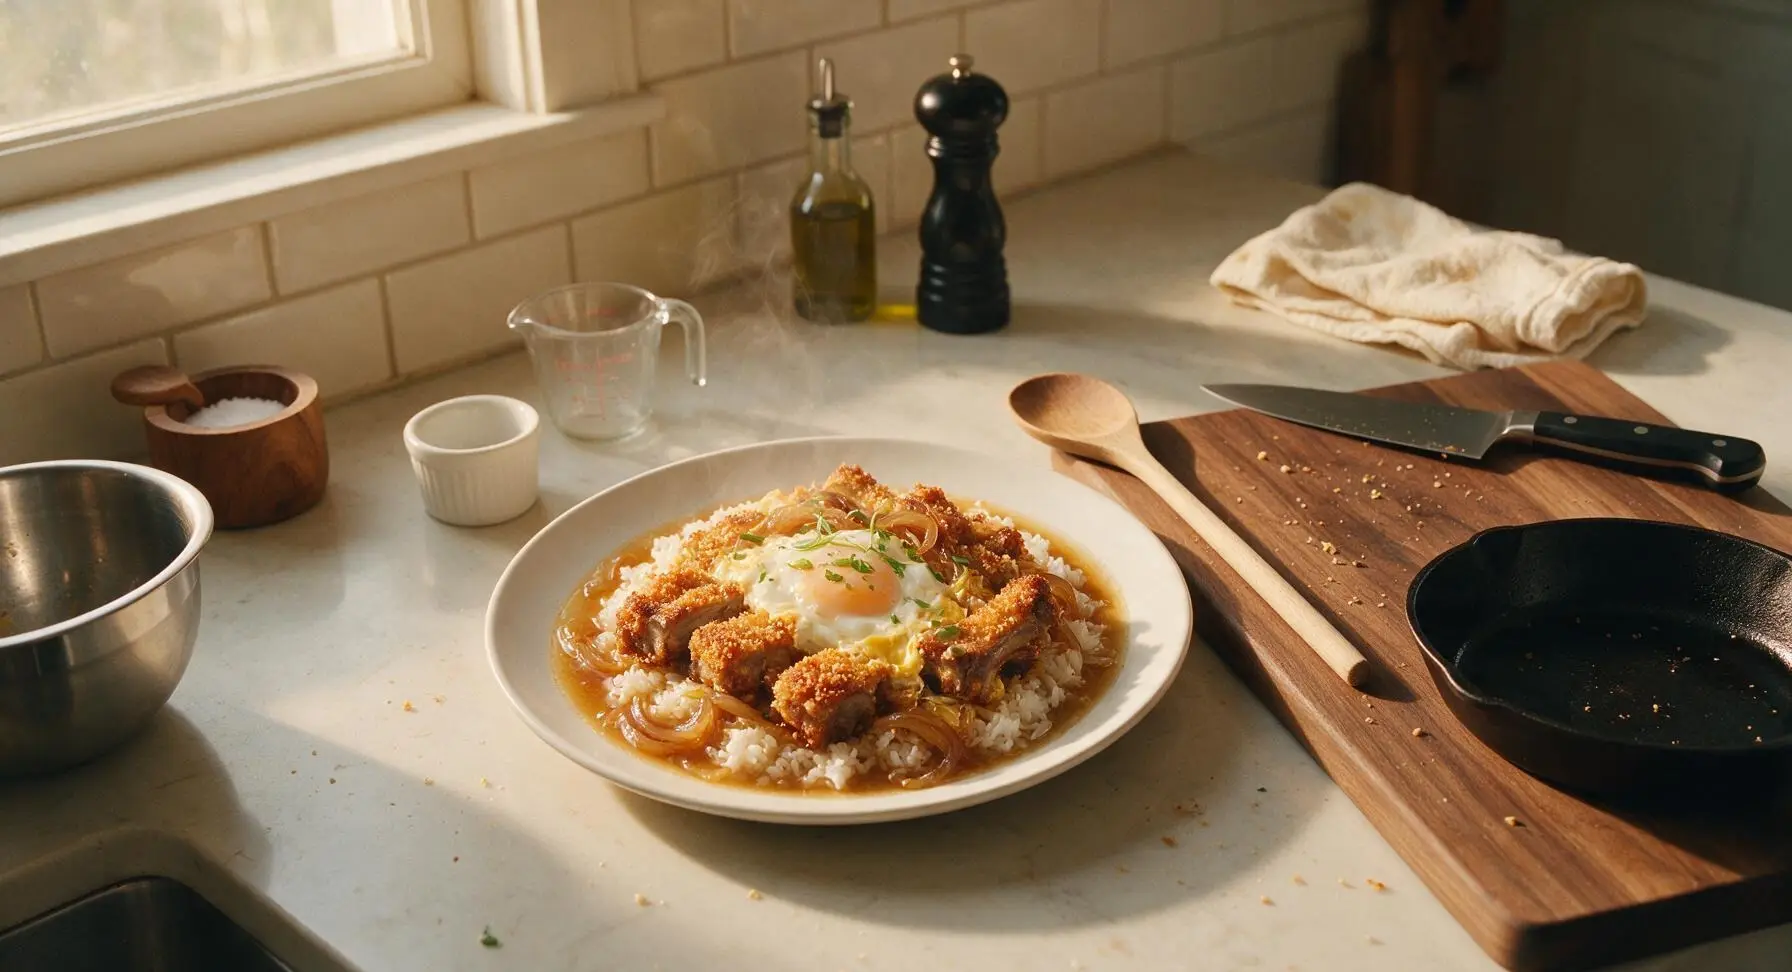
Katsudon Ribs

title 1
Katsudon Ribs
⏱️ cook time 35 minutes
🍽️ servings 4
⚡ Difficulty medium

intro

Crispy panko-breaded pork ribs simmered in savory-sweet dashi, served over rice with soft-set egg and caramelized onion—a hearty, cozy twist on classic Japanese katsudon.

Ingredients
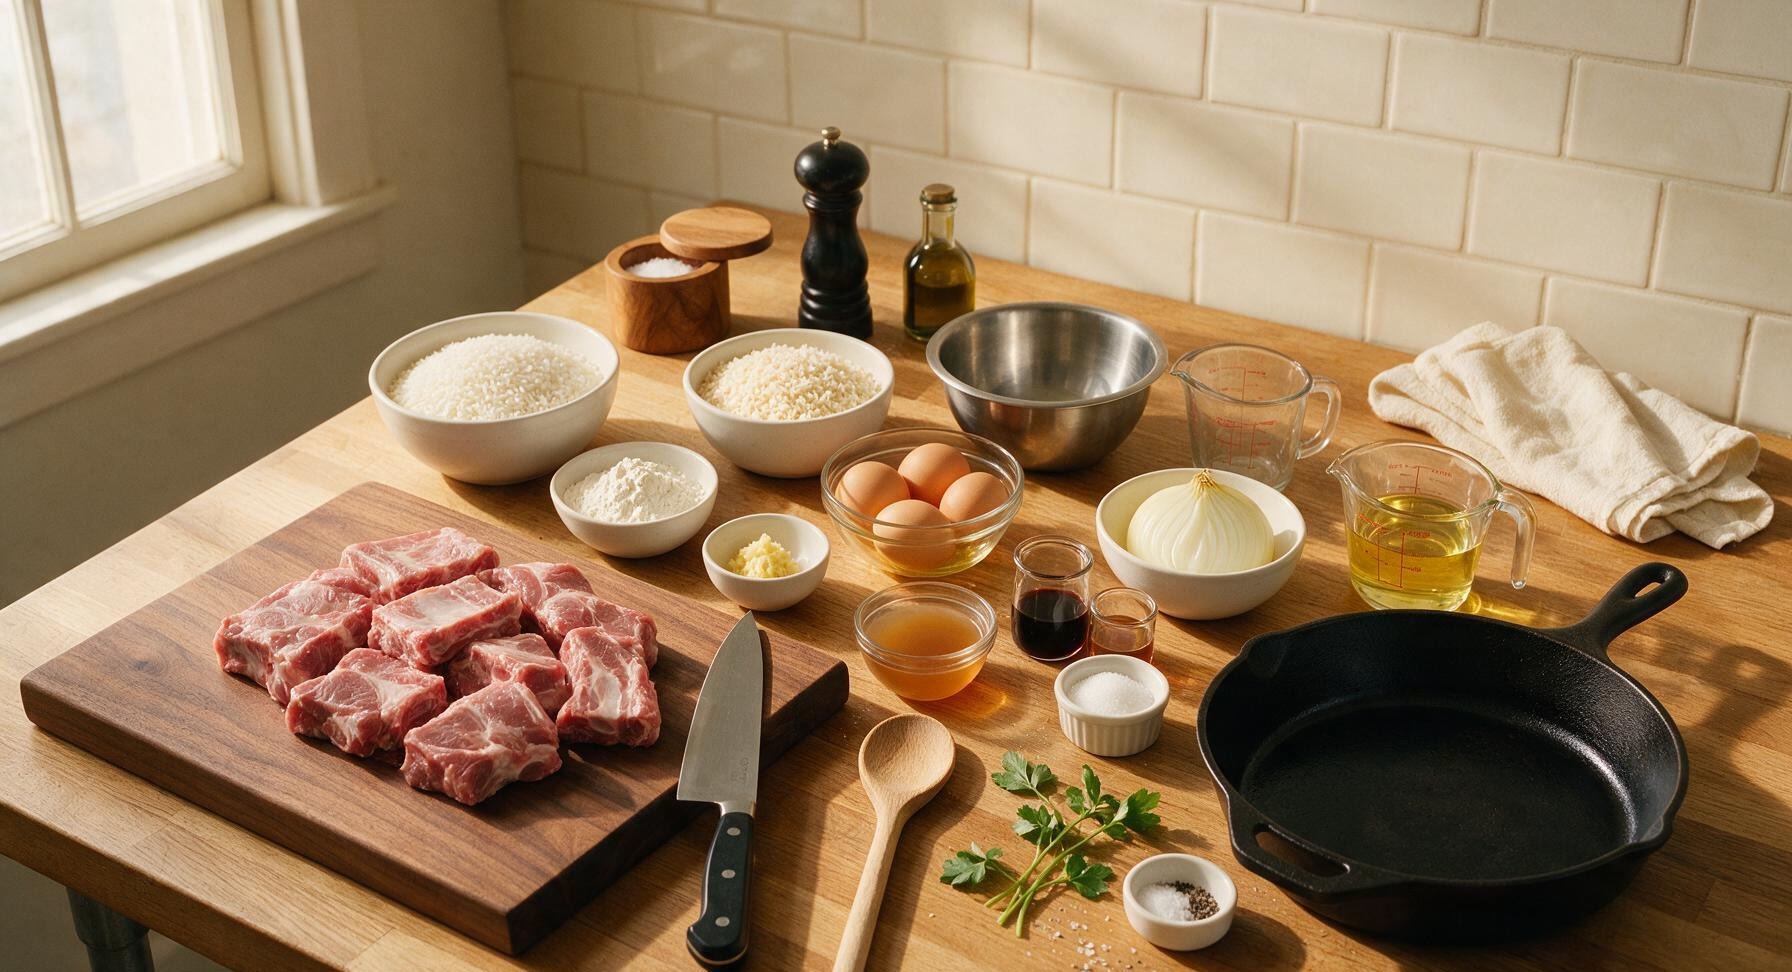
Boneless country-style pork ribs 600g
Japanese short-grain white rice 3 cups dry (yields 9 cups cooked)
Panko breadcrumbs 1.5 cups
All-purpose flour ½ cup
Large eggs 4 (2 for breading, 2 for topping)
Yellow onion 1 large, thinly sliced
Fresh ginger 1 tsp, grated
Dashi stock 1.5 cups
Soy sauce 3 tbsp
Mirin 2 tbsp
Granulated sugar 1 tbsp
Canola oil 2 cups (for frying)
Mitsuba (Japanese parsley) 4 sprigs, for garnish
Kosher salt 1 tsp
Freshly ground black pepper ½ tsp

Steps

1

Prep ribs for breading

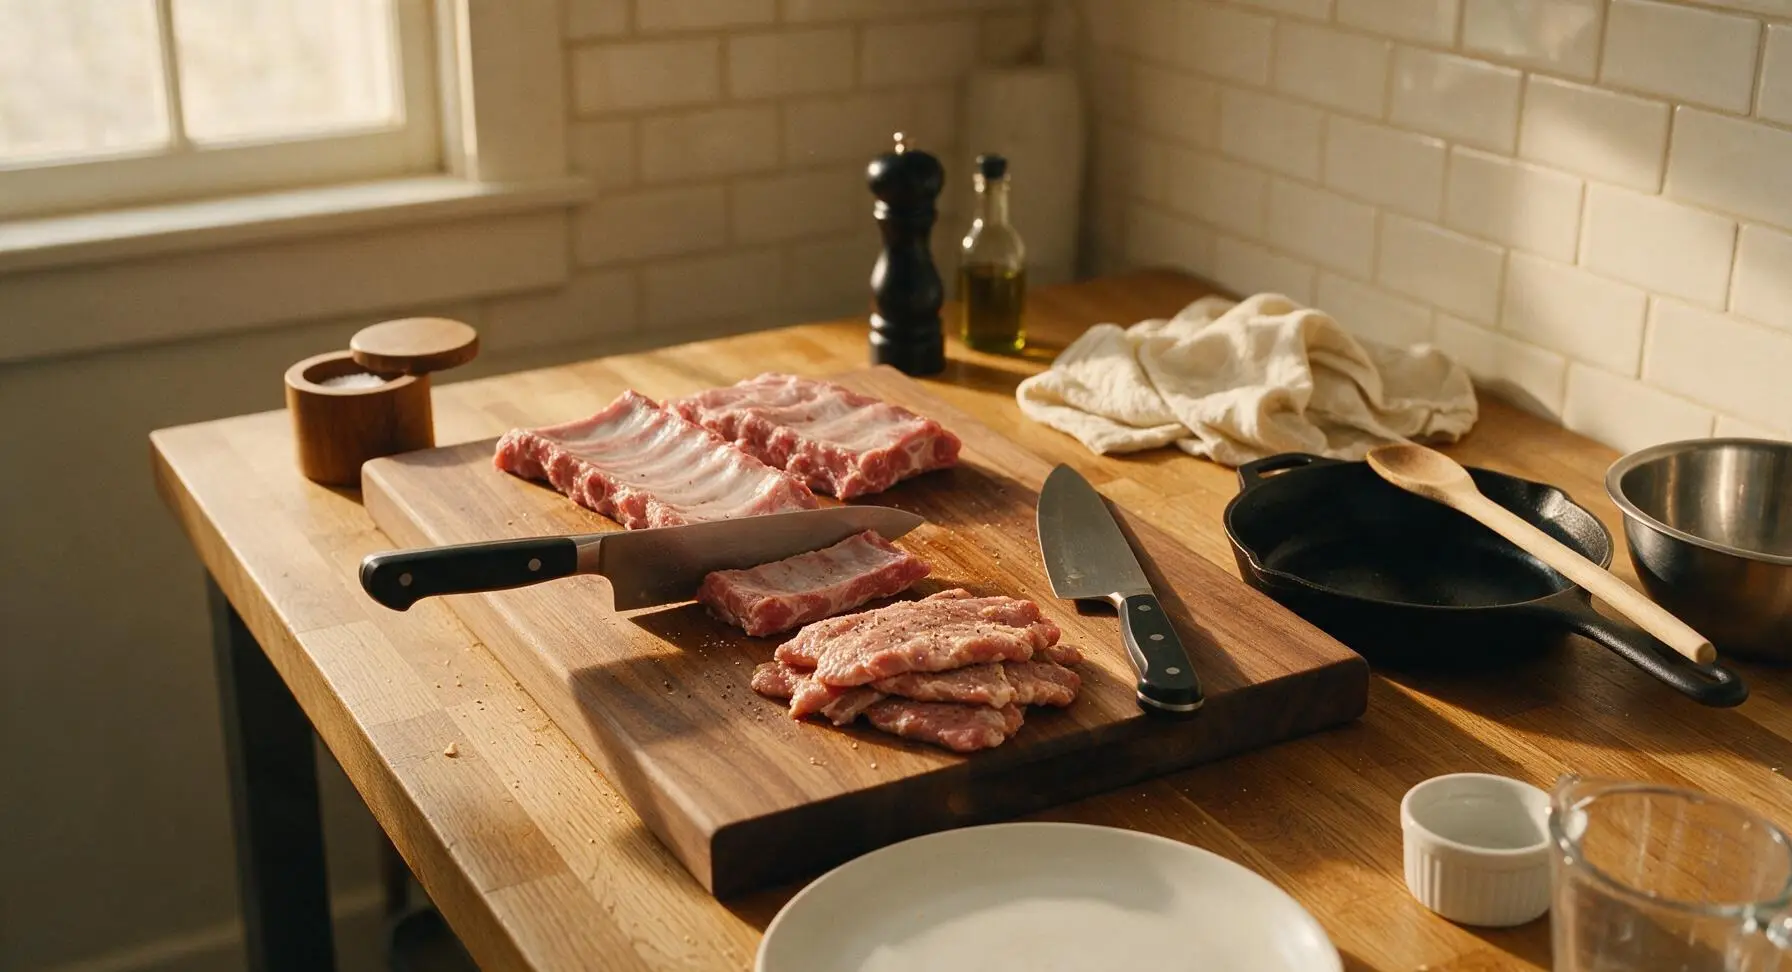
Place boneless pork ribs on the hinoki cutting board. Use the santoku knife to slice ribs into uniform 5cm pieces, then pound each piece to 1.5cm thickness with the flat of the knife blade to ensure even cooking. Season lightly with ½ tsp kosher salt and ¼ tsp black pepper. Set aside.
Step 1
step1:Prep ribs for breading
2

Set up breading station

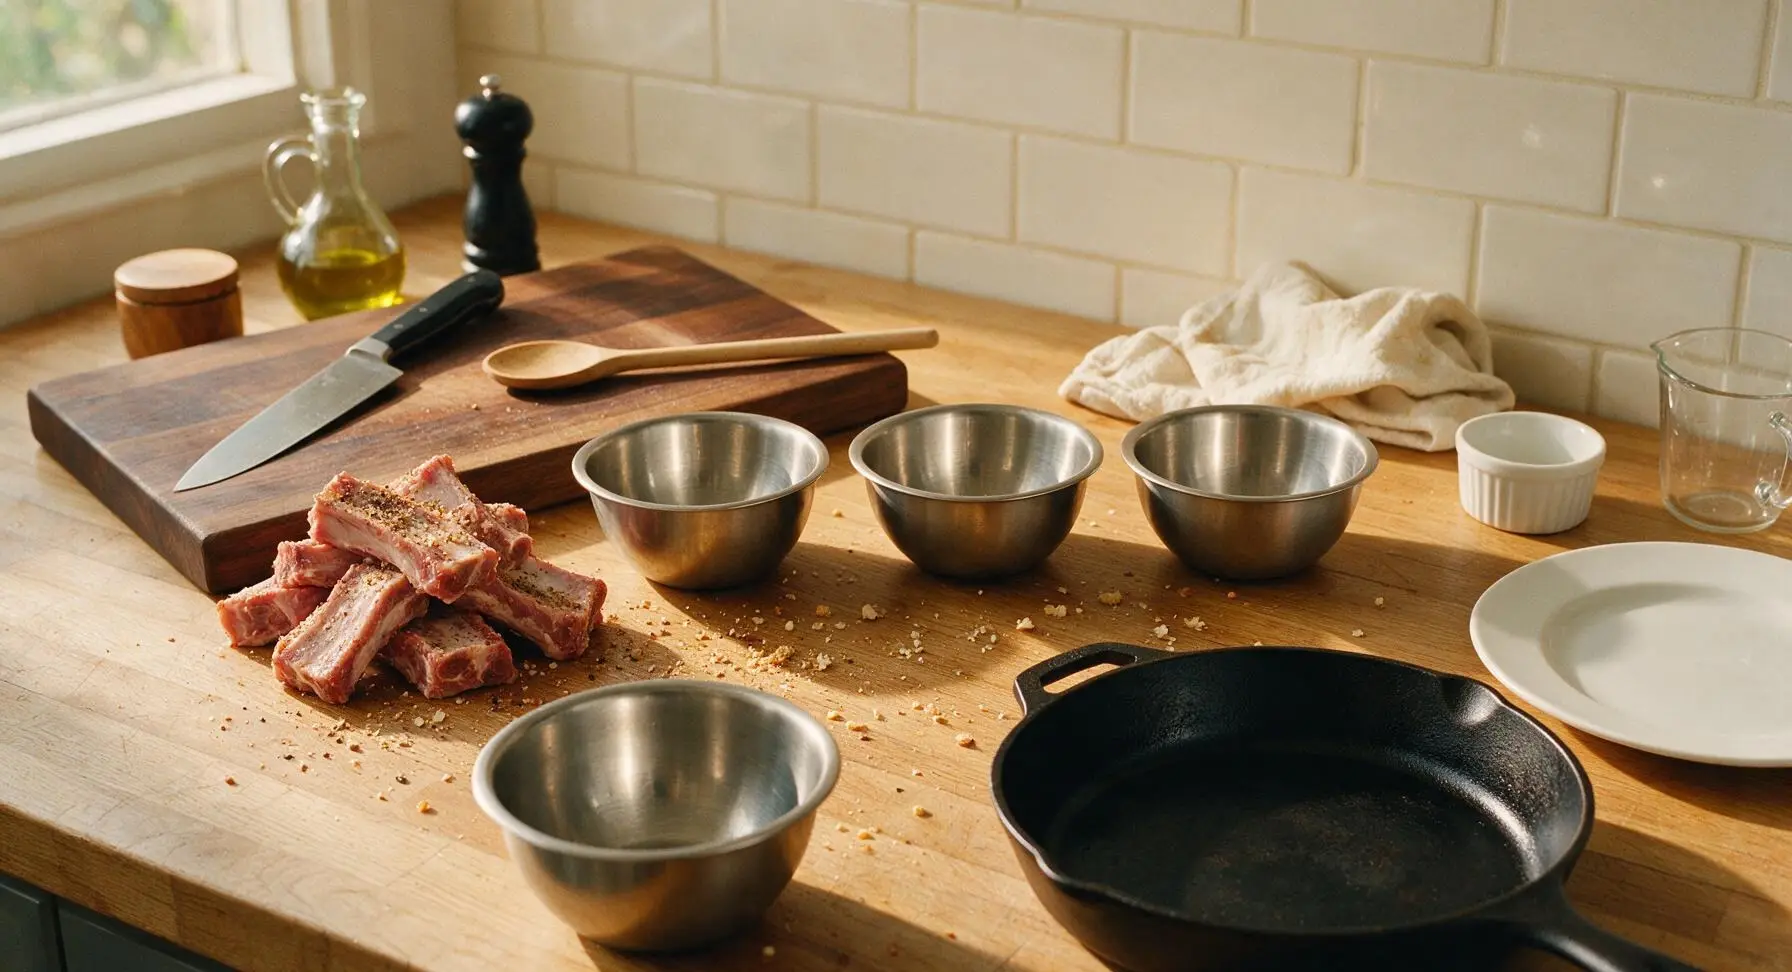
Arrange the three stainless steel mixing bowls in a line to the right of the cutting board. Fill the first bowl with all-purpose flour seasoned with the remaining ½ tsp salt and ¼ tsp pepper, the second bowl with 2 lightly beaten large eggs, and the third bowl with panko breadcrumbs.
Step 2
step2:Set up breading station
3

Bread rib pieces evenly

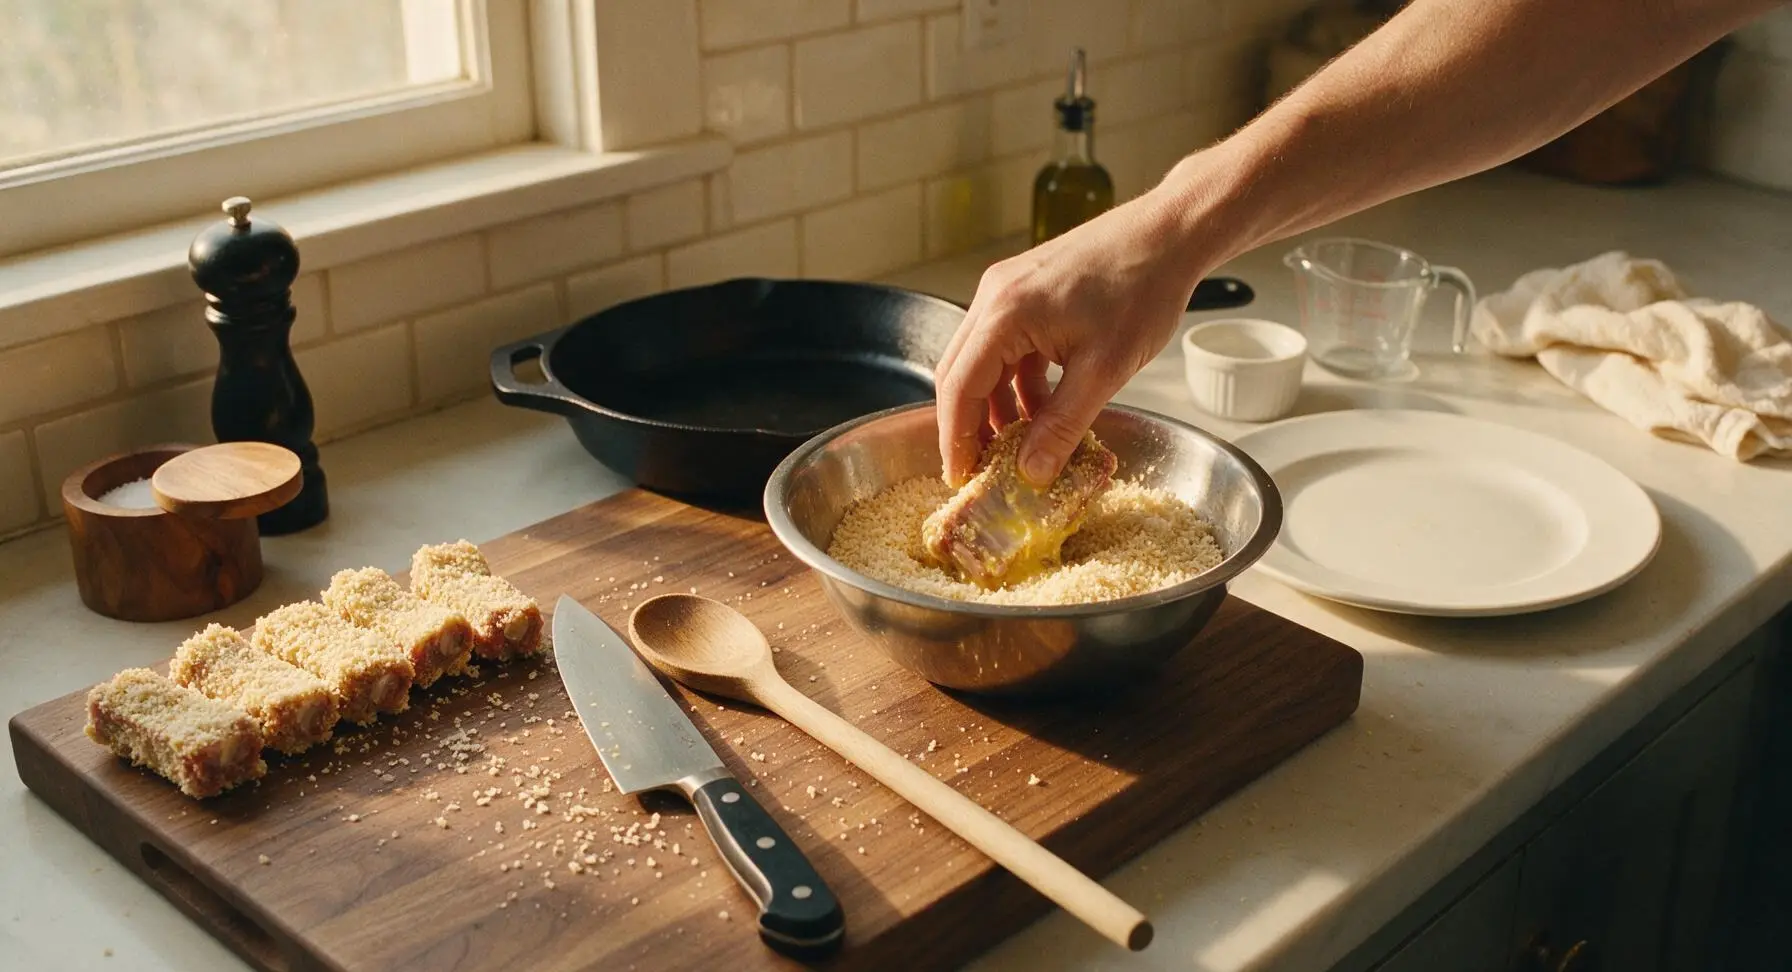
Working one piece at a time, coat each rib first in seasoned flour, shaking off all excess. Dip fully in beaten egg, letting excess drip off, then press firmly into panko breadcrumbs to coat every side, ensuring a thick, even crust with no bare spots. Set breaded ribs on a clean edge of the cutting board for 5 minutes to let the panko adhere, which prevents it from falling off during frying.
Step 3
step3:Bread rib pieces evenly
4

Fry ribs until golden

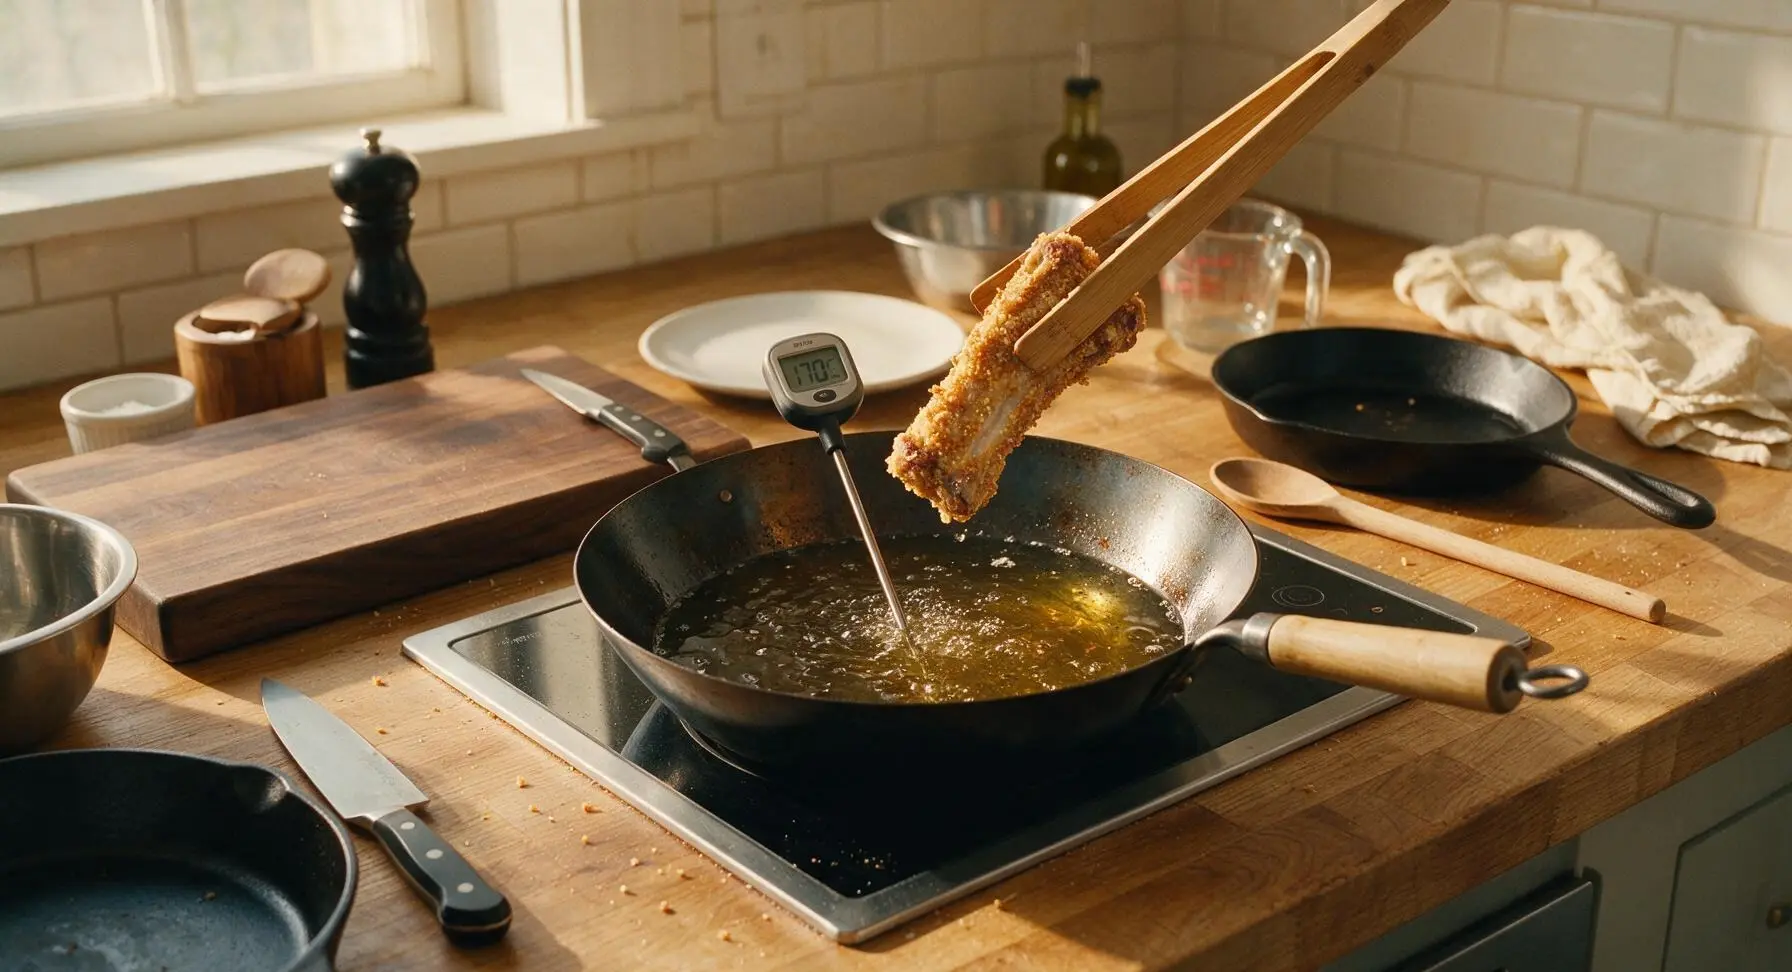
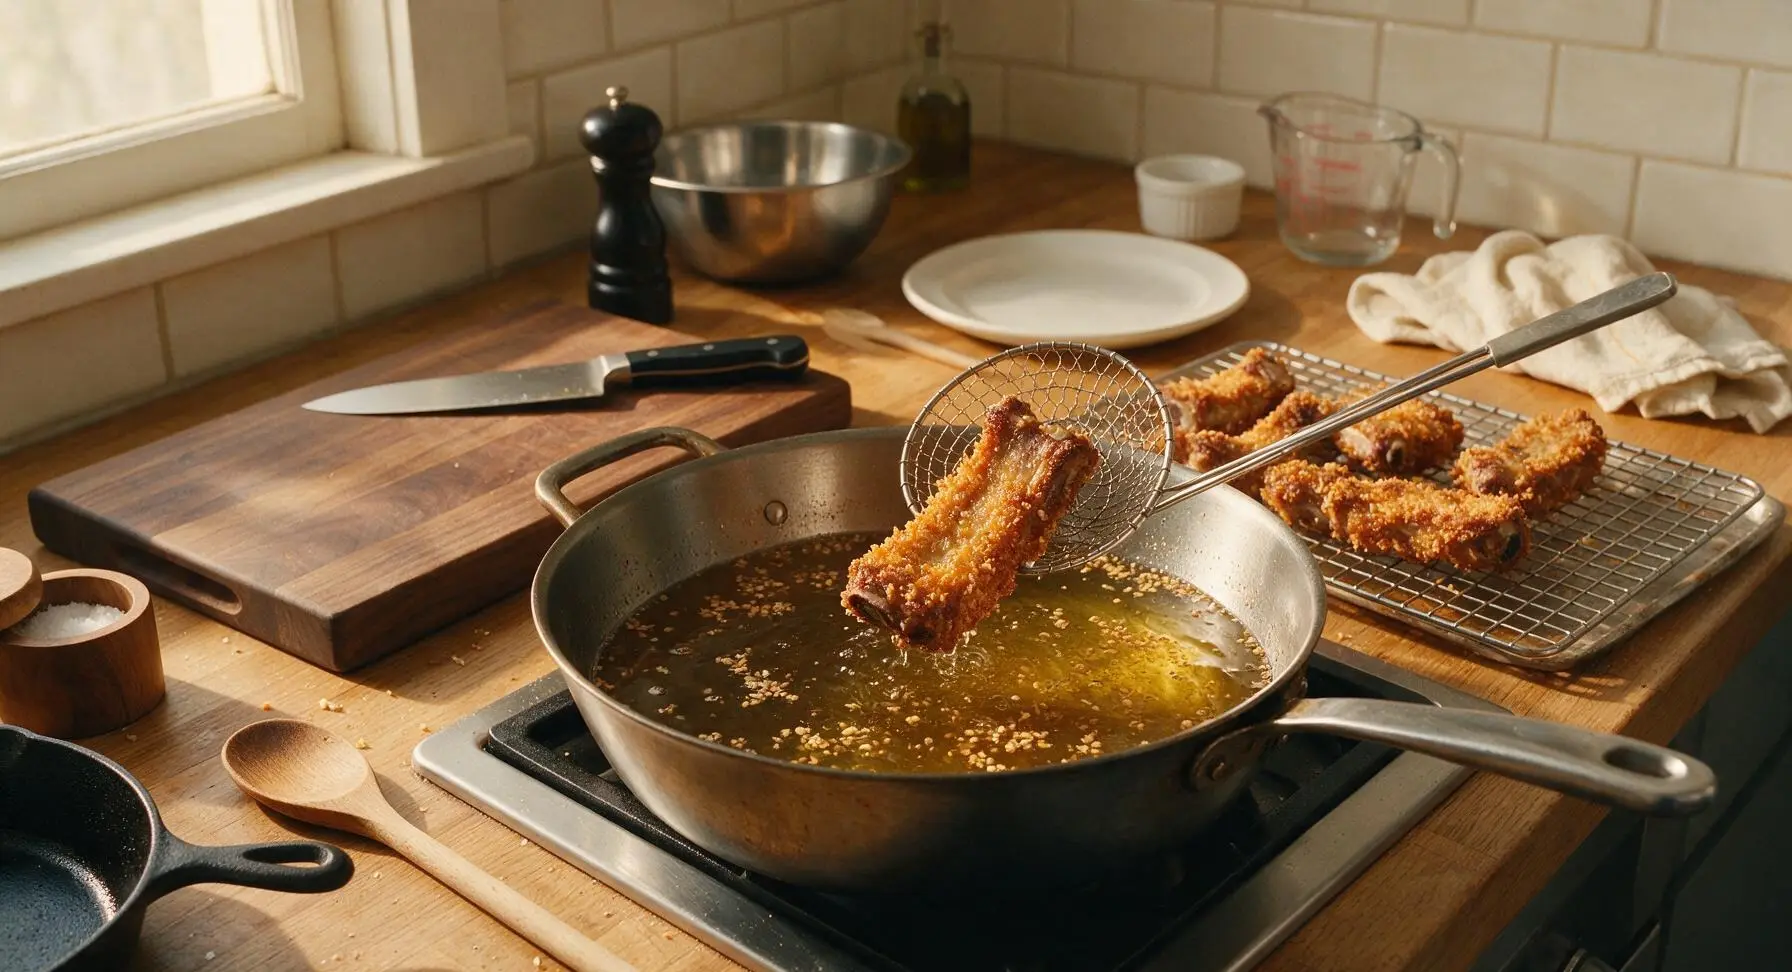
Pour canola oil into the 10-inch carbon steel deep frying pan to a depth of 2cm, heat over medium heat to 170C (340F), verified with the digital kitchen thermometer. Use bamboo tongs to lower breaded ribs into the oil in batches of 3-4 pieces, taking care not to overcrowd the pan (which drops oil temperature and makes crusts soggy). Fry for 3 minutes per side until deep golden brown and crispy, then remove with the wire skimmer to the stainless steel wire cooling rack to drain excess oil.
Step 4
step4:Fry ribs until golden
Step 4
step4:Fry ribs until golden
5

Simmer dashi and onion

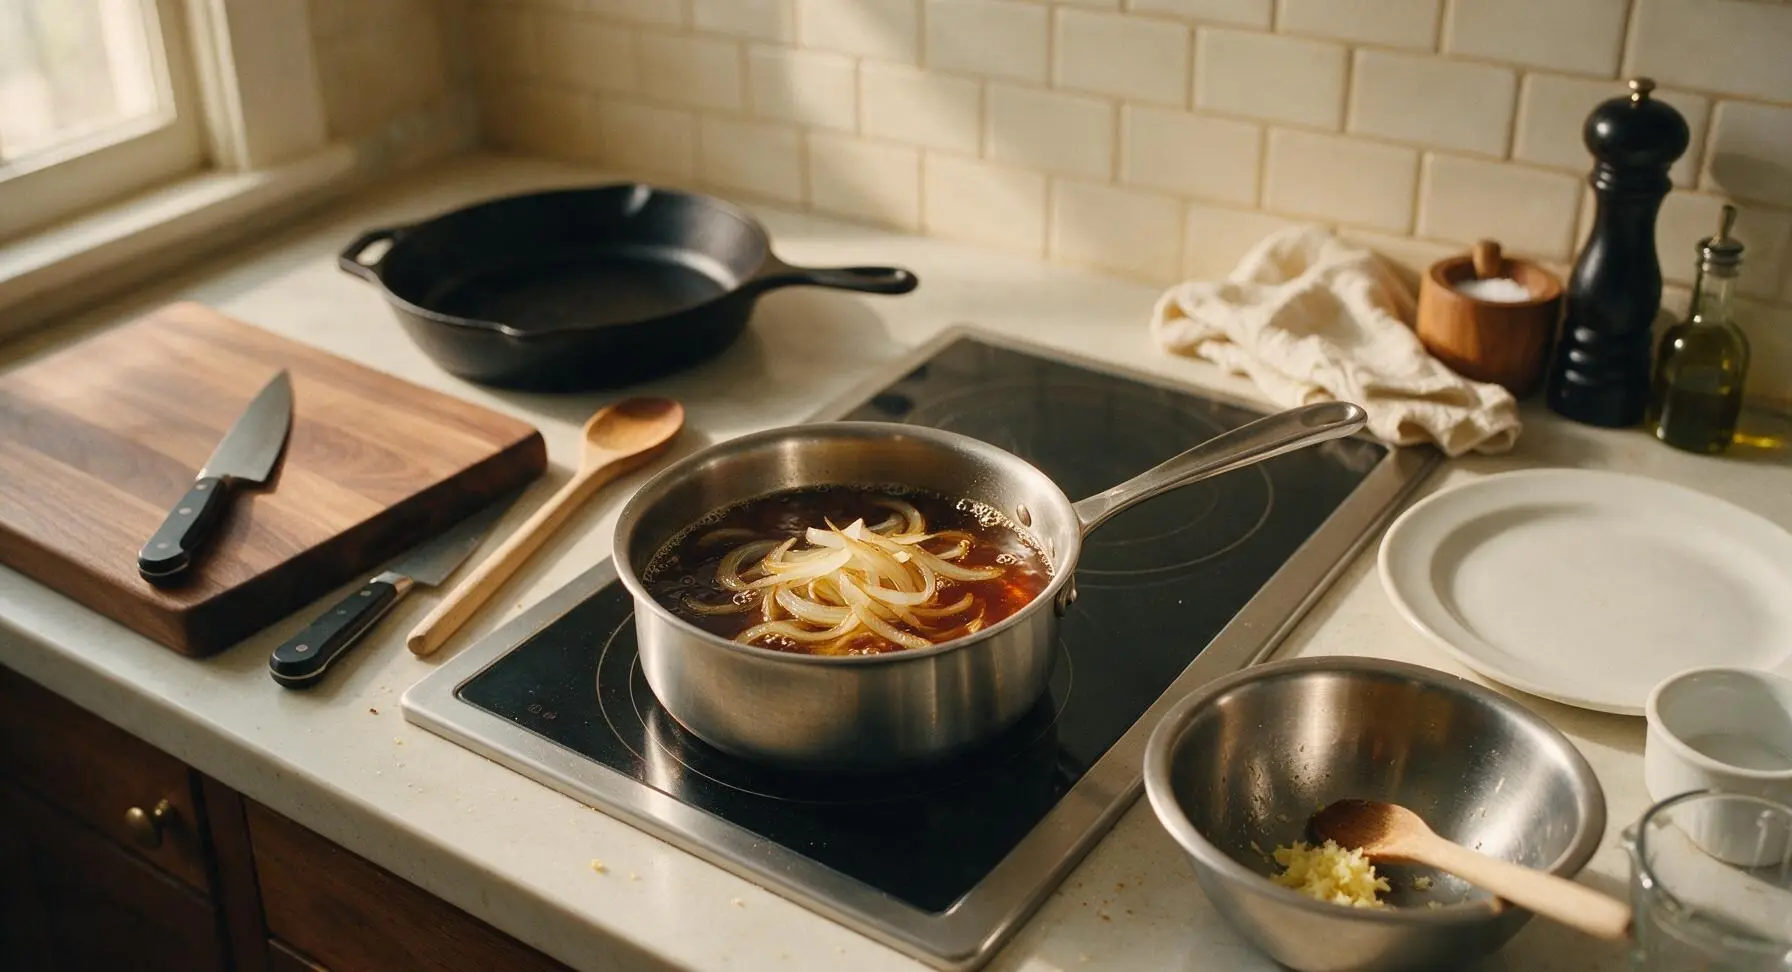
While ribs drain, combine dashi stock, soy sauce, mirin, sugar, and grated ginger in the small stainless steel saucepan, bring to a gentle simmer over medium heat. Add thinly sliced yellow onion, cook for 4 minutes until onion is soft and translucent, with slightly caramelized pale gold edges.
Step 5
step5:Simmer dashi and onion
6

Prep rice and layer ribs

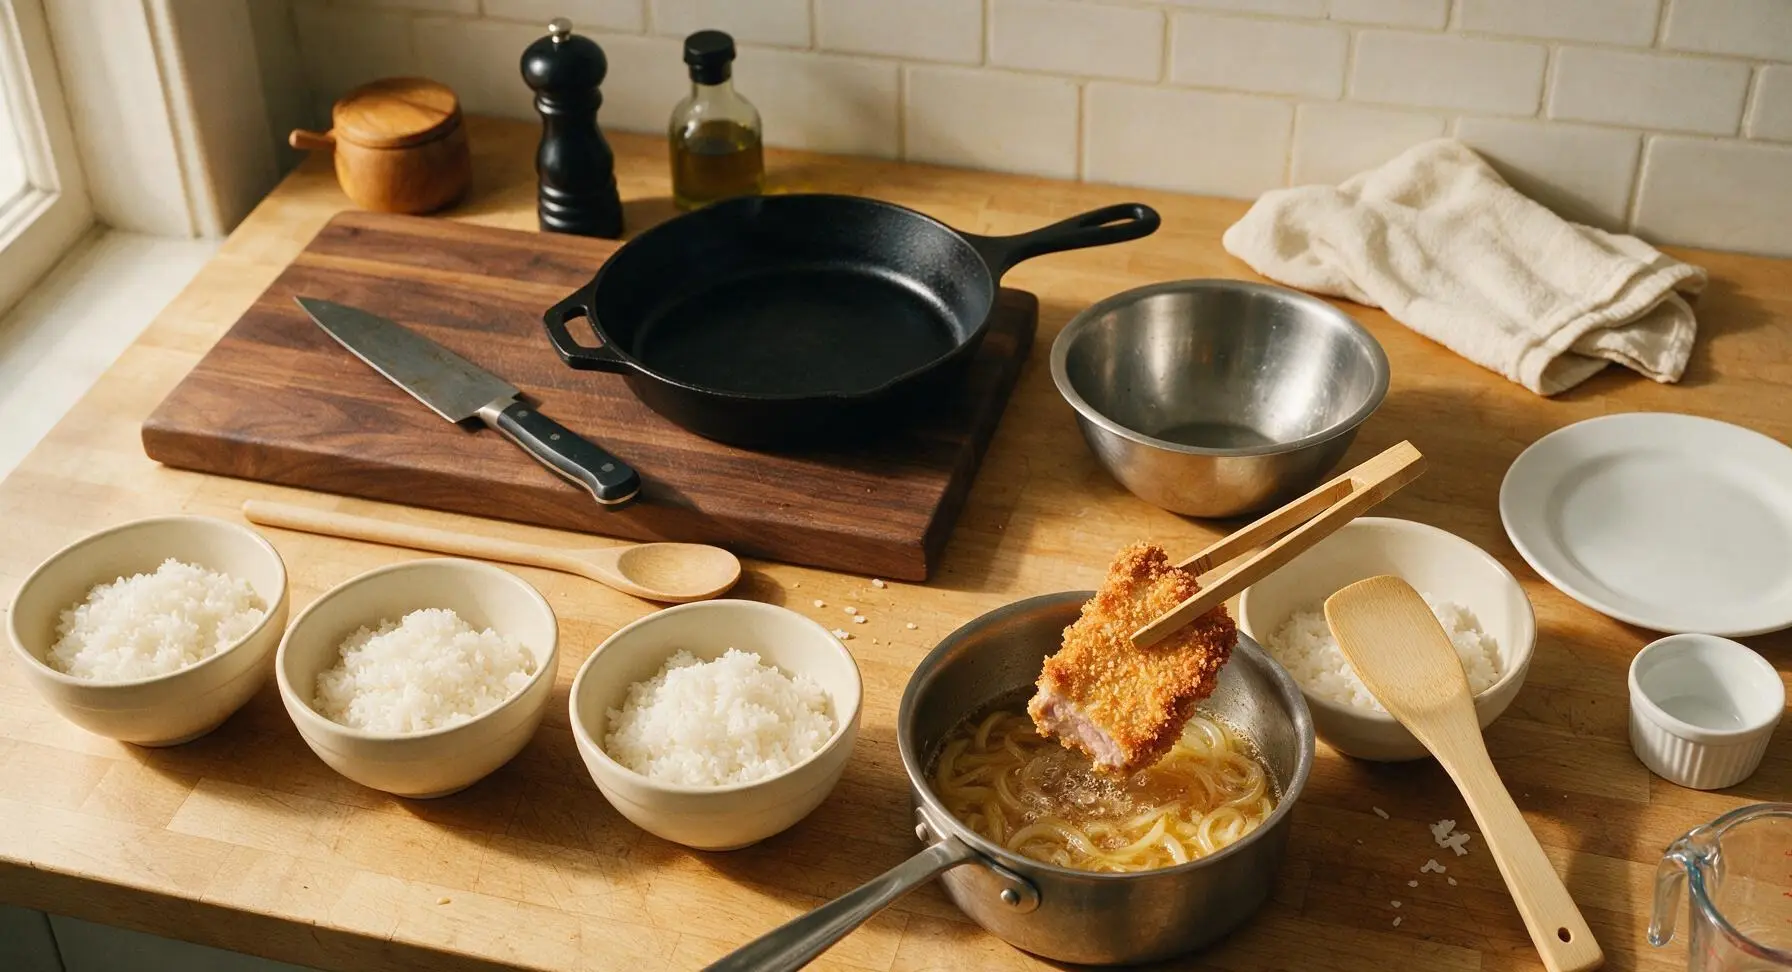
While onion simmers, divide freshly steamed short-grain white rice evenly between the four cream ceramic donburi bowls, using the cedar rice paddle to mound rice gently without packing it tight. Once onion is soft, arrange all fried rib pieces in a single layer over the onion in the simmering dashi broth, spooning 2 tablespoons of broth over the top of the ribs to moisten the panko crust slightly.
Step 6
step6:Prep rice and layer ribs
7

Cook soft egg topping

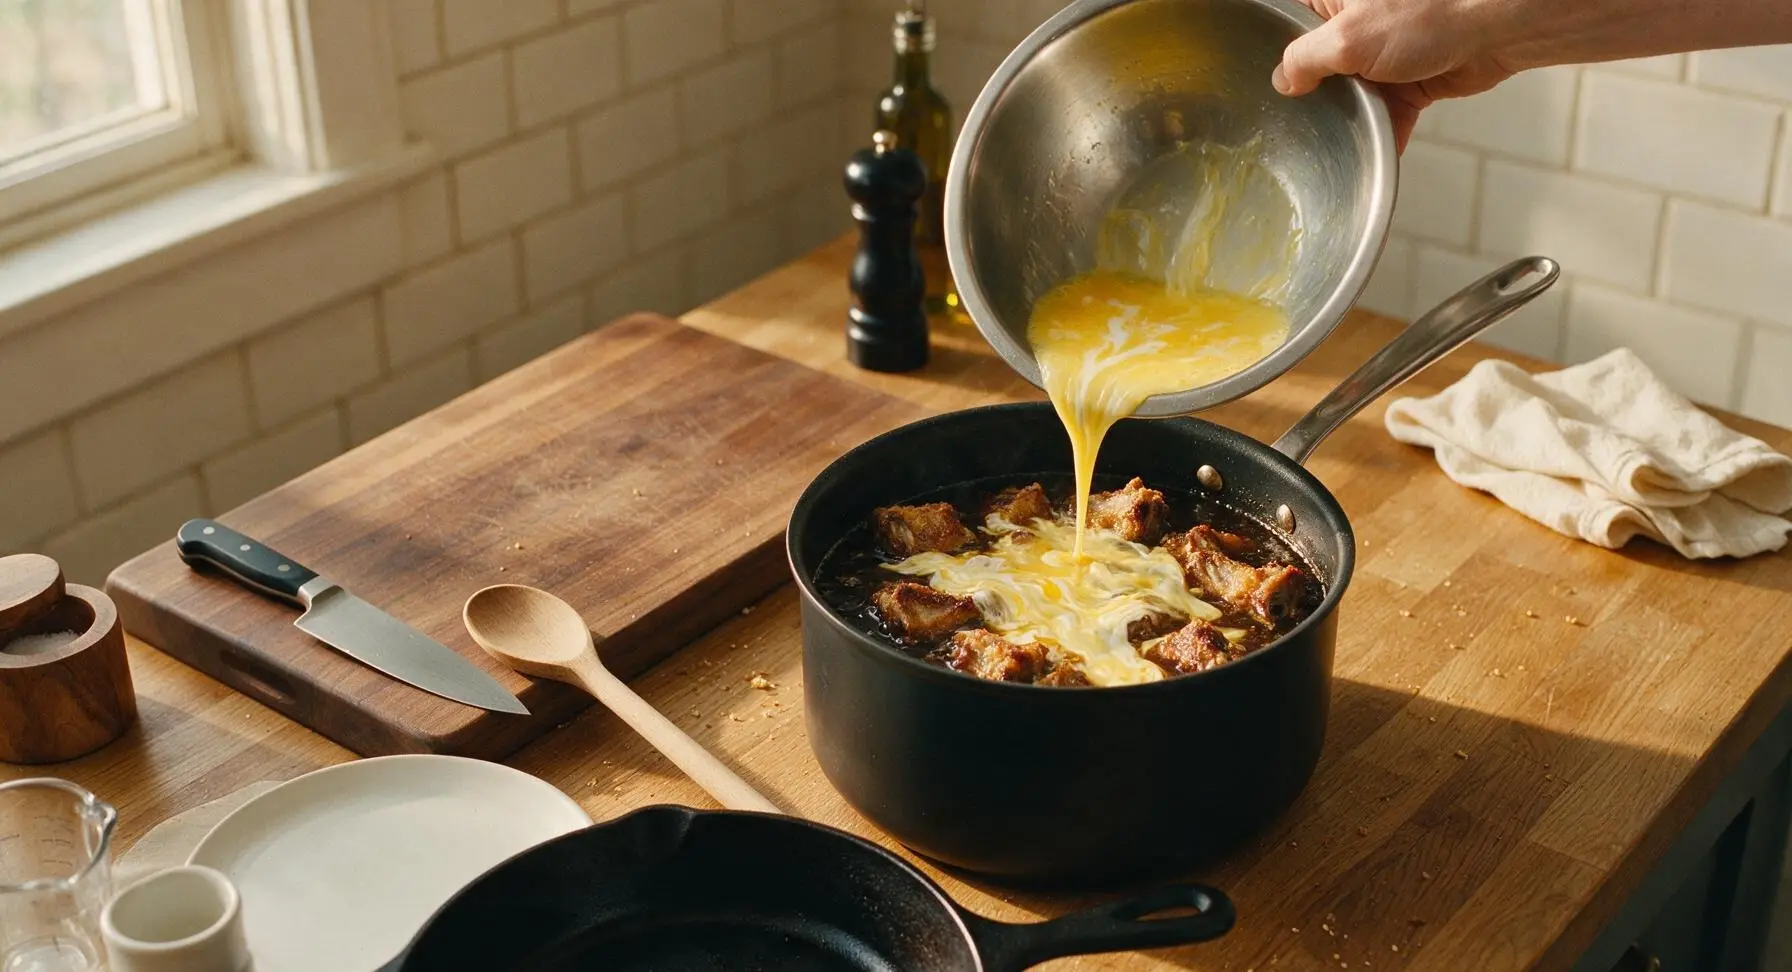
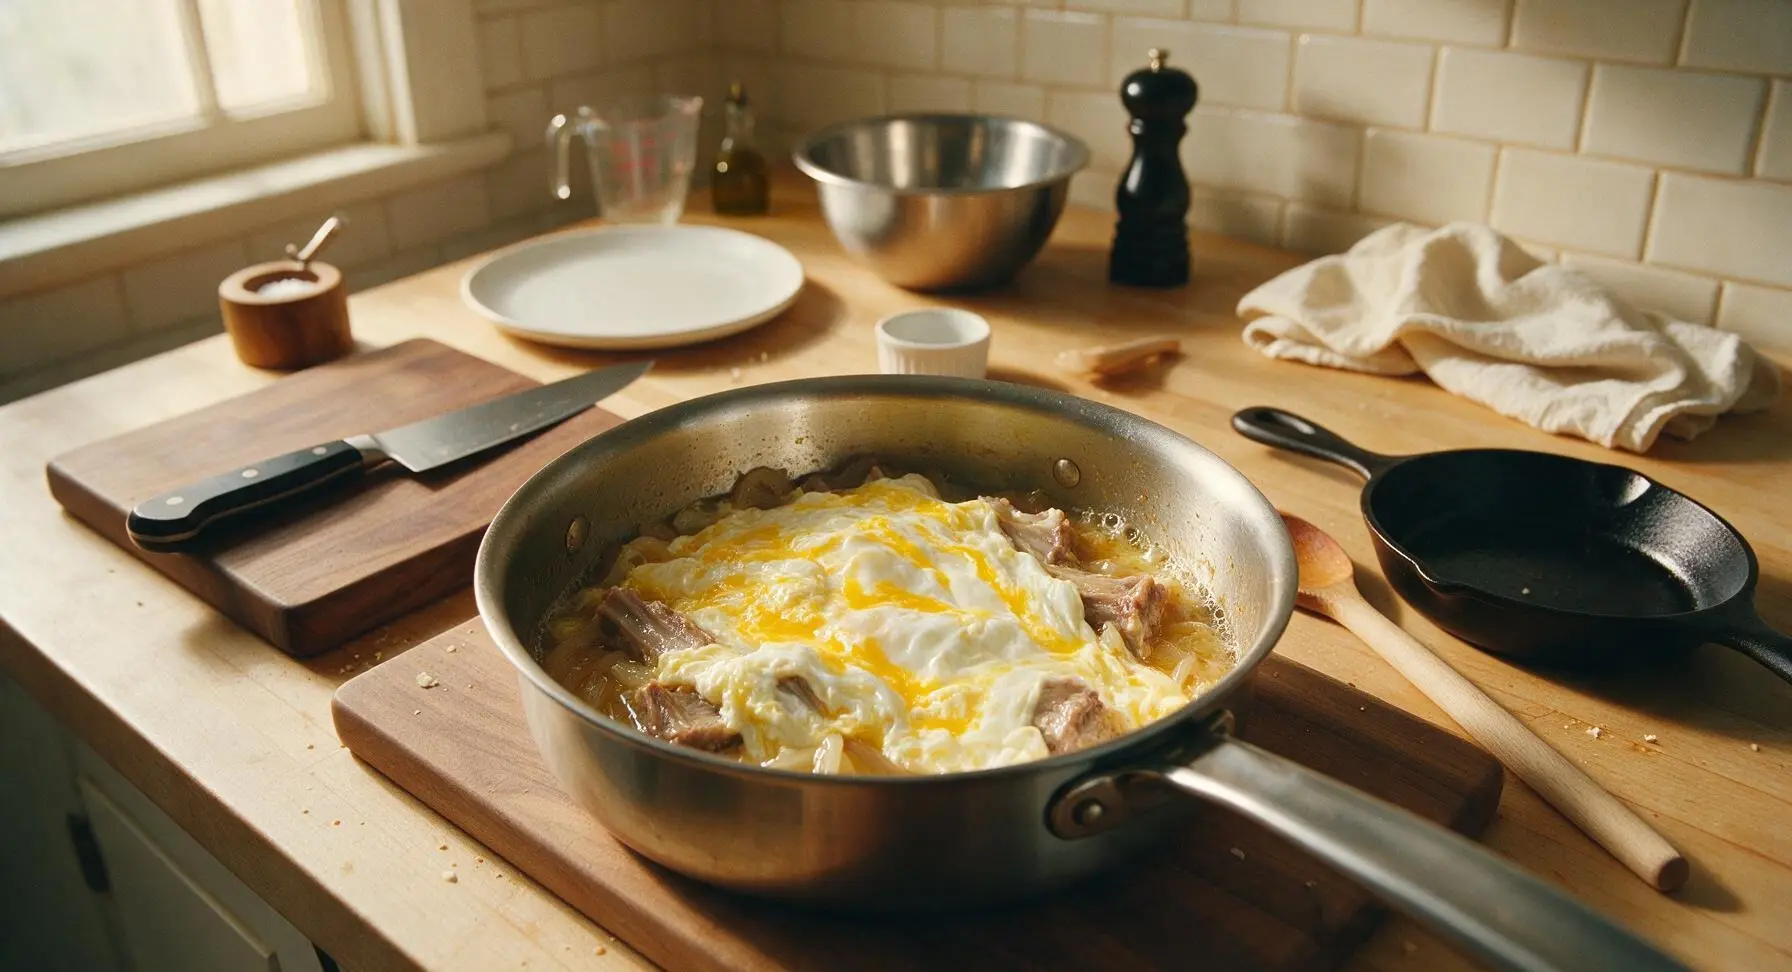
Beat the remaining 2 large eggs lightly (do not overbeat—leave small streaks of separate white and yolk for a textured, traditional topping). Pour the egg evenly over the ribs and onion in the simmering broth, turn heat to low, cover, and cook for exactly 1 minute, until the egg is just set into soft, wispy curds, not fully firm or rubbery.
Step 7
step7:Cook soft egg topping
Step 7
step7:Cook soft egg topping
8

Plate and garnish bowls

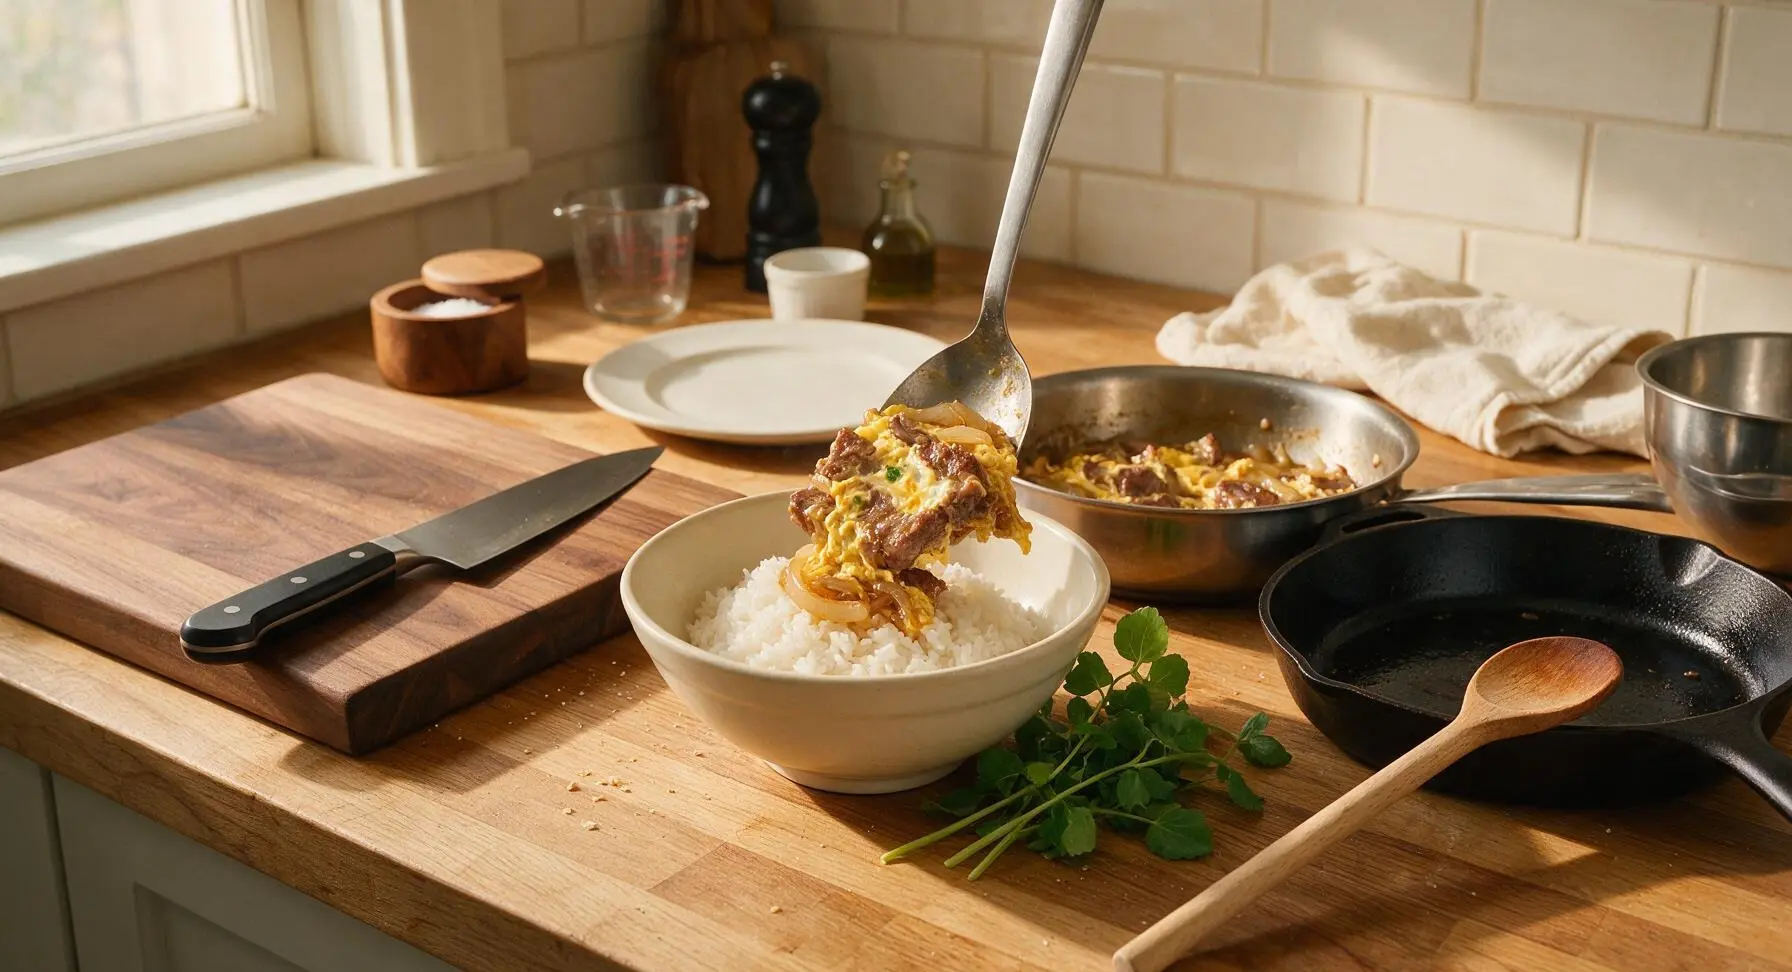
Use a large serving spoon to lift equal portions of ribs, onion, egg, and broth, sliding each portion over the mounded rice in the donburi bowls. Ensure each bowl gets 3-4 rib pieces, plenty of egg and onion, and 2-3 tablespoons of broth to soak into the top layer of rice without making the dish soggy. Garnish each bowl with a small sprig of fresh mitsuba.
Step 8
step8:Plate and garnish bowls

Tips

1.Let breaded ribs rest for 5 minutes before frying: this gives the panko time to adhere to the egg wash, so the crust won’t separate from the rib or fall off into the oil during frying, creating a messy, uneven coating.
2.Do not overbeat the eggs for the topping: leaving soft streaks of yolk and white creates delicate, wispy curds when cooked, rather than a tough, uniform omelet-like layer that doesn’t absorb the dashi broth well.
3.Only pour 2-3 tablespoons of broth per bowl when plating: too much broth will turn the crispy panko crust mushy and make the rice soggy, while just enough adds savory flavor without ruining the textural contrast between crispy rib and soft rice.


✨ You May Also Like

Main Course
🍜 United Kingdom

A showstopping classic of tender seared beef, savory mushroom duxelles, and crisp prosciutto wrapped in flaky golden puff pastry, baked to juicy perfection.

⏱️ 2 hours 1Main Course ★ 4.7
Main Course
🍜 India

Tender charred marinated chicken simmered in a rich, spiced creamy tomato sauce, this iconic Anglo-Indian curry pairs perfectly with basmati rice or warm naan.

⏱️ 50 minuteMain Course ★ 4.6
Main Course
🍜 Thailand

Classic tangy, sweet, and savory Thai stir-fried rice noodles with shrimp, tofu, and crunchy garnishes, balancing all five core Thai flavor profiles.

⏱️ 30 minuteMain Course ★ 4.5
Main Course
🍜 United Kingdom

Crispy golden beer-battered cod and fluffy double-fried chips, served with tangy tartar sauce and malt vinegar: the timeless, beloved British pub comfort classic.

⏱️ 45 minuteMain Course ★ 4.7
Main Course
🍜 Mexico

Smoky, chile-marinated pork tacos with caramelized pineapple, fresh cilantro, and lime: a beloved classic Mexican street food perfect for casual summer gatherings.

⏱️ 1 hour 45Main Course ★ 4.8
Main Course
🍜 United States

Crunchy Fritos corn chips layered with savory beef chili and melted cheddar, topped with cool, zesty fixings for a beloved, cozy Tex-Mex comfort food.

⏱️ 35 minuteMain Course ★ 4.8

Katsudon Ribs:Frequently Asked Questions

1.What makes Katsudon Ribs different from traditional Japanese katsudon? ▾
This cozy twist swaps the standard thin pork loin cutlet for thick, juicy boneless country-style pork ribs, which have rich marbling for deeper, savorier flavor. You still get the crispy panko crust, savory-sweet dashi simmer, soft egg, and rice base, but the ribs deliver a heartier, more succulent bite that feels extra comforting on cold days.
2.Can I prep the breaded pork ribs ahead of time to cut down on weeknight cook time? ▾
Absolutely! You can bread the raw ribs in flour, egg, and panko up to 24 hours in advance, stored uncovered on a wire rack in the fridge. This resting time actually helps the panko adhere better for a crispier crust when you fry it. Just hold off on simmering them in dashi with egg and onion until right before serving to avoid soggy crust.
3.My panko crust always falls off when I simmer katsu—how do I prevent that? ▾
First, press the panko firmly into the egg-dipped ribs so every surface is fully coated, and let the breaded ribs rest 10 minutes before frying to let the coating set. Fry the panko to a deep golden, extra-crisp finish before adding it to the simmering dashi, and don’t simmer longer than 2 minutes to avoid breaking down the crust.
4.Do I have to use Japanese short-grain white rice, or can I substitute long-grain rice? ▾
Japanese short-grain rice is preferred because its sticky, tender texture clings slightly to the savory dashi and egg, creating that classic katsudon mouthfeel. If you only have long-grain white rice, cook it with 1 extra tablespoon of water per cup of rice to make it slightly softer and stickier, so it doesn’t feel too dry under the toppings.
5.How do I get that perfect soft-set egg that’s not runny or rubbery? ▾
Right after you lay the crispy fried ribs on top of the simmering onion and dashi, pour lightly beaten eggs evenly over the top, turn heat to low, cover the pan, and turn off the heat after 30 seconds. Let it rest, covered, for 1 full minute—this sets the eggs to creamy, soft curds without making them tough or totally solid.
6.Can I make this dish without deep-frying the panko ribs for a lighter version? ▾
You can get a great crispy crust without full deep-frying by using an air fryer or oven bake method. Spray the breaded ribs generously with neutral oil, then air fry at 400°F for 12–14 minutes (or bake at 425°F for 18–20 minutes), flipping halfway, until panko is deep golden and crisp, then proceed with the quick dashi simmer as normal.
7.What kind of dashi works best for the savory-sweet simmer sauce? ▾
For the most authentic, balanced flavor, use homemade or premade awase dashi (a blend of kombu seaweed and bonito flakes) as your base, seasoned with a 3:1:1 ratio of dashi to soy sauce to mirin for that classic savory-sweet profile. If you don’t have dashi, low-sodium chicken broth with a tiny pinch of kombu powder works as a quick backup.
8.How do I keep the caramelized onion from getting mushy in the simmer? ▾
Slice your onion into thick ½-inch wedges instead of thin slices, and sauté them over medium heat for 3–4 minutes in the pan first before adding dashi, until they just start to brown at the edges. They’ll soften slightly as they simmer but will hold their shape and have that sweet, caramelized bite instead of turning into mushy shreds.
9.What’s the best way to get extra-crispy panko when frying the ribs? ▾
Use neutral oil (canola, vegetable, or rice bran) heated to a steady 350°F, and don’t overcrowd the pan when frying—cook 2 ribs at a time max. Let the ribs fry 4–5 minutes total, flipping once, until panko is a deep, even golden brown, then drain on a wire rack (not paper towels) for 2 minutes before simmering.
10.Can I make this recipe gluten-free for friends with dietary restrictions? ▾
Yes, with a few simple swaps. Swap the all-purpose flour for a 1:1 gluten-free all-purpose flour, use certified gluten-free panko breadcrumbs, replace regular soy sauce with gluten-free tamari in the dashi simmer, and double-check that your dashi has no hidden wheat-based additives. The ribs, eggs, rice, and onion are all naturally gluten-free.
11.How thick should I cut the boneless country-style ribs for this recipe? ▾
Aim to cut the ribs into uniform 1-inch thick pieces, roughly 3–4 ounces each. This thickness is ideal because it cooks through fully in 4–5 minutes of frying without drying out, stays juicy through the quick simmer, and is easy to eat over rice with chopsticks without being overly large or unwieldy.
12.What simple sides pair well with Katsudon Ribs to make a full meal? ▾
A small side of pickled ginger or takuan (pickled daikon) cuts through the rich, savory-sweet flavor perfectly, and a light sprinkle of sliced scallions on top adds a bright, fresh pop of color and flavor. Pair it with simple miso soup and cold barley tea for a classic, satisfying Japanese-style meal.

Comments (6)

2 days ago

OMG these katsudon ribs were an absolute game changer for our Sunday family dinner! I was a little nervous the panko would get soggy but it stayed perfectly crispy even under the egg and onion sauce. My 8 year old asked for seconds before he even finished his first plate! SO good. Will be adding this to our monthly rotation for sure.

1 week ago

Took these to a neighborhood potluck last weekend and people were hounding me for the recipe all night! Only note is I added a tiny extra splash of soy sauce because I like my katsudon a little saltier, and it worked perfectly. Cook time was spot on 35 minutes too, which was perfect for a weeknight meal prep.

5 days ago

So glad these were a potluck hit, Jake! Love the extra soy sauce tweak—totally a great call for folks who prefer a savorier profile. So happy the cook time worked out for your weeknight prep too!

3 days ago

Wait, medium difficulty? I’m a total beginner and I almost burned the panko crust when I was frying the ribs first 😅 Any tips for getting the oil temp right so it doesn’t cook too fast? Flavor was still incredible even with my slightly charred bits, just want to nail it next time!

2 days ago

Pro tip! I use a candy thermometer to keep the oil at 350°F, no more burnt panko for me! I also fry the ribs in smaller batches so the oil temp doesn’t drop too much when you add them. Worked like a charm when I made these last week.

yesterday

Great question, and great tip from @RamenFanInWA! 350°F is exactly the sweet spot—if you don’t have a thermometer, you can test by dropping a single panko crumb into the oil: it should sizzle immediately and float to the top without turning brown in 2 seconds. Hope that helps for your next batch!

yesterday

Made these for my partner’s birthday dinner and they said it was better than the katsudon we get at our favorite local Japanese spot! I paired it with some pickled ginger on the side and a little miso soup, chef’s kiss. The rib meat was so tender it fell right off the bone, no knife needed.

2 hours ago

These look insane! Quick question before I make them for our Friday game night: has anyone tried swapping the regular panko for gluten free panko? I have celiac so regular breadcrumbs are off the table, and I don’t want the crust to turn out mushy.

30 minutes ago

I used gluten free panko last week when I made these and it worked perfectly! Just make sure you press the crumbs into the ribs really well so they stick, and fry them like normal—no mushy crust here! It came out just as crispy as the regular panko version, trust me.

5 days ago

Meal prep win! I made a big batch of these on Sunday and they reheated so well in the air fryer all week for lunch. I was worried the egg topping would get weird when reheated but it stayed fluffy and flavorful. 10/10, will be making this again next meal prep cycle for sure.

3 days ago

Oh good to know they reheat well! I’ve been looking for something other than boring chicken to pack for my kids’ school lunches, they’re going to lose their minds over these. Do you reheat them at 375 for like 5 minutes in the air fryer?

2 days ago

Love that these worked for your meal prep! Quick tip for anyone reheating: 370°F for 4-5 minutes in the air fryer gets the crust crispy again without drying out the rib meat, and the egg stays perfectly soft too. Hope the kids love them, @LunchBoxDad!



