
Kerak Telor Turkey
intro
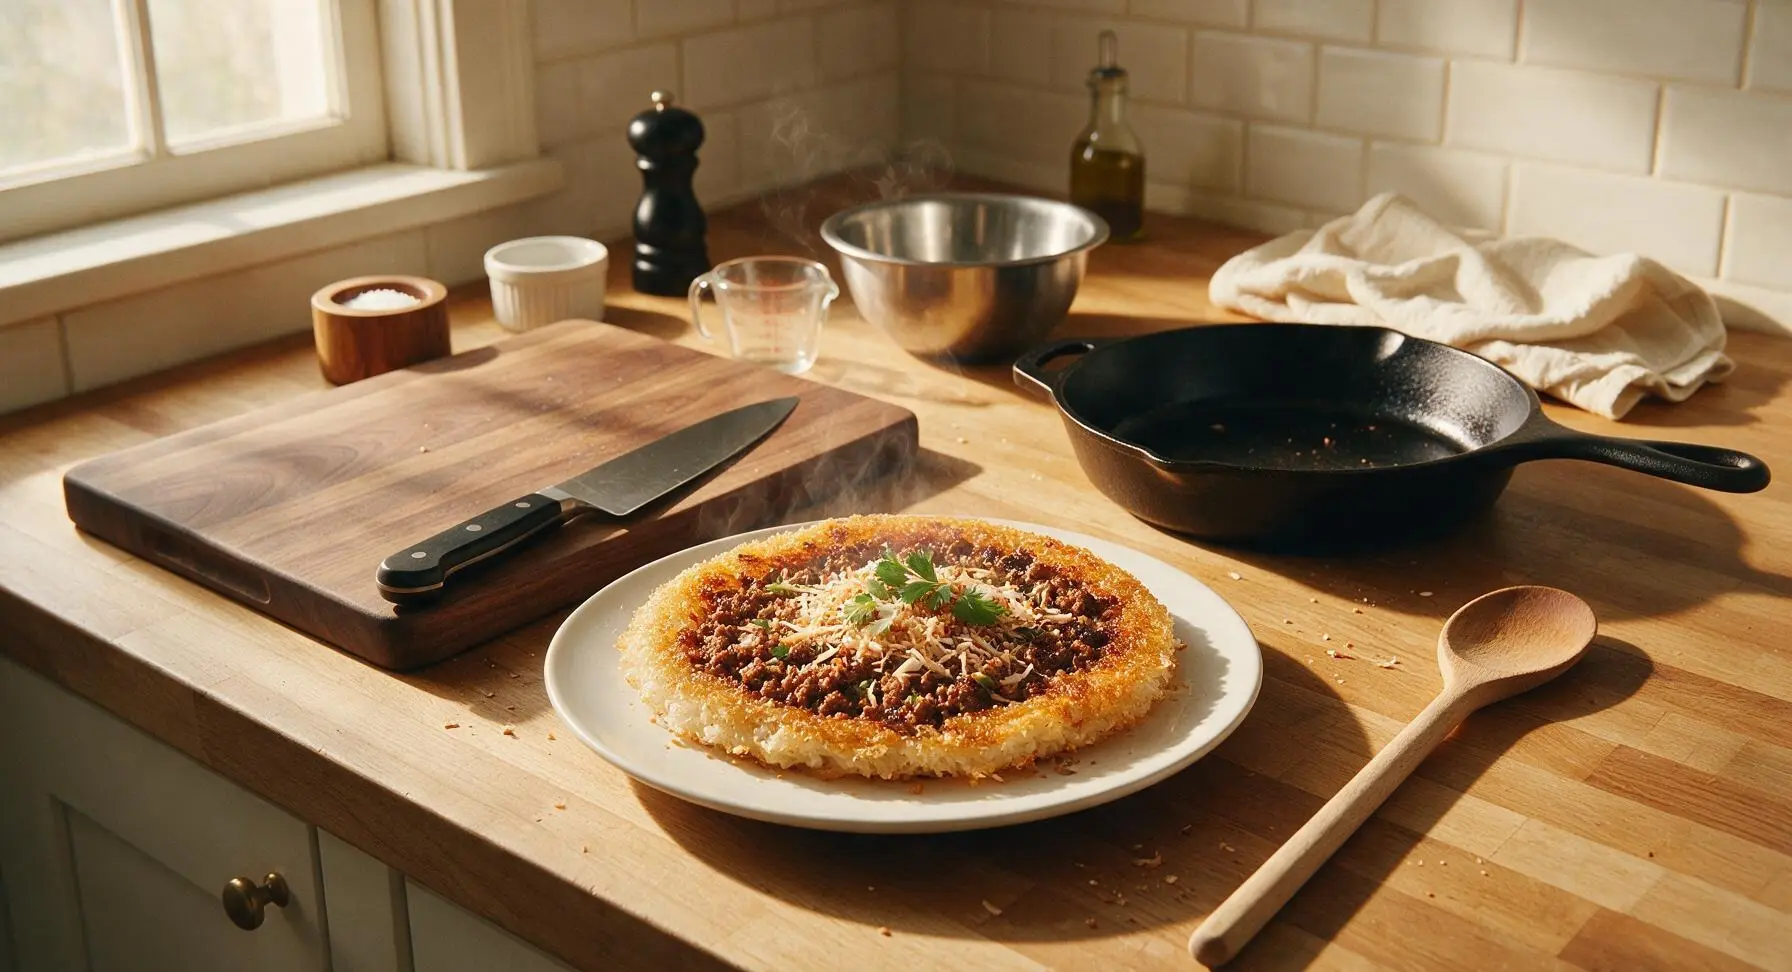
A crispy, golden twist on classic street-style kerak telor, featuring spiced ground turkey, nutty toasted coconut, and warm Turkish sumac, with a shatteringly crisp sticky rice crust.
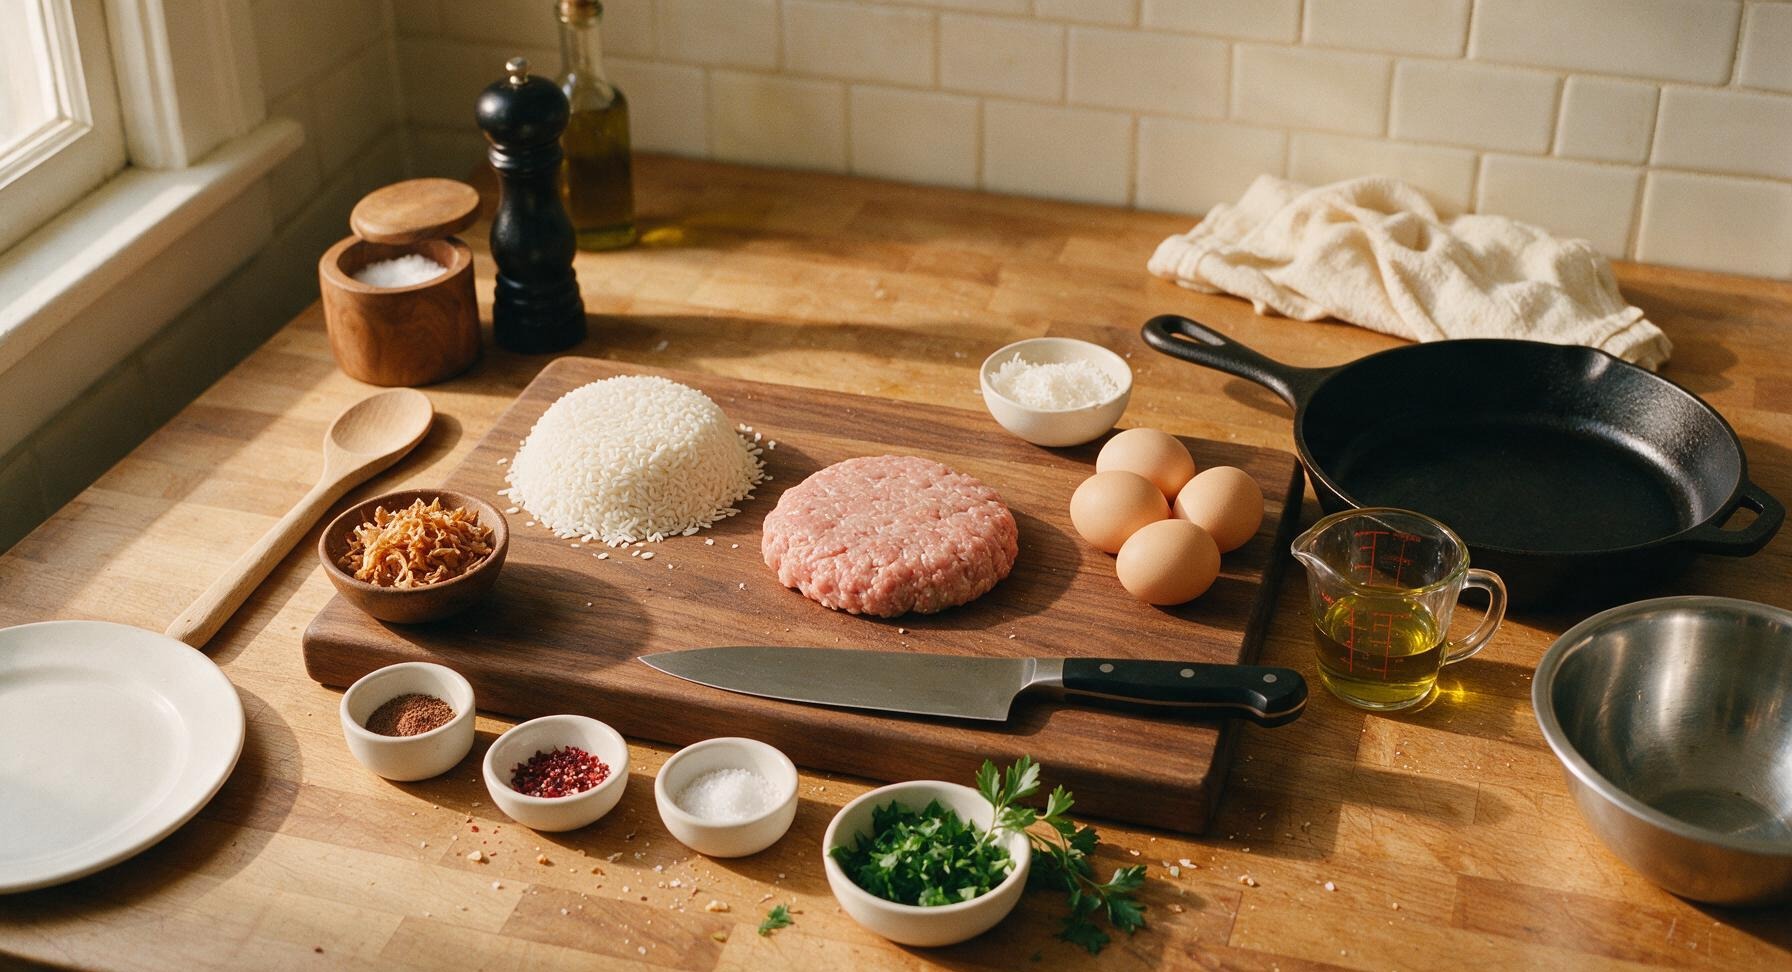
Ingredients
Steps
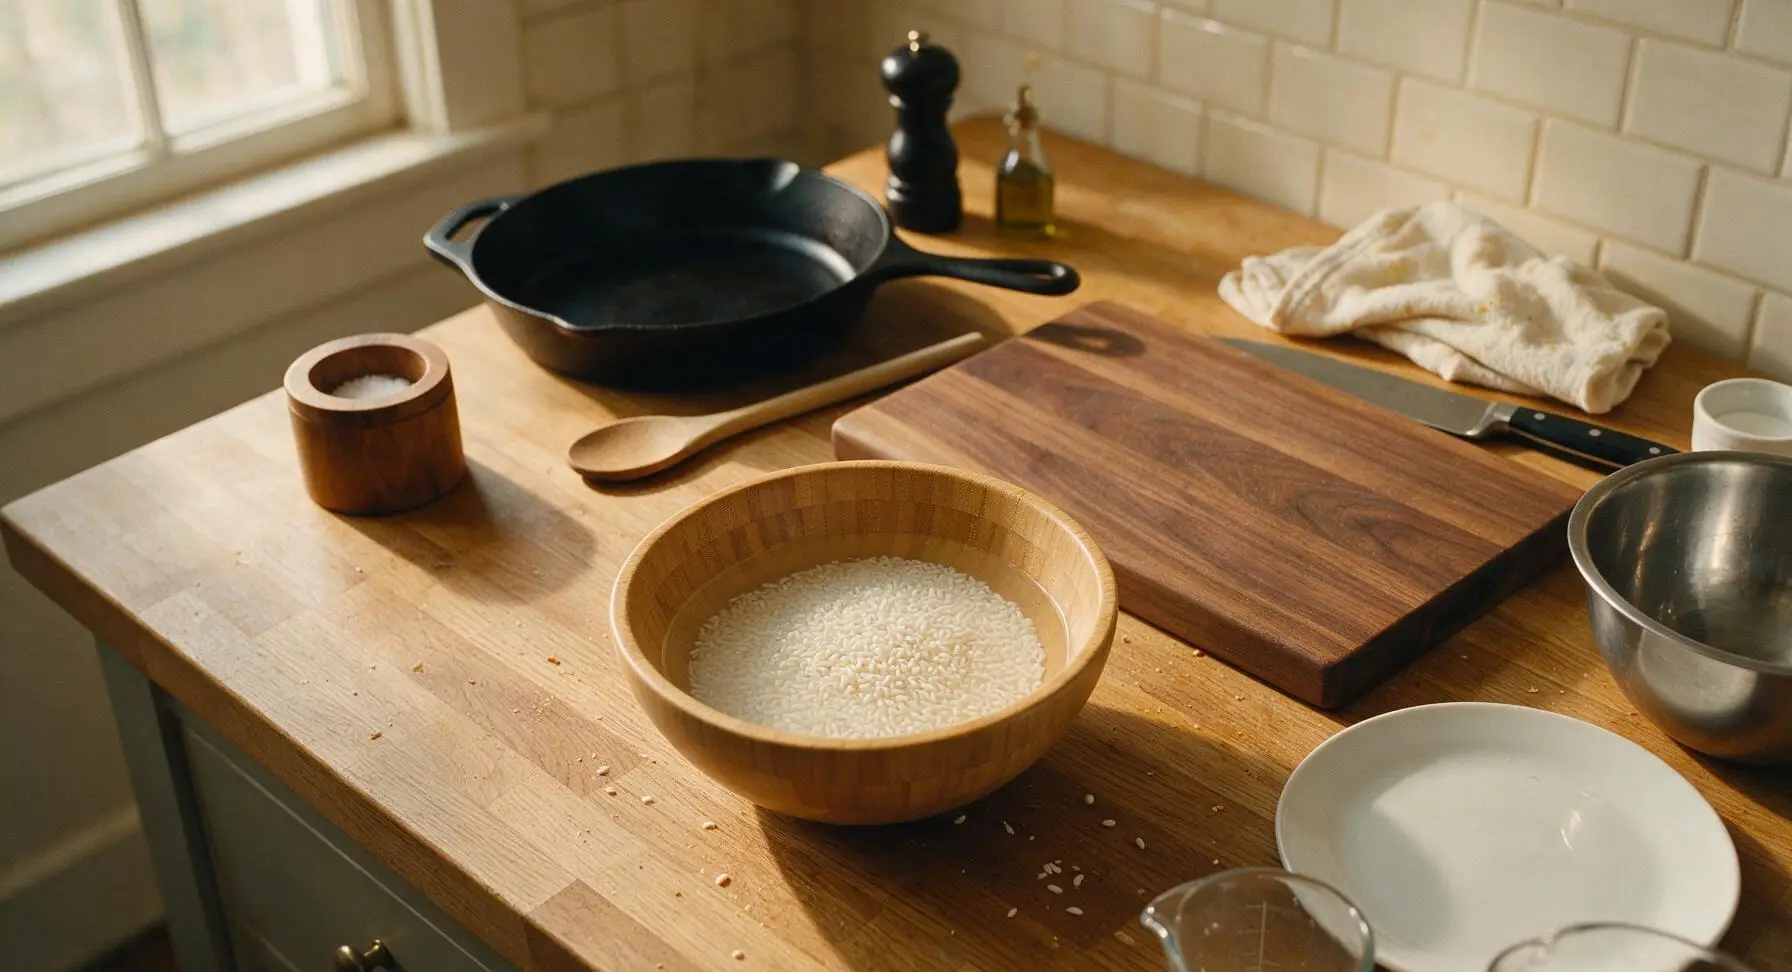
Soak Glutinous Rice
Place 200g glutinous white rice in the light bamboo rice washing bowl, cover with 5cm of cold tap water, and set aside to soak for 15 minutes at room temperature. Drain thoroughly once soaked; rice grains should be slightly softened, with a firm, starchy bite when pinched between your fingers, no chalky white center.
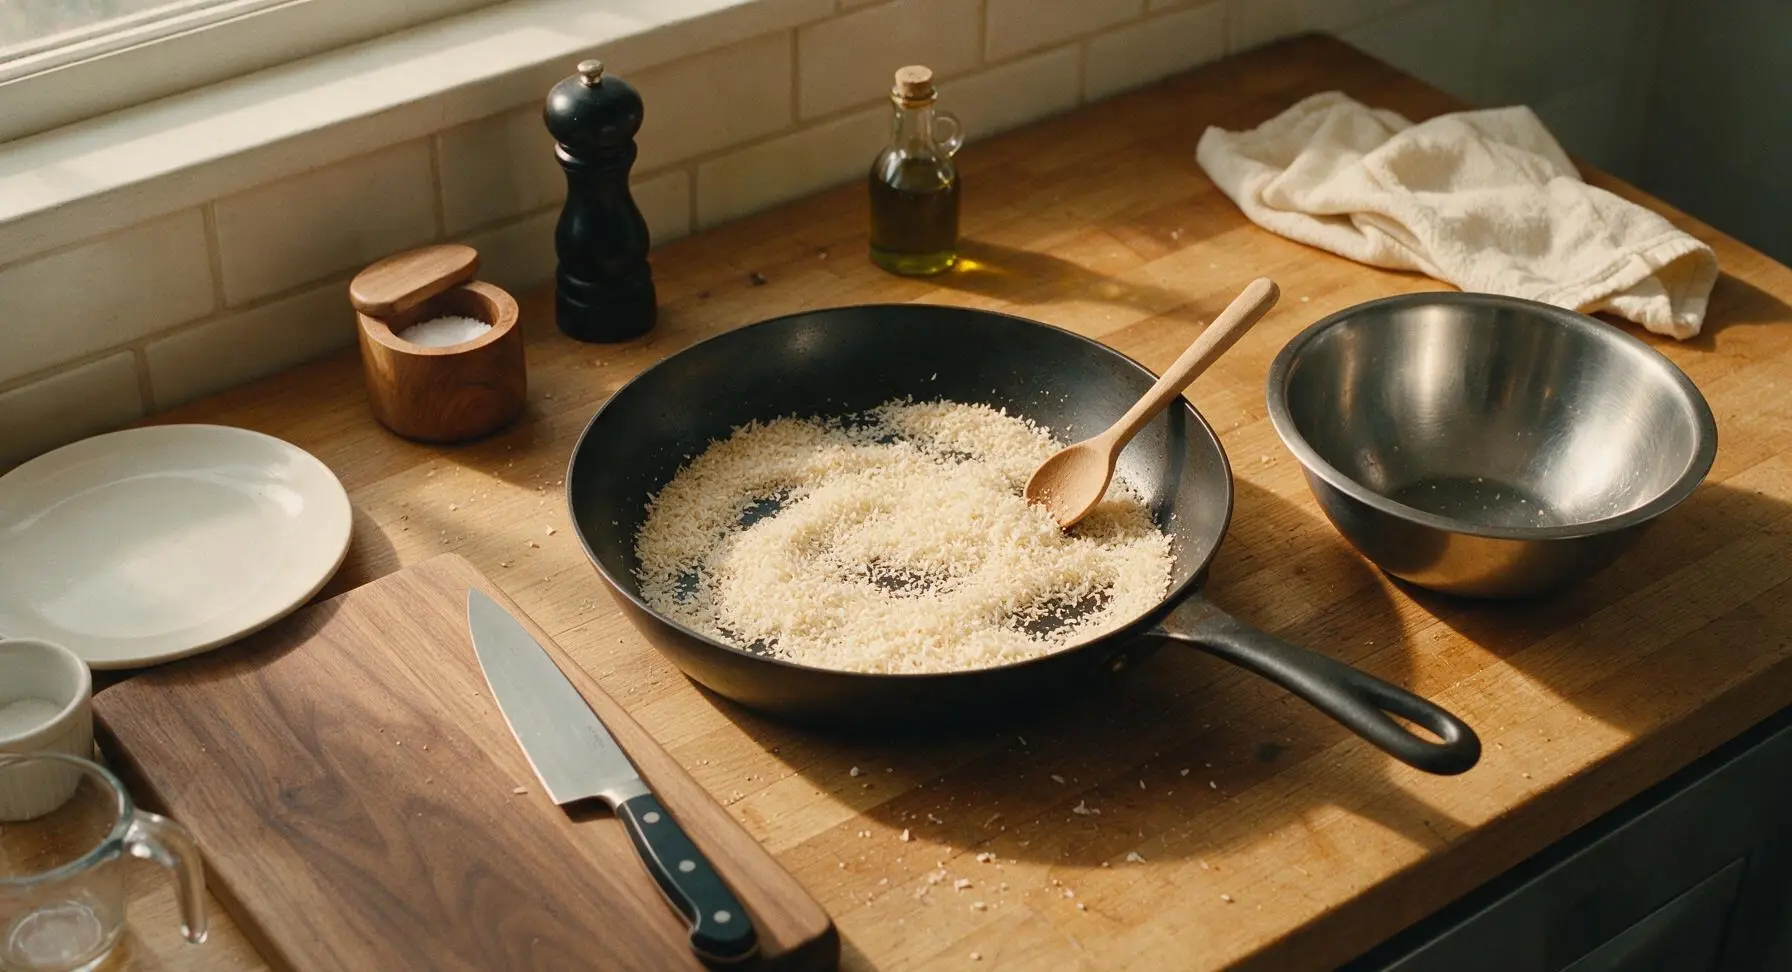
Toast Grated Coconut
Place the seasoned carbon steel frying pan on the burner over medium-low heat (325°F / 160°C). Add 30g unsweetened grated coconut, stirring constantly with the small beech wood spice spoon for 2-3 minutes, until coconut turns an even light golden brown and releases a rich, nutty aroma. Pour toasted coconut into the stainless steel mixing bowl to cool completely, then wipe the pan clean with a paper towel for later use.
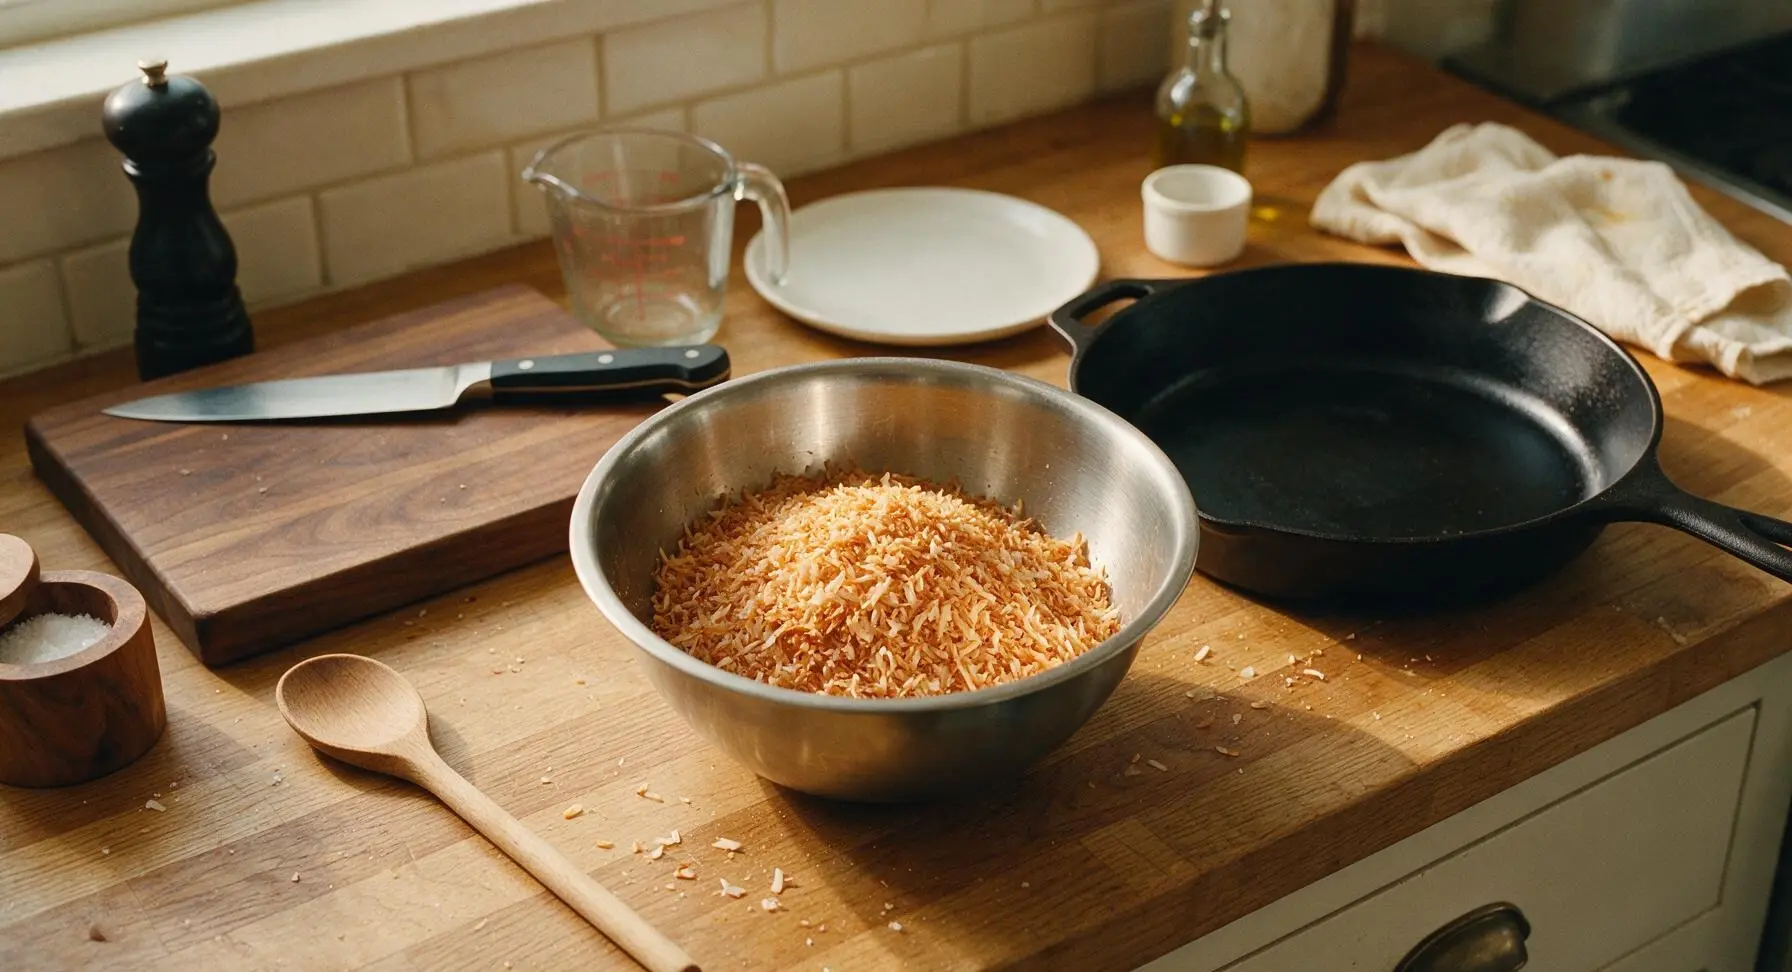
Season Ground Turkey
Add 250g lean ground turkey to the mixing bowl with fully cooled toasted coconut, followed by 1/2 tsp kosher salt, 1/4 tsp Aleppo pepper flakes, and 1 tbsp chopped fresh parsley. Mix gently with the beech wood spice spoon until ingredients are evenly combined; avoid overworking the meat, as this will make the cooked turkey tough and dense.
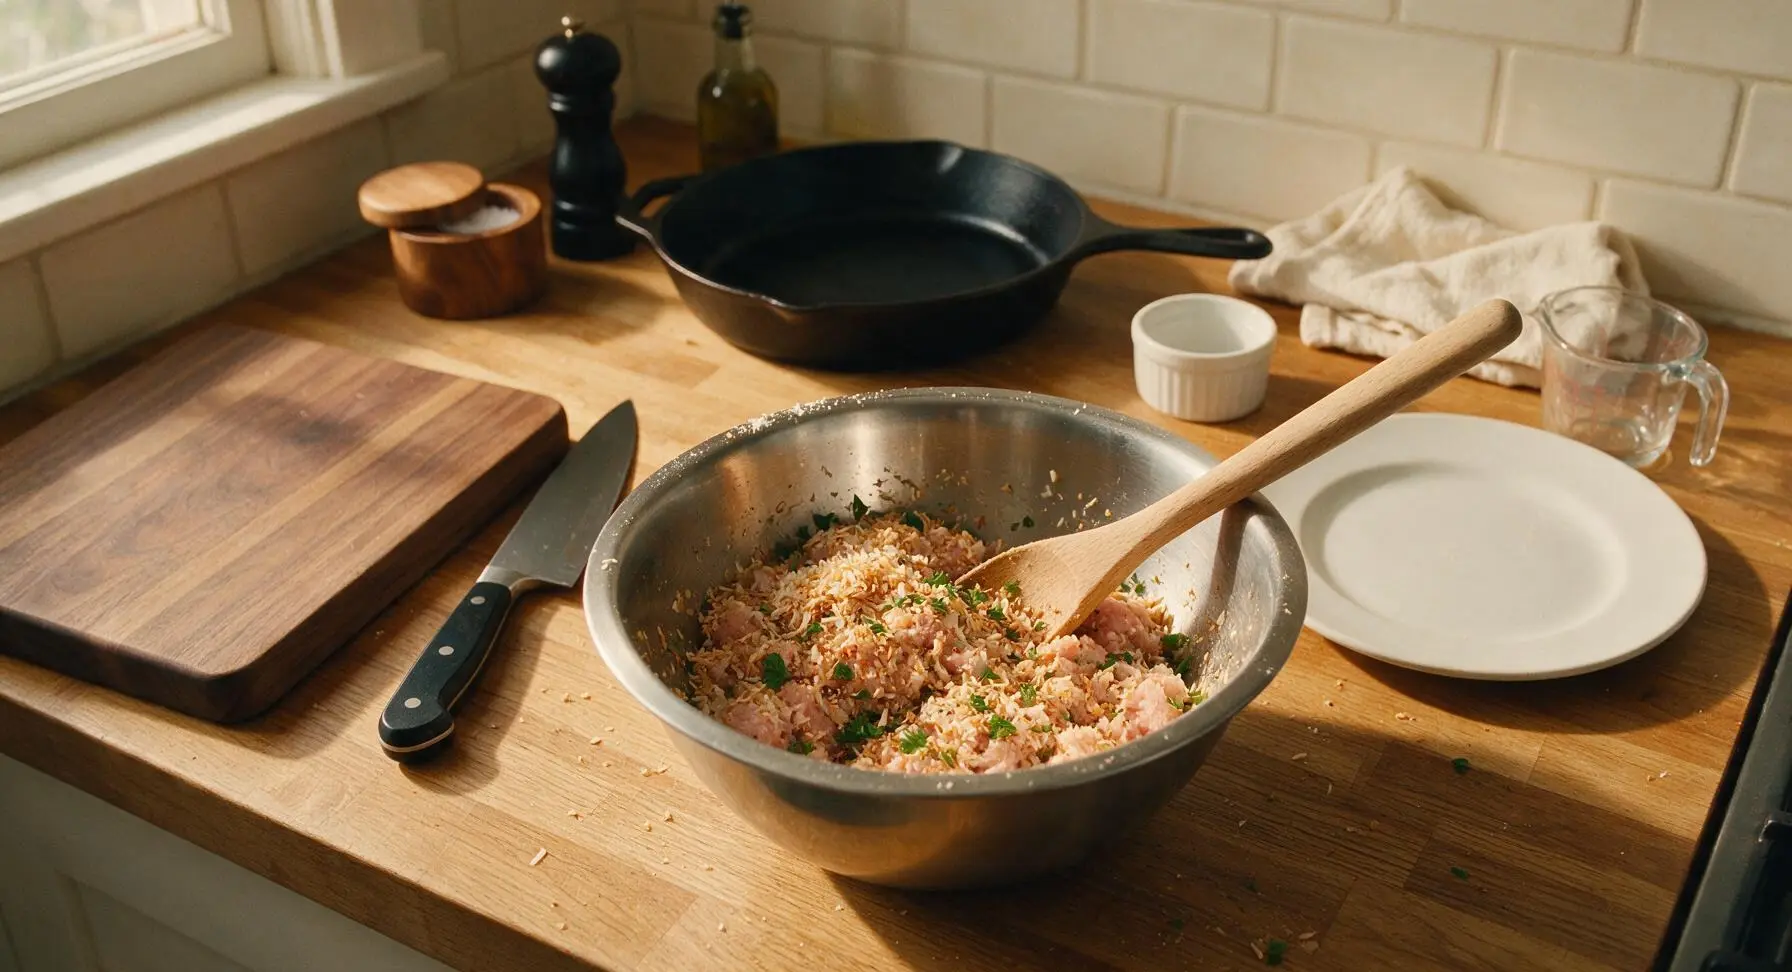
Beat Seasoned Eggs
Crack all 4 large eggs into the clear glass 1L measuring cup, add the remaining 1/2 tsp kosher salt, remaining 1/4 tsp Aleppo pepper flakes, and 1/2 tsp ground sumac. Whisk lightly with a fork until yolks and whites are fully combined, with no visible streaks of clear egg white remaining; do not over-whisk to avoid creating excess air bubbles that can cause the patty to break when flipping.
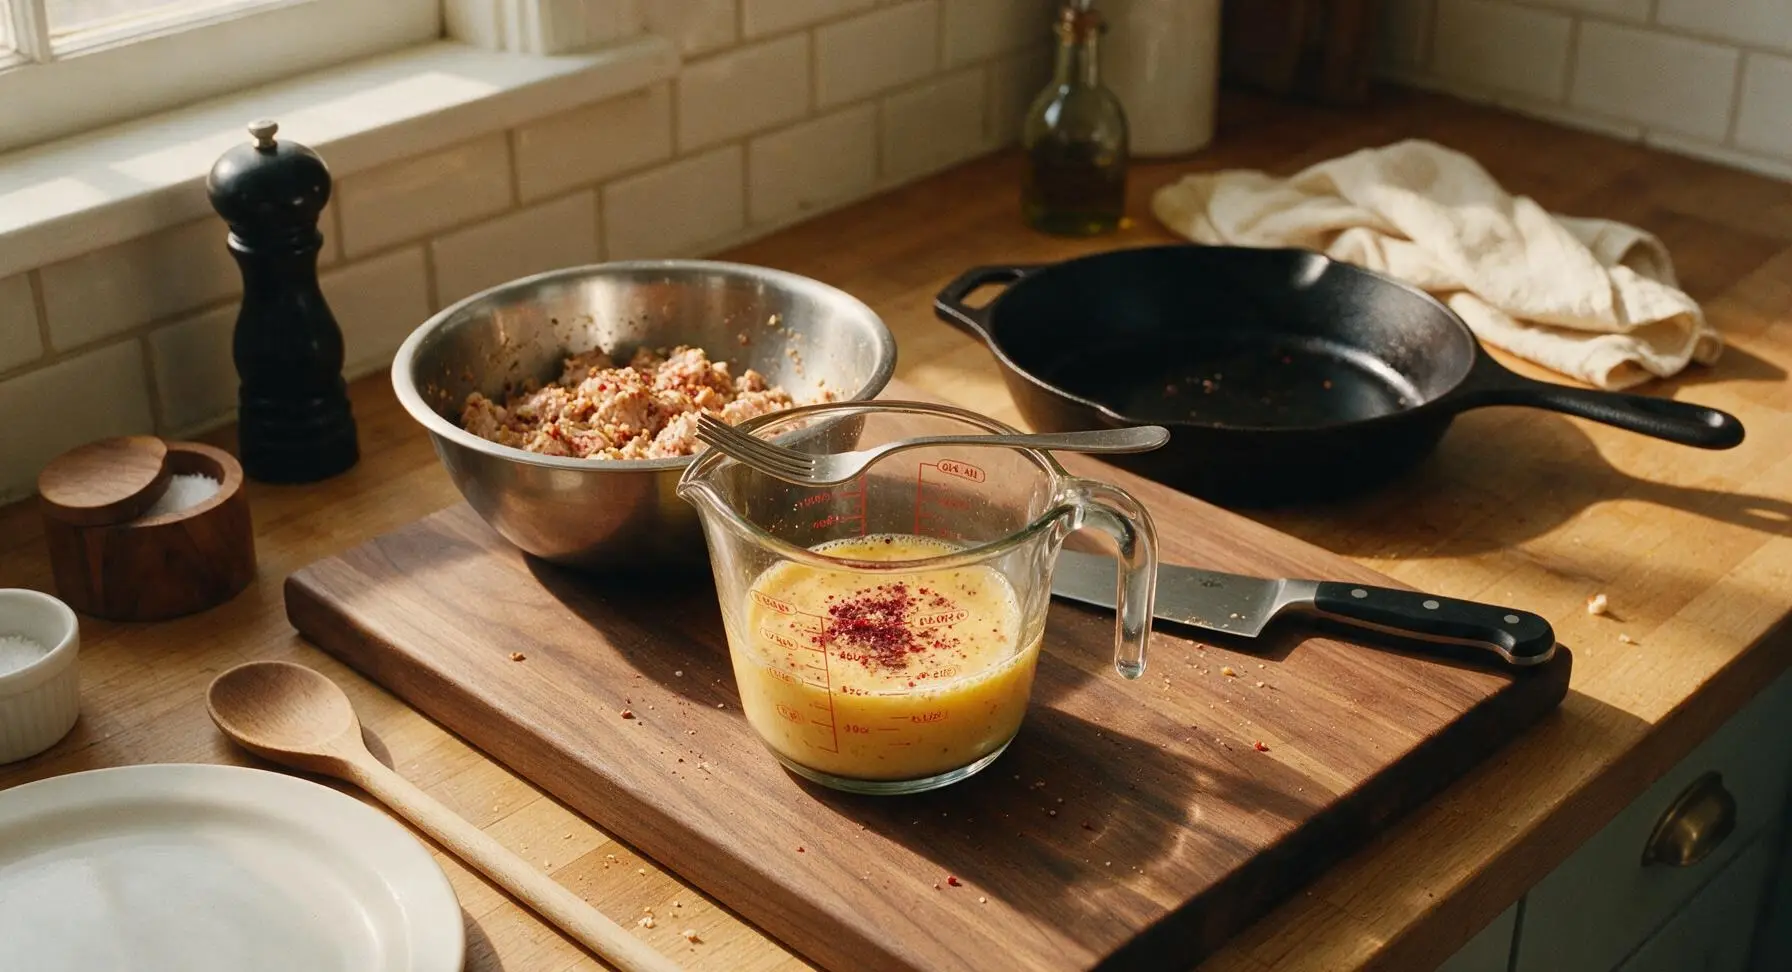
Cook Rice Crust Base
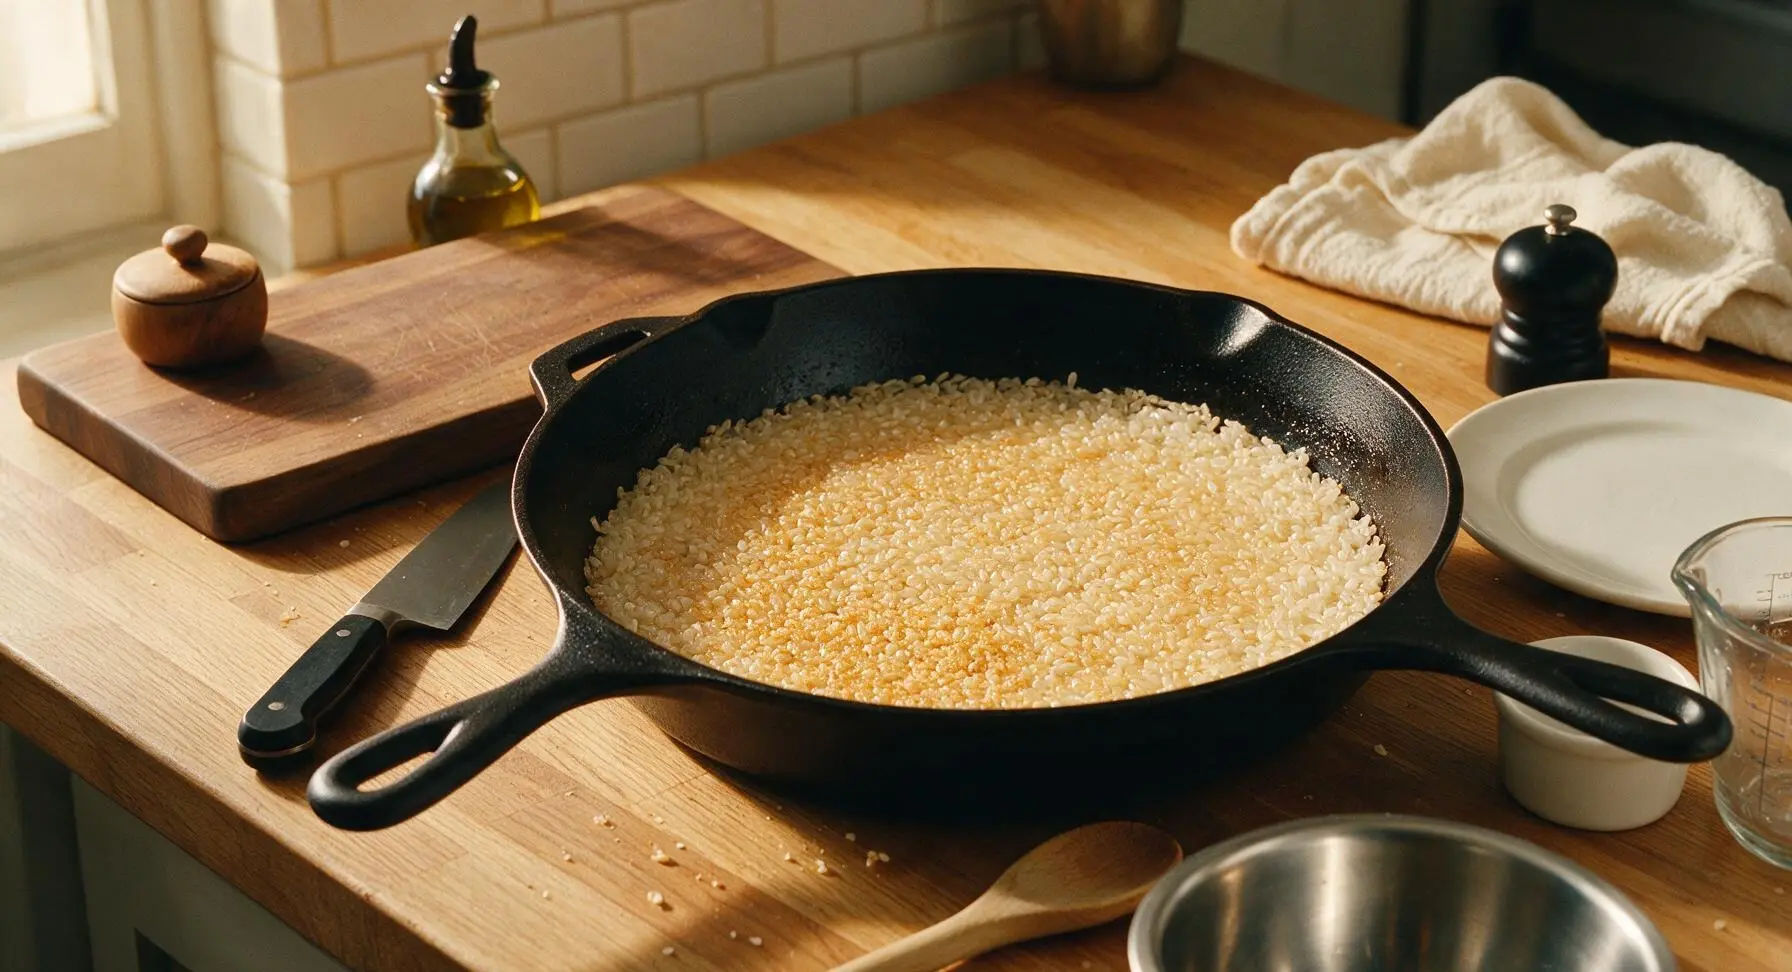
Return the clean carbon steel frying pan to medium heat (350°F / 175°C), add 3/4 tsp olive oil, and swirl to coat the entire pan bottom evenly. Spread 1/4 of the drained soaked glutinous rice in a thin, even 18cm circle across the pan, pressing gently with the slotted metal spatula to compact the rice into a solid layer. Cook for 4 minutes without disturbing, until the bottom layer forms a light golden, crispy crust and rice grains turn translucent at the edges.
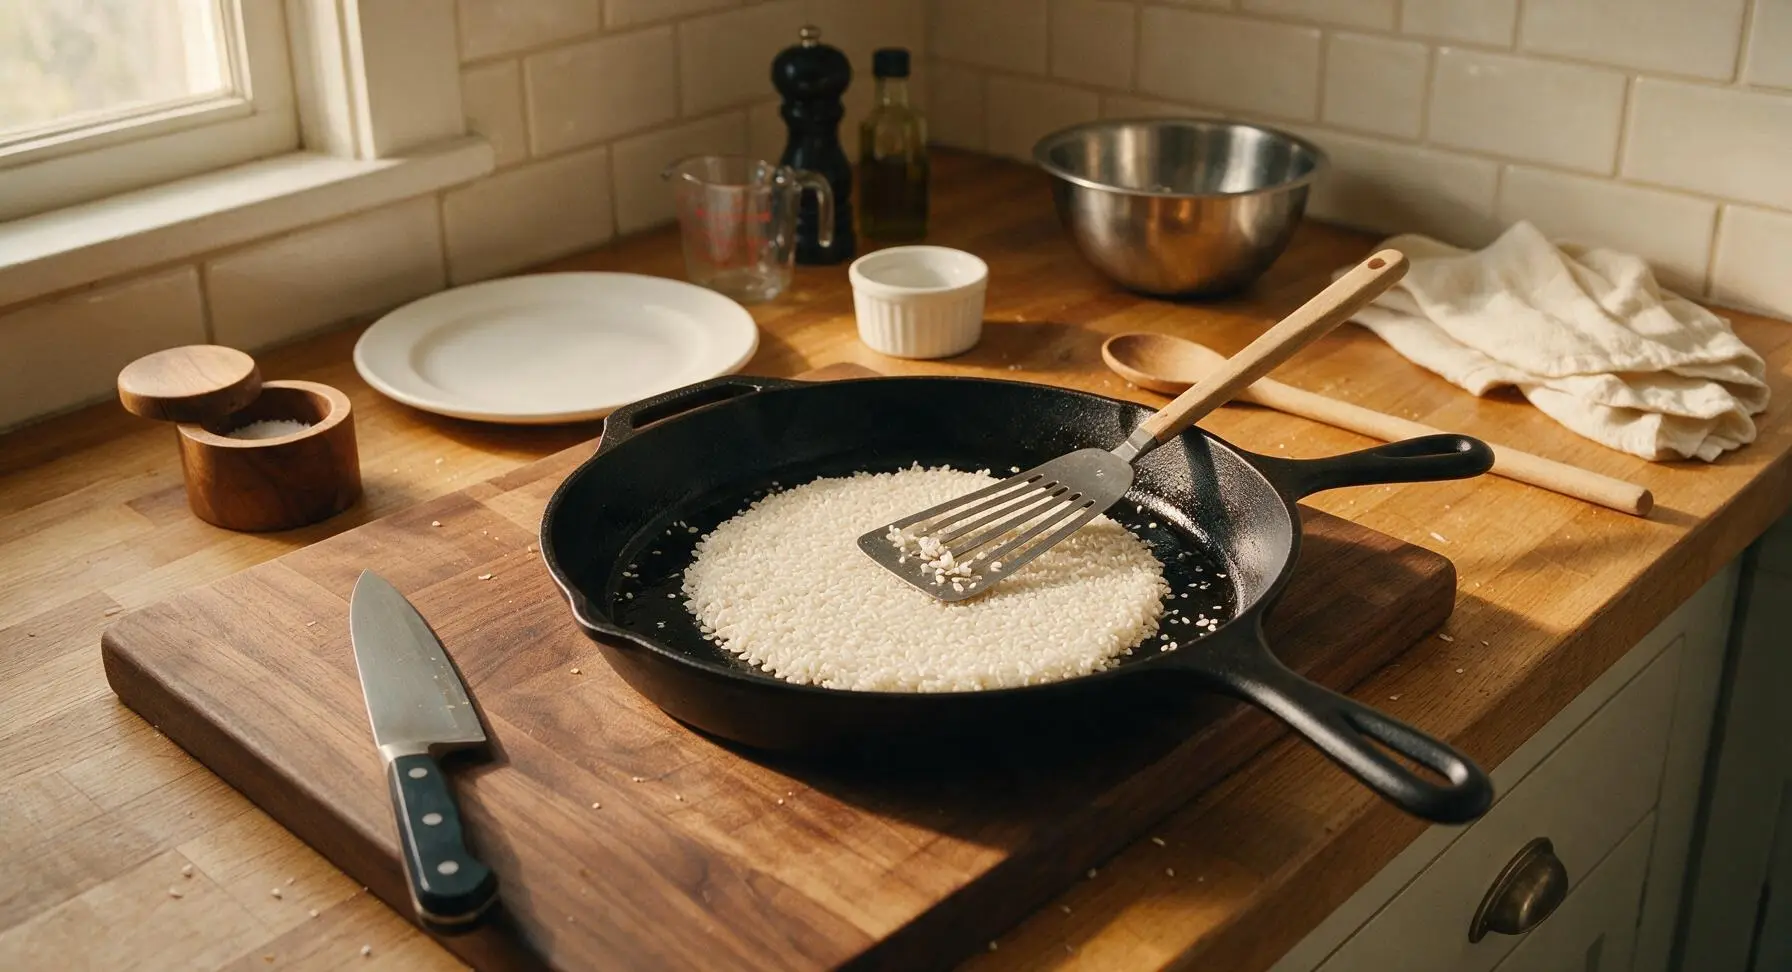
Layer Turkey and Egg
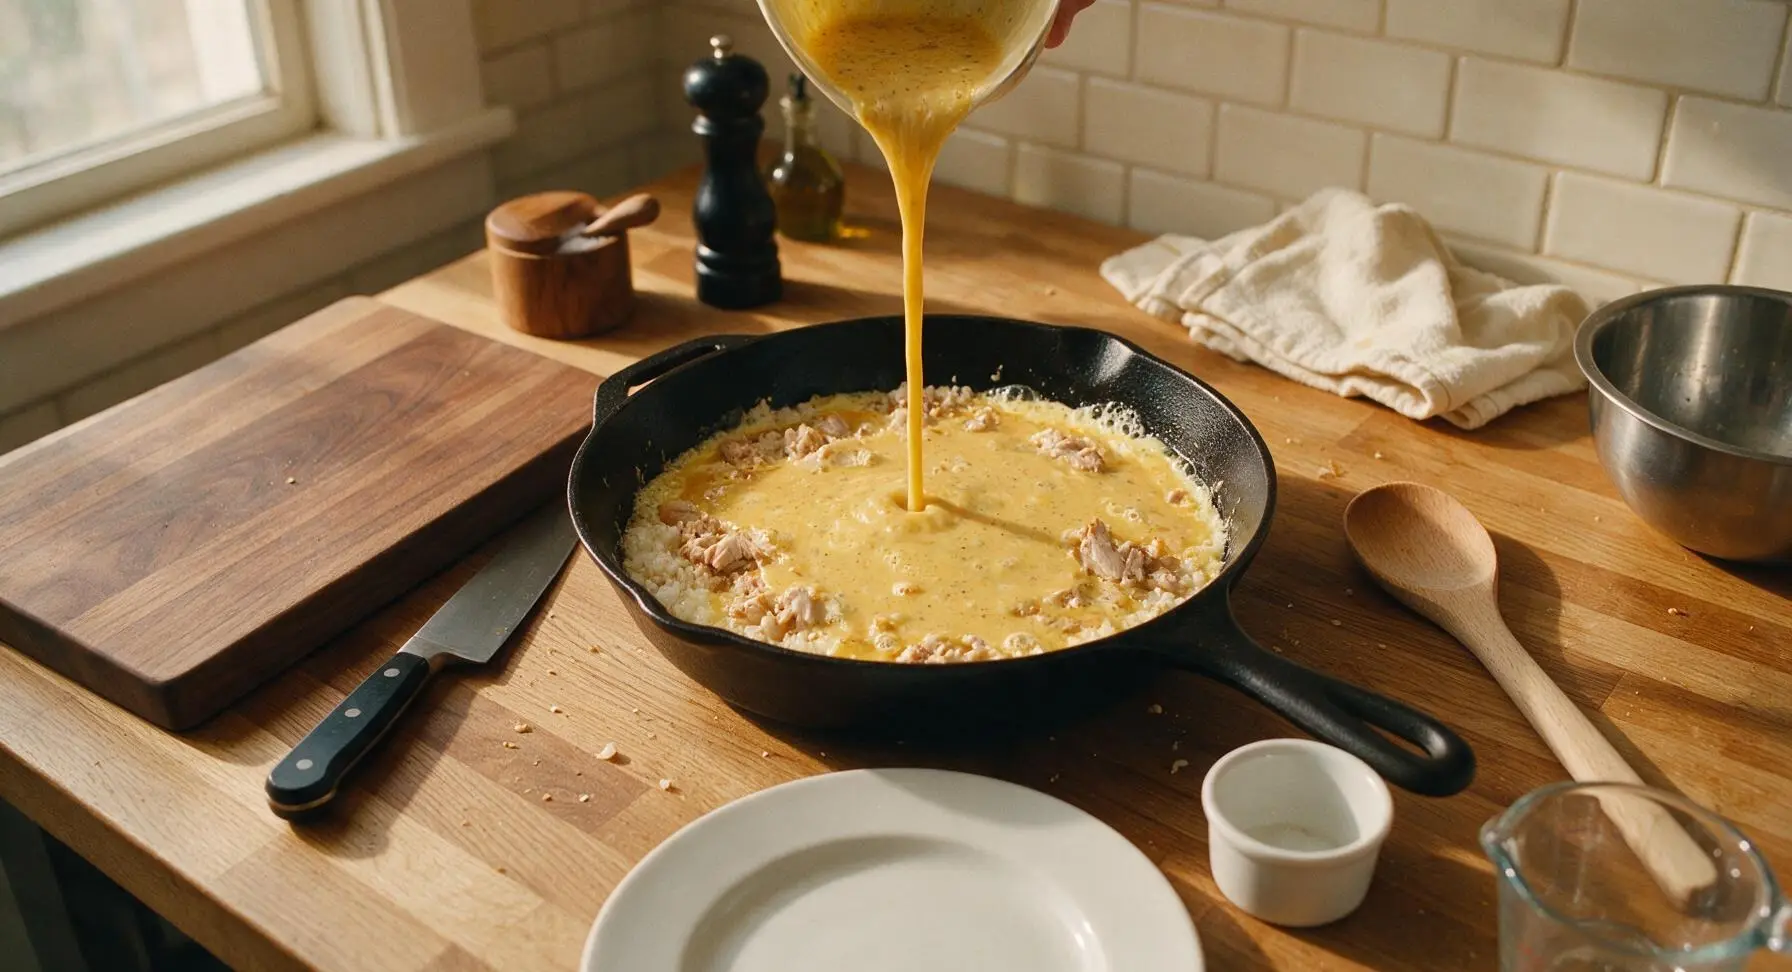
Crumble 1/4 of the seasoned turkey-coconut mixture evenly over the partially cooked rice crust, pressing gently with the spatula to help the meat adhere to the rice. Pour 1/4 of the beaten egg mixture slowly over the turkey and rice, tilting the pan slightly to spread the egg into a thin, even layer covering all ingredients. Reduce heat to medium-low, cook for 3 minutes until the egg is almost fully set on the surface, with only a small amount of runny egg at the center.
Flip and Crisp Patty
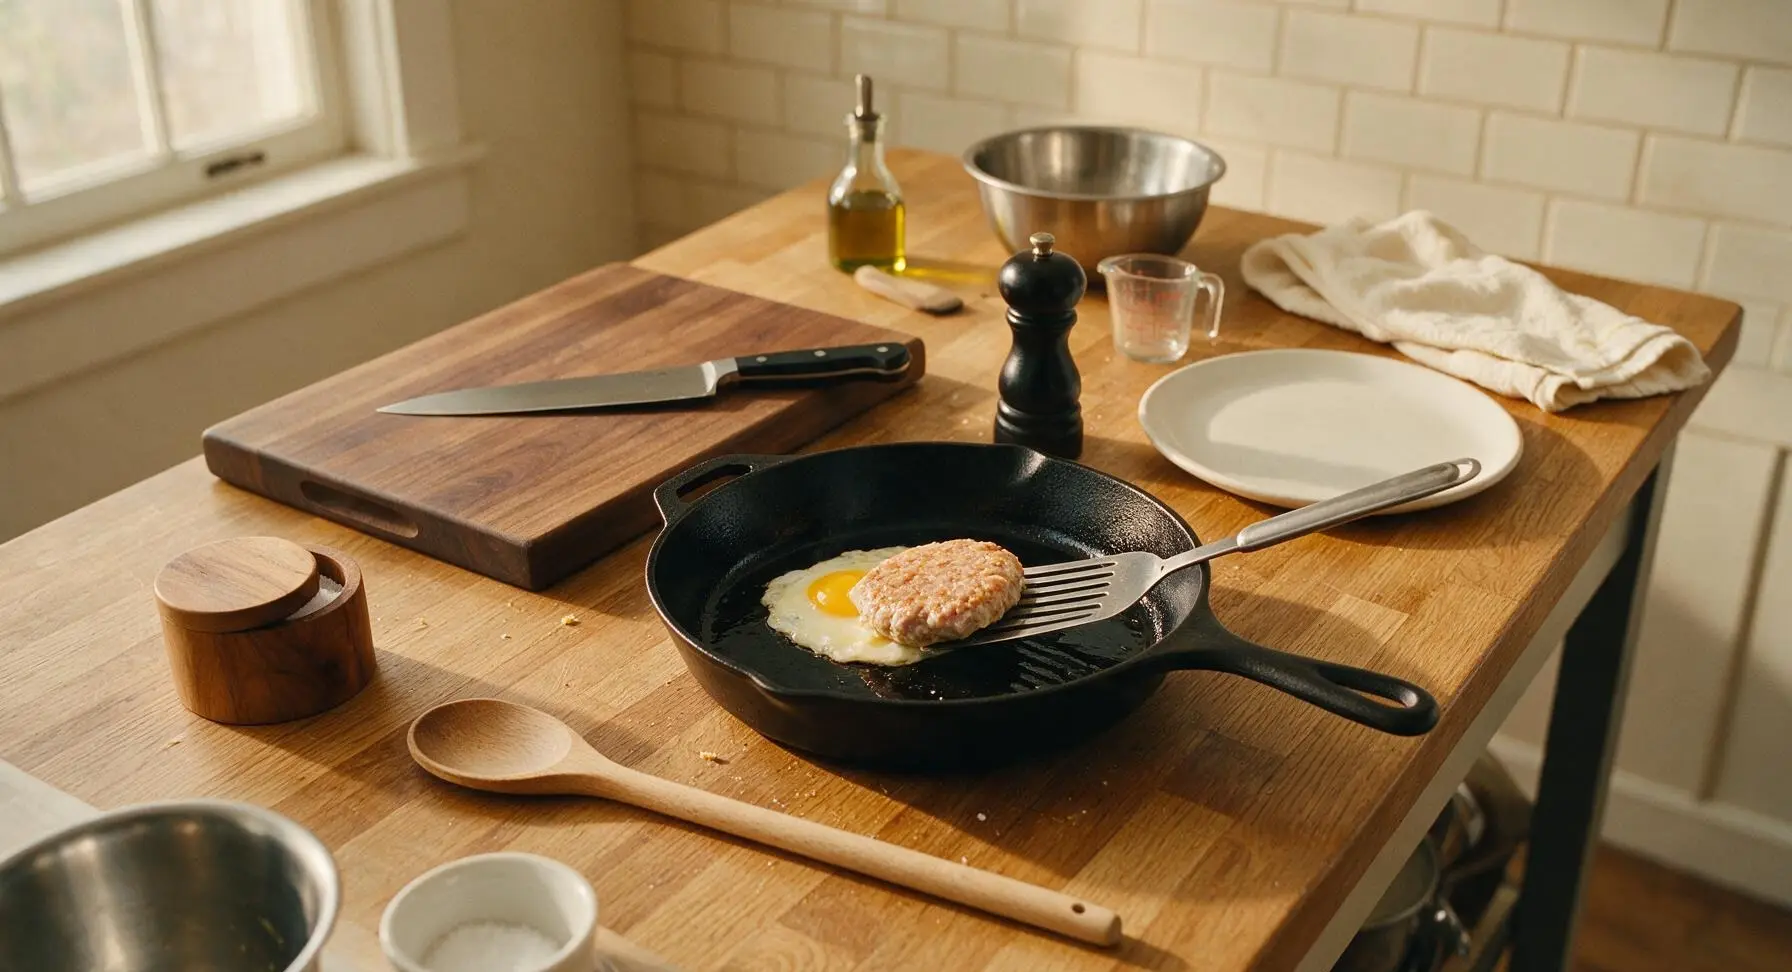
Run the slotted metal spatula around the entire pan edge to loosen the patty from the pan, wait 10 seconds for runny egg to set, then slide the spatula fully under the patty and flip it quickly and carefully so the egg-turkey side is now facing the pan bottom. Press gently with the spatula to compact the patty, cook for 2 more minutes until the egg side is deep golden and crispy, and the ground turkey reaches a safe internal temperature of 165°F (74°C).
Garnish and Serve
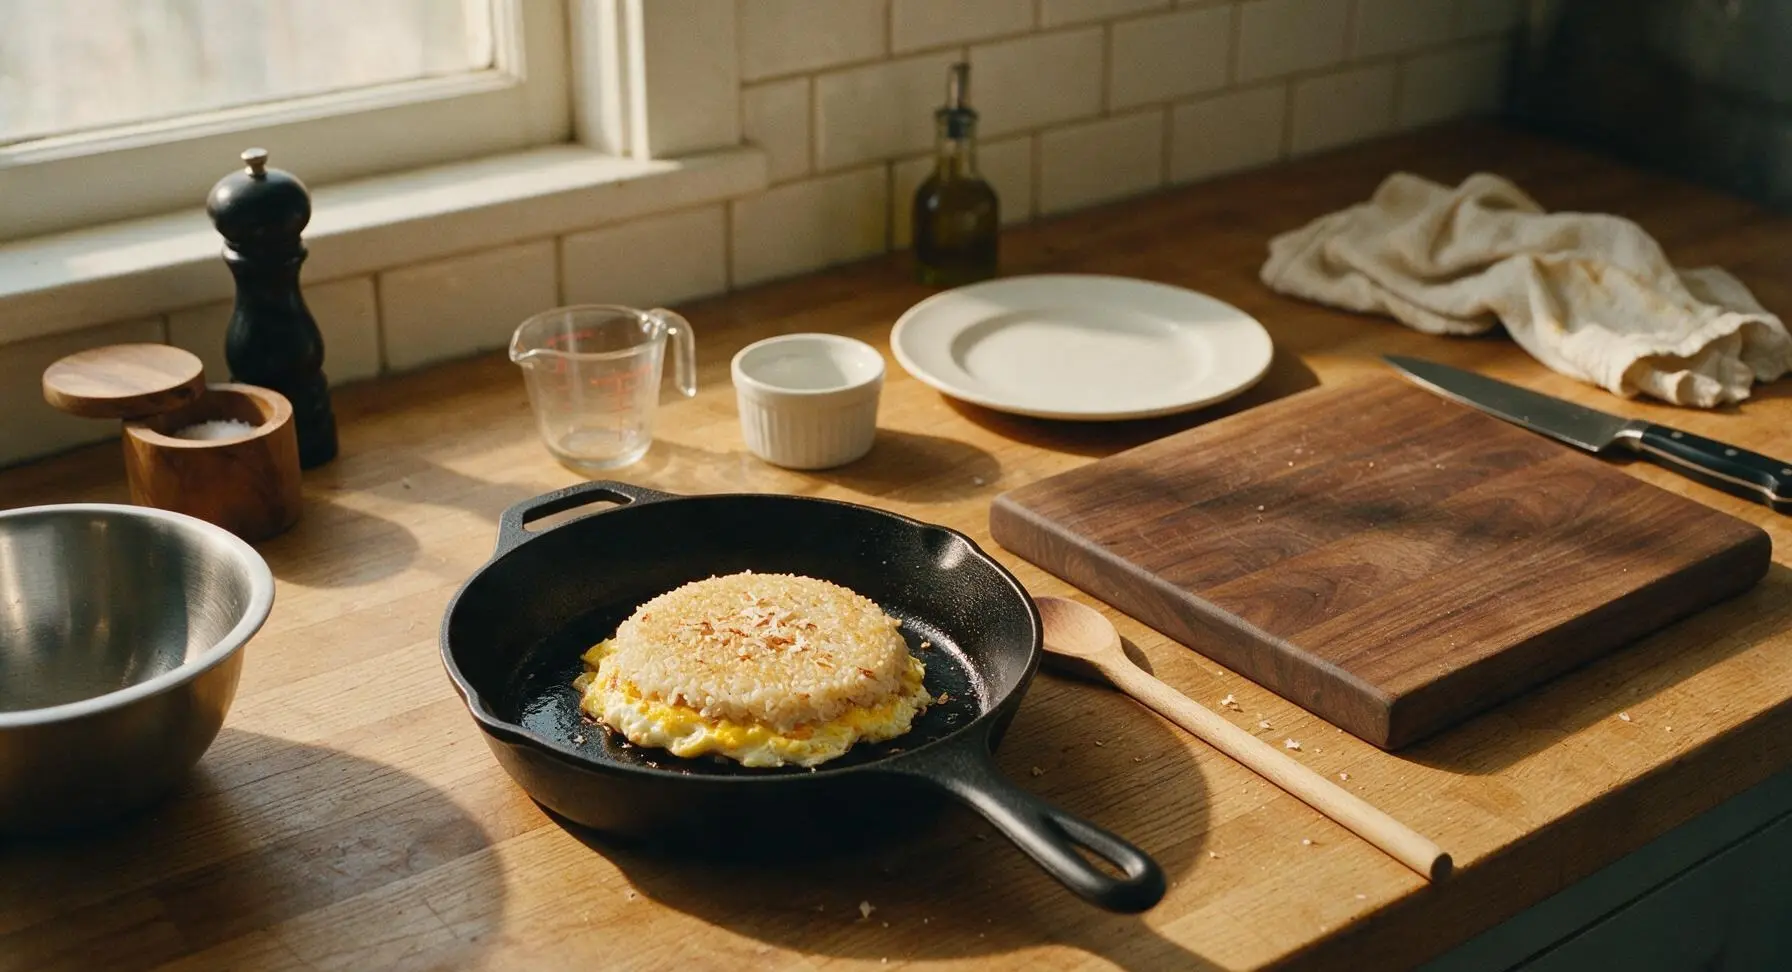
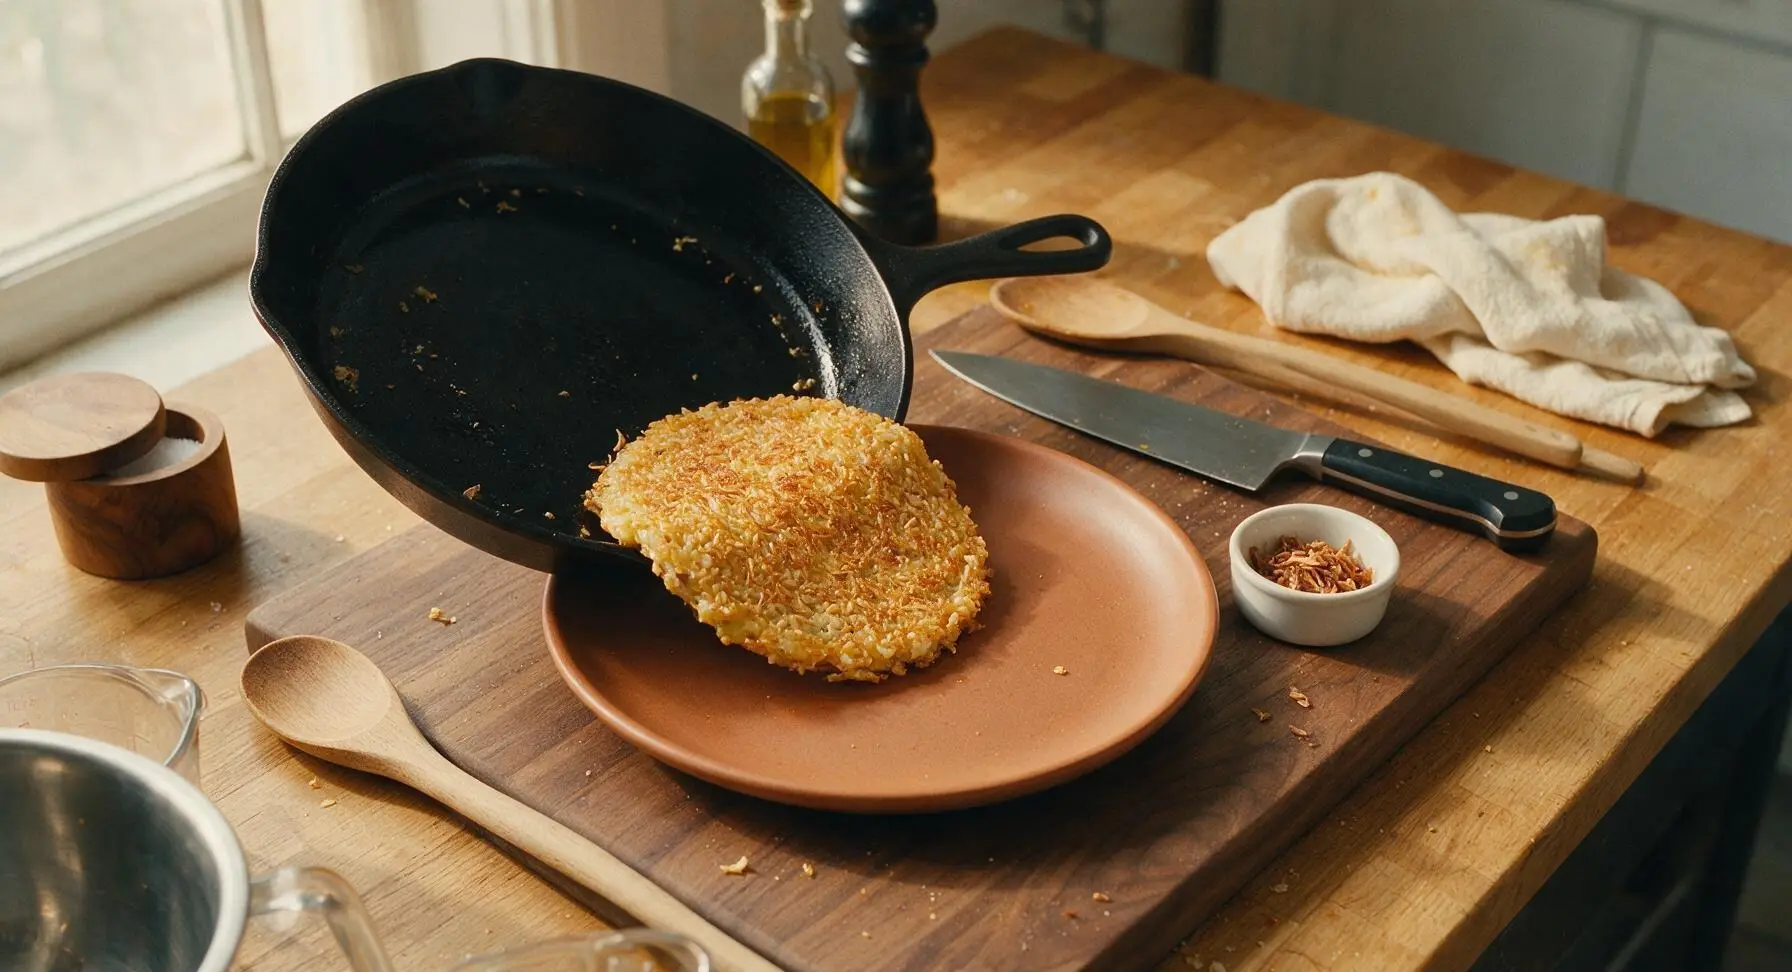
Slide the finished kerak telor patty onto a matte terracotta dinner plate, crispy rice side facing up. Sprinkle the top with 1.5 tsp crispy fried shallots, a pinch of remaining sumac, a light dusting of Aleppo pepper, and a few fresh parsley leaves. Repeat steps 5 through 8 with the remaining rice, turkey mixture, and egg, adding 3/4 tsp fresh oil to the pan between each patty, to make 4 total patties. Serve immediately while hot and crisp.
Tips
2.Keep pan temperature at medium-low after adding the egg layer: high heat will burn the delicate rice crust before the ground turkey cooks through to the safe 165°F internal temperature. If edges brown too quickly, reduce heat slightly to ensure even cooking from crust to center.
3.Wait 10 seconds after loosening the patty edge before flipping: this lets any uncooked egg drain slightly under the patty and set, preventing the patty from breaking apart when turned. The thin, flexible slotted spatula works best for sliding cleanly under the crisp crust without tearing it.






OMG, this Kerak Telor Turkey was such a game changer for our weeknight family dinner! I was nervous it’d be too tricky since it’s marked medium difficulty, but the 25 minute cook time was totally spot on. My kids devoured it, even my super picky 7 year old asked for seconds! SO good, I’m already planning to make it for our neighborhood potluck next weekend. I did add a tiny extra sprinkle of fried shallots on top, chef’s kiss.
Took me a little longer than 25 minutes because I kept messing up the crispy egg layer, but wow was it worth it! I’ve had traditional kerak telor before at an Indonesian food festival and this turkey version is such a fun, lighter twist. Perfect for when I don’t want a super heavy meal after work.
Made this for my watch party with the guys on Sunday and everyone was asking for the recipe! Used ground turkey breast to keep it lean, tossed in a little extra chili flakes for heat, and it paired so well with cold beer. Will be adding this to my regular game day rotation for sure.
Made a test batch of this last night and it was SO good! Quick question though — does anyone know if this reheats well? I do meal prep every Sunday for the work week and I’m always looking for new recipes that don’t get soggy in the fridge, and I’d love to add this to the rotation if it holds up. The 25 minute cook time fits perfectly into my Sunday prep window, so fingers crossed!
Wait, I had no idea kerak telor could be made with turkey! I grew up eating the original version with my grandma who’s from Jakarta, and I was skeptical of a twist, but this tasted so nostalgic. The sticky rice texture was spot on, the turkey added such a nice savoriness without being overpowering. 10/10.
Full transparency, I burned the first batch because I got distracted by my dog barking at the mailman, but the second batch came out perfect! The medium difficulty rating is no joke, you gotta stay close to the pan while it crisps up, but the end result is so worth the effort. Served it with a side of pickled cucumbers and it was chef’s kiss.
Brought this to my office potluck yesterday and people were swarming the dish! I was worried the flavors might be too unfamiliar for some of my more picky coworkers, but everyone went back for seconds. Even the guy who only eats plain chicken and rice asked for the recipe. Total win!
First time making anything outside of my usual pasta and frozen veggie rotation, and wow I’m so proud of how this turned out! The medium difficulty rating scared me a little at first, but the steps were super easy to follow, and 25 minutes was exactly how long it took me. Only mistake was I forgot to buy the roasted coconut flakes, so I skipped that, but it still tasted amazing. Will definitely be making this again soon!