
keto breakfast chaffle

title 1
keto breakfast chaffle
⏱️ cook time 8 minutes
🍽️ servings 2
⚡ Difficulty easy

intro

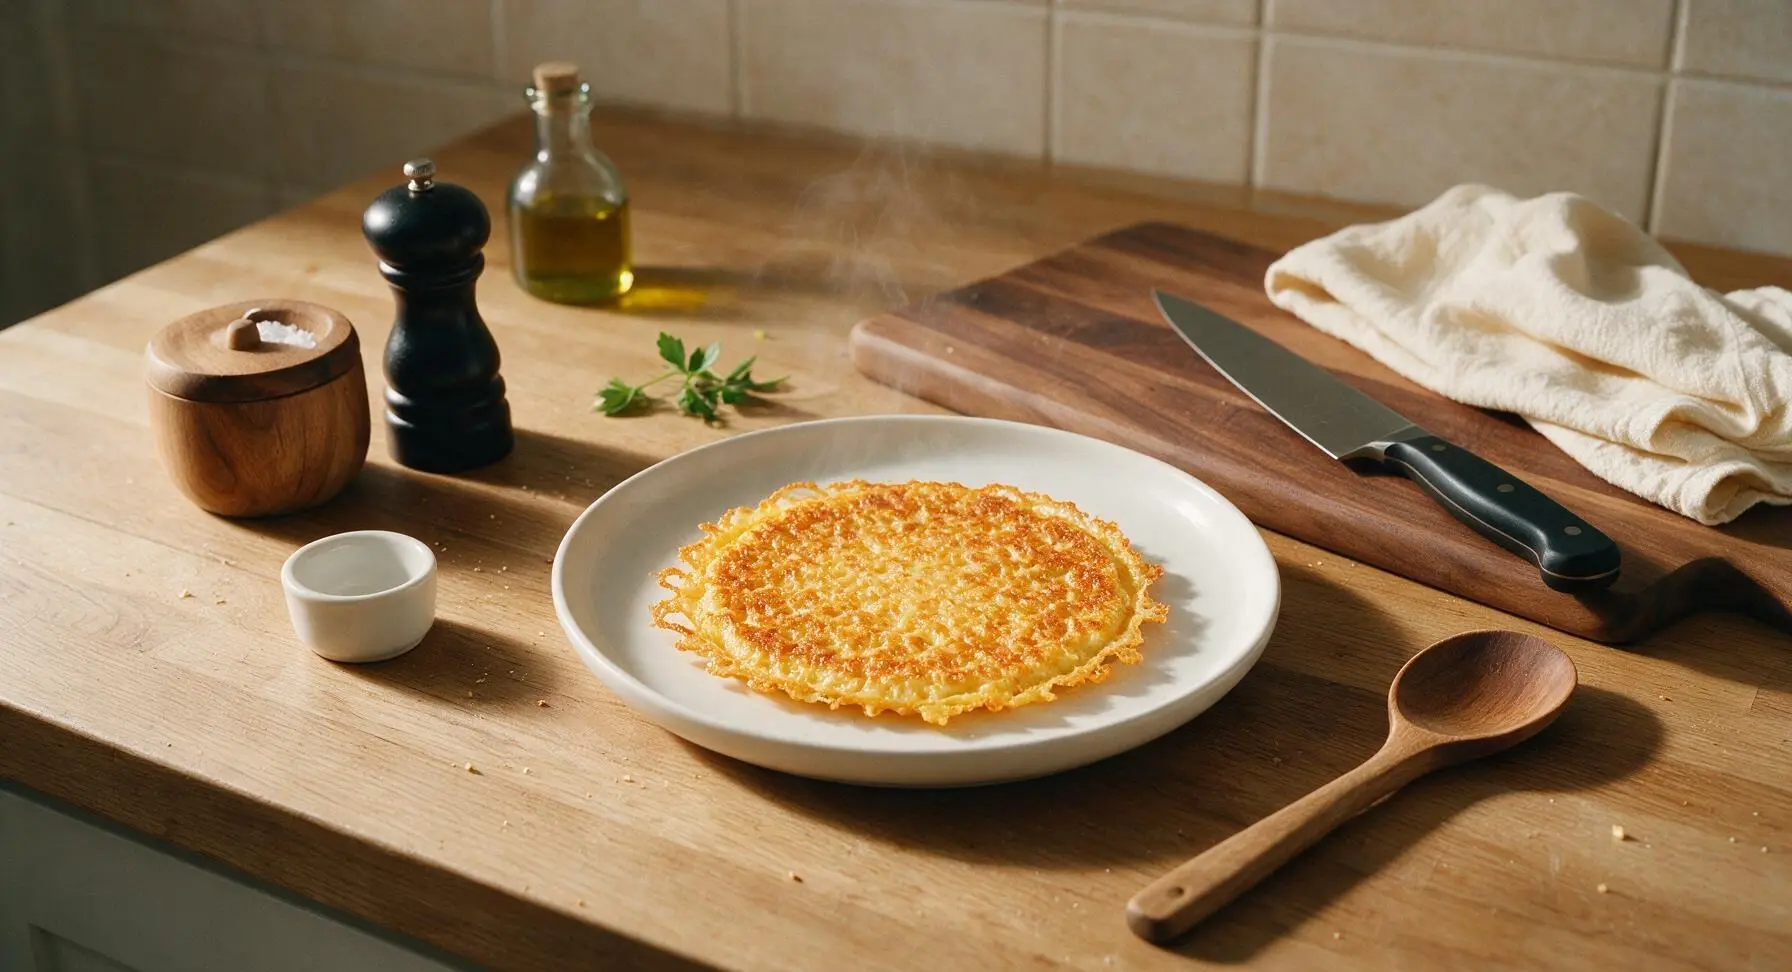
Crispy, cheesy, grain-free keto chaffles are the ultimate quick low-carb breakfast, with lacy golden edges, ready in under 10 minutes and customizable for sweet or savory preferences.

Ingredients
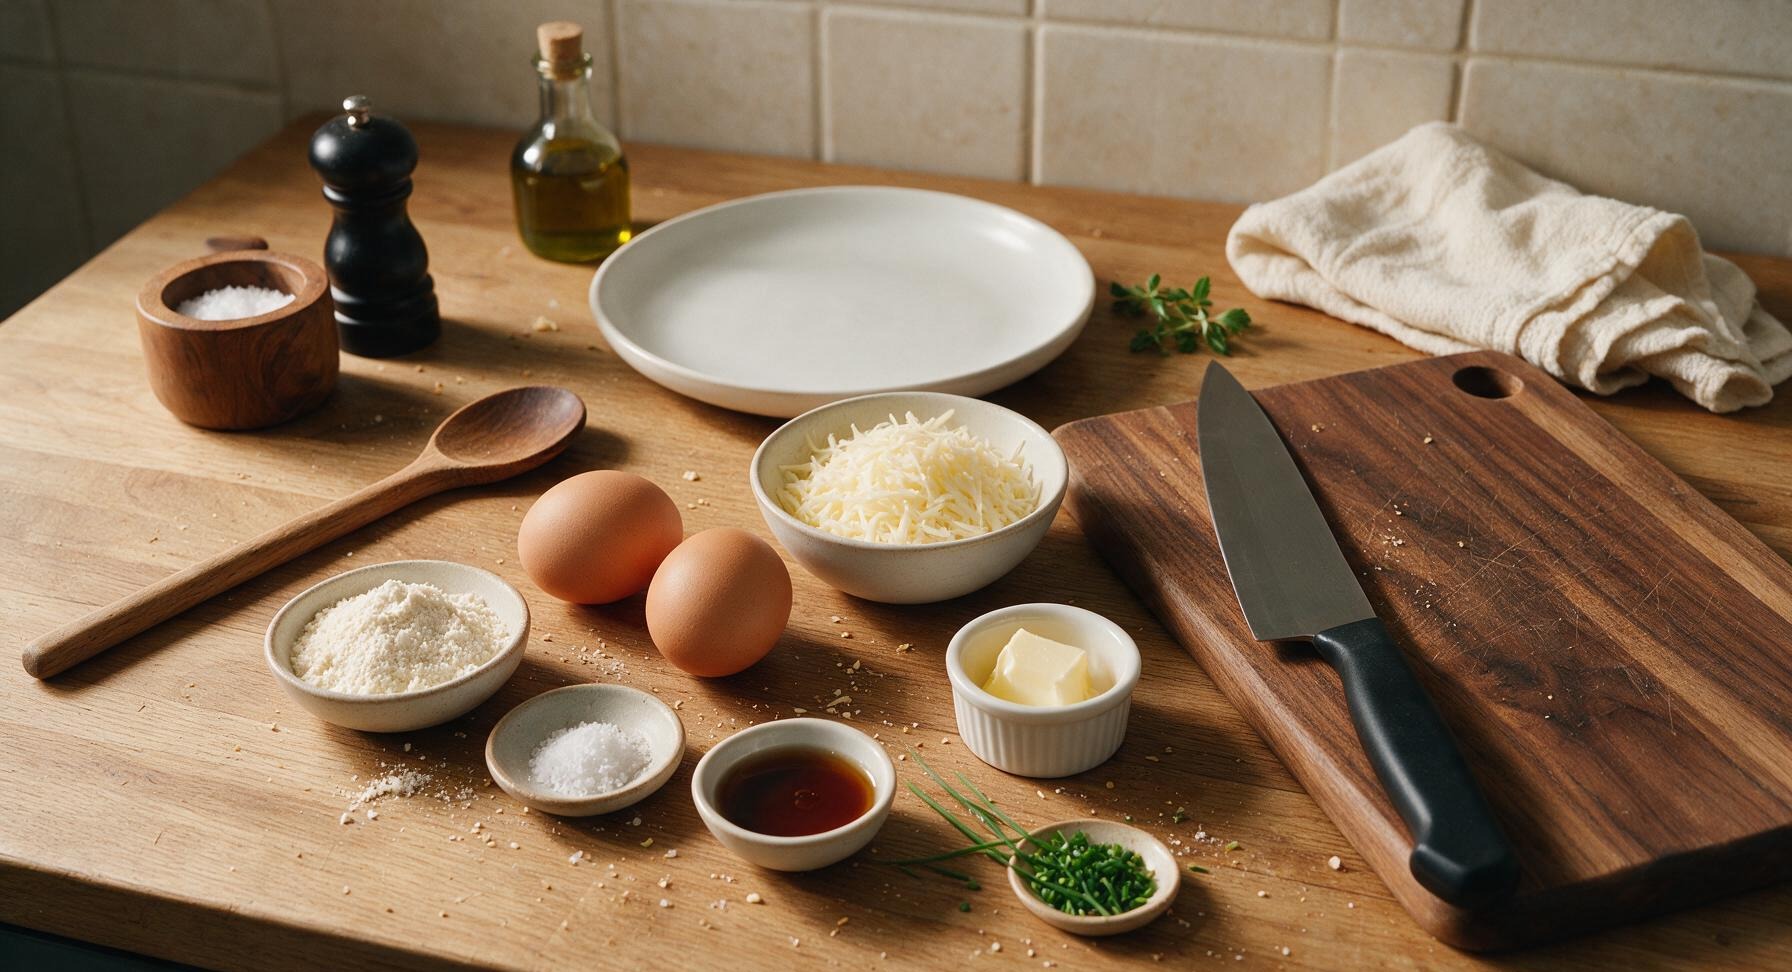
Large eggs 2 (about 100g)
Shredded low-moisture mozzarella cheese 1 cup (113g)
Superfine almond flour 2 tbsp (14g)
Baking powder 1/2 tsp (2g)
Fine sea salt 1/8 tsp (0.5g)
Unsalted butter 1 tsp (5g, for serving)
Sugar-free maple syrup 2 tbsp (30ml, for serving)
Fresh chives 1 tsp (chopped, for garnish)

Steps

1

Preheat Mini Waffle Maker

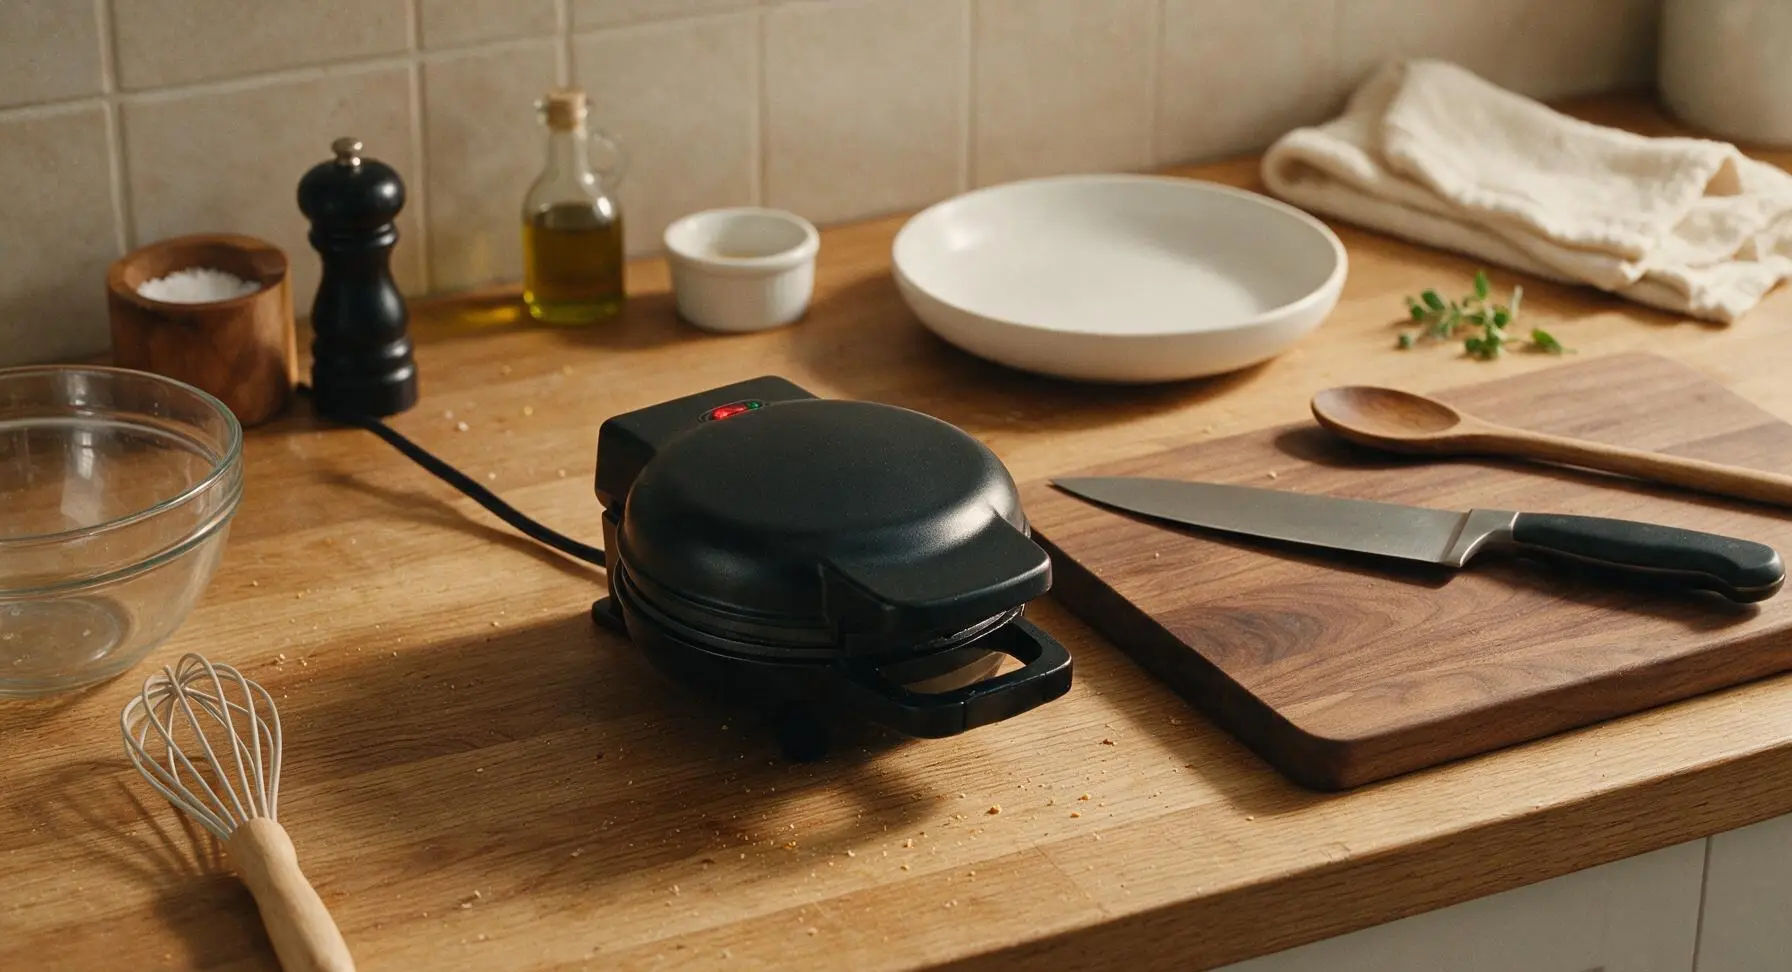
Plug in the 4-inch mini waffle maker, close the lid, and preheat for 3 minutes until the cooking surface reaches 375°F (190°C), indicated by the built-in ready light turning on. Do not apply cooking spray or oil to the plates, as the cheese in the batter will render enough fat to prevent sticking.
Step 1
step1:Preheat Mini Waffle Maker
2

Mix Chaffle Batter

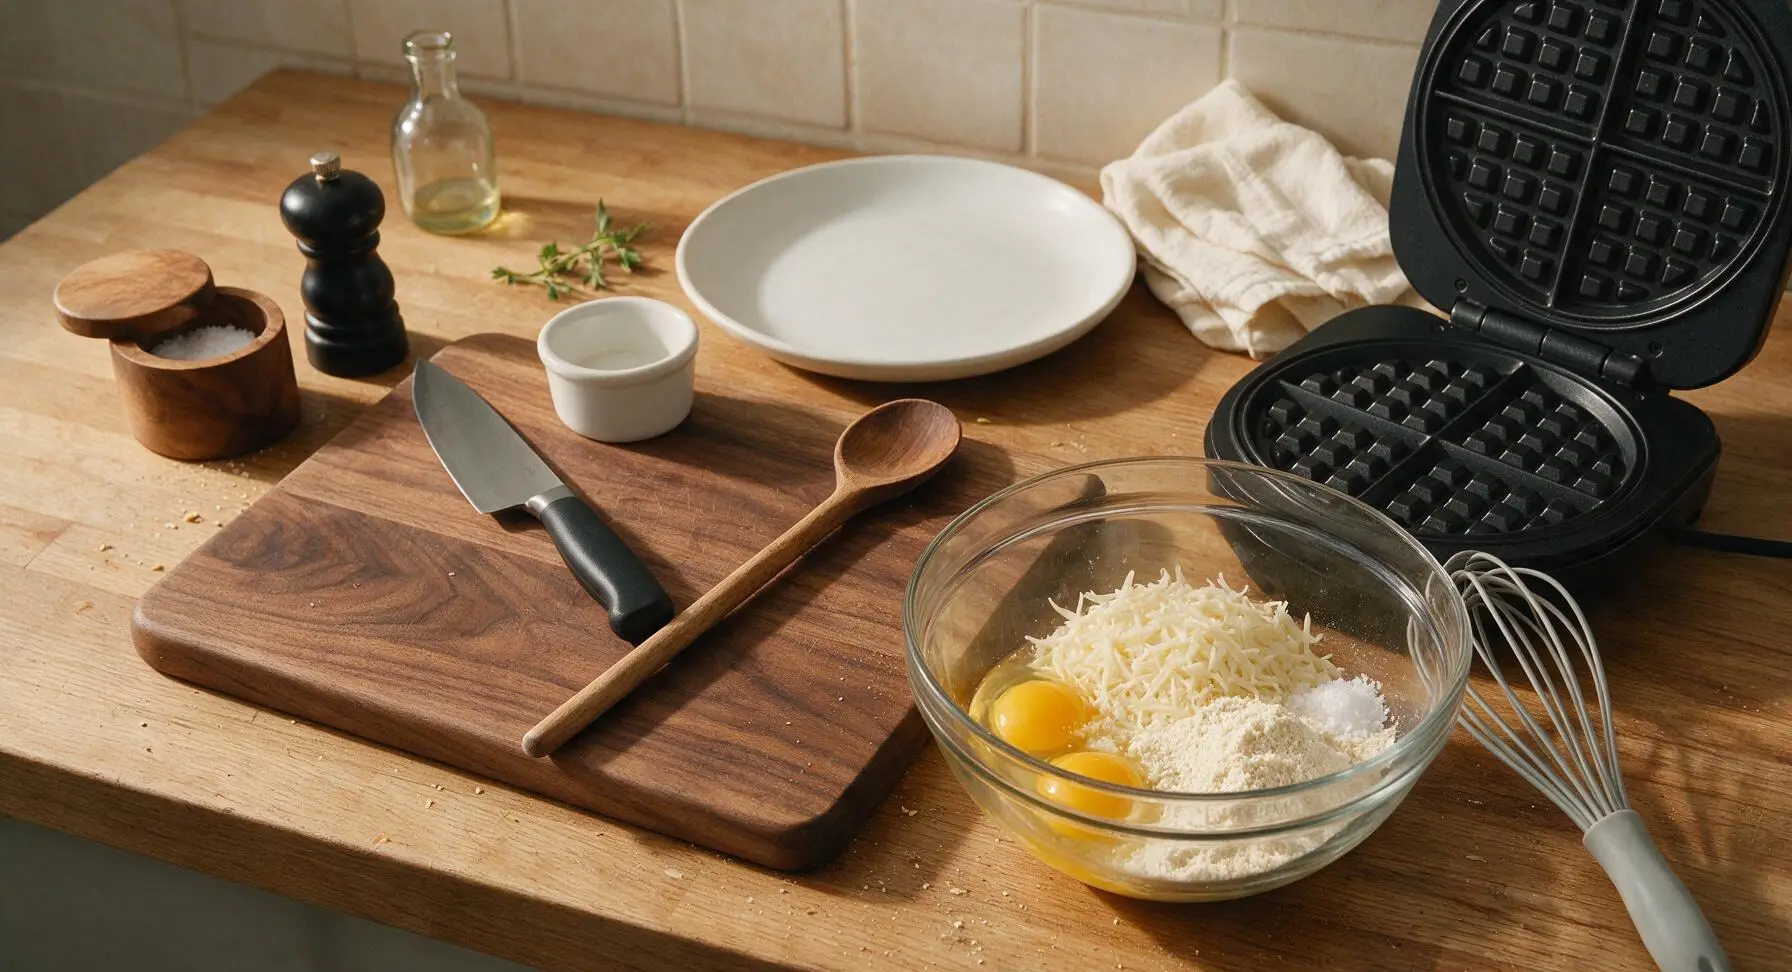
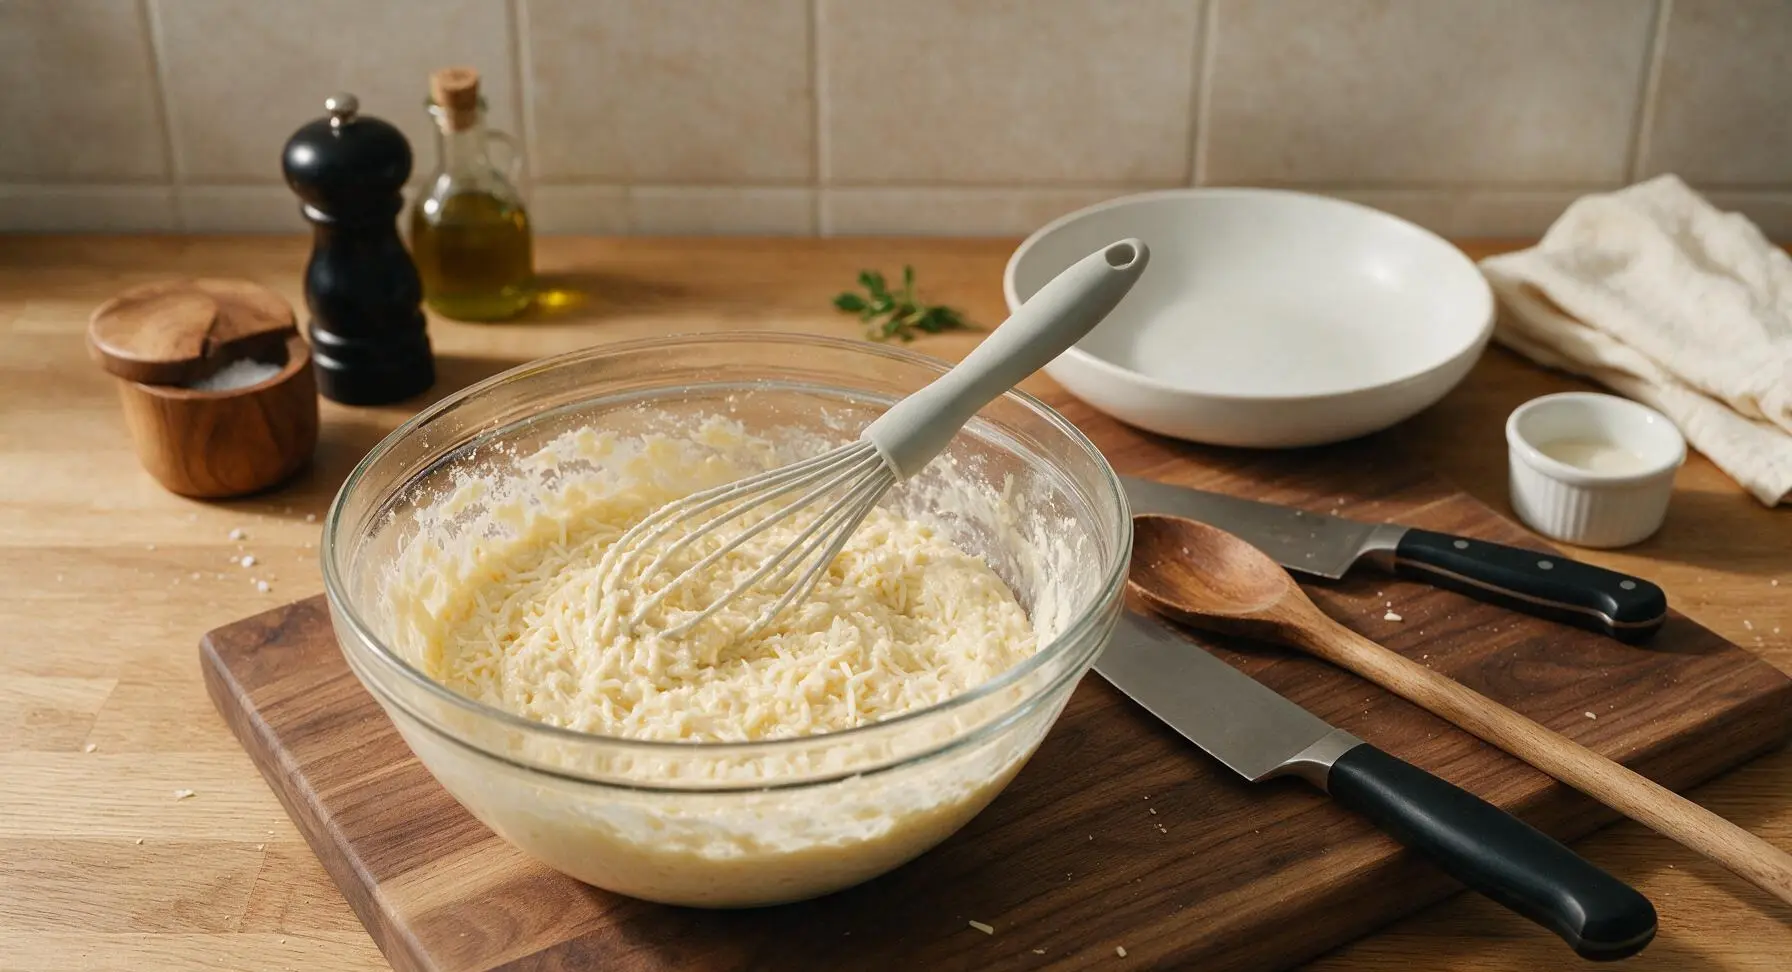
Crack the 2 large eggs into the clear glass mixing bowl. Add 1 cup shredded low-moisture mozzarella, 2 tbsp superfine almond flour, 1/2 tsp baking powder, and 1/8 tsp fine sea salt. Use the pale grey silicone whisk to stir vigorously for 45 seconds until the mixture is fully combined, with no dry flour clumps remaining, and cheese is evenly distributed throughout the egg base.
Step 2
step2:Mix Chaffle Batter
Step 2
step2:Mix Chaffle Batter
3

Portion First Batter Scoop

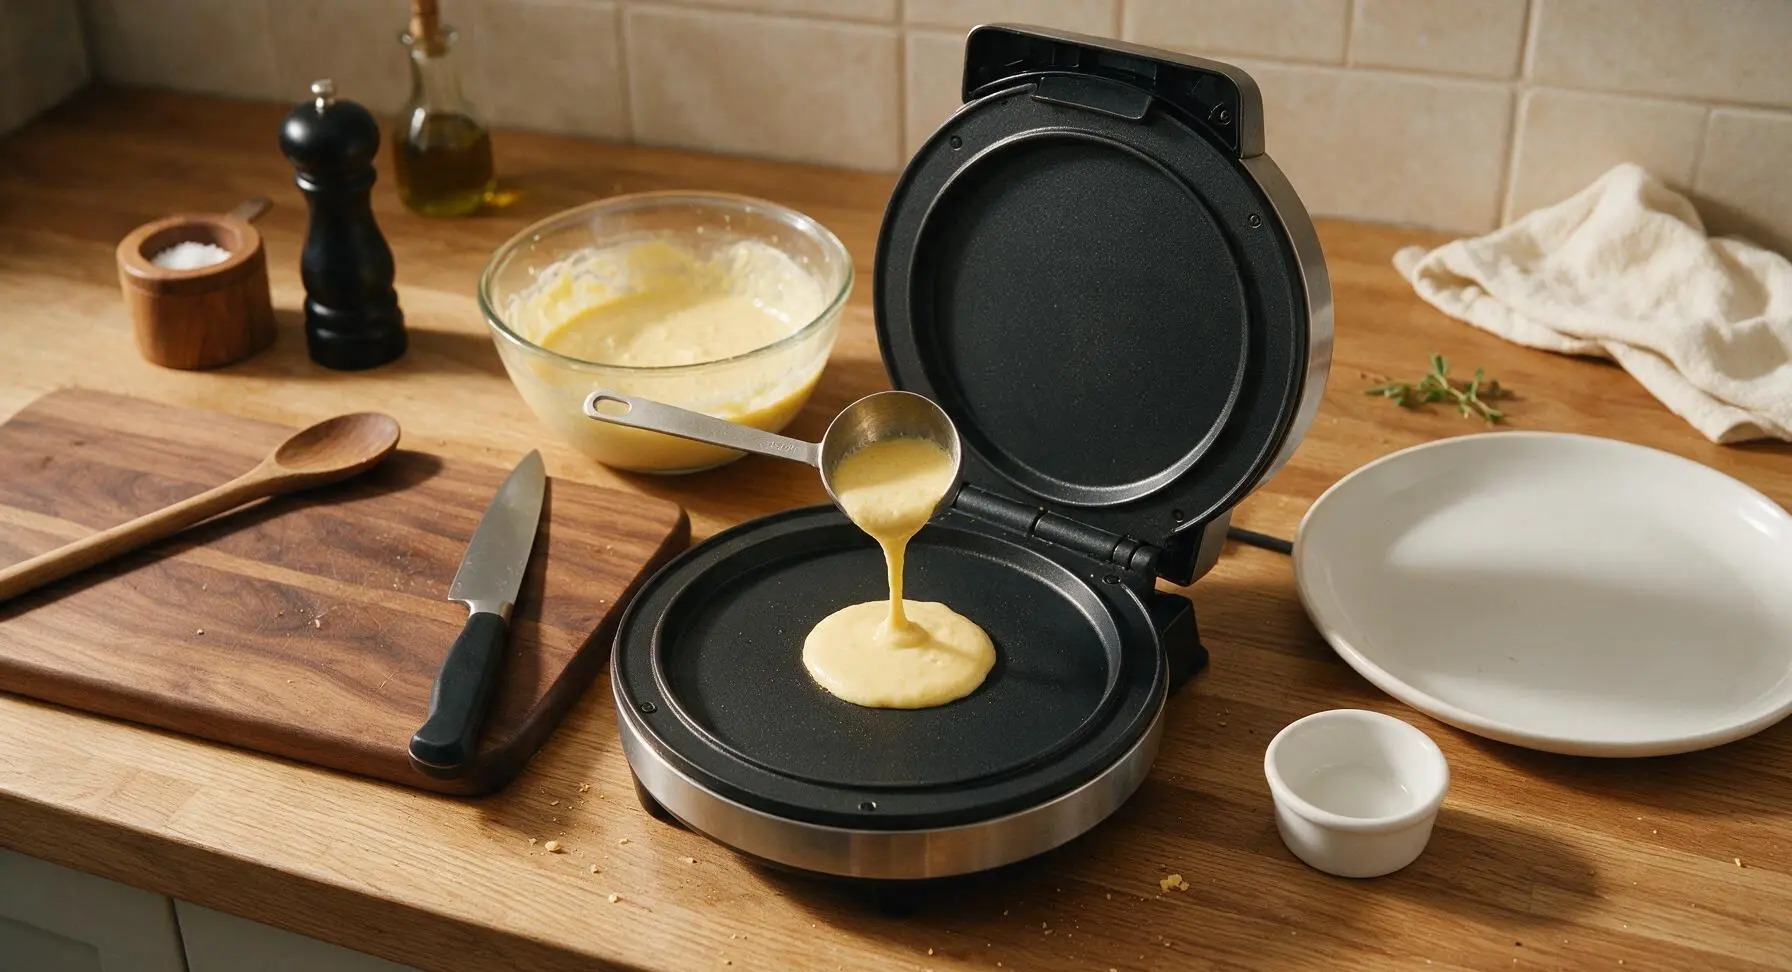
Once the waffle maker is fully preheated, lift the lid. Use the brushed stainless steel 1-tablespoon measuring scoop to pour exactly half the batter (approximately 1/3 cup) directly into the center of the bottom waffle plate. Do not spread the batter, as it will spread evenly across the plate when the lid closes.
Step 3
step3:Portion First Batter Scoop
4

Cook First Chaffle

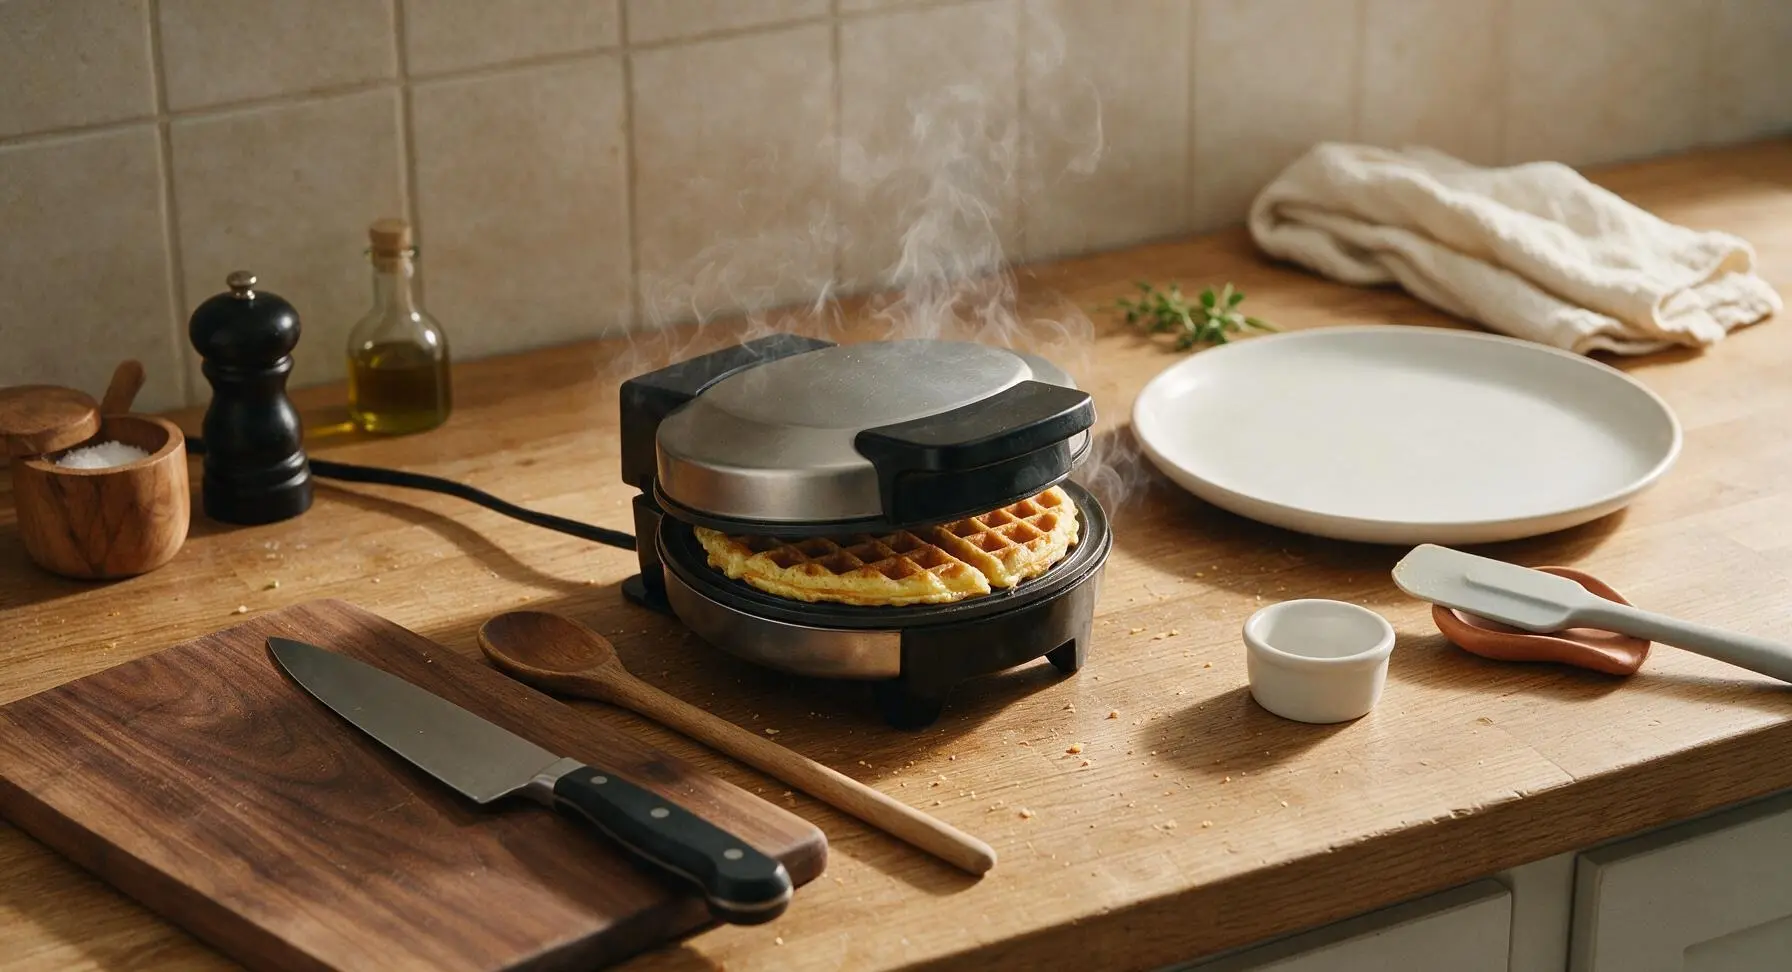
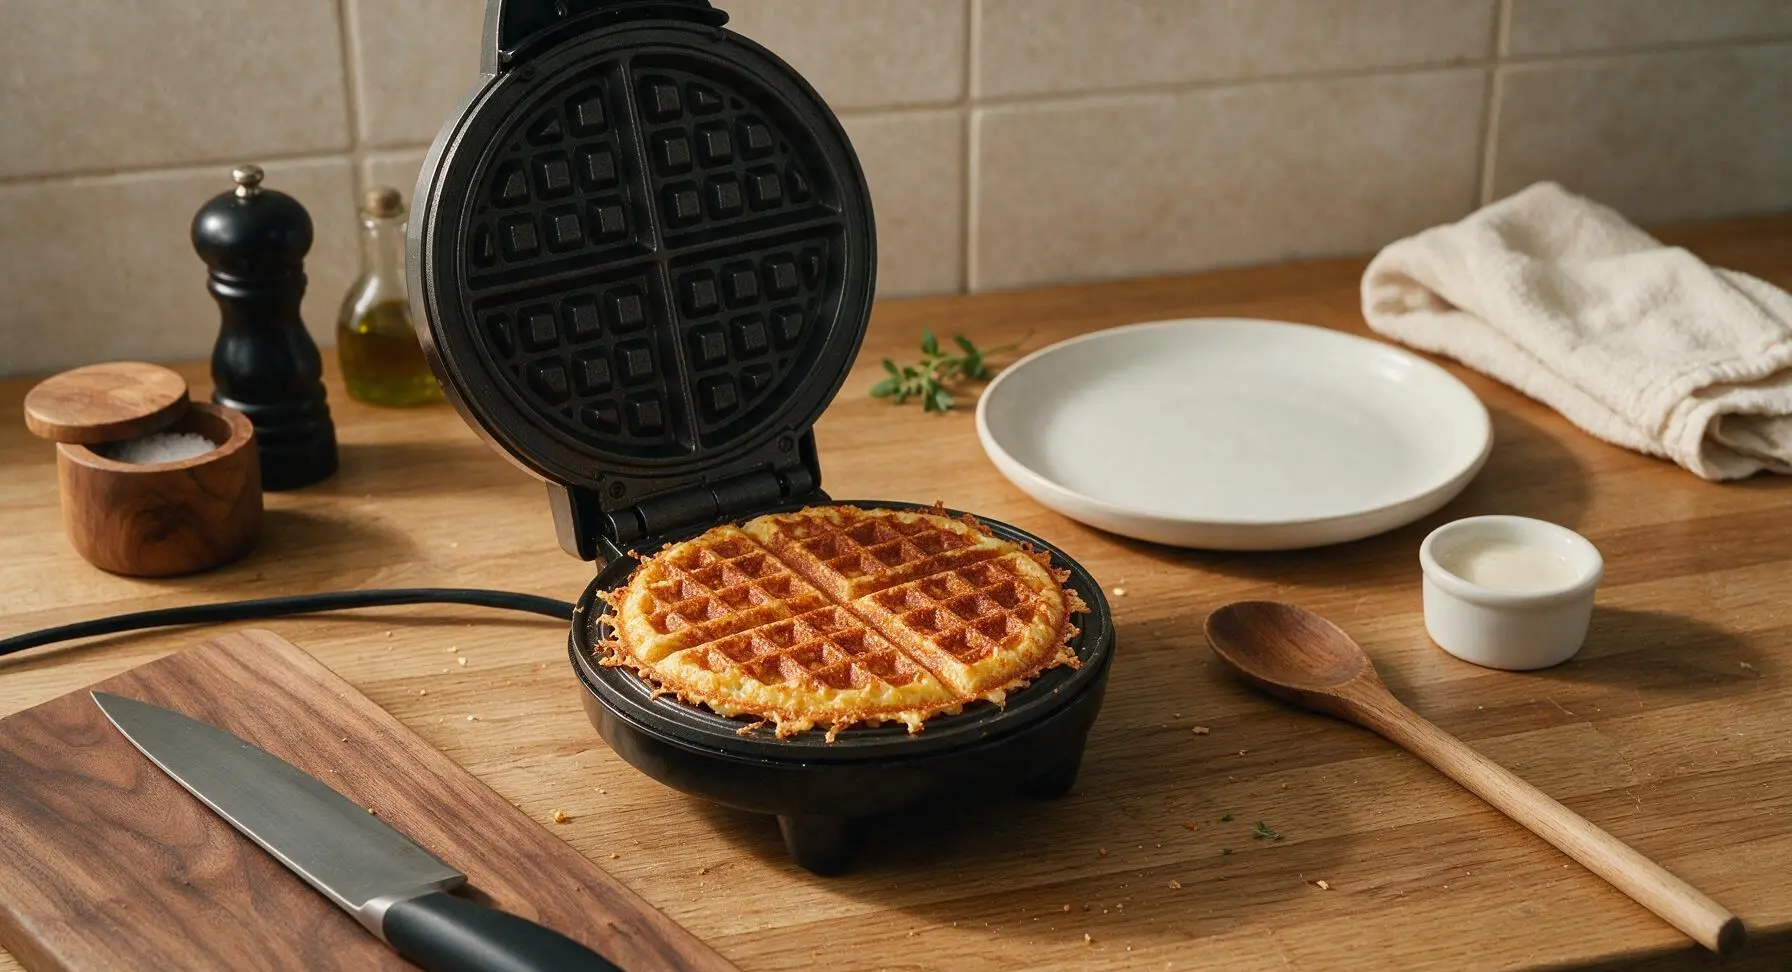
Close the waffle maker lid and cook for exactly 4 minutes without opening. Resist peeking early, as this will tear the forming crust. The chaffle is done when it is deep golden brown, has lacy crispy cheese edges, and no visible steam escapes from the waffle maker seams.
Step 4
step4:Cook First Chaffle
Step 4
step4:Cook First Chaffle
5

Cook Second Chaffle

Use the pale grey silicone spatula to carefully lift the first finished chaffle from the waffle plates and transfer it to the matte cream dinner plate at front right. Pour the remaining half of the batter into the center of the waffle plate, close the lid, and cook for another 4 minutes until identically golden and crispy.
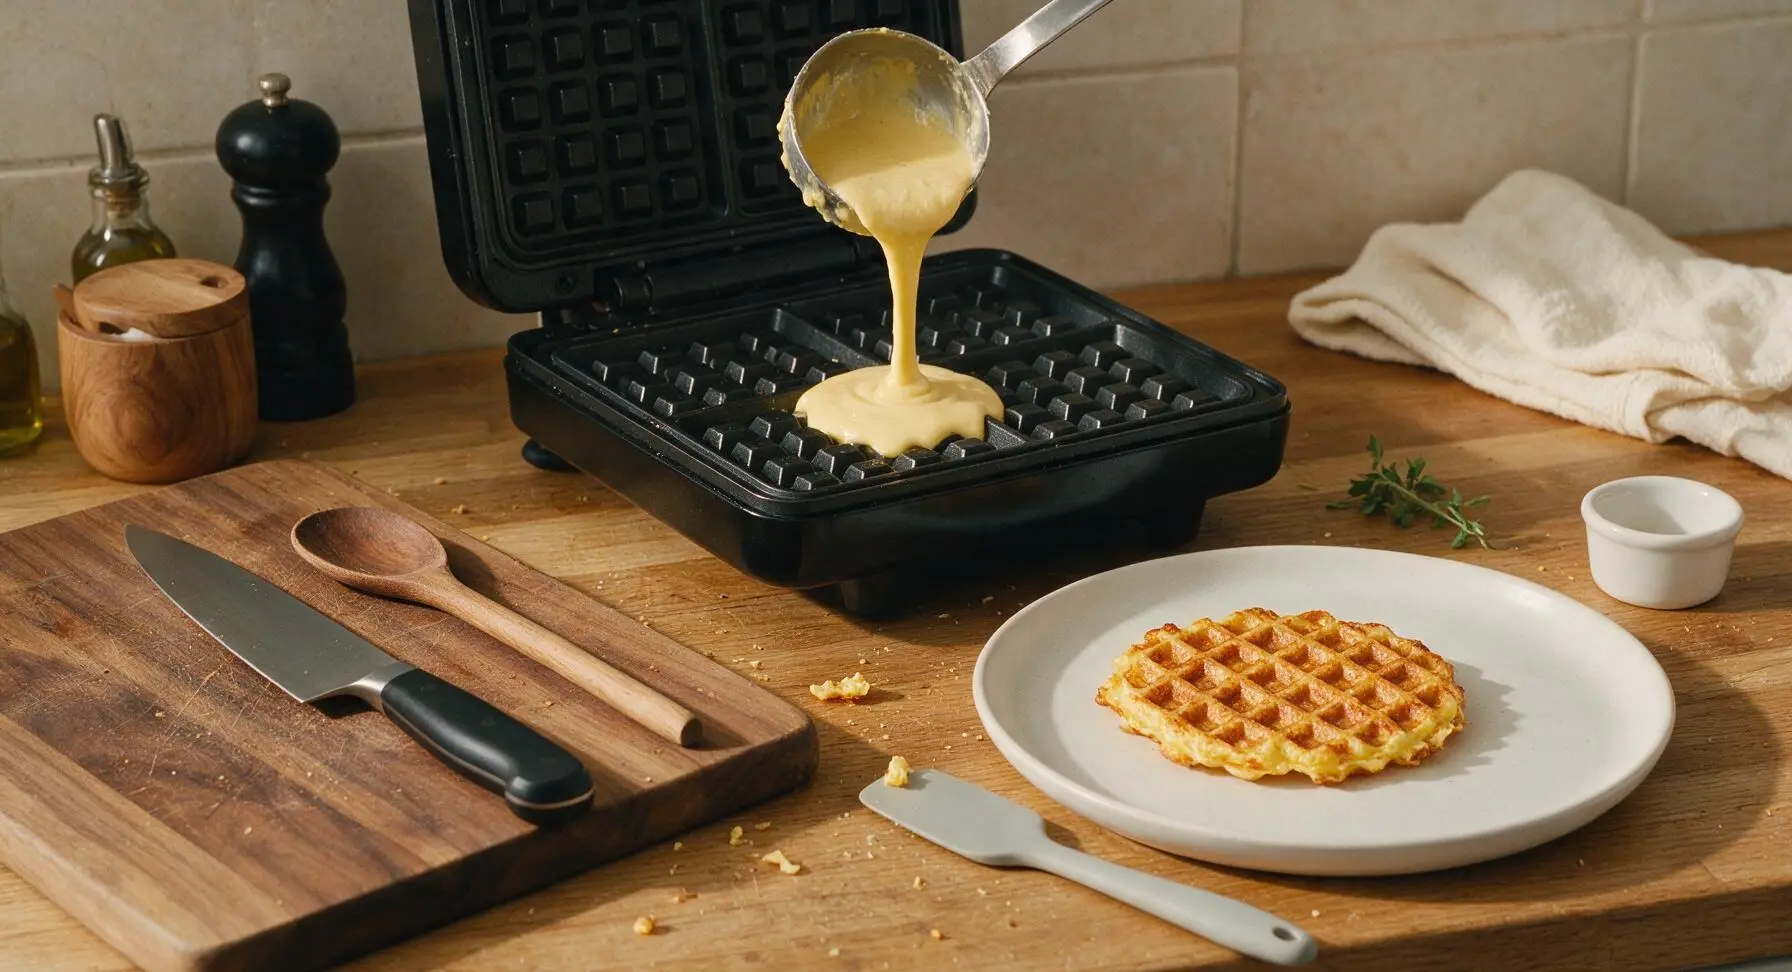
Step 5
step5:Cook Second Chaffle
6

Transfer Cooked Chaffles

When the second chaffle is fully cooked, lift it gently from the waffle plates with the silicone spatula, taking care not to tear the delicate crispy edges. Place it slightly offset on top of the first chaffle on the dinner plate. Turn off and unplug the waffle maker to cool before cleaning.
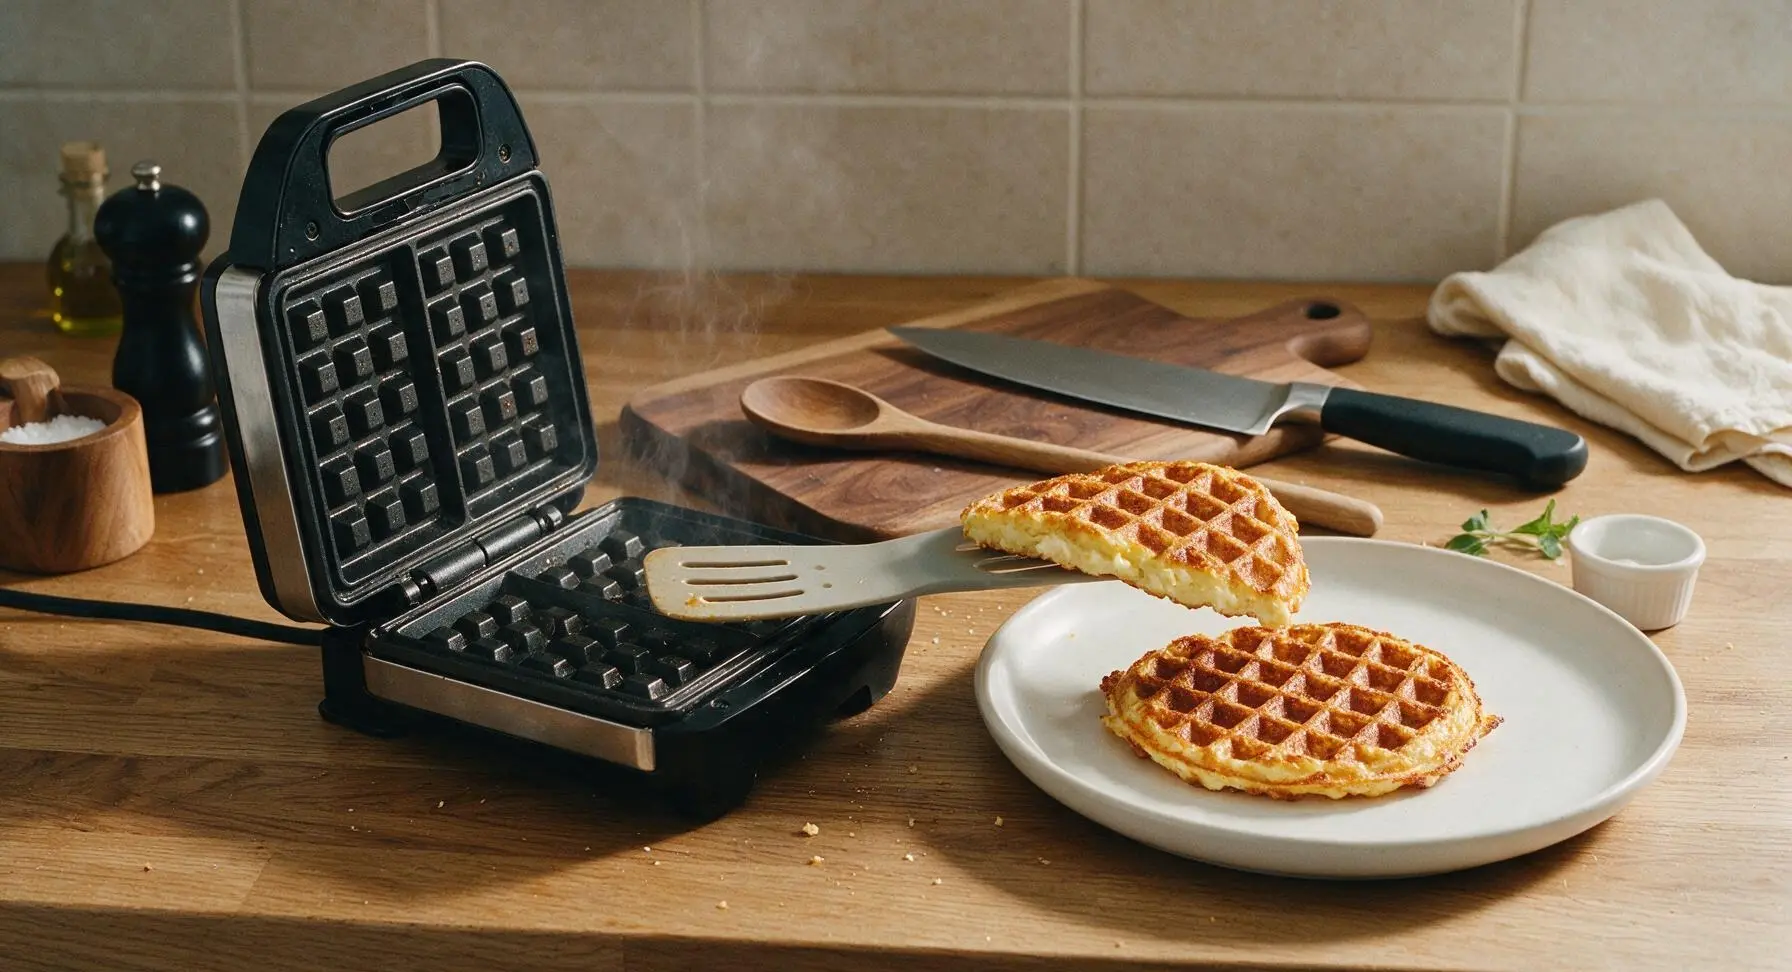
Step 6
step6:Transfer Cooked Chaffles
7

Add Finishing Toppings

Place the 1 tsp pat of unsalted butter in the center of the top chaffle, letting it melt slightly from the chaffle’s residual heat. Spoon 2 tbsp sugar-free maple syrup over the stack, letting a small amount pool in the plate rim. Sprinkle 1 tsp finely chopped fresh chives evenly over the top for a bright, savory contrast.
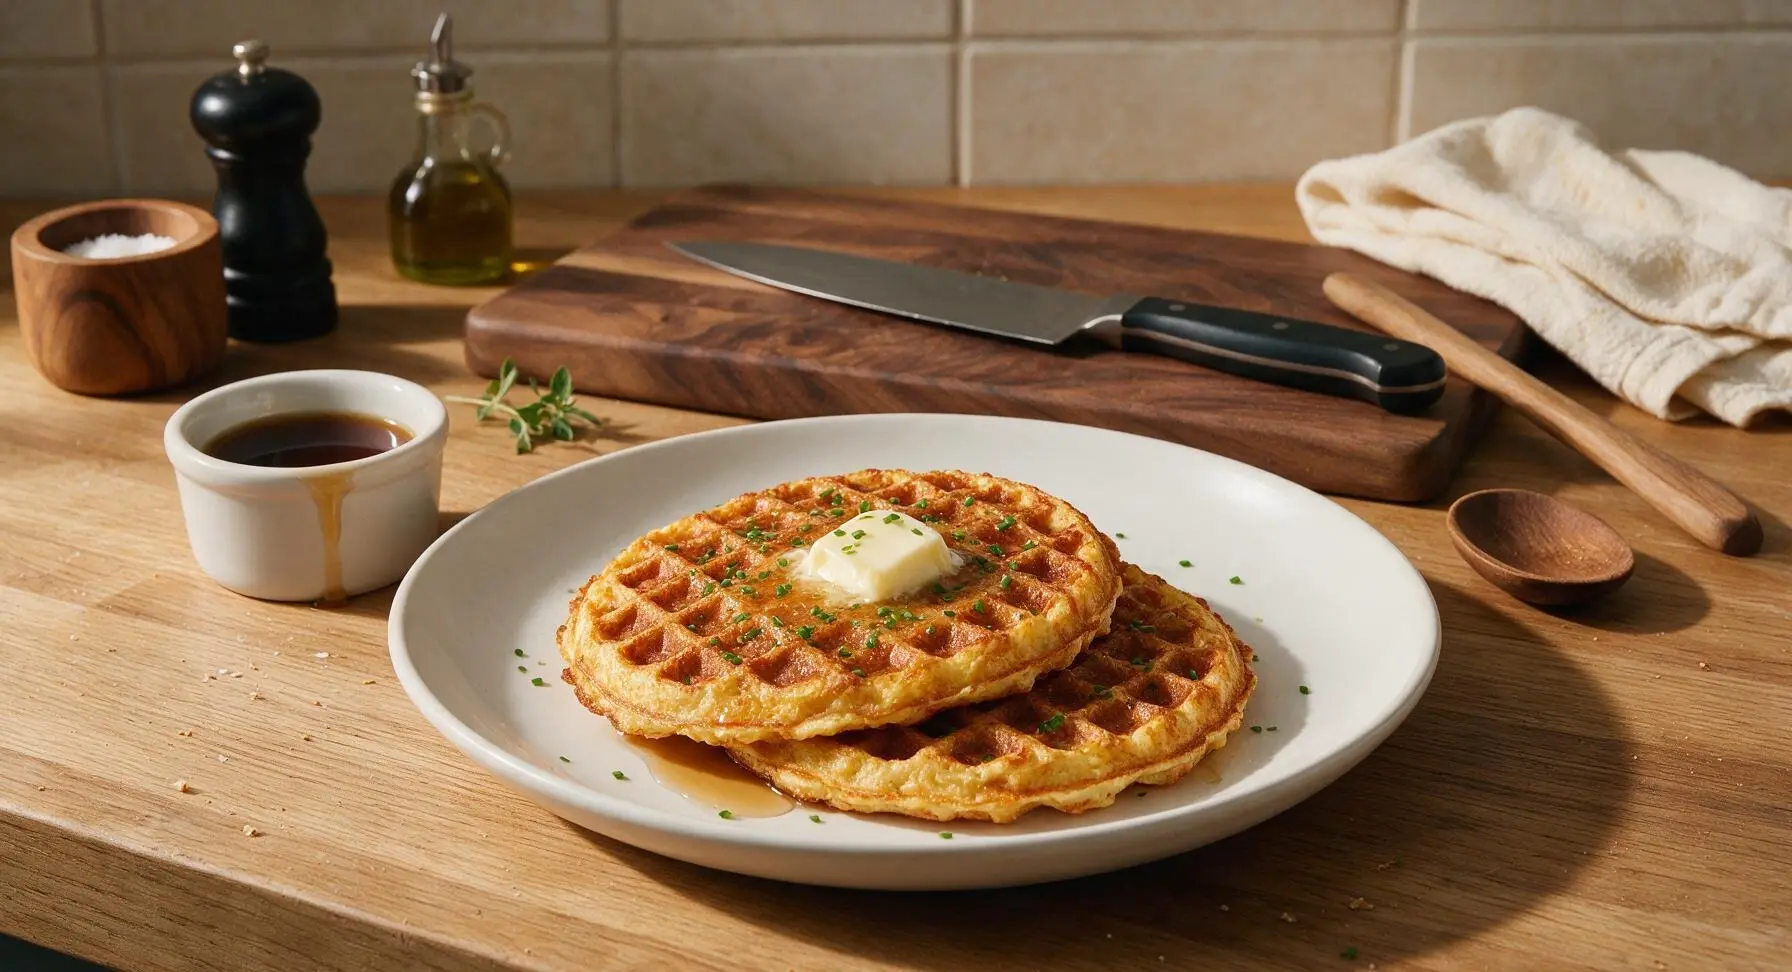
Step 7
step7:Add Finishing Toppings

Tips

1.Always use low-moisture, part-skim shredded mozzarella for the chaffle base: high-moisture fresh mozzarella releases excess water as it cooks, resulting in soggy, limp chaffles instead of the signature crispy, lacy edges.
2.Resist the urge to open the waffle maker before the full 4-minute cook time elapses: peeking early tears the delicate forming cheese crust and causes the chaffle to stick to the non-stick plates, leading to torn, uneven results.
3.Skip greasing the waffle plates entirely: the fat rendered from melting mozzarella creates a natural non-stick surface, and extra cooking spray or oil will make chaffles greasy rather than light and crisp.


✨ You May Also Like

Breakfast
🍜 United States

Crisp-edged, fluffy lard griddle cakes are a nostalgic homestyle staple, with rich savoriness from rendered lard, perfect topped with maple syrup or savory gravy.

⏱️ 25 minuteBreakfast ★ 4.8
Breakfast
🍜 United States

Flaky, buttery homemade buttermilk biscuits smothered in creamy, peppery pork sausage gravy: a beloved, hearty Southern American comfort food classic.

⏱️ 35 minuteBreakfast ★ 4.8
Breakfast
🍜 United States

Golden, custardy brioche stuffed with sweet cream cheese and fresh berries, pan-fried to crisp perfection. An indulgent, cozy breakfast perfect for slow weekend mornings.

⏱️ 30 minuteBreakfast ★ 4.7
Breakfast
🍜 United States

Flaky, buttery Southern-style biscuits stuffed with savory salty country ham, a portable, satisfying classic perfect for casual on-the-go meals.

⏱️ 25 minuteBreakfast ★ 4.8
Breakfast
🍜 United States

Iconic puffy baked pancake popularized in Seattle, with crisp golden edges and soft custardy center, served warm with classic sweet toppings.

⏱️ 35 minuteBreakfast ★ 4.6
Breakfast
🍜 United States

Fluffy, golden pancakes studded with juicy peak-summer mixed berries, drizzled with maple syrup for a bright, comforting, crowd-pleasing family breakfast.

⏱️ 25 minuteBreakfast ★ 4.7

keto breakfast chaffle:Frequently Asked Questions

1.Do I need a special dedicated chaffle maker to cook these keto breakfast chaffles? ▾
You don’t need a fancy specialty chaffle maker! A standard 4-inch mini waffle iron works perfectly for classic individual-sized chaffles, and a full-size waffle iron works too if you split batter across its plates. Always preheat fully first to get those signature lacy crispy edges and prevent sticking, even without extra spray on a well-seasoned iron.
2.Why do you recommend low-moisture mozzarella instead of fresh mozzarella for this recipe? ▾
Low-moisture shredded mozzarella (whole-milk or part-skim) has far less excess water than fresh mozzarella, which is non-negotiable for getting that crisp, not soggy, chaffle texture. Fresh mozzarella releases too much moisture as it cooks, leading to floppy, rubbery chaffles that won’t hold up to breakfast toppings or sandwich fillings.
3.Can I make these chaffles ahead of time for weekly meal prep? ▾
Absolutely! These chaffles hold up beautifully for meal prep. Let cooked chaffles cool completely, then store them in an airtight container in the fridge for up to 4 days, or freeze for up to 3 months separated by parchment paper. Reheat in a toaster or air fryer for 1-2 minutes to bring back that signature crispy texture before serving.
4.I don’t have superfine almond flour—what’s a good substitute? ▾
Regular blanched almond flour works as a direct 1:1 swap if that’s what you have, though superfine almond flour gives a slightly less grainy final texture. Avoid coarse almond meal, as it creates a crumbly, gritty chaffle. For nut-free needs, swap in an equal amount of superfine sunflower seed flour for a similarly low-carb result.
5.Why are my chaffles coming out soggy instead of crisp and golden? ▾
Soggy chaffles almost always trace back to three common issues: your waffle iron wasn’t fully preheated before adding batter, you used high-moisture cheese instead of low-moisture mozzarella, or you removed the chaffle too early. Wait for the iron to stop releasing steam before opening it, usually 3-4 minutes total, for a fully set, crisp chaffle.
6.Can I customize the base recipe to make sweet chaffles instead of savory? ▾
Definitely! The neutral base recipe works beautifully for both sweet and savory preferences. For a sweet breakfast version, add 1/4 teaspoon vanilla extract, a dash of cinnamon, and 1 teaspoon of granulated keto sweetener to the batter, then top with sugar-free syrup, fresh low-carb berries, or unsweetened whipped cream.
7.What does the small amount of baking powder do in this recipe? ▾
That tiny pinch of baking powder keeps your chaffles from being overly dense and cracker-thin, without adding any noticeable carb count. It creates just enough light lift so the chaffle has a pleasant, sturdy texture that works perfectly as a low-carb bread replacement for breakfast sandwiches or toast-style toppings.
8.How long does it take to make these chaffles from start to finish? ▾
These chaffles live up to their quick, no-fuss reputation! It takes about 2 minutes to whisk the egg and mix in the cheese, almond flour, baking powder, and salt, then 3-4 minutes of cook time in a preheated waffle iron. That adds up to less than 10 minutes total, ideal for busy weekday mornings with zero advance prep.
9.Can I use these chaffles as a bread replacement for breakfast sandwiches? ▾
Absolutely! Once cooked to a crisp, these chaffles have a sturdy, holdable texture that works perfectly as a low-carb swap for English muffins or toast. Let them cool for 1 minute after removing from the waffle iron so they firm up even more, then layer with bacon, fried eggs, avocado, or your favorite fillings.
10.Do I need to grease my waffle iron before pouring in the chaffle batter? ▾
In most cases, no! The mozzarella in the batter releases a small amount of fat as it melts, which creates a natural non-stick surface on a properly preheated, well-maintained waffle iron. If you have an older iron that tends to stick, a quick light spritz of avocado oil non-stick spray is all you need—skip heavy greasing that leads to greasy, heavy chaffles.
11.How many servings does the base recipe make, and how many net carbs are in each serving? ▾
The base recipe as written makes two 4-inch mini chaffles, which equals one single serving. That serving clocks in at roughly 2 grams of net carbs, thanks to the grain-free almond flour and cheese base, making it perfectly aligned with standard daily keto macro targets for a filling, satisfying low-carb breakfast.

Comments (4)

2 days ago

OMG these chaffles are a total game changer for my busy weekday meal prep! I’ve been struggling to find quick keto breakfasts that don’t taste like bland cardboard, and these only take 8 minutes? *Chef’s kiss* I tossed in a little extra shredded sharp cheddar and a dash of garlic powder to the batter this morning, topped it with a runny fried egg and sliced avocado, and my husband even asked for seconds before he left for his early construction shift. SO good, will be making these every single week from now on!

1 day ago

Wait the garlic powder and sharp cheddar addition sounds chef’s kiss! I’ve been making mine plain with just mozzarella and egg but I’m definitely throwing that in my next batch, thanks for the awesome tip!

1 day ago

So glad you’re loving the recipe! That garlic powder and sharp cheddar twist sounds absolutely delicious—customizing the batter with your favorite cheeses and seasonings is half the fun of chaffles. Pro tip: they freeze really well for up to a month if you want to prep a big batch to grab and go on busy mornings!

3 days ago

Super easy recipe, even for someone who burns toast half the time lmao. I was worried my first chaffle would stick to my mini waffle maker but it popped right out no problem, even with my terrible non-stick spray coverage. Only thing is, mine came out a little softer than I expected—did I not cook it long enough? Tasted great slathered with cream cheese either way, just wanted that crispier texture I keep seeing people rave about online.

2 days ago

Great question! If you want a crispier chaffle, try letting it cook an extra 1-2 minutes (just keep a close eye on it so it doesn’t burn) and make sure you’re squeezing any extra moisture out of your shredded cheese before mixing it into the batter. That little trick makes such a huge difference for texture!

1 week ago

My kids loved it!!! I thought for sure they’d turn their noses up at a “diet breakfast” so I didn’t even mention it was keto, just told them it was mini cheese waffles. They ate theirs with a side of sugar-free syrup and fresh berries and begged for more before they even finished their plates. Easy enough to throw together on a chaotic school morning too, no fancy hard-to-find ingredients needed. Total win in our house, 10/10.

5 days ago

Took these on my weekend car camping trip near Rocky Mountain National Park last weekend and they were perfect! I pre-made a whole batch at home before I left, packed them in a cooler, and reheated them over the camp stove with some crispy bacon and sliced tomato. Way better than the sad, crumbly protein bars I usually bring for camping breakfasts. Only took 8 minutes to whip up the whole batch, zero stress or cleanup. Will be a staple for all my future trips!

3 days ago

Oh that’s such a smart idea! I’m always hunting for no-mess camping foods that don’t require a ton of on-site prep, I’m adding these to my meal plan for my trip to Mount Rainier next month! Thanks for the inspo!



