
KFC Extra Crispy Chicken

title 1
KFC Extra Crispy Chicken
⏱️ cook time 25 minutes
🍽️ servings 4
⚡ Difficulty medium

intro

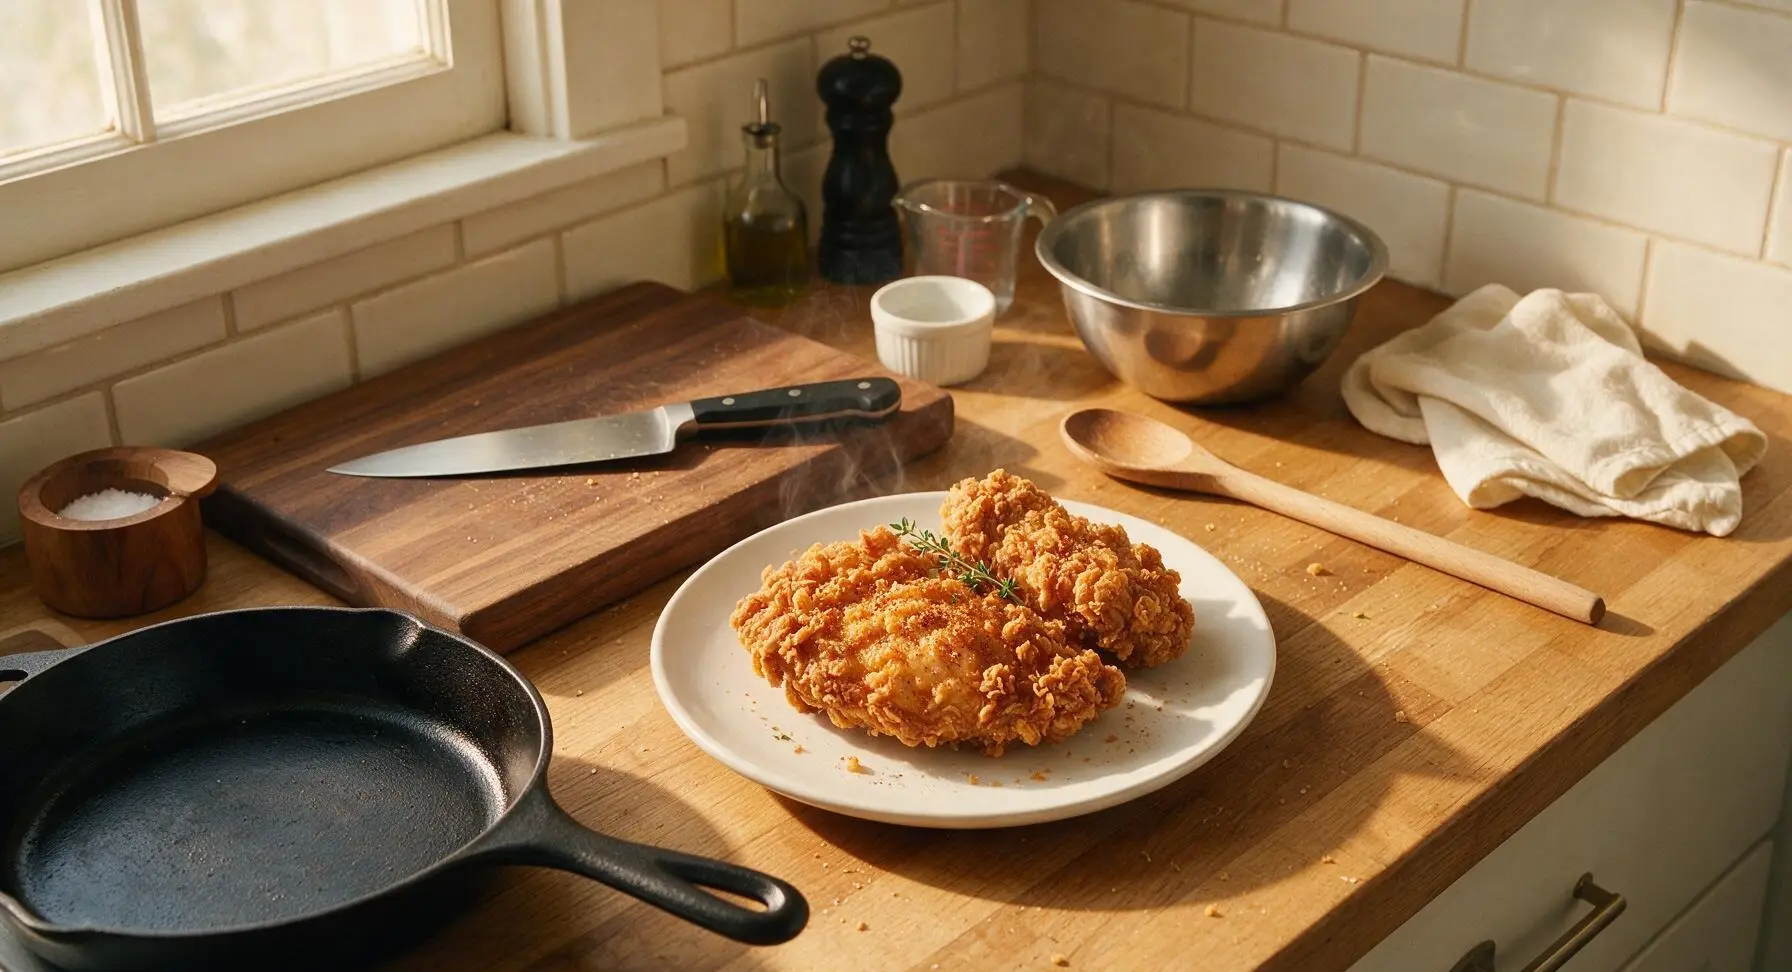
Shatteringly crisp, craggy golden coating, juicy well-seasoned chicken, and that iconic savory spice blend—this copycat KFC Extra Crispy Chicken tastes just like the fast-food favorite, made fresh at home.

Ingredients
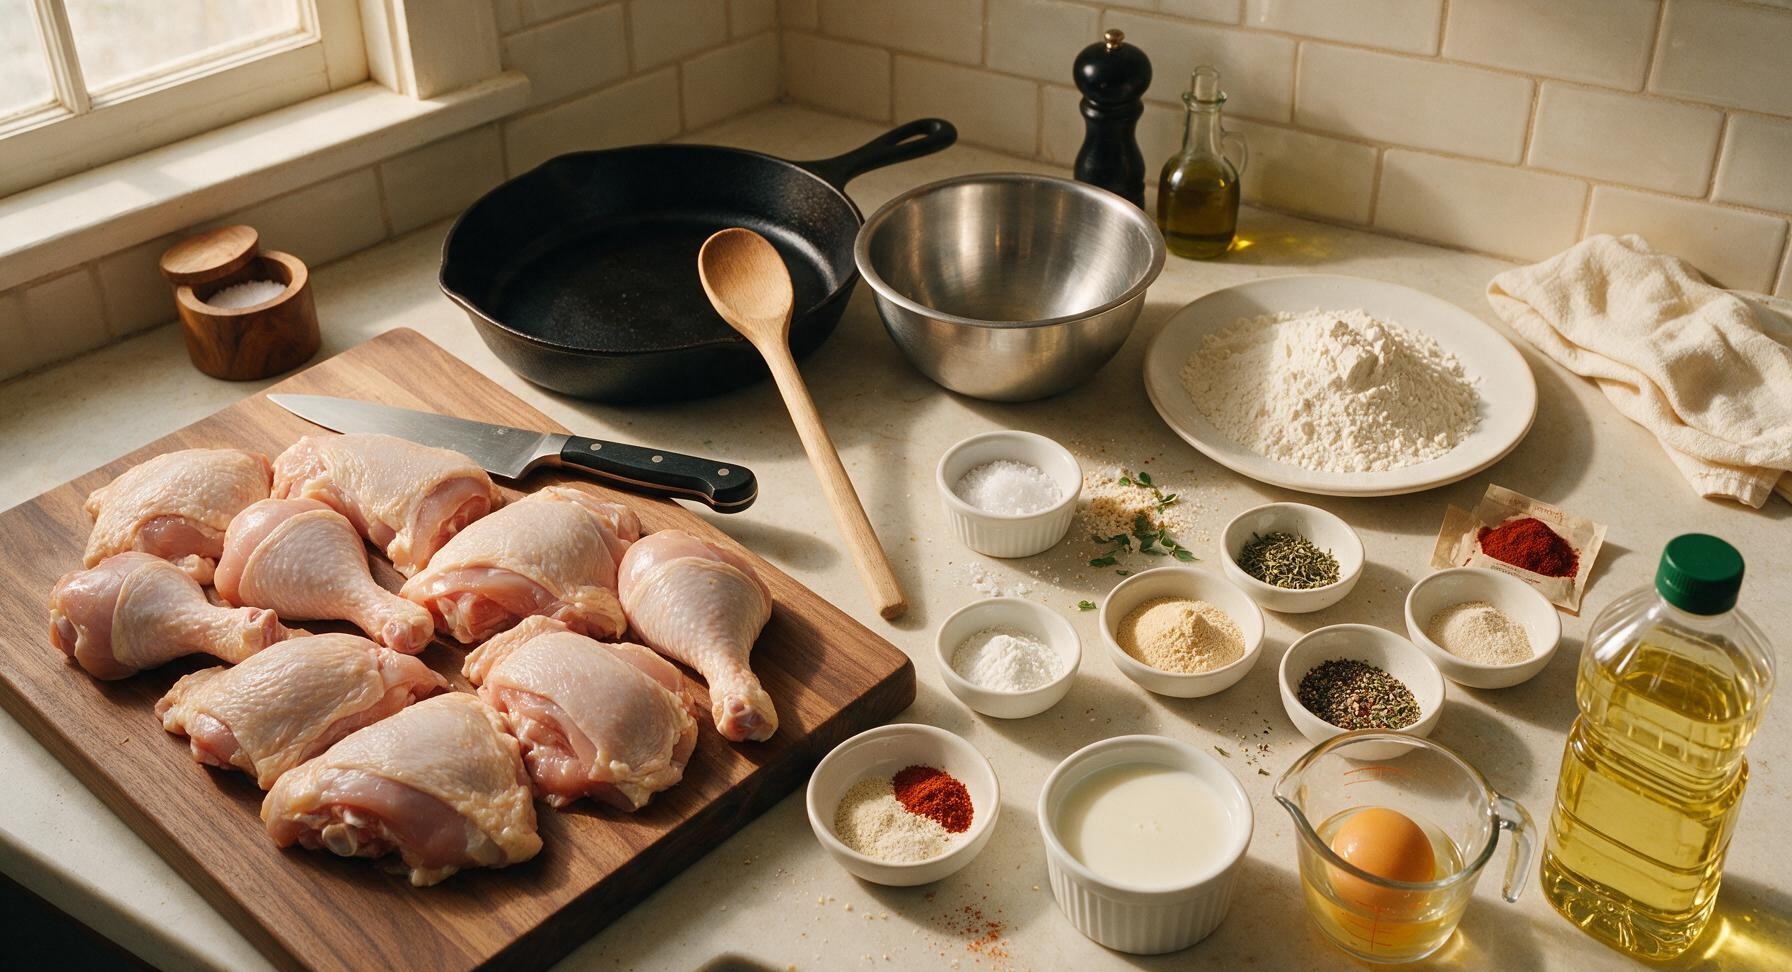
Bone-in skin-on chicken (mixed drumsticks, thighs, halved breasts) 1.2kg (8 pieces)
Full-fat buttermilk 2 cups
All-purpose flour 2.5 cups
Large egg 1 unit
Kosher salt 1 tbsp, plus extra for finishing
Ground black pepper 1 tsp
Smoked paprika 1 tsp
Garlic powder 1.5 tsp
Onion powder 1 tsp
Dried thyme 0.5 tsp
Dried oregano 0.5 tsp
Ground white pepper 0.25 tsp
Cayenne pepper 0.25 tsp
Baking powder 1 tsp
Canola oil (for frying) 1.5L

Steps

1

Prep and Dry Chicken

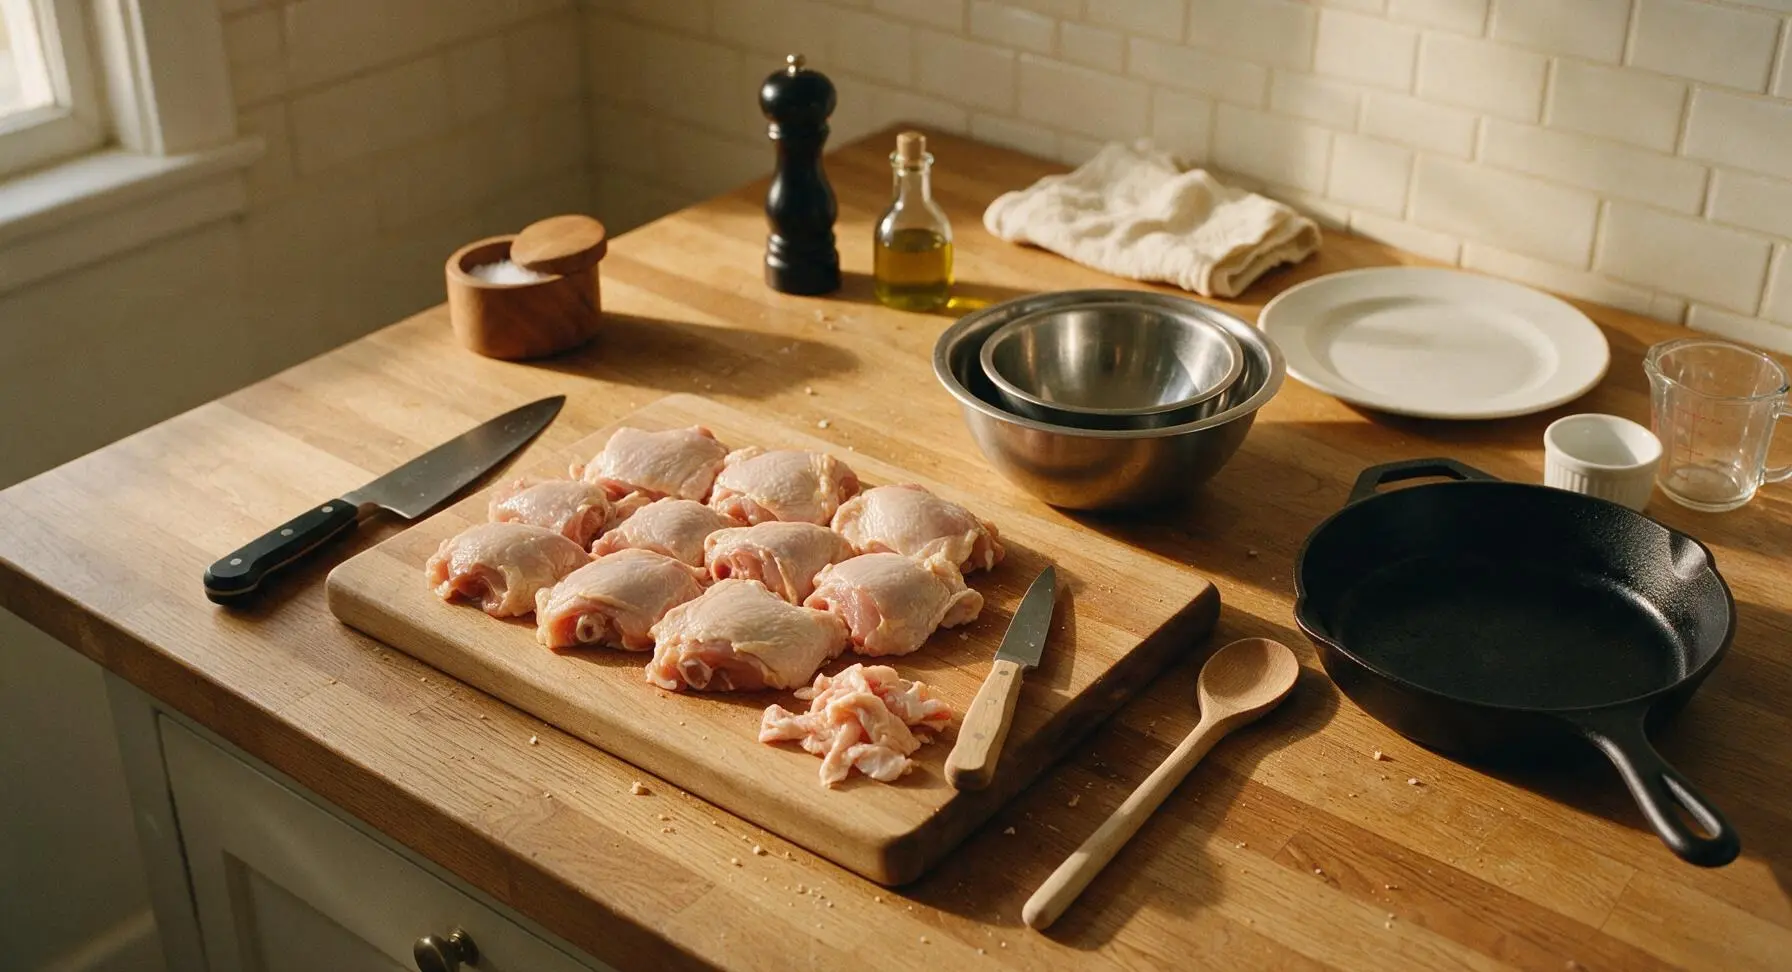
Arrange 1.2kg bone-in, skin-on chicken pieces on the maple cutting board. Use the paring knife to trim any loose, hanging skin or thick excess fat deposits, leaving a thin even layer of skin on each piece. Pat every surface of the chicken completely dry with paper towels, discarding used towels immediately. Dry chicken ensures the coating sticks tightly without sliding off during frying.
Step 1
step1:Prep and Dry Chicken
2

Mix Seasoned Flour Coating

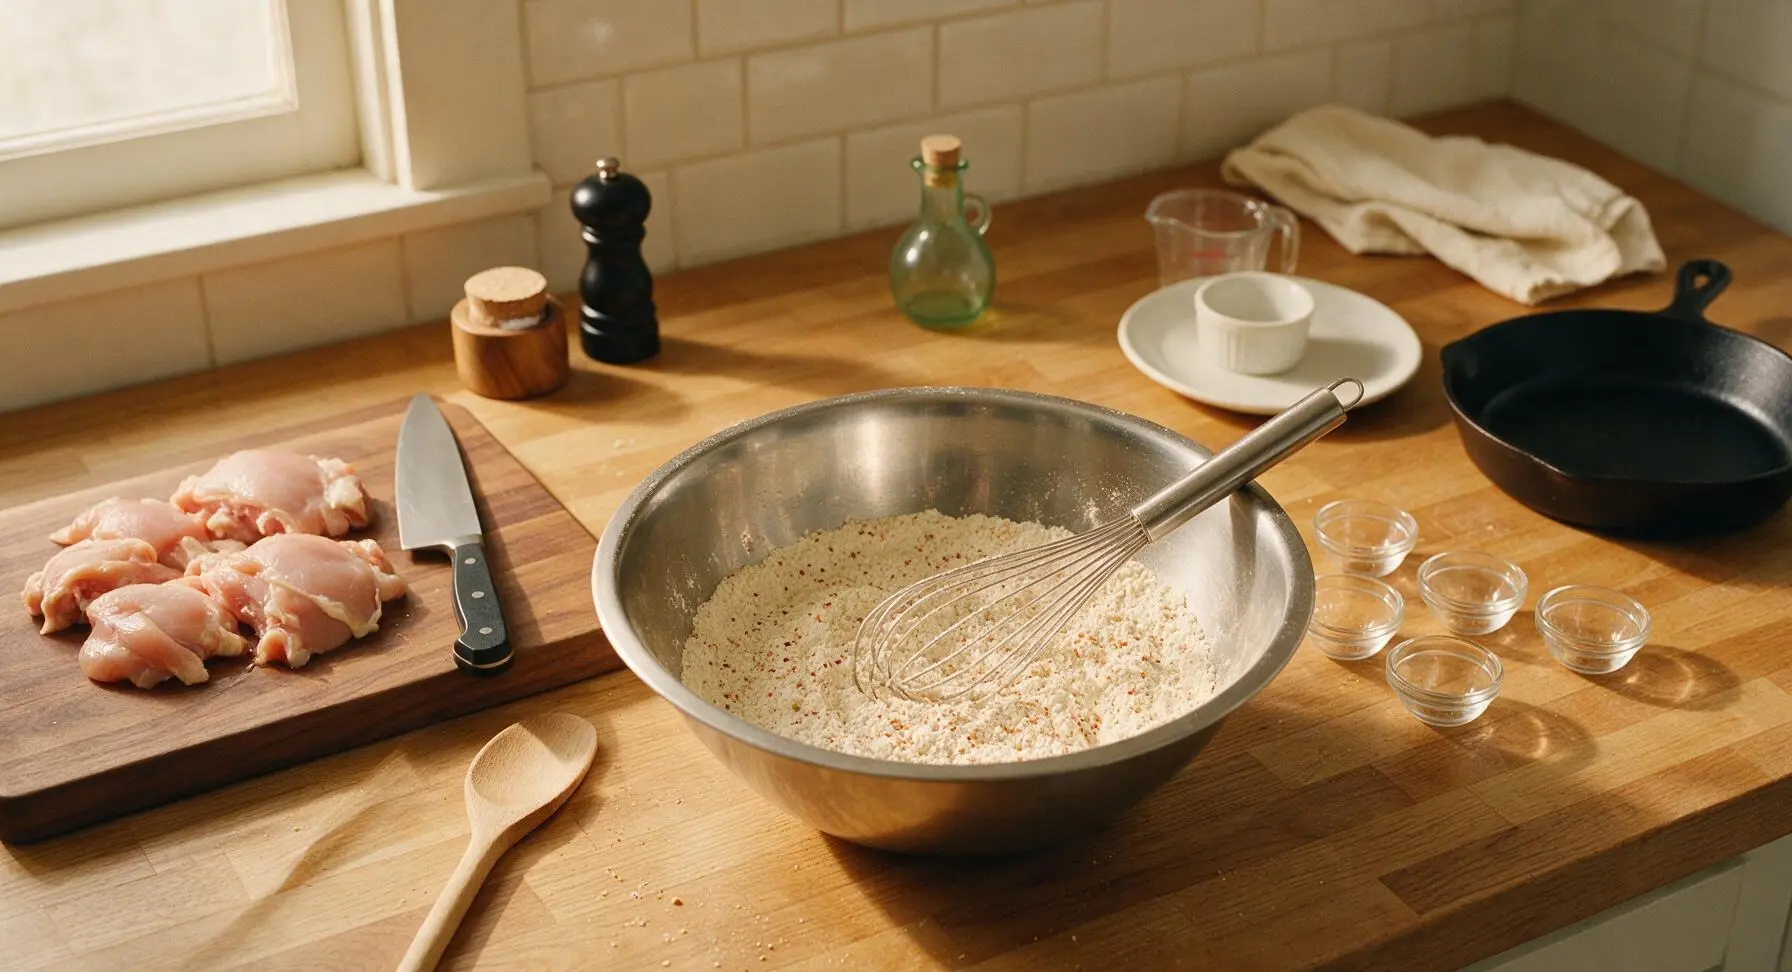
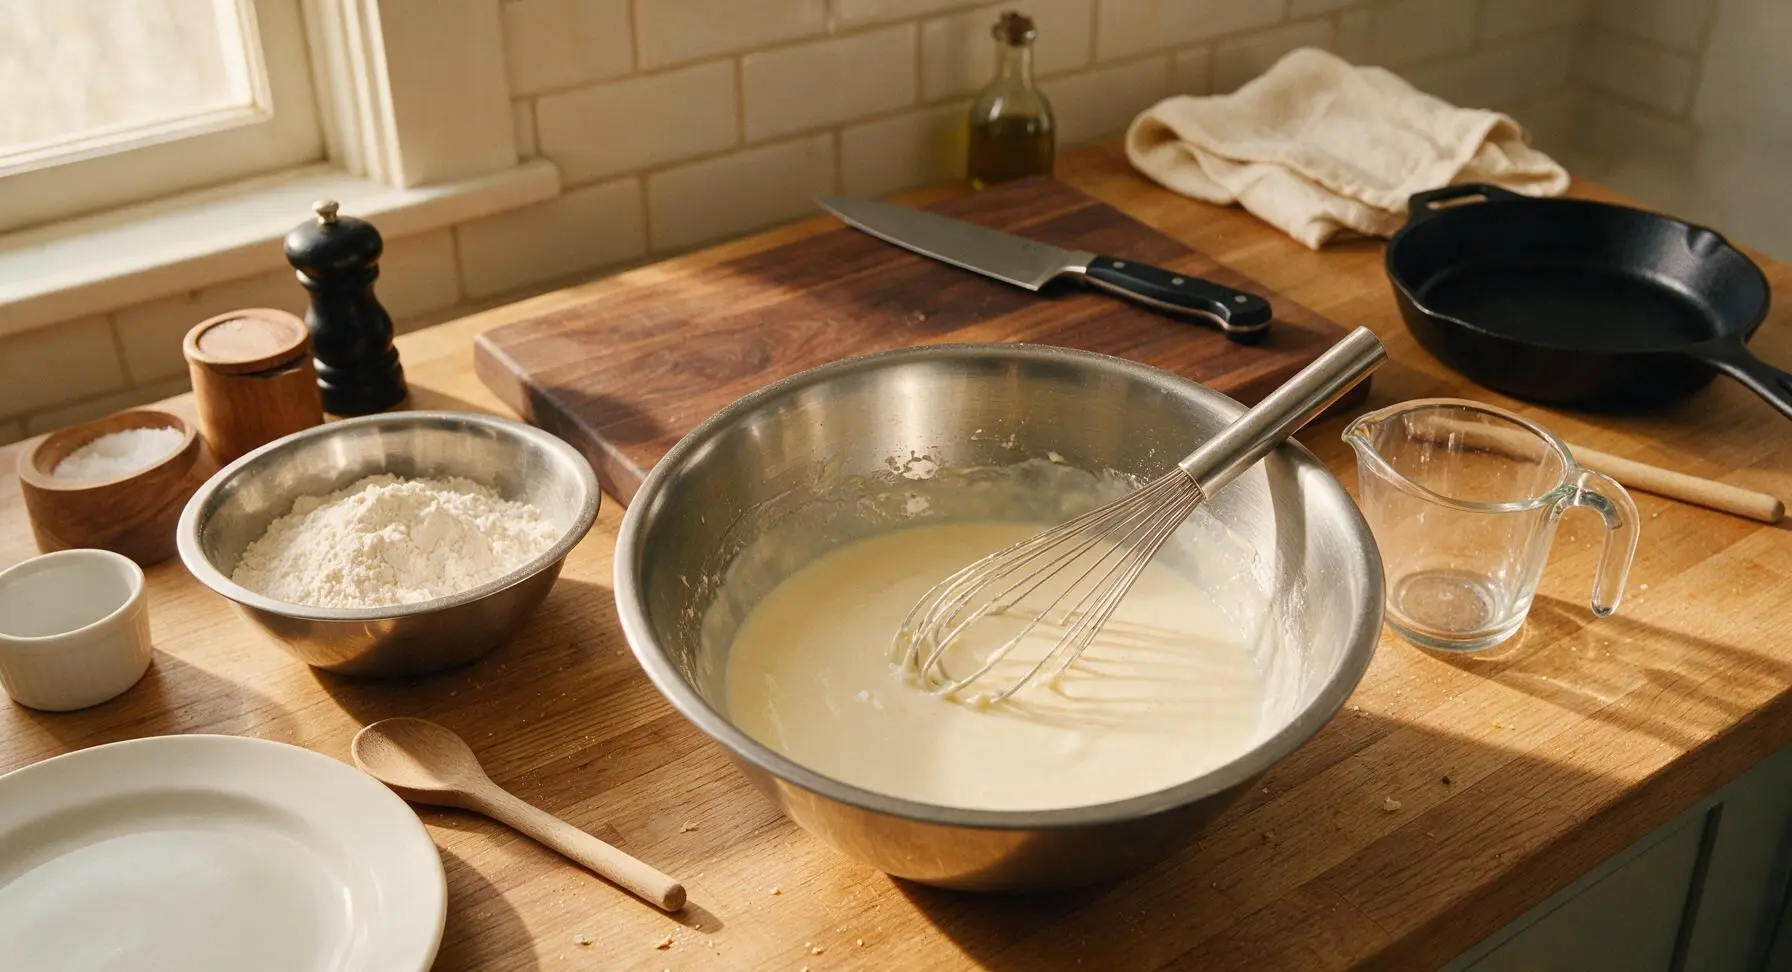
In the largest (24cm) stainless steel mixing bowl, combine 2.5 cups all-purpose flour, 1 tbsp kosher salt, 1 tsp ground black pepper, 1 tsp smoked paprika, 1.5 tsp garlic powder, 1 tsp onion powder, ½ tsp dried thyme, ½ tsp dried oregano, ¼ tsp white pepper, ¼ tsp cayenne pepper, and 1 tsp baking powder. Whisk thoroughly with the stainless steel wire whisk for 30 seconds until all spices and baking powder are evenly distributed throughout the flour, with no clumps of spice remaining.
Step 2
step2:Mix Seasoned Flour Coating
3

Prepare Buttermilk Egg Wash

In the medium (20cm) stainless steel mixing bowl, crack 1 large egg, then pour in 2 cups of full-fat buttermilk. Whisk with the wire whisk for 20 seconds until the egg is fully incorporated into the buttermilk, creating a smooth, pale creamy liquid with no streaks of egg white visible.
Step 3
step3:Prepare Buttermilk Egg Wash
4

Double Dip Chicken Pieces

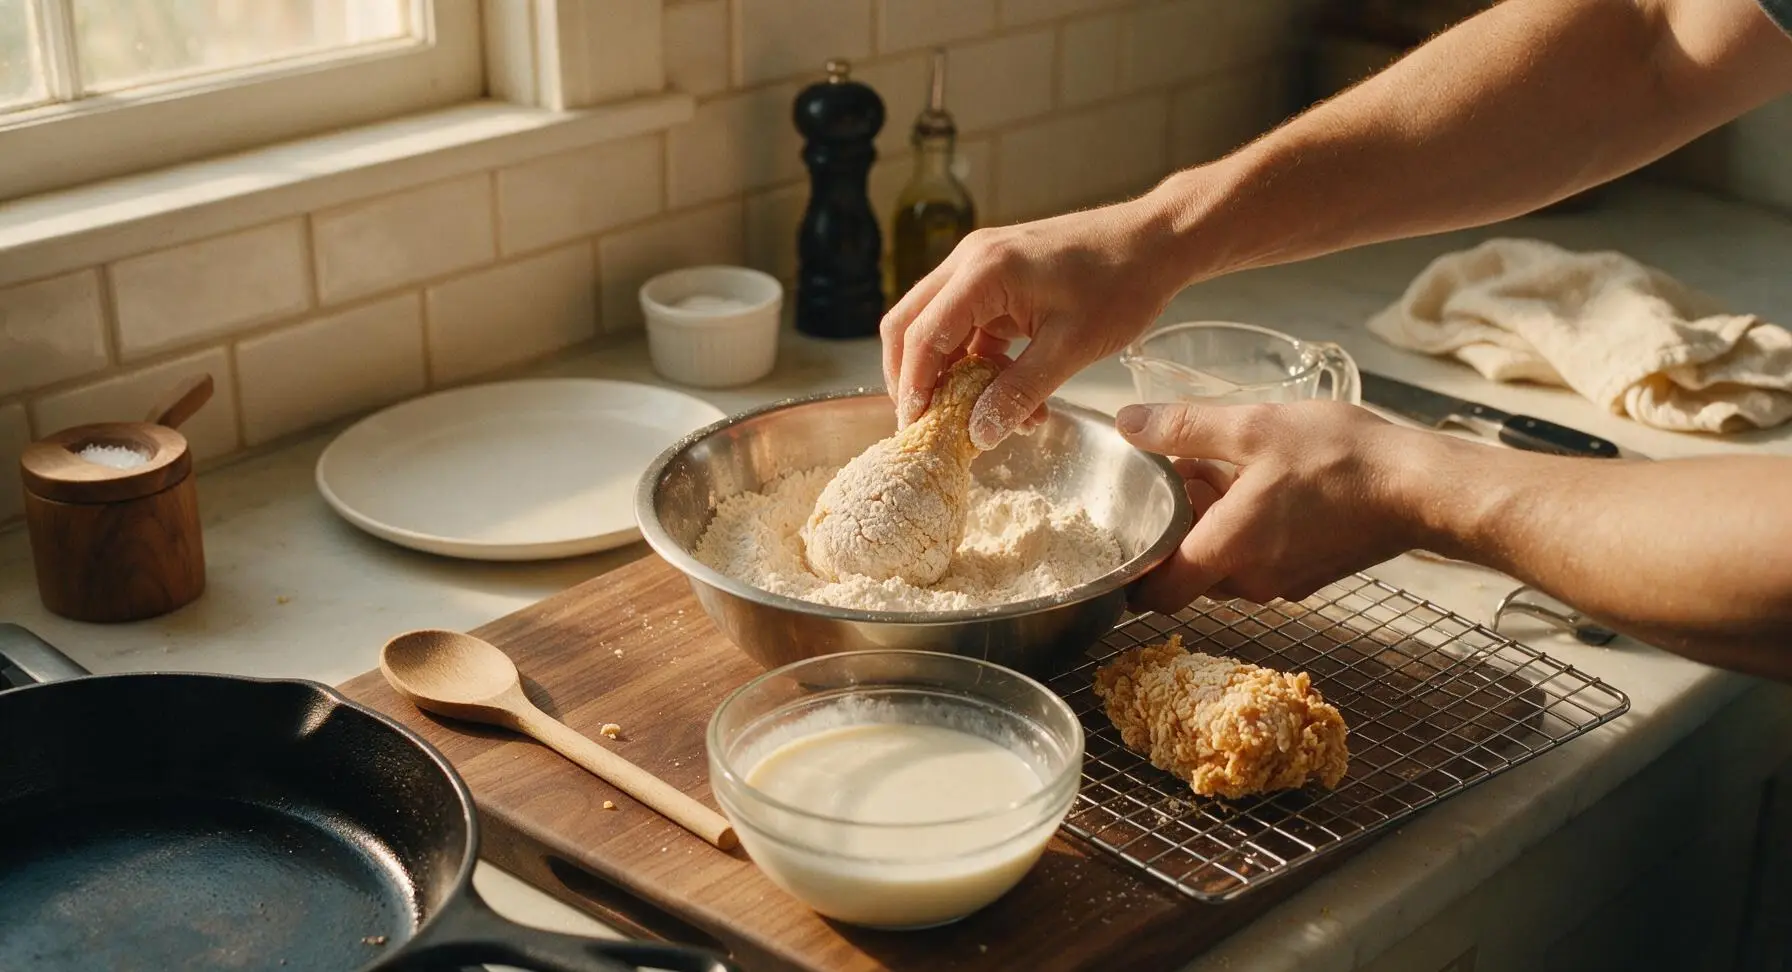
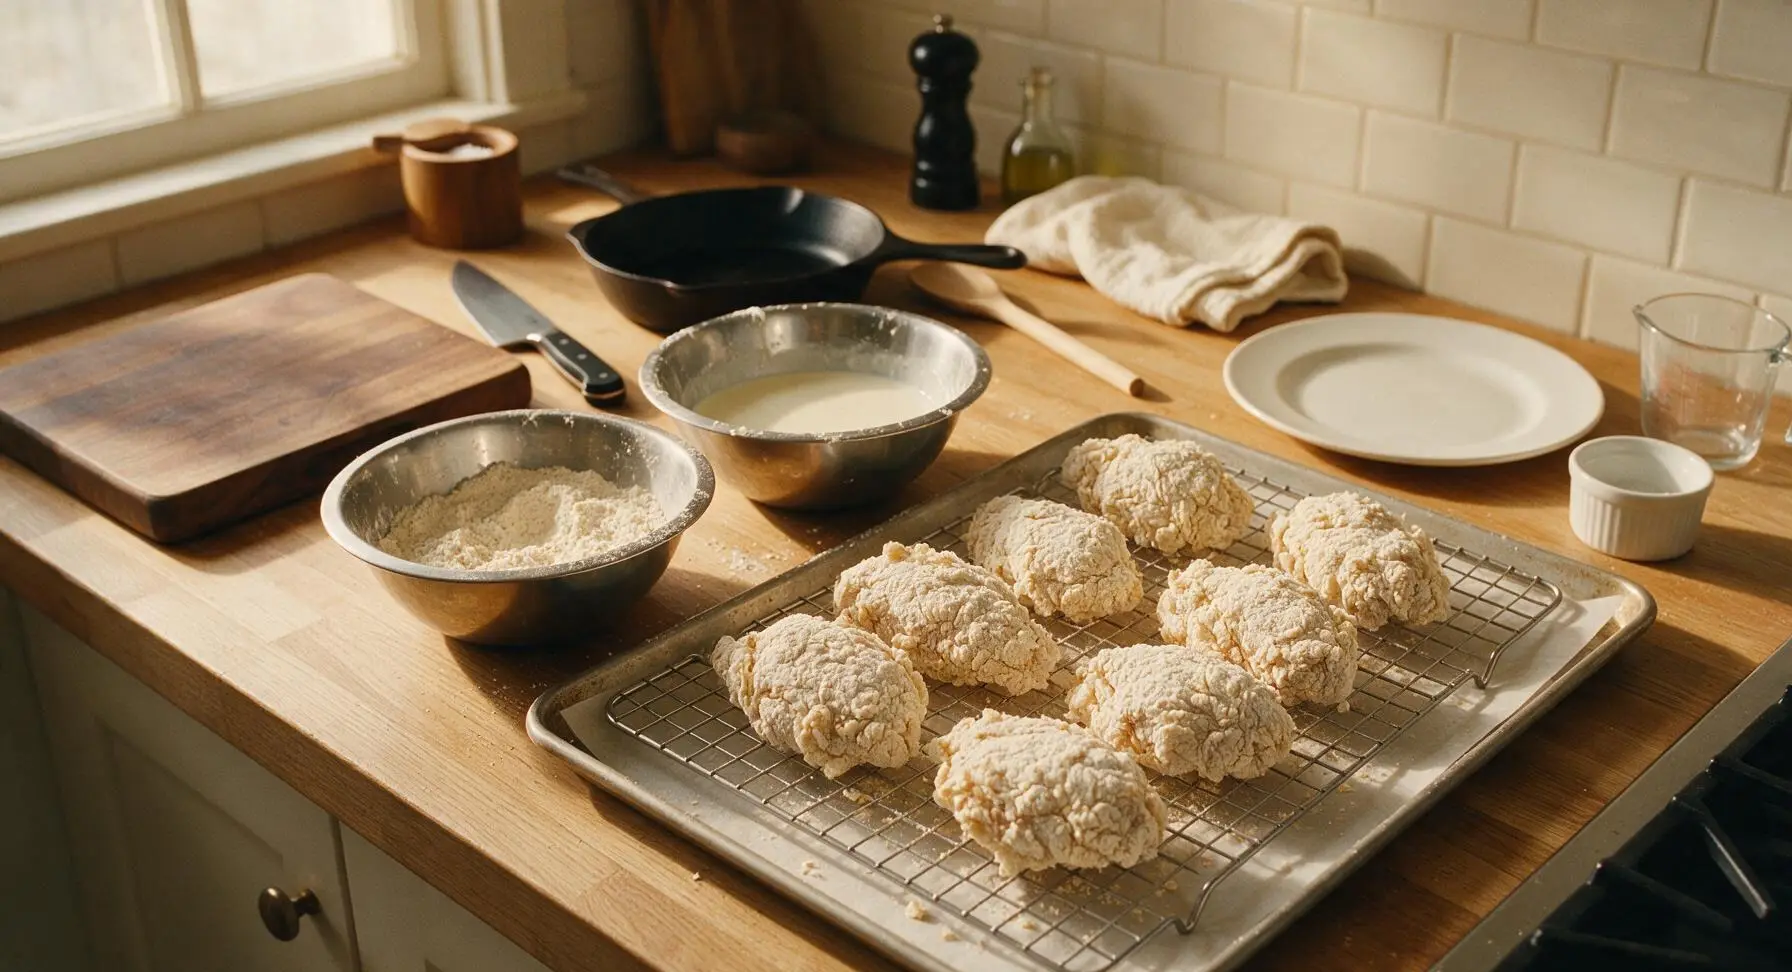
Working one piece at a time, dip a dry chicken piece first into the seasoned flour, pressing firmly to coat every surface, then shake off excess flour. Dip the floured chicken fully into the buttermilk wash, letting excess buttermilk drip off for 3 seconds, then return the chicken to the flour bowl a second time, pressing the flour firmly onto the wet surface to build a thick, shaggy, craggy coating. Place coated pieces on the wire cooling rack to rest for 10 minutes before frying; this rest time lets the coating set so it does not fall off in the oil.
Step 4
step4:Double Dip Chicken Pieces
Step 4
step4:Double Dip Chicken Pieces
5

Heat Oil to Temperature

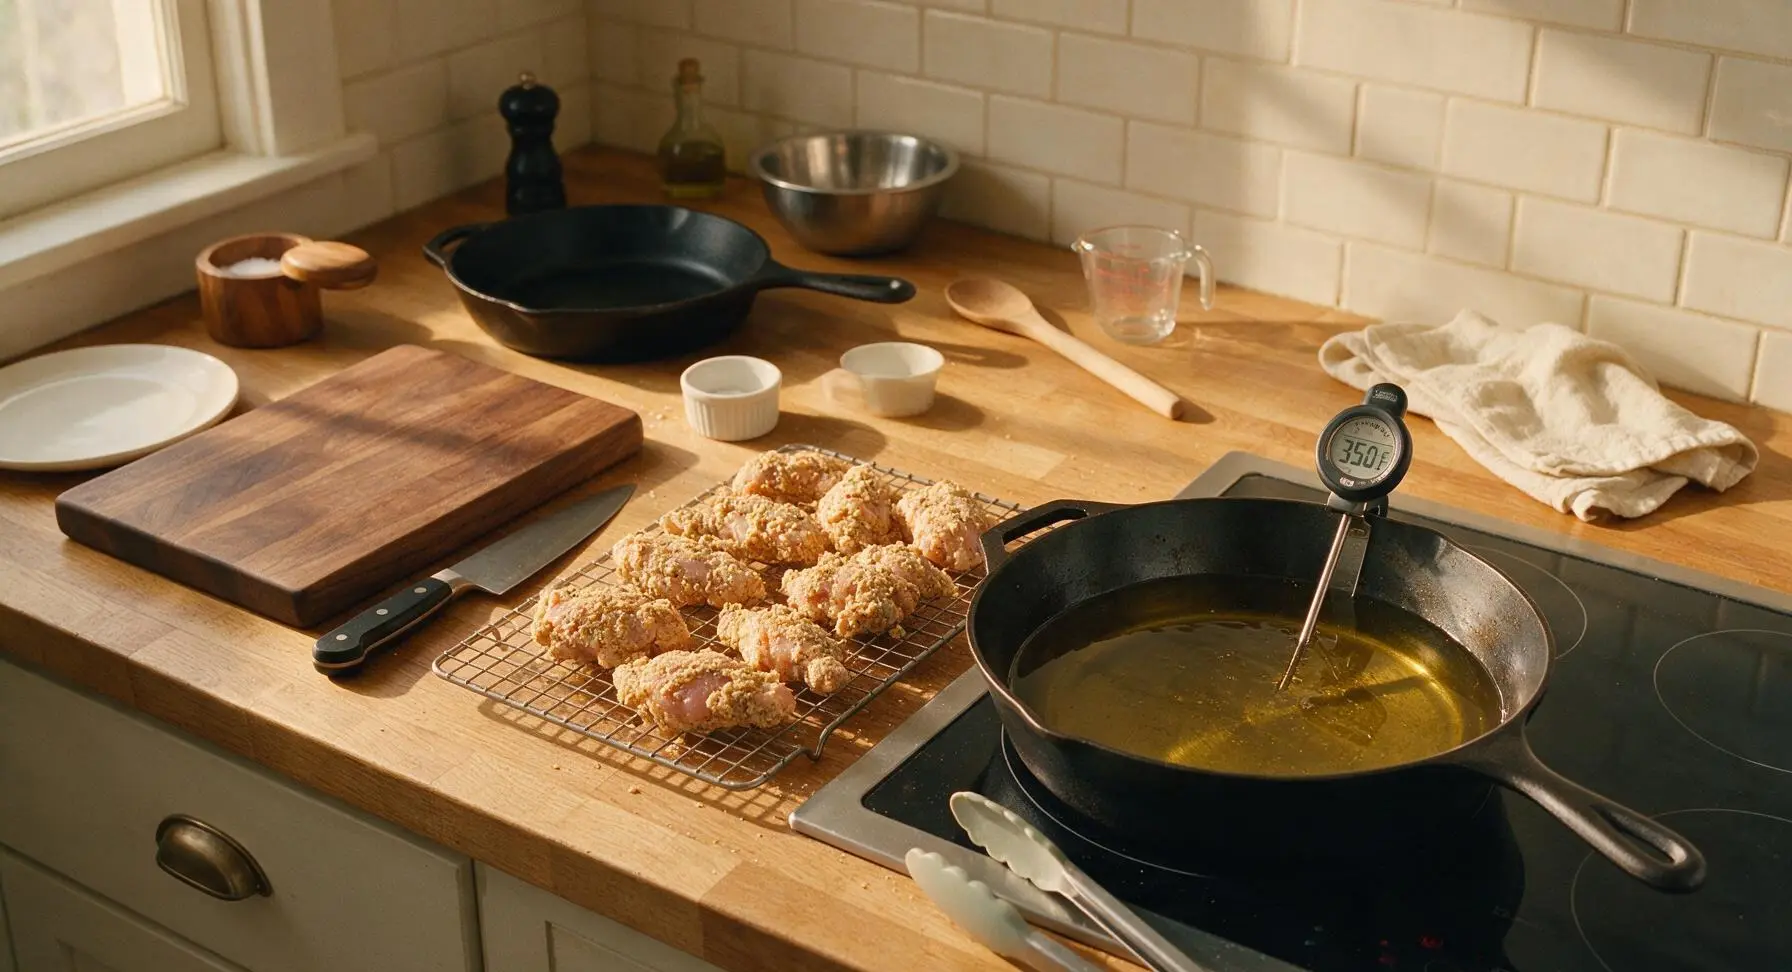
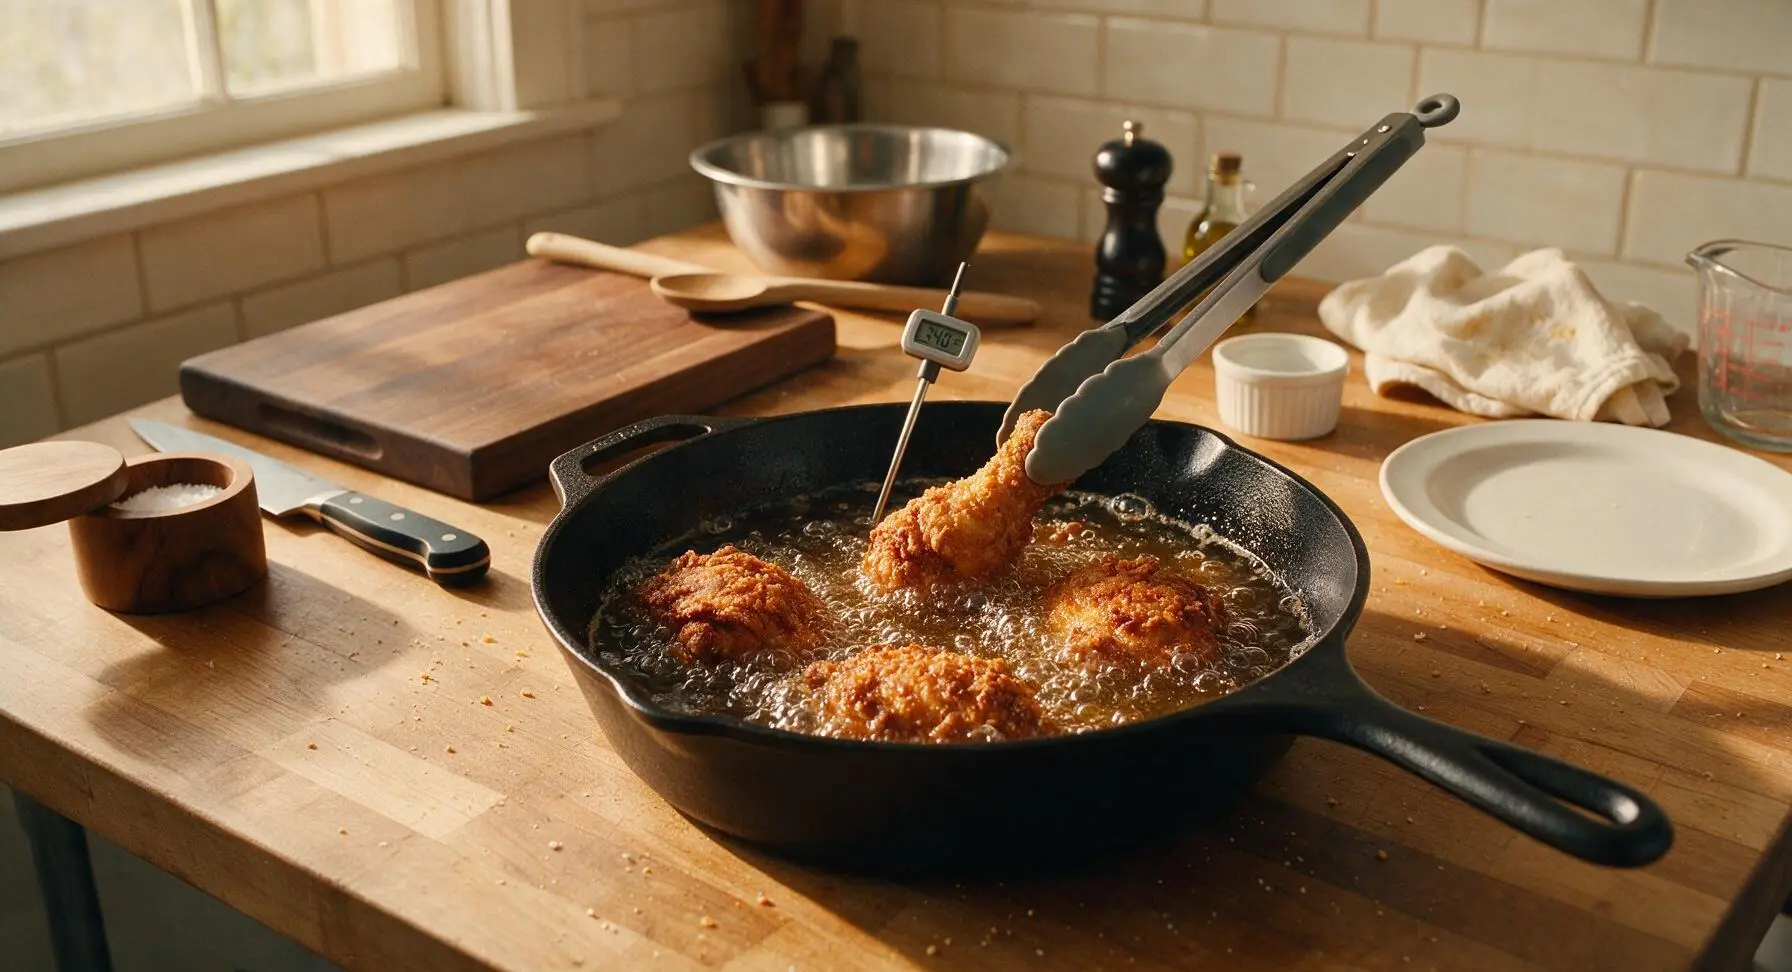
Pour 1.5L canola oil into the 12-inch carbon steel deep fry pan, set over medium-high heat on the induction cooktop. Clip the digital instant-read thermometer to the side of the pan, monitoring the oil until it reaches a steady 350°F (175°C). Do not let the oil exceed 375°F, as this will burn the coating before the chicken cooks through; do not let it drop below 325°F, which will make the coating greasy.
Step 5
step5:Heat Oil to Temperature
6

Fry Chicken in Batches

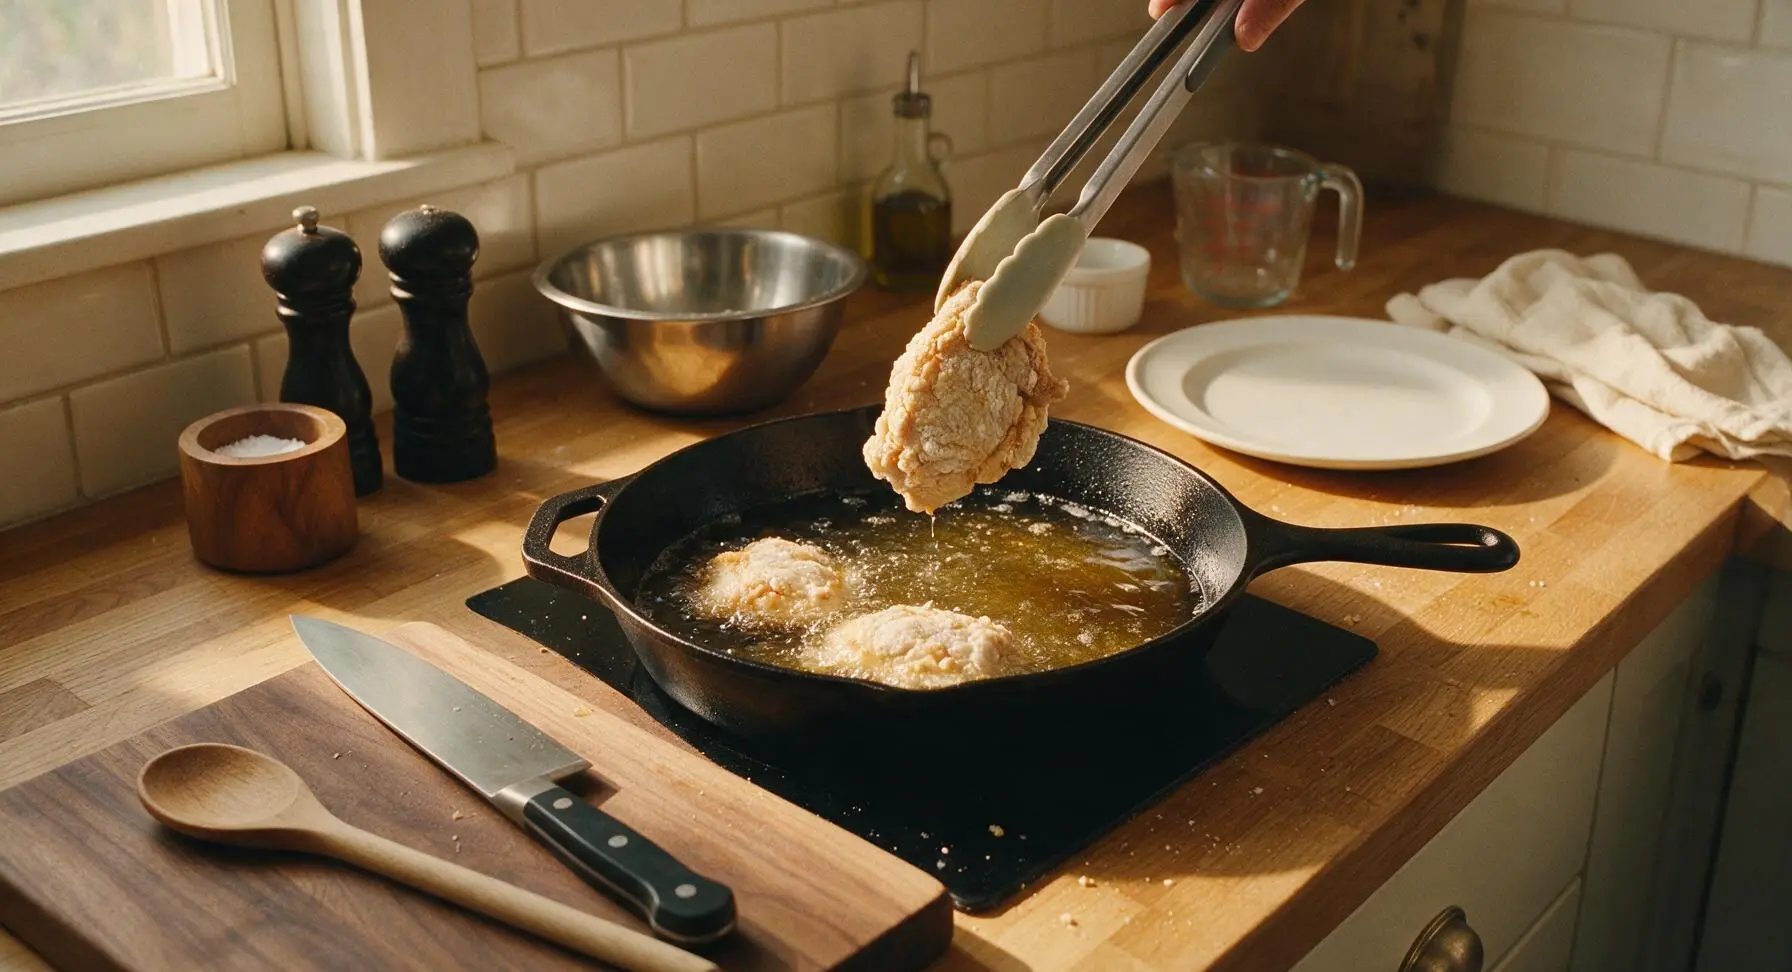
Using the long silicone-tipped tongs, carefully lower 3-4 chicken pieces into the hot oil, being careful not to overcrowd the pan. Fry for 12-14 minutes total, turning pieces every 3 minutes with the tongs, until the coating is a deep golden brown and the internal temperature of the chicken reaches 165°F (74°C) when checked with the instant-read thermometer. Maintain oil temperature between 325-350°F throughout frying.
Step 6
step6:Fry Chicken in Batches
Step 6
step6:Fry Chicken in Batches
7

Drain and Rest Chicken

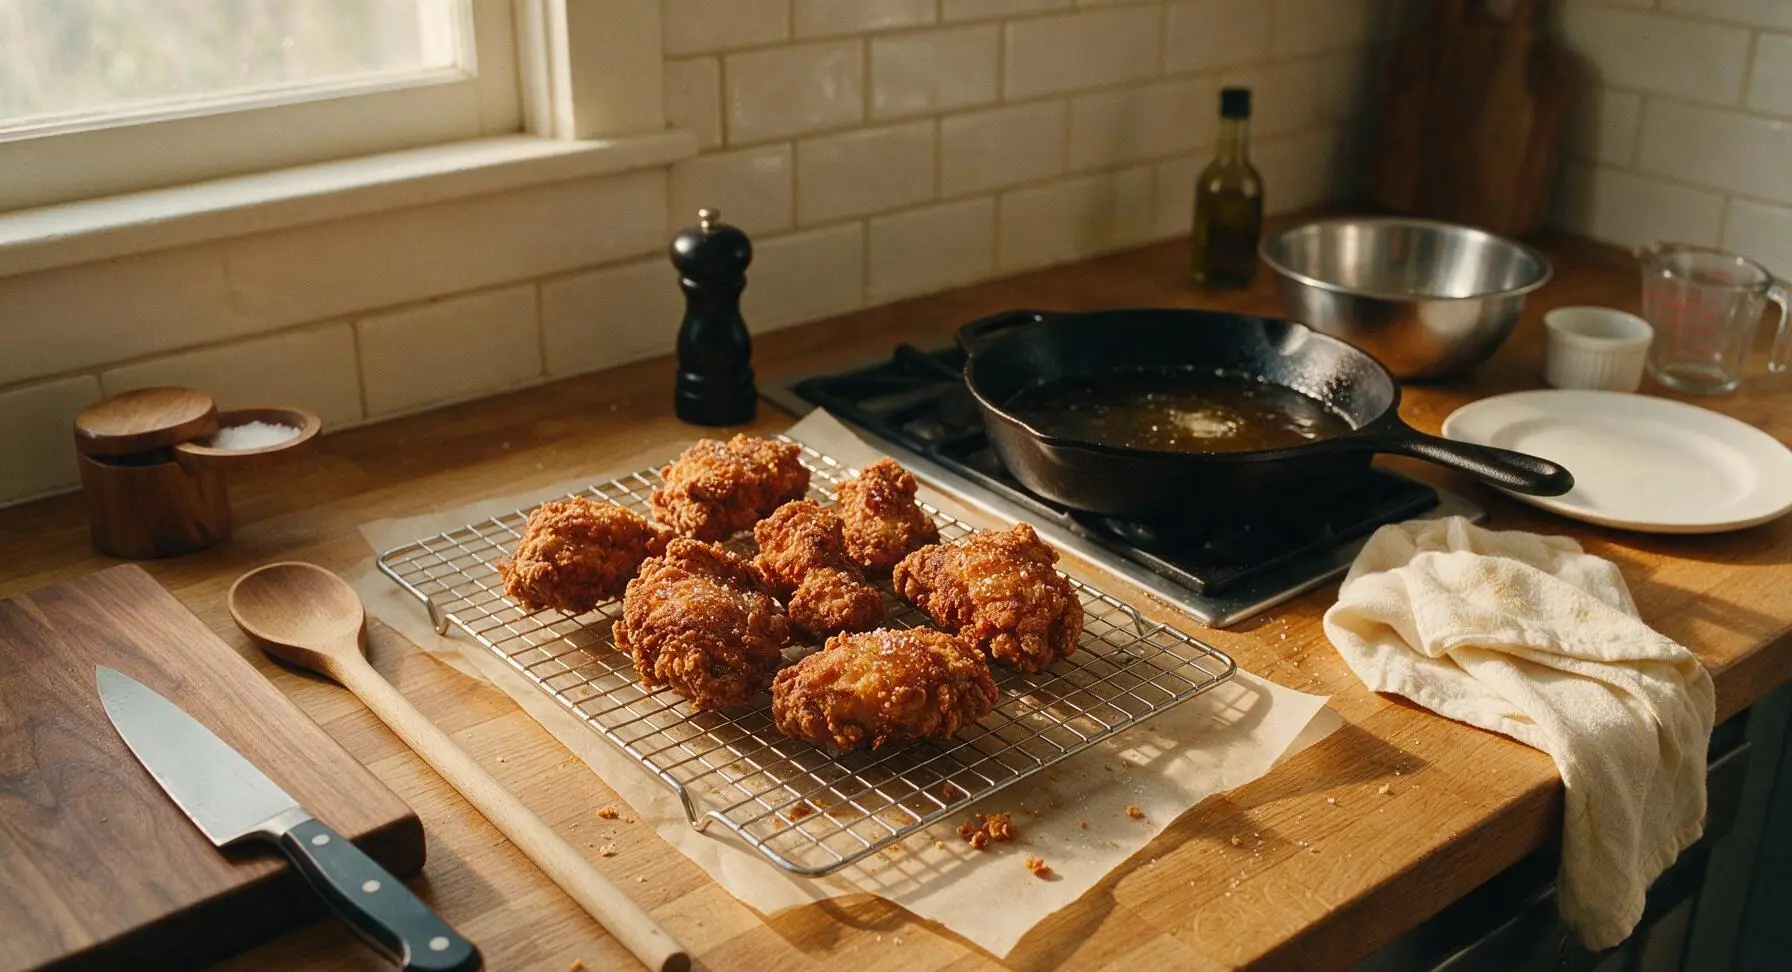
Once chicken reaches 165°F internal temp and has a crisp deep golden coating, use the tongs to lift pieces from the oil, letting excess oil drip back into the pan for 5 seconds, then place pieces back onto the clean wire cooling rack. Lightly sprinkle warm chicken with a pinch of extra kosher salt immediately after removing from oil. Let chicken rest for 5 minutes before serving to allow excess oil to drain and juices to redistribute inside the meat.
Step 7
step7:Drain and Rest Chicken

Tips

1.Do not skip the 10-minute rest period after coating chicken: this allows the flour and buttermilk to hydrate and form a tight, adhesive layer that will not slide off or separate from the skin during frying, creating an even, shaggy crisp crust without bare spots.
2.Add baking powder to the seasoned flour: baking powder releases tiny carbon dioxide bubbles when it hits hot oil, lifting the coating slightly to create light, extra-crunchy texture instead of a dense, hard flour shell.
3.Never overcrowd the fry pan: adding too many chicken pieces at once drops oil temperature rapidly, causing the coating to absorb excess oil and turn soggy, while also increasing cooking time and leading to undercooked chicken. Fry 3-4 pieces per batch for best results.


✨ You May Also Like

Main Course
🍜 United Kingdom

A showstopping classic of tender seared beef, savory mushroom duxelles, and crisp prosciutto wrapped in flaky golden puff pastry, baked to juicy perfection.

⏱️ 2 hours 1Main Course ★ 4.7
Main Course
🍜 India

Tender charred marinated chicken simmered in a rich, spiced creamy tomato sauce, this iconic Anglo-Indian curry pairs perfectly with basmati rice or warm naan.

⏱️ 50 minuteMain Course ★ 4.6
Main Course
🍜 Thailand

Classic tangy, sweet, and savory Thai stir-fried rice noodles with shrimp, tofu, and crunchy garnishes, balancing all five core Thai flavor profiles.

⏱️ 30 minuteMain Course ★ 4.5
Main Course
🍜 United Kingdom

Crispy golden beer-battered cod and fluffy double-fried chips, served with tangy tartar sauce and malt vinegar: the timeless, beloved British pub comfort classic.

⏱️ 45 minuteMain Course ★ 4.7
Main Course
🍜 Mexico

Smoky, chile-marinated pork tacos with caramelized pineapple, fresh cilantro, and lime: a beloved classic Mexican street food perfect for casual summer gatherings.

⏱️ 1 hour 45Main Course ★ 4.8
Main Course
🍜 United States

Crunchy Fritos corn chips layered with savory beef chili and melted cheddar, topped with cool, zesty fixings for a beloved, cozy Tex-Mex comfort food.

⏱️ 35 minuteMain Course ★ 4.8

KFC Extra Crispy Chicken:Frequently Asked Questions

1.Why does my crispy coating fall off the chicken when I fry it instead of staying attached? ▾
This almost always traces back to skipping the post-breading rest step! After dredging each chicken piece in the seasoned flour, egg wash, and final flour coat, set it on a wire rack for 15–20 minutes before frying. This lets the coating set and adhere tightly, and builds that signature craggy crisp texture. Also, make sure your oil is fully up to temp before adding chicken—cold oil causes major coating slippage.
2.Can I use low-fat or non-fat buttermilk instead of the full-fat version the recipe calls for? ▾
You can, but you won’t get the same juicy, tender result or bright tang that makes this copycat taste spot-on. Full-fat buttermilk’s higher fat content penetrates the chicken to keep it moist through high-heat frying, and its acid gently tenderizes meat without making it mushy. If you’re in a pinch, mix 1 tablespoon white vinegar into 1 cup whole milk, rest 5 minutes, as a substitute.
3.What oil temperature should I maintain to get a crisp coating without burning or undercooking the chicken? ▾
Aim to hold your frying oil at a steady 350°F (175°C) for the entire cook time, and use a clip-on candy thermometer to track it instead of guessing. Oil that’s too hot burns the coating before bone-in chicken cooks through; oil that’s too cool makes the coating soak up grease and turn soggy. Don’t overcrowd the pot, which drops temp fast—fry in 2–3 small batches.
4.Why does my fried chicken turn out dry even when I follow all the breading steps? ▾
Dry chicken usually stems from two common mistakes: overcooking the meat, or skipping the full buttermilk brine step. Let chicken soak in salted buttermilk for at least 4 hours (up to 24 hours in the fridge) to lock in moisture, and pull it when the thickest part hits 165°F away from the bone. Rest it 10 minutes on a rack so juices redistribute, instead of cutting into it right away.
5.How do I get that iconic craggy, rough coating texture instead of a smooth, bland crust? ▾
That signature craggy texture comes from your dredging technique! After dipping buttermilk-soaked chicken in seasoned all-purpose flour, press the flour firmly into every crevice of the skin, then give each piece a light toss in a tiny splash of buttermilk before a final flour dredge. Those little flour clumps will puff up as they fry to create that shatteringly crisp, rough surface everyone loves.
6.Can I make this chicken ahead of time and reheat it without making the coating soggy? ▾
You absolutely can, as long as you reheat it correctly to avoid sogginess. Skip the microwave—it turns the crust rubbery fast. Instead, arrange leftover chicken on a wire rack set over a baking sheet, and bake at 375°F for 15–20 minutes until the crust is crisp again and internal temp hits 165°F. Fresh fried chicken stays crisp for 2 hours at room temp if held on a rack, not stacked on paper towels.
7.Do I have to use bone-in, skin-on chicken for this recipe, or can I use boneless, skinless cuts? ▾
Bone-in, skin-on cuts are highly recommended for that authentic KFC Extra Crispy taste and texture. The bone keeps meat juicy through high-heat frying, and the skin acts as a barrier between meat and coating to lock in flavor and prevent sogginess. If you use boneless, skinless cuts, reduce fry time by 6–8 minutes to avoid dry meat, though the crust won’t have the same rich depth.
8.How much salt do I need to use to match KFC’s well-seasoned, savory flavor? ▾
Home cooks almost always under-season fried chicken, which leaves the coating tasting bland even with a great spice blend. Use 1 tablespoon of kosher salt per 4 cups of buttermilk for the brine, plus 1 teaspoon of kosher salt per 2 cups of seasoned dredging flour. The coating is the first thing you taste, so it needs to be well-seasoned on its own, not just relying on the chicken below for flavor.

Comments (15)

2 days ago

OMG, made this for Sunday family dinner last night and my kids literally fought over the last piece! The crust was so crunchy and the seasoning tasted exactly like the KFC I grew up eating, no cap. 10/10 will be adding this to our weekly rotation.

1 week ago

Game changer! I’ve tried so many copycat KFC recipes that came out soggy or bland, but this one hit every single note. I did end up adding a tiny extra pinch of paprika because I love a little smoky kick, and it was chef’s kiss. Cook time was spot on 25 minutes too, perfect for a quick weeknight meal between study sessions.

5 days ago

So stoked this worked out for your busy schedule! Love that you customized the paprika level to your taste — that extra smokiness sounds amazing. Thanks for giving the recipe a shot!

3 days ago

Took this to our neighborhood potluck over the weekend and people were begging for the recipe left and right. Only thing I will say is make sure your oil temp stays consistent, I let mine drop a little on the first batch and it wasn’t quite as crispy as the rest. Still SO good though.

2 days ago

Totally agree about the oil temp! I clipped a candy thermometer to the side of my Dutch oven the second time I made it and every piece came out perfect, no soggy spots at all.

5 days ago

Has anyone tried reheating these for meal prep? I’m wondering if the crust stays crispy if I pop them in the air fryer during the work week, or if I should just make this for dinners only. Super excited to test it out this weekend!

3 days ago

I reheated mine in the air fryer at 375 for 5 minutes earlier this week and it was almost as crispy as fresh out of the pot! Way better than microwaving, that made the crust all rubbery.

2 days ago

Great question! As LunchBoxQueen mentioned, air frying is the best way to reheat for that crispy crust — I recommend 370-375 for 4-6 minutes, flipping halfway. Avoid the microwave if you can, it’ll make the breading soggy!

yesterday

Wait, I followed the recipe exactly but my breading kept sliding off the chicken when I put it in the oil 😭 Did I do something wrong? I patted the chicken dry like it said too, so confused. The pieces that stayed breaded tasted incredible though, just frustrated half my batch was bare chicken.

2 hours ago

Oh that happened to me the first time too! I realized I was putting too many pieces in the pot at once, which dropped the oil temp super fast and made the breading slip. Let it rest for 10 minutes after breading too, that helps the coating stick.

30 minutes ago

So sorry the breading gave you trouble! Hank’s tips are spot on — letting the breaded chicken rest 10-15 minutes before frying helps the flour mixture adhere, and making sure your oil is a steady 350F (not overcrowded!) will prevent the coating from sliding off. Give it another try, I bet it works perfectly next time!

2 hours ago

Bro. This is literally identical to KFC extra crispy. I did a side by side taste test with my roommate with a bucket from the drive thru and we could barely tell the difference. The 11 herbs and spices? You NAILLED it. I will never buy fast food fried chicken again.

30 minutes ago

That side by side taste test is the highest compliment we could ask for! So glad you and your roommate loved it — nothing beats homemade that tastes just like (or better than) the takeout version.

1 week ago

Made this for my partner’s birthday cookout and it was a total hit! I used boneless skinless thighs instead of bone-in because that’s what we prefer, and it still came out so juicy and crispy. Served it with coleslaw and mac and cheese, total comfort food feast.

5 days ago

Boneless thighs are the GOAT for fried chicken, I did the same thing! Did you brine yours first? I did a quick 2 hour buttermilk brine and mine were so juicy they dripped down my wrist.

3 days ago

That cookout spread sounds absolutely dreamy! Boneless thighs work perfectly for this recipe — so glad you were able to swap to your preferred cut and still get that great crispy crust and juicy meat. Happy belated birthday to your partner!

30 minutes ago

Made this while grinding ranked last night, threw a batch in between matches and it was done faster than my queue times. Crunch was insane, seasoning was perfect, didn't even need to dip it in sauce. 10/10 no notes.

2 weeks ago

I’ve been making fried chicken for 60 years and I have to say, this recipe is up there with my own! The extra crisp from the double flour dip is such a smart trick, I’m going to be using that from now on. My grandkids went back for thirds, which is the best seal of approval there is.

1 week ago

This comment makes me so excited to try it! I’m a total beginner and have been scared to make fried chicken, but if a 60 year veteran cook says it’s good, I know I can pull it off.

5 minutes ago

Wait, does this recipe work with an air fryer? I don’t have a big Dutch oven for deep frying and I’m trying to cut down on oil, but I’ve been craving that KFC crispy chicken so bad. Would love any tips if anyone has tried it!

just now

I tried it in my air fryer last week! Spray the breaded chicken really well with oil spray, cook at 380 for 22 minutes flipping halfway, and it gets pretty crispy. It’s not quite the same as deep fried, but it’s really close for less oil!

just now

Great question! We tested an air fryer version during recipe development — the tip from AirFryerAddict is exactly what we recommend! Just make sure to spray both sides generously with cooking spray so the breading doesn’t come out dry, and flip halfway through for even crispness.

yesterday

Brought this to my office potluck today and every single piece was gone in 10 minutes. People kept asking if I’d picked it up from KFC on the way in! The only tweak I made was adding a little extra black pepper because I like that peppery kick. Will absolutely be making this again for the next work event.

2 hours ago

There’s no better potluck win than people mistaking your homemade cooking for takeout! Love the extra black pepper tweak, that sounds like it adds the perfect little zing. Can’t wait to hear how it goes over at your next event!

2 hours ago

Yo, this chicken is fire. I made it for game night with the guys and we crushed a whole 8 piece in like 15 minutes. The crust shatters when you bite into it, exactly how extra crispy should be. Way better than the KFC by my apartment that’s always soggy.

3 days ago

Quick question for anyone who’s made this — can I swap the all purpose flour for gluten free all purpose flour? My son has a gluten allergy and he’s been begging for KFC style chicken forever, would love to make this for him if it works!

2 days ago

I made this with Cup4Cup gluten free flour last week for my celiac sister and it worked perfectly! The crust was just as crispy as the regular version, no weird gritty texture or anything. She said it was the best fried chicken she’s had in 10 years.

2 days ago

I feel like my seasoning was a little flat? I measured everything out exactly like the recipe said, but it didn’t have that iconic KFC zing. Did I miss something? I used dried herbs like it said, not fresh, so I don’t think that was the issue.

yesterday

Wait did you use seasoned salt or regular table salt? I accidentally used regular salt the first time and it was bland, swapped for Lawry’s the second time and it was spot on. Maybe that’s the issue!

2 hours ago

Sorry the seasoning fell a little flat for you! Sarah’s tip about seasoned salt is great — we actually tested this with regular table salt and with seasoned salt, and the seasoned salt adds that extra savoriness that matches KFC’s profile. You can also add a tiny pinch of MSG if that’s something you’re comfortable with, it really bumps up that umami flavor!

1 week ago

Packed a couple pieces of this for my day hike last weekend and it held up so much better than I thought! Even eaten cold 4 hours later the crust was still crispy and the chicken was juicy. Way better than packing trail mix or energy bars, will be my new go-to hiking meal for long trips.



