
Kimchi Bacon Scrambled Eggs
intro
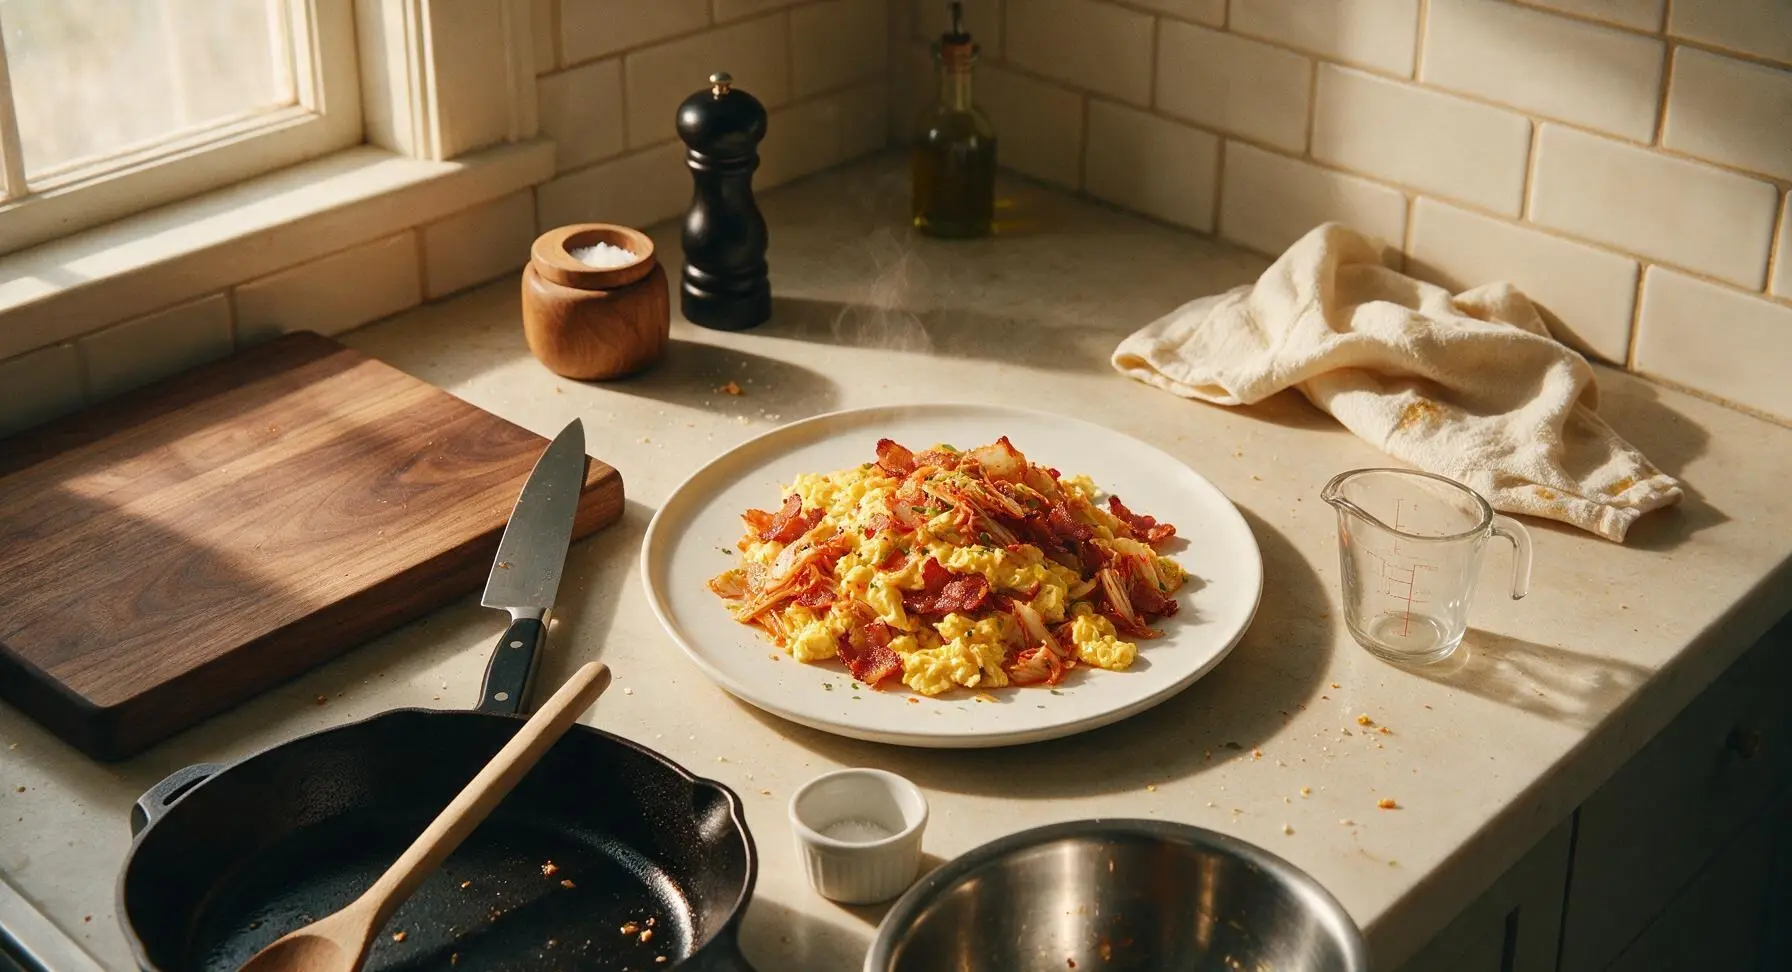
Tangy fermented kimchi, smoky crispy bacon, and silky soft scrambled eggs come together in this umami-packed 13-minute one-pan dish perfect for fast, satisfying meals.
Ingredients
Steps
Prep Ingredients First
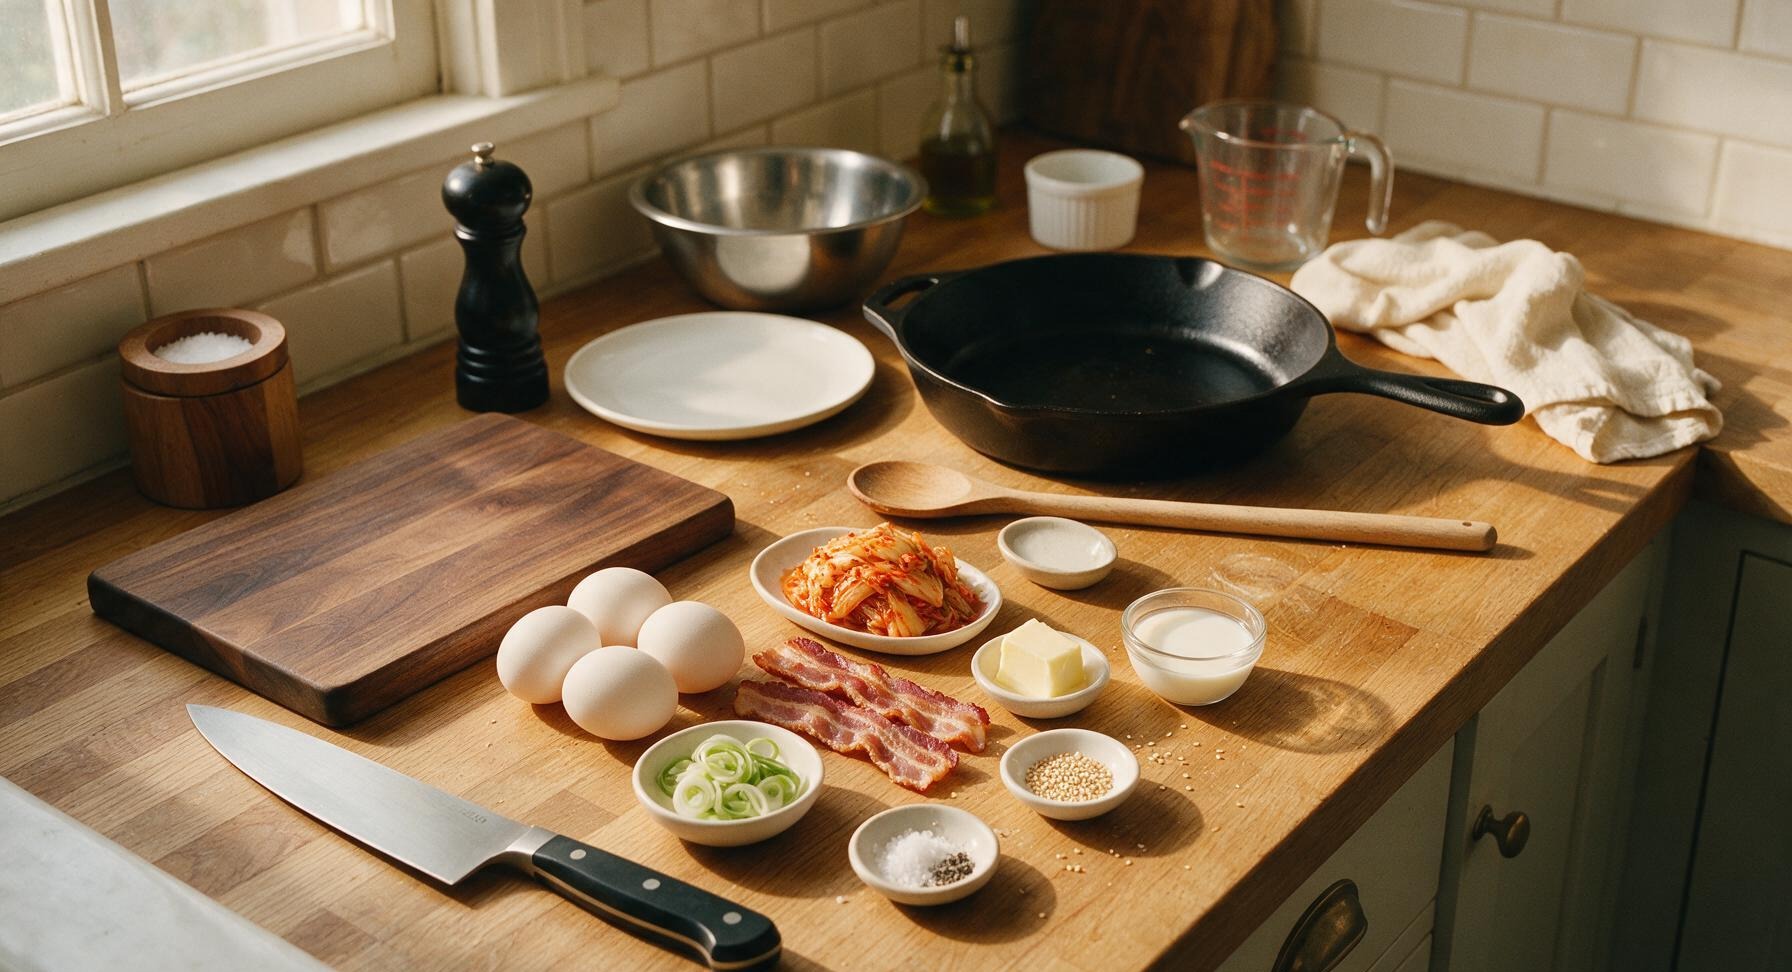
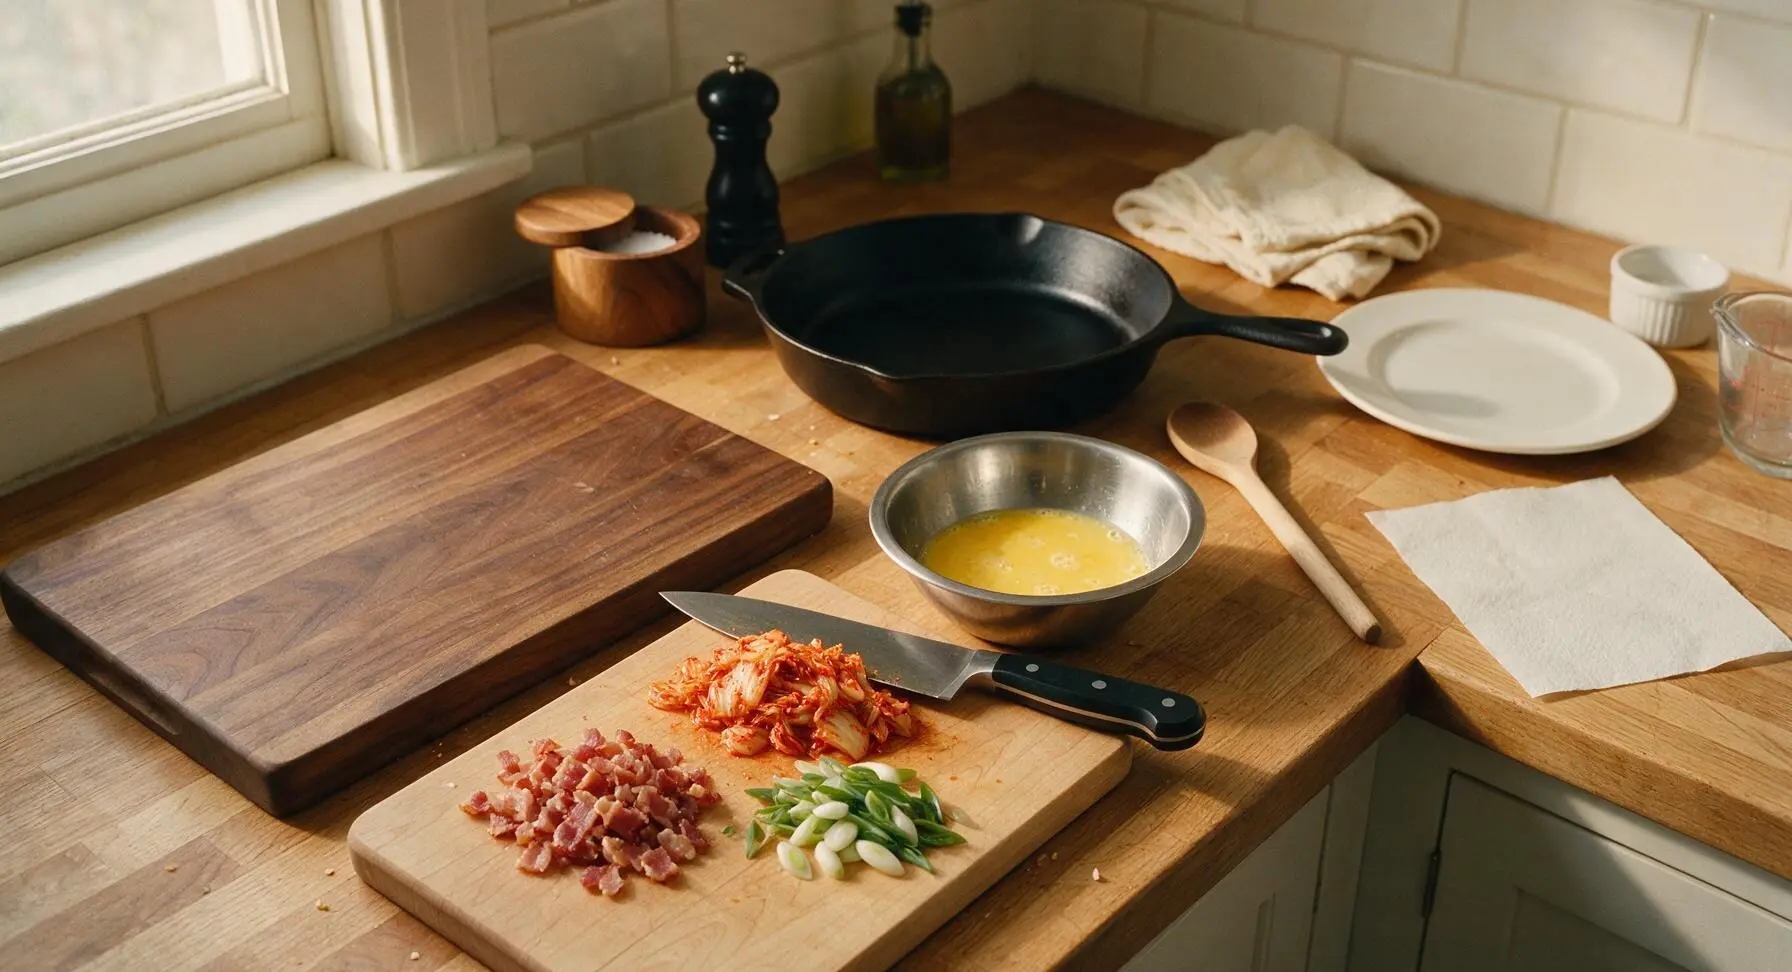
Set the small maple cutting board on the front center of the counter. Remove the santoku knife from the cream utensil holder. Chop the bacon into ½-inch pieces, squeeze excess brine from the kimchi and chop it into ¼-inch bits if not pre-cut, then thinly slice the scallions, separating the firm white/light green parts from the delicate dark green tops. Crack all 4 large eggs into the small stainless steel mixing bowl, add 2 tablespoons whole milk and a pinch of freshly ground black pepper, then whisk gently until just combined (stop as soon as no clear egg white remains; over-whisking creates watery, tough eggs). Lay a single sheet of unbleached paper towel on the right counter section for draining bacon later.
Crisp the Bacon
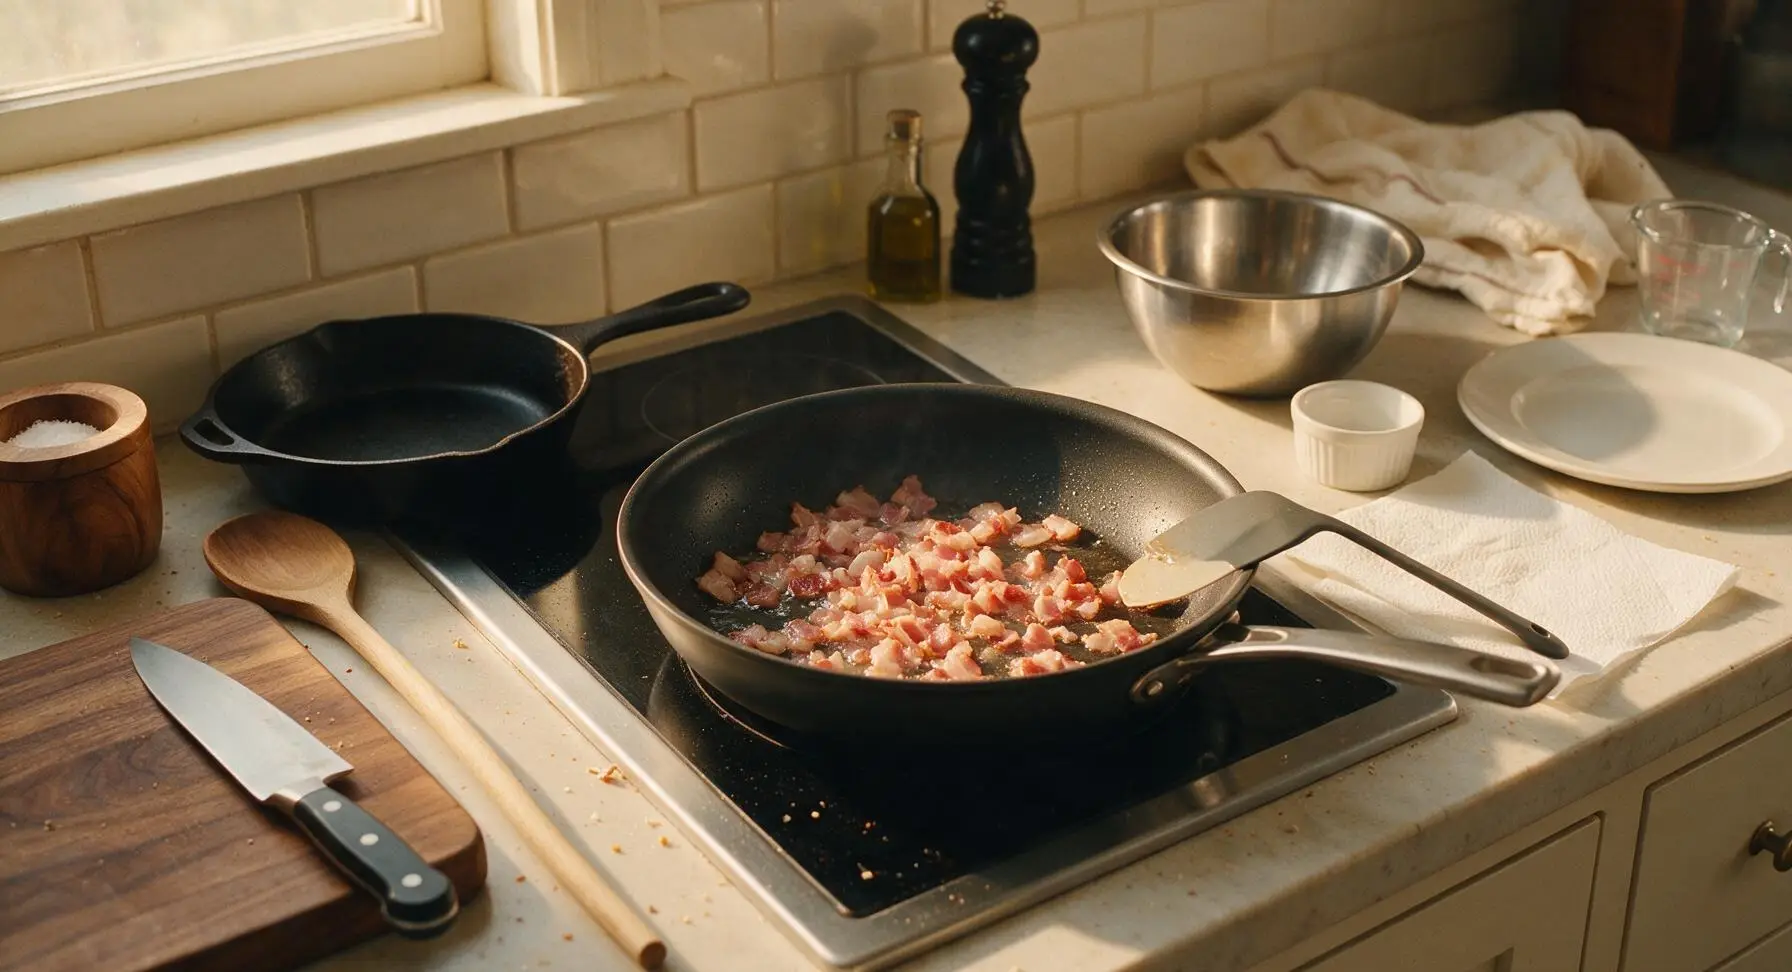
Place the 10-inch nonstick skillet on the flush stovetop burner at back center, set heat to medium-low. Add the chopped bacon to the cold pan (starting in a cold pan renders fat more evenly for crisp, not burnt, bacon). Cook for 3-4 minutes, stirring occasionally with the silicone spatula, until the bacon is golden brown with crispy edges and has rendered most of its visible fat. Use the spatula to transfer cooked bacon to the waiting paper towel to drain, leaving exactly 1 teaspoon of bacon fat in the skillet; pour off any excess fat into a small heatproof container if needed.
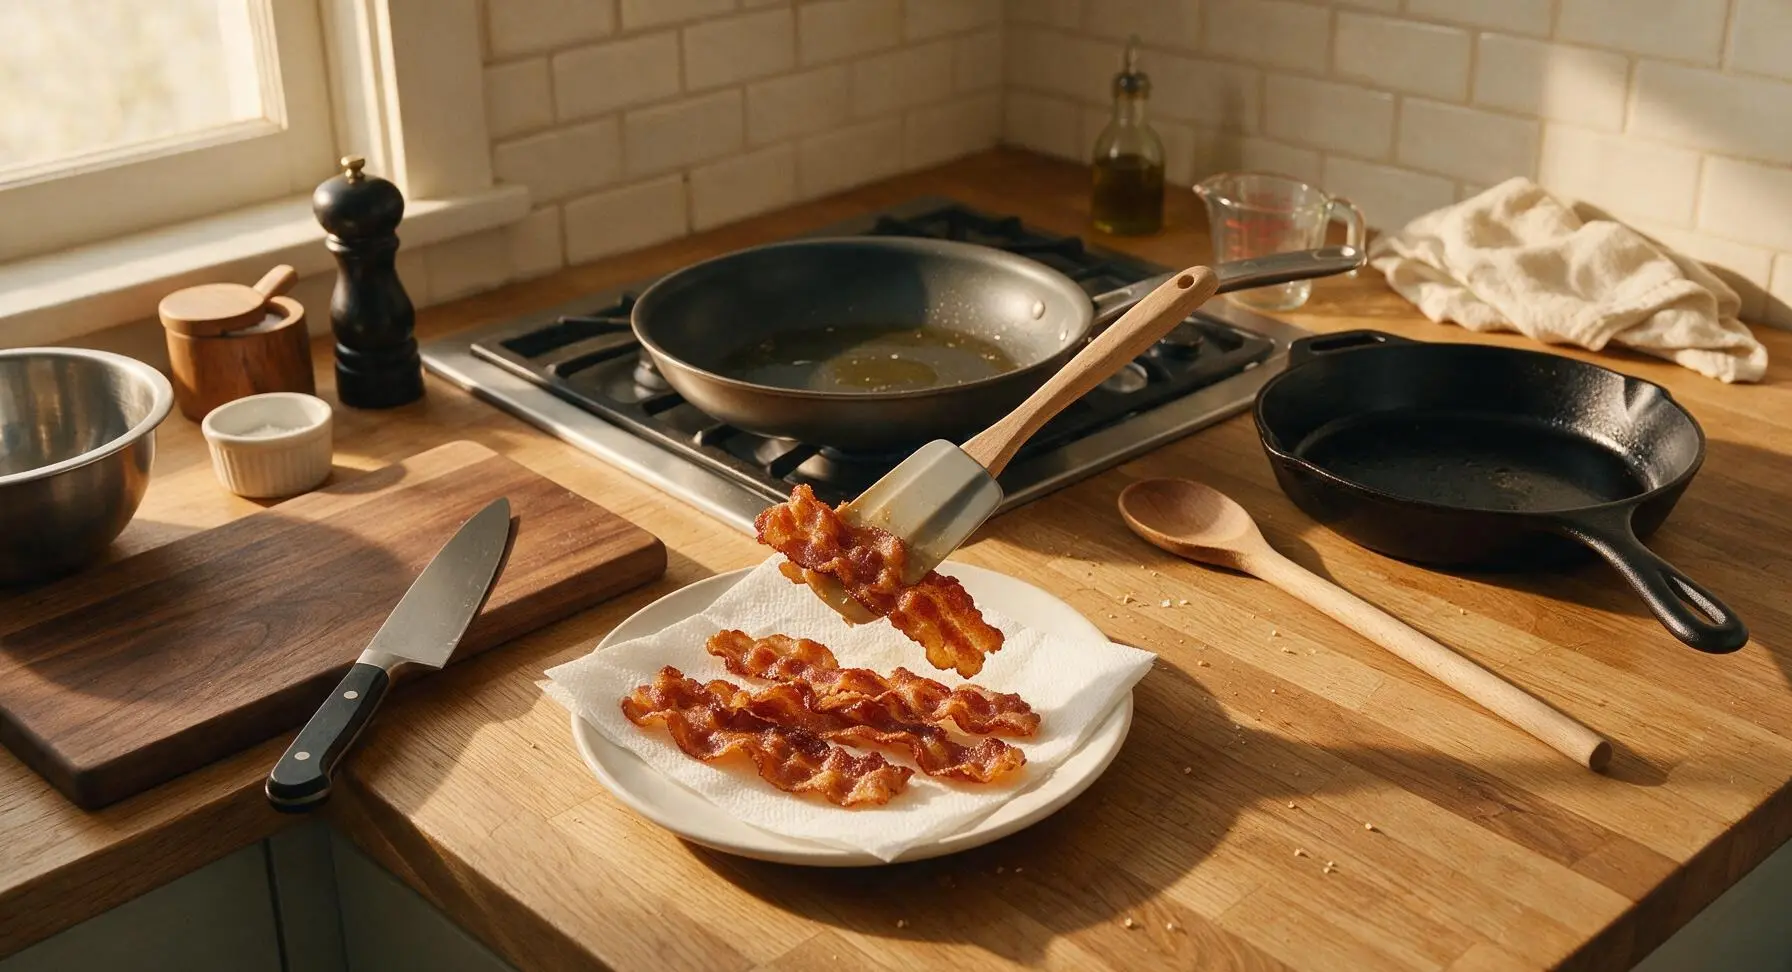
Sauté Kimchi and Whites
Keep the skillet with reserved bacon fat over medium-low heat. Add the chopped kimchi and sliced white/light green scallion parts to the pan, stirring constantly with the silicone spatula for exactly 1 minute, until the kimchi is fragrant, slightly caramelized at the edges, and all surface moisture has evaporated. Do not cook longer than 90 seconds, as overcooked kimchi turns bitter and loses its bright tang.
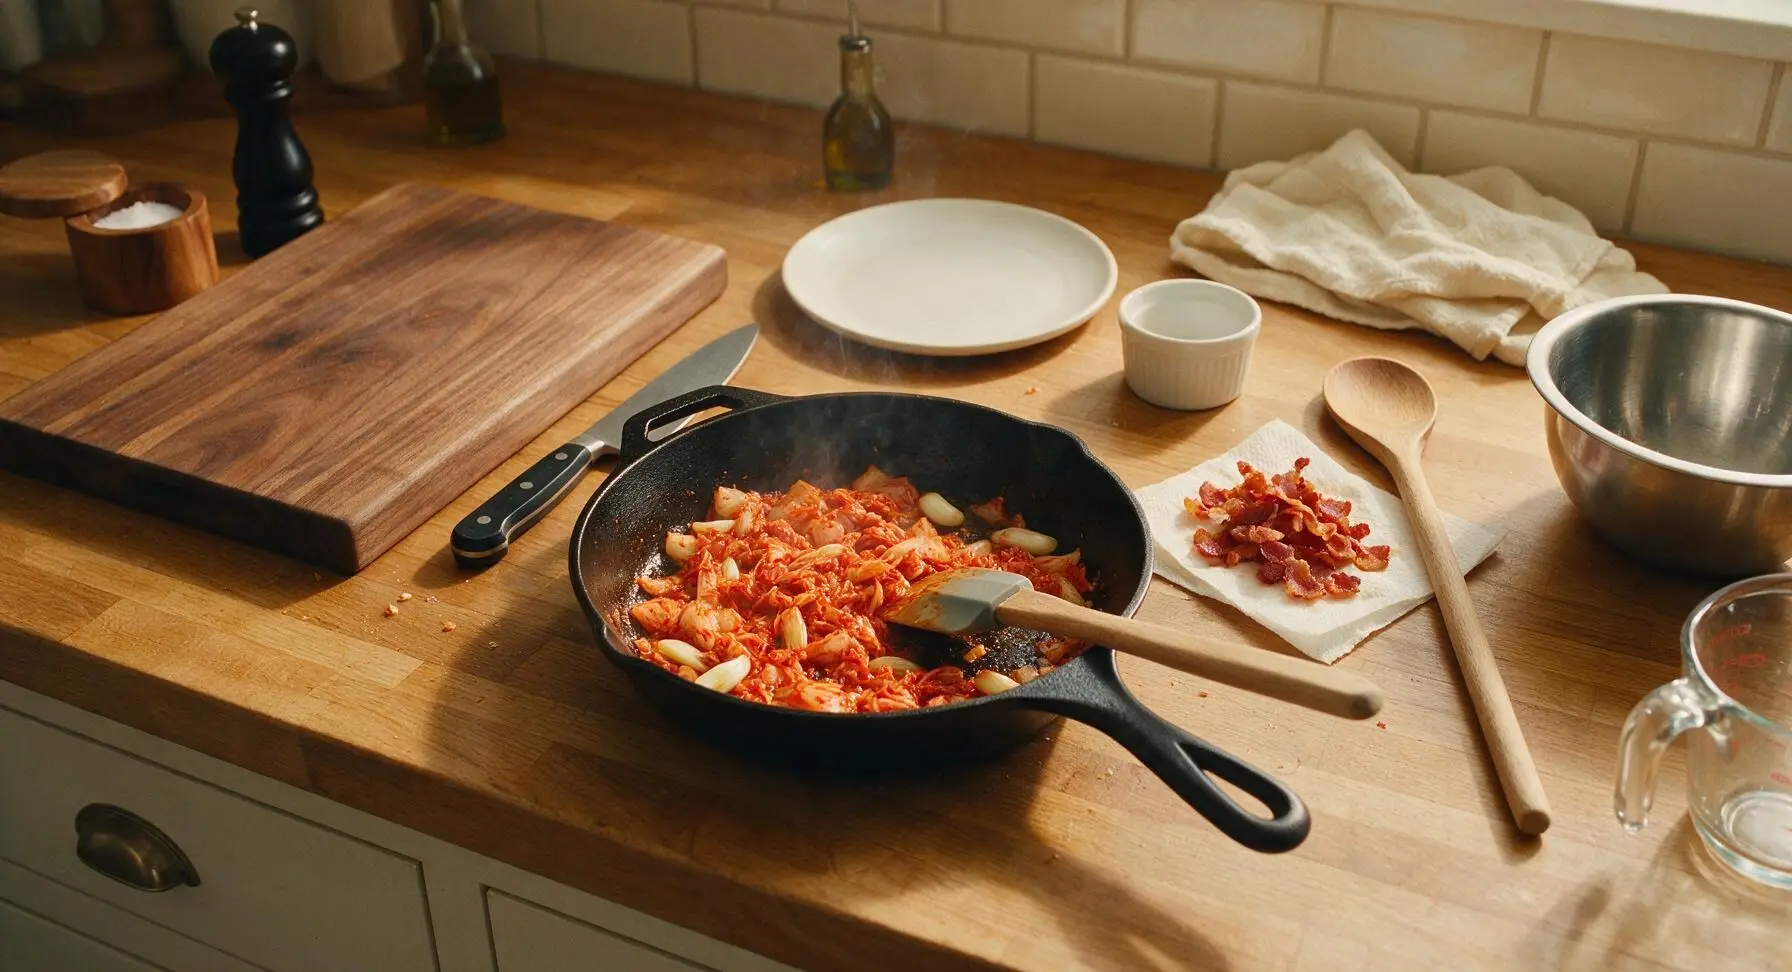
Melt Butter in Pan
Turn the stovetop heat down to low. Add 1 tablespoon of unsalted butter to the skillet with the sautéed kimchi and scallions. Wait 30 seconds, swirling the pan gently, until the butter is fully melted and foaming lightly, but not browned (browned butter will overpower the delicate kimchi and egg flavor). The melted butter should coat the entire pan bottom evenly when swirled.
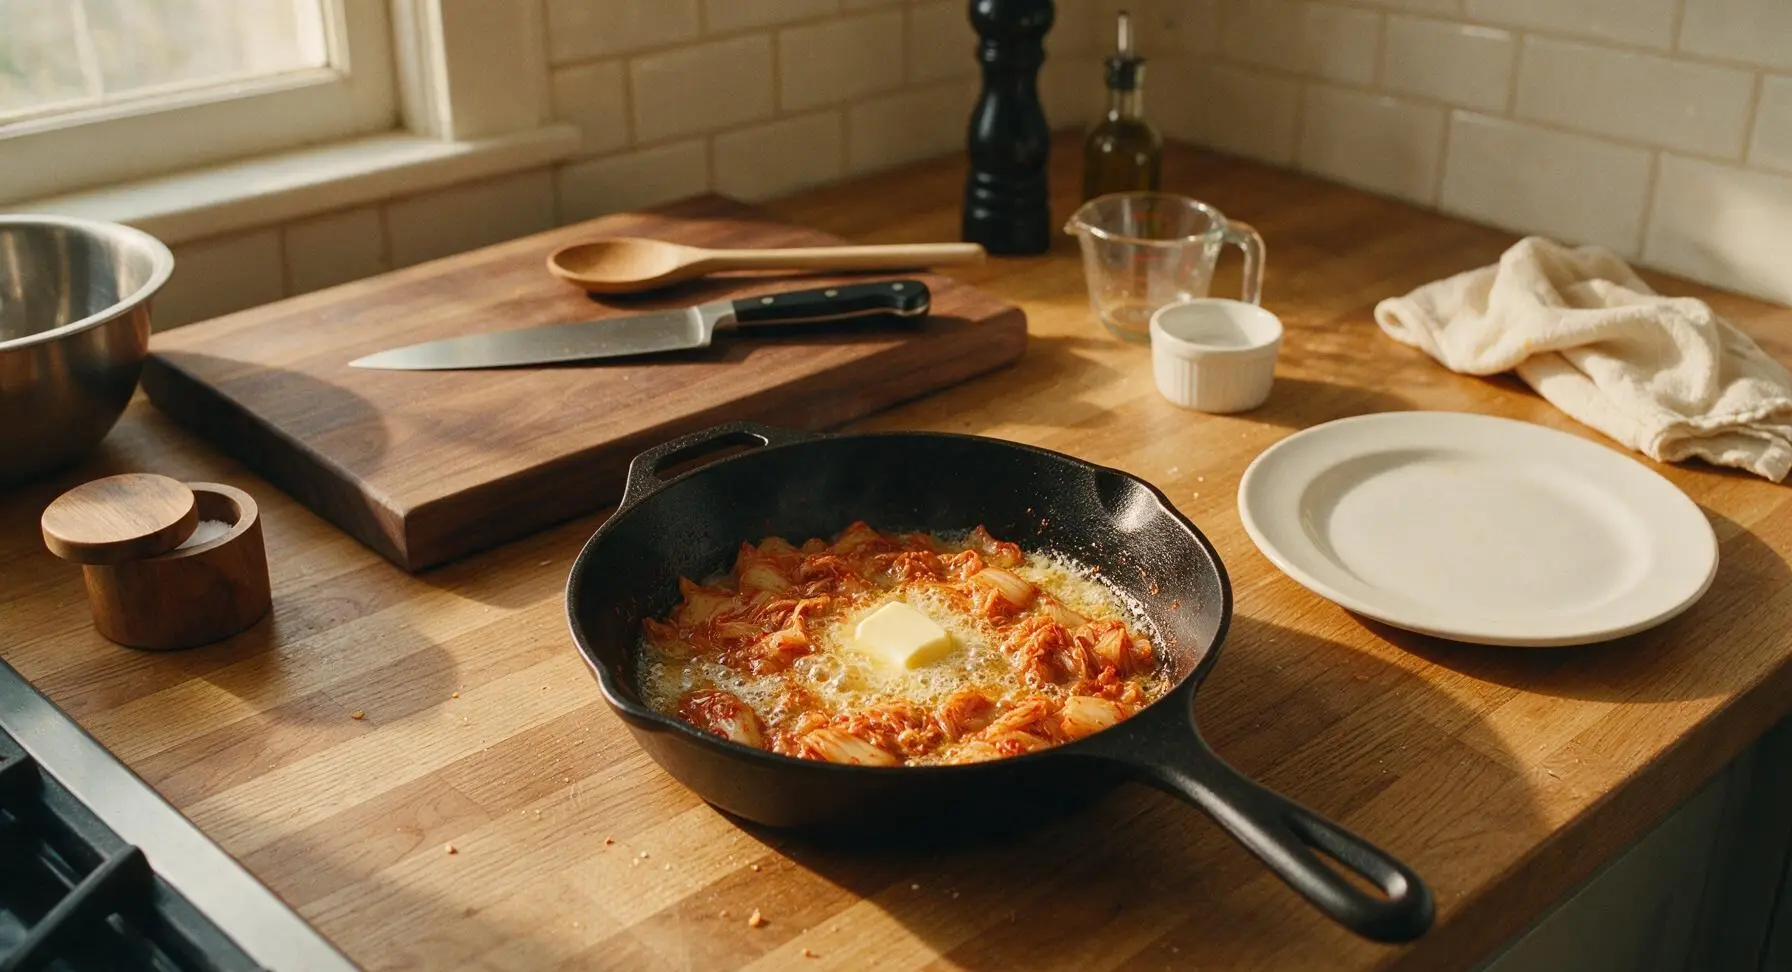
Cook Soft Egg Curds
Pour the lightly whisked egg mixture from the stainless steel bowl into the skillet. Let the eggs sit undisturbed for 15 seconds to let the bottom layer set, then use the silicone spatula to gently push fully set egg curds from the pan edges toward the center, tilting the pan to let uncooked runny egg flow into the empty pan spaces. Repeat this push-and-tilt motion consistently for 2 to 2.5 minutes, until the eggs are 80% set, forming large, tender, creamy pale yellow curds. Stop cooking before the eggs look fully done, as they will continue to cook from residual pan heat (overcooking creates dry, rubbery eggs).
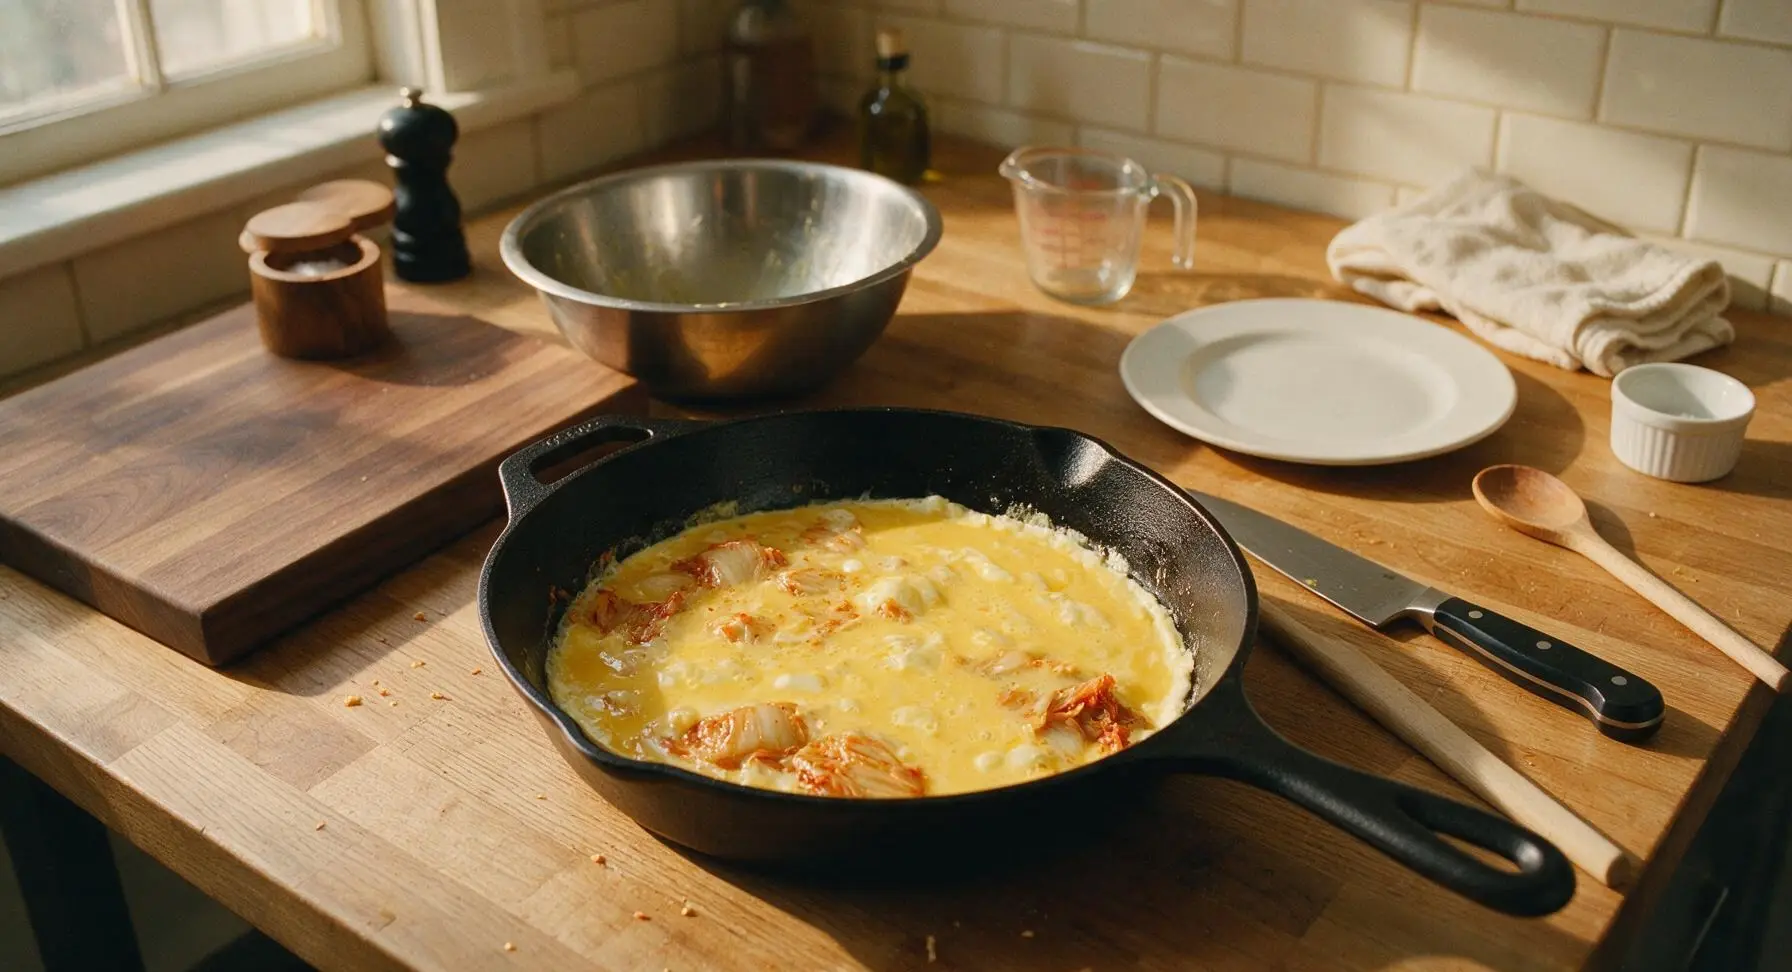
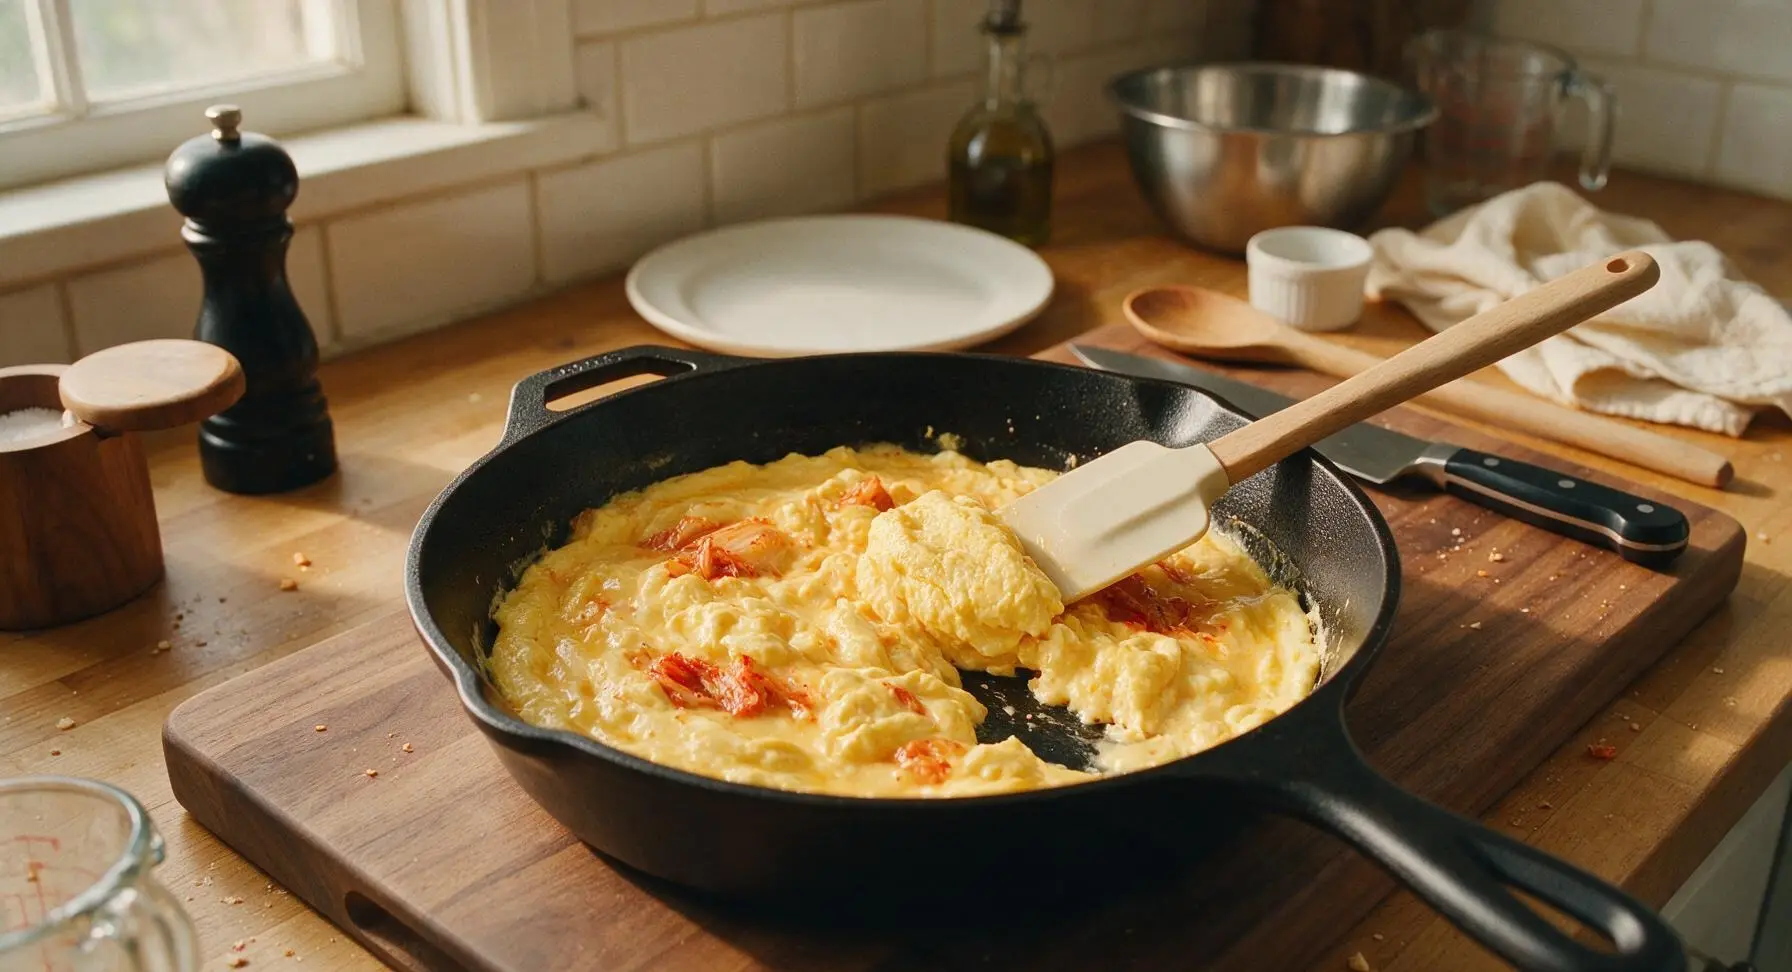
Fold in Crispy Bacon
Add three-quarters of the drained crispy bacon pieces to the egg curds in the skillet, folding gently with the silicone spatula to distribute bacon evenly throughout the eggs, about 10 seconds total. Immediately turn off the stovetop heat to prevent overcooking.
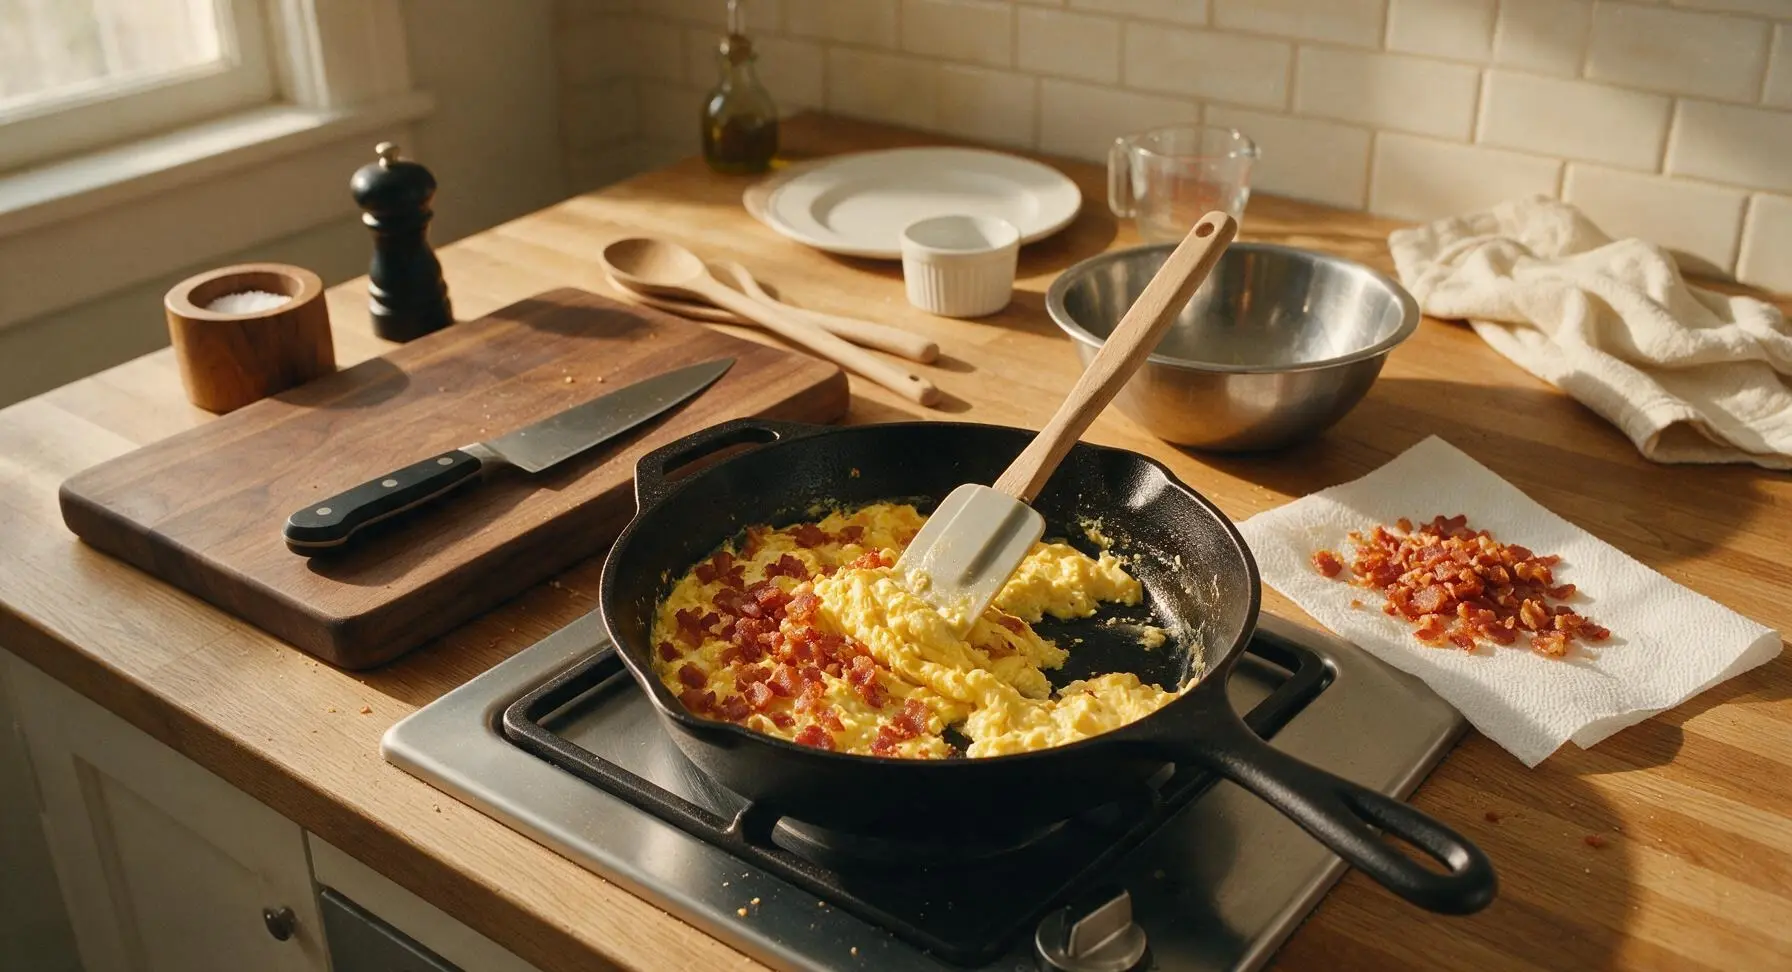
Plate and Garnish
Scoop the finished egg mixture from the skillet with the silicone spatula, mounding it gently in the center of the off-white ceramic breakfast plate. Top with the remaining crispy bacon bits, reserved dark green scallion slices, and a light ¼ teaspoon pinch of toasted sesame seeds. Taste first before adding any extra flaky salt, as kimchi and bacon are already high in sodium. Serve immediately while hot.
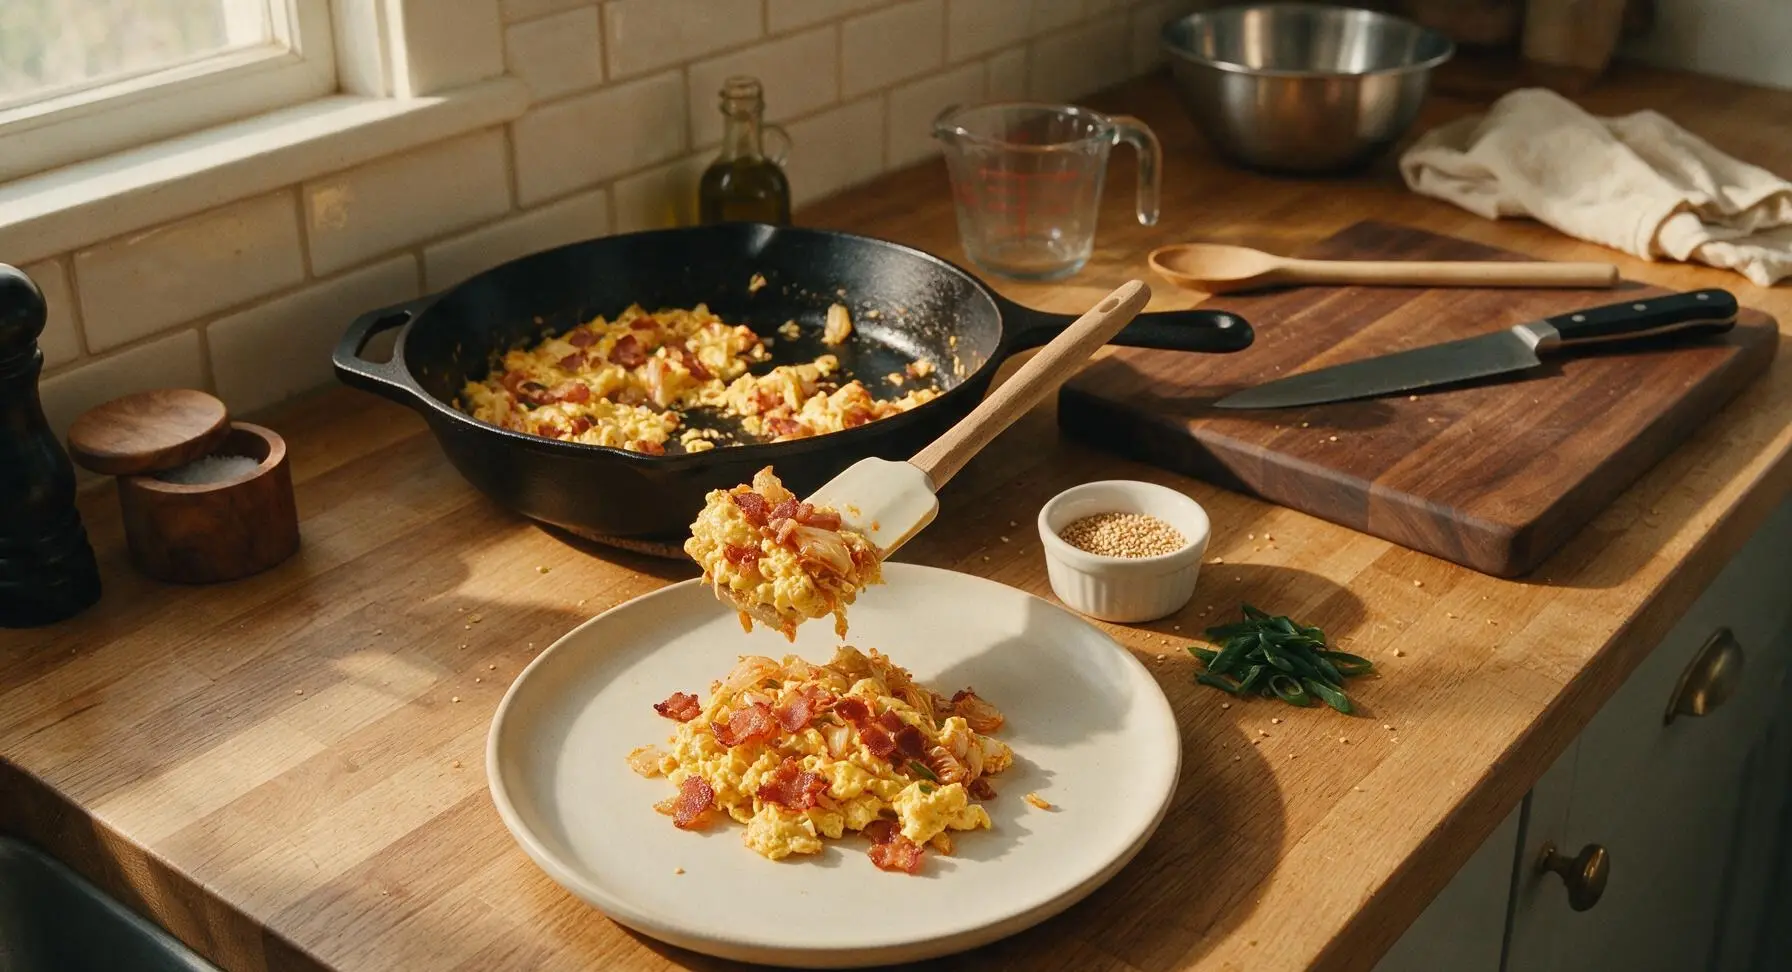
Tips
2.Start bacon in a cold pan over medium-low heat: this allows the fat to render slowly, creating extra-crispy bacon bits without burnt, bitter edges that can ruin the mild egg flavor.
3.Resist the urge to stir eggs constantly: pushing set curds to the center and letting uncooked egg flow into gaps creates large, soft, luxurious curds, while constant stirring breaks curds into small, dry, crumbly pieces.






OMG, this is my new go-to weekend brunch! I never thought to pair tangy kimchi with salty bacon in scrambled eggs before, but it’s a total game changer. I sprinkled a little extra sesame seeds on top and served it with avocado toast. SO good.
Made this for my kids before school this morning and they actually ate every bite without complaining! Cook time was exactly 8 minutes like the recipe said, which is perfect for chaotic school mornings. Only thing I did extra was squeeze a tiny bit of sriracha on mine.
Super easy recipe for a dorm cook! I only had a tiny nonstick pan and pre-cooked bacon bits, and it still turned out incredible. Way better than the sad microwave eggs I usually make for dinner.
I make a batch of this every Sunday for quick weekday breakfasts! It holds up really well in the fridge for 3-4 days, and I just reheat it for 30 seconds in the microwave. Saves me so much time on my commute.
So happy this is naturally gluten free as long as you use GF bacon! I brought this to my office potluck last week and everyone was asking for the recipe. Even my coworker who hates kimchi went back for seconds.
Really tasty, but I messed up the first batch because I cooked the kimchi too long and it got mushy. Second time around I tossed it in at the last 30 seconds and it was perfect! Definitely don’t overcook the kimchi if you like that crunch.
I’d put bacon in literally everything, so this recipe was made for me. The salt from the bacon cuts right through the sour kimchi, and the soft scrambled eggs are so creamy. I ate two servings in one sitting no shame.
Wait, do you drain the kimchi before adding it? I didn’t and my eggs turned a little pink and runny, but they still tasted great. Just wondering if I did something wrong.
Made this for my girls’ brunch yesterday and it was the star of the spread! I served it with toasted sourdough and a side of pickled veggies, everyone raved. Will be making this again for my next brunch for sure.
This is perfect for my low carb diet! No added sugars, tons of protein and healthy fats, and so much flavor I don’t even miss the toast. I added a little extra gochugaru for more heat and it was chef’s kiss.
Made this after a late night out with friends and it literally brought me back to life. The salty bacon, tangy kimchi, creamy eggs — exactly what my stomach needed. Cured my hangover faster than greasy takeout.
Piled this high on top of sourdough toast with a slice of melted cheddar and it was the best breakfast sandwich I’ve ever made at home. Took 8 minutes total, no fancy ingredients, 10/10.
I used leftover kimchi from my Korean BBQ night last week and leftover bacon from breakfast the day before, and this came together so fast. Zero food waste, maximum flavor, that’s my kind of recipe.
My toddler is going through a super picky eating phase and I was shocked when he devoured this! I chopped the kimchi up really fine so he didn’t notice the texture, and used extra crispy bacon. Win for mom!
I made this in my cast iron skillet and the edges got all crispy and caramelized, which was such a nice texture contrast to the soft eggs. If you have a cast iron, definitely use it for this.
I’ve been scared to cook with kimchi because I thought it would be too strong, but this recipe was the perfect intro! The eggs and bacon mellow out the tang just enough, now I want to add kimchi to everything.
Full disclosure: I hate plain scrambled eggs. I think they’re boring and rubbery 90% of the time, but this? I would eat this every single day. The flavor is so bold I don’t even feel like I’m eating boring eggs.
I made this over the camp stove on my last camping trip and it was so easy! Pre-cooked the bacon at home, packed a jar of kimchi and a carton of eggs, and we had a hot, delicious breakfast at the campsite in 10 minutes total.
I threw a handful of shredded pepper jack in with the eggs right before they finished cooking and it was unreal. The melty spicy cheese with the kimchi and bacon is a match made in heaven.
I cannot believe how fast this comes together! I got home late from the gym last night, was too tired to cook a whole dinner, threw this together in 8 minutes and it was more satisfying than any takeout I would’ve ordered.