
Kimchi Burnt Ends
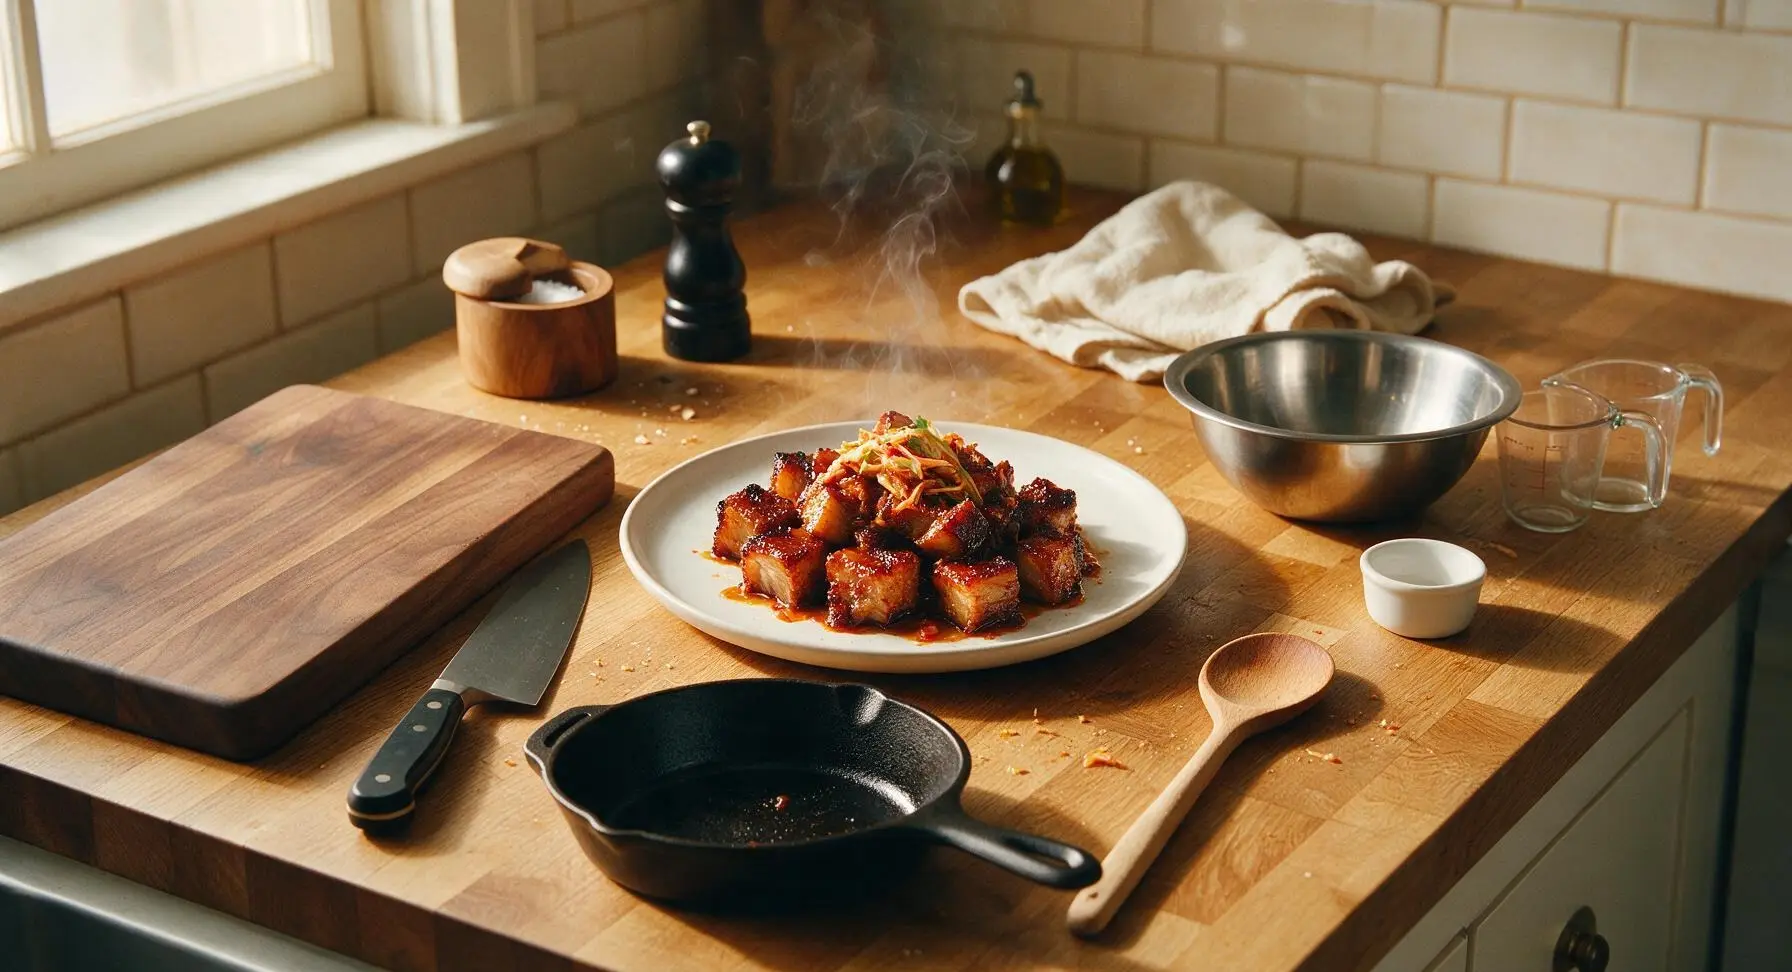
intro
Sticky, caramelized pork belly burnt ends tossed in tangy, spicy kimchi glaze—crispy at the edges, melt-in-your-mouth tender, the ultimate fusion BBQ bite for summer cookouts.
Ingredients
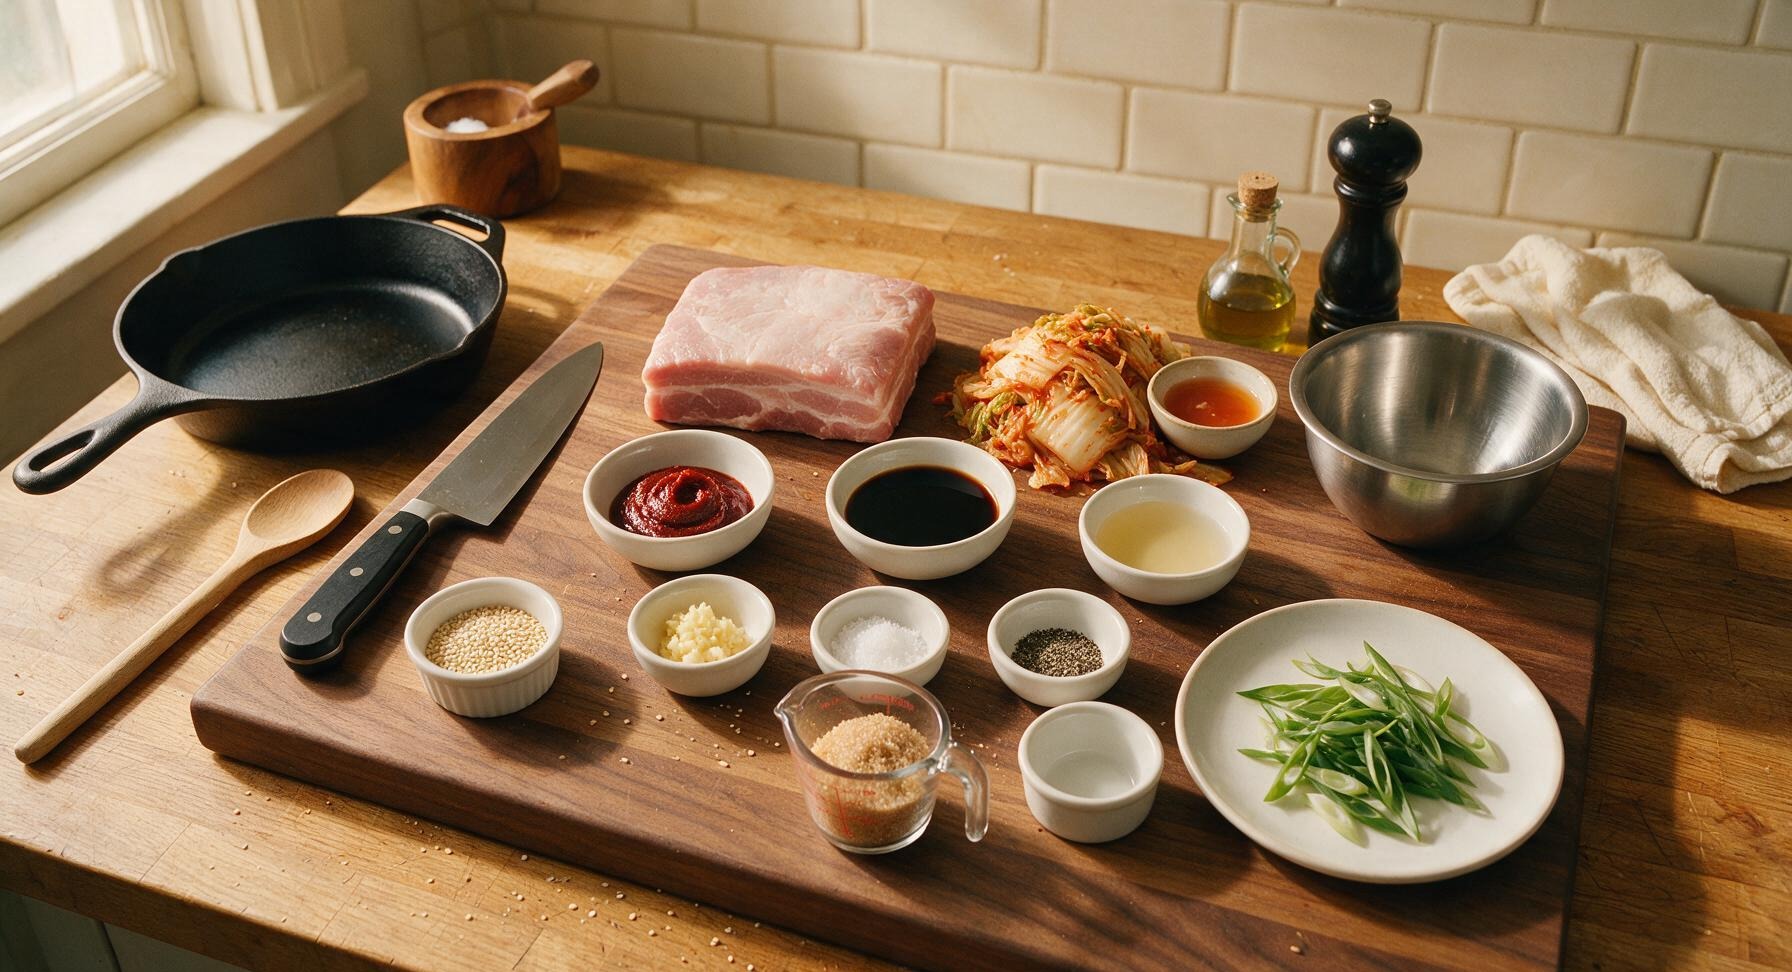
Steps
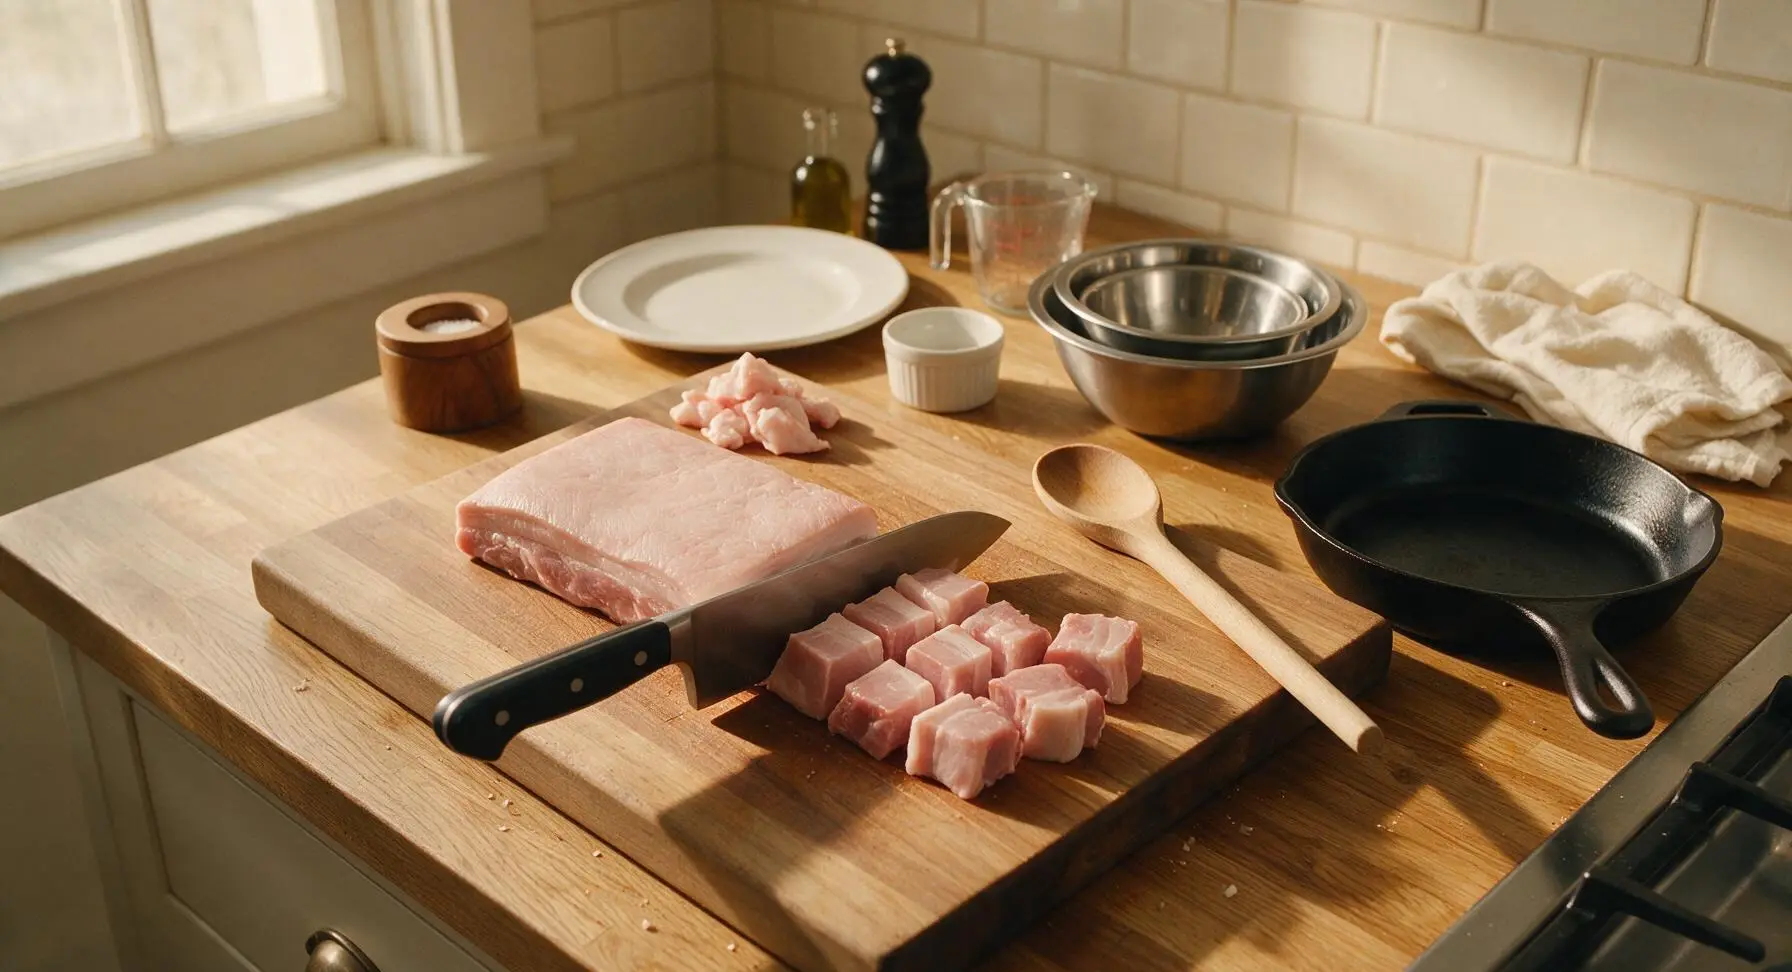
Cube the Pork Belly
Place the 1kg skinless pork belly block on the large maple cutting board. Using the 8-inch chef knife, trim any excessively thick hard fat deposits (leave 6mm of fat on each piece for rendering), then cut the pork into uniform 2.5cm (1 inch) cubes. Uniform size ensures even cooking and consistent crispy edges across every piece.
Season the Pork Cubes
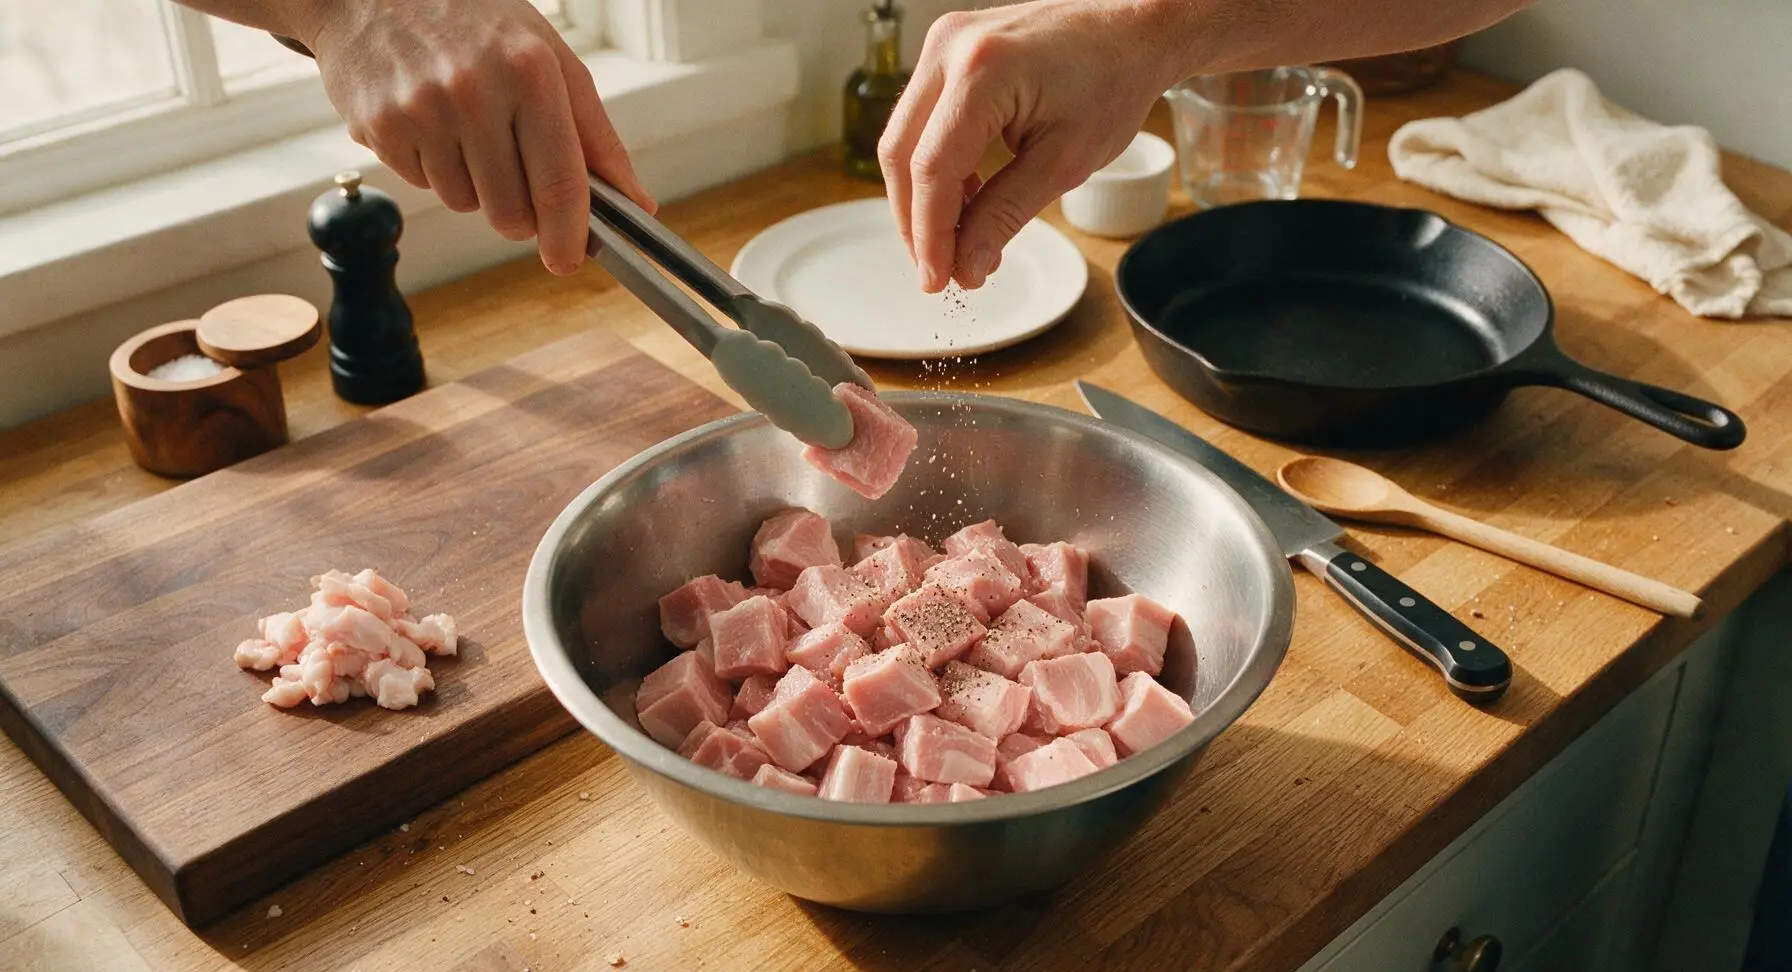
Place the cut pork cubes into the large stainless steel mixing bowl. Add 1 tsp kosher salt and 1 tsp freshly ground black pepper, then toss thoroughly with the silicone-tipped tongs until every cube is evenly coated on all sides. Do not over-salt—kimchi and soy sauce will add significant savoriness later.
Slow Roast Until Tender
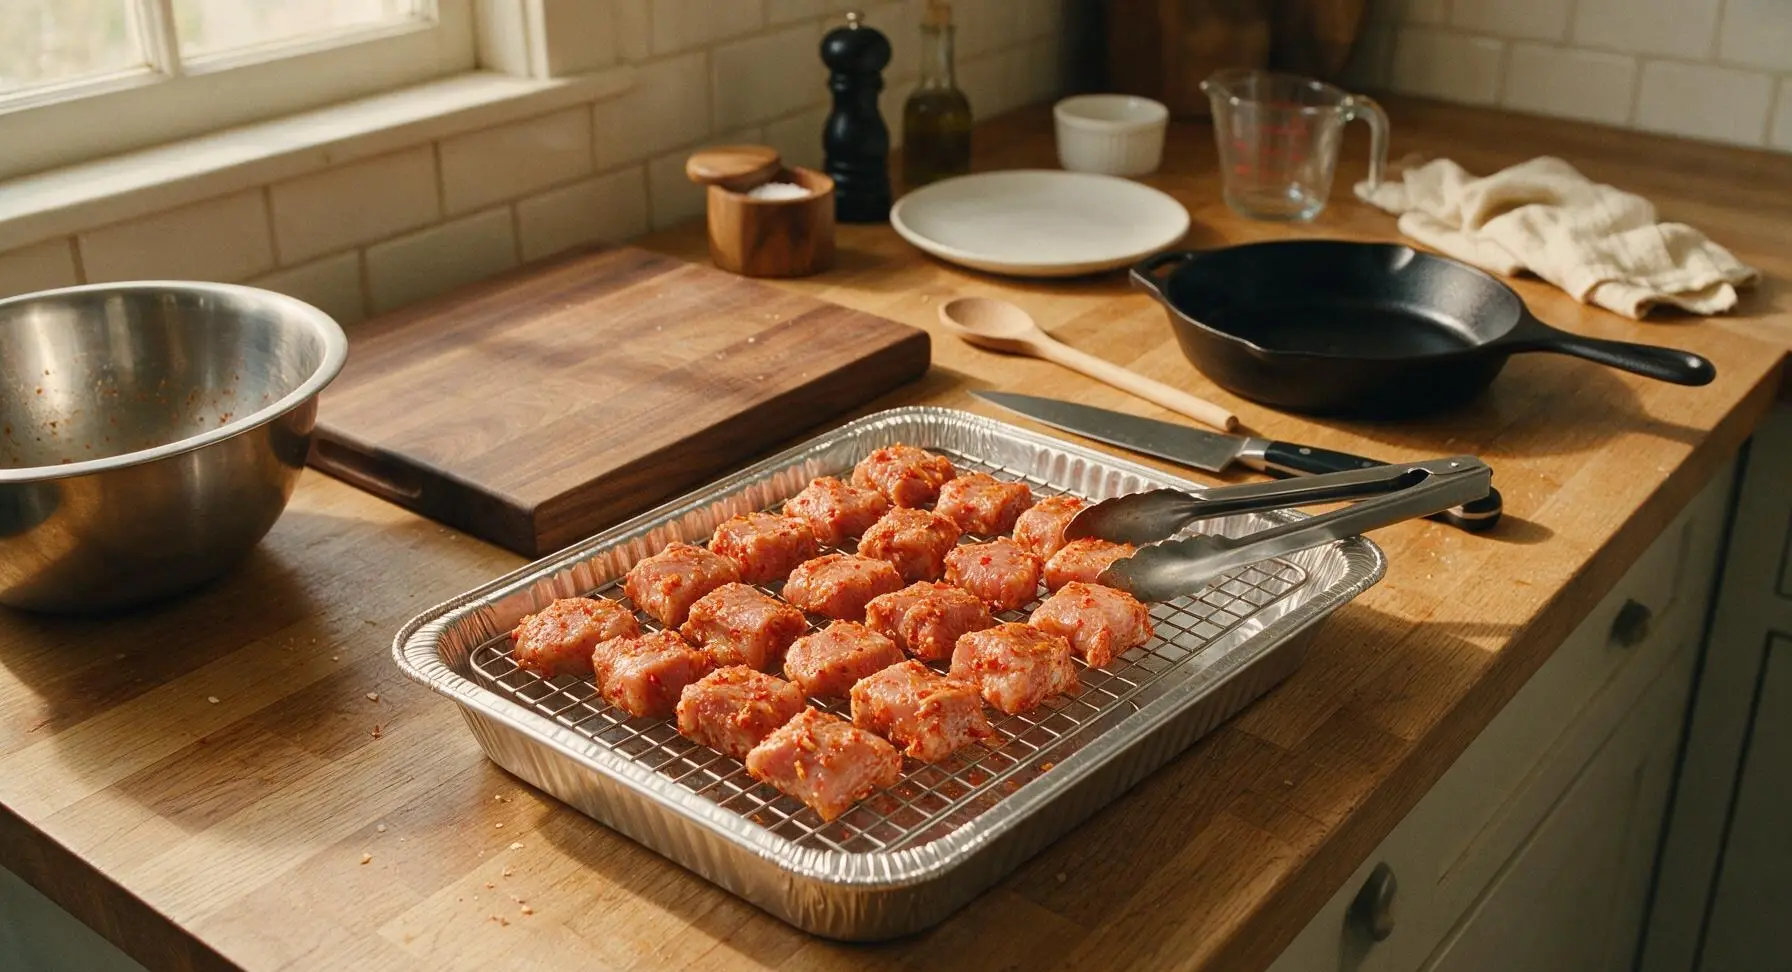
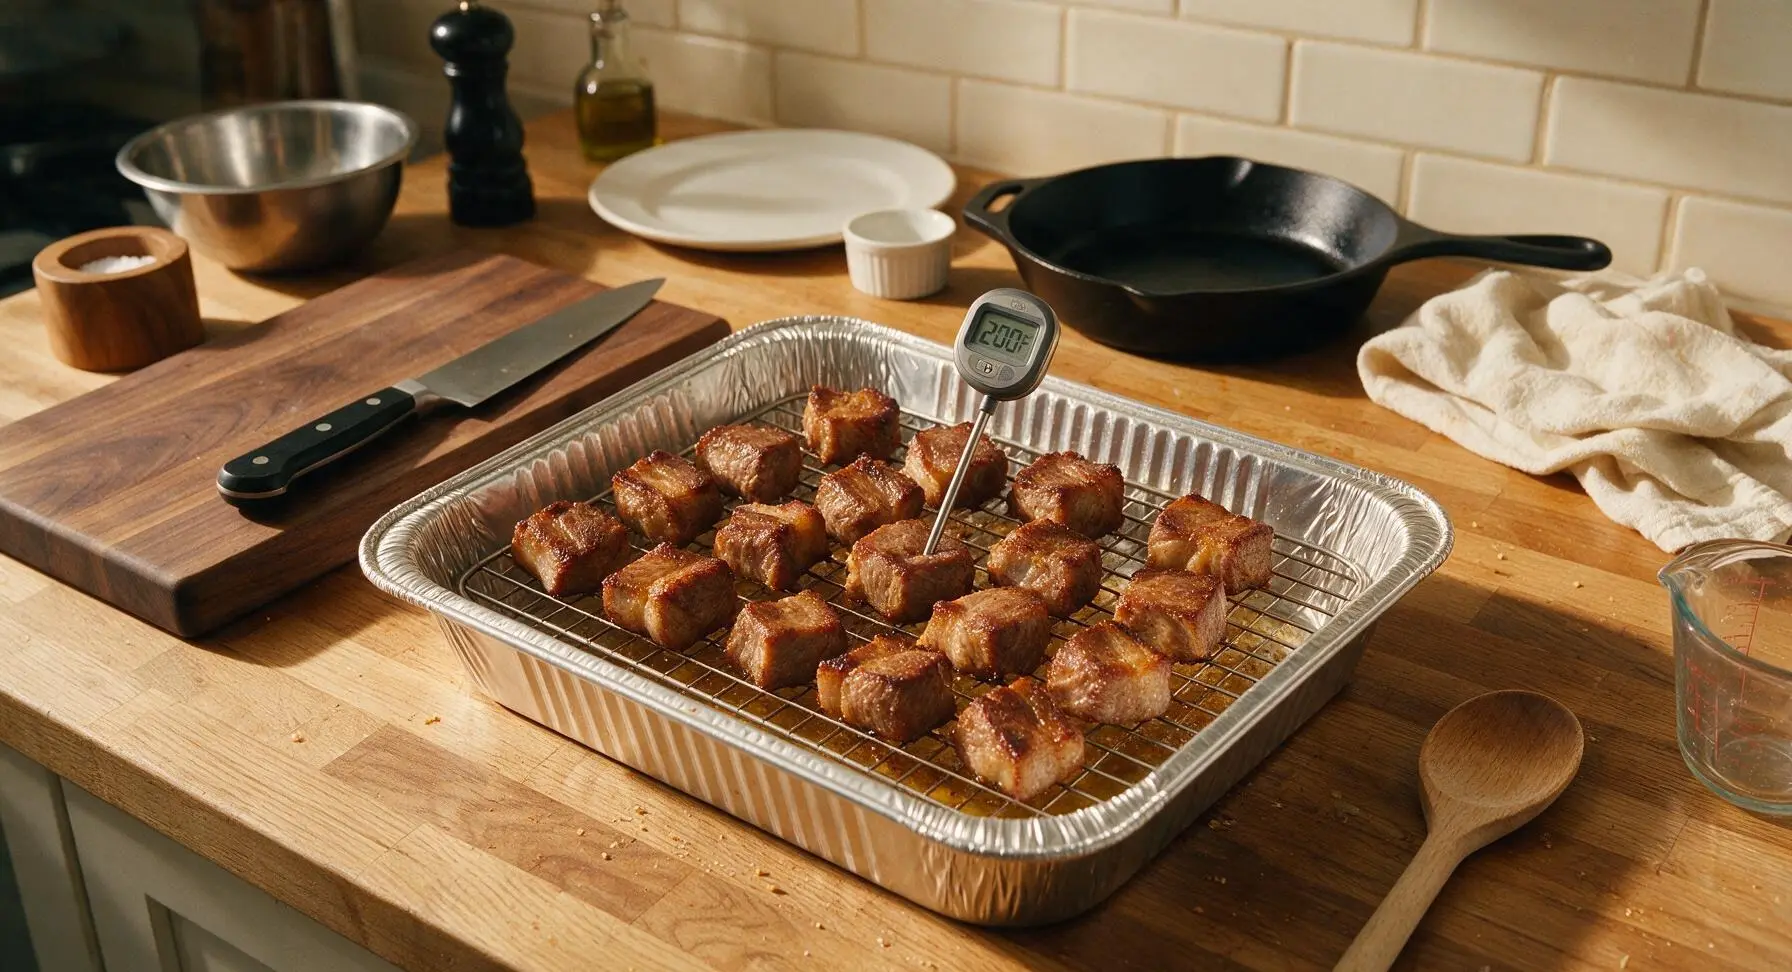
Arrange the seasoned pork cubes in a single layer on the stainless steel wire rack set inside the aluminum foil pan, leaving 5mm of space between each cube to allow air flow. Place the pan in a preheated 160C (325F) oven or smoker, and cook for 2 hours, until the pork is tender when pierced with a fork and the fat has rendered to a light golden crisp on the edges. Check internal temperature with the digital thermometer—it should read 93C (200F) when done.
Mix Kimchi Glaze
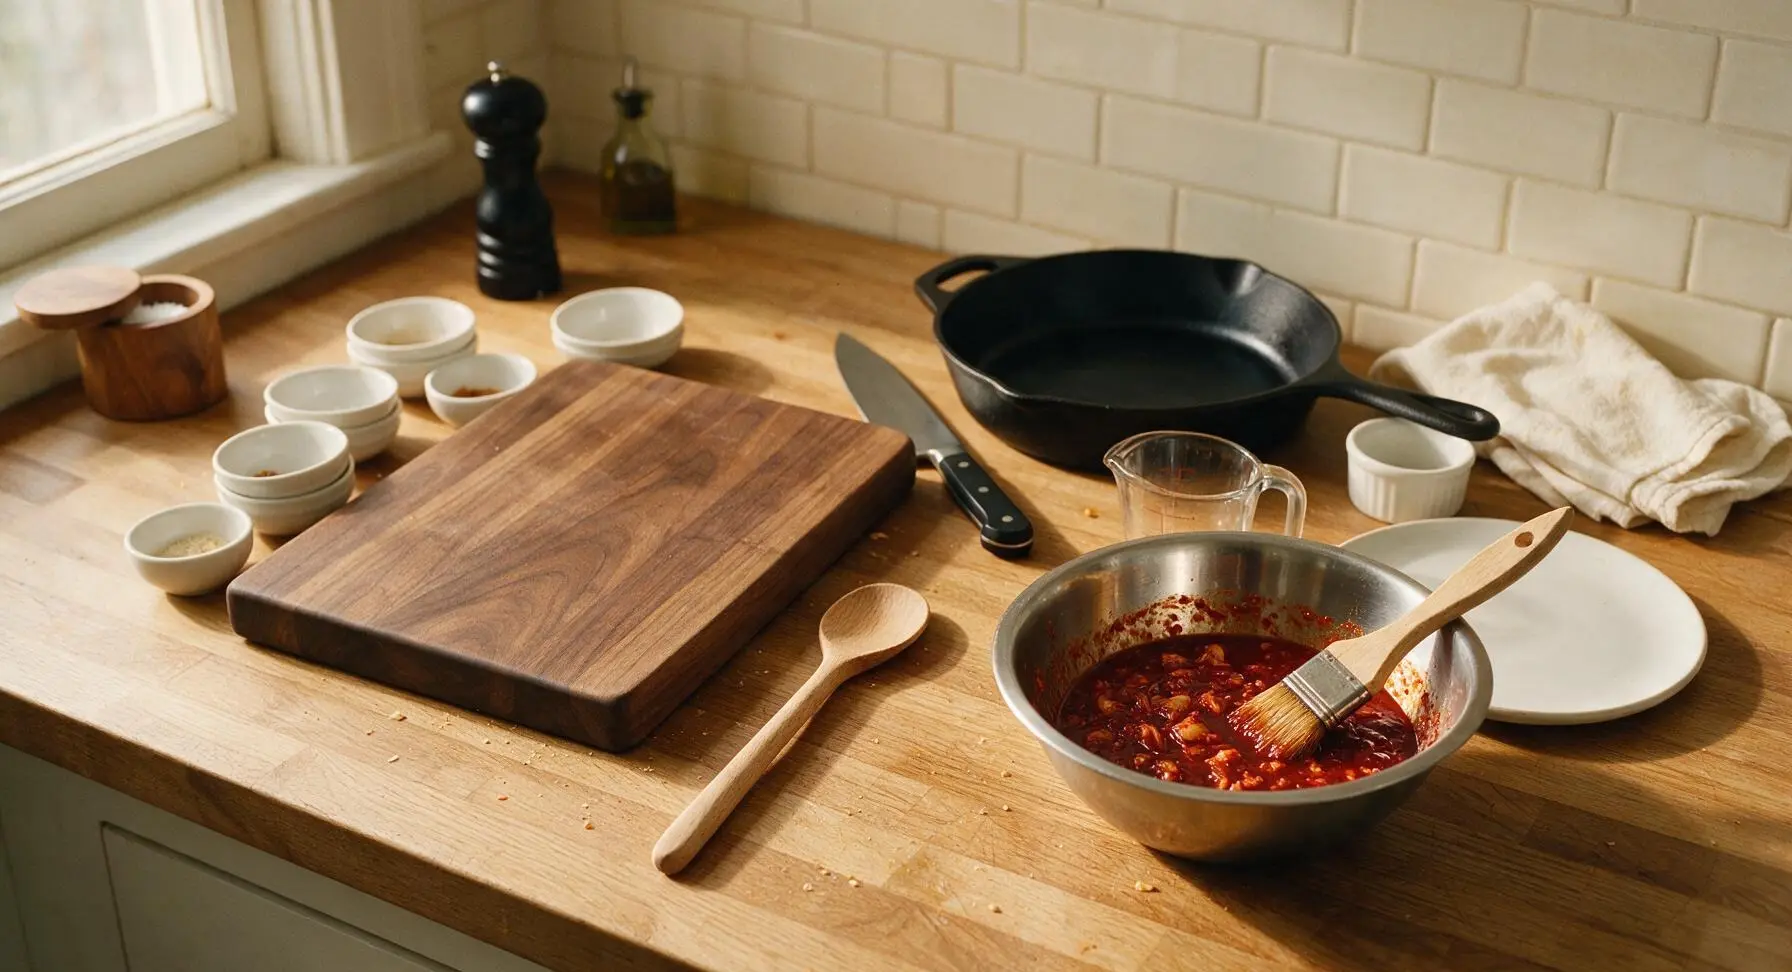
While the pork cooks, combine 200g finely chopped kimchi, 2 tbsp reserved kimchi brine, 3 tbsp light brown sugar, 2 tbsp gochujang, 2 tbsp low-sodium soy sauce, 1 tbsp rice vinegar, and 2 tsp minced garlic in the medium stainless steel mixing bowl. Stir with the pastry brush until the sugar fully dissolves and the glaze is a smooth, deep vibrant red, with visible small flecks of kimchi throughout.
Toss Pork in Glaze
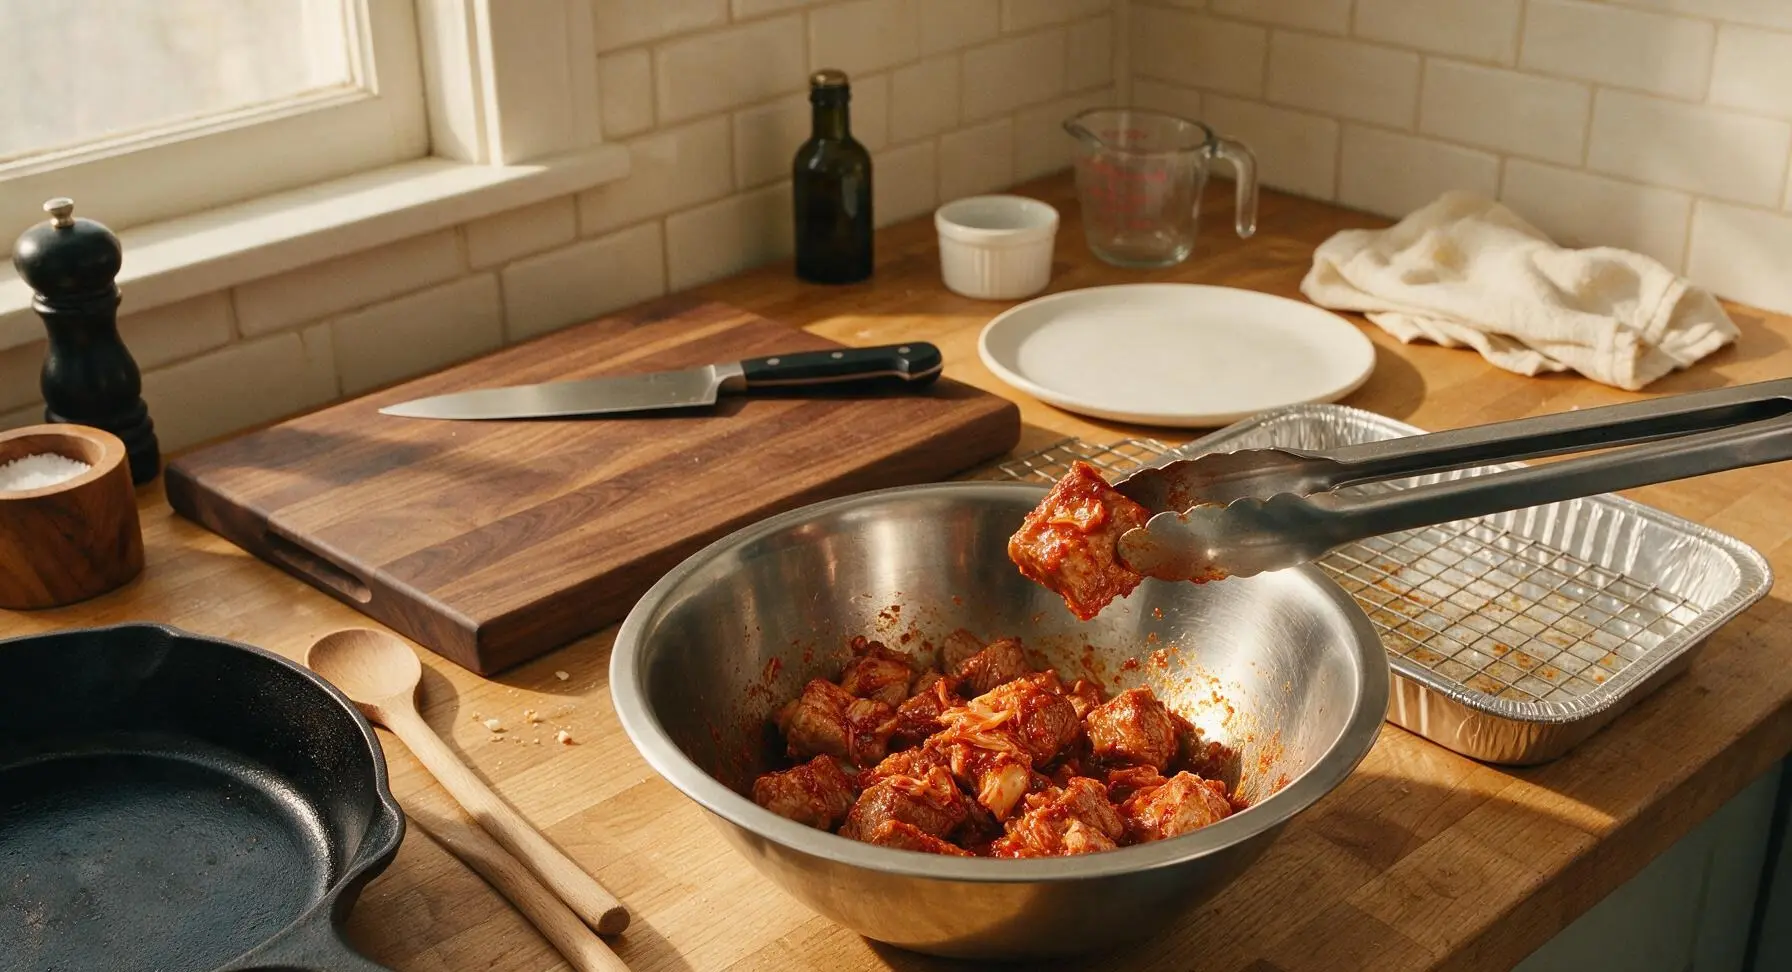
Once the pork is fully tender, use the tongs to transfer all the hot pork cubes from the wire rack into the medium mixing bowl with the kimchi glaze. Toss thoroughly for 30 seconds until every cube is fully coated in the sticky red glaze, making sure no dry spots remain on any piece.
Caramelize to Perfection
Return the glaze-coated pork cubes back to the wire rack in the foil pan, brushing any remaining glaze from the bowl onto the top of each cube with the pastry brush. Turn the oven up to 220C (425F), and cook for an additional 20-25 minutes, until the glaze is bubbly, dark caramelized red, and slightly charred at the edges of the pork cubes. Watch closely during the last 5 minutes to prevent the sugar in the glaze from burning.
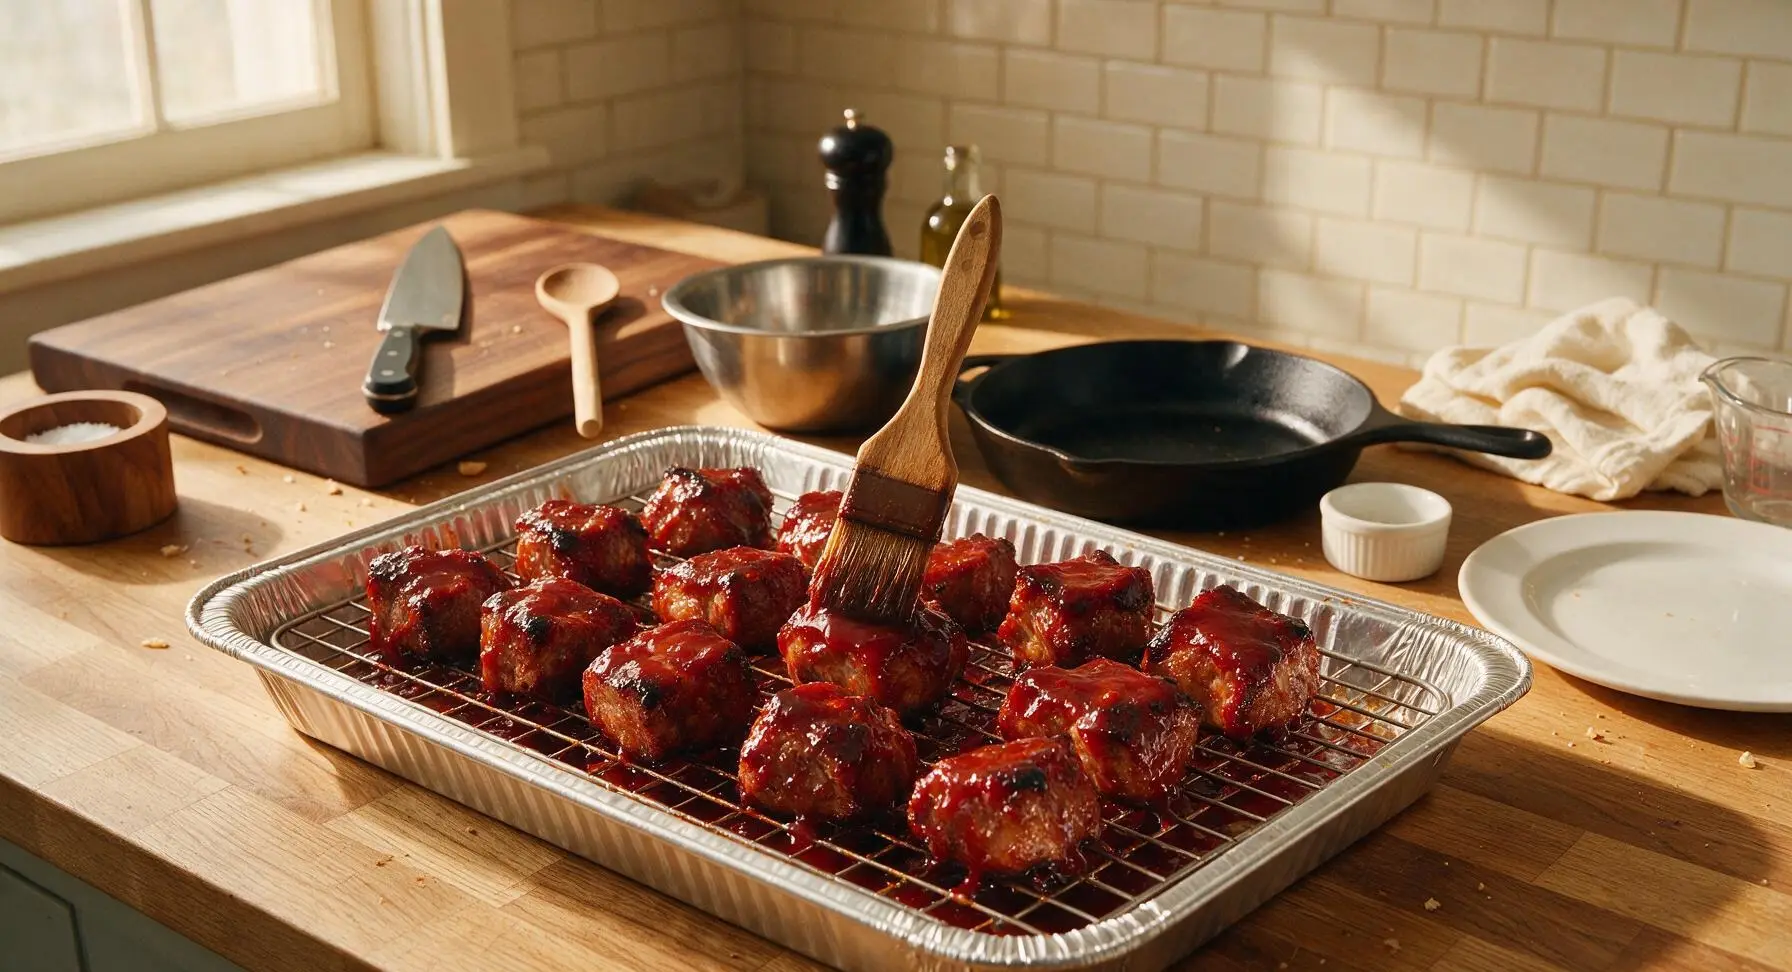
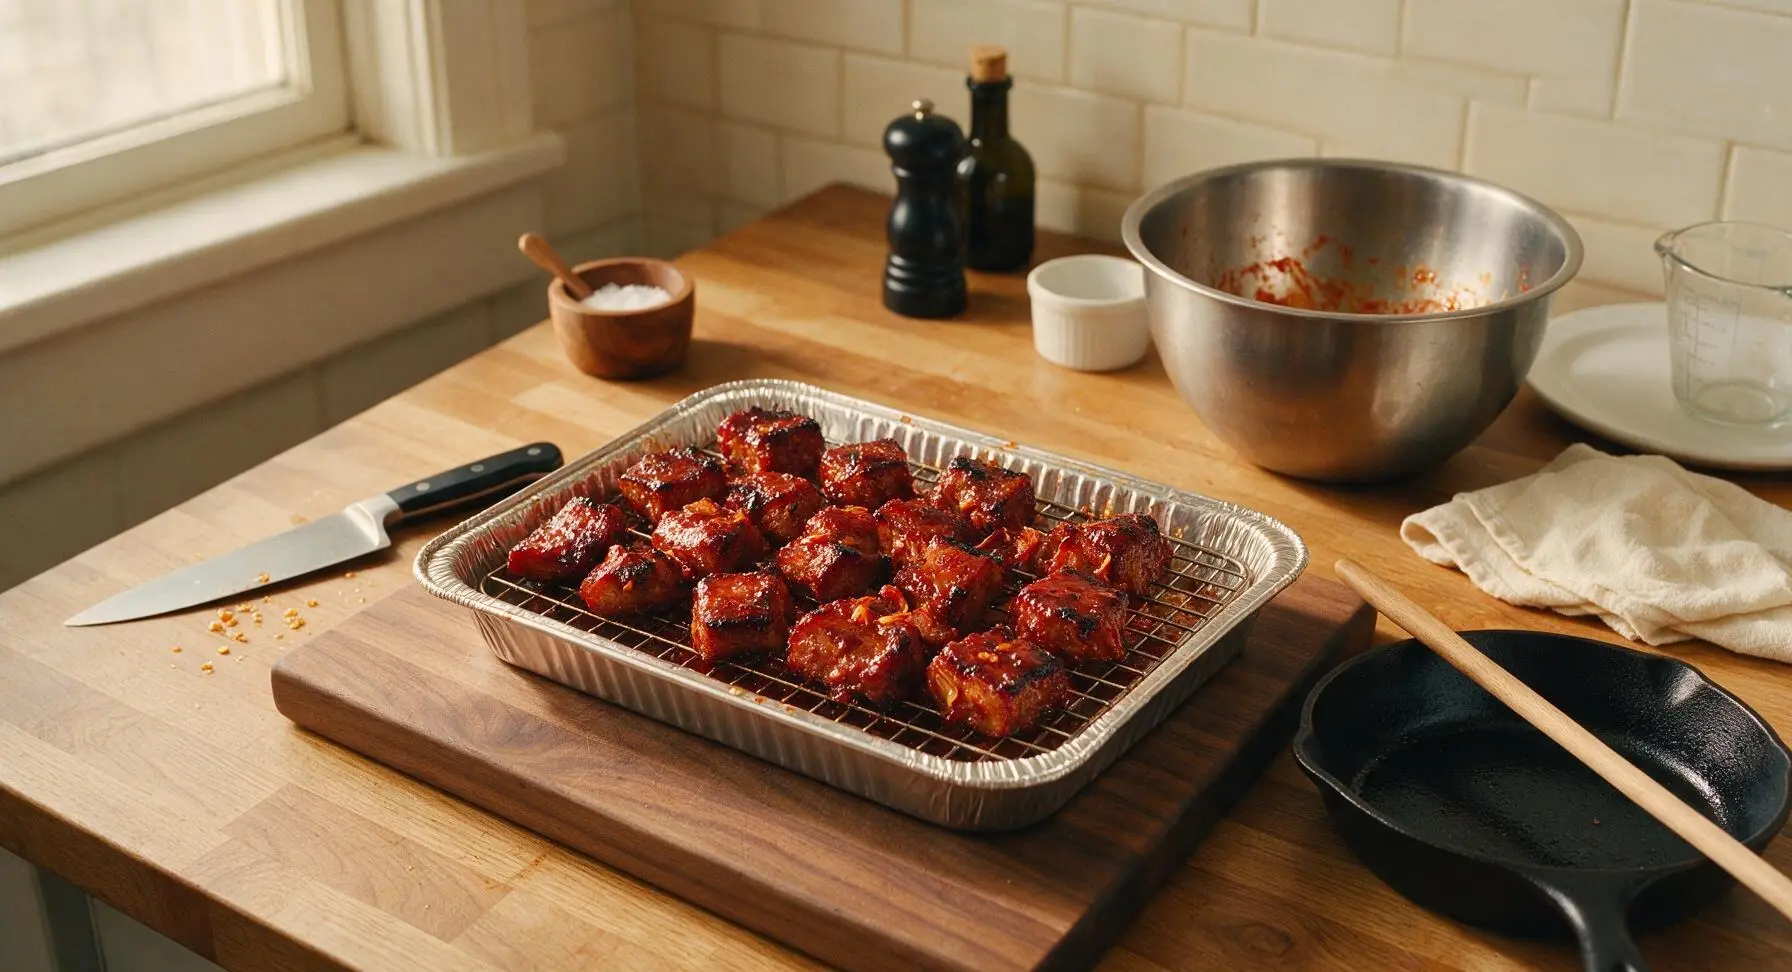
Plate and Garnish
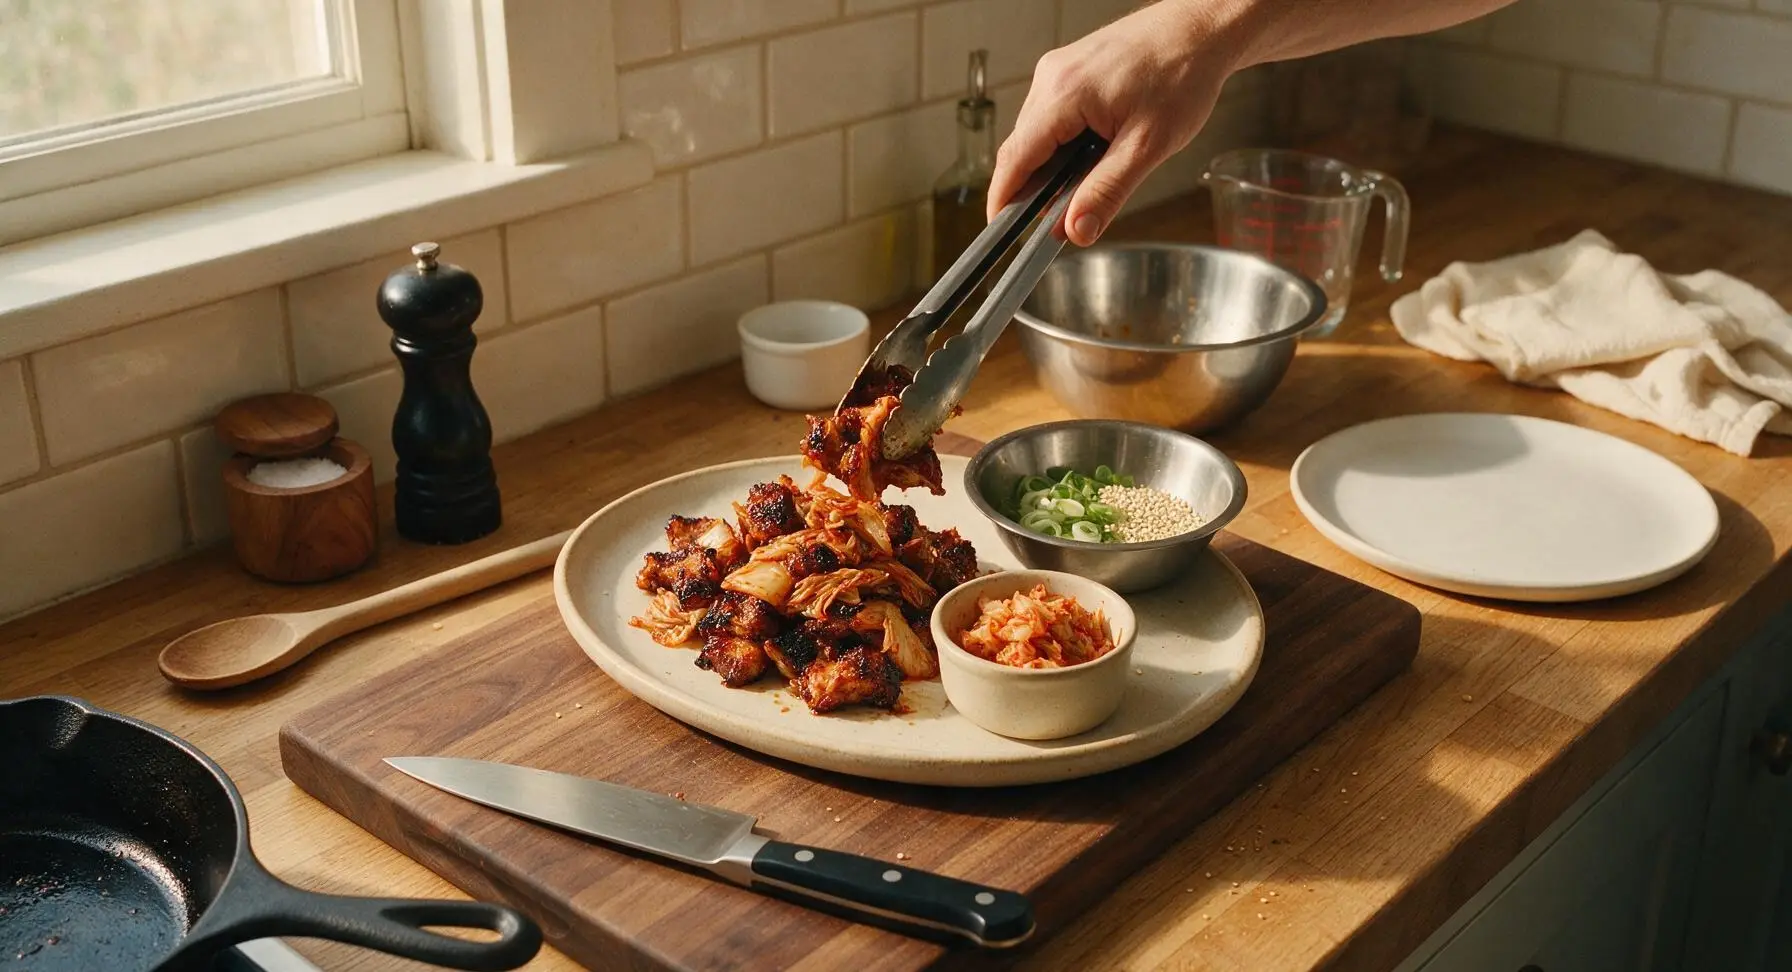
Transfer the hot caramelized burnt ends to the matte cream stoneware serving platter, piling them loosely in the center. Scatter 1 tsp toasted white sesame seeds and thinly sliced green onion greens over the top, and serve immediately while hot, with extra chopped kimchi in the small ramekin on the side for guests who want extra tang.
Tips
2.Always cook the pork on the elevated wire rack inside the foil pan. Elevation allows hot air to circulate around every cube, rendering fat evenly and creating crispy, caramelized edges instead of soggy, grease-soaked pieces sitting in pooled rendered fat.
3.If you don’t have a dedicated smoker, add 1 tbsp smoked paprika to the initial salt and pepper seasoning, or place a foil packet of soaked apple wood chips directly on the oven rack during the slow roast step. This adds classic smoky burnt end flavor without specialized equipment.






OMG these kimchi burnt ends are a total game changer! I brought them to our neighborhood potluck last weekend and people were begging me for the recipe before I even set the platter down. The tang from the kimchi cuts through the rich pork so perfectly, I never would’ve thought to pair those two flavors before. 10/10 will be making these for every summer cookout from now on!
Took a minute to get the cook temp just right on my smoker since I’m still pretty new to BBQ, but wow these were SO good. My kids loved it even though I was worried the kimchi would be too spicy for them — I used a mild, aged kimchi from our local H Mart and it was perfect. Will absolutely be adding this to our regular Sunday family dinner rotation.
Medium difficulty is no joke, y’all — I burned the first batch of glaze because I walked away to answer a work call, oops. The second batch turned out amazing though! I meal prepped a big batch on Sunday and have been putting the leftover burnt ends on top of rice bowls for lunch all week. Game changer for work lunches, no sad desk salad for me this week!
As a self-proclaimed burnt end purist, I was skeptical about adding kimchi, but my sister kept bugging me to try this recipe. Color me shocked — it slaps. The umami from the kimchi adds such a fun depth that regular burnt ends don’t have. I did add a little extra gochujang to the glaze because I love heat, and it was chef’s kiss.
Made these for our Labor Day cookout and they were the star of the spread! I used homemade kimchi from my mom’s recipe instead of store bought, and it made the flavor extra personal. Everyone kept asking what the secret ingredient was, like they couldn’t place the tangy, spicy kick. 10/10, no notes.
These look insane! Quick question — can I make these in the oven if I don’t have a smoker? I live in a tiny downtown apartment with zero outdoor space, so a full size smoker is totally out of the question for me, but I’ve been craving burnt ends for months now.
Made these last night for date night and my partner, who swears he hates kimchi, ate half the tray before we even finished making the sides. I will say the 2 hour 25 minute cook time is pretty accurate, so don’t try to rush it like I almost did — low and slow is non-negotiable here for that melt-in-your-mouth texture.
I made these for my kid’s soccer team potluck and the parents went wild! I was worried they’d be too messy for the kids, but even the 7 year olds were coming back for more. I paired them with coleslaw and mac and cheese, it was the perfect combo. Only note is I wish I made double the batch, because we had zero leftovers.
Solid recipe! I swapped the brisket for pork belly because that’s what I had defrosted in the fridge, and it turned out incredible. The crispy burnt edges coated in that sticky, tangy kimchi glaze? *Chef’s kiss.* It’s a little more hands-on than my usual quick weeknight meals, but totally worth the effort for a fun weekend dinner with friends.
Just pulled these out of the oven and WOW. The smell alone had my roommates hovering in the kitchen asking when they’d be done. I will say, I thought the kimchi would be overpowering but it’s perfectly balanced with the sweet BBQ sauce base. SO good, I’m already planning to make these for my family’s Thanksgiving appetizer spread this year.