
Kimchi Scrambled Eggs

title 1
Kimchi Scrambled Eggs
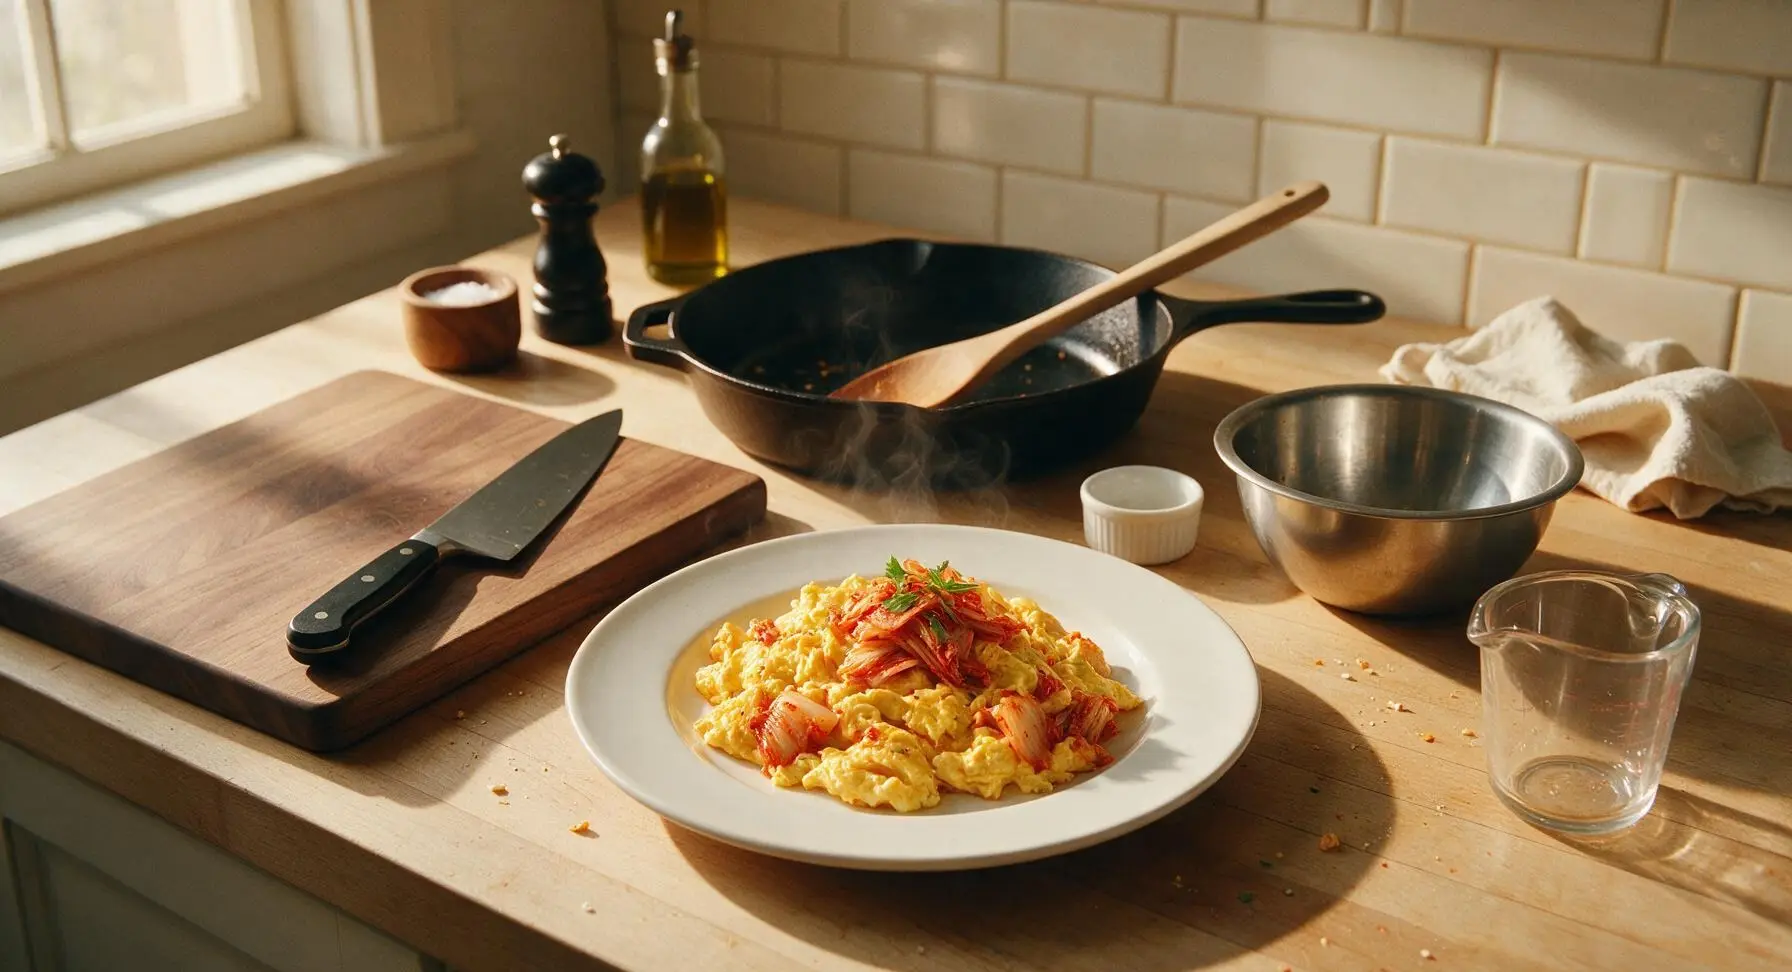
⏱️ cook time 5 minutes
🍽️ servings 2
⚡ Difficulty easy

intro

Tangy, umami fermented kimchi folded into soft, creamy scrambled eggs— a 10-minute, satisfying meal balancing bright, spicy, savory, and rich comforting flavors.

Ingredients
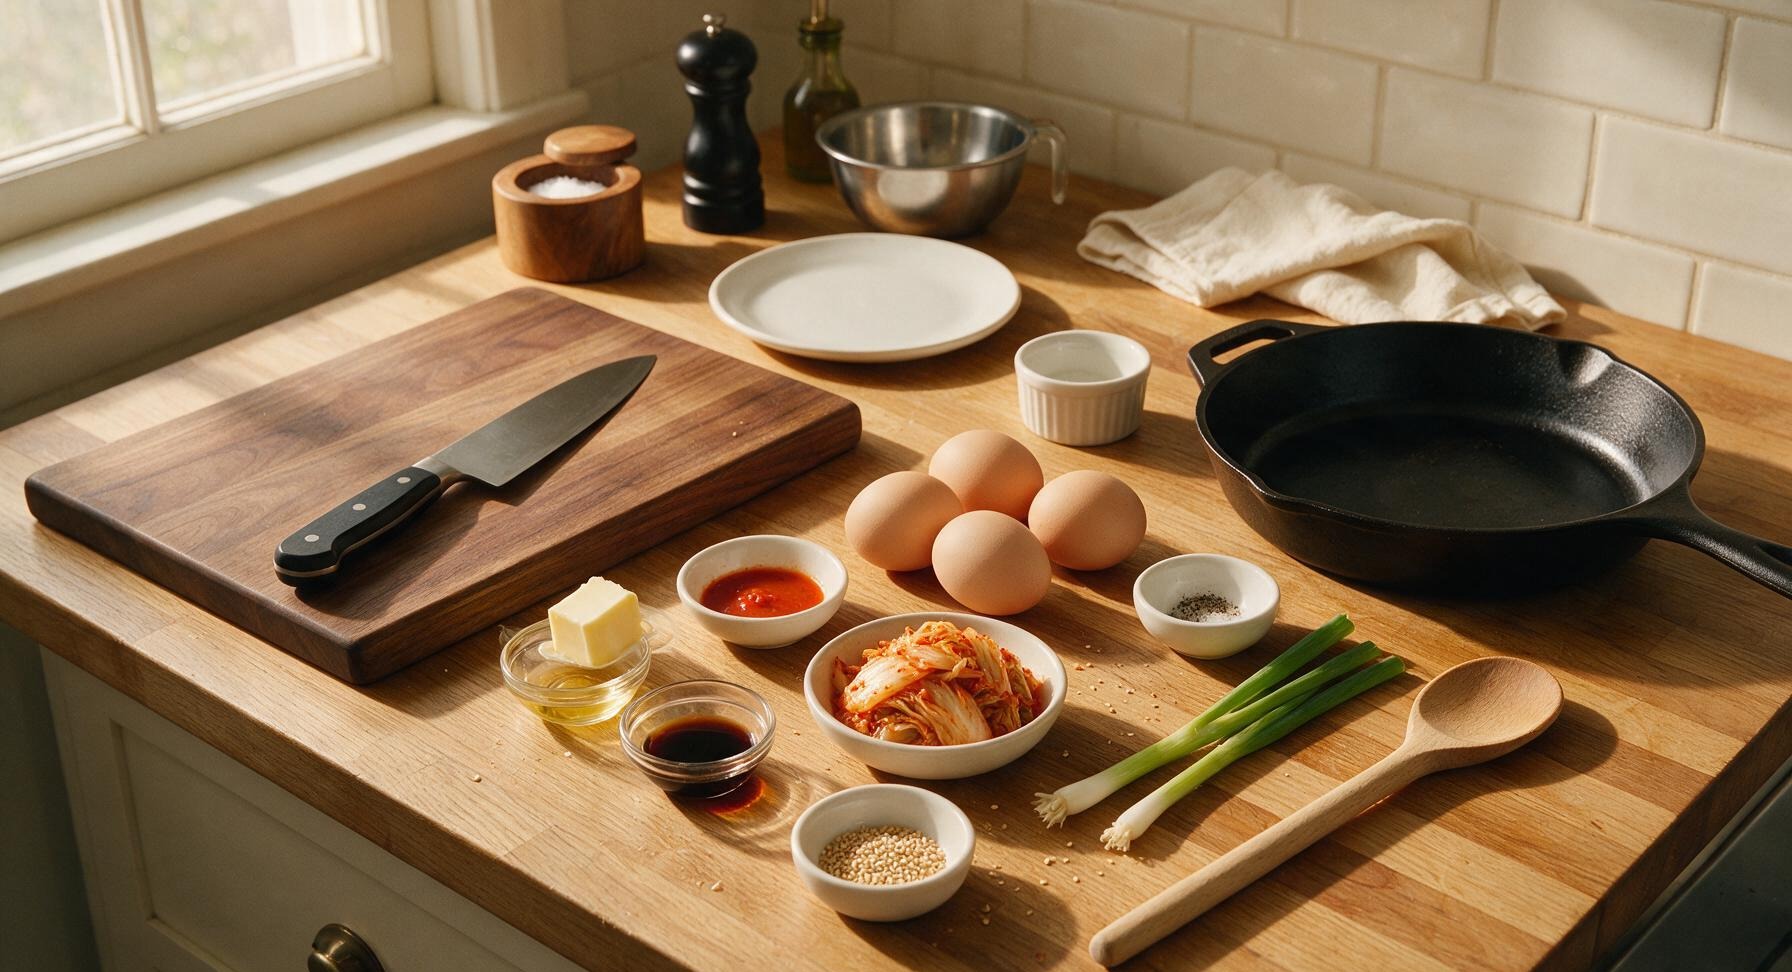
Large eggs 4
Fermented napa cabbage kimchi (1 tbsp brine reserved) 1/2 cup
Unsalted butter 1 tbsp
Scallions 2 stalks
Low-sodium soy sauce 1 tsp
Toasted sesame oil 1/2 tsp
Toasted white sesame seeds 1 tsp
Freshly ground black pepper 1 pinch

Steps

1

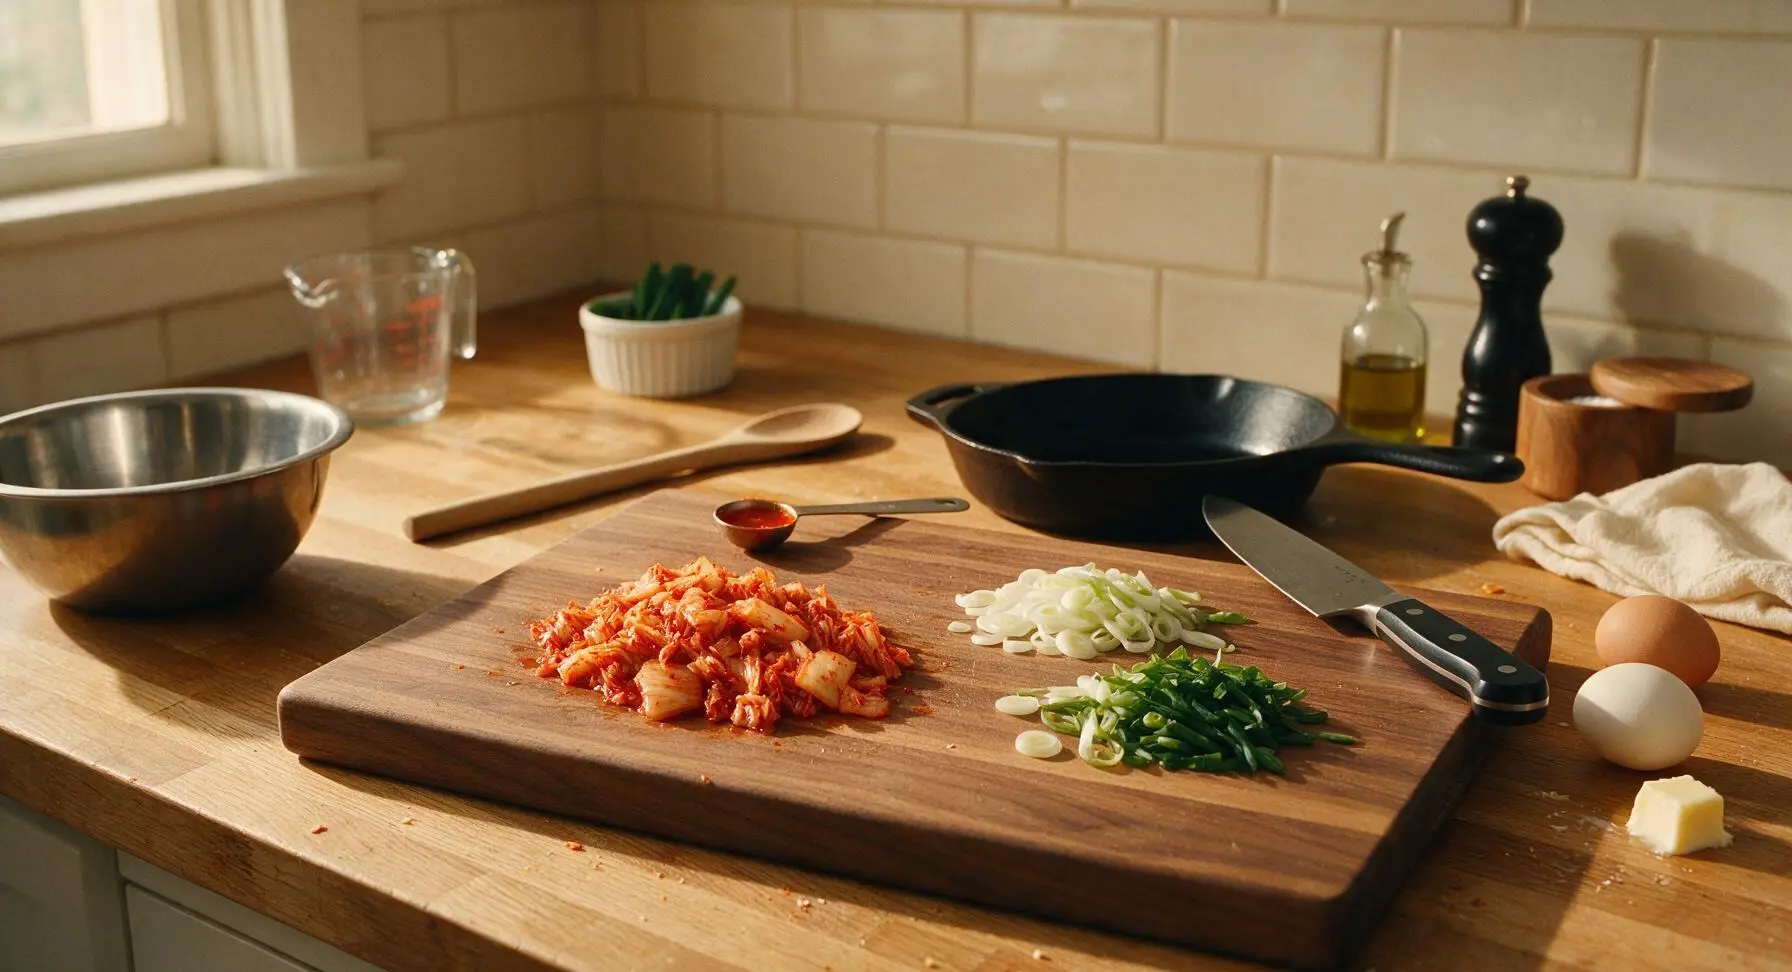
Chop kimchi and scallions

Set the bamboo cutting board in the center of the work area. Use the 4-inch paring knife to chop the 1/2 cup fermented kimchi into rough 1/2-inch pieces, reserving 1 tablespoon of the tangy red kimchi brine in the 1-tbsp measuring spoon. Thinly slice the 2 scallions, separating the firm white and pale green parts from the delicate dark green tops; set the dark green tops aside in the small glass ramekin for garnish. If your kimchi is exceptionally juicy, pat the cut pieces lightly with a corner of the kitchen towel to remove excess brine, which would make the final eggs watery.
Step 1
step1:Chop kimchi and scallions
2

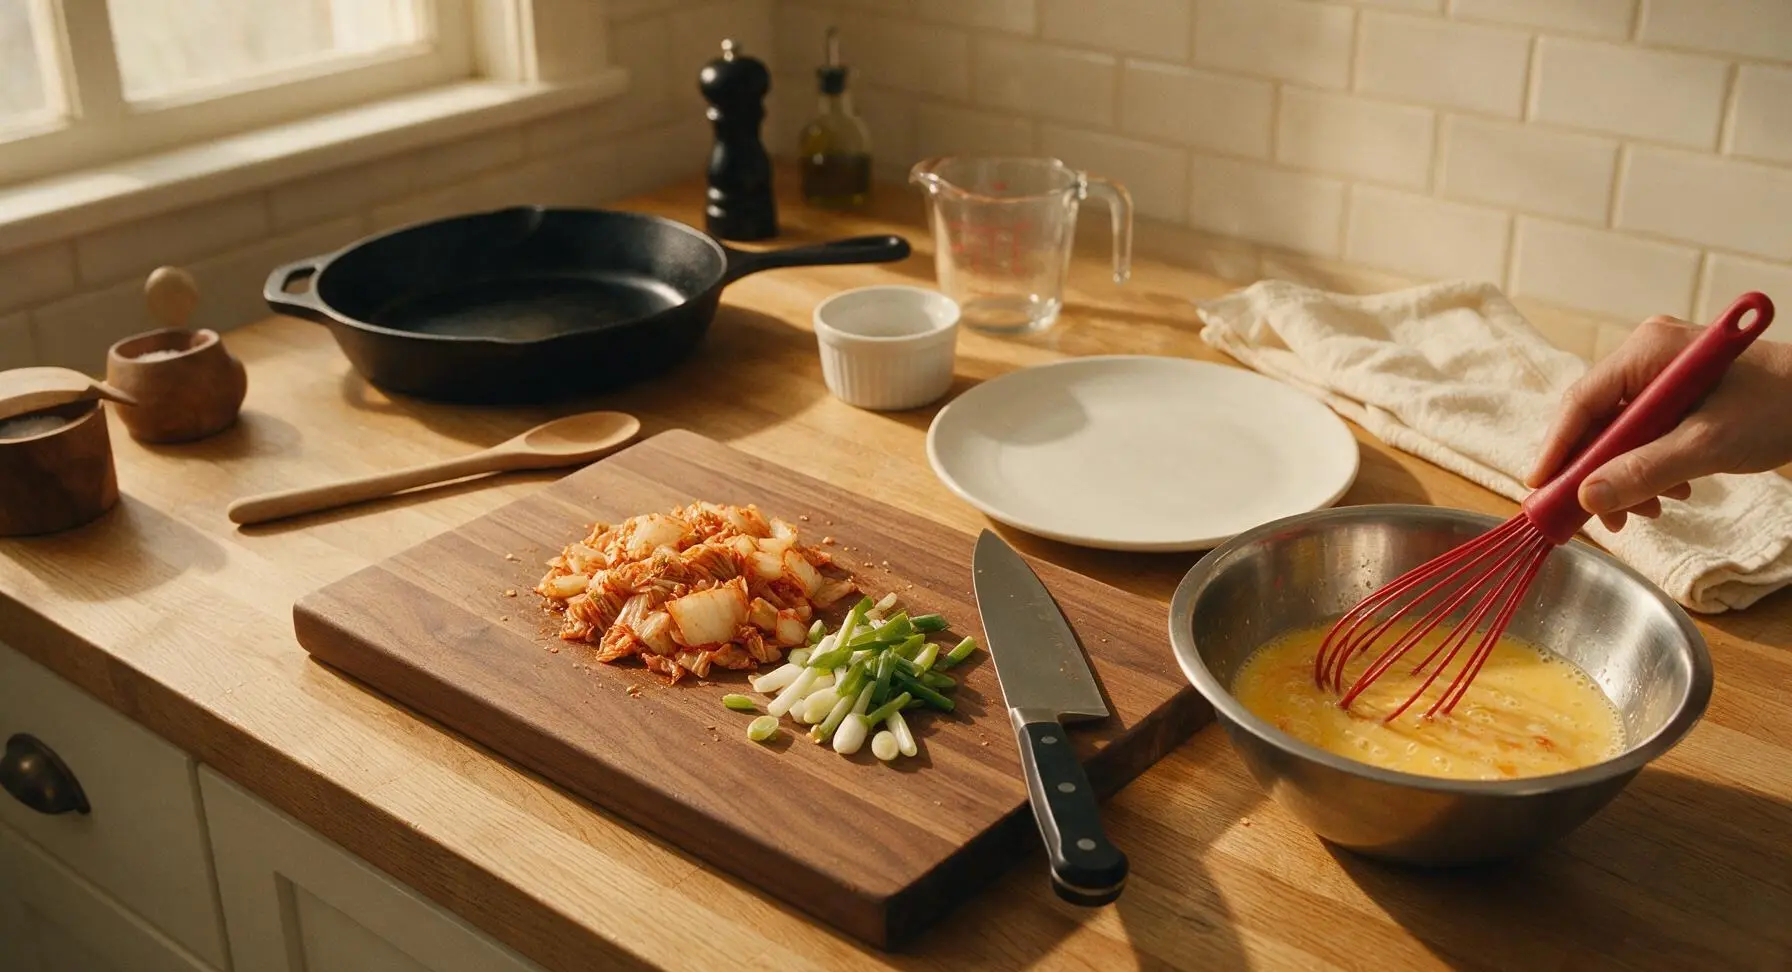
Whisk egg base mixture

Crack the 4 large eggs into the medium stainless steel mixing bowl. Add the 1 teaspoon low-sodium soy sauce, reserved 1 tablespoon kimchi brine, and sliced scallion whites. Use the cherry red-handled silicone whisk to beat the mixture for 30 to 45 seconds, until yolks and whites are fully combined with no streaks of clear egg white remaining. Do not over-whisk to the point of large, frothy bubbles, as this will result in less tender curds.
Step 2
step2:Whisk egg base mixture
3

Melt butter in skillet

Place the 10-inch nonstick skillet on the flush induction cooktop section at the front left of the counter, set to medium-low heat (325°F / 160°C). Add the 1 tablespoon unsalted butter to the pan, swirling gently as it melts for 45 to 60 seconds, until it foams lightly and coats the entire pan bottom evenly. Do not let the butter turn golden brown, as this will add a nutty flavor that overwhelms the bright kimchi taste.
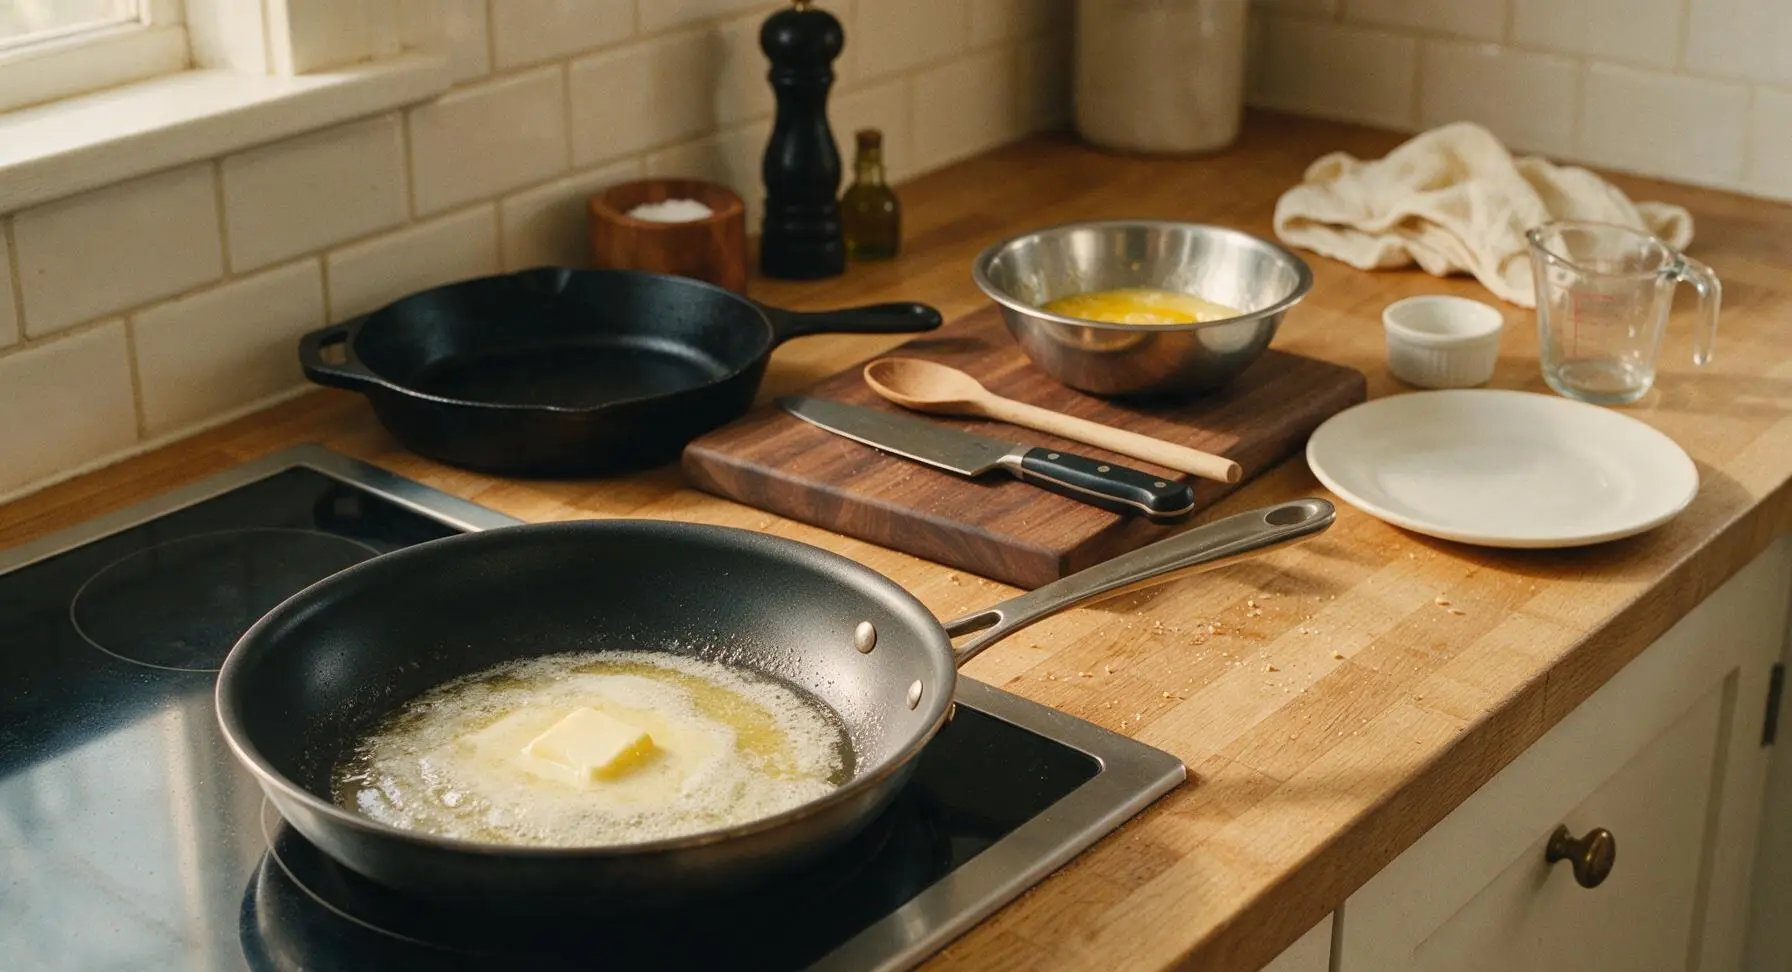
Step 3
step3:Melt butter in skillet
4

Sauté kimchi briefly

Add the chopped kimchi pieces to the melted butter in the skillet. Sauté for 1 full minute, stirring gently with the red-handled silicone spatula, until the kimchi softens slightly and releases its bright, tangy aroma, evenly coated in melted butter. Do not overcook the kimchi, as extended heat will mute its signature sour crunch.
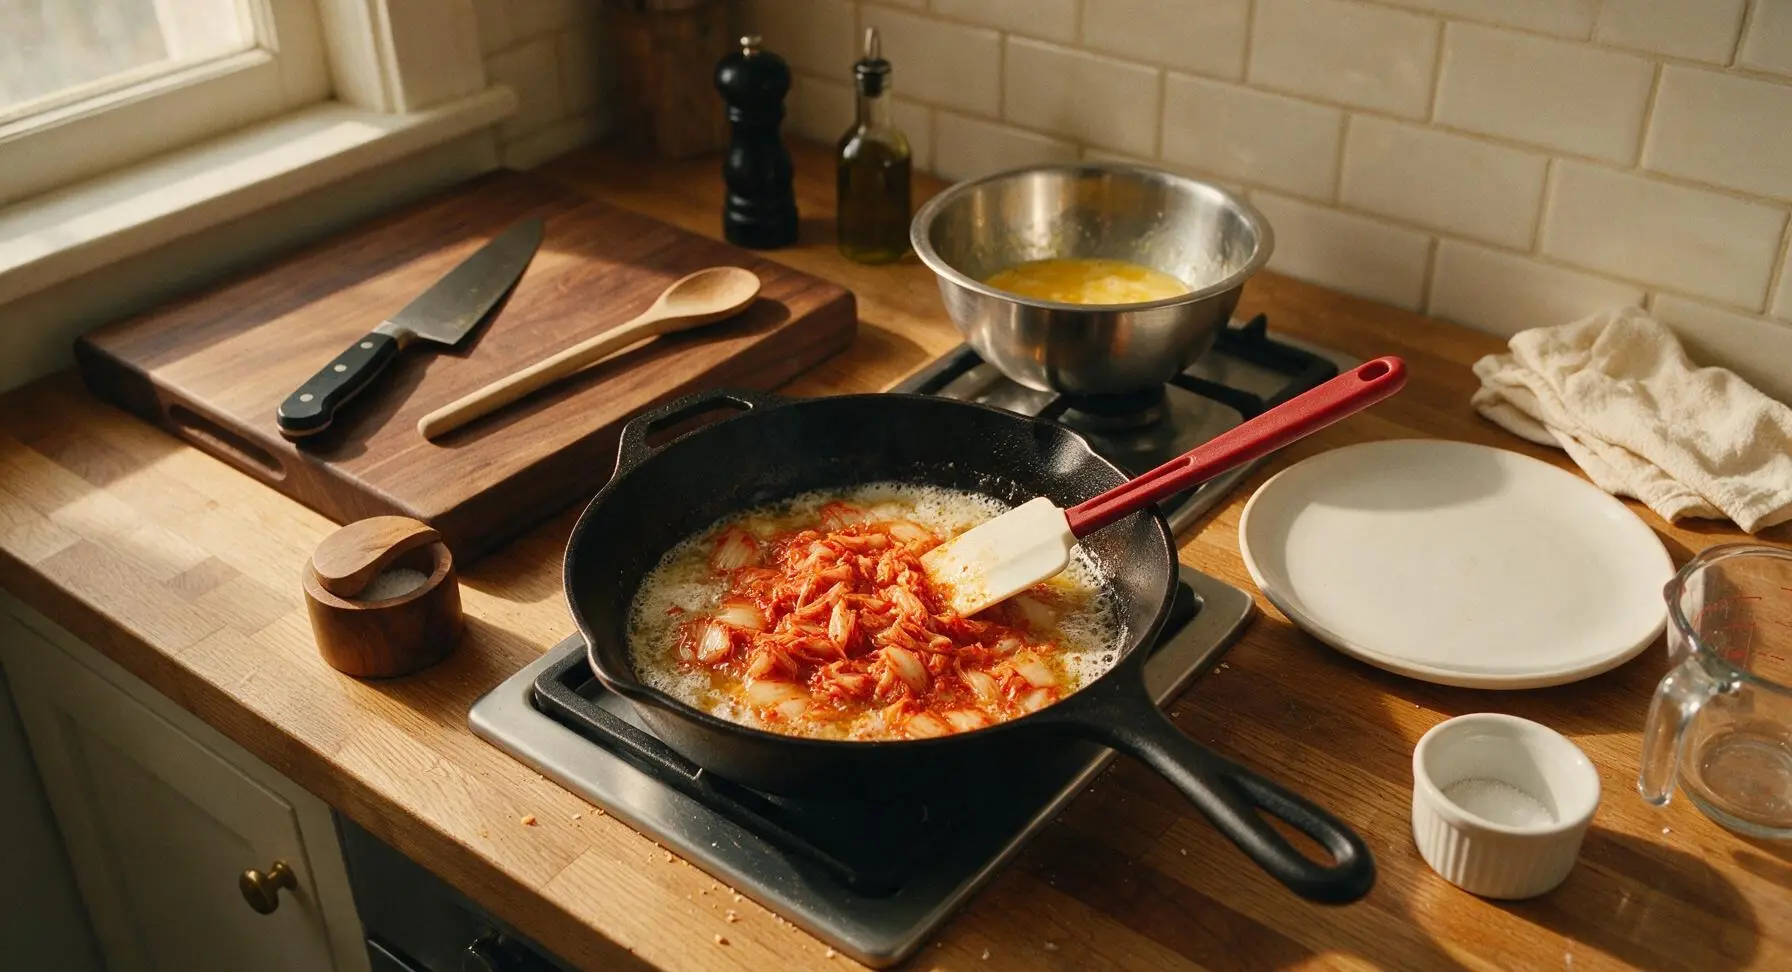
Step 4
step4:Sauté kimchi briefly
5

Pour eggs into pan

Reduce the stovetop heat to low (275°F / 135°C). Pour the whisked egg and kimchi brine mixture slowly into the skillet, spreading evenly over the sautéed kimchi. Let the eggs sit completely undisturbed for 15 seconds to allow the edges closest to the pan to start setting into soft, opaque curds.
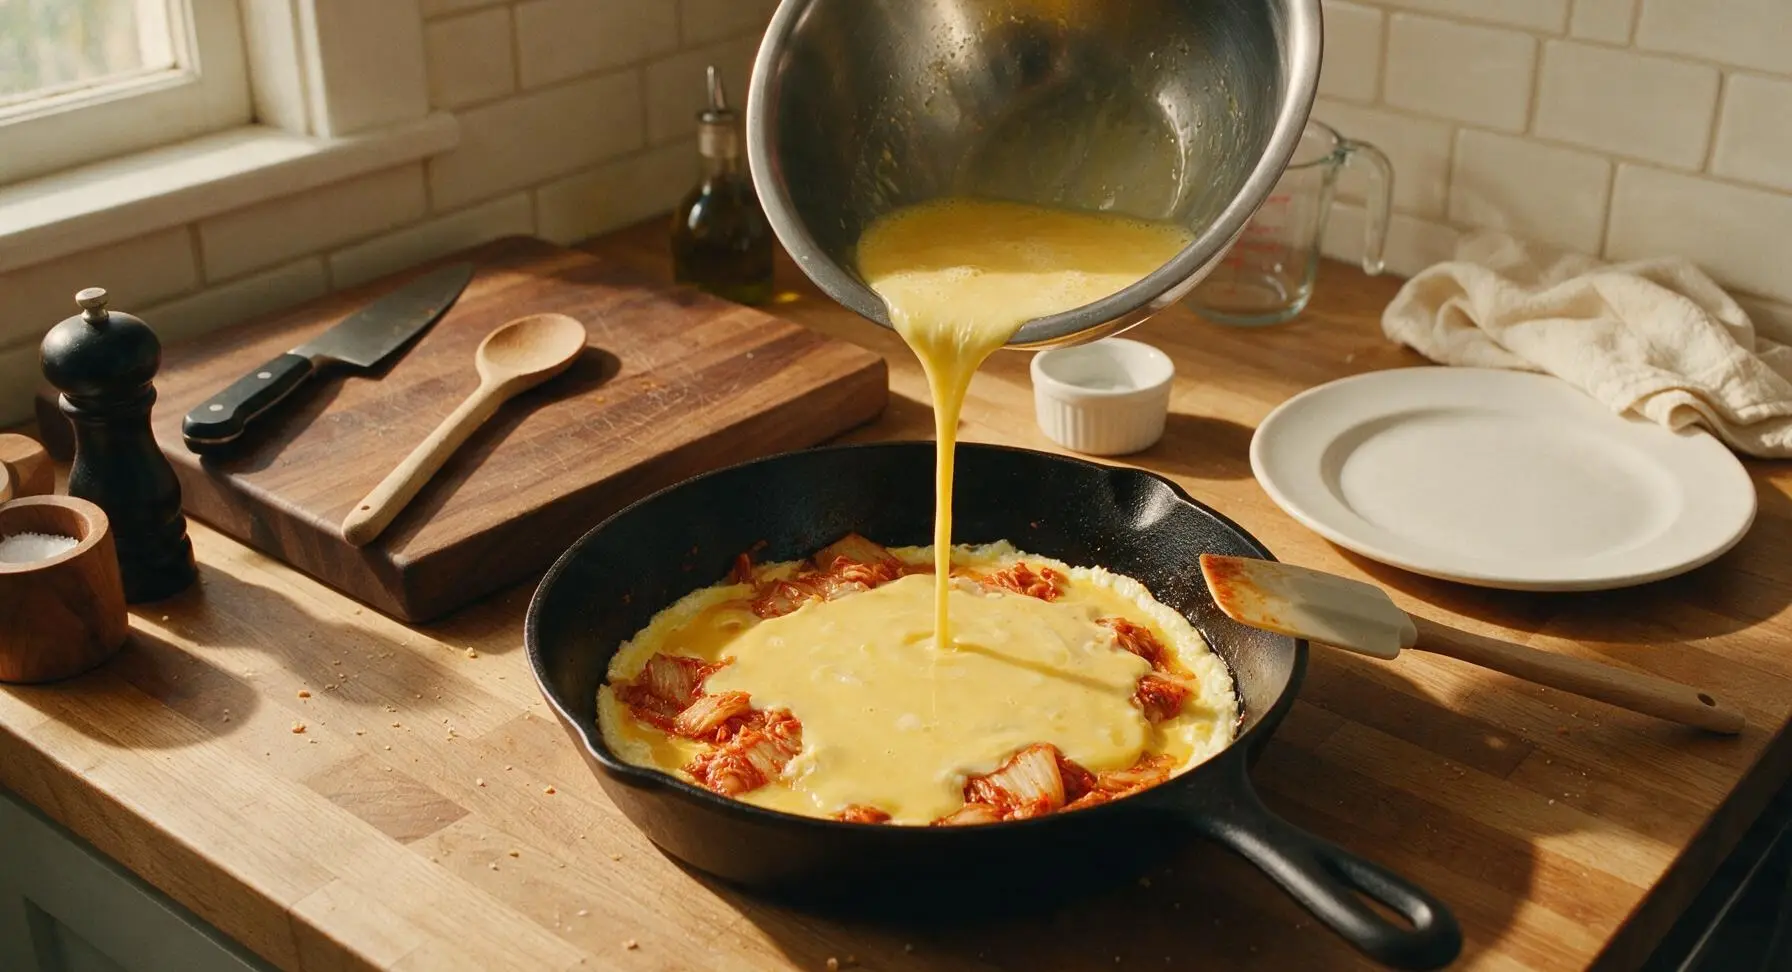
Step 5
step5:Pour eggs into pan
6

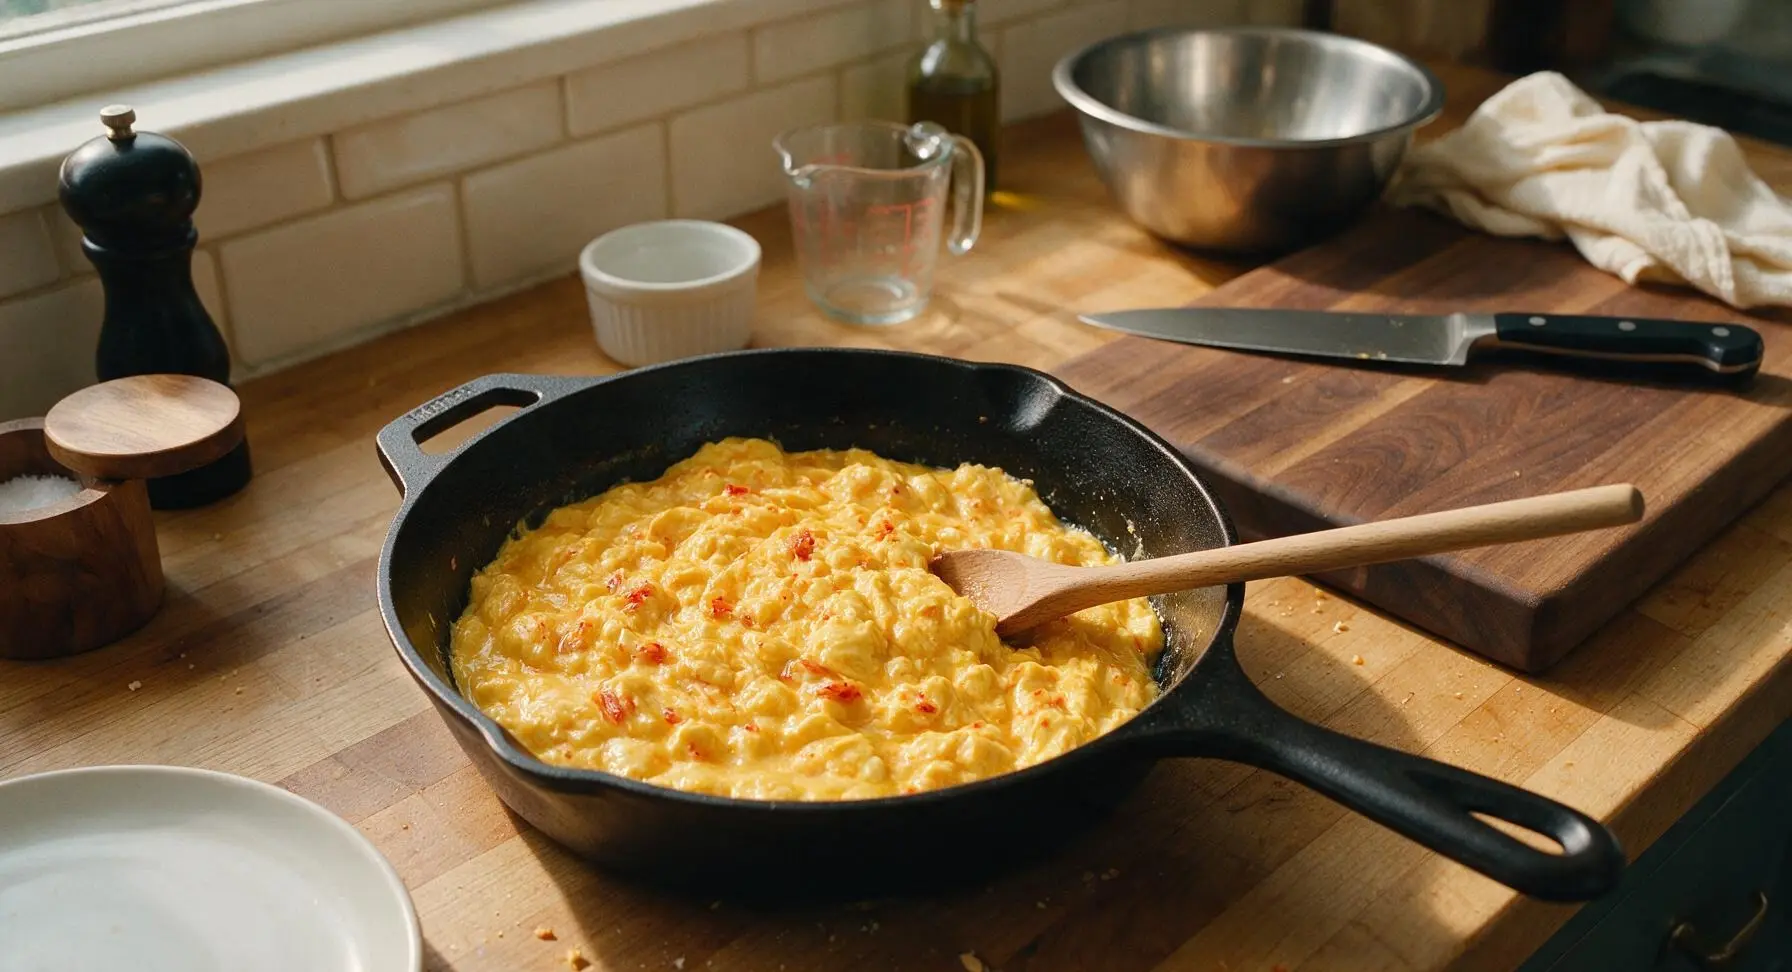
Cook to soft curds

Use the silicone spatula to gently push the set egg edges from the pan sides toward the center, tilting the pan slightly to let uncooked, runny egg flow into the empty spaces left by the pushed curds. Repeat this slow, gentle pushing motion every 10 seconds for 2 to 2.5 minutes total, until the eggs form large, soft, moist curds with just a tiny amount of loose, wet egg remaining. Turn off the heat immediately—residual heat from the pan will finish cooking the eggs in 30 seconds, preventing dry, rubbery texture.
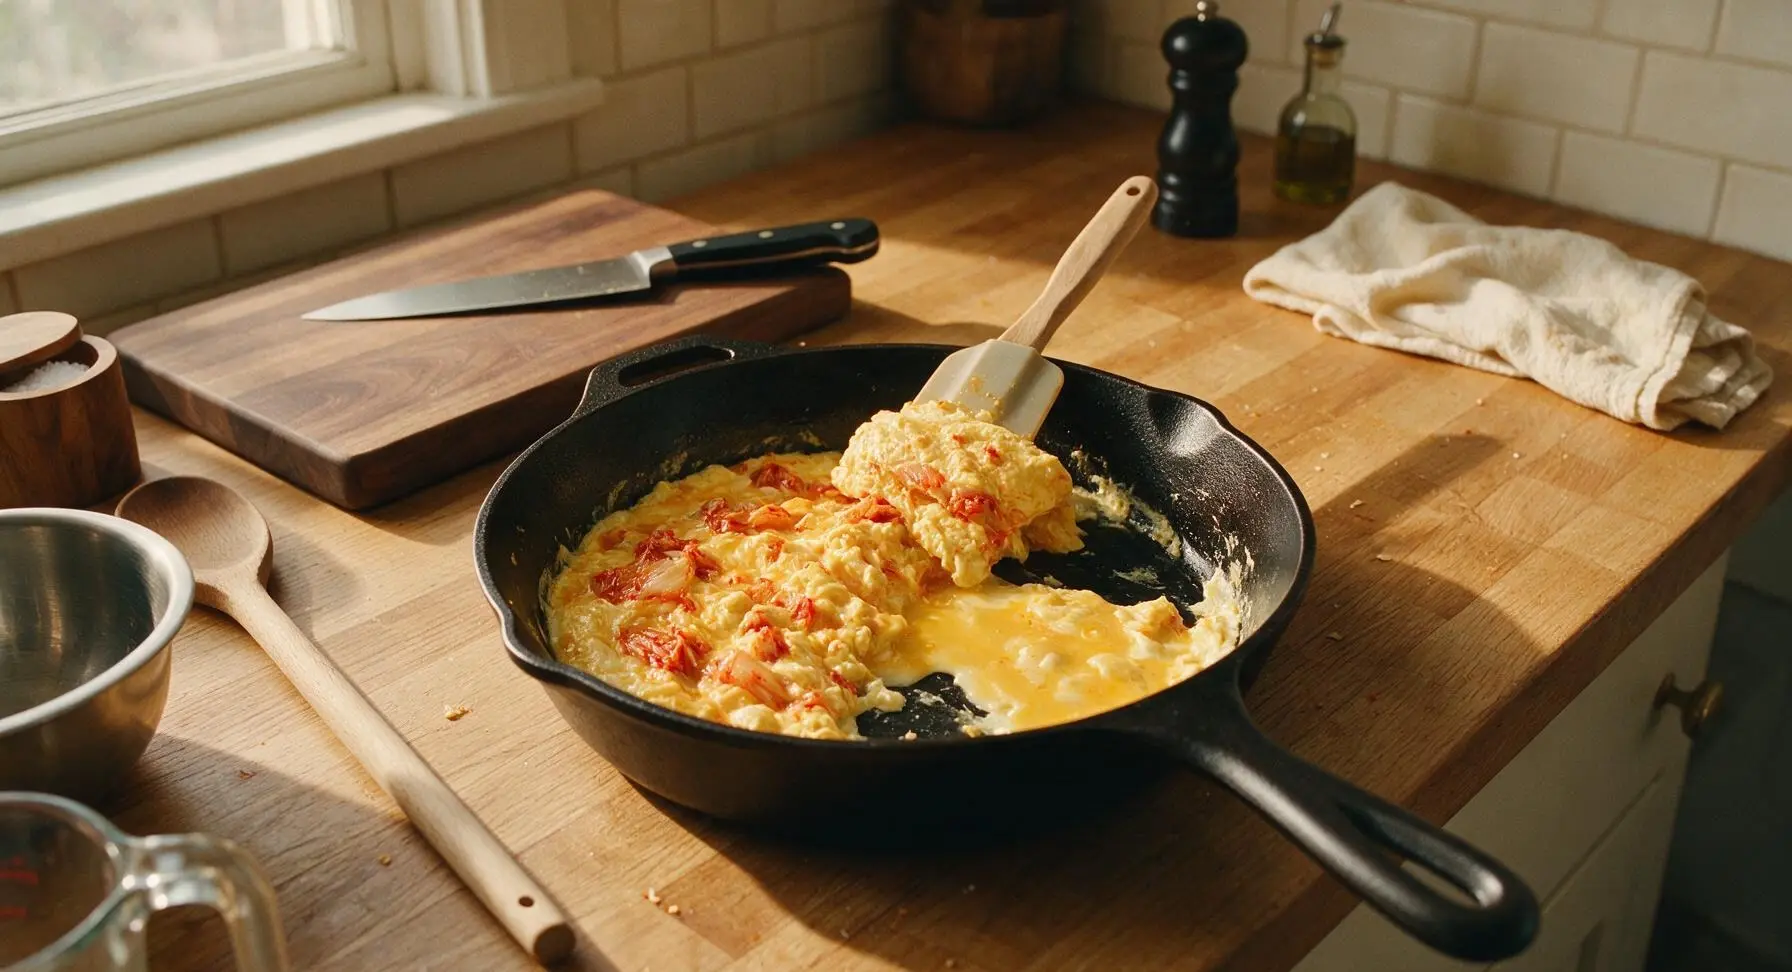
Step 6
step6:Cook to soft curds
Step 6
step6:Cook to soft curds
7

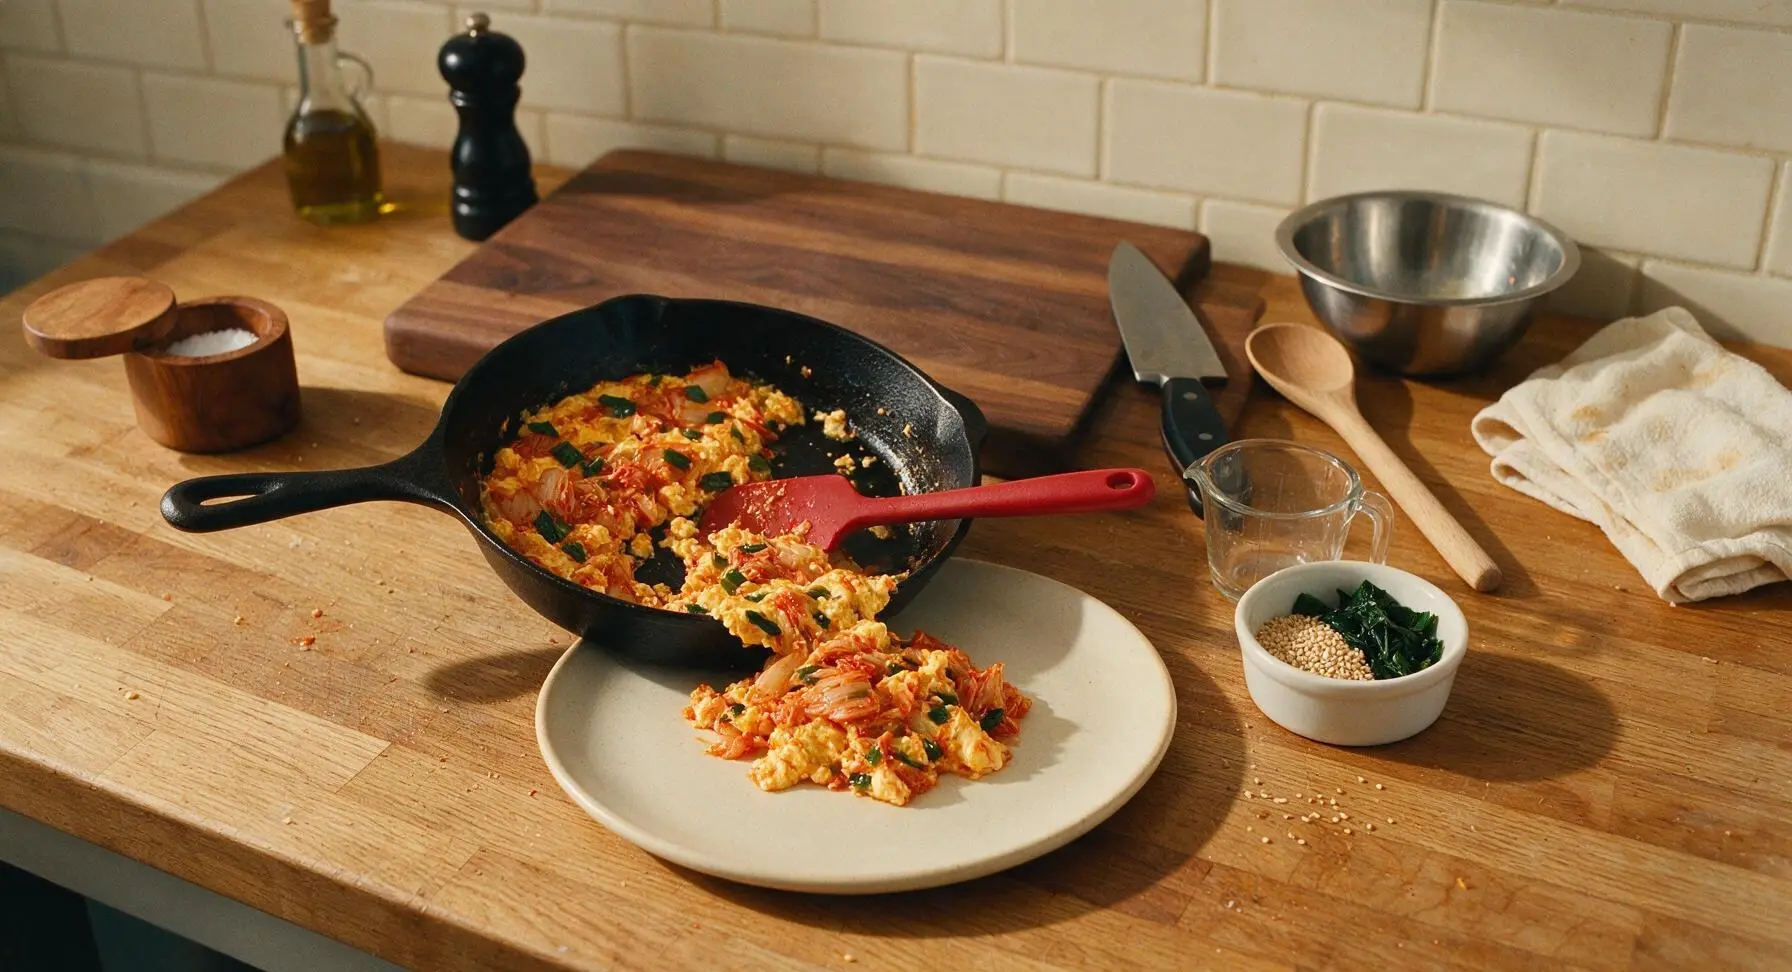
Plate and garnish

Gently slide the soft kimchi scrambled eggs from the skillet onto the center of the matte cream ceramic breakfast plate, mounding them slightly. Drizzle with the 1/2 teaspoon toasted sesame oil, then sprinkle with the reserved dark green scallion slices, 1 teaspoon toasted white sesame seeds, and a light pinch of freshly ground black pepper from the pepper grinder. Serve immediately while the eggs are warm and soft.
Step 7
step7:Plate and garnish

Tips

1.Use fully fermented, slightly sour kimchi (aged 2+ weeks in the fridge) for the deepest flavor: freshly made, mild kimchi lacks the bright tang that cuts through the rich eggs, and will not release enough brine to season the curds evenly. If your kimchi is very fresh, add an extra 1/2 teaspoon of rice vinegar to the egg mixture to boost tang.
2.Never cook scrambled eggs on medium or high heat for this recipe: high heat causes egg proteins to coagulate too quickly, resulting in tough, rubbery curds instead of the soft, melt-in-your-mouth texture that pairs perfectly with crisp kimchi. Low, slow heat is non-negotiable for creamy eggs.
3.Stop cooking the eggs before they look fully done: when you turn off the heat, the curds should still look slightly wet and underdone in the center. The retained heat in the pan and eggs will continue to cook the curds for 30 seconds after plating, so waiting until they look fully set in the pan will result in dry, overcooked eggs by the time they reach the table.


✨ You May Also Like

Breakfast
🍜 United States

Crisp-edged, fluffy lard griddle cakes are a nostalgic homestyle staple, with rich savoriness from rendered lard, perfect topped with maple syrup or savory gravy.

⏱️ 25 minuteBreakfast ★ 4.8
Breakfast
🍜 United States

Flaky, buttery homemade buttermilk biscuits smothered in creamy, peppery pork sausage gravy: a beloved, hearty Southern American comfort food classic.

⏱️ 35 minuteBreakfast ★ 4.8
Breakfast
🍜 United States

Golden, custardy brioche stuffed with sweet cream cheese and fresh berries, pan-fried to crisp perfection. An indulgent, cozy breakfast perfect for slow weekend mornings.

⏱️ 30 minuteBreakfast ★ 4.7
Breakfast
🍜 United States

Flaky, buttery Southern-style biscuits stuffed with savory salty country ham, a portable, satisfying classic perfect for casual on-the-go meals.

⏱️ 25 minuteBreakfast ★ 4.8
Breakfast
🍜 United States

Iconic puffy baked pancake popularized in Seattle, with crisp golden edges and soft custardy center, served warm with classic sweet toppings.

⏱️ 35 minuteBreakfast ★ 4.6
Breakfast
🍜 United States

Fluffy, golden pancakes studded with juicy peak-summer mixed berries, drizzled with maple syrup for a bright, comforting, crowd-pleasing family breakfast.

⏱️ 25 minuteBreakfast ★ 4.7

Kimchi Scrambled Eggs:Frequently Asked Questions

1.Do I need to drain my kimchi before adding it to scrambled eggs? ▾
Yes, lightly drain your chopped fermented napa kimchi, but be sure to set aside 1 tablespoon of brine as the recipe notes. Adding waterlogged, undrained kimchi straight from the jar will make your eggs watery and dilute that bright, tangy flavor. Save that reserved brine to stir in at the end for an extra umami kick without the soggy texture.
2.How do I keep my scrambled eggs soft and creamy instead of rubbery? ▾
Cook your beaten large eggs low and slow over medium-low heat with melted unsalted butter, stirring gently with a silicone spatula to form soft, large curds. Fold in the chopped kimchi once the eggs are 90% set, then pull the pan off the heat immediately—residual pan heat will finish cooking the eggs without making them tough.
3.Can I make this if I don’t have low-sodium soy sauce? ▾
Absolutely. If you only have regular full-sodium soy sauce, cut the amount called for in the recipe in half to avoid over-salting the dish, since kimchi already brings plenty of briny, salty flavor. For a gluten-free swap, use an equal amount of tamari, or a tiny pinch of flaky sea salt if you have no soy sauce on hand at all.
4.How should I prep kimchi so it mixes evenly into the eggs? ▾
Chop your fermented napa cabbage kimchi into small, ¼-inch pieces before adding it to the pan. Large, whole kimchi leaves will clump up, leaving you with overly spicy, kimchi-heavy bites separated from plain egg. The small chop ensures every bite has that balanced tangy, spicy, umami flavor paired with creamy egg.
5.Is this dish spicy, and can I adjust the heat level for mild preferences? ▾
The heat level depends entirely on the kimchi you use! For a milder version, pick freshly fermented, mild kimchi and scrape off any extra spicy red pepper coating from the cabbage pieces before chopping. If you love extra heat, toss in a pinch of red pepper flakes along with the soy sauce at the end.
6.Can I meal prep kimchi scrambled eggs ahead of time for quick breakfasts? ▾
These eggs taste best eaten fresh off the stove for that ideal soft, creamy texture, but you can prep components ahead to cut down on your 10-minute cook time. Chop kimchi and slice scallions 2-3 days in advance, and store them in sealed containers in the fridge. Avoid cooking eggs fully ahead, as reheating will make them tough and rubbery.
7.When should I add the scallions for the best flavor and texture? ▾
Slice your scallions, separating the firm white and light green parts from the delicate dark green tops. Sauté the white and light green pieces in melted butter for 30 seconds before adding your eggs to build a mild, oniony base, then sprinkle the dark green tops over the finished eggs for a bright, fresh pop of color and flavor.
8.What should I serve with kimchi scrambled eggs to make a full, satisfying meal? ▾
This quick, flavorful dish pairs beautifully with buttery toasted sourdough, steamed short-grain white rice, or crispy roasted breakfast potatoes. For extra heartiness, add a side of pan-seared spam or crispy bacon, or top the eggs with a sprinkle of toasted sesame seeds for a nutty, crunchy finish.
9.Why do I need to reserve kimchi brine, and when do I add it? ▾
That reserved 1 tablespoon of kimchi brine packs concentrated tangy, umami, slightly spicy flavor that’s even brighter than the kimchi itself. Stir it into the eggs right as you pull the pan off the heat, along with the small splash of low-sodium soy sauce, to amp up fermented flavor without making your soft eggs watery.

Comments (6)

2 days ago

OMG this is such a game changer for busy weekday mornings! I threw this together in literally 5 minutes before my commute, and the tangy kimchi cuts through the rich eggs so perfectly. I added a sprinkle of sesame seeds on top and it was chef’s kiss. 10/10 will be making this every other day for meal prep!

3 days ago

Wait, is there a trick to getting the eggs super fluffy without making the kimchi make them watery? I tried this last night and my eggs turned a little soggy, still tasted good but texture was off. I used aged kimchi that had a lot of brine, maybe that’s the issue?

2 days ago

Great question! If your kimchi is extra briny, squeeze out most of the excess liquid before chopping it up and tossing it in with the eggs. I also recommend cooking the kimchi for 30 seconds in the pan first before pouring in your whisked eggs to evaporate any leftover moisture, that’ll keep your scrambled eggs light and fluffy! Hope that helps for next time.

1 week ago

My kids loved it!!! I was so worried the kimchi would be too spicy for them, so I used mild fermented kimchi and cut it up super fine, and they gobbled it up with toast for dinner last night. Even my picky 7 year old asked for seconds. SO good, we’re adding this to our regular weeknight rotation!

5 days ago

Oh thanks for the tip about mild kimchi! My kids are super sensitive to spice too, I’ve been hesitant to try kimchi recipes with them but this sounds totally doable now. Gonna pick up mild kimchi on my grocery run tomorrow!

2 weeks ago

Made this for a quick potluck brunch last weekend and people were hounding me for the recipe all afternoon! I topped each serving with a little chopped scallion and a dash of gochugaru for extra heat, and it was a total hit. Who knew something so easy could taste that fancy?

2 hours ago

Game changer for my post-workout meals! I’ve been so bored of plain scrambled eggs for my protein intake, and this adds so much flavor without a ton of extra calories. I usually throw in a handful of spinach too for extra veggies, it works so well. Only downside is I now crave this every single morning, oops.

30 minutes ago

Oh the spinach addition sounds genius! I’m always looking for ways to sneak more veggies into my breakfast without it tasting like a chore. Does the spinach get too wilted if you toss it in with the kimchi?

5 minutes ago

Love the spinach add-in, Zoe! For anyone adding greens, toss them in right as the eggs are almost done cooking so they just wilt slightly without getting mushy. It’s such a tasty way to bump up the veggie count for sure!

yesterday

Wait this is way better than I thought it would be? I had half a jar of kimchi sitting in the back of my fridge that I needed to use up, so I gave this a shot and wow. Made it with a side of avocado and crispy rice, it’s giving fancy diner breakfast but took me 5 minutes flat. No notes, will make again.

2 hours ago

The crispy rice side sounds insane! I never thought to pair this with crispy rice, I usually just do regular toast. Gonna have to try that this weekend, that sounds like the perfect crunch to go with the soft eggs.

30 minutes ago

So glad you loved the recipe, Tony! The avocado and crispy rice pairing sounds next-level delicious—what a perfect way to round out the meal. We love seeing all the fun customizations folks come up with!



