
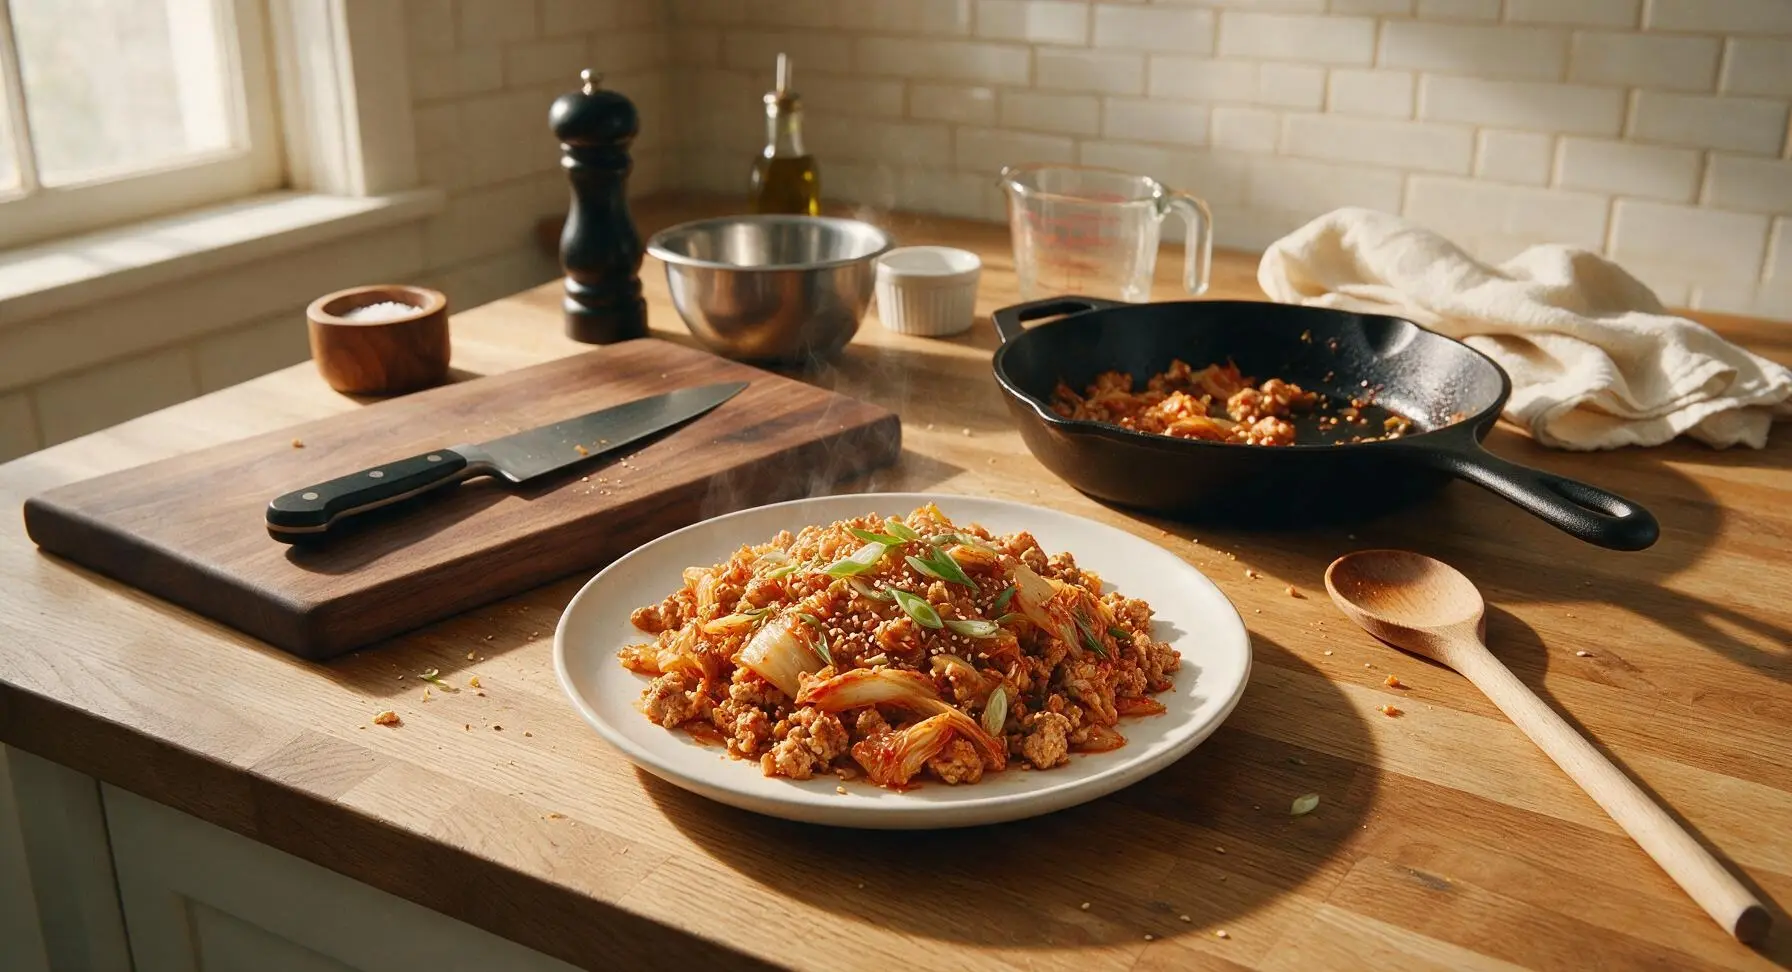
Kimchi Turkey

title 1
Kimchi Turkey
⏱️ cook time 15 minutes
🍽️ servings 4
⚡ Difficulty easy

intro

Tangy, slightly spicy, umami-packed stir-fried ground turkey with fermented kimchi, ready in 25 minutes. Perfect served over steamed rice for a fast, satisfying weeknight meal.

Ingredients
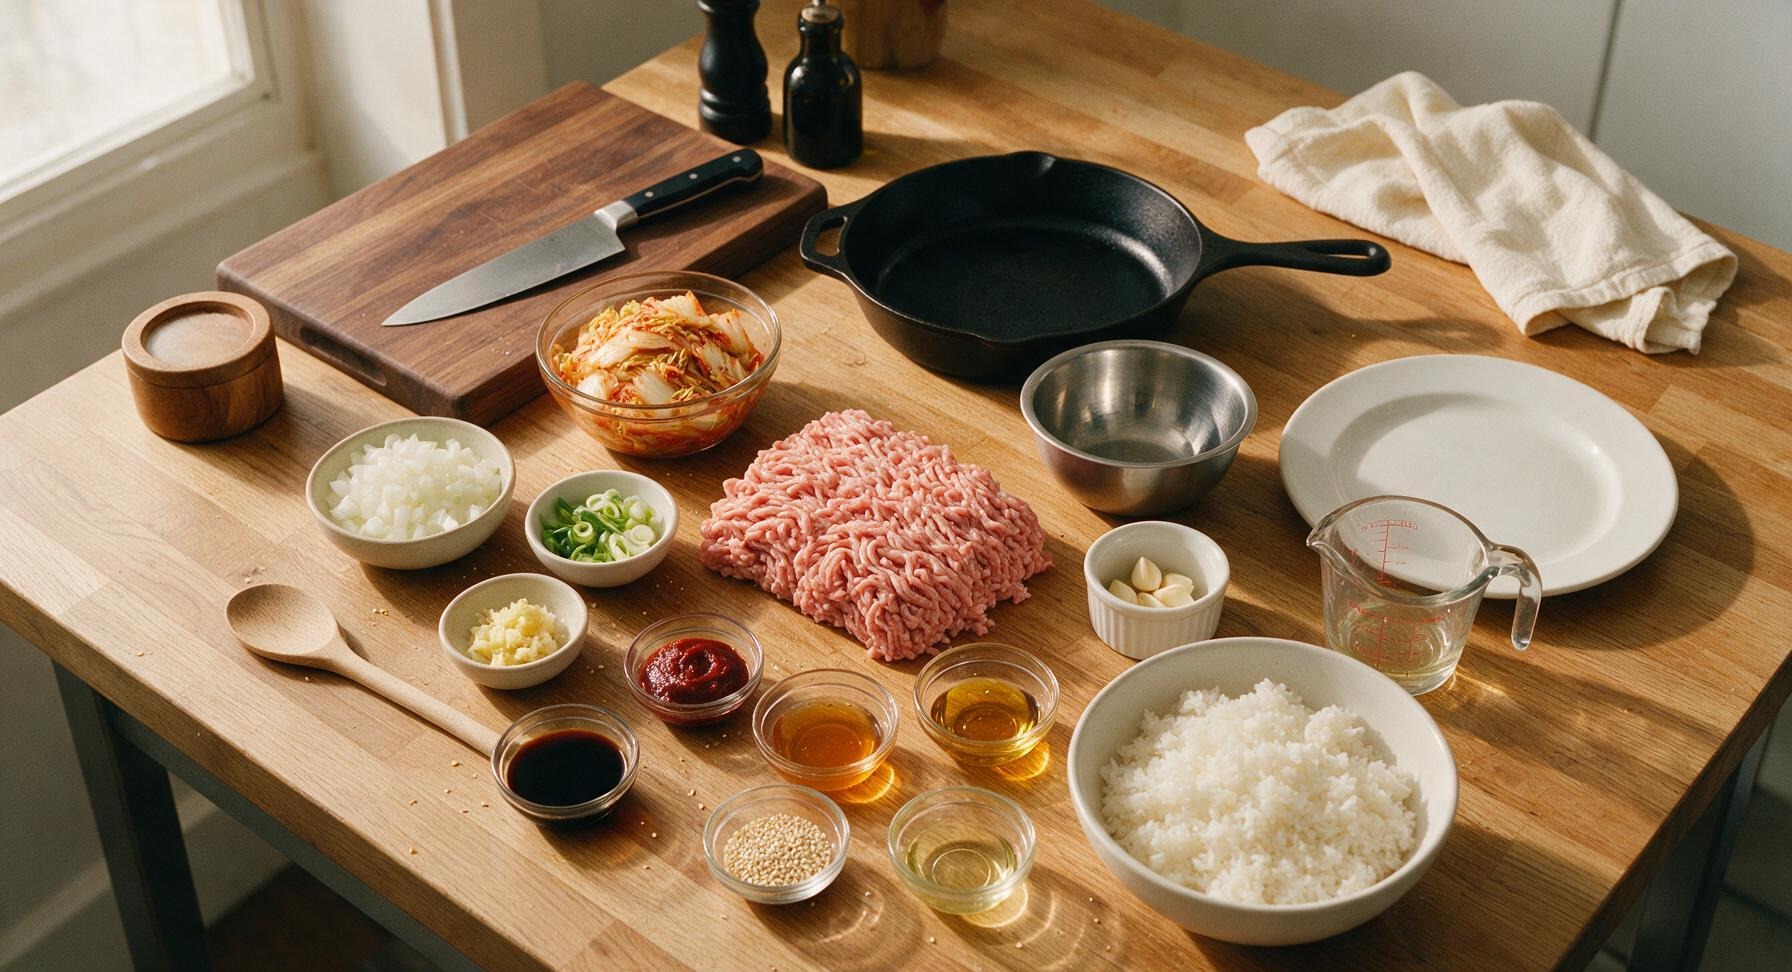
Lean ground turkey (93/7) 450g
Ripe napa cabbage kimchi (with brine) 2 cups, chopped
Small yellow onion 1 (150g), diced
Scallions 3, thinly sliced (white/green parts separated)
Garlic cloves 3 (1 tbsp), minced
Fresh ginger 1-inch knob (10g), grated
Low-sodium soy sauce 2 tbsp
Gochujang (Korean chili paste) 1 tbsp
Honey 1 tsp
Toasted sesame oil 1 tsp, plus extra for finishing
Toasted white sesame seeds 1 tsp
Neutral cooking oil (avocado/canola) 1 tbsp
Cooked short-grain white rice 4 cups, for serving

Steps

1

Prep Aromatics and Kimchi

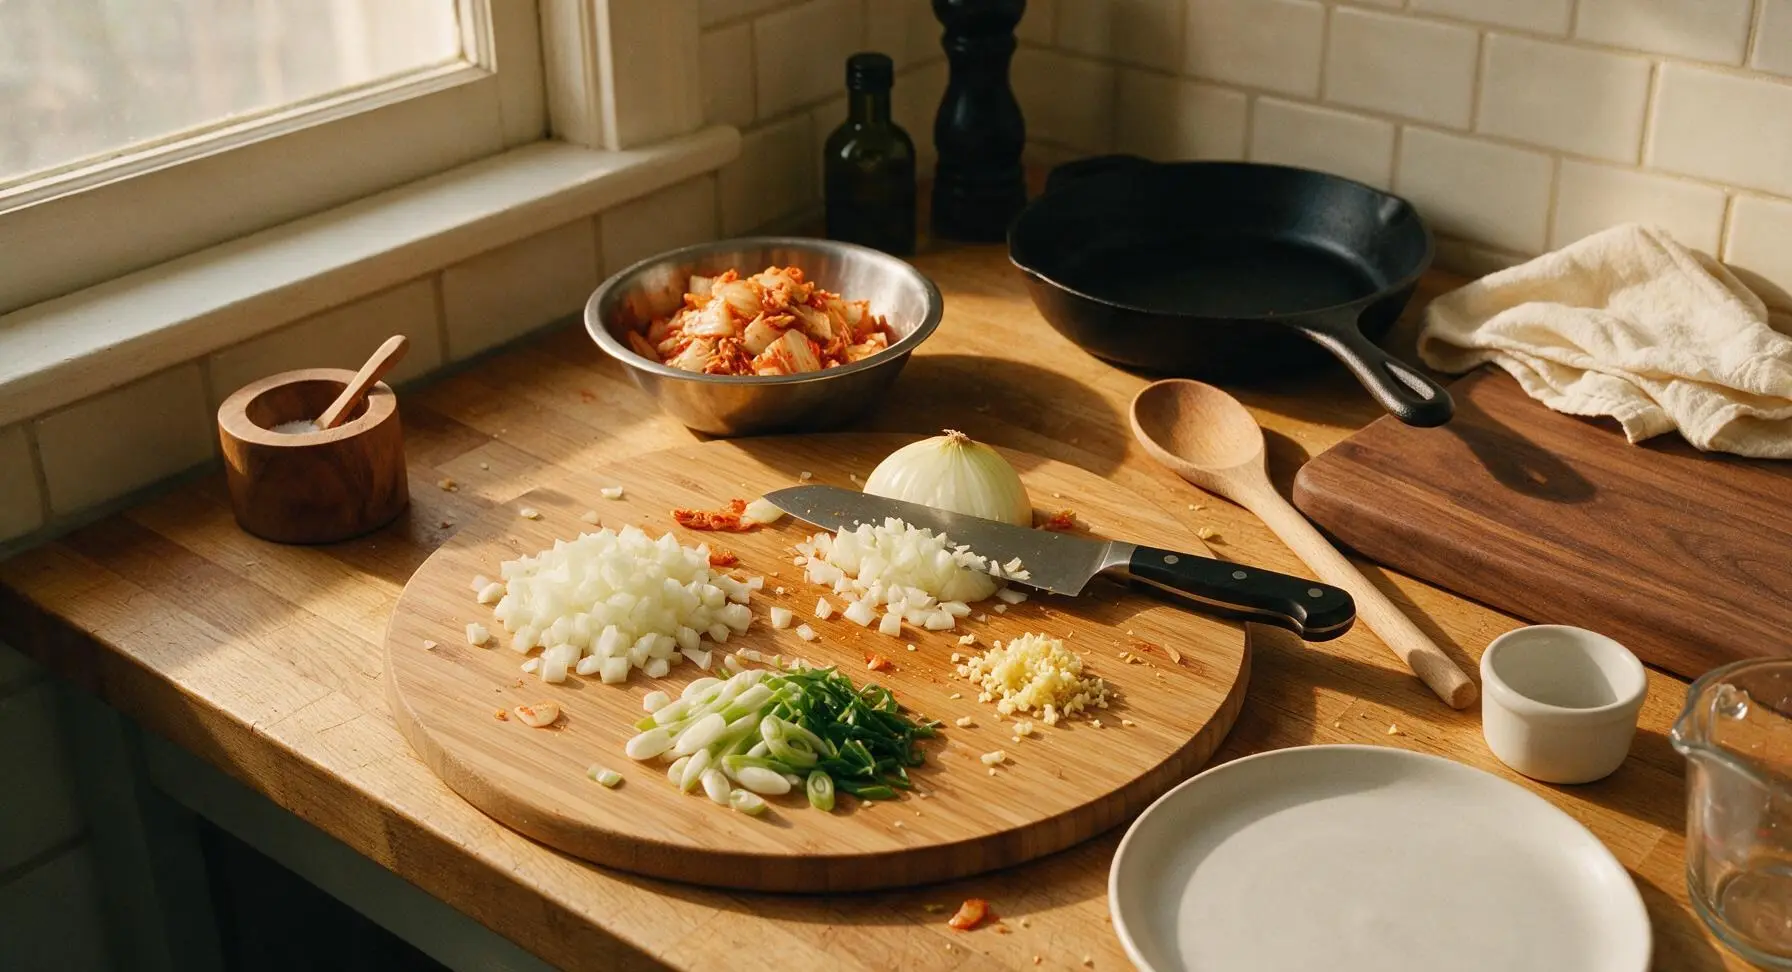
Place the bamboo cutting board in the center of the counter. Using the 7-inch santoku knife, dice the yellow onion into 1cm uniform pieces, thinly slice the scallions separating the firm white/light green parts from the tender dark green tops, mince the garlic into fine pieces, and grate the ginger against the knife edge. Chop the kimchi into 2cm bite-sized pieces, reserving 1 tablespoon of tangy kimchi brine from the container, and transfer the chopped kimchi to one of the stainless steel prep bowls. Discard any tough, woody kimchi stem pieces that will not soften during cooking.
Step 1
step1:Prep Aromatics and Kimchi
2

Mix Stir-Fry Sauce

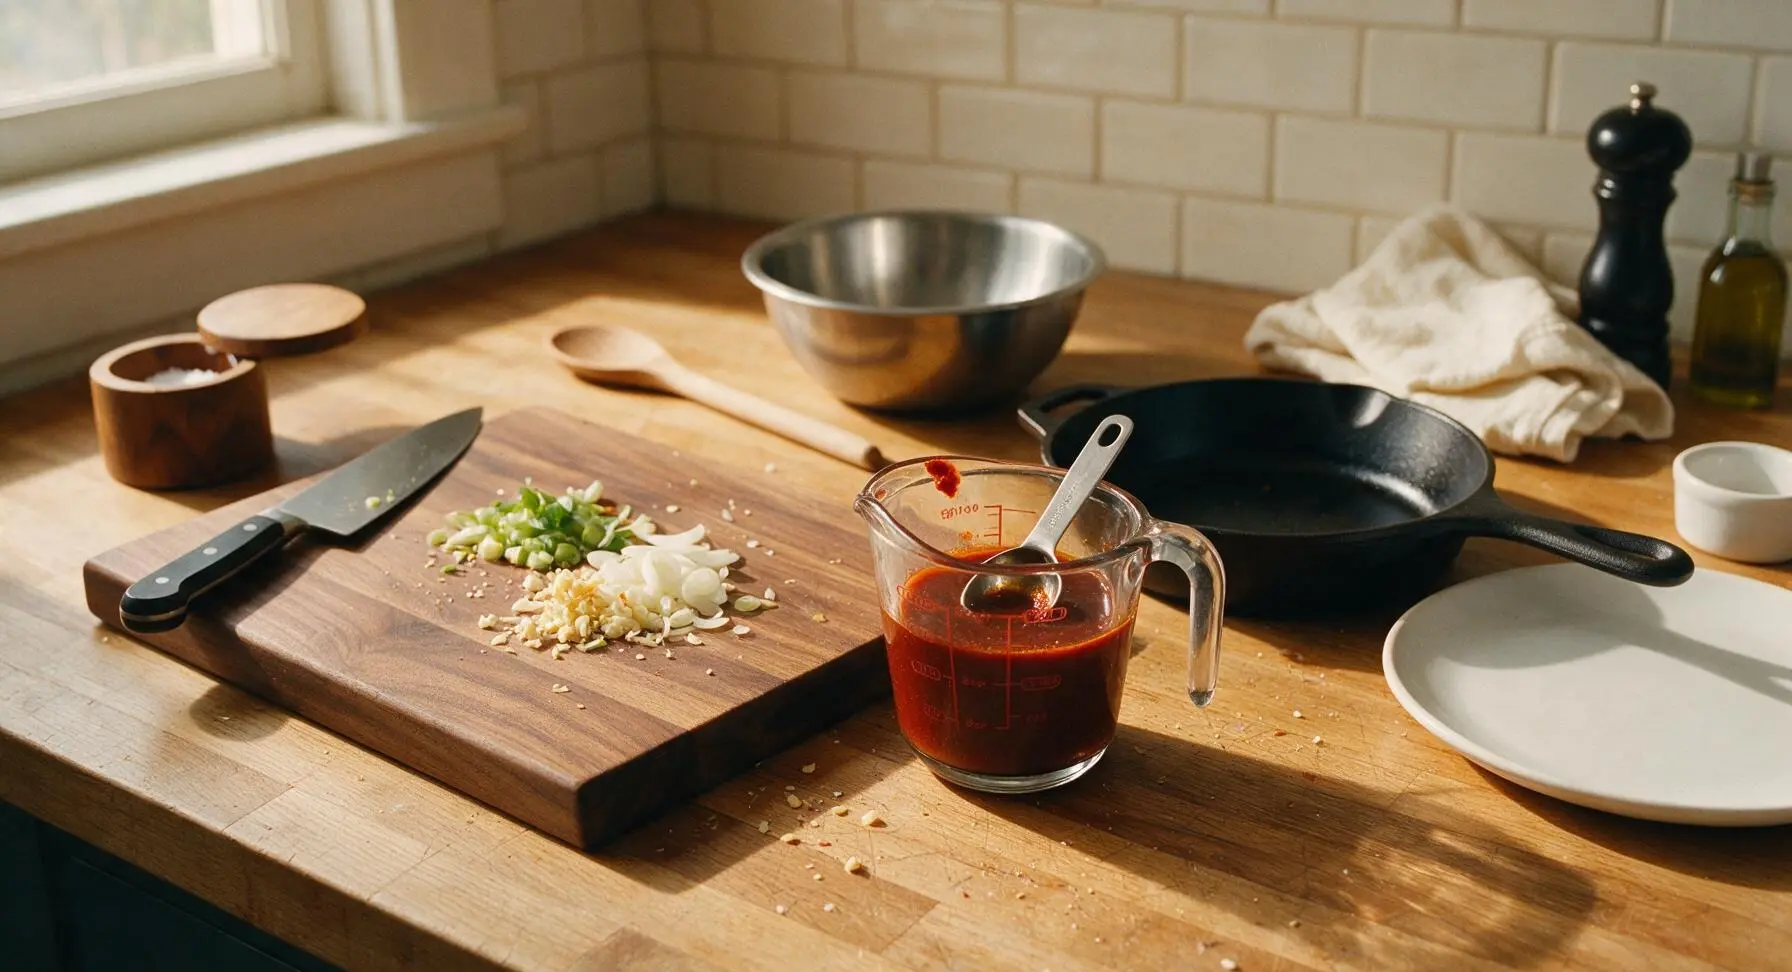
In the clear glass 250ml measuring cup, combine the 2 tablespoons low-sodium soy sauce, 1 tablespoon gochujang, 1 teaspoon honey, reserved 1 tablespoon kimchi brine, and 1 teaspoon toasted sesame oil. Stir with the 1-tablespoon measure from the stainless steel measuring spoon set until the gochujang is fully dissolved, creating a smooth, uniform deep reddish-brown sauce with no lumps. Set the sauce within easy reach of the cooking area to avoid scrambling for ingredients once the wok is hot.
Step 2
step2:Mix Stir-Fry Sauce
3

Sauté Aromatic Base

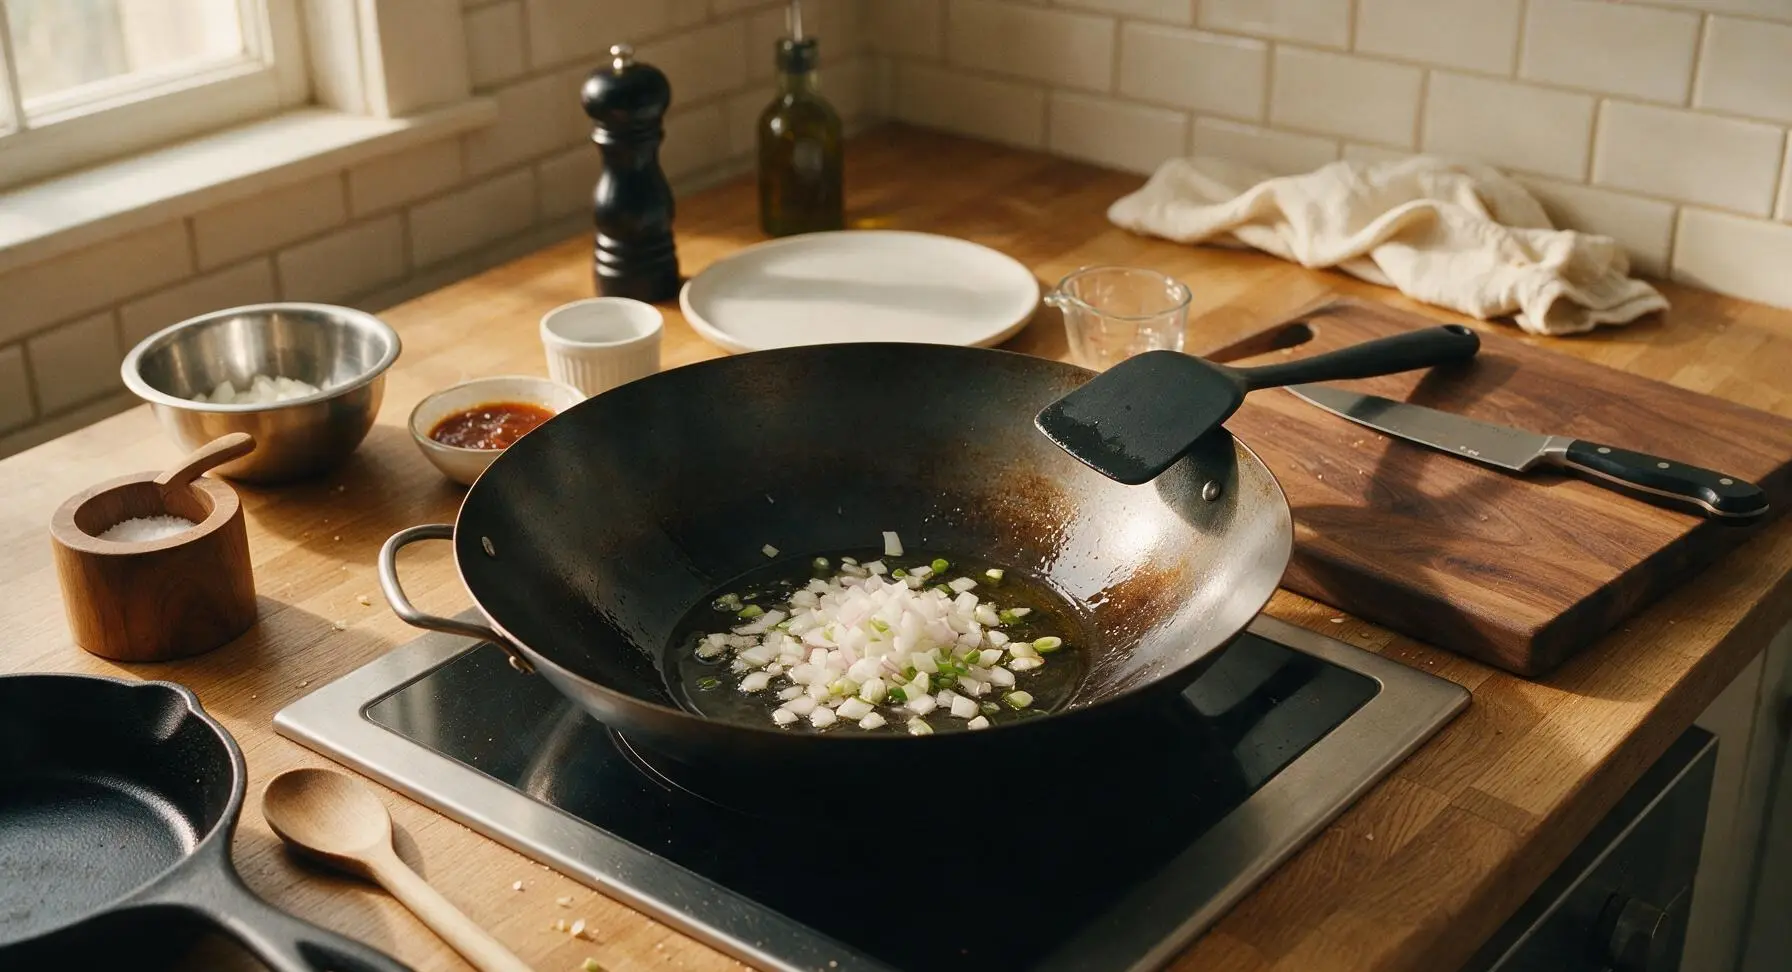
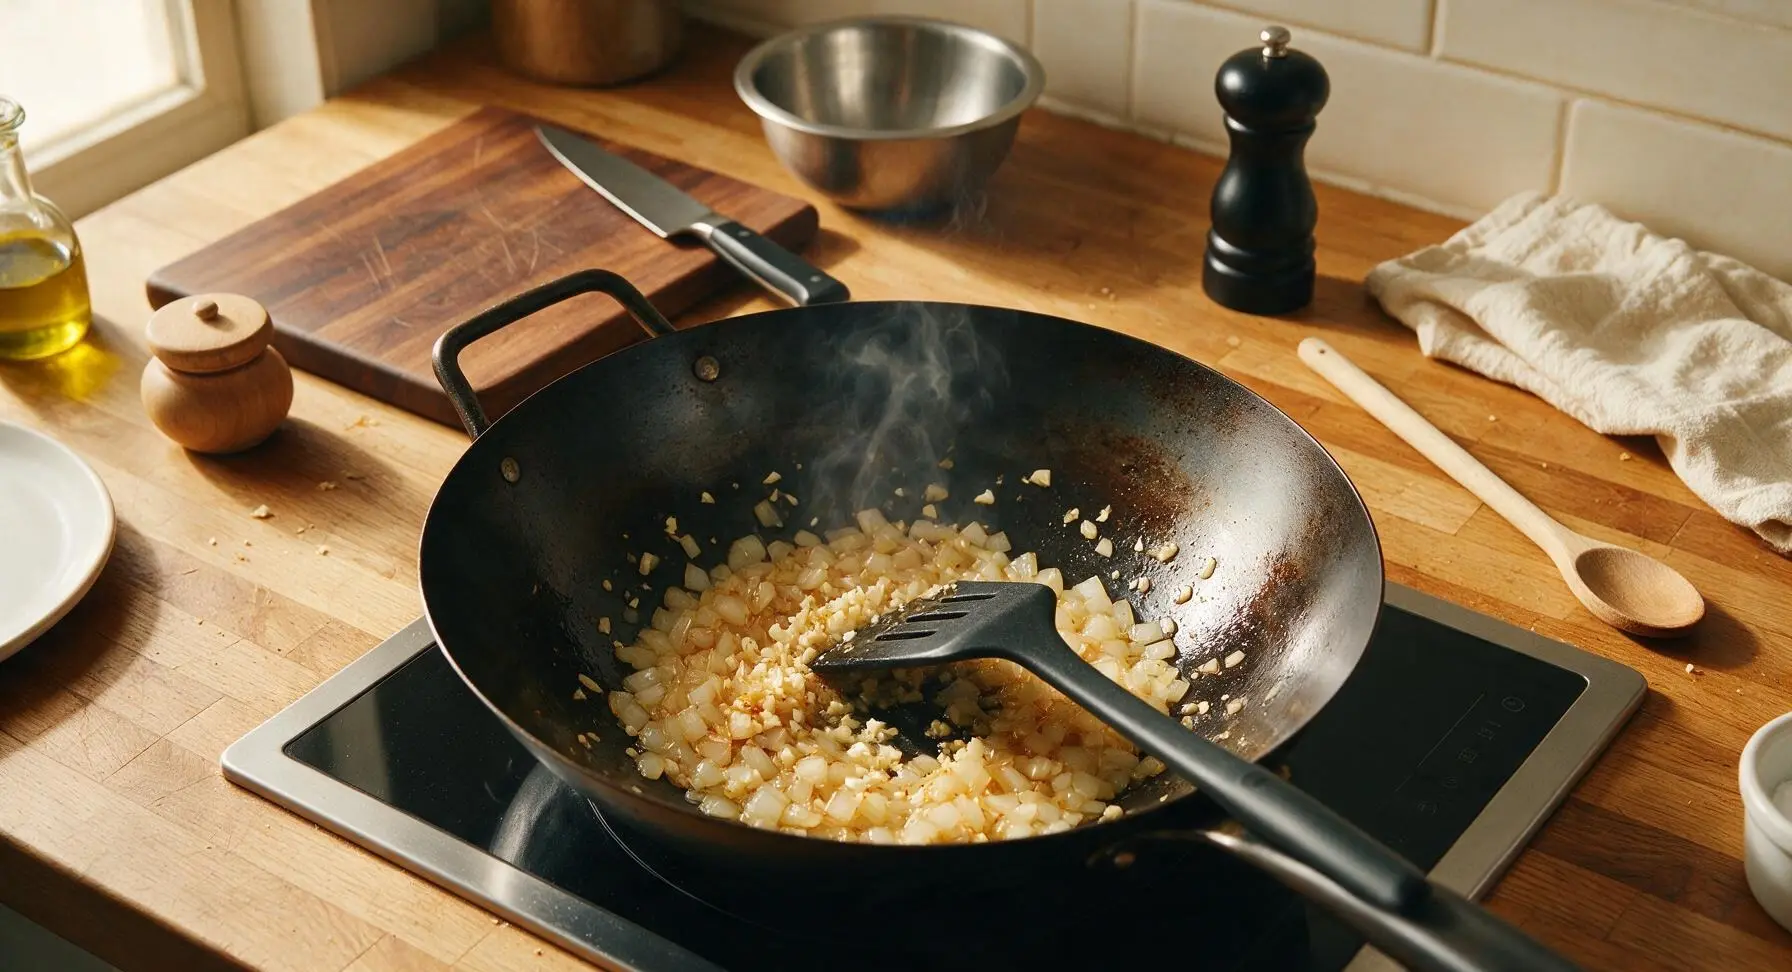
Place the 12-inch seasoned carbon steel wok on the center induction burner, turn heat to medium-high, and add 1 tablespoon neutral cooking oil. Once the oil shimmers and moves easily across the wok surface (about 1 minute of heating), add the diced onion and scallion white/light green parts, stirring constantly with the matte black silicone spatula for 2 minutes until the onion turns translucent and softens slightly at the edges. Add the minced garlic and grated ginger, stirring continuously for 30 seconds until fragrant—watch closely, as garlic will burn quickly and turn bitter if left unattended.
Step 3
step3:Sauté Aromatic Base
Step 3
step3:Sauté Aromatic Base
4

Brown Ground Turkey

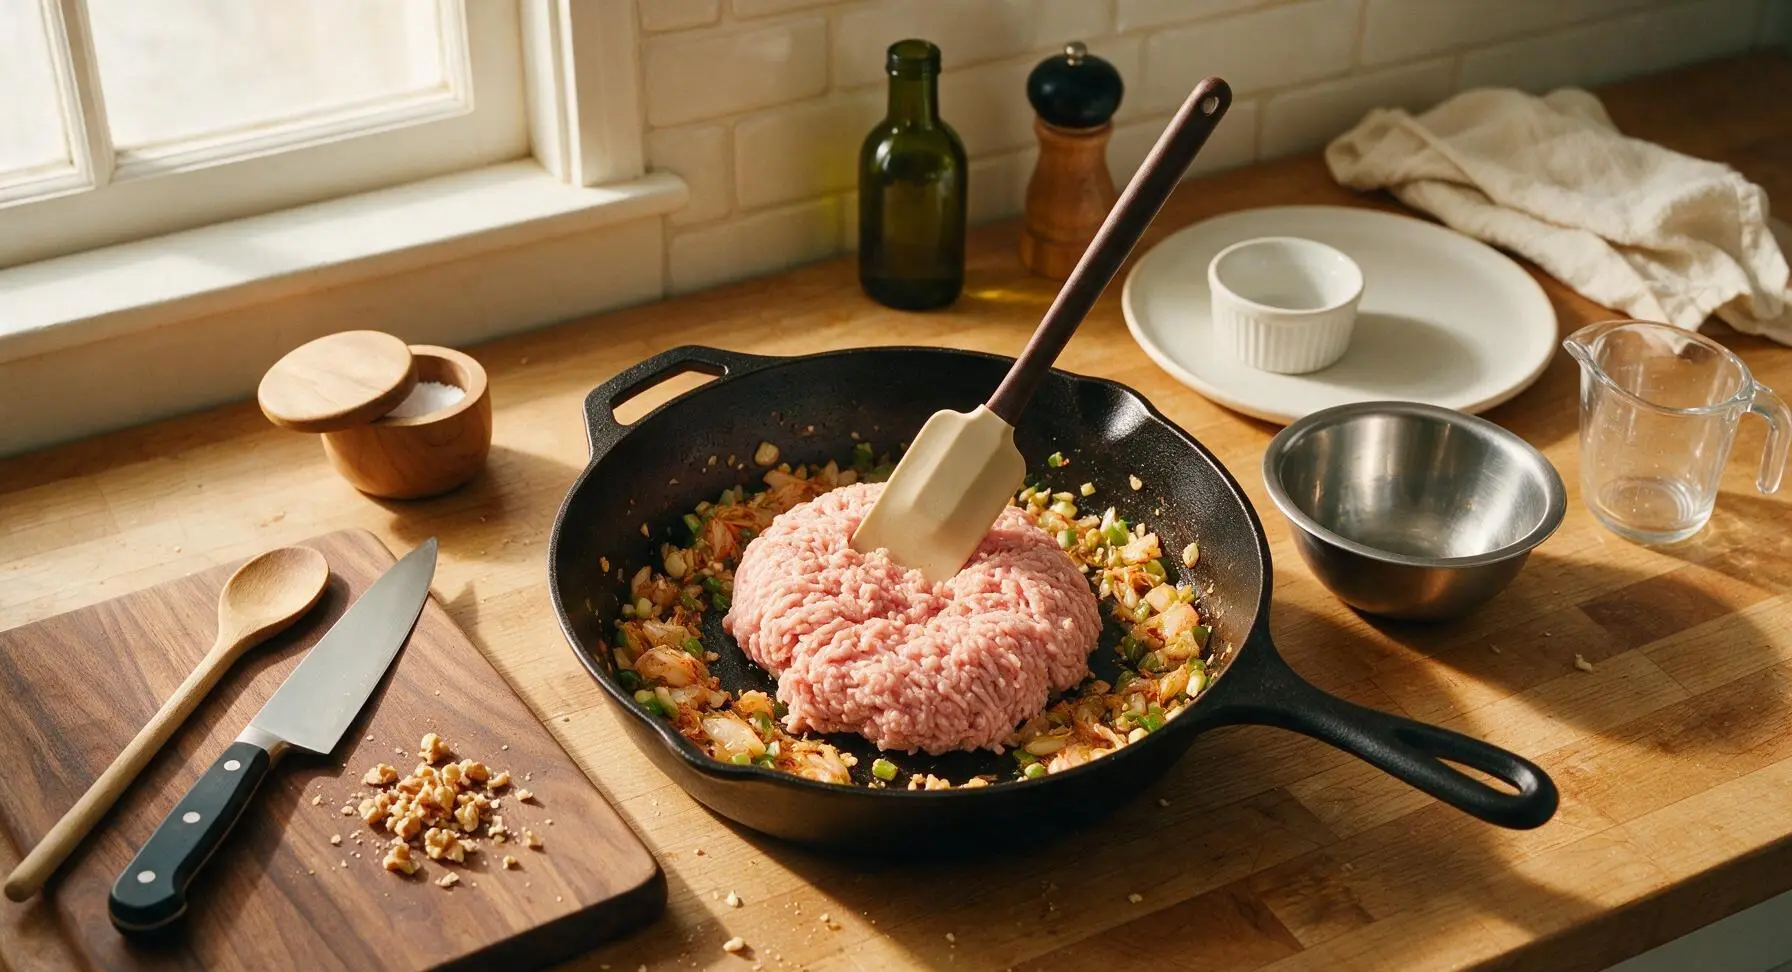
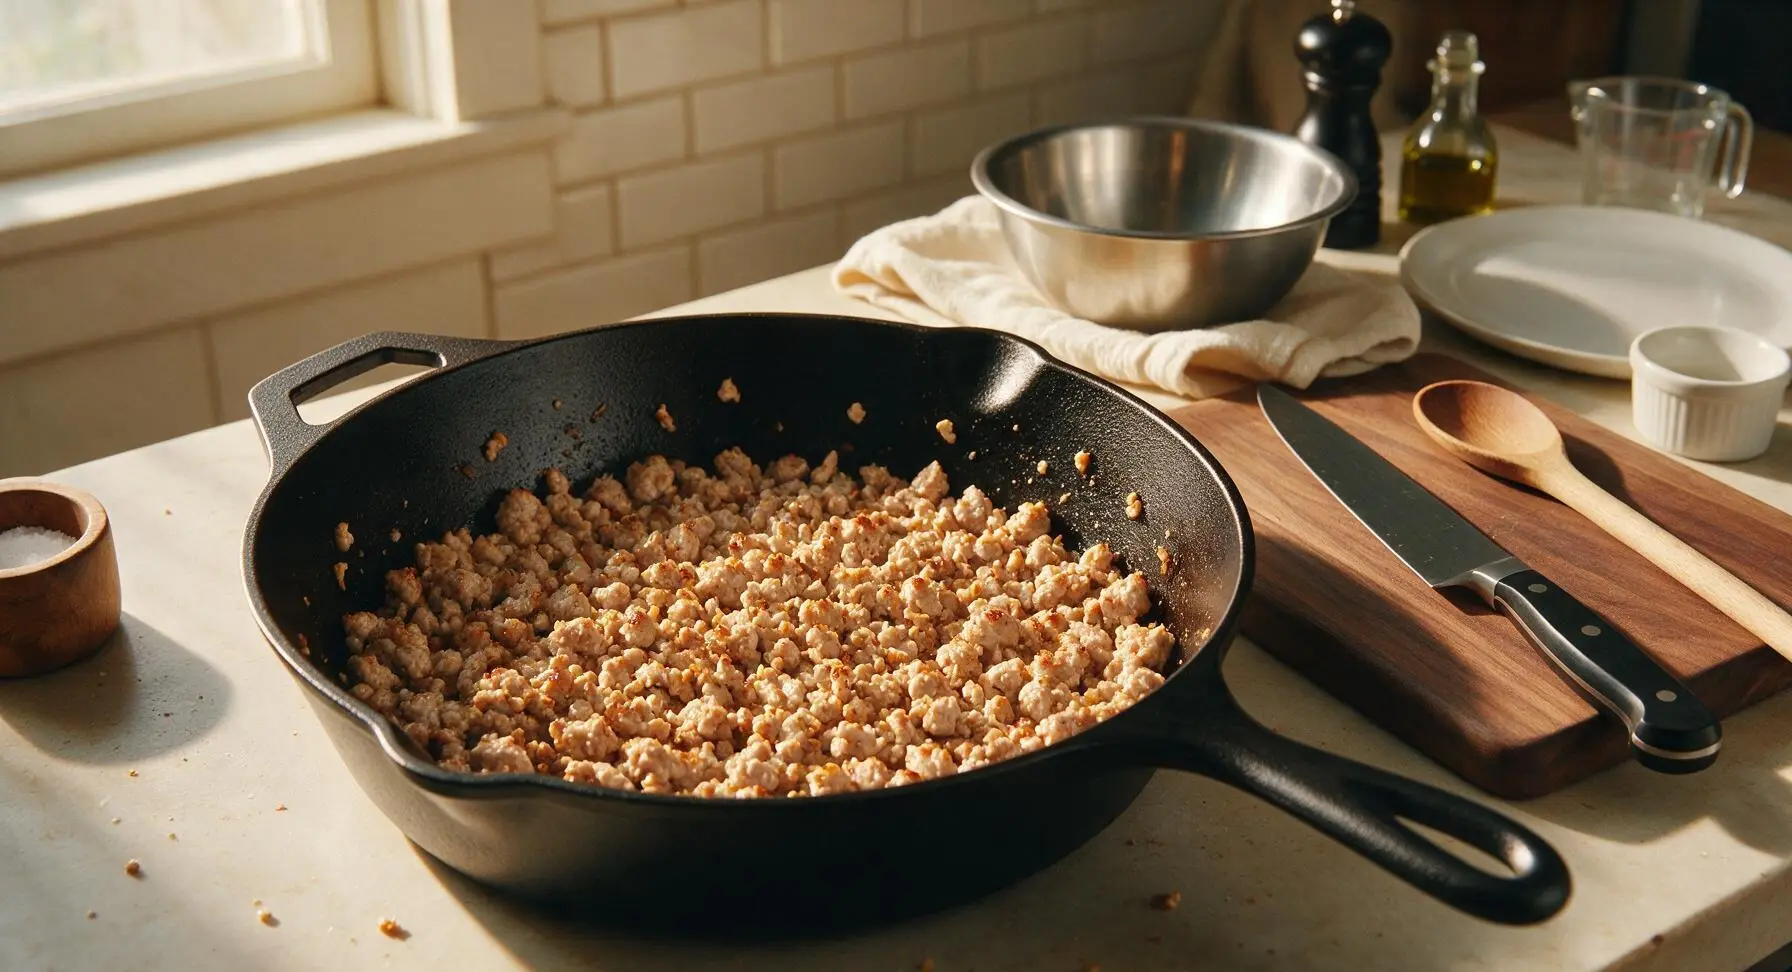
Push the sautéed aromatics to the sloped sides of the wok, then add the 450g ground turkey to the hot center of the pan. Use the silicone spatula to break the turkey into small, pea-sized crumbly pieces as it cooks, stirring occasionally for 4-5 minutes until the turkey is no longer pink and develops light golden brown, crispy edges. Resist constant stirring: let the turkey sit undisturbed for 1 minute at a time to build a flavorful sear on the crumbles.
Step 4
step4:Brown Ground Turkey
Step 4
step4:Brown Ground Turkey
5

Add Kimchi and Sauce

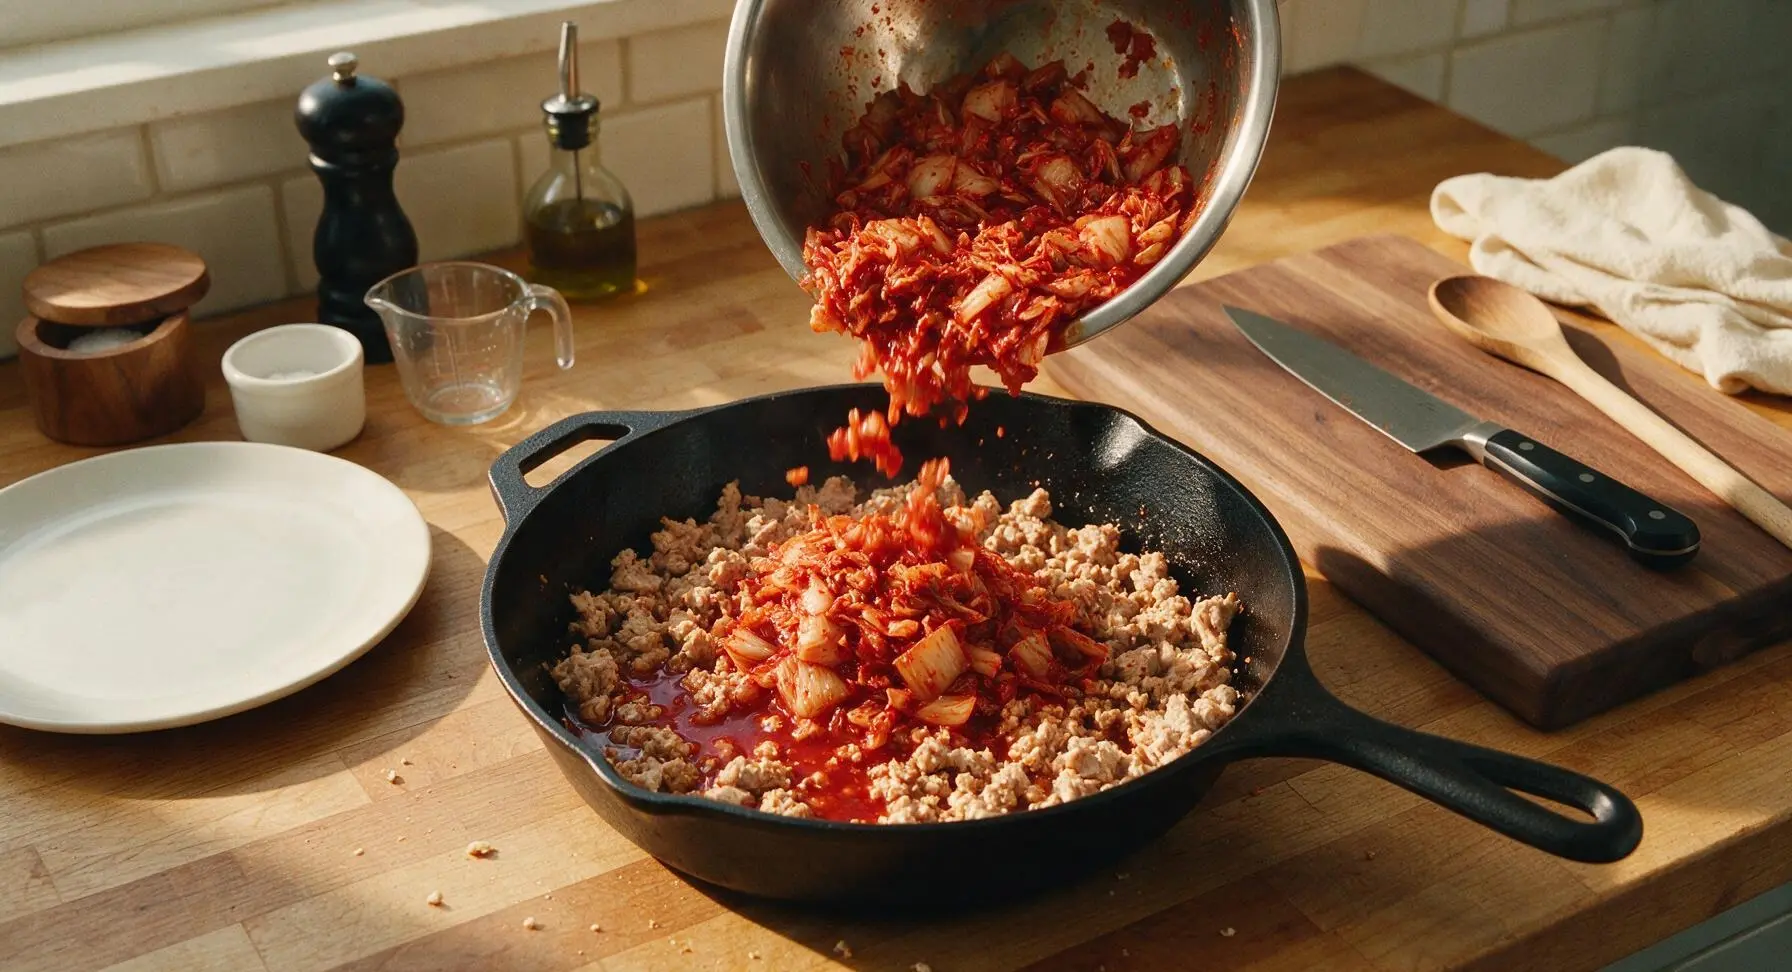
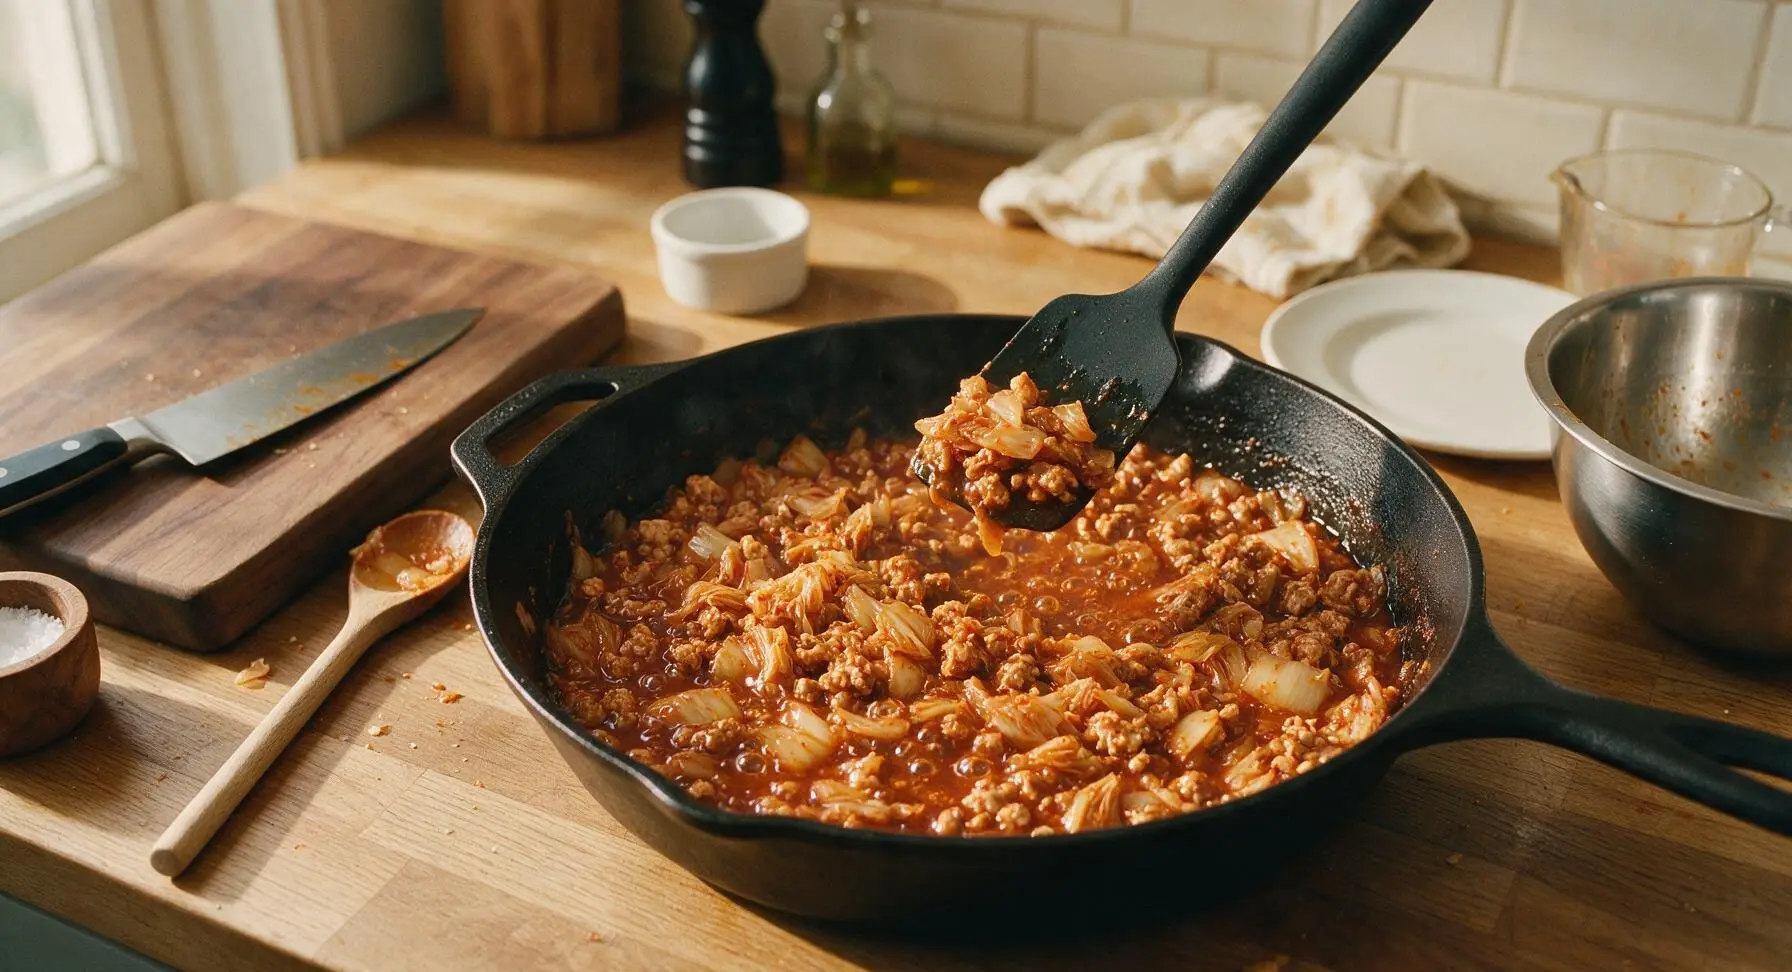
Add the chopped kimchi to the wok, stirring to combine with the turkey and aromatics, and cook for 2 minutes until the kimchi softens slightly and releases its bright red fermented juice into the pan. Pour the pre-mixed stir-fry sauce over the entire contents of the wok, stirring constantly for 1-2 minutes until the sauce bubbles, thickens slightly, and coats every turkey crumble and kimchi piece evenly. There should be no thin, pooled sauce left at the bottom of the wok when the coating is complete.
Step 5
step5:Add Kimchi and Sauce
Step 5
step5:Add Kimchi and Sauce
6

Finish and Garnish

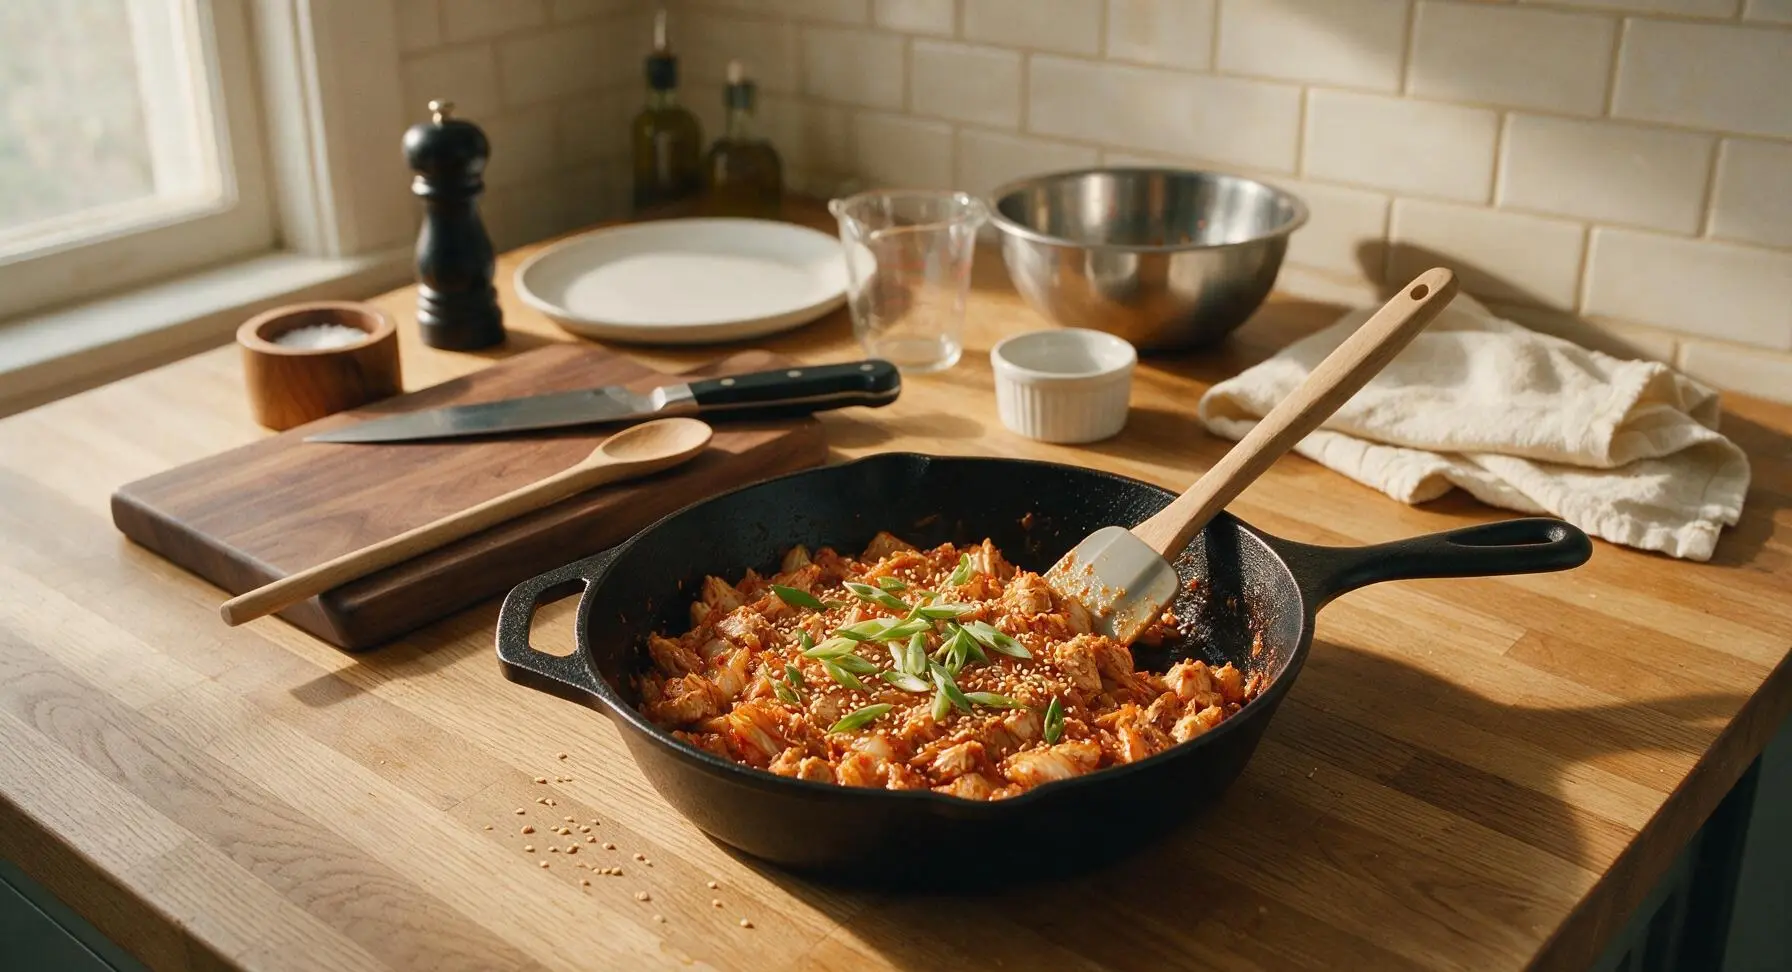
Turn off the heat under the wok. Drizzle with a tiny extra splash of toasted sesame oil for nuttiness, then top with the reserved sliced dark green scallion tops and 1 teaspoon toasted white sesame seeds, stirring once lightly to distribute the garnish evenly. Taste a small bite: add a pinch of flaky salt if the flavor feels flat, or a tiny extra squeeze of honey if the kimchi is overly sour.
Step 6
step6:Finish and Garnish
7

Plate and Serve

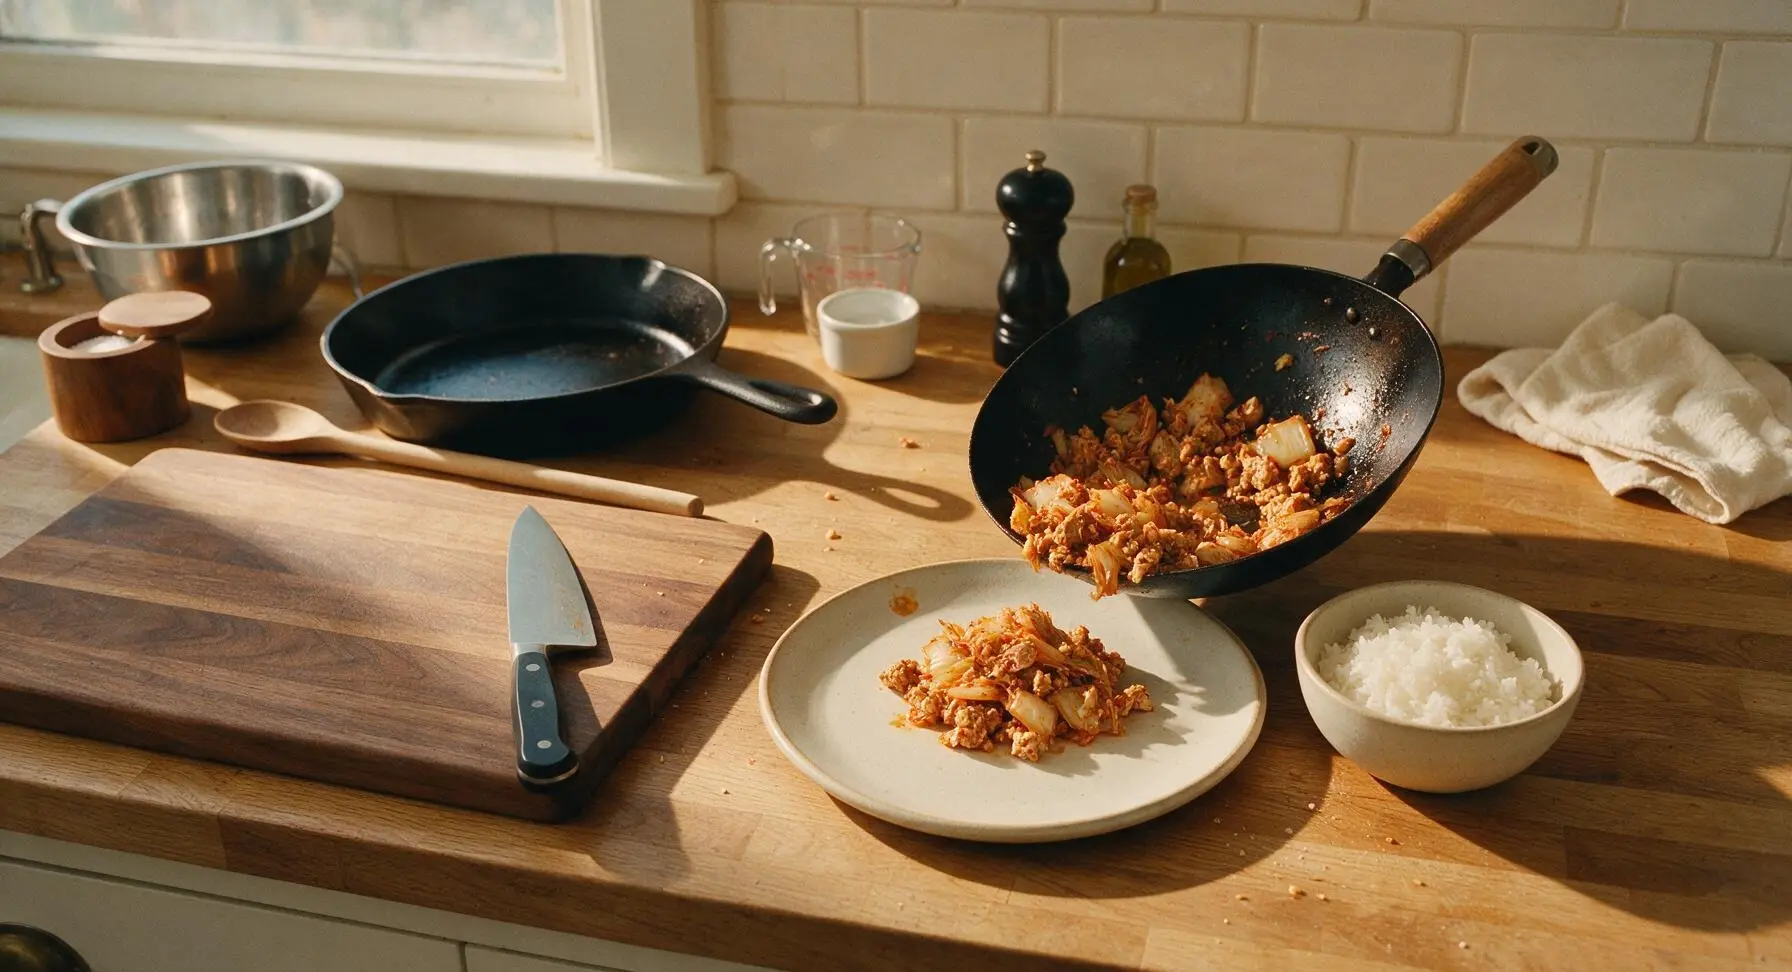
Scoop 1 cup of fluffy cooked short-grain white rice into each matching off-white stoneware rice bowl, then divide the kimchi turkey evenly between 4 off-white stoneware dinner plates, mounding it slightly to show the texture of the crumbles and kimchi pieces. Serve immediately while hot, with extra gochujang on the side for diners who prefer extra heat.
Step 7
step7:Plate and Serve

Tips

1.Use fully ripe, sour kimchi (fermented 2+ weeks, stored in the fridge) for the deepest flavor: fresh, newly made kimchi lacks the bright tang that cuts through the rich ground turkey, and will not release enough brine to help the sauce cling to the stir-fry crumbles.
2.Do not overcrowd the wok: if your pan is smaller than 12 inches, cook the ground turkey in two separate batches. Overcrowding traps steam and prevents the Maillard reaction, leading to soft, steamed turkey crumbles instead of crispy, deeply flavored browned bits.
3.Pre-mix your sauce before turning on the wok: stir-fry cooking moves very quickly once the pan is hot, and having all sauce ingredients pre-combined prevents burnt garlic or overcooked turkey while you fumble to measure ingredients mid-cook.


✨ You May Also Like

Main Course
🍜 United Kingdom

A showstopping classic of tender seared beef, savory mushroom duxelles, and crisp prosciutto wrapped in flaky golden puff pastry, baked to juicy perfection.

⏱️ 2 hours 1Main Course ★ 4.7
Main Course
🍜 India

Tender charred marinated chicken simmered in a rich, spiced creamy tomato sauce, this iconic Anglo-Indian curry pairs perfectly with basmati rice or warm naan.

⏱️ 50 minuteMain Course ★ 4.6
Main Course
🍜 Thailand

Classic tangy, sweet, and savory Thai stir-fried rice noodles with shrimp, tofu, and crunchy garnishes, balancing all five core Thai flavor profiles.

⏱️ 30 minuteMain Course ★ 4.5
Main Course
🍜 United Kingdom

Crispy golden beer-battered cod and fluffy double-fried chips, served with tangy tartar sauce and malt vinegar: the timeless, beloved British pub comfort classic.

⏱️ 45 minuteMain Course ★ 4.7
Main Course
🍜 Mexico

Smoky, chile-marinated pork tacos with caramelized pineapple, fresh cilantro, and lime: a beloved classic Mexican street food perfect for casual summer gatherings.

⏱️ 1 hour 45Main Course ★ 4.8
Main Course
🍜 United States

Crunchy Fritos corn chips layered with savory beef chili and melted cheddar, topped with cool, zesty fixings for a beloved, cozy Tex-Mex comfort food.

⏱️ 35 minuteMain Course ★ 4.8

Kimchi Turkey:Frequently Asked Questions

1.Can I use a different fat ratio for ground turkey instead of the recommended 93/7 blend? ▾
You absolutely can, but 93/7 strikes the perfect balance of lean protein and enough rendered fat to carry kimchi’s tang without making the dish greasy. If you use ultra-lean 99/1 turkey, add 1 teaspoon of neutral oil when browning to prevent dryness, and skip 85/15 unless you prefer a much richer, heavier final stir-fry that overpowers the bright kimchi flavor.
2.How do I tell if my napa cabbage kimchi is ripe enough for this recipe? ▾
Ripe kimchi will be slightly translucent, pleasantly tangy (not just salty), lightly fizzy when you open the jar, and have a subtle sour aroma instead of a fresh, crisp cabbage smell. If your kimchi is less than a week old, it will be too mild and crisp; let it sit on your counter for 1-2 days to ferment further, and don’t forget to reserve its brine.
3.Do I really need to keep the kimchi brine, or can I drain the kimchi fully? ▾
Don’t drain that brine—it’s the secret to getting that deep, umami, tangy coating that clings to ground turkey instead of leaving you with flat, dry bits of kimchi mixed in. Aim to reserve about 2 tablespoons of brine per cup of chopped kimchi; if your kimchi is extra sour, cut the brine with a splash of low-sodium chicken broth to mellow it a touch.
4.Can I prep this Kimchi Turkey ahead of time for busy weeknights? ▾
This dish is ideal for quick weeknight prep! Chop your onion, scallions, garlic, and kimchi up to 3 days ahead and store them in separate airtight containers in the fridge. Cooked Kimchi Turkey stays fresh for up to 4 days refrigerated, and reheats beautifully in the microwave or a quick pan toss over low heat—skip freezing, as kimchi turns unpleasantly mushy when thawed.
5.Is this dish too spicy for kids or people who don’t like hot food? ▾
You can easily adjust the heat level to suit milder palates! Start with ½ cup of mild, less-fermented kimchi and skip any extra chili flakes if your kimchi already has a gentle kick. For kid-friendly servings, stir in a tiny pinch of sugar to balance tang, and serve with extra fluffy steamed rice and cool cucumber slices to cut any remaining heat.
6.What can I serve with Kimchi Turkey besides plain steamed rice? ▾
Steamed white rice is the classic pairing, but you have lots of flexible options! Serve it over cauliflower rice for a lower-carb swap, toss it with cooked rice noodles, wrap it in butter lettuce cups for a light hand-held meal, top it with a fried egg for extra protein, or use it as a filling for quick fusion corn tortilla tacos.
7.Why does my ground turkey always turn out dry and crumbly in stir-fries? ▾
Dry ground turkey usually comes from overcooking or using ultra-lean 99/1 turkey without added fat. Cook turkey over medium-high heat just until it’s no longer pink (about 5-6 minutes), breaking it into small crumbles as it browns, then add kimchi and brine right away to lock in moisture. Don’t rinse browned turkey, as that washes away flavorful umami-rich fond.
8.Can I substitute ground chicken or another protein for the ground turkey? ▾
Absolutely! A 93/7 ground chicken blend is a nearly identical swap that pairs perfectly with tangy kimchi flavor. For a heartier version, use ground pork, which is a classic kimchi pairing, or crumbled pressed firm tofu for a plant-based swap—just press tofu well first to remove excess water so it crisps up instead of steaming in the pan.
9.Should I rinse my kimchi before adding it to the stir-fry to cut saltiness? ▾
Skip rinsing your kimchi for this recipe! Rinsing washes away beneficial probiotics, bright tang, and the spicy, umami seasoning that gives this dish its signature punch. If you find your kimchi is extra salty or overly sour, give it a quick light drain (no rinse) and add a tiny pinch of sugar and a tablespoon of water to balance the flavor instead.
10.How do I keep the onion from getting too mushy in the stir-fry? ▾
For perfectly tender-crisp onion that doesn’t turn mushy, dice it into uniform ¼-inch pieces and sauté it for 2 minutes over medium-high heat before adding garlic and ground turkey. Don’t add kimchi until the turkey is just cooked through—kimchi breaks down quickly with long heat, so a final 3-4 minute toss is all you need to meld flavors.
11.Can I add extra veggies to this dish to bulk it up for more servings? ▾
This recipe is super flexible for adding extra veggies! Toss in diced zucchini, shredded carrots, chopped bok choy, or sliced mushrooms right after you sauté the onion, cooking until just tender before adding turkey. Just avoid very watery veggies like unseeded fresh tomatoes, as excess liquid will make the final dish soggy instead of having a nice, coated stir-fry texture.
12.Can I make this dish in a regular skillet if I don’t own a wok? ▾
You don’t need a wok to make perfect Kimchi Turkey! A large, heavy-bottomed stainless steel or cast iron skillet works even better for most home stovetops, since it maintains even high heat without hot spots. Just don’t overcrowd the pan—if your skillet is smaller than 12 inches, cook the turkey in two batches so it browns nicely instead of steaming.

Comments (3)

2 hours ago

OMG this kimchi turkey is such a game changer! I threw this together last night for a quick weeknight family dinner right after my 7-year-old’s soccer practice and everyone cleaned their plates. I was worried the tangy kimchi would be too intense for my picky eater but he asked for SECONDS! The 15 minute cook time is no joke, perfect for those nights you don’t feel like slaving over the stove. I added a little extra gochugaru for a heat kick and it was chef’s kiss. SO good.

1 hour ago

Wait adding extra gochugaru is such a good call! I made this for my weekly meal prep on Sunday and it held up perfectly all week for work lunches. I might toss a pinch more in when I make my next batch. My husband thought kimchi and turkey sounded like a weird combo at first but he’s already asked me to make it for our neighborhood potluck next weekend!

45 minutes ago

So happy your whole family loved it! The extra gochugaru hack is chef’s kiss — we love a little extra heat around here too. It’s such a versatile recipe that works perfectly for meal prep, quick weeknight meals, and even potlucks. Hope it’s a total hit with your neighbors!

yesterday

Super easy recipe, whipped this up after a long day hiking last weekend and it totally hit the spot. I didn’t have fresh kimchi on hand so I used the half-open jarred stuff that’s been sitting in the back of my fridge for a couple weeks and it still turned out amazing. Only reason it’s not a full 5 stars is I wish the recipe included a few suggested serving ideas! I ate mine over steamed white rice but I bet it would be killer in butter lettuce wraps too.

20 hours ago

Great call using up that older jarred kimchi! Fun fact: more fermented, older kimchi actually adds even deeper, tangier flavor to this recipe, so that was a perfect swap. For serving ideas, we love it over rice, tucked into lettuce wraps, or even tossed with quick-cooked ramen for an easy upgraded meal. Thanks so much for the helpful feedback!

3 days ago

Made this for my office potluck earlier this week and people were practically begging me for the recipe before we even finished eating! It was so quick to throw together even on a chaotic work morning — I just browned the turkey, stirred in the chopped kimchi and a little splash of low-sodium soy sauce, and tossed in some sliced green onions right at the end. There were zero leftovers, and I’ve already added this to my regular weeknight dinner rotation. 10/10, no notes.



