
king arthur gluten free waffle

intro
Crisp golden edges, light fluffy centers, these King Arthur-style gluten-free waffles skip the gritty texture of many GF blends, perfect for loading with your favorite sweet toppings.
Ingredients
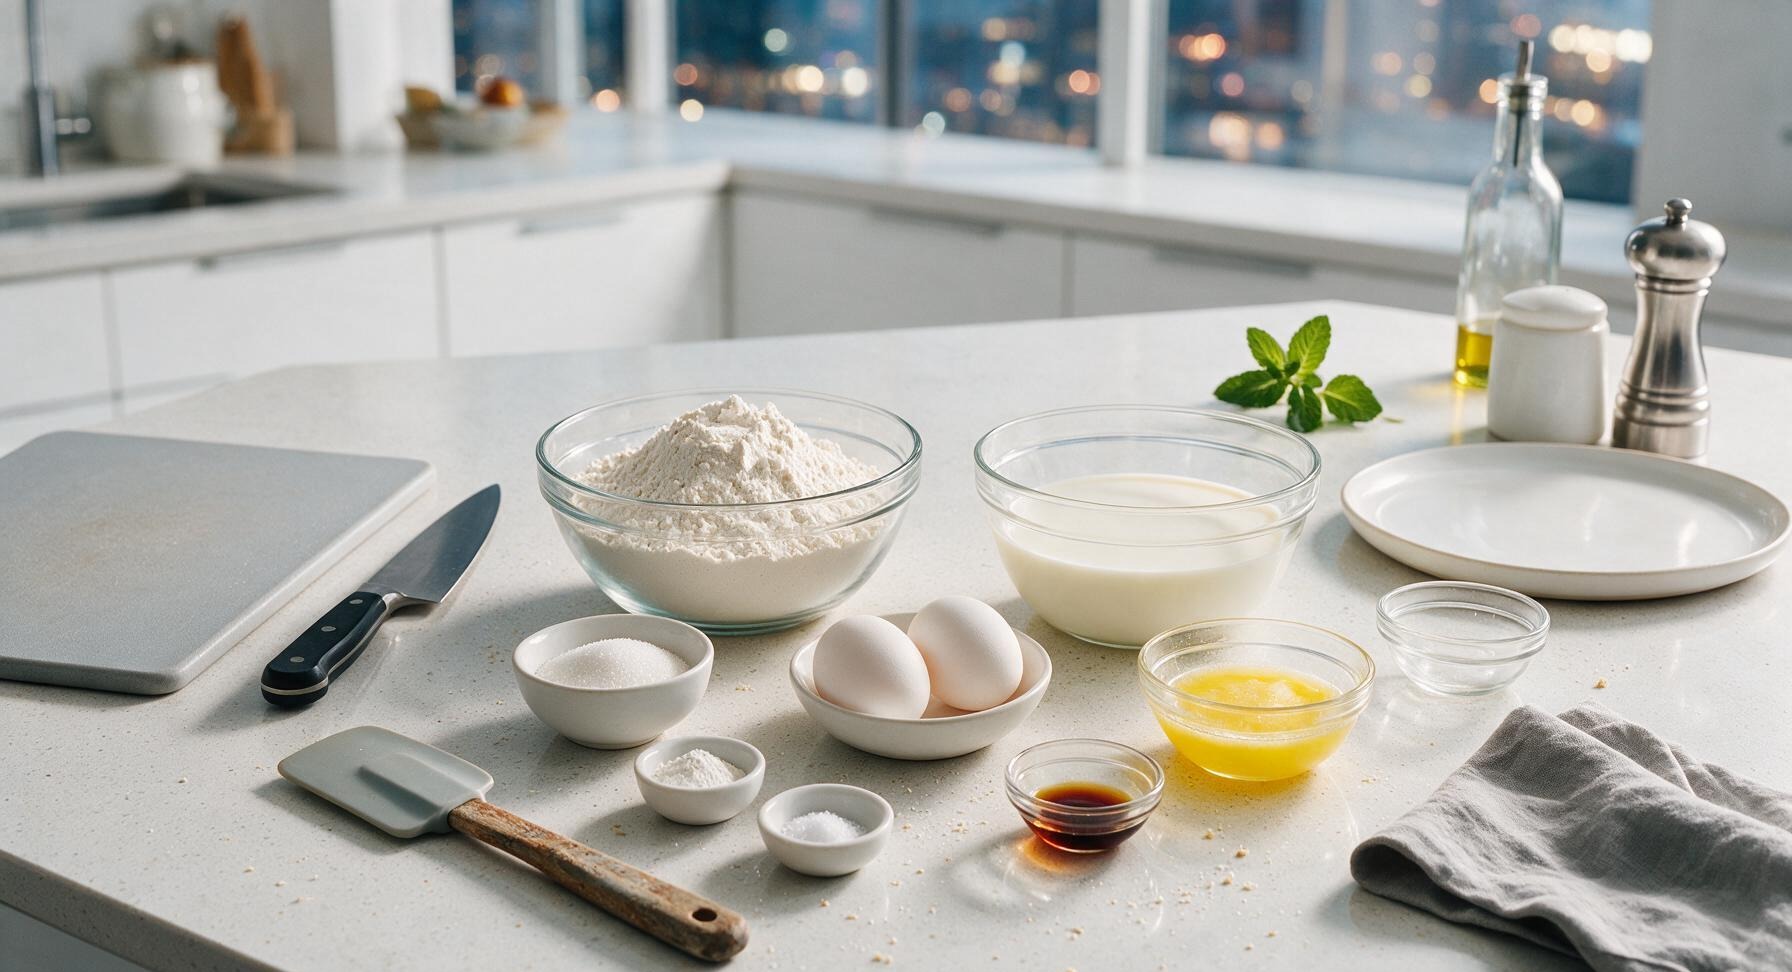
Steps
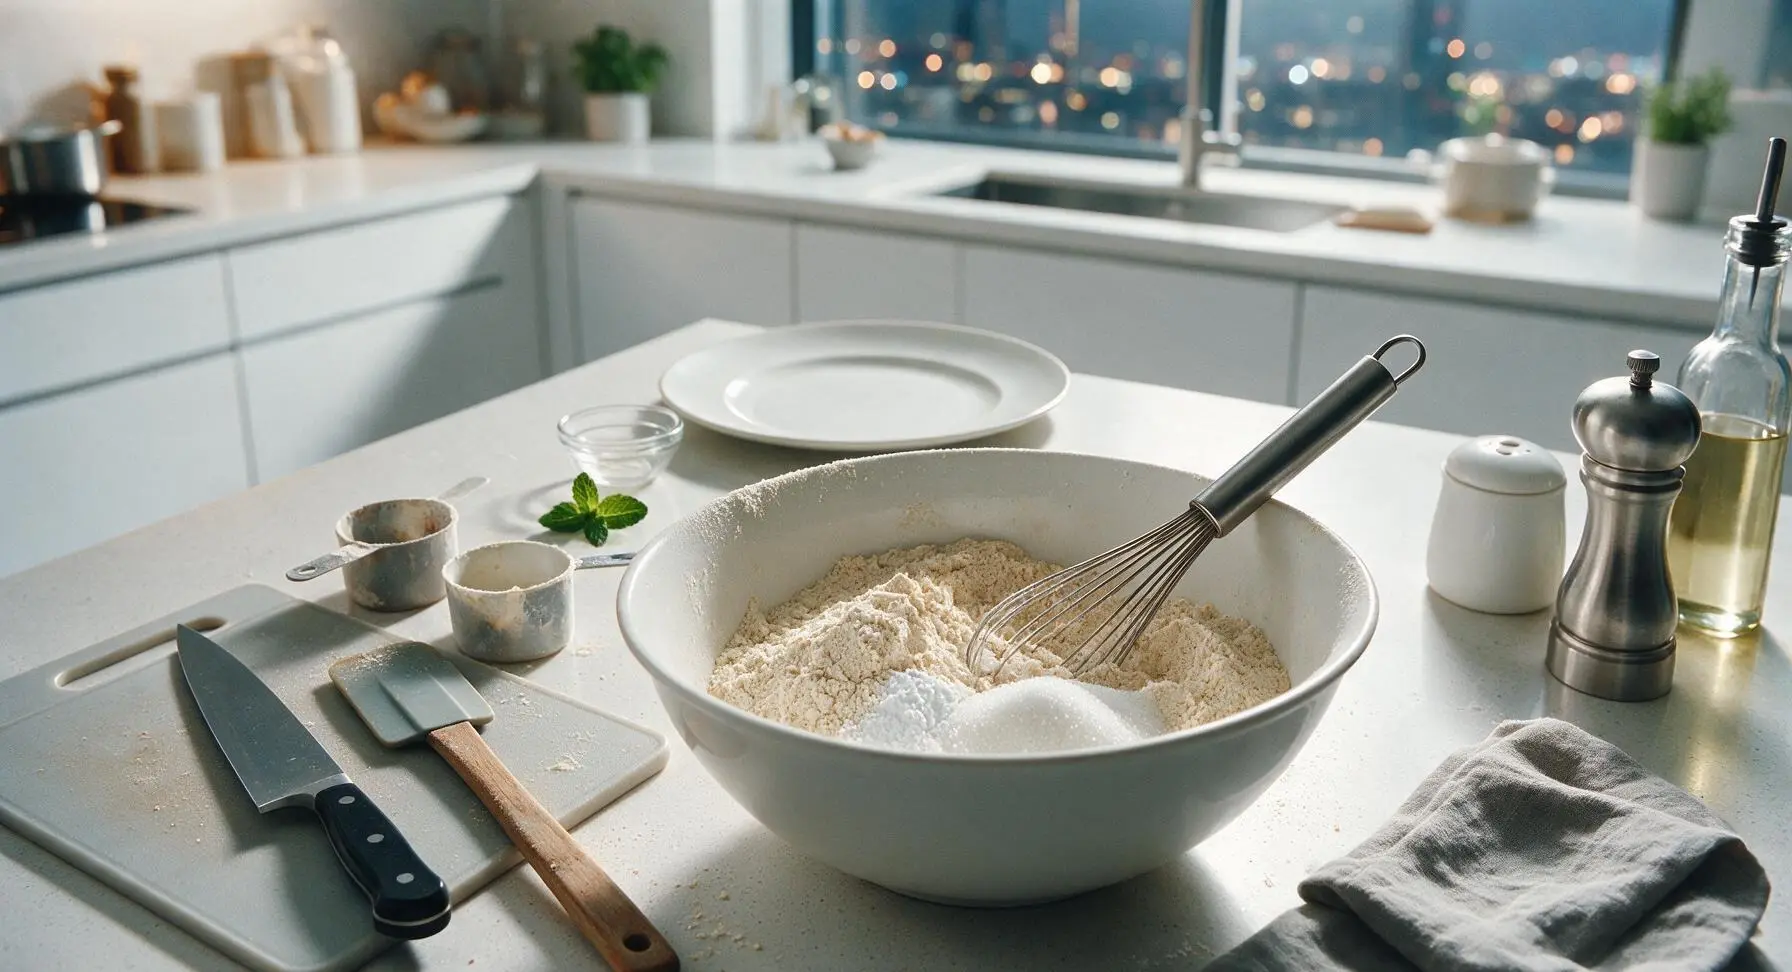
Whisk Dry Ingredients
Add 2 cups (240g) King Arthur Gluten Free All-Purpose Flour, 2 tablespoons granulated sugar, 2 teaspoons baking powder, and 1/2 teaspoon fine sea salt to the large matte white ceramic mixing bowl. Use the stainless steel whisk to stir the dry ingredients for 30 seconds until fully combined, with no visible clumps of baking powder. Even mixing ensures consistent leavening, so waffles rise evenly without scattered bitter spots from undistributed baking powder.
Add Wet Ingredients
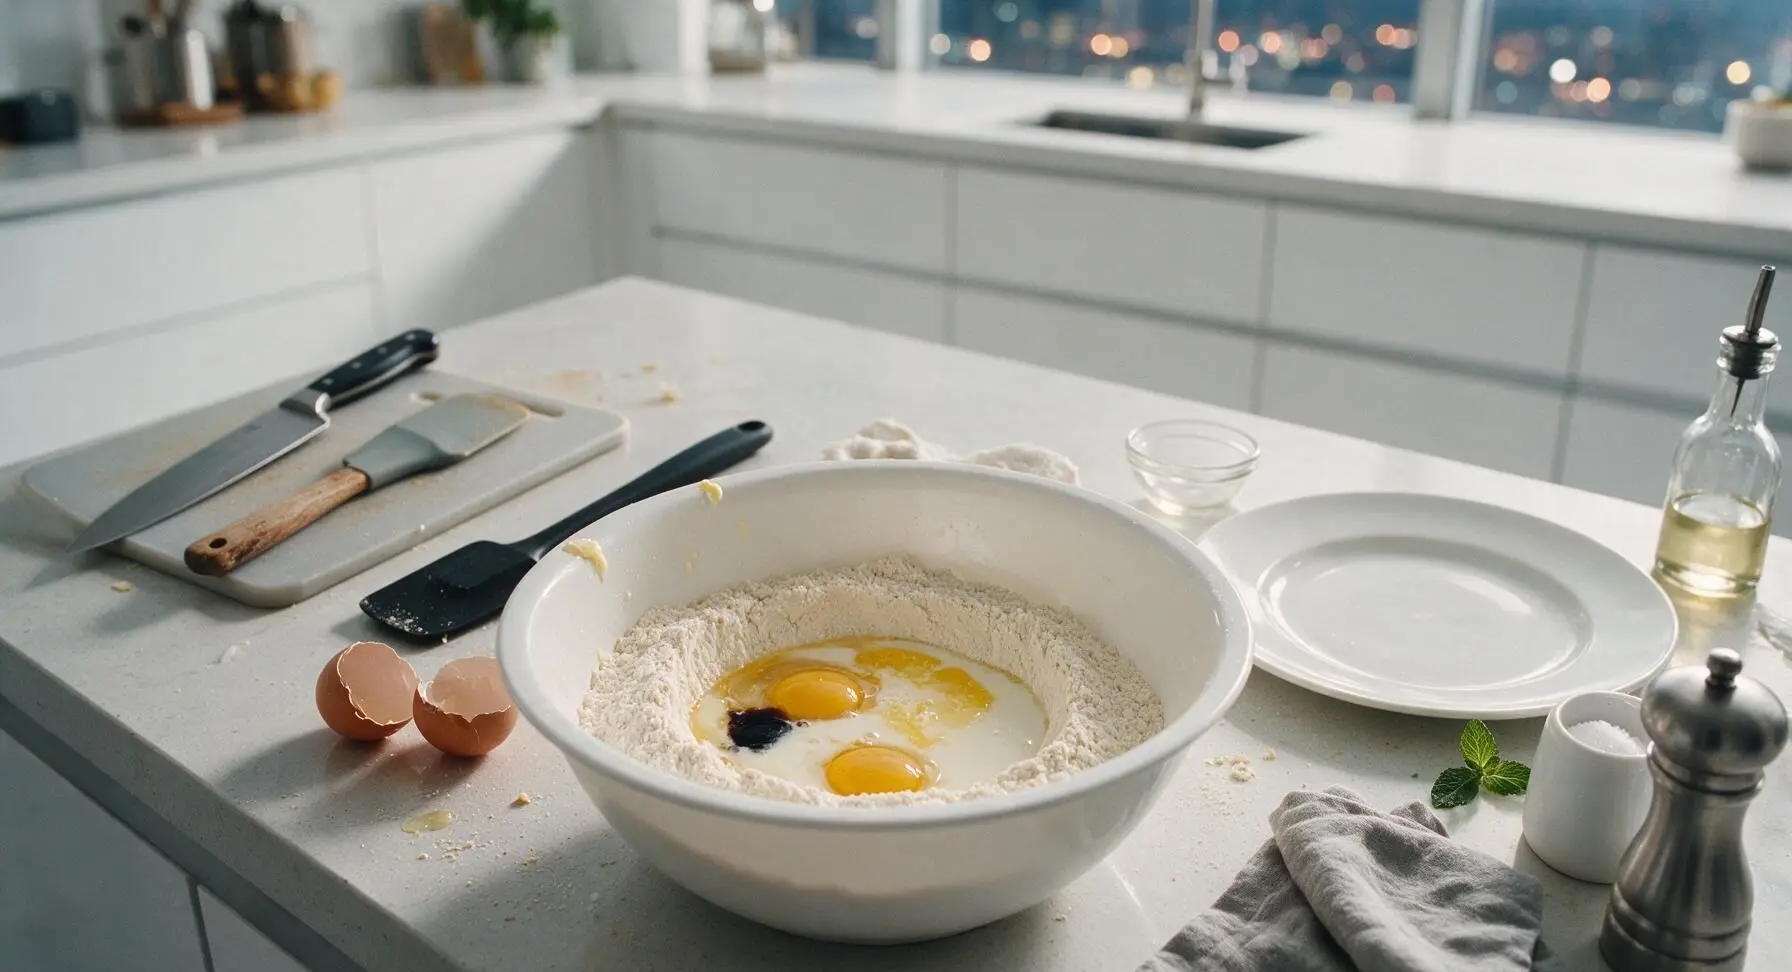
Make a 4-inch wide well in the center of the combined dry ingredients. Crack 2 room-temperature large eggs into the well, then pour in 1 1/2 cups (360ml) whole milk, 6 tablespoons (85g) cooled melted unsalted butter, and 1 teaspoon pure vanilla extract. Do not stir immediately to prevent dry flour from puffing out of the bowl when mixing begins.
Mix Smooth Batter
Use the black silicone spatula to gently fold the wet ingredients into the dry ingredients, stirring just until no large dry flour clumps remain. Stop mixing as soon as the batter comes together; small lumps are perfectly fine, and overmixing will create tough, dense waffles. Let the batter rest for 5 minutes at room temperature to allow the GF flour to fully absorb liquid, which eliminates the gritty texture common in gluten free baked goods. The batter will thicken slightly as it rests.


Preheat Waffle Iron
Position the matte black Belgian waffle maker on the counter to the right of the mixing bowl, plug it in, and set the browning dial to medium-high (375°F / 190°C). Let it preheat fully for 5 minutes, until the ready indicator light illuminates. Lightly coat the top and bottom grid plates with a quick 1-second spray of neutral cooking spray to prevent sticking, even if the plates have a nonstick coating.
Cook Golden Waffles
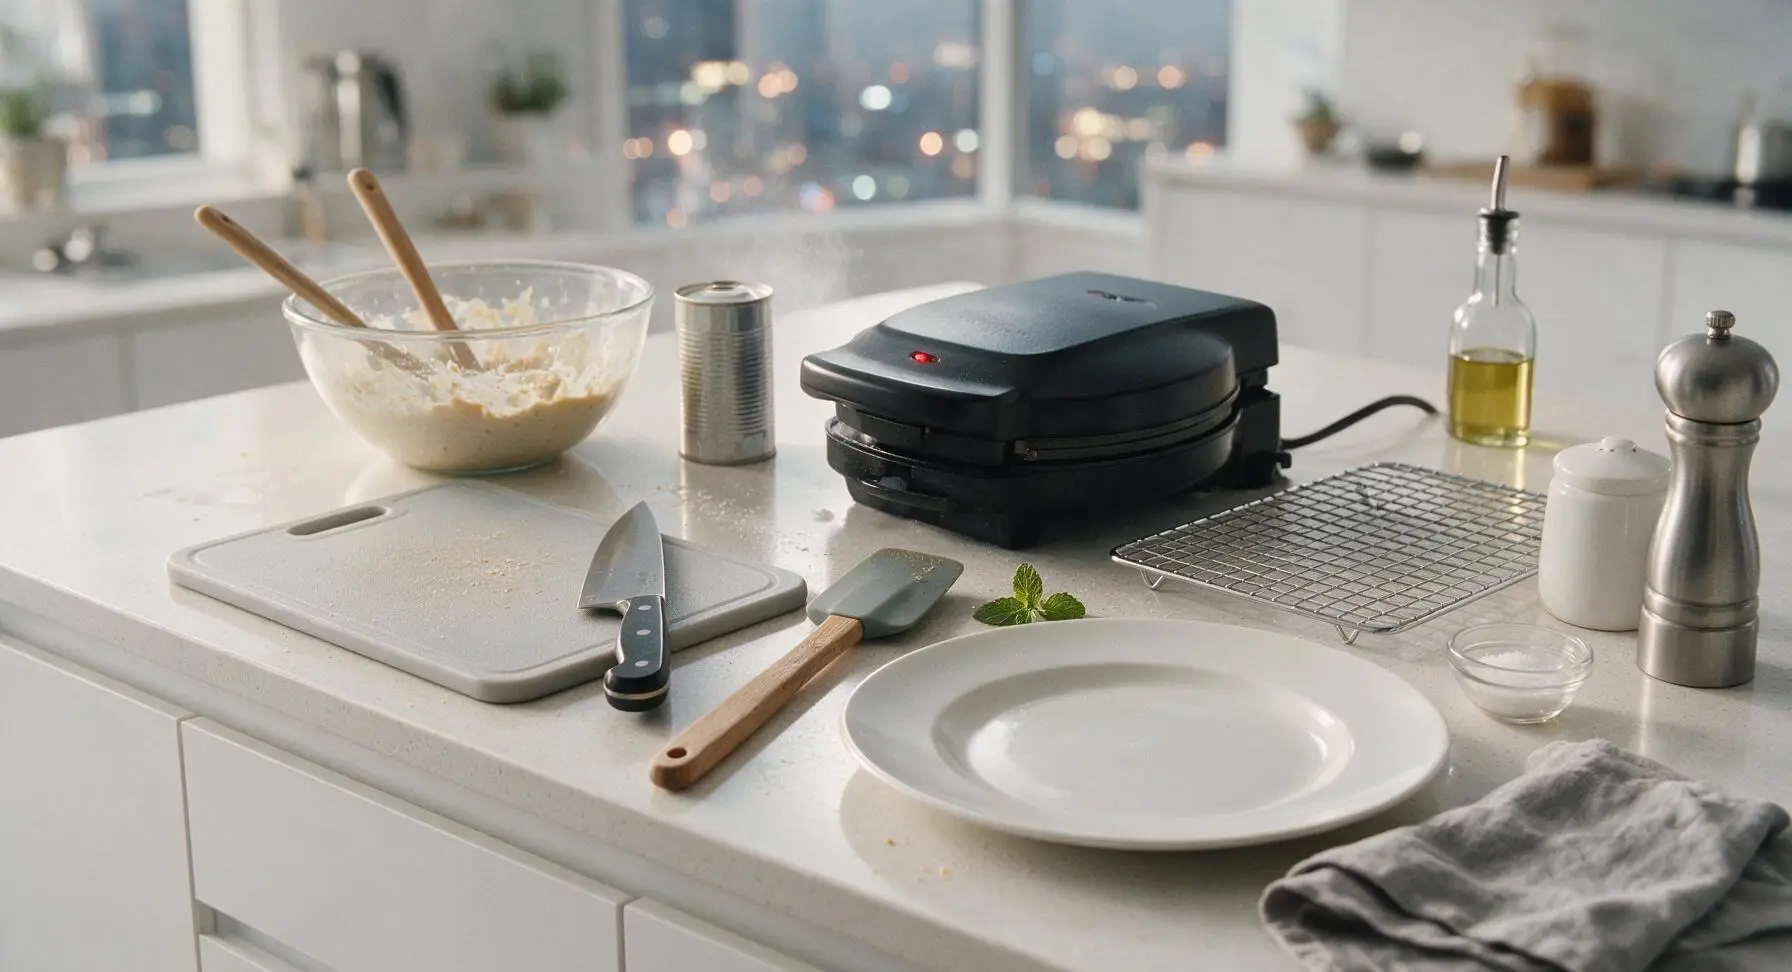
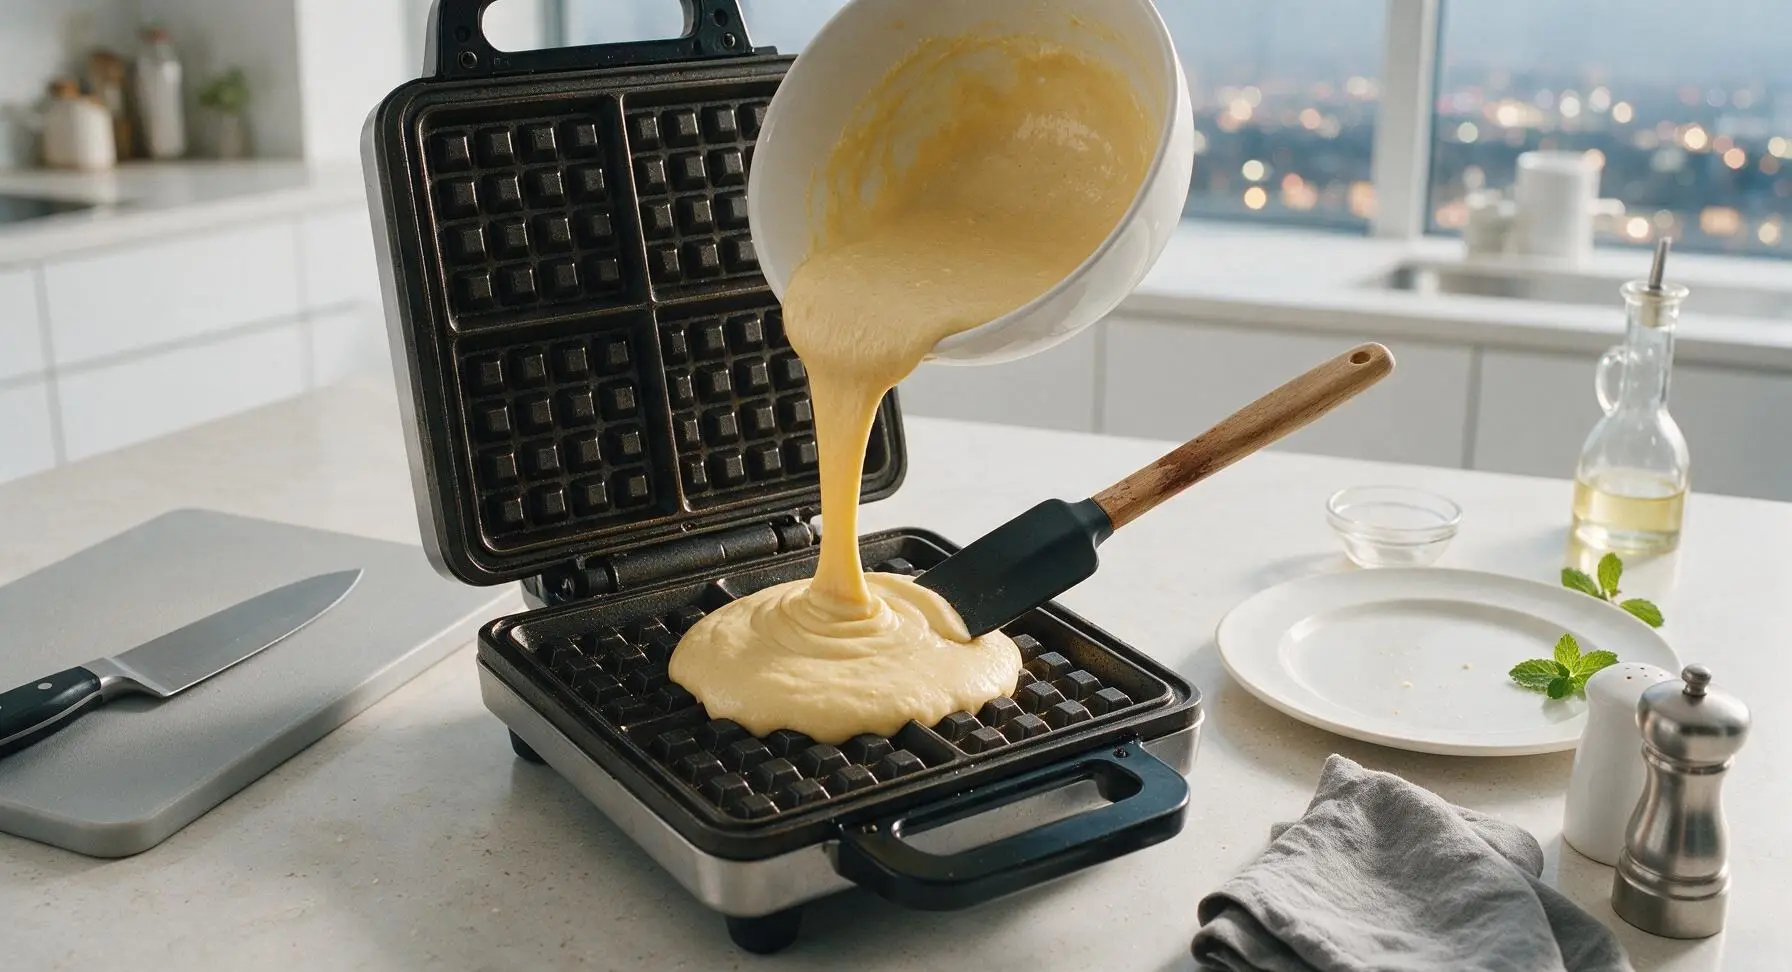
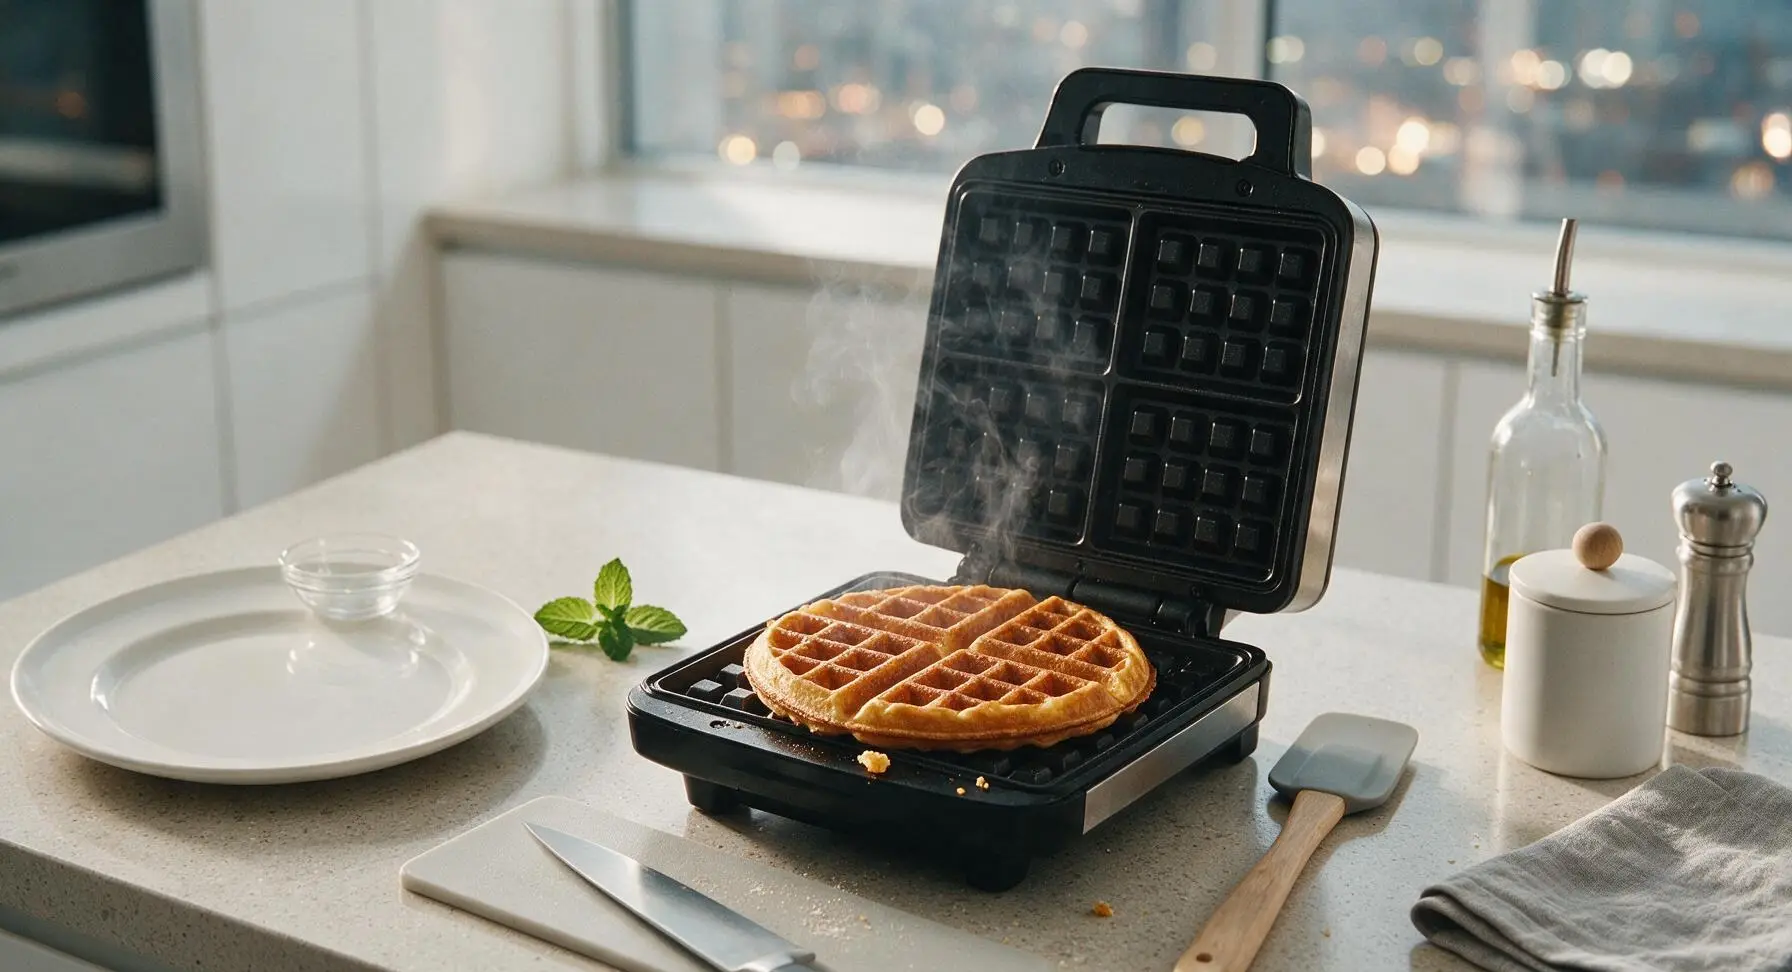
Pour 3/4 cup of the rested batter onto the center of the preheated waffle iron lower grid, spreading it gently almost to the edges with the spatula. Close the lid and cook for 3.5 to 4 minutes, until the waffle is deep golden brown, crisp on the edges, and no steady stream of steam escapes from the sides of the iron. Do not open the lid early, as this will cause the partially set waffle to split and stick to the plates.
Rest Cooked Waffles
Use the silicone spatula to lift the cooked waffle from the iron and transfer it directly to the chrome wire cooling rack. Do not stack waffles immediately, as trapped steam will make crisp edges turn soft and soggy. Let each waffle rest on the rack for 1 minute before plating, while you cook the remaining 3 waffles with the rest of the batter, respraying the iron lightly only if waffles start to stick.
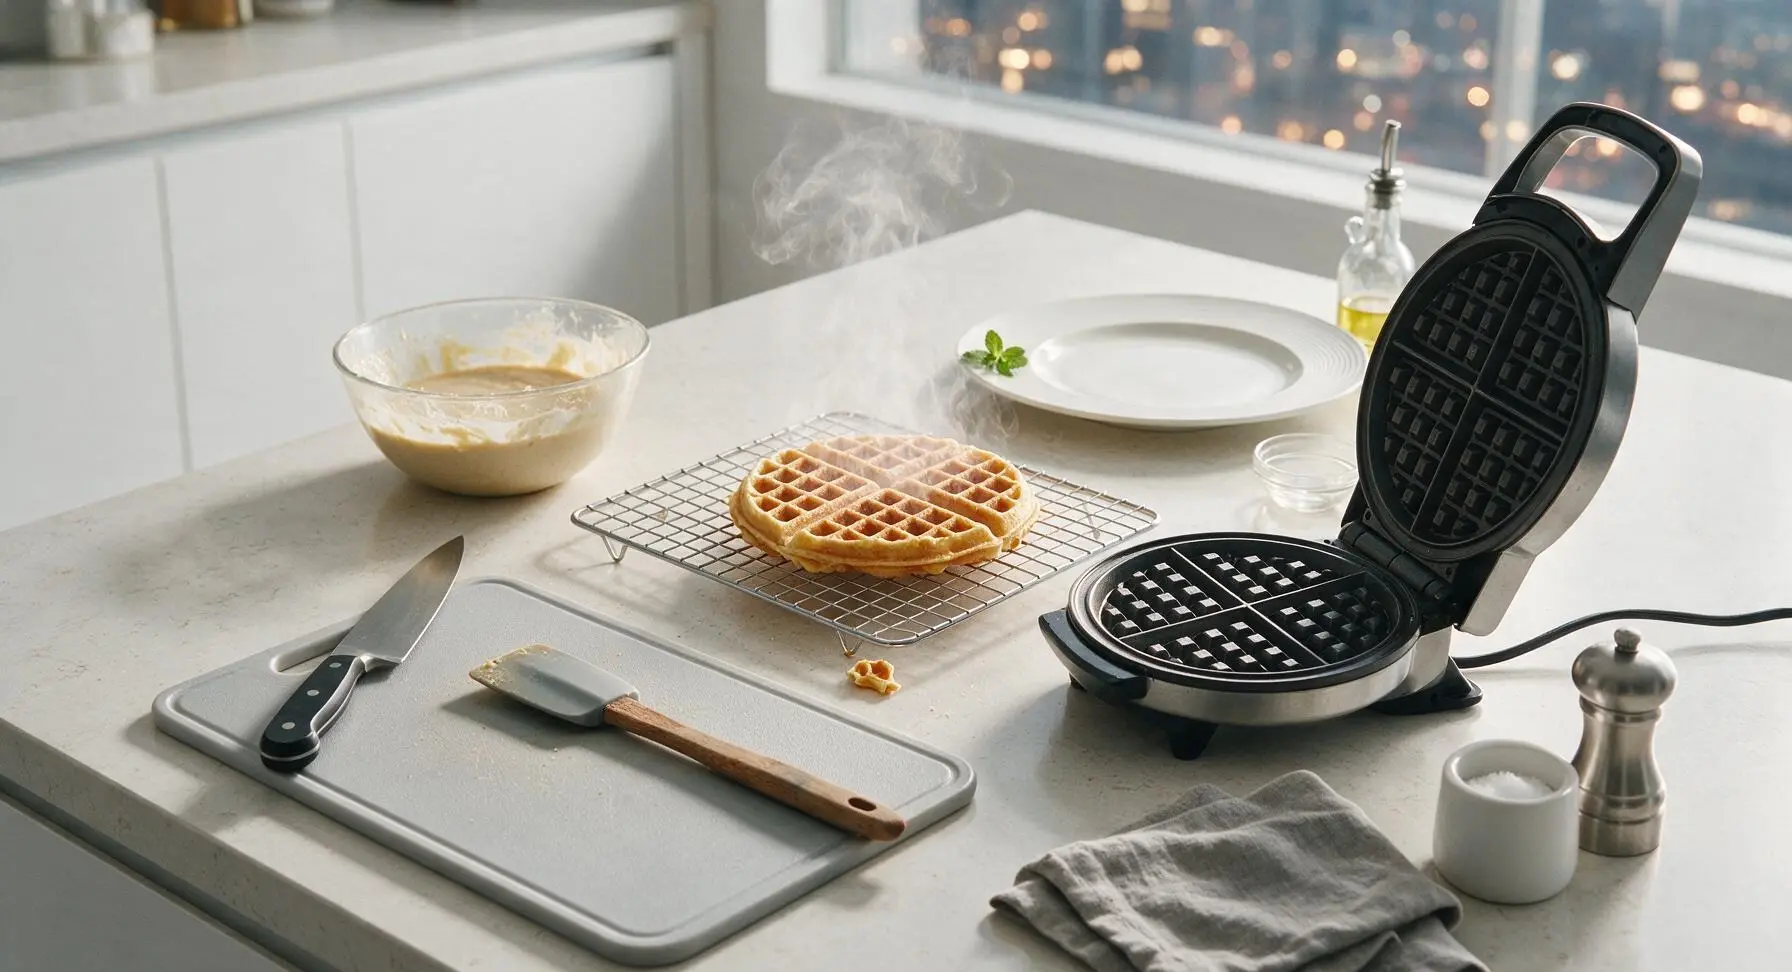
Plate and Serve
Transfer one rested waffle to the top matte cream ceramic dinner plate. Top with a 1-tablespoon pat of salted butter, a light drizzle of pure maple syrup, and a few fresh raspberries for garnish. Serve immediately while the waffles are hot and crisp, with extra syrup and butter on the side if desired.

Tips
2.Resist peeking at the waffle before the 3.5-minute mark: Opening the iron early releases built-up steam and can cause the partially set waffle to tear or stick to the plates, leaving you with a broken, uneven crumb.
3.Keep waffles crisp for serving by holding them on a wire rack in a 200°F (95°C) oven while you cook the full batch: Stacking waffles on a plate traps steam between layers, turning perfectly crisp edges soft and chewy in under a minute.






OMG these are a total game changer for our Sunday brunch! My husband and two kids are all gluten free and I’ve tried so many GF waffle recipes that come out gummy or crumbly, but these were perfectly crisp on the outside, fluffy inside. We topped ours with fresh berries and maple syrup and the kids asked for seconds before they even finished their first plate. 10/10 will be making these every weekend from now on!
Super easy to whip up on busy school mornings! I prepped the dry mix in a mason jar on Sunday so all I had to do this morning was add eggs, milk, and melted butter, pour in the waffle iron, and done in 3 minutes per waffle. Cook time was exactly as stated, no fancy steps needed. My 7 year old said these taste better than the regular waffles he gets at our favorite diner. SO good.
I was skeptical because GF baked goods can be so hit or miss, but these were perfect for our post-trail breakfast this weekend! I added a dash of cinnamon and a handful of mini chocolate chips to half the batter for my roommate, and even she (who eats regular gluten!) said she couldn’t tell the difference. Will absolutely be adding this to my regular meal prep rotation.
Took these to a neighborhood potluck last weekend and they were gone in 10 minutes! I set up a little waffle bar with whipped cream, sprinkles, chocolate sauce, and sliced bananas, and so many neighbors asked for the recipe. Only note: my waffle iron runs a little hot, so I turned the temp down a notch and cooked them for 2.5 minutes instead of 3 to avoid burning the edges. Still turned out perfect!
Really easy recipe for a beginner like me! The flavor was great, but my first batch came out a little softer than I wanted, not as crisp as I hoped. Did I do something wrong? I followed the measurements exactly, I think. Maybe my waffle iron isn’t hot enough?