
korean bulgogi sauce

title 1
korean bulgogi sauce
⏱️ cook time 7 minutes
🍽️ servings 6
⚡ Difficulty easy

intro

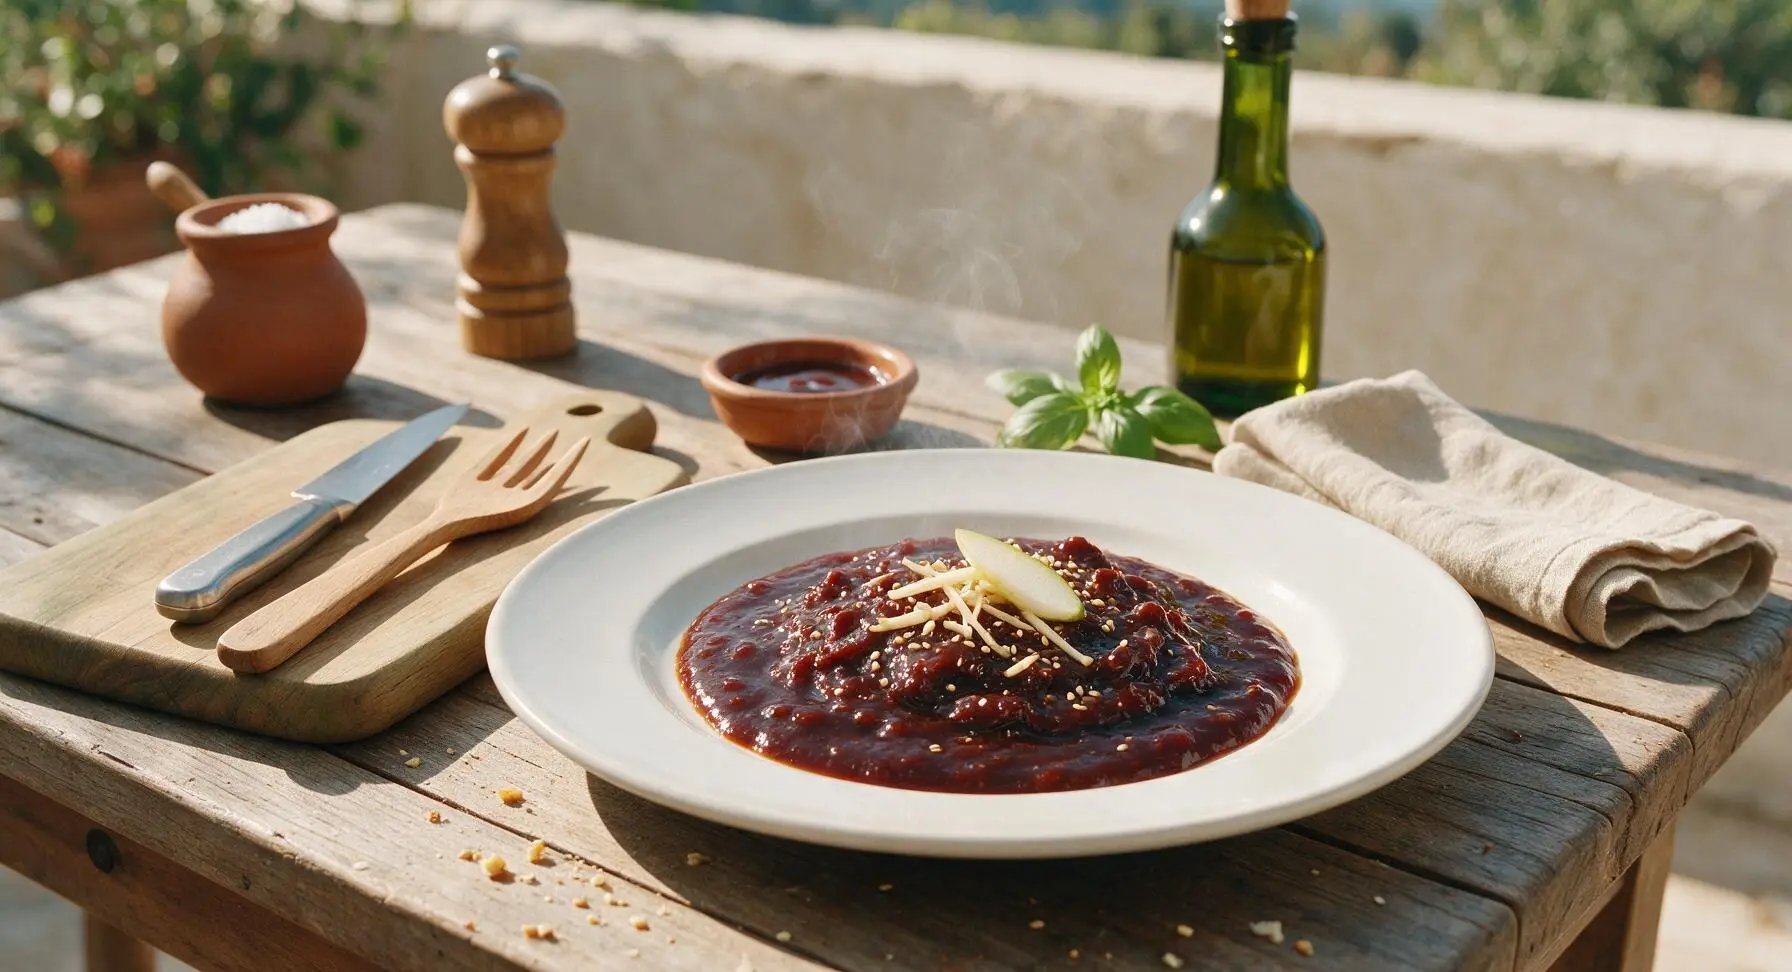
Sweet, savory, nutty authentic Korean bulgogi sauce, perfect for marinating grilled meats, tossing in stir-fries, or drizzling over rice bowls, with classic fruity tenderizing notes from Korean pear.

Ingredients
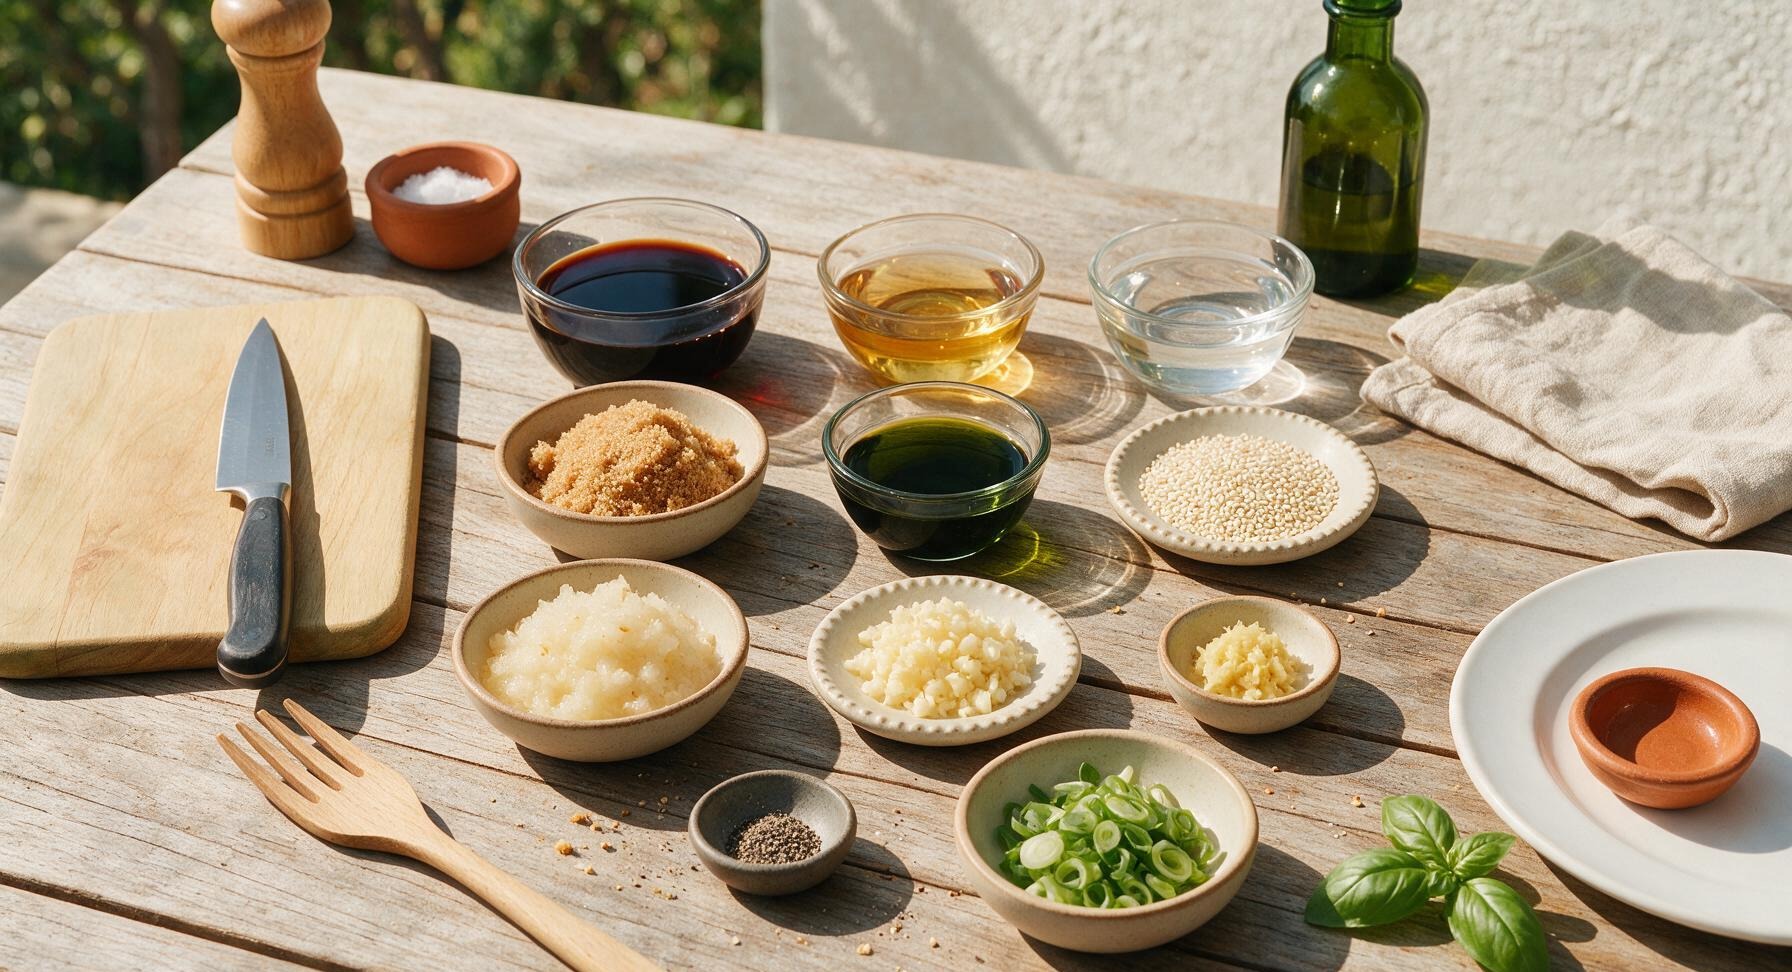
Low-sodium soy sauce ½ cup (120ml)
Packed light brown sugar ¼ cup (50g)
Grated Korean pear (or Bosc pear) ¼ cup (60g)
Unseasoned rice wine 2 tbsp (30ml)
Minced garlic 2 tbsp (18g, ~6 cloves)
Grated fresh ginger 1 tsp (5g)
Toasted sesame oil 1 tbsp (15ml)
Ground black pepper ½ tsp
Water 2 tbsp (30ml)
Toasted white sesame seeds (garnish) 1 tsp
Thinly sliced scallion greens (garnish) 1 tbsp (6g)

Steps

1

Prep Aromatics and Pear

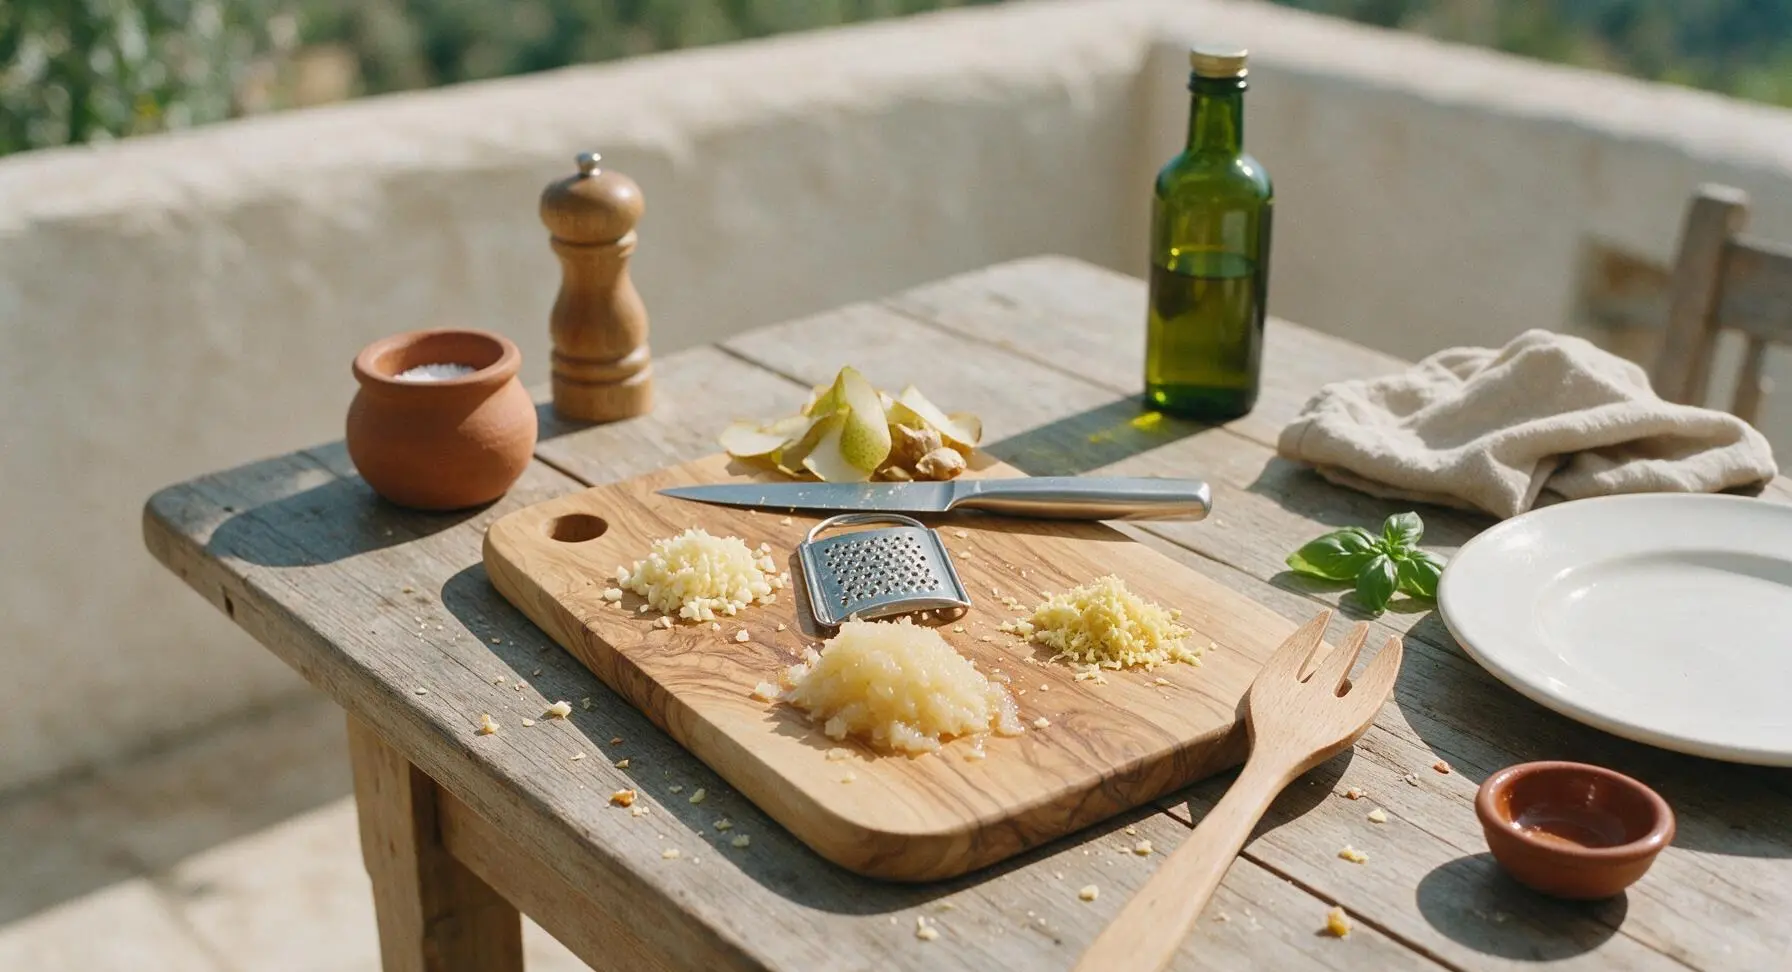
Place the light acacia wood cutting board at the center of the counter. Use the stainless steel paring knife to peel the 2cm fresh ginger knob and Korean pear wedges, then use the small stainless steel box grater to finely grate ginger and pear to yield 1 tsp grated ginger and ¼ cup grated pear, discarding tough core and peel. Mince 6 garlic cloves finely to yield 2 tbsp juicy, uniform minced garlic, with no large chunks. Visual cue: Grated pear will be pale golden, juicy, and slightly grainy, with no fibrous chunks remaining.
Step 1
step1:Prep Aromatics and Pear
2

Combine Base Ingredients

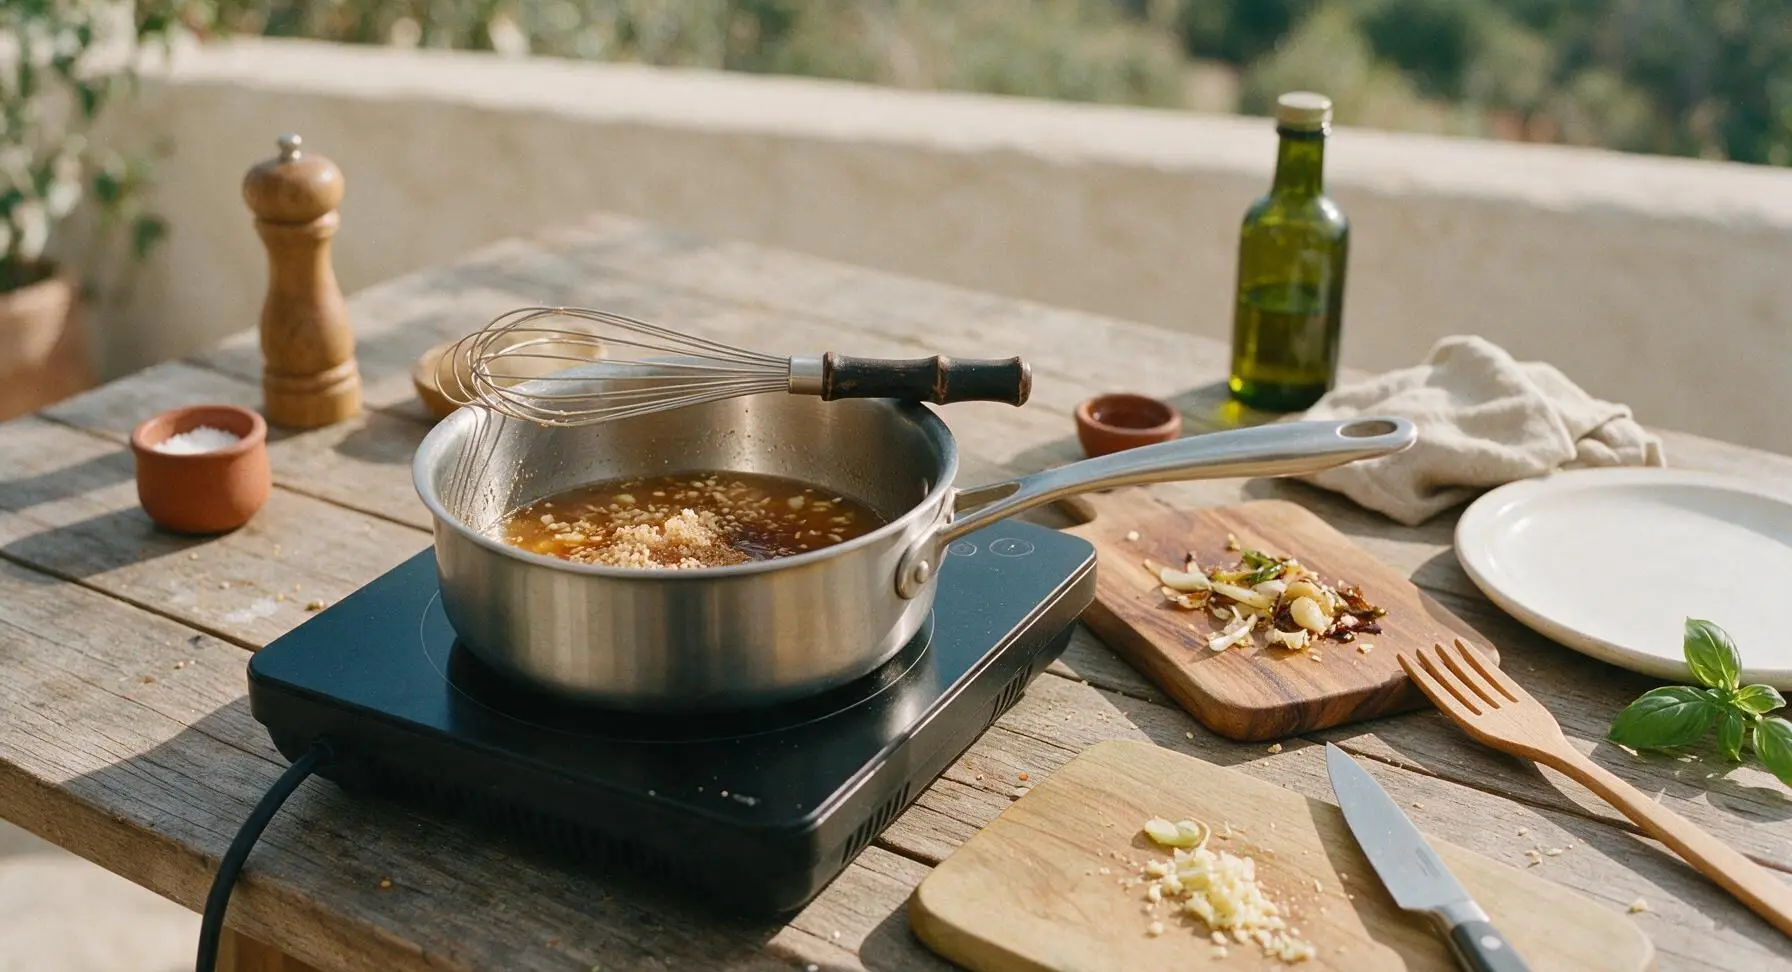
Place the matte black portable induction burner at center-left of the counter, then set the 1.5L brushed stainless steel saucepan on the burner. Add ½ cup low-sodium soy sauce, ¼ cup packed light brown sugar, 2 tbsp unseasoned rice wine, 2 tbsp water, minced garlic, grated ginger, and grated pear to the pan. Rest the charcoal-handled silicone whisk across the pan rim. Do not add sesame oil, sesame seeds, or scallions at this stage, as high heat will damage their delicate flavor.
Step 2
step2:Combine Base Ingredients
3

Whisk to Dissolve Sugar

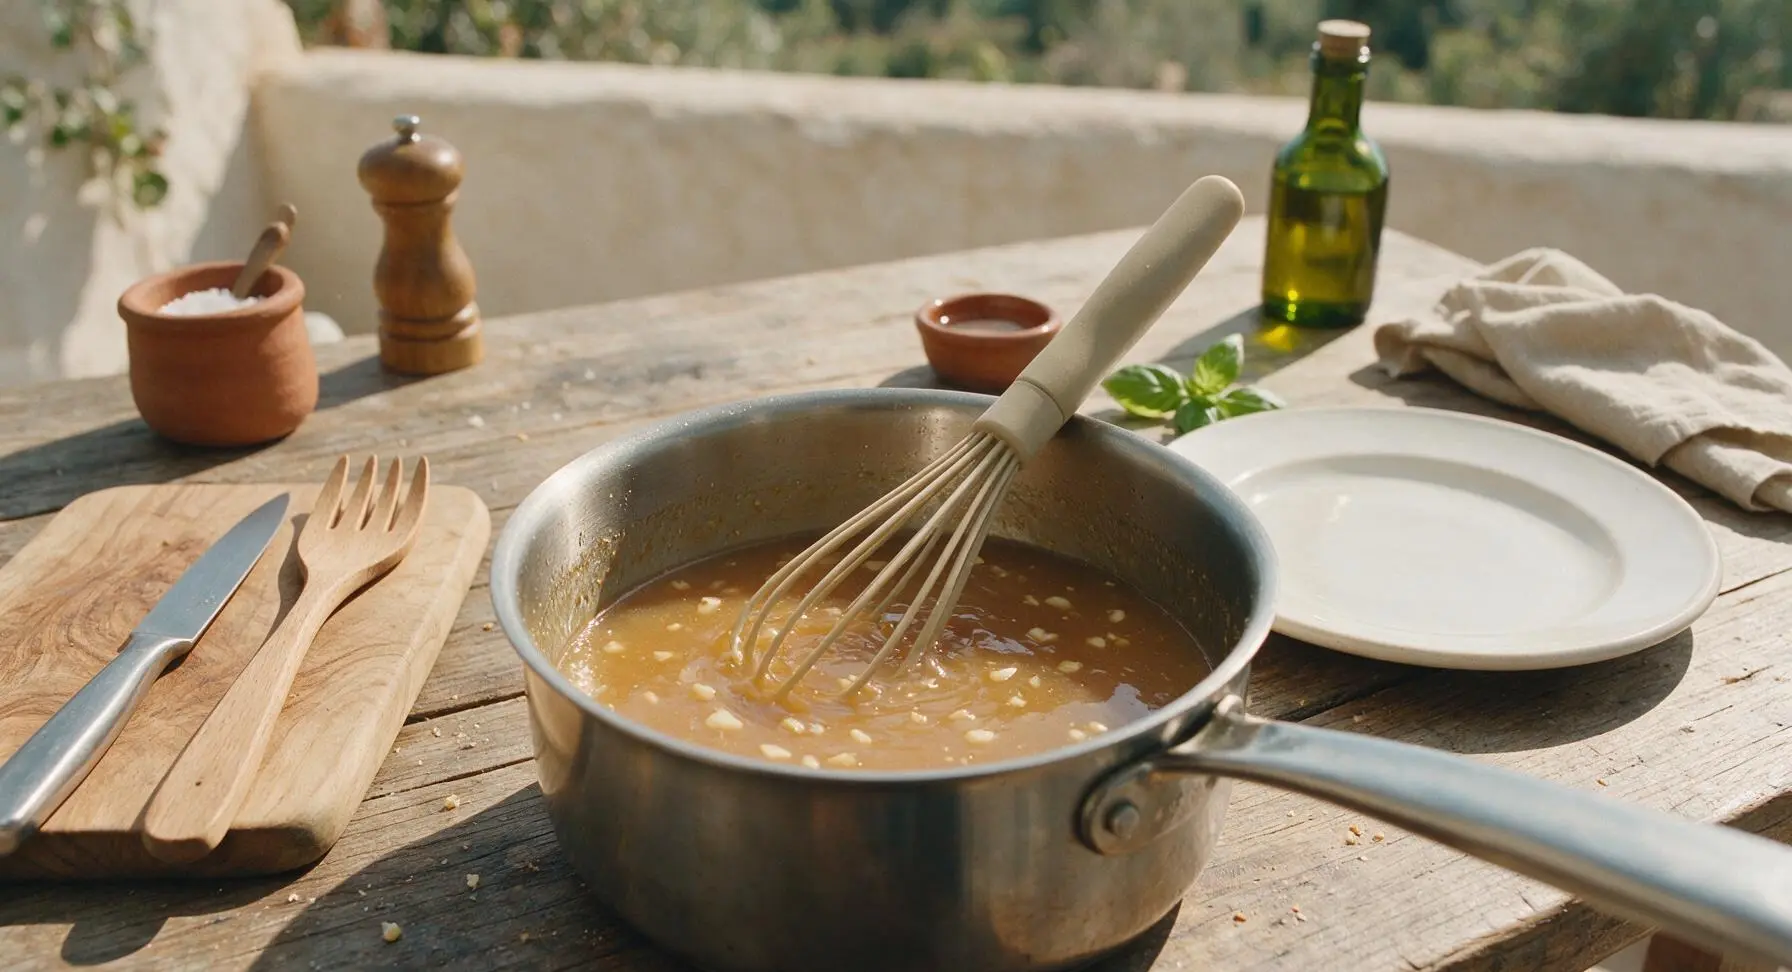
Use the silicone whisk to stir the pan mixture continuously for 30 seconds, scraping the pan corners to dislodge any stuck garlic or ginger, until all brown sugar is fully dissolved. Visual cue: No grainy sugar sediment will remain at the pan bottom, and the mixture will be a uniform cloudy amber with small flecks of garlic and pear suspended evenly throughout.
Step 3
step3:Whisk to Dissolve Sugar
4

Simmer to Thicken

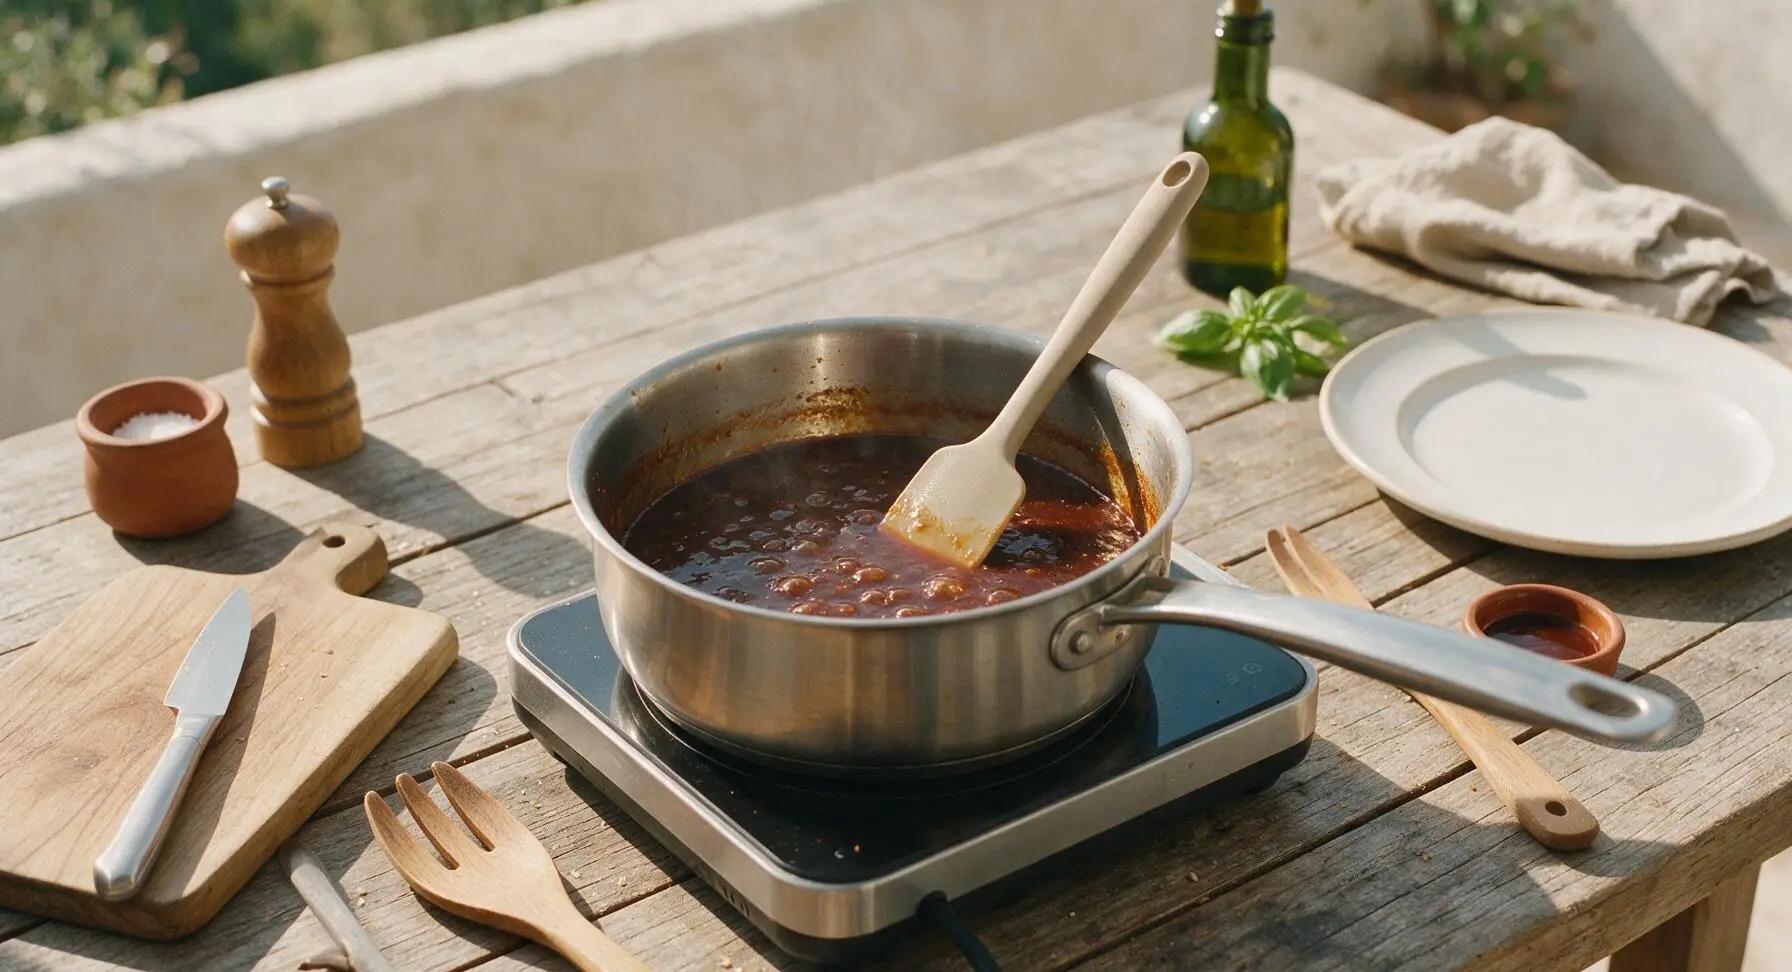
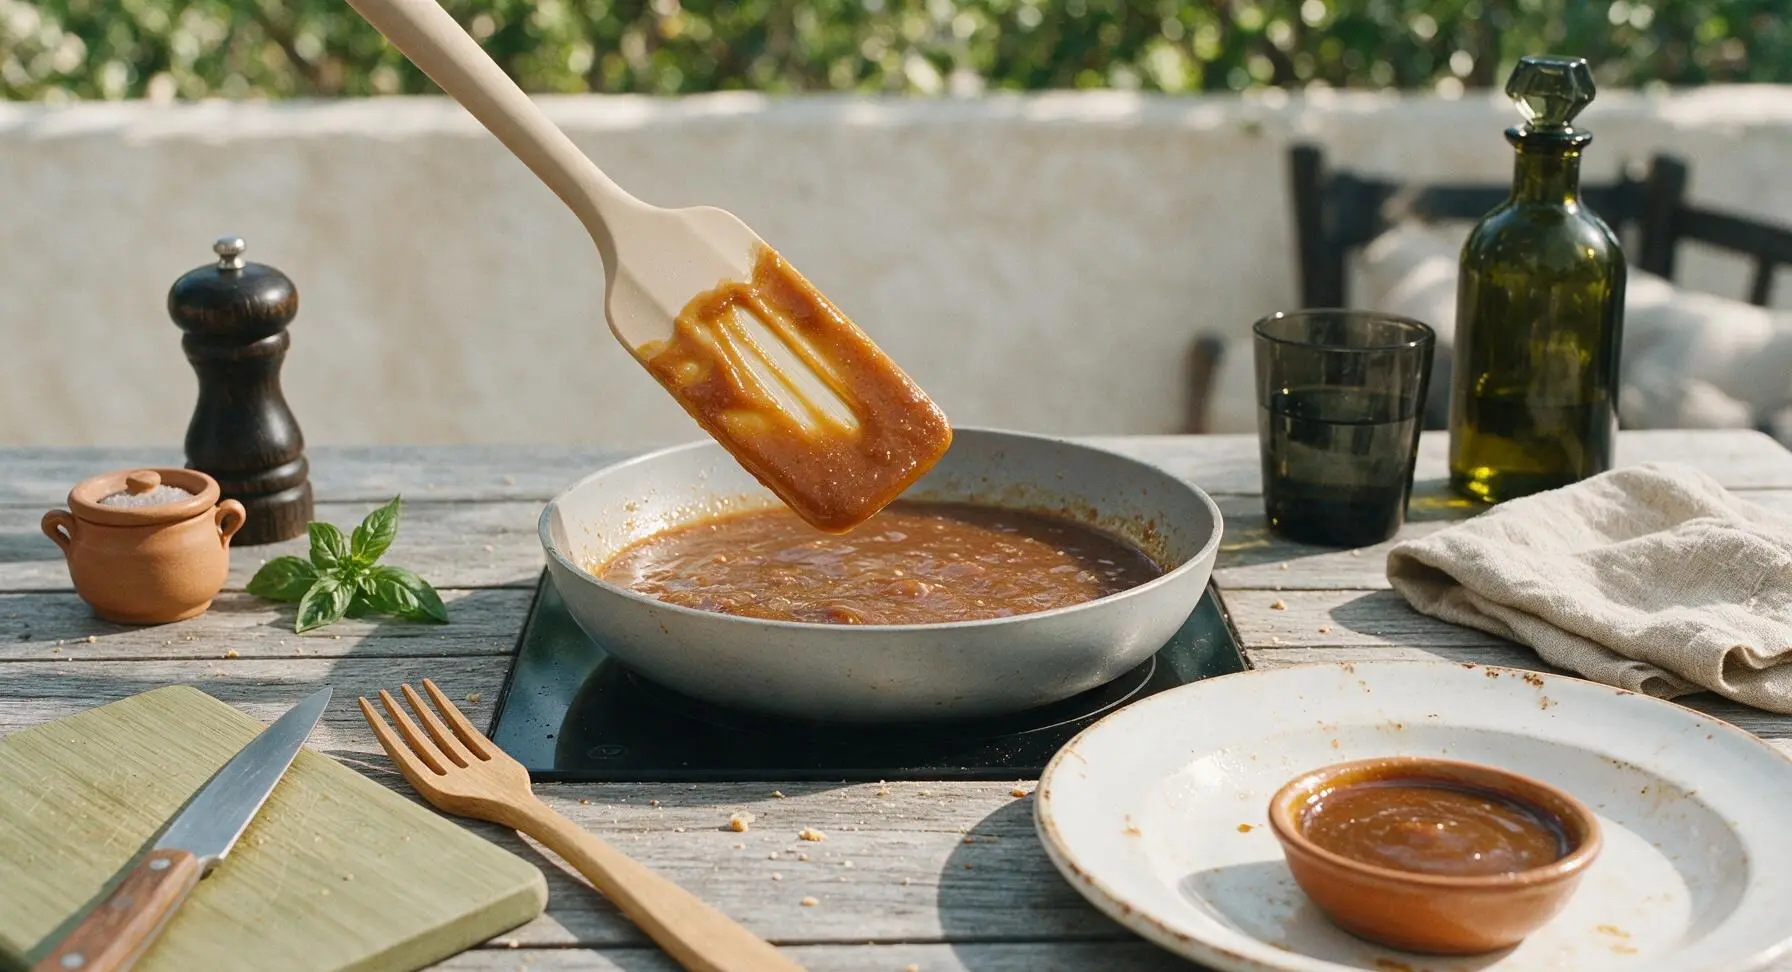
Turn the induction burner to medium-low heat (325°F / 160°C) to bring the sauce to a gentle simmer, stirring occasionally with the light beige silicone spatula. Cook for 6-7 minutes, until the sauce reduces by roughly 15% and thinly coats the back of the spatula. Do not bring to a rapid boil, as this will make the sauce overly salty and bitter. Visual cue: When you run a finger across the sauce-coated spatula, the line will hold its shape for 2 seconds before slowly running back together.
Step 4
step4:Simmer to Thicken
Step 4
step4:Simmer to Thicken
5

Strain for Smooth Texture

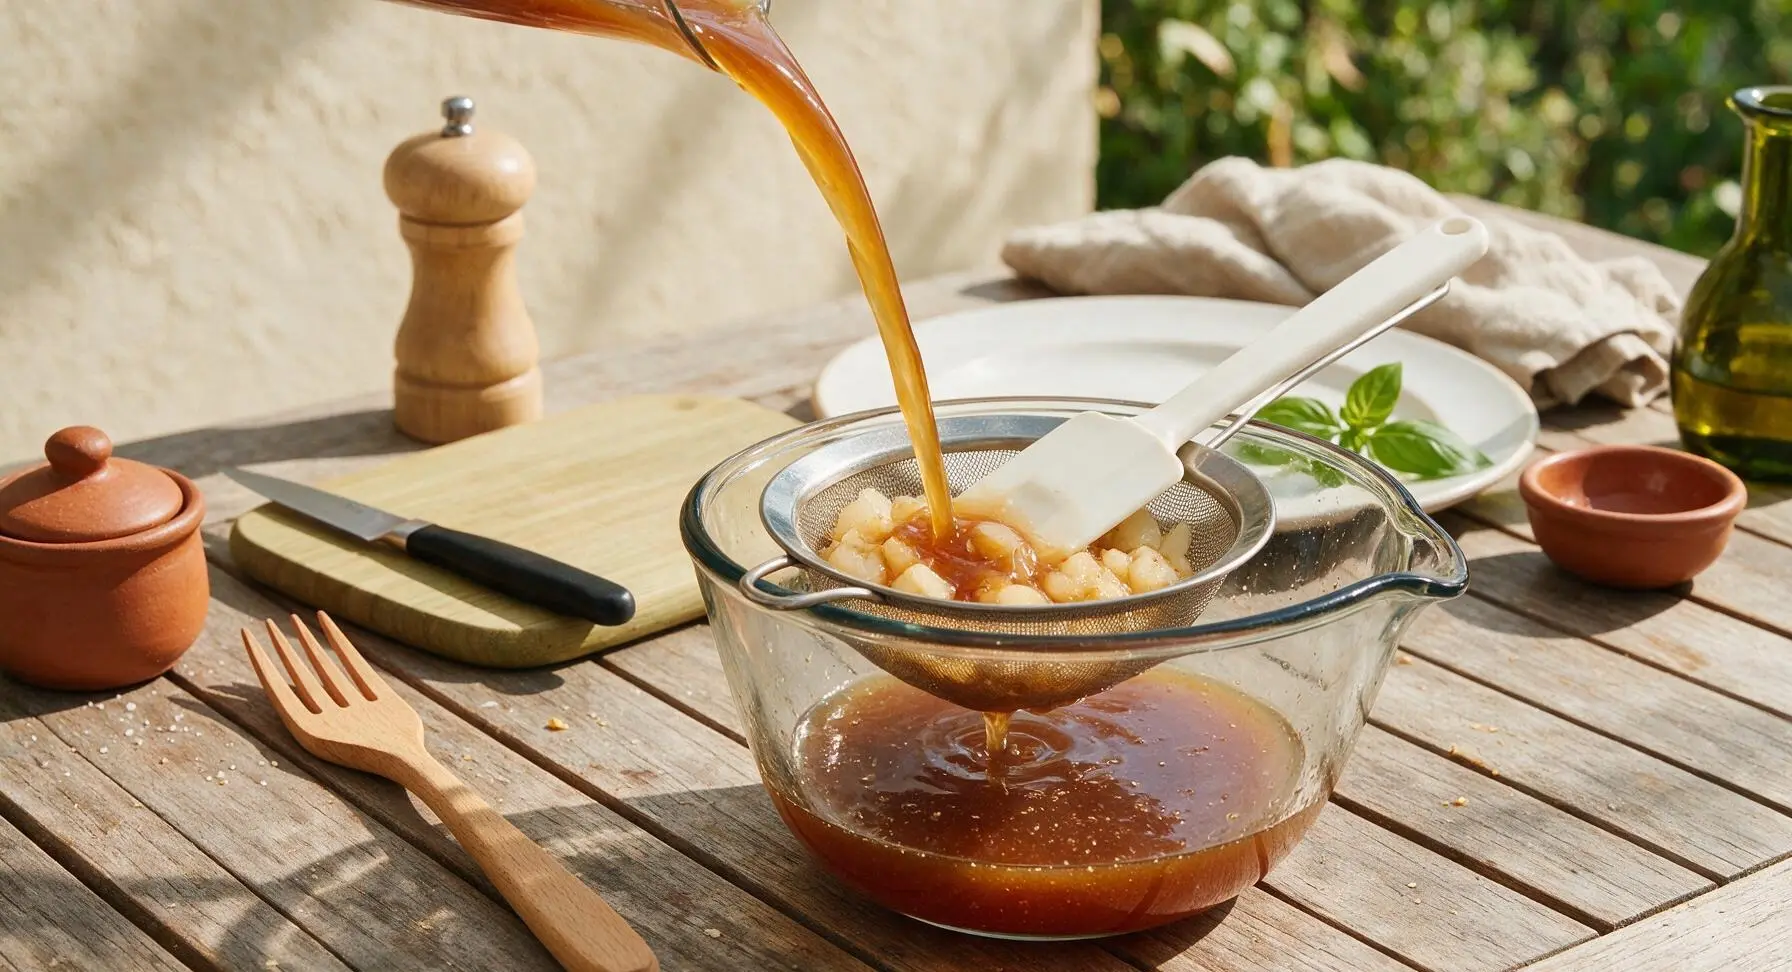
Turn off the heat, and set the fine-mesh stainless steel strainer over the thick-walled clear glass mixing bowl to the right of the burner. Pour the warm sauce through the strainer, pressing gently on the cooked garlic and pear solids with the silicone spatula to extract all flavorful liquid; discard the leftover fibrous solids. Skip this step for a rustic, home-style sauce with visible aromatic bits. Let the strained sauce cool for 5 minutes.
Step 5
step5:Strain for Smooth Texture
6

Stir in Sesame Oil

Once the sauce cools to 140°F (60°C), pour in 1 tbsp toasted sesame oil and ½ tsp ground black pepper, stirring with the silicone spatula to fully combine. Do not add sesame oil to boiling-hot sauce, as high heat will destroy its nutty aroma. Visual cue: The sauce will turn a glossy, deep amber color, with a subtle nutty fragrance rising from the bowl.
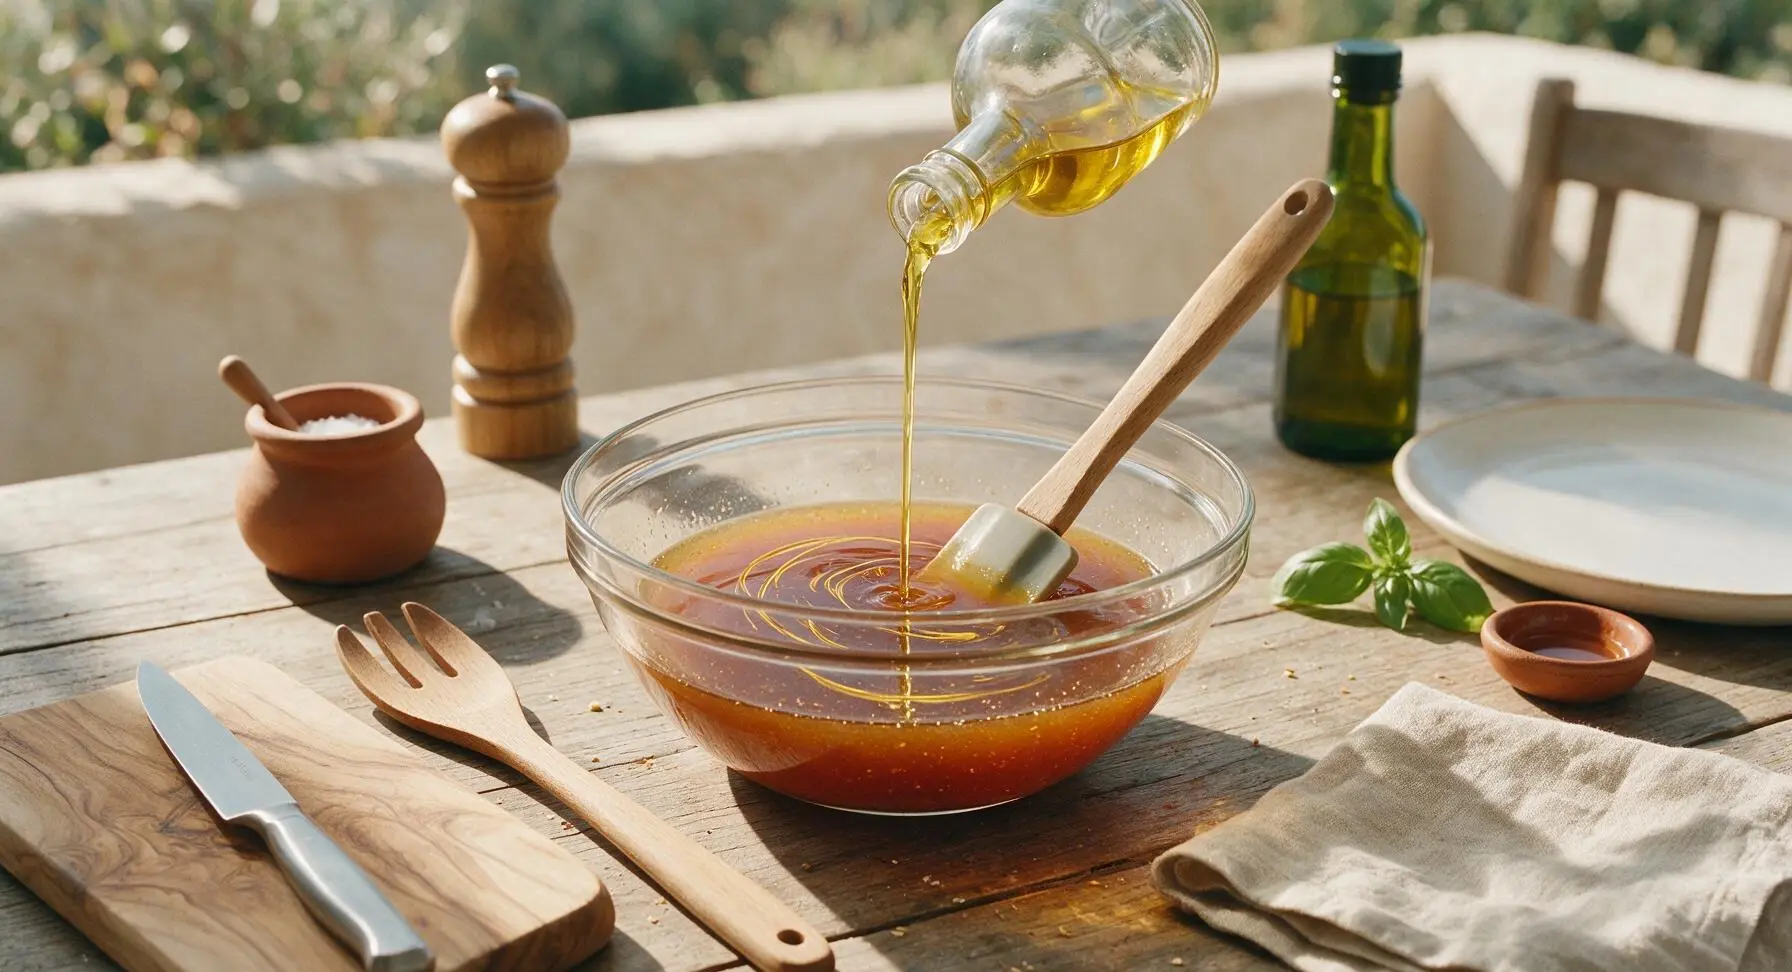
Step 6
step6:Stir in Sesame Oil
7

Garnish and Serve

Let the sauce cool fully to room temperature (about 20 minutes) before using as a marinade for thinly sliced beef, pork, or vegetables. To serve, pour the sauce into the matte cream ceramic condiment bowl, and top with 1 tsp toasted white sesame seeds and 1 tbsp thinly sliced scallion greens. Store leftover sauce in an airtight glass jar in the refrigerator for up to 2 weeks.
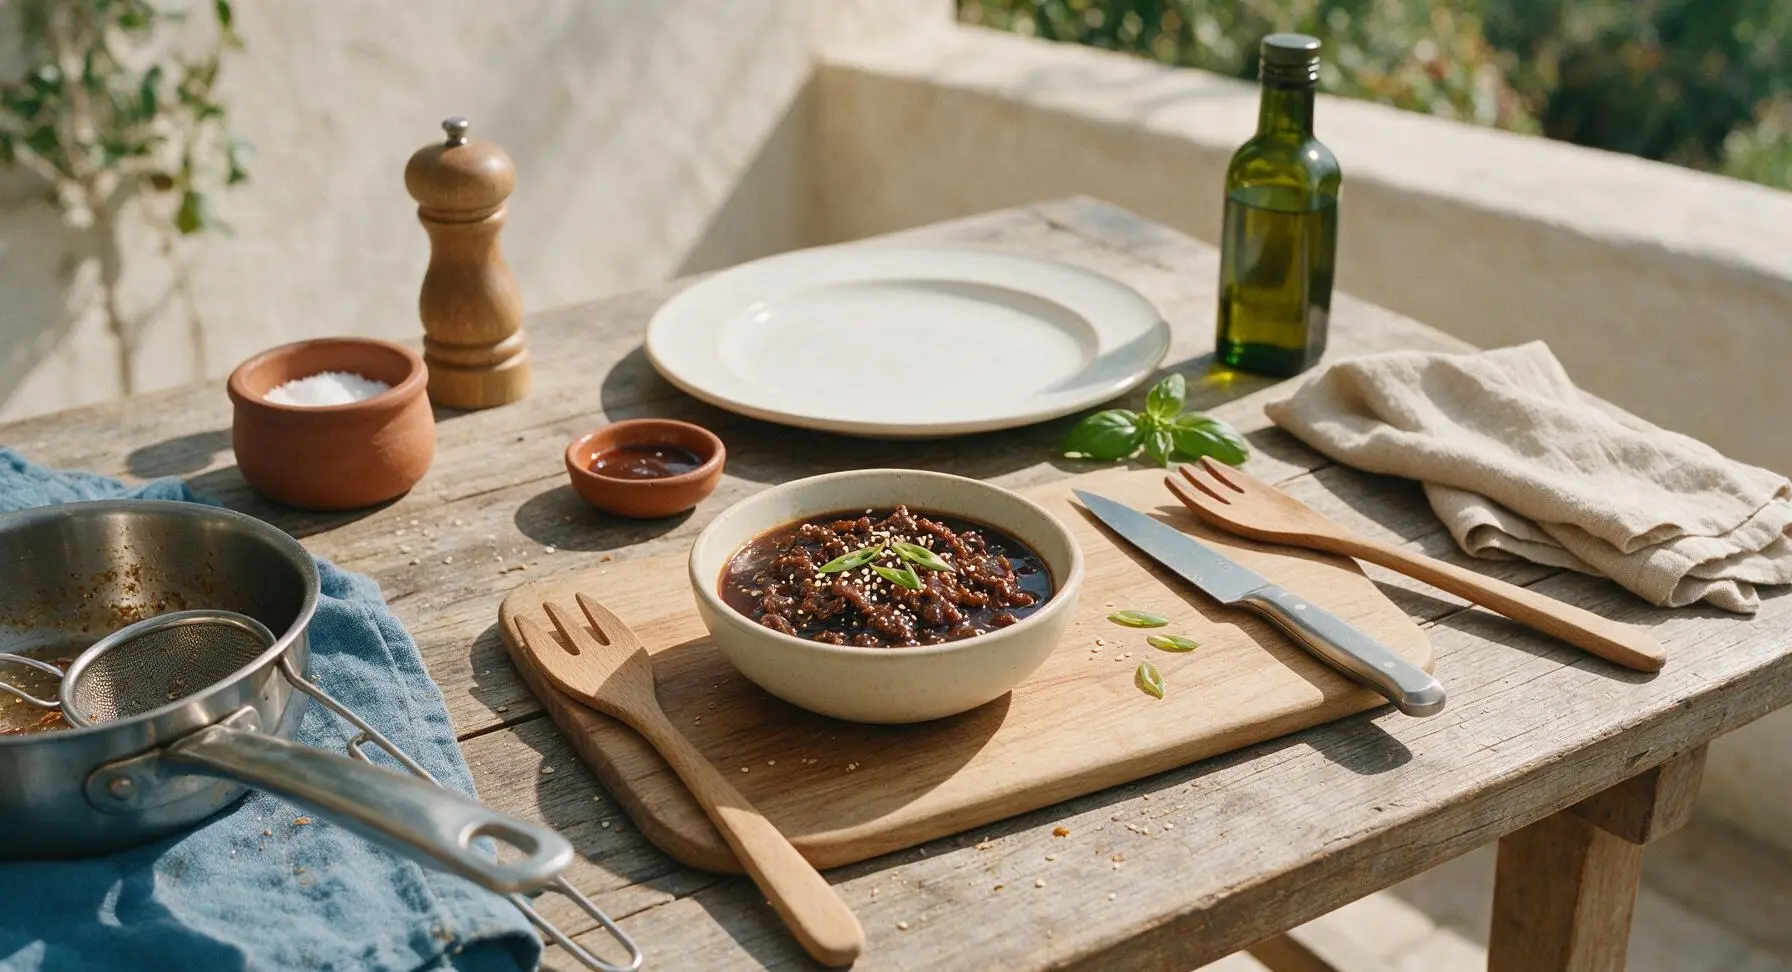
Step 7
step7:Garnish and Serve

Tips

1.Use grated Korean (or Bosc) pear instead of extra sugar for authentic flavor: the fruit adds bright, natural sweetness and contains proteolytic enzymes that tenderize thinly sliced meat, a benefit plain sugar cannot provide for softer, more flavorful bulgogi.
2.Wait to stir in toasted sesame oil until the sauce cools to 140°F (60°C): sesame oil has a low smoke point, and adding it to boiling liquid will destroy its delicate nutty aroma, leaving a flat, slightly bitter aftertaste instead of its signature warm flavor.
3.Avoid over-simmering the sauce: it will thicken noticeably as it cools, so stop cooking when it thinly coats the back of a spatula. Over-reducing creates an overly salty, sticky sauce that burns quickly when brushed on grilled meats.


✨ You May Also Like

BBQ & Grilling
🍜 United States

Tender, melt-in-your-mouth beef brisket with a crisp, spiced bark, slow-smoked to deep smoky perfection, the iconic centerpiece of Texas backyard barbecue.

⏱️ 12 hours BBQ & Grilling ★ 4.4
BBQ & Grilling
🍜 Korea

Tender, sweet-savory marinated beef short ribs, a beloved Korean BBQ staple with caramelized, slightly charred edges and deep umami flavor, perfect for outdoor summer gatherings.

⏱️ 4 hours 2BBQ & Grilling ★ 4.8
BBQ & Grilling
🍜 United States

Juicy grilled beef patties topped with smoky homemade chili, melted cheddar, and tangy pickles on toasted brioche buns for a hearty, flavor-packed handheld meal.

⏱️ 40 minuteBBQ & Grilling ★ 4.7
BBQ & Grilling
🍜 United States

A sweet, smoky, tangy BBQ sauce brightened with peak-season dark cherries, ideal for glazing grilled ribs, chicken, pork, or summer roasted veggies.

⏱️ 35 minuteBBQ & Grilling ★ 4.7
BBQ & Grilling
🍜 United States

Rich, smoky, slightly sweet homemade bourbon BBQ sauce with deep caramel notes, ideal for glazing grilled ribs, chicken, and burgers at cookouts.

⏱️ 25 minuteBBQ & Grilling ★ 4.7
BBQ & Grilling
🍜 United States

Iconic Alabama-style BBQ featuring tender hickory-smoked chicken slathered in tangy creamy white sauce, a beloved regional Southern cookout staple.

⏱️ 3 hoursBBQ & Grilling ★ 5

korean bulgogi sauce:Frequently Asked Questions

1.What makes this bulgogi sauce taste authentic compared to store-bought versions? ▾
Great question! This recipe leans into classic Korean home cooking profiles: balanced sweet-savory depth from low-sodium soy and packed light brown sugar, subtle nutty notes, and grated Korean pear that adds gentle fruity brightness and natural meat-tenderizing enzymes missing from most preservative-heavy bottled versions, with zero artificial fillers.
2.Can I use a regular pear if I can’t find Korean pear for this recipe? ▾
Absolutely! Bosc pears are the ideal recommended swap, as they have the same firm, slightly grainy texture and mild, sweet-tart flavor that mirrors Korean pear perfectly. Skip overly soft, ultra-sweet varieties like Bartlett, as they can make the sauce too watery or cloying instead of adding that subtle tenderizing fruity note.
3.How long can I store homemade bulgogi sauce in the refrigerator? ▾
When stored in a tightly sealed, clean glass jar, this sauce will stay fresh for up to 2 weeks in the fridge. Always use a clean spoon to scoop out sauce to avoid cross-contamination that causes early spoilage, and give the jar a good shake before each use since ingredients may separate as it sits.
4.Can I freeze this bulgogi sauce for later use? ▾
Yes, this sauce freezes beautifully! Pour it into a freezer-safe airtight container, leaving ½ inch of headspace to account for expansion, and it will keep for up to 3 months. Thaw it overnight in the fridge before use, and whisk thoroughly to recombine any separated ingredients before marinating or drizzling.
5.Do I have to peel the pear before grating it for the sauce? ▾
For the silkiest, most pleasant texture, I recommend peeling the pear first—pear skin can add a slightly tough, fibrous texture to the finished sauce that distracts from its smooth, balanced consistency. If you’re in a pinch, you can leave skin on, but grate on the smallest box grater holes to break up tough bits as much as possible.
6.Why does the recipe call for low-sodium soy sauce instead of regular? ▾
Low-sodium soy sauce lets you control the final sauce’s salt level much more easily, so the sweet, nutty, fruity notes don’t get overpowered by harsh, overly salty flavor. If you only have regular soy on hand, cut the amount by 2 tablespoons per cup of soy called for, replacing that volume with water to keep consistency right.
7.Can I use mirin instead of unseasoned rice wine for this recipe? ▾
Unseasoned rice wine is ideal for that clean, mild fermented depth without added sugar, but mirin works as a last-resort swap. Keep in mind mirin is sweeter than unseasoned rice wine, so cut the light brown sugar by 1 tablespoon per ¼ cup of mirin used to keep the sweet-savory balance from becoming too cloying.
8.How long should I marinate meat in this bulgogi sauce for best results? ▾
For classic thin-sliced bulgogi beef, marinate for 1 to 2 hours at room temperature, or up to 4 hours in the fridge. The natural enzymes from grated pear tenderize meat beautifully, but don’t marinate longer than 8 hours—those enzymes can break down proteins too much and leave a mushy, unpleasantly soft texture.
9.Is this sauce easy to make gluten-free with simple swaps? ▾
It absolutely is! To make a fully gluten-free version, swap regular low-sodium soy sauce for certified gluten-free low-sodium tamari, and double-check that your unseasoned rice wine is labeled gluten-free (some brands add small wheat-based additives). All other core ingredients are naturally gluten-free, so those two swaps are all you need.
10.Can I use this sauce directly as a stir-fry sauce without marinating first? ▾
Absolutely—this is one of my favorite versatile uses for it! Toss 2 to 3 tablespoons of sauce per serving of stir-fried veggies and protein into the pan during the last 1 to 2 minutes of cooking, so it coats everything evenly without burning. The sugar in the sauce caramelizes quickly, so keep heat at medium to avoid bitter notes.
11.I don’t have light brown sugar—what’s a good substitute? ▾
Packed light brown sugar adds that subtle molasses depth core to the sauce’s flavor, but you can swap it for dark brown sugar for a richer, more caramelized note, or granulated white sugar in a pinch. If using white sugar, add 1 teaspoon of molasses per cup of sugar to mimic soft brown sugar depth, and pack it for accurate measurement.
12.Do I need to cook the sauce before drizzling it over rice bowls? ▾
For food safety, yes—if you plan to drizzle it directly over cooked rice or finished dishes without cooking it with raw meat, simmer the sauce over medium-low heat for 5 minutes first, then let it cool completely. This kills potential bacteria from raw garlic or pear, and thickens it slightly so it clings better to toppings.
13.How fine should I mince the garlic for this bulgogi sauce? ▾
Aim for a very fine mince, almost a paste, so garlic distributes evenly throughout the sauce instead of leaving big, sharp, spicy raw garlic bites. If you have a microplane, that works perfectly to grate garlic directly into the sauce for a smooth, integrated garlic flavor that doesn’t overpower the other balanced notes.
14.Can I add sesame oil or sesame seeds for extra nuttiness? ▾
Definitely! A teaspoon of toasted sesame oil and a tablespoon of toasted white sesame seeds stirred in right before use adds that classic nutty, toasty note common in many restaurant-style bulgogi recipes. Add it after you’re done heating the sauce, though—high heat can make toasted sesame oil turn bitter and lose its delicate, aromatic flavor.
15.Why does the recipe use grated pear instead of pear juice or puree? ▾
Grated pear has just the right amount of fibrous texture and concentrated natural enzymes to tenderize meat, plus a subtle fresh fruit flavor that doesn’t water the sauce down. Pear puree is often too smooth and can make sauce thick and sludgy, while bottled pear juice has added sugars and a flat, cooked flavor that lacks bright, fresh notes.
16.Can I use this bulgogi sauce for proteins other than thin-sliced beef? ▾
Absolutely! It works fantastically as a marinade for chicken thighs, pork shoulder, shrimp, or even firm pressed tofu. Adjust marinating times based on the protein: marinate chicken and pork for 2 to 3 hours, shrimp for 30 minutes max, and tofu for 1 hour, to avoid over-tenderizing from pear enzymes while flavor soaks in.
17.My sauce turned out too thin—how can I fix it to the right consistency? ▾
If your sauce is too runny, simmer it over medium-low heat for 3 to 5 minutes, stirring frequently, to evaporate excess water from the grated pear. For a quicker fix, whisk a 1:1 slurry of cornstarch and cold water (start with 1 teaspoon each) into simmering sauce, and cook for 1 minute until it reaches a syrupy, spoon-coating thickness.
18.What’s a good non-alcoholic swap for the unseasoned rice wine? ▾
If you avoid alcohol, swap the unseasoned rice wine for an equal amount of low-sodium chicken or vegetable broth mixed with 1 teaspoon of apple cider vinegar per ¼ cup of broth. This adds the same mild, slightly acidic depth that rice wine contributes, without alcohol, and won’t throw off the sauce’s signature sweet-savory balance.
19.How do I keep the sauce from burning when I grill marinated bulgogi? ▾
The sugar in the sauce caramelizes and burns quickly over high grill heat, so pat marinated meat lightly with a paper towel before placing it on the grill to remove excess sauce, and keep grill grates at medium-high (not blazing hot) heat. Baste with a little extra fresh sauce only during the last 30 seconds of cooking for a glossy, caramelized finish without bitter burnt spots.

Comments (4)

2 days ago

OMG this bulgogi sauce is a total game changer! I whipped it up last night for family dinner, marinated thin-sliced ribeye for 2 hours, and even my super picky 10-year-old asked for seconds. It’s perfectly balanced — not too sweet, not too salty, has that nice subtle garlic and sesame kick. Cook time was literally 7 minutes like the recipe says, so easy even for a chaotic weeknight! I’m making a double batch next weekend for our neighborhood potluck, everyone is gonna lose their minds. 10/10 no notes.

yesterday

So glad your whole family loved it! Pro tip for the potluck: the sauce stays great in an airtight mason jar in the fridge for up to 2 weeks, so you can prep it a couple days ahead to save time. Hope your neighbors enjoy it!

yesterday

Wait, you’re bringing this to the Oak Hills neighborhood potluck too?! I made this sauce last month for a block cookout and people were practically begging for the recipe, no way we’re both showing up with bulgogi lmao. Guess it’s just gonna be an extra good potluck!

3 days ago

SO good, I’ve been buying store-bought bulgogi sauce for years and this blows every single brand out of the water. Super easy to throw together during my Sunday meal prep, I portion it out with sliced chicken and beef for the week and my work lunches have been elite. The only tiny tweak I made was adding an extra splash of sesame oil because I’m obsessed with that nutty flavor. Will absolutely be my go-to bulgogi sauce from now on.

2 hours ago

First time ever making any kind of Korean food at home, I was so nervous I’d mess it up but this recipe was so easy! Quick question though — can I use this sauce for pork bulgogi too, or is it only for beef? I have a pork shoulder in the fridge I need to use up this week and I’d hate to waste it on a bad batch.

30 minutes ago

Great question! This sauce works perfectly for pork too — pork shoulder is an amazing choice, just make sure to slice it thin against the grain and marinate for 1-2 hours before cooking for the most tender, flavorful results. So proud of you for trying homemade Korean food for the first time, hope it turns out absolutely delicious!

1 week ago

Made this last night with my teens for our weekly make-your-own rice bowl night and it was a massive hit. We used it on thinly sliced beef, sautéed mushrooms, and even tossed some roasted veggies in it and everything tasted straight-up restaurant quality. Only heads up for other folks: I accidentally used low-sodium soy sauce instead of regular, so I added a tiny pinch of flaky salt and it turned out just fine. Saved this recipe to my permanent dinner rotation folder!

5 days ago

Oh thanks for the tip about roasted veggies! I’ve only ever used this sauce on meat, never thought to toss broccoli and carrots in it too — trying that for my dinner tonight, that sounds so tasty.



