
krusteaz light & crispy belgian waffle mix

title 1
krusteaz light & crispy belgian waffle mix
⏱️ cook time 10 minutes
🍽️ servings 4
⚡ Difficulty easy

intro

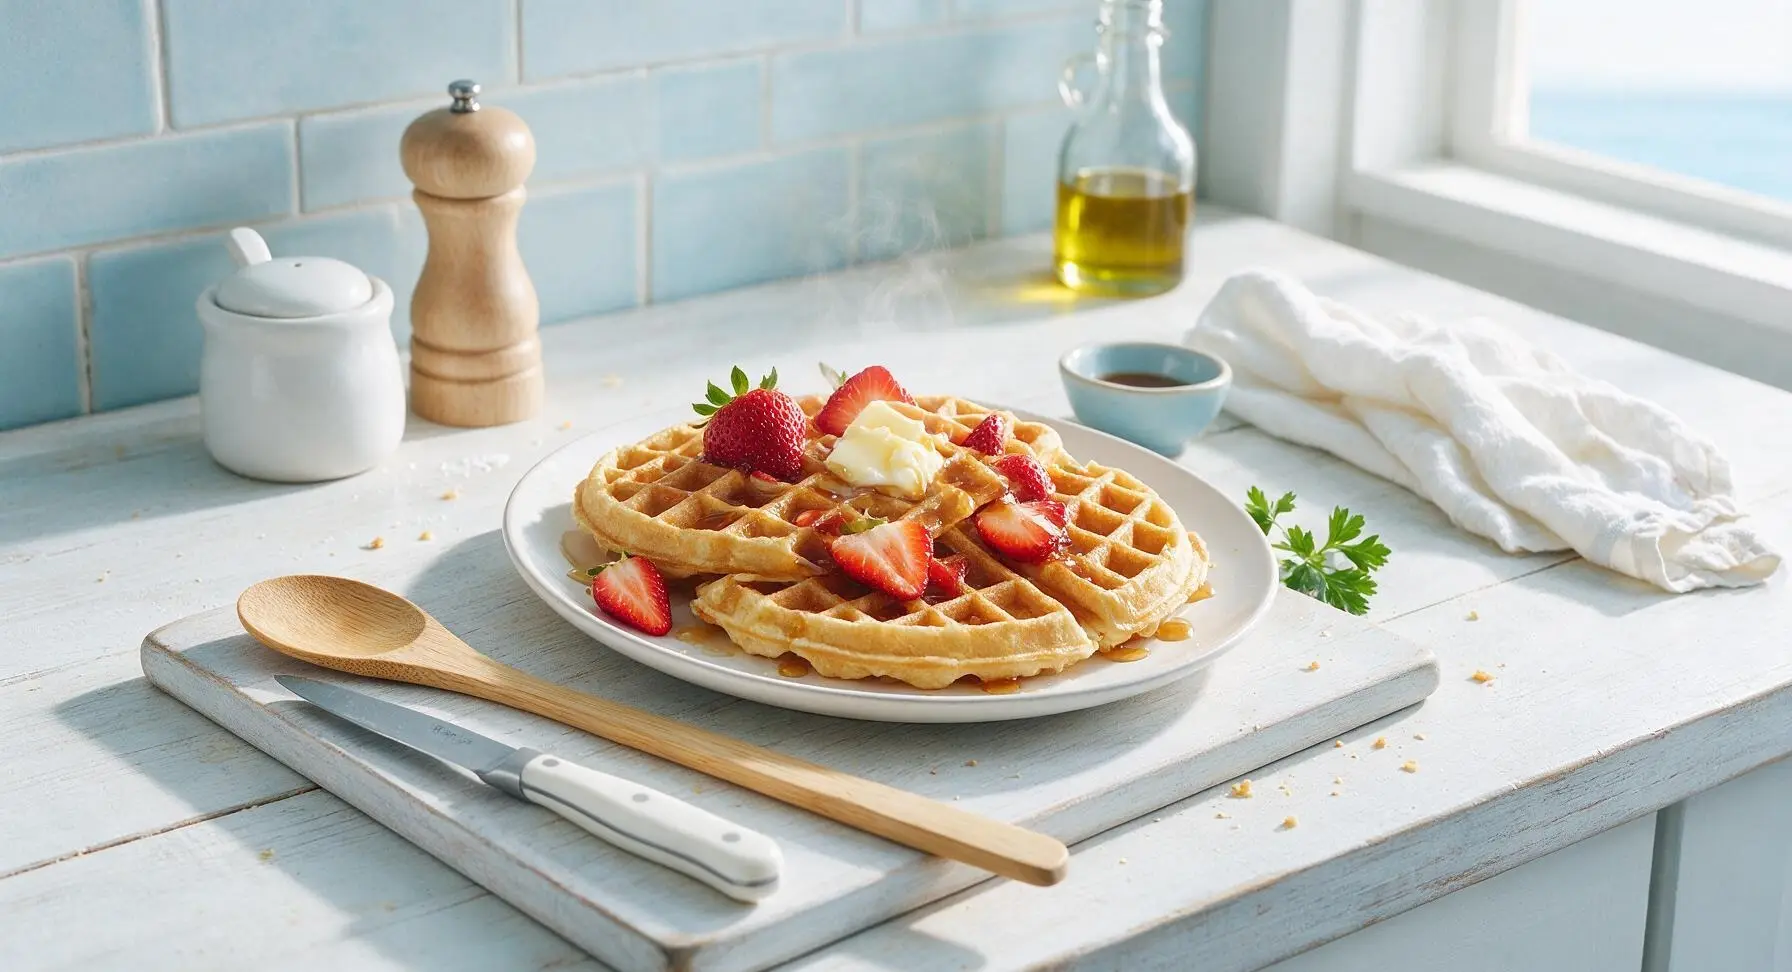
Light, shatteringly crisp golden Belgian waffles made quick with Krusteaz mix, tender in the center, perfect for topping with butter, maple syrup, and fresh spring strawberries.

Ingredients
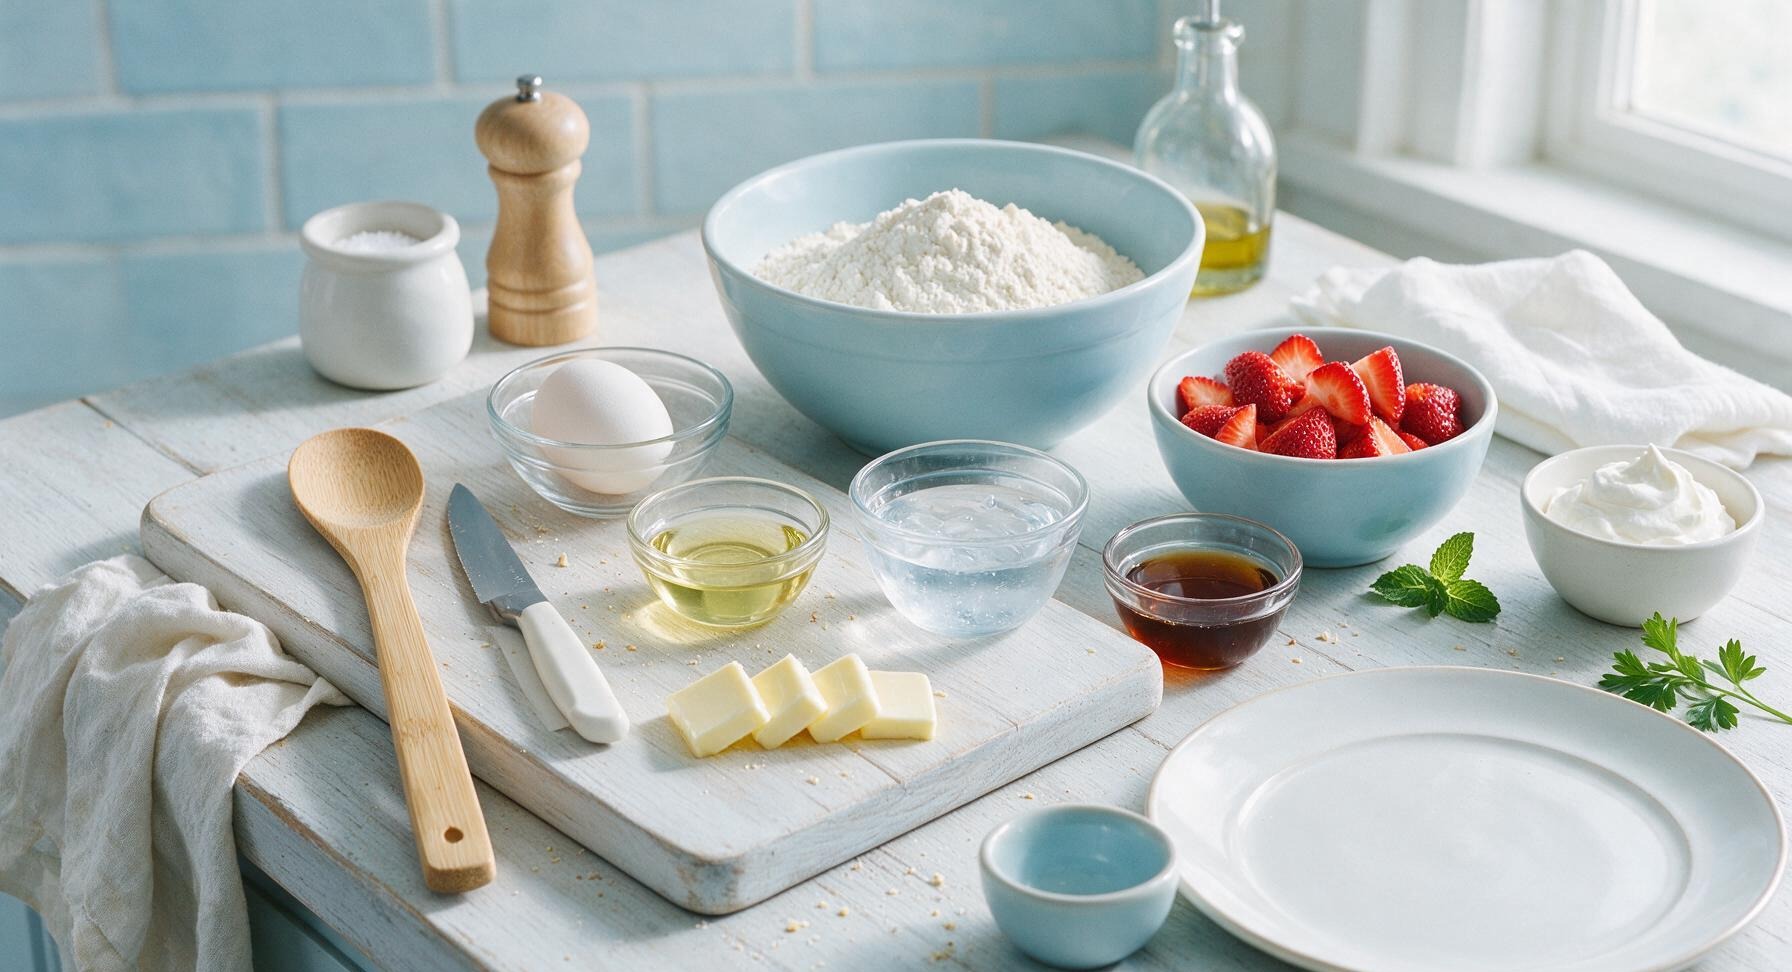
Krusteaz Light & Crispy Belgian Waffle Mix 2 cups (240g)
Large cold egg 1 whole
Neutral vegetable oil 1/3 cup (75ml)
Ice-cold water 2/3 cup (160ml)
Pure maple syrup 1/4 cup (60ml)
Salted butter 2 tablespoons (28g), cut into 4 pats
Fresh ripe strawberries 1 cup (150g), hulled and sliced
Fresh mint 2 small sprigs
Sweetened whipped cream 1/4 cup (60g)

Steps

1

Preheat Waffle Iron

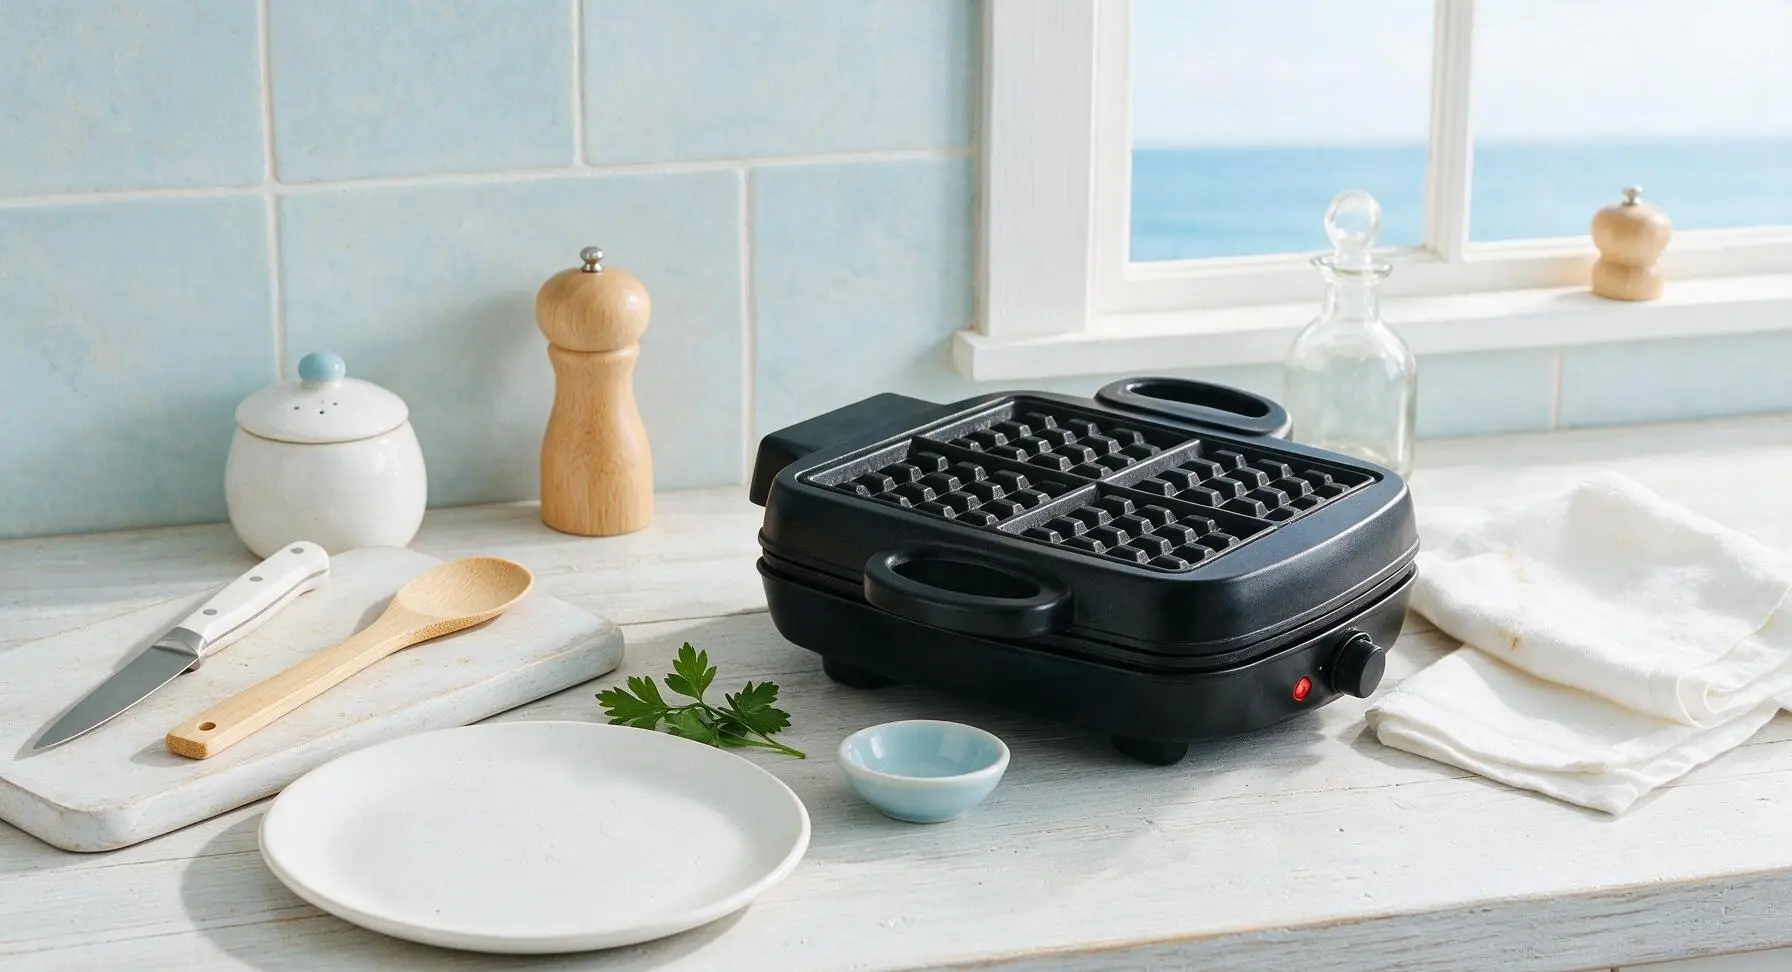
Retrieve the Belgian waffle maker and place it in its fixed center-right position on the counter. Plug it in, set the temperature dial to medium-high (375°F / 190°C), and close the lid to preheat for 5 minutes until the green ready indicator light illuminates. Wait to apply oil to the grids until just before adding batter to avoid smoking or oil buildup.
Step 1
step1:Preheat Waffle Iron
2

Combine Batter Ingredients

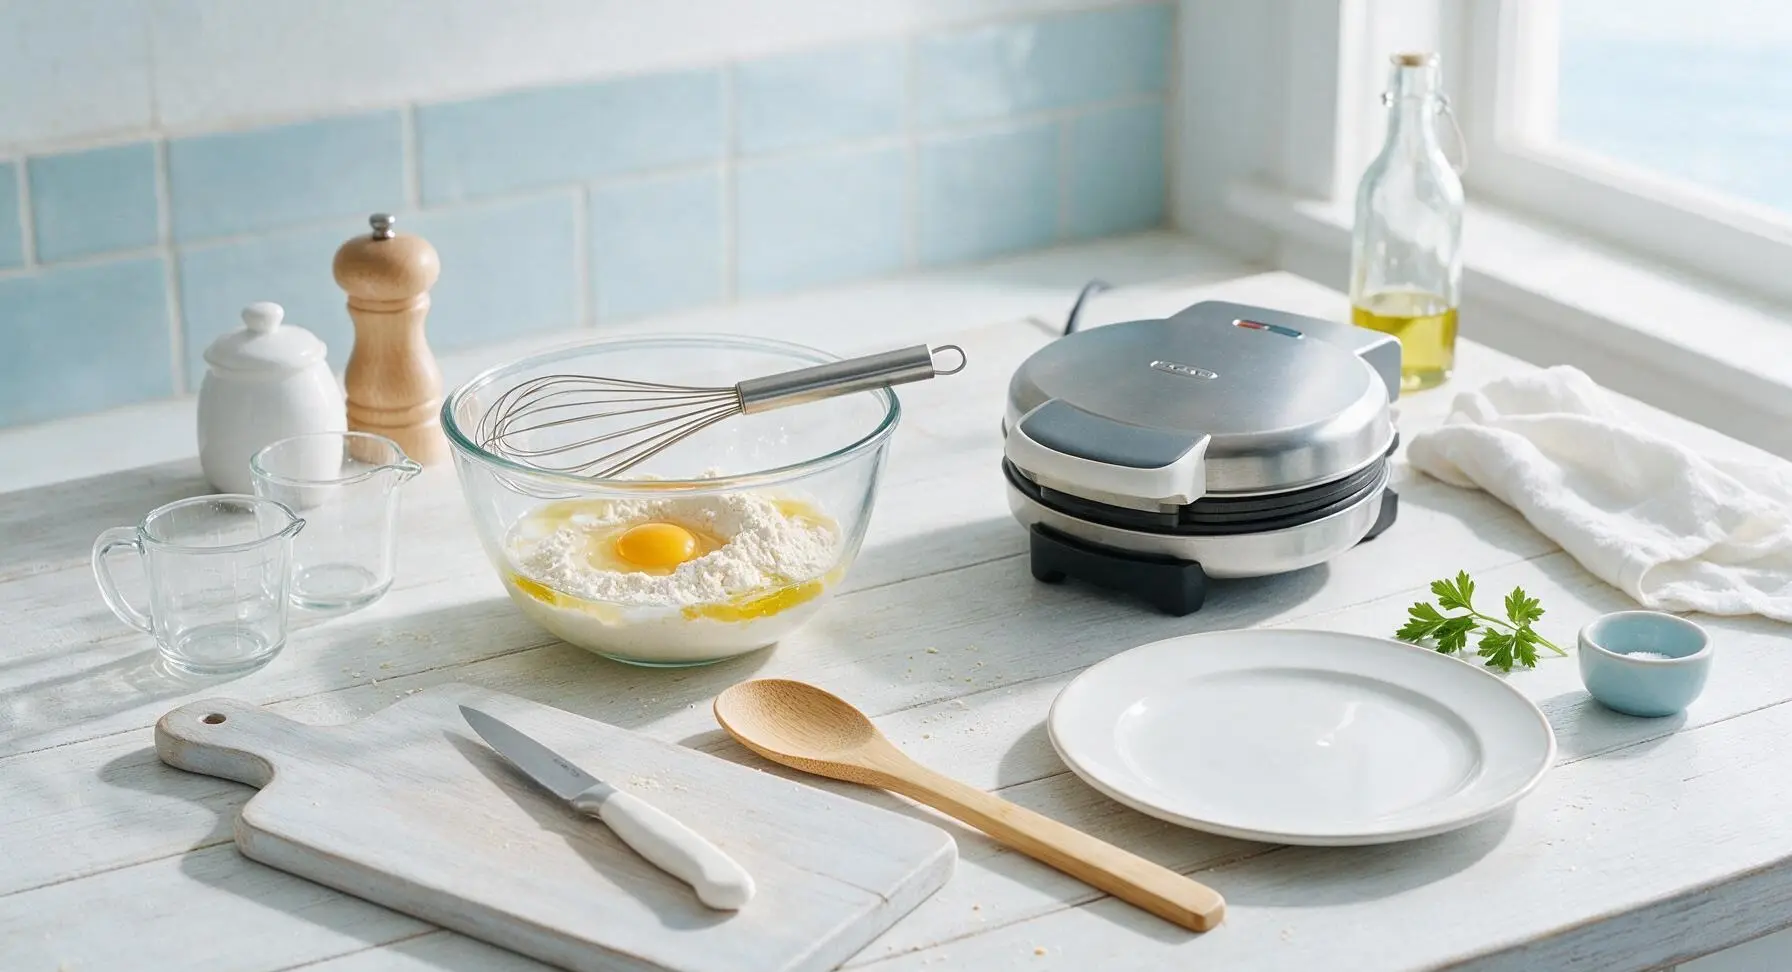
Place the clear glass mixing bowl in its fixed center-left position. Pour the full 2 cups of measured Krusteaz waffle mix into the bowl, then crack the 1 whole cold egg directly into the center, followed by the 1/3 cup neutral vegetable oil and 2/3 cup ice-cold water. Do not stir the ingredients at this point to avoid accidental over-mixing.
Step 2
step2:Combine Batter Ingredients
3

Whisk Batter Gently

Hold the wire whisk to stir the batter in slow, broad circular motions, mixing just until all dry powder is fully incorporated. Stop stirring as soon as no dry clumps of mix remain; the batter will be slightly lumpy, which creates the lightest, crispiest waffle texture. Over-mixing will develop gluten in the flour and result in tough, dense waffles, so do not stir until completely smooth. Let the batter rest for 2 minutes to thicken slightly before cooking.
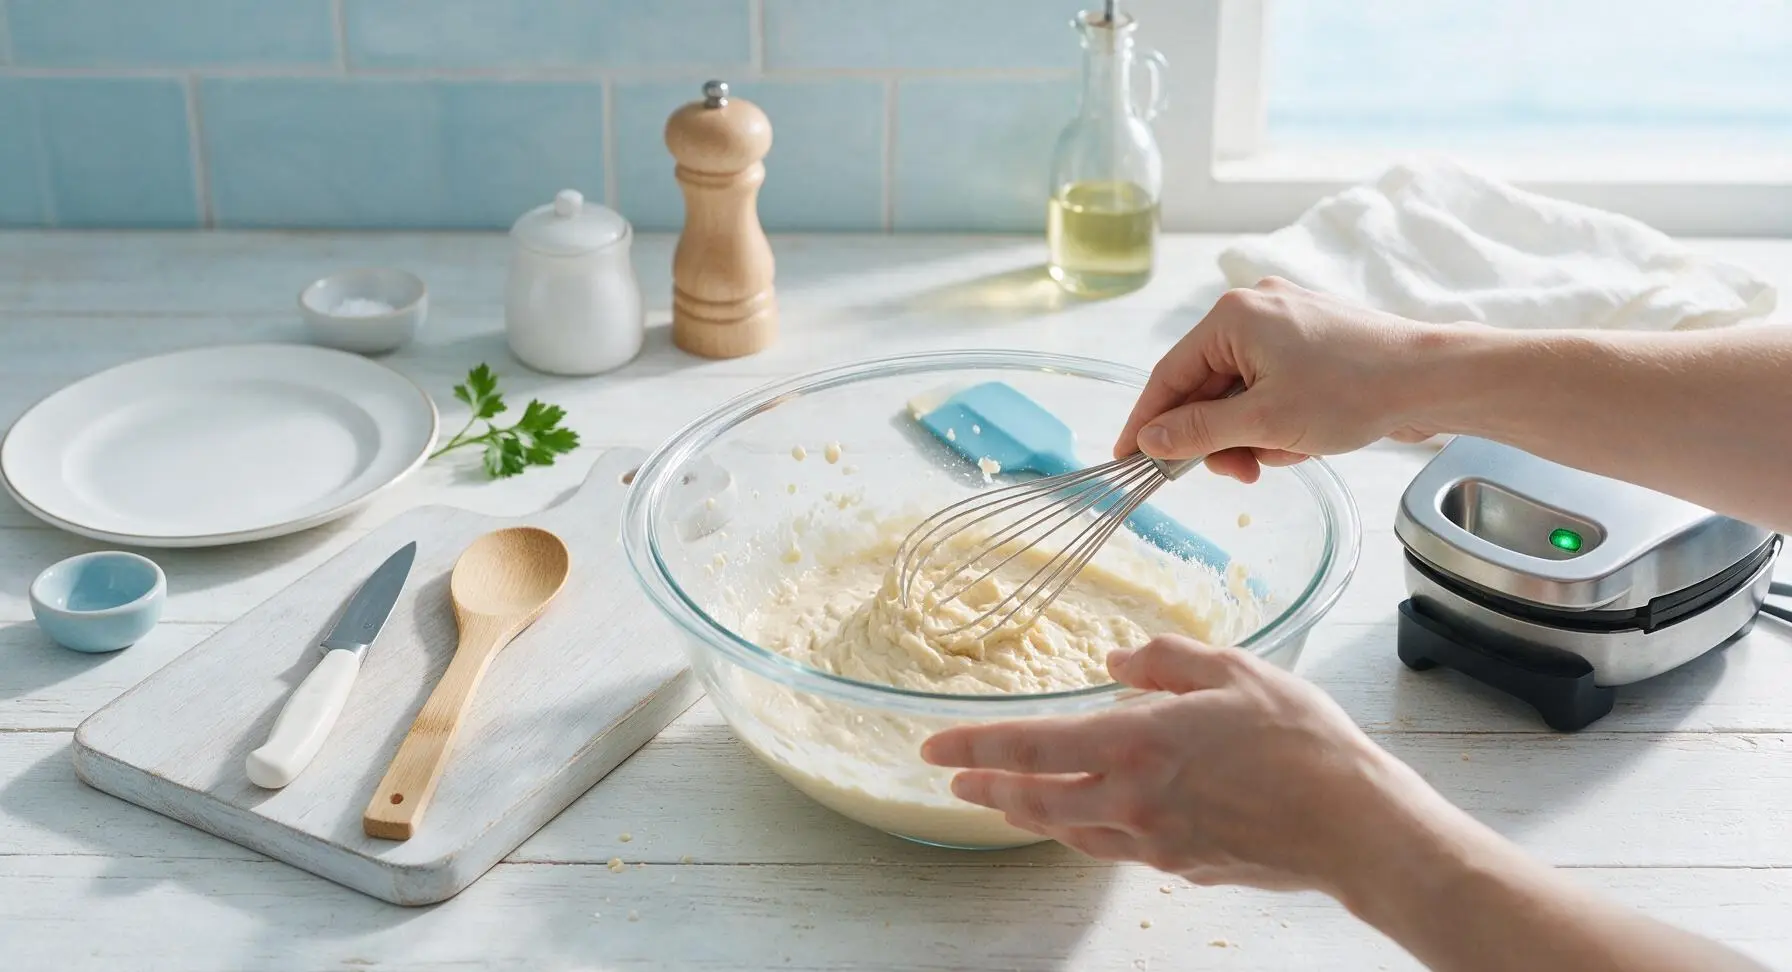
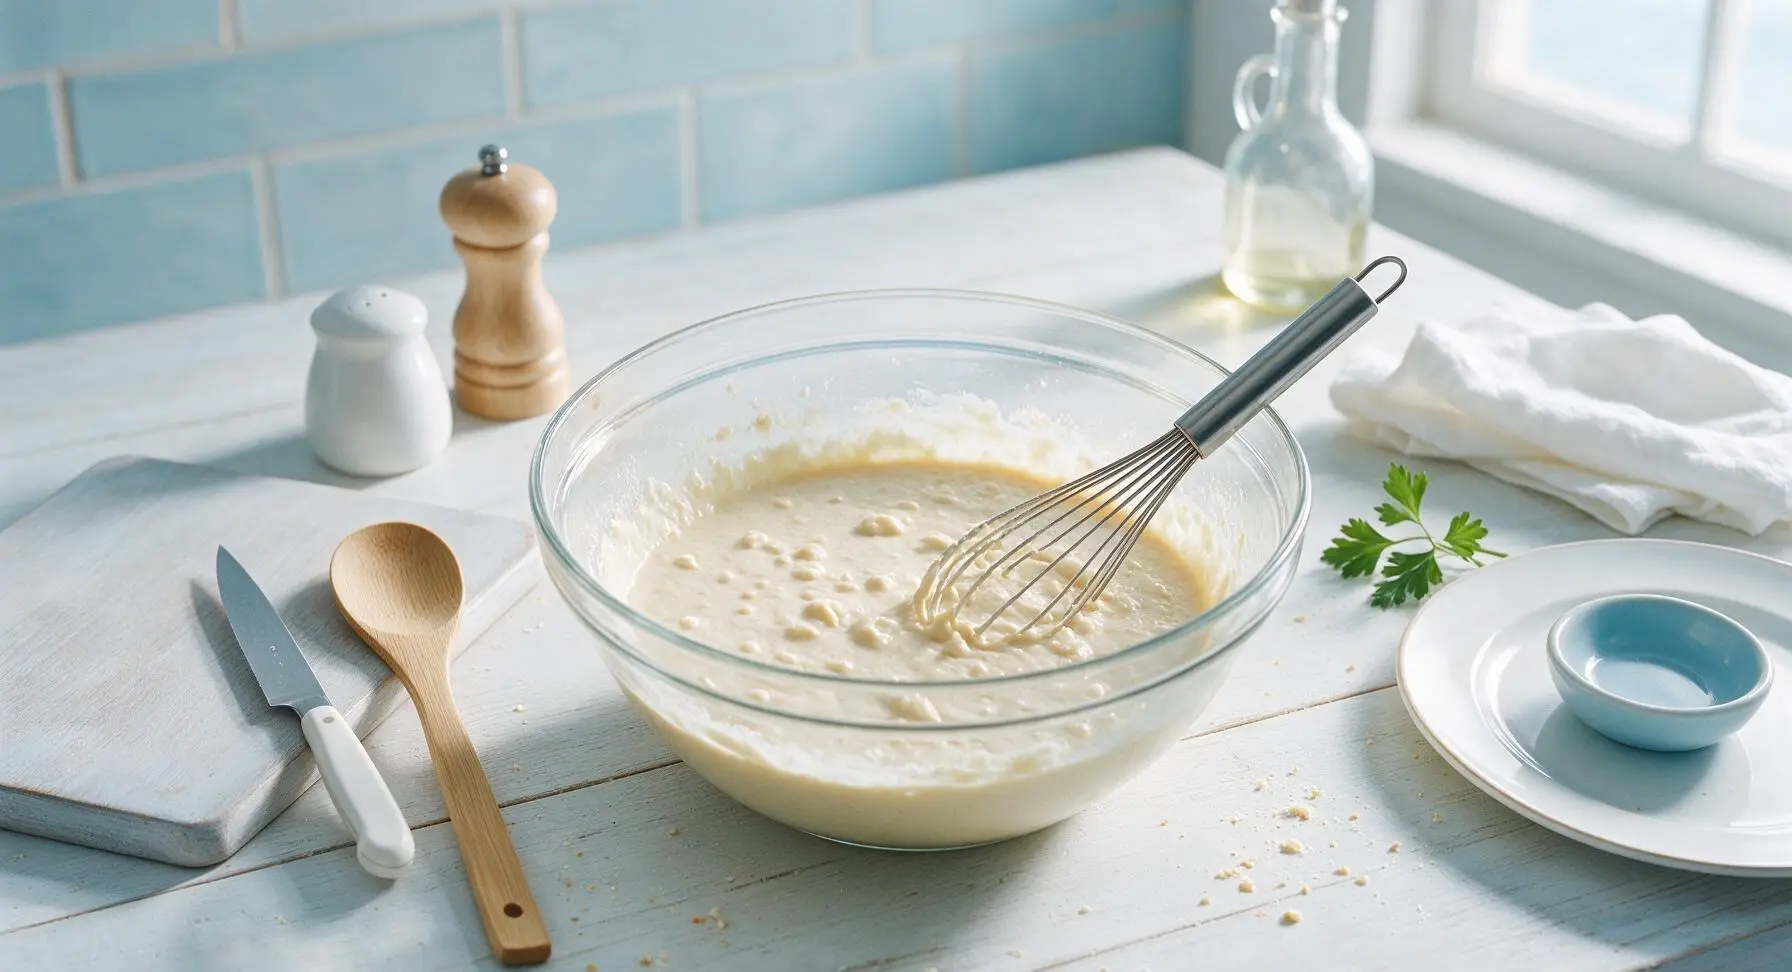
Step 3
step3:Whisk Batter Gently
Step 3
step3:Whisk Batter Gently
4

Prep Waffle Grids

Once the waffle maker is fully preheated (green light on), lift the lid to expose both non-stick grid plates. Tear a small sheet of paper towel from the fixed holder, fold it, and dab a thin layer of vegetable oil across both top and bottom grids to prevent sticking. Wipe any excess oil from the waffle maker edges with the linen towel to avoid smoking during cooking.
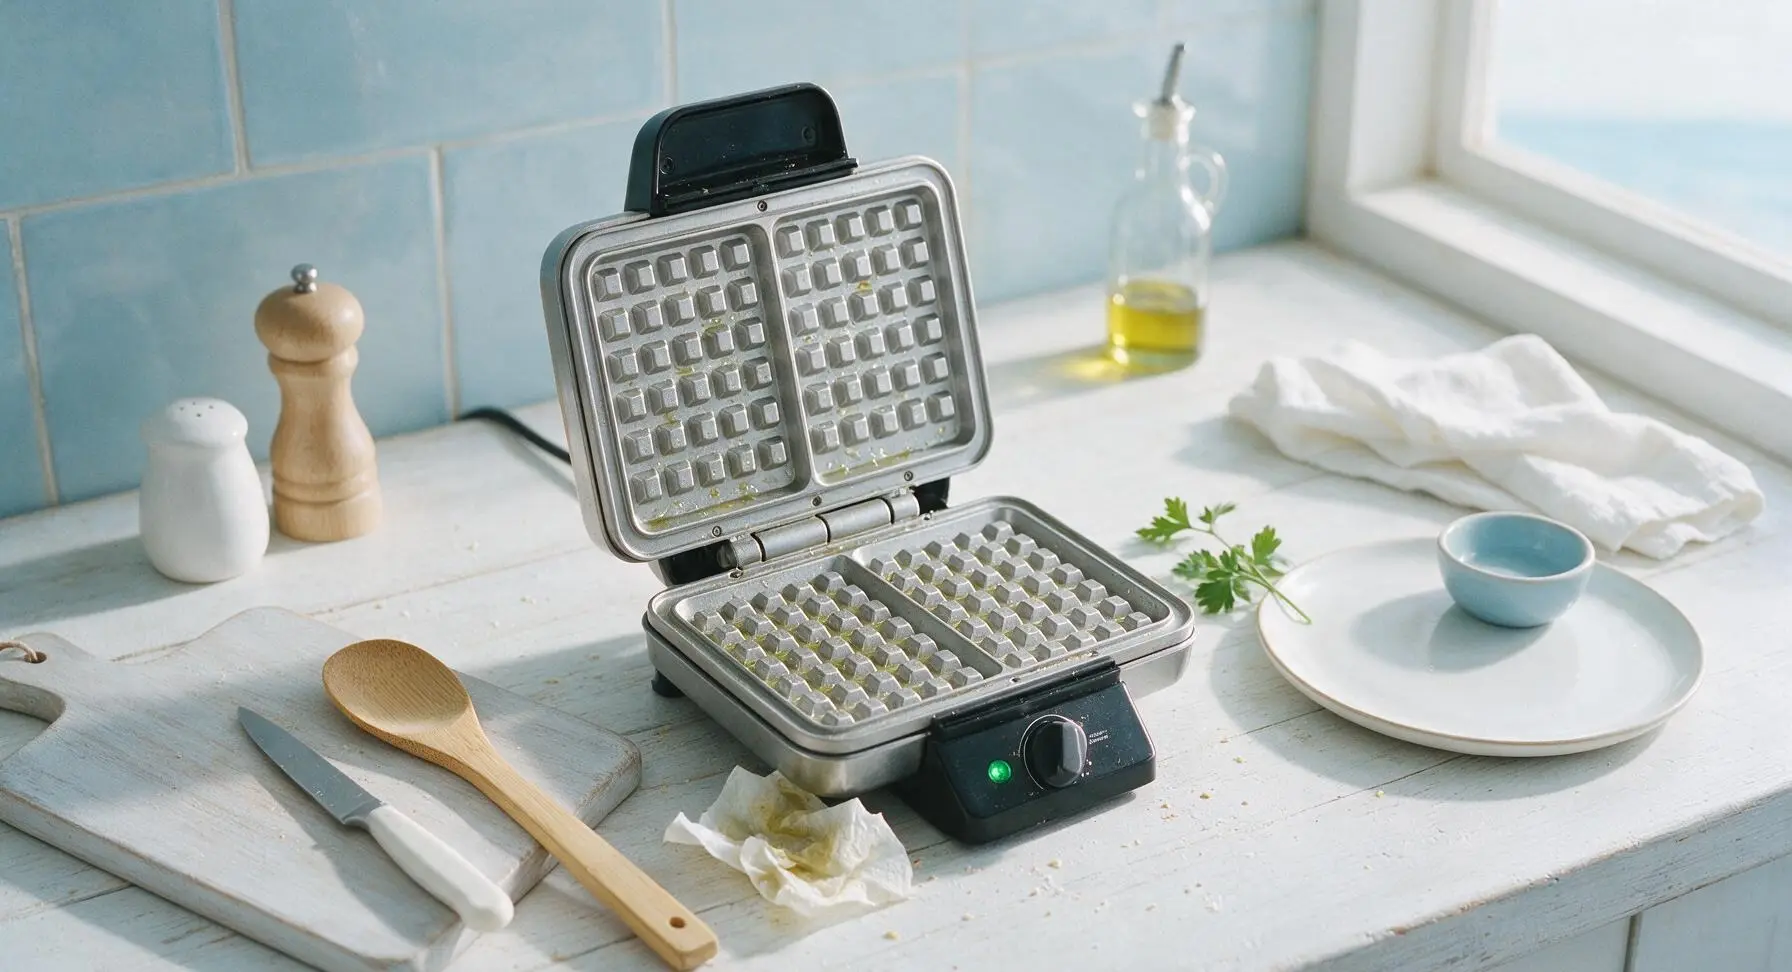
Step 4
step4:Prep Waffle Grids
5

Pour and Cook Waffles

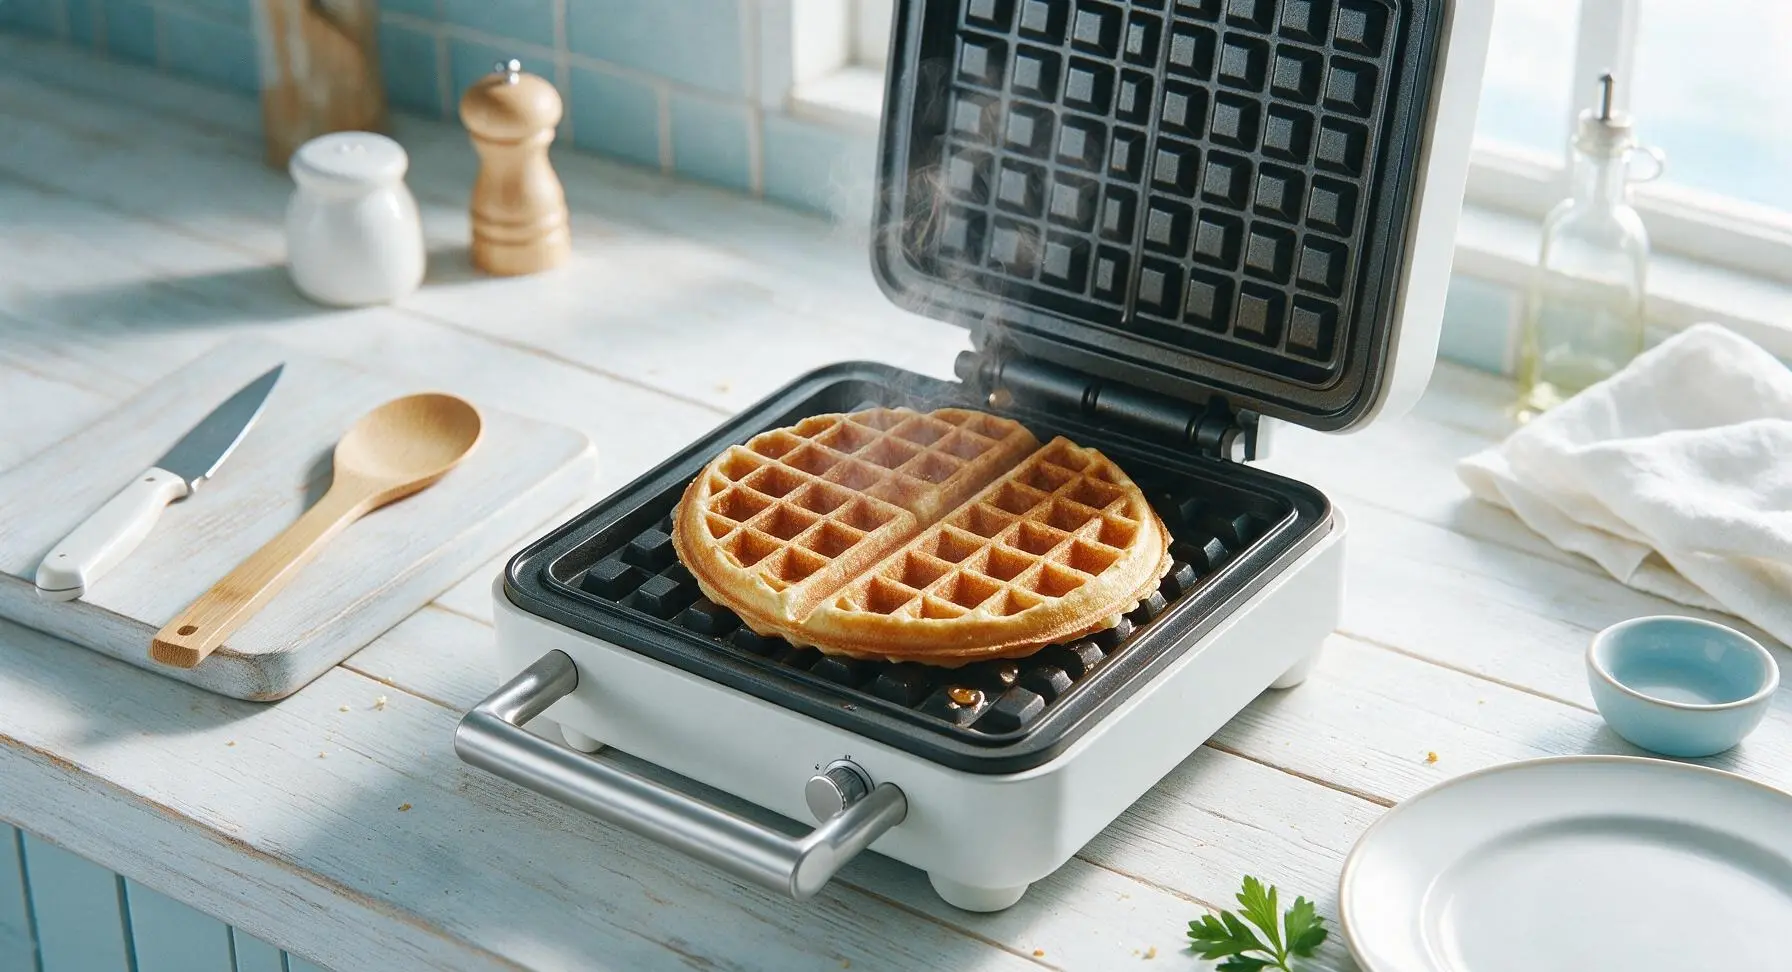
Use the sky-blue silicone spatula to scoop 1/2 cup of batter per waffle, pouring it slowly directly onto the center of the bottom waffle grid. Close the lid immediately without pressing down hard (pressing flattens waffles and removes their light, airy texture). Cook for 2 to 2.5 minutes, until no more steam escapes from the waffle maker edges and the waffle is deep golden brown and crisp. Never open the lid before the 2-minute mark, as this will cause the waffle to split and stick to the grids.
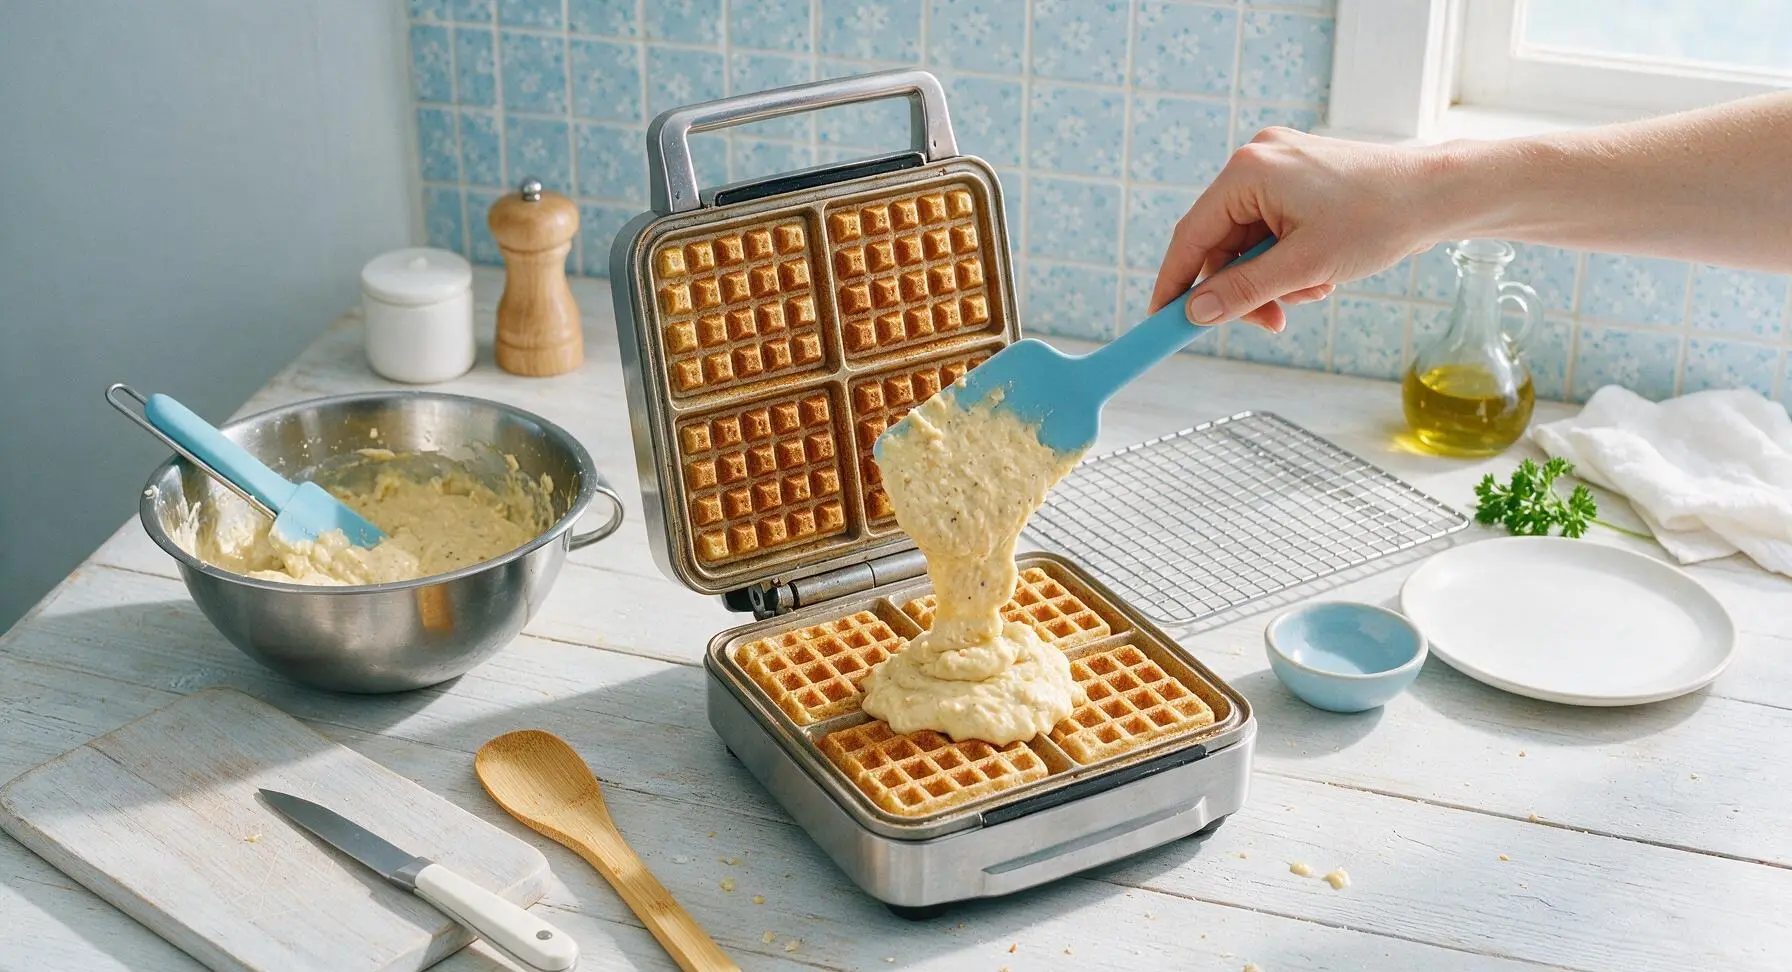
Step 5
step5:Pour and Cook Waffles
Step 5
step5:Pour and Cook Waffles
6

Rest Waffles on Rack

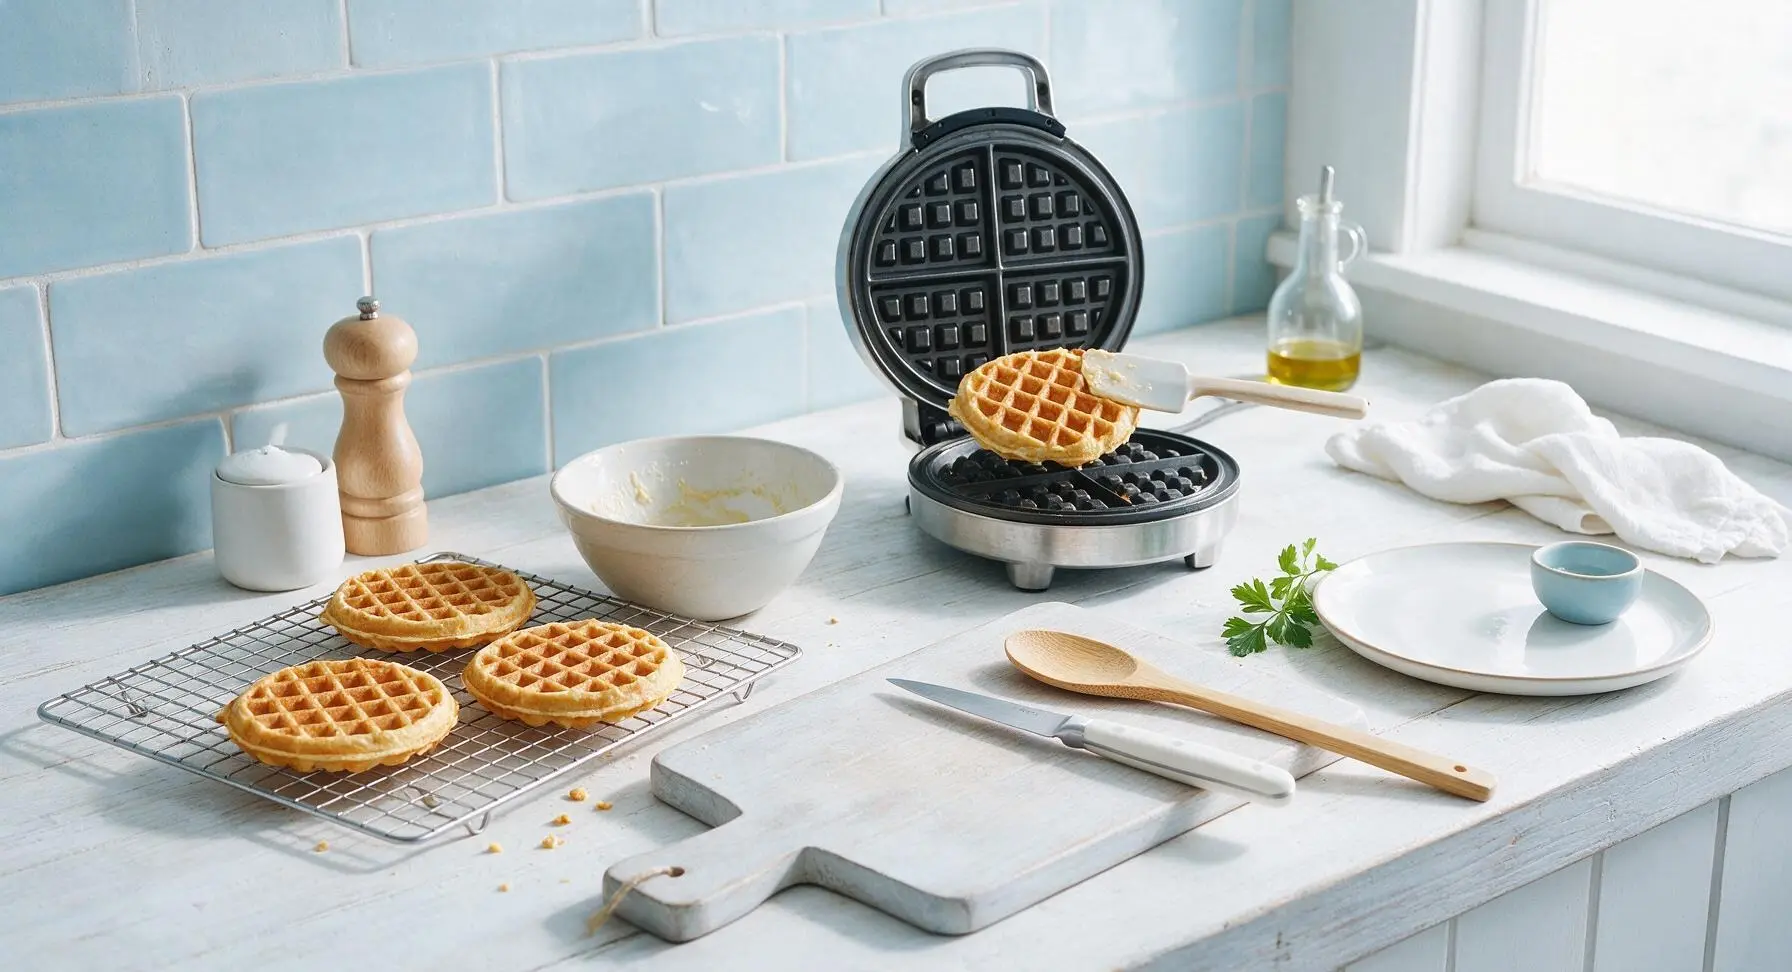
Slip the tip of the silicone spatula under the edge of the finished waffle to gently lift it from the grids, transferring it to the wire cooling rack in a single layer (do not stack waffles). Repeat the batter pour and cooking process with the remaining batter to make 4 total waffles, dabbing a fresh thin coat of oil on the grids between batches if waffles start to stick. Resting waffles on the rack allows air to circulate, keeping edges crisp instead of soggy.
Step 6
step6:Rest Waffles on Rack
7

Plate and Top Waffles

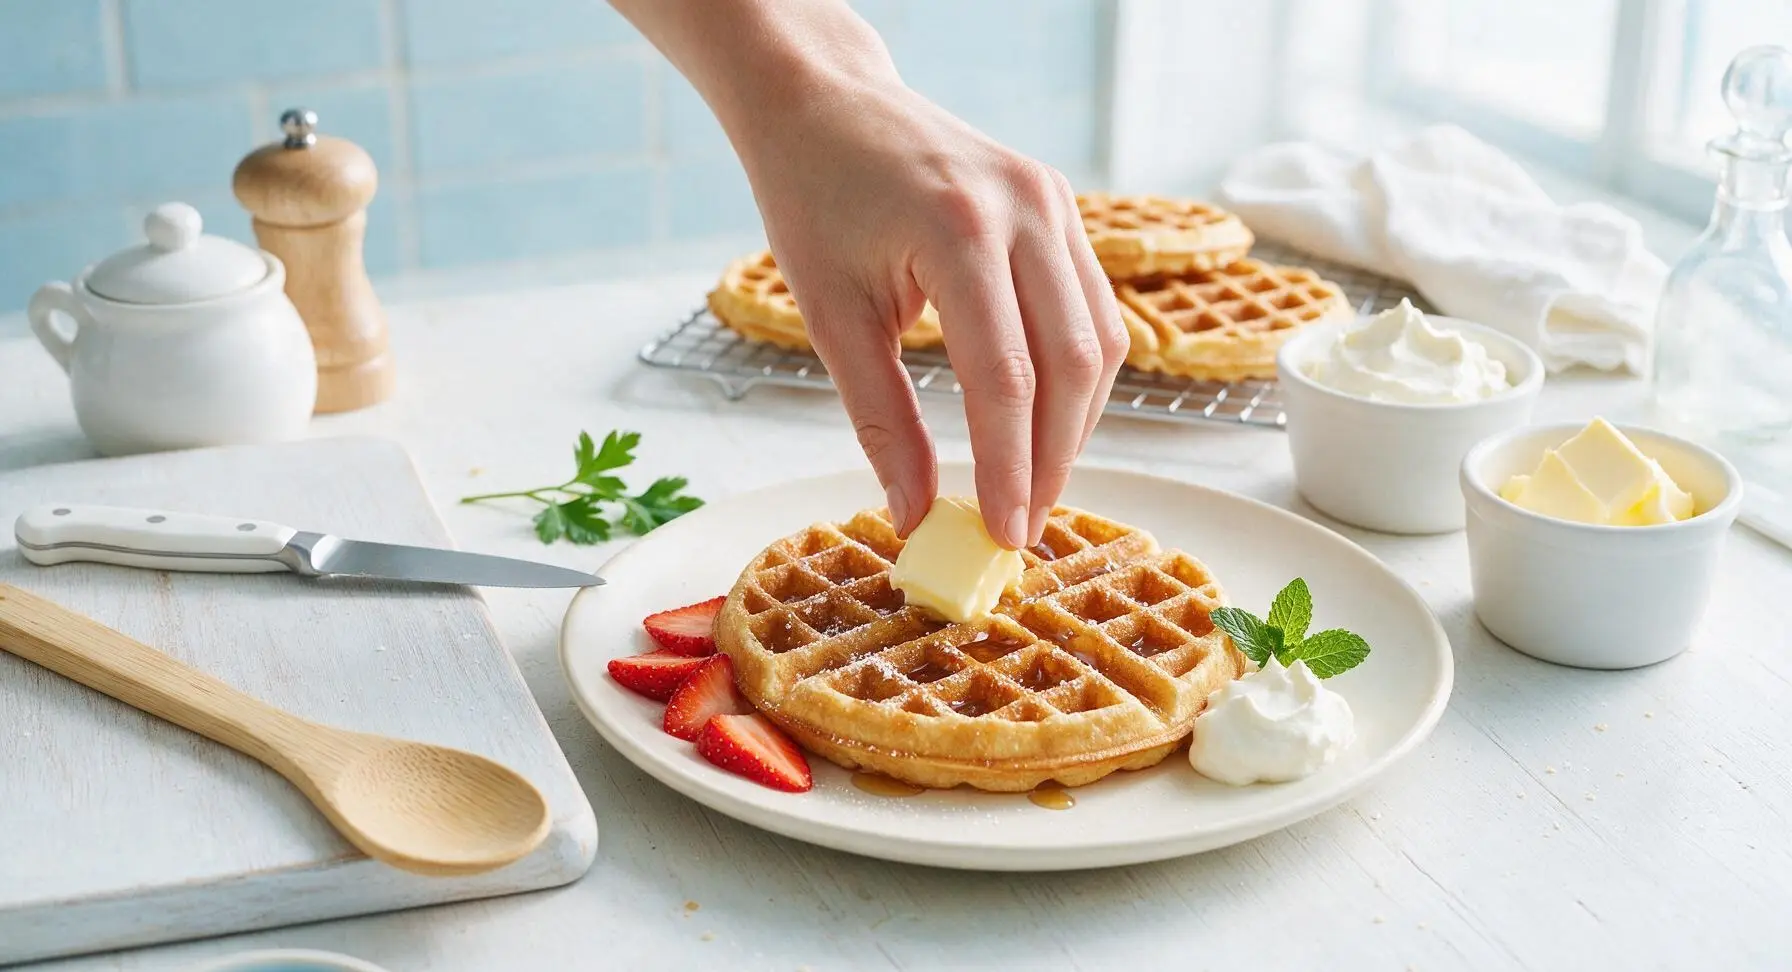
Transfer one warm, crisp waffle to the matte cream ceramic dinner plate, centering it on the plate surface. Place one pat of salted butter in the center grid well to melt, then drizzle 1 tablespoon of pure maple syrup across the waffle top. Fan 3 to 4 slices of fresh strawberry on one side of the waffle, add a small dollop of whipped cream, and tuck a tiny sprig of fresh mint next to the fruit for bright color. Serve immediately while waffles are hot and crisp.
Step 7
step7:Plate and Top Waffles

Tips

1.Use ice-cold water when mixing batter: Cold water slows gluten development in the waffle mix, resulting in lighter, airier waffles with shatteringly crisp edges instead of tough, chewy ones, and helps the batter rise quickly when it hits the hot waffle iron.
2.Avoid stacking hot waffles directly on plates: Trapped steam from freshly cooked waffles will turn crisp edges soft and soggy in seconds. Resting waffles in a single layer on a wire rack lets air circulate around all sides; for longer holding, place the rack on a baking sheet in a 200°F oven to keep waffles crisp for up to 15 minutes.
3.Resist the urge to over-mix the batter: Lumps in the batter are completely normal and desirable for this mix. Over-stirring develops wheat gluten that leads to dense, tough waffles, so stop mixing as soon as you no longer see dry powder, even if small lumps remain.


✨ You May Also Like

Breakfast
🍜 United States

Crisp-edged, fluffy lard griddle cakes are a nostalgic homestyle staple, with rich savoriness from rendered lard, perfect topped with maple syrup or savory gravy.

⏱️ 25 minuteBreakfast ★ 4.8
Breakfast
🍜 United States

Flaky, buttery homemade buttermilk biscuits smothered in creamy, peppery pork sausage gravy: a beloved, hearty Southern American comfort food classic.

⏱️ 35 minuteBreakfast ★ 4.8
Breakfast
🍜 United States

Golden, custardy brioche stuffed with sweet cream cheese and fresh berries, pan-fried to crisp perfection. An indulgent, cozy breakfast perfect for slow weekend mornings.

⏱️ 30 minuteBreakfast ★ 4.7
Breakfast
🍜 United States

Flaky, buttery Southern-style biscuits stuffed with savory salty country ham, a portable, satisfying classic perfect for casual on-the-go meals.

⏱️ 25 minuteBreakfast ★ 4.8
Breakfast
🍜 United States

Iconic puffy baked pancake popularized in Seattle, with crisp golden edges and soft custardy center, served warm with classic sweet toppings.

⏱️ 35 minuteBreakfast ★ 4.6
Breakfast
🍜 United States

Fluffy, golden pancakes studded with juicy peak-summer mixed berries, drizzled with maple syrup for a bright, comforting, crowd-pleasing family breakfast.

⏱️ 25 minuteBreakfast ★ 4.7

krusteaz light & crispy belgian waffle mix:Frequently Asked Questions

1.Why does this recipe call for ice-cold water instead of room-temperature water? ▾
That ice-cold water is non-negotiable for that signature light, crisp texture! It slows excess gluten development in the mix so waffles don’t turn tough or chewy, and helps the batter steam fast when it hits the hot waffle iron, creating that shattery golden crust and fluffy, tender center we all love.
2.Can I use melted butter instead of neutral vegetable oil for these waffles? ▾
You absolutely can, for a richer, more indulgent buttery flavor! Just note melted butter has a lower smoke point than neutral vegetable oil, so give your waffle iron grids a light extra spritz of nonstick spray to prevent sticking, and expect a slightly deeper golden, more richly flavored crust instead of the classic neutral crisp.
3.Why does the recipe specify a cold large egg instead of a room-temperature one? ▾
The cold egg works with the ice-cold water to keep the overall batter temperature low, which cuts down on over-mixing related gluten development and helps waffles rise light and tall when they hit the hot iron. A room-temperature egg won’t ruin the recipe, but you’ll get slightly less crisp, less fluffy results overall.
4.How do I know when my waffle iron is hot enough to pour the batter? ▾
The easiest, most reliable test is to sprinkle a single drop of cold water onto the center of the preheated grid: if it sizzles, skitters across the surface, and evaporates in 2 to 3 seconds, it’s perfectly ready. If it sits and bubbles slowly, give the iron 1 to 2 more minutes of preheat time to avoid soggy, stuck waffles.
5.How much batter should I pour per Belgian waffle to avoid messy overflow? ▾
For standard 7-inch Belgian waffle irons, pour ¾ to 1 cup of batter right into the center of the lower grid, then close the lid without pressing down hard. Overpouring is the #1 cause of messy batter overflow—you can always add a tablespoon extra next time if your first waffle doesn’t spread all the way to the edges.
6.Can I add mix-ins like chocolate chips or blueberries to this batter? ▾
Definitely! Fold ½ cup of your chosen mix-in (mini chocolate chips, fresh blueberries, chopped toasted pecans, or even lemon zest) into the batter right before cooking, after you finish mixing. Avoid over-stirring, and toss fresh berries in a tiny pinch of flour first to keep them from sinking to the waffle bottom.
7.How long do I cook these waffles to get that perfect crisp exterior? ▾
For most standard Belgian waffle irons set to medium-high heat, cook for 3 to 4 minutes, until steam stops pouring out from the edges of the iron and the lid lifts easily without sticking. Resist the urge to peek too early—opening the lid before 2 and a half minutes can cause partially set waffles to split and stick.
8.My waffles come out soft and soggy instead of crisp—what am I doing wrong? ▾
The two most common culprits are a waffle iron that isn’t fully preheated, or over-mixing the batter until it’s completely smooth. Lumpy batter is good! Also, don’t stack finished waffles on a plate right away—prop them on a wire rack in a 200°F oven to keep them crisp while you cook the rest.
9.Can I make this batter ahead of time for weekend brunch prep? ▾
You can mix the dry waffle mix with the oil and cold egg, then store it sealed in the fridge for up to 12 hours, but wait to stir in the ice-cold water right before you’re ready to cook. If you mix water in too early, the leavening in the mix will fizz out, leading to flat, dense waffles instead of light, tall ones.
10.Can I use a regular thin waffle iron instead of a Belgian waffle iron for this mix? ▾
Absolutely! Just adjust your batter amount to ½ to ⅔ cup per waffle, since regular waffle irons have shallower grids. Cook time will be slightly shorter, around 2 to 3 minutes, and you’ll still get that same light, crisp texture—you just won’t have the deep, syrup-catching pockets classic to Belgian waffles.
11.Are these waffles freezable for quick weekday breakfasts? ▾
They freeze beautifully! Let cooked waffles cool completely to room temperature on a wire rack, then stack them between sheets of parchment paper and store in a sealed freezer bag for up to 3 months. Reheat straight from frozen in a toaster or 350°F oven for 5 minutes to bring back that crisp texture, no thawing needed.
12.Do I need to spray my waffle iron with nonstick spray even if it has a nonstick coating? ▾
It never hurts to do a very light spritz of neutral nonstick spray before the first waffle, even on high-quality nonstick irons, because the small amount of sugar in the waffle mix can caramelize and cause sticking over multiple batches. Skip heavy sprays, though—they leave a gummy, hard-to-clean residue on grids over time.
13.The recipe says to avoid over-mixing the batter—how lumpy should it actually be? ▾
Aim for batter that’s just combined, with plenty of small, pea-sized lumps remaining throughout, after no more than 10 to 15 seconds of gentle stirring with a whisk or fork. If you stir until the batter is completely smooth, you’ll develop too much gluten, leading to tough, chewy waffles instead of tender, crisp ones.
14.Can I use plant-based milk instead of ice-cold water for a richer waffle? ▾
You can swap the ice-cold water for ice-cold unsweetened oat milk, almond milk, or soy milk if you prefer a slightly richer, softer crumb! Just make sure whatever plant milk you use is straight from the fridge, ice cold, to keep batter temperature low enough to prevent excess gluten development and maintain that crisp crust.
15.What’s the best way to keep cooked waffles warm and crisp while making a full batch for a group? ▾
Skip the covered plate or tortilla warmer—those trap steam and turn waffles soggy fast. Instead, arrange cooked waffles in a single layer on a wire rack set over a rimmed baking sheet, and slide them into a 200°F oven while you cook the rest. They’ll stay perfectly crisp and warm for up to 30 minutes this way.
16.Can I use a different egg size if I don’t have large eggs on hand? ▾
If you only have medium eggs, use one whole medium egg plus one extra egg white to hit the right volume for a standard batch of waffles. If you have extra-large eggs, use just 3 tablespoons of beaten egg instead of the whole egg to avoid making the batter too heavy, which leads to dense, less crisp waffles.
17.Can I stir in extra vanilla or sugar to the batter for a sweeter, more flavorful waffle? ▾
A ½ teaspoon of pure vanilla extract is a fantastic, low-effort add that boosts warm, cozy flavor without messing up the texture. Skip adding extra granulated sugar, though—it will make the crust brown too fast, lead to excess sogginess as waffles cool, and overpower the light base that pairs so well with maple syrup and fresh strawberries.

Comments (3)

2 days ago

OMG, these are SO good! I’ve tried so many boxed waffle hacks before but this Krusteaz method actually gives that perfect light crispy crunch just like the diner waffles we get on weekends. My kids devoured a whole batch in 10 minutes flat before school yesterday, I even tossed a handful of mini chocolate chips in half the batter for my youngest. Total game changer for busy school mornings, no fancy equipment needed at all!

yesterday

Wait, did you add anything extra to the batter to get them extra crispy? I tried making these last week and they came out a little soggy in the middle, wondering if I had my waffle iron temp too low?

2 hours ago

Hi Molly! So glad the waffles were a hit with your kids—those chocolate chip additions sound delicious! Quick tip for anyone running into sogginess like Jake mentioned: make sure your waffle iron is fully preheated before pouring batter, and resist the urge to pop the lid open too early while they cook! A light spritz of nonstick spray also helps lock in that perfect light, crispy edge without soggy centers.

1 week ago

Such an easy recipe! I hosted a brunch potluck last weekend and made a double batch of these, set out a toppings bar with fresh berries, whipped cream, maple syrup, and even crispy fried chicken for people who wanted chicken and waffles. Everyone was asking me for the recipe all night, nobody believed it only took 10 minutes of cook time per batch! I will 100% be adding this to my regular weekend rotation.

5 days ago

Hi Liz! That brunch spread sounds absolutely incredible—chicken and waffles with a build-your-own toppings bar is such a fun, easy crowd-pleaser for potlucks! So happy these quick 10-minute waffles worked out perfectly for your get-together, thanks so much for taking the time to share how it went!

3 days ago

Great basic waffle recipe for meal prep! I make a big batch on Sunday, let them cool completely, then stack them in the freezer between parchment paper sheets. They toast up perfectly in the toaster on busy weekday mornings, just as light and crispy as the day I made them. Way better than the overpriced frozen waffles you grab at the grocery store, too. Only tiny knock is I wish I’d known how much they puff up as they cook— I overfilled my waffle iron the first go-around and made a sticky, oozing mess all over my counter, lol.



