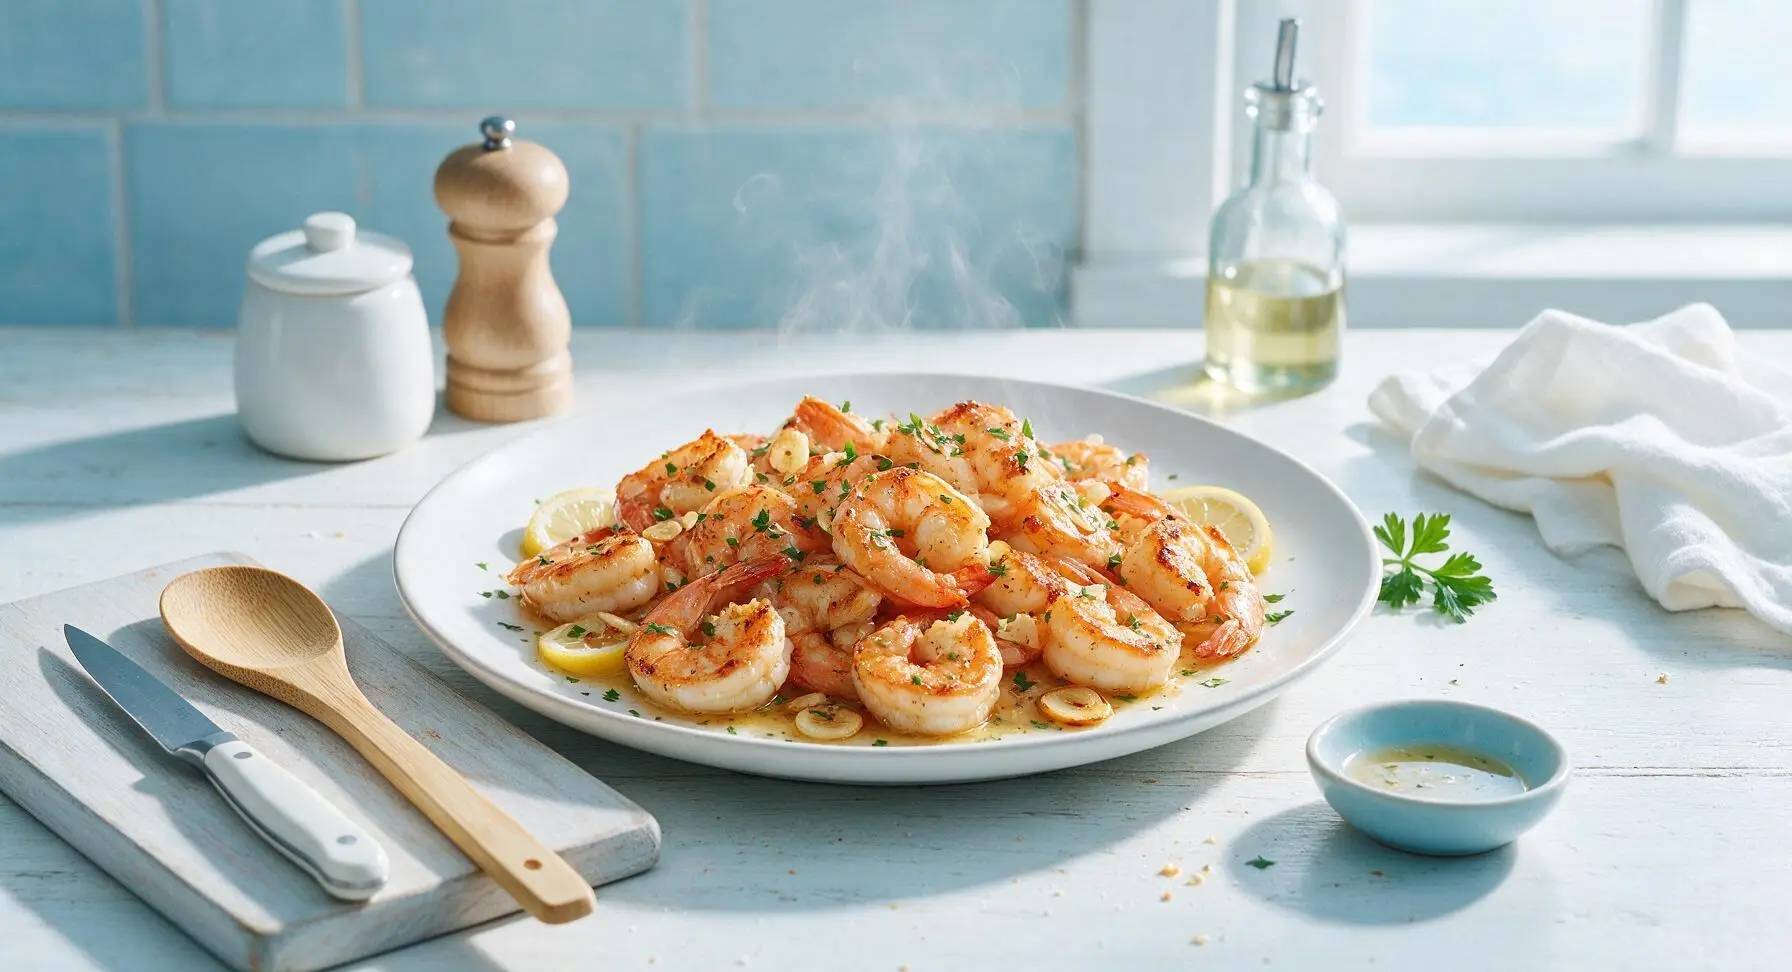
large shrimp

title 1
large shrimp
⏱️ cook time 8 minutes
🍽️ servings 4
⚡ Difficulty easy

intro

Juicy, plump large shrimp seared to crisp golden edges, tossed in fragrant garlic lemon butter, finished with fresh parsley for a bright, restaurant-worthy meal ready in under 20 minutes.

Ingredients
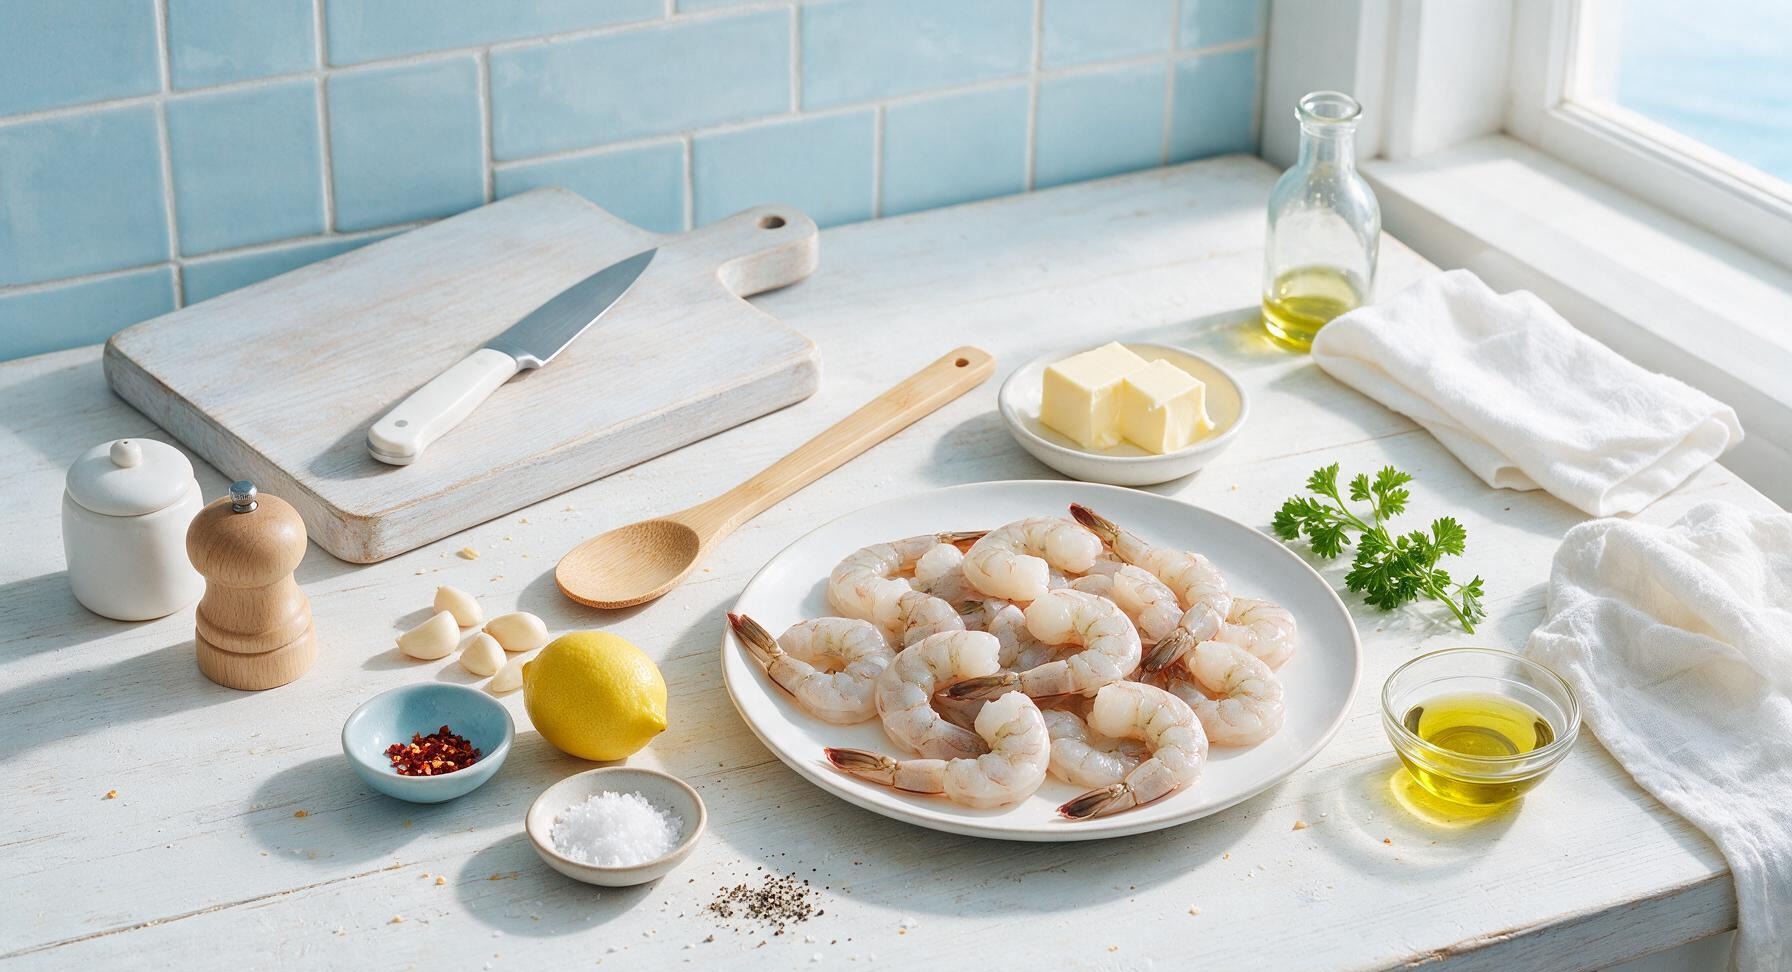
Large raw shrimp (16/20 count, peeled, deveined, tail-on) 450g (1 lb)
Unsalted butter 4 tbsp (57g)
Garlic cloves 6 cloves (20g)
Fresh unwaxed lemon 1 whole
Crushed red pepper flakes 1/4 tsp
Flaky sea salt 1 tsp
Freshly ground black pepper 1/2 tsp
Fresh curly parsley 2 tbsp (5g)
Extra-virgin olive oil 1 tbsp (15ml)

Steps

1

Pat Shrimp Completely Dry

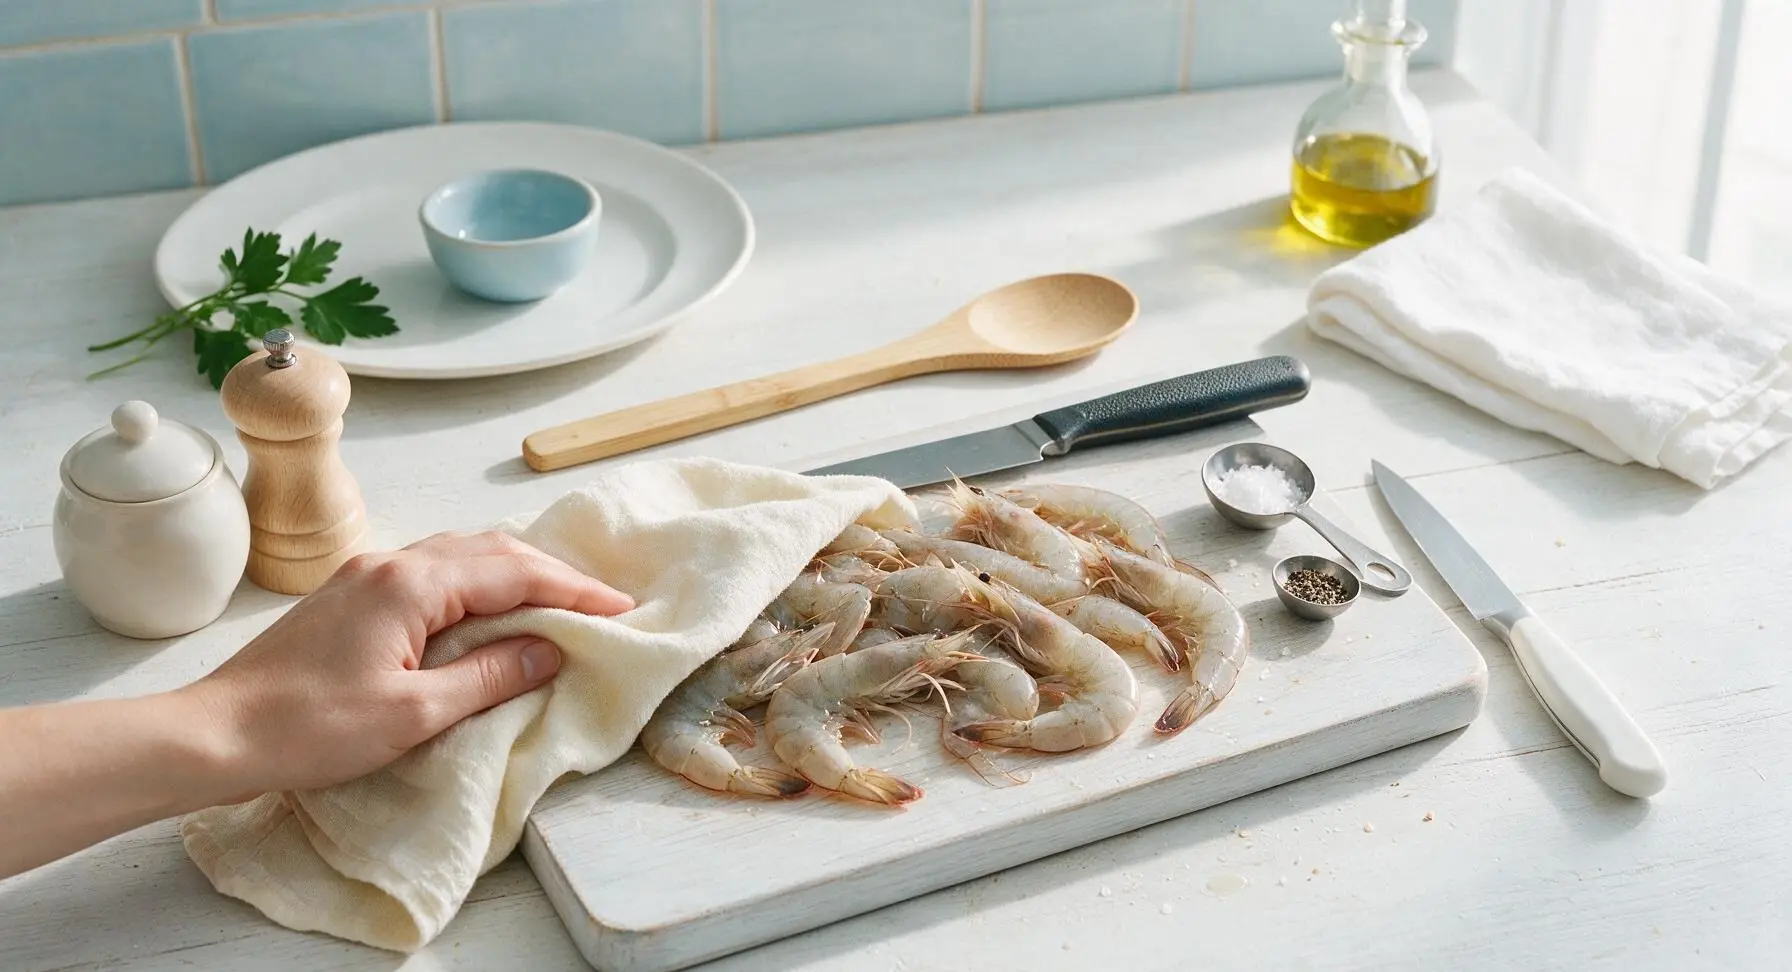
Place the raw large shrimp on the maple wood cutting board. Use a clean corner of the cream linen towel to pat every shrimp thoroughly dry on all sides, paying extra attention to the surface where the shell was removed. Season all sides evenly with 3/4 tsp of the flaky sea salt and 1/2 tsp freshly ground black pepper. Dry shrimp will develop a crisp, golden sear instead of steaming in the pan, and will reduce hot oil splatter.
Step 1
step1:Pat Shrimp Completely Dry
2

Slice Garlic and Zest Lemon

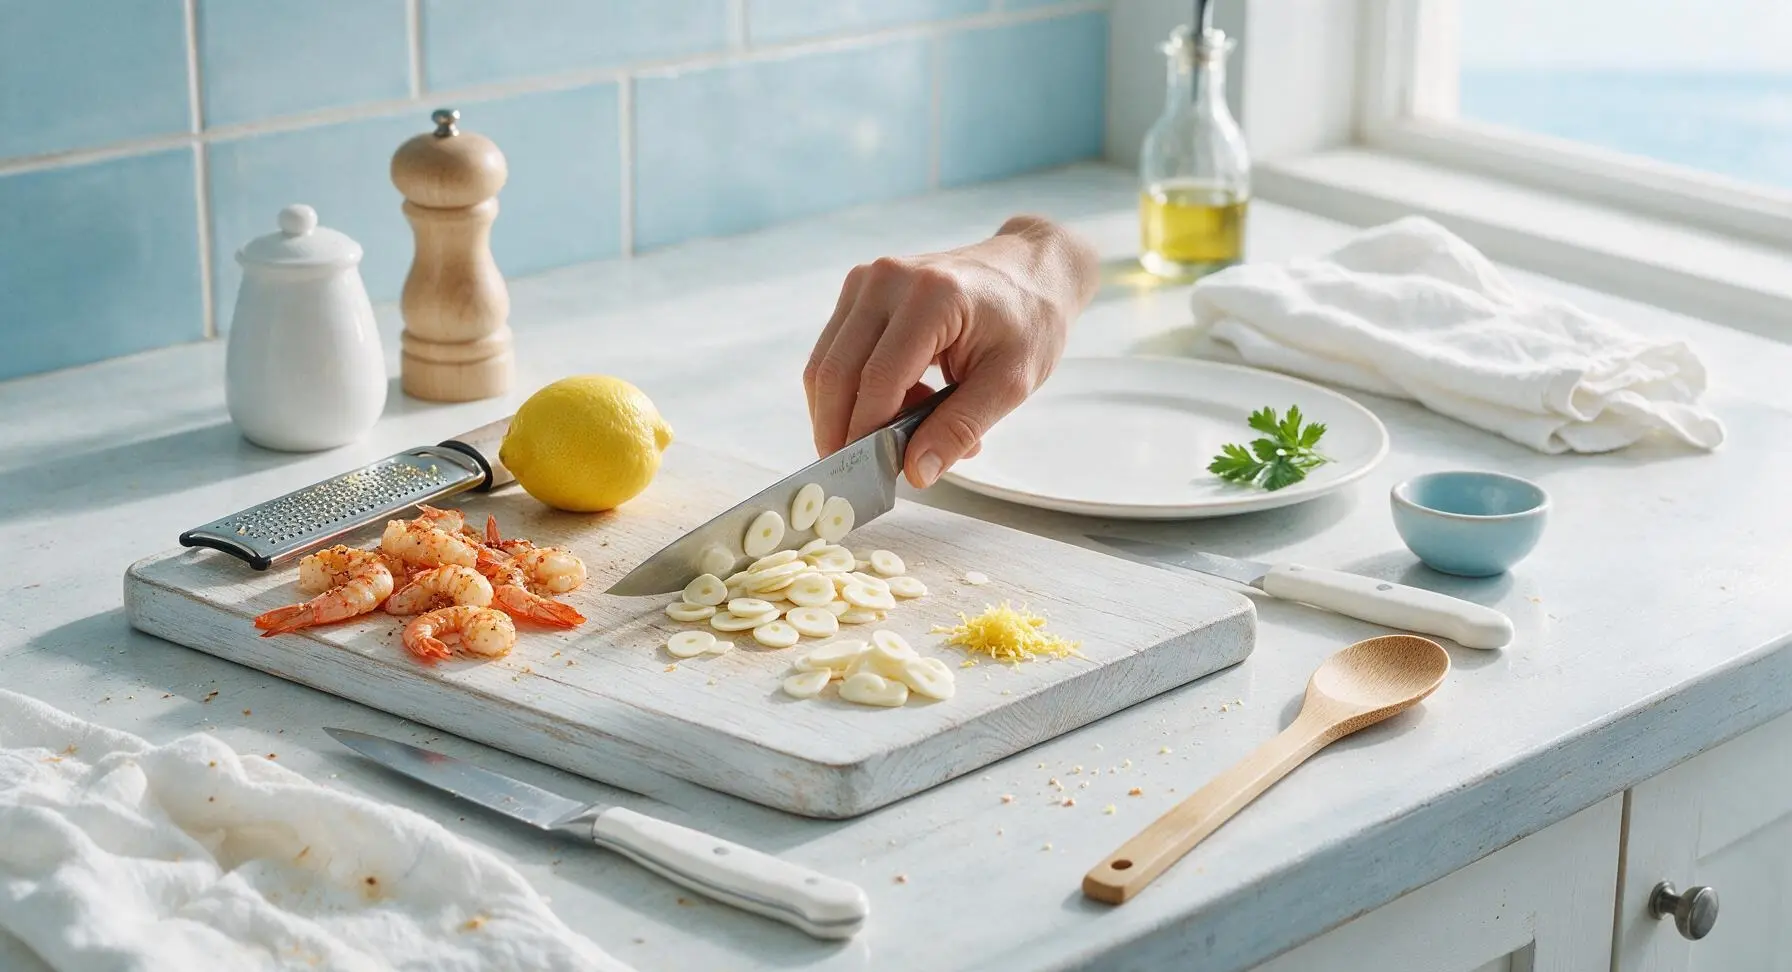
Use the 7-inch chef knife to slice peeled garlic cloves into thin, even 1/8-inch slices, taking care not to chop them too fine (thin slices will crisp instead of burning during cooking). Use the stainless steel microplane zester to remove the bright yellow zest from the lemon, avoiding the bitter white pith directly under the peel. Set sliced garlic and lemon zest aside on the empty corner of the cutting board.
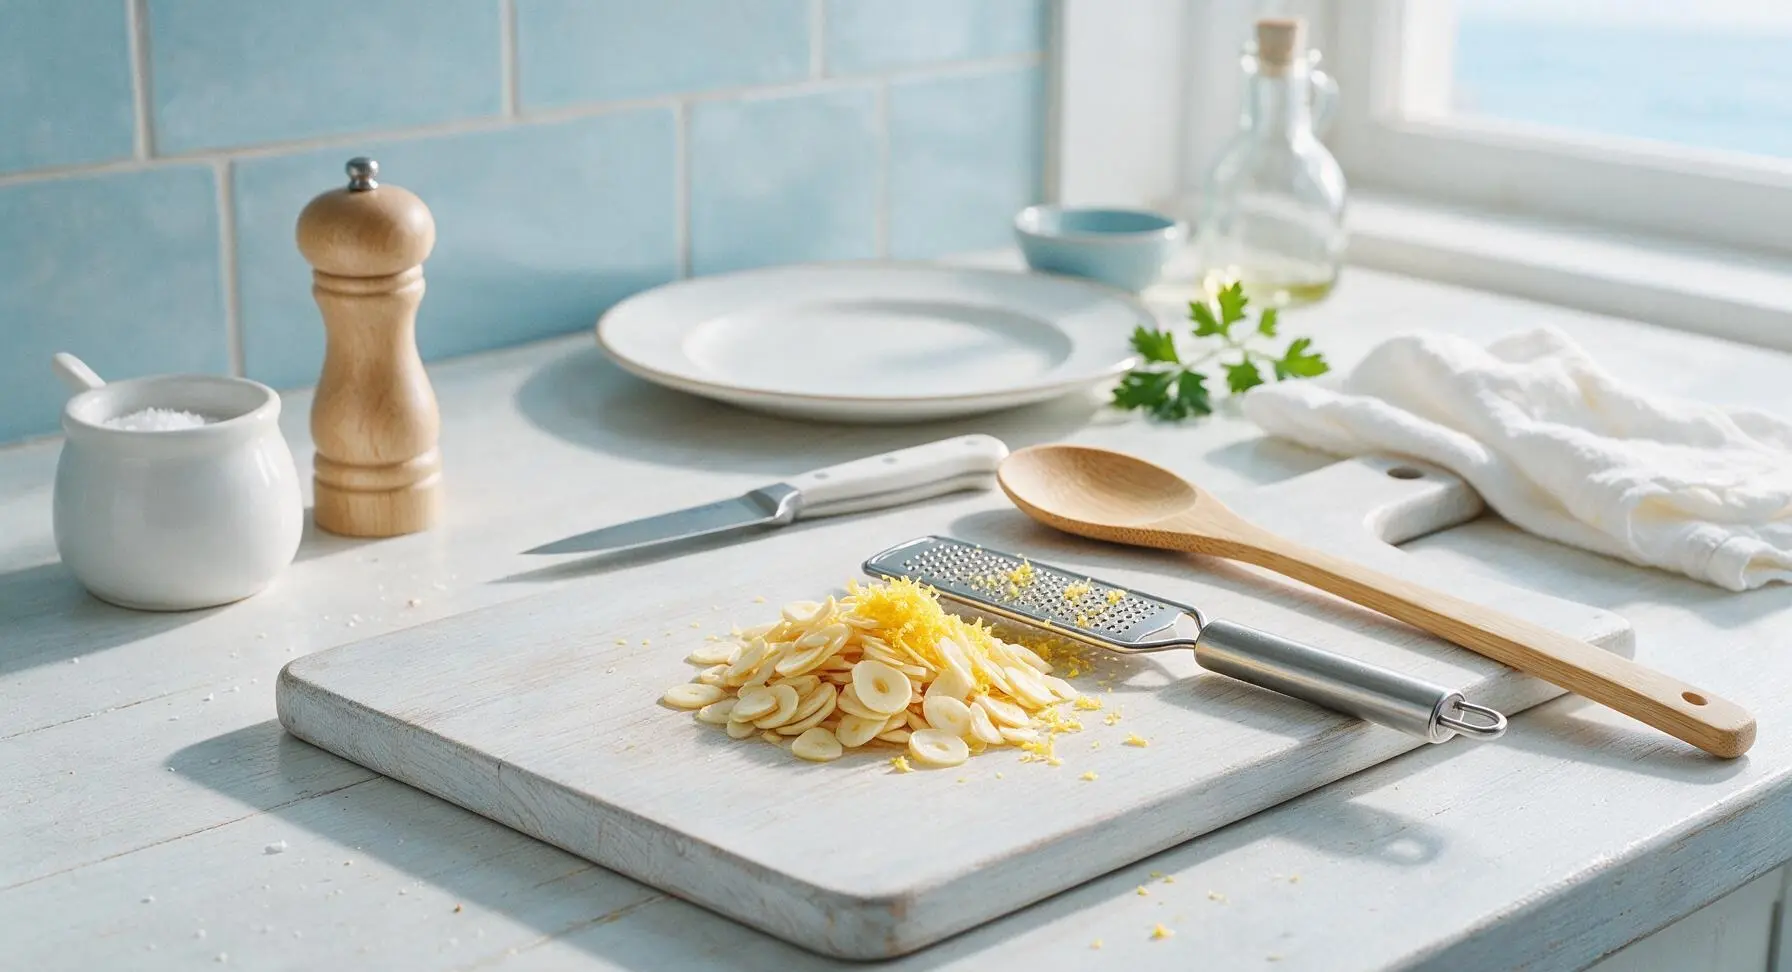
Step 2
step2:Slice Garlic and Zest Lemon
Step 2
step2:Slice Garlic and Zest Lemon
3

Heat Skillet to Temperature

Set the 12-inch brushed stainless steel skillet in the center-right work area, add 1 tbsp extra-virgin olive oil, and heat over medium-high heat until the oil shimmers and just begins to send up thin wisps of smoke, about 2 minutes. Do not add butter at this stage—the milk solids in butter burn at the high temperatures needed for a good shrimp sear.
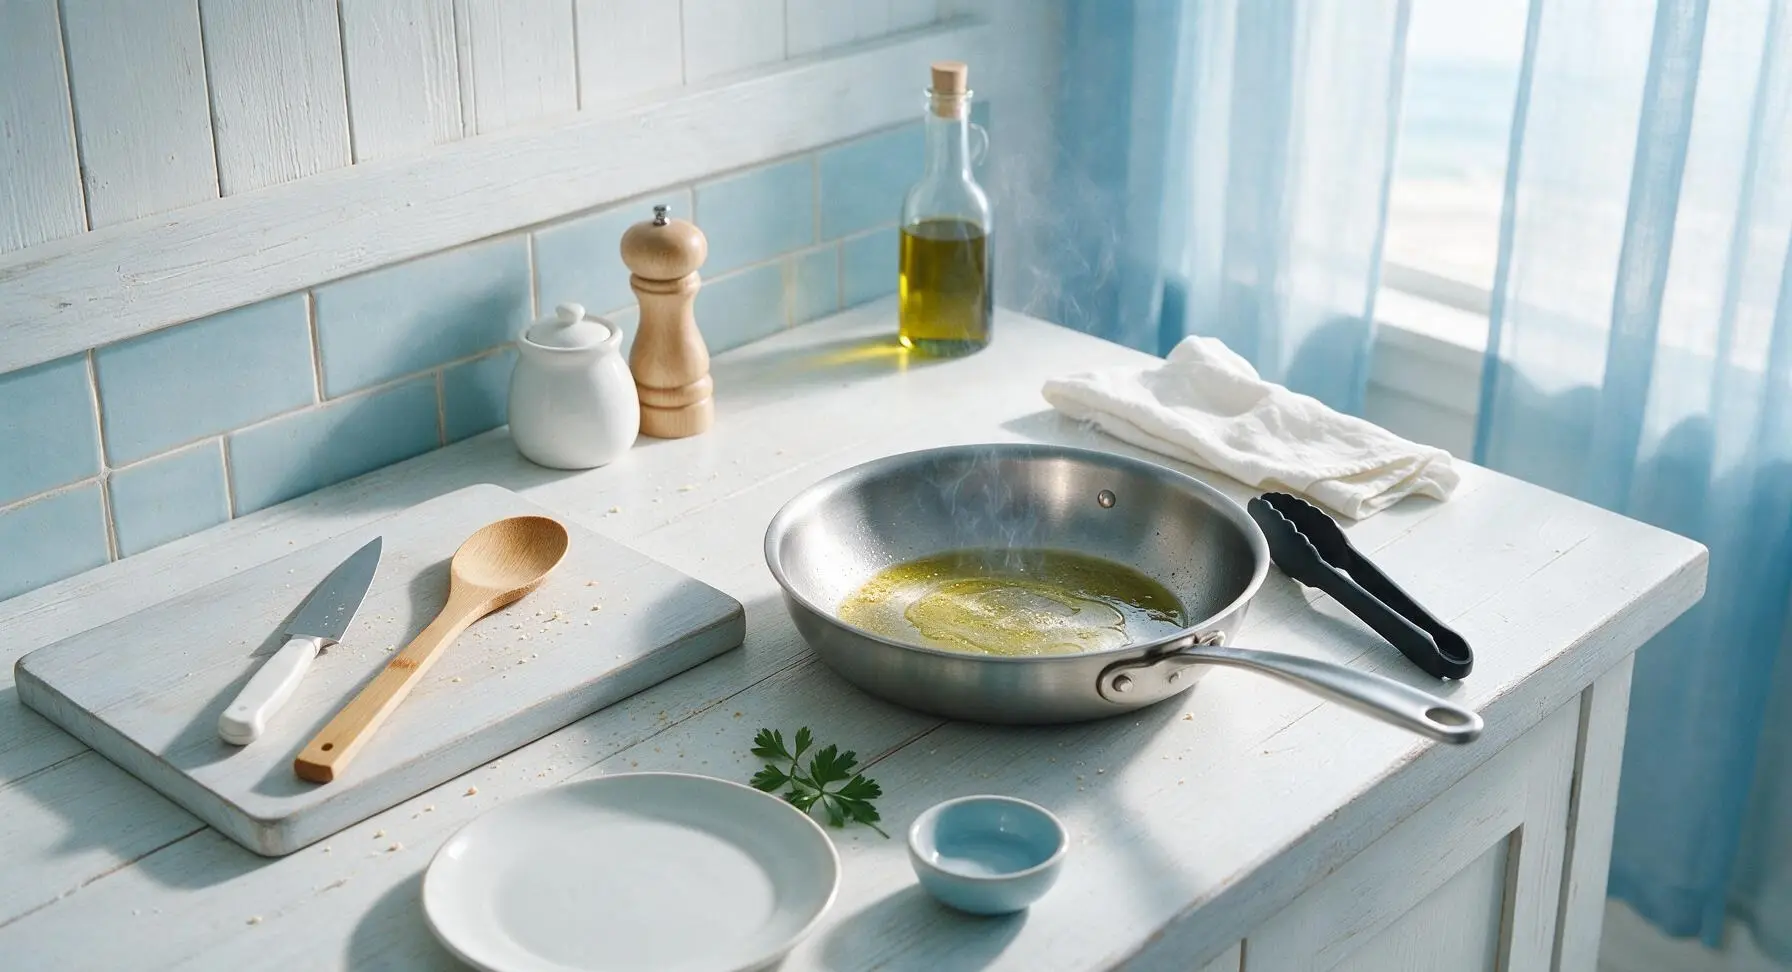
Step 3
step3:Heat Skillet to Temperature
4

Sear Shrimp First Side

Use the silicone tongs to arrange the seasoned dry shrimp in a single even layer in the hot skillet, leaving 1/2 inch of space between each shrimp to avoid overcrowding (cook in batches if your pan is too small). Do not move the shrimp once placed. Sear for 2 full minutes, until the side touching the pan develops a deep golden, slightly crisp crust, and the shrimp turns opaque pink one-third of the way up its side.
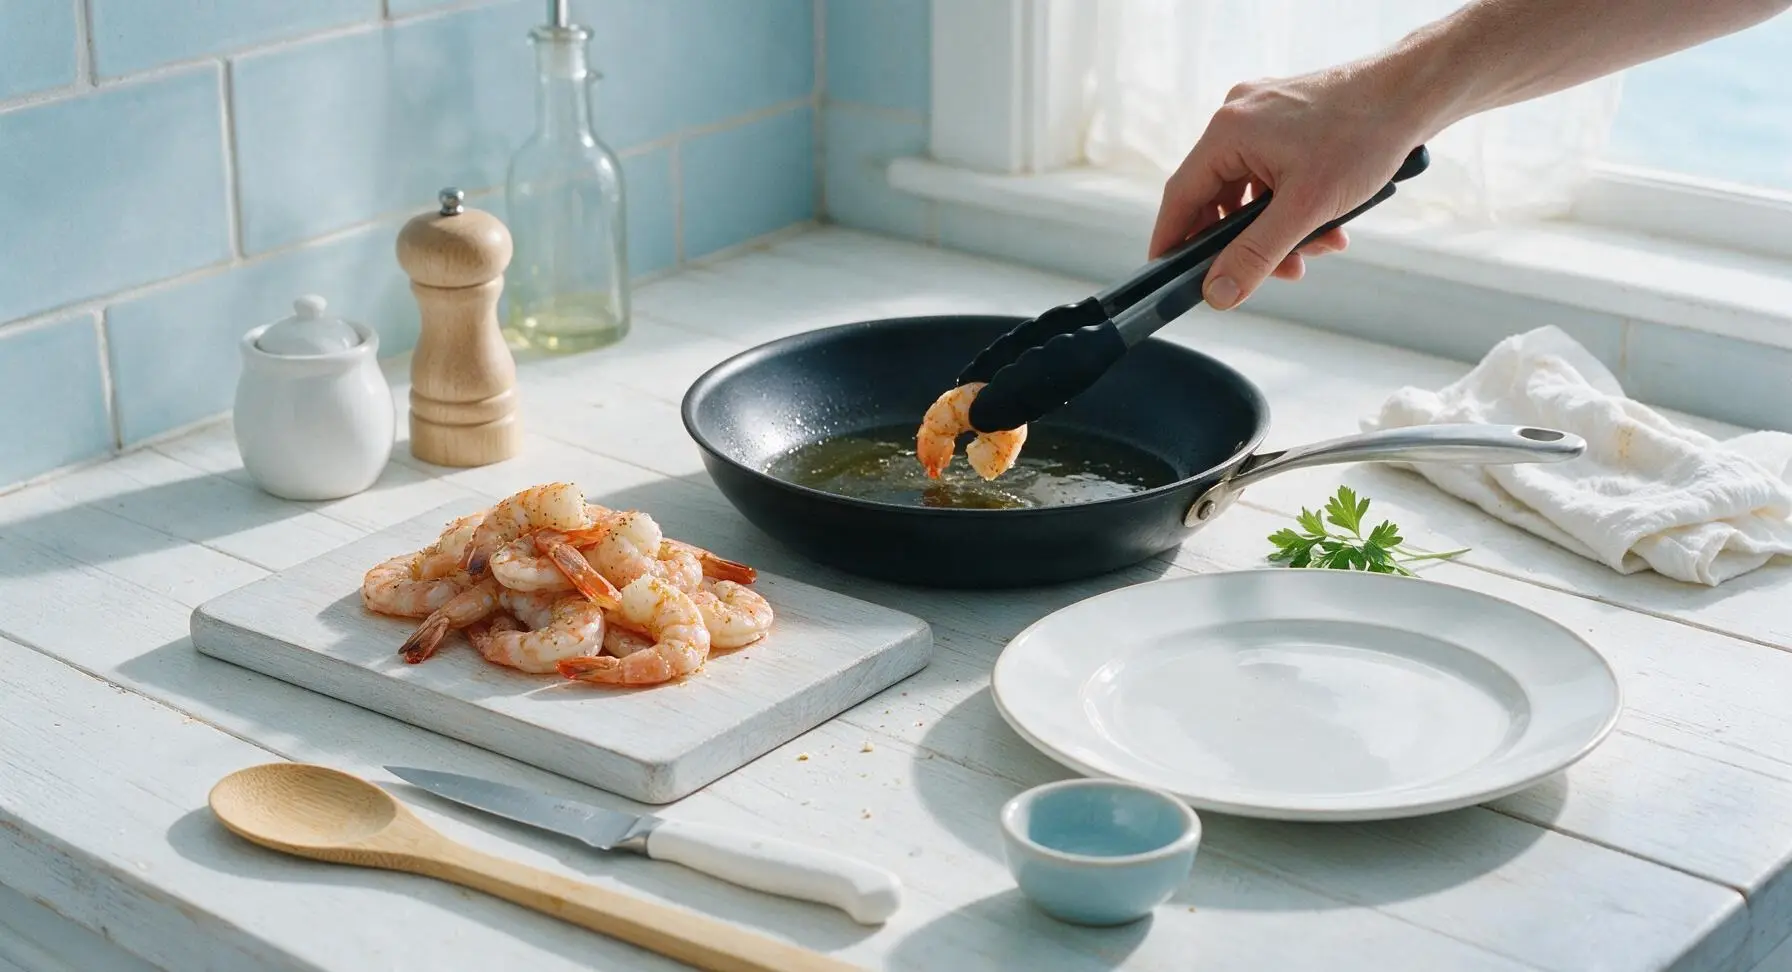
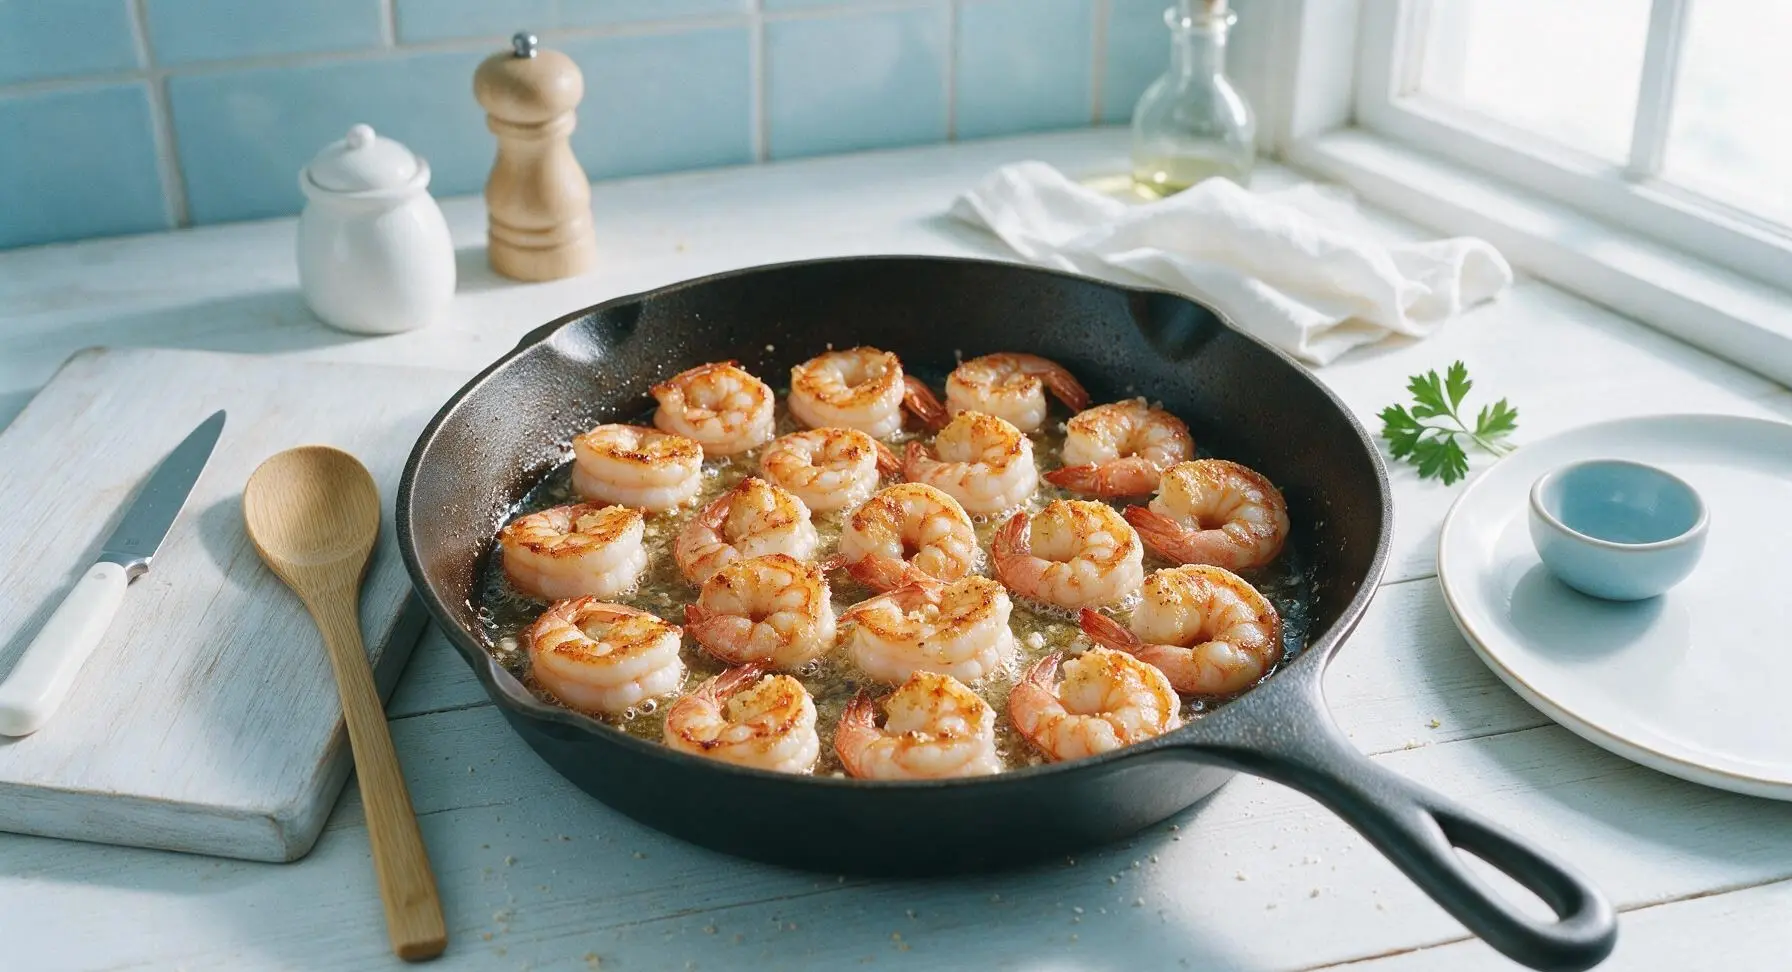
Step 4
step4:Sear Shrimp First Side
Step 4
step4:Sear Shrimp First Side
5

Flip Shrimp and Baste

Use the tongs to flip each shrimp quickly to the second side. Add 3 tbsp of the unsalted butter, sliced garlic, crushed red pepper flakes, and lemon zest to the skillet, tilting the pan slightly so the melted butter pools to one side. Baste the shrimp continuously with the foaming butter for 1.5 minutes, until the garlic turns pale golden and fragrant—do not let the garlic turn dark brown, as it will develop a harsh, bitter flavor.
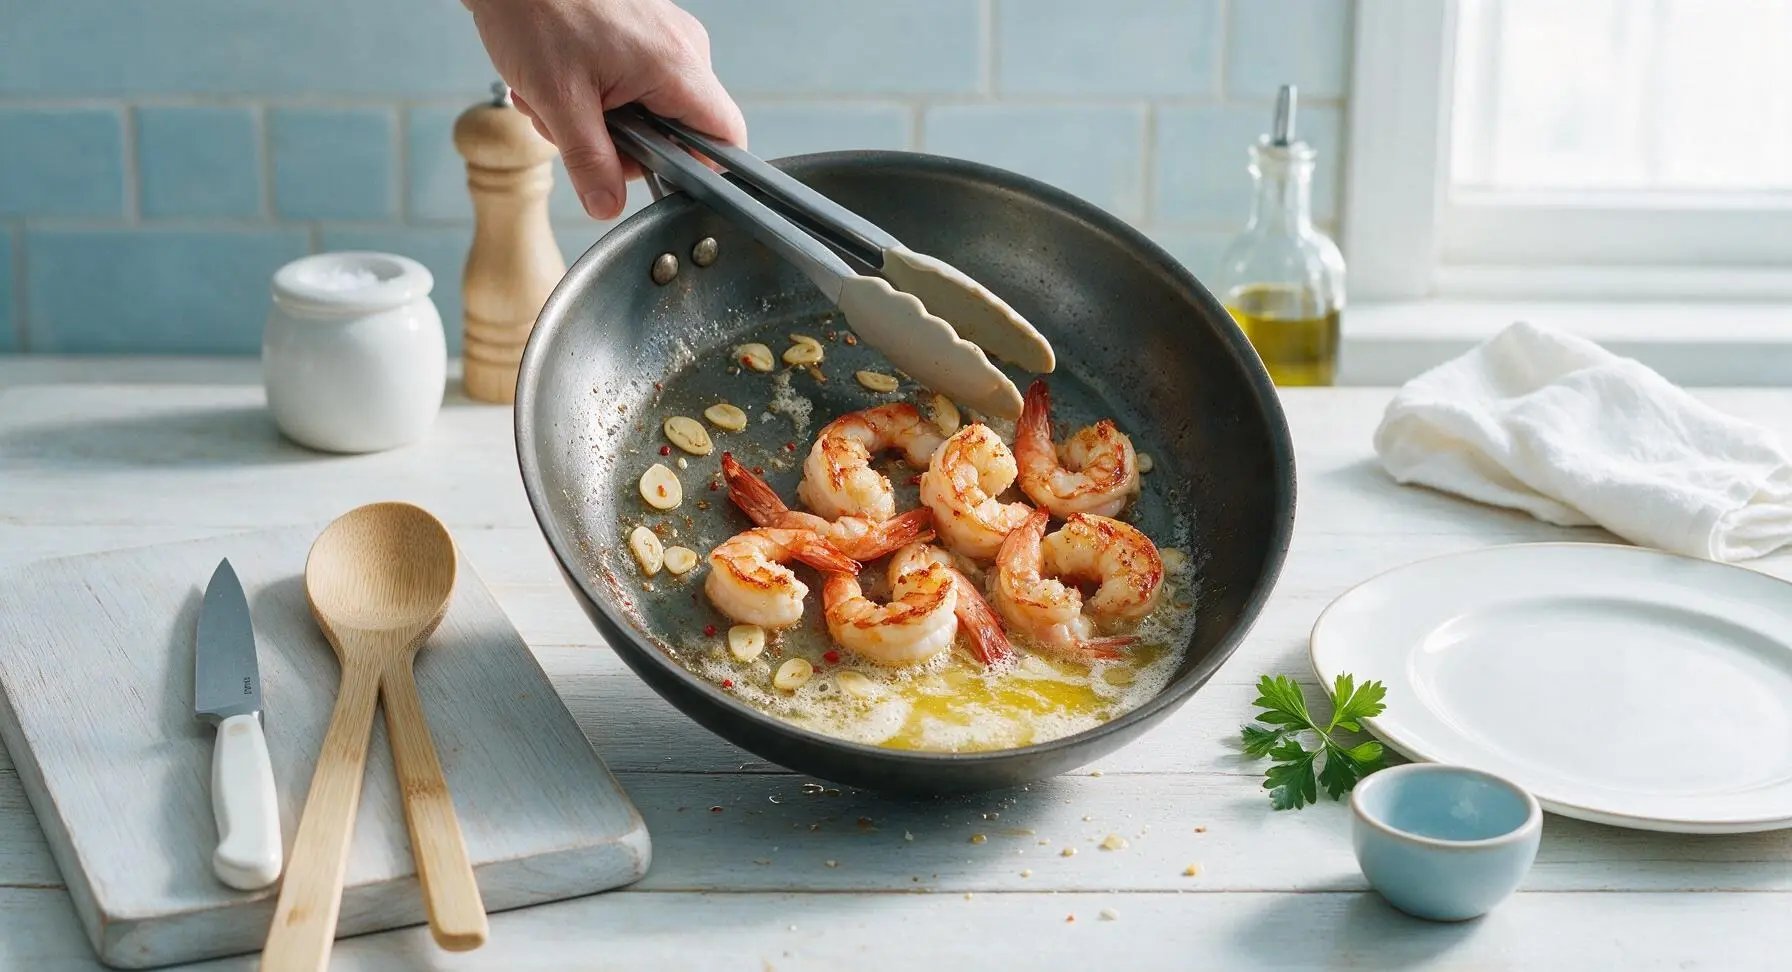
Step 5
step5:Flip Shrimp and Baste
6

Finish with Lemon and Parsley

Turn off the heat to avoid overcooking the shrimp. Squeeze 2 tbsp of fresh lemon juice directly into the butter sauce in the skillet, add the remaining 1 tbsp of cold butter and most of the chopped parsley, stirring gently with the tongs to coat every shrimp evenly in the glossy, emulsified sauce. Taste the sauce and add the remaining 1/4 tsp flaky salt if needed.
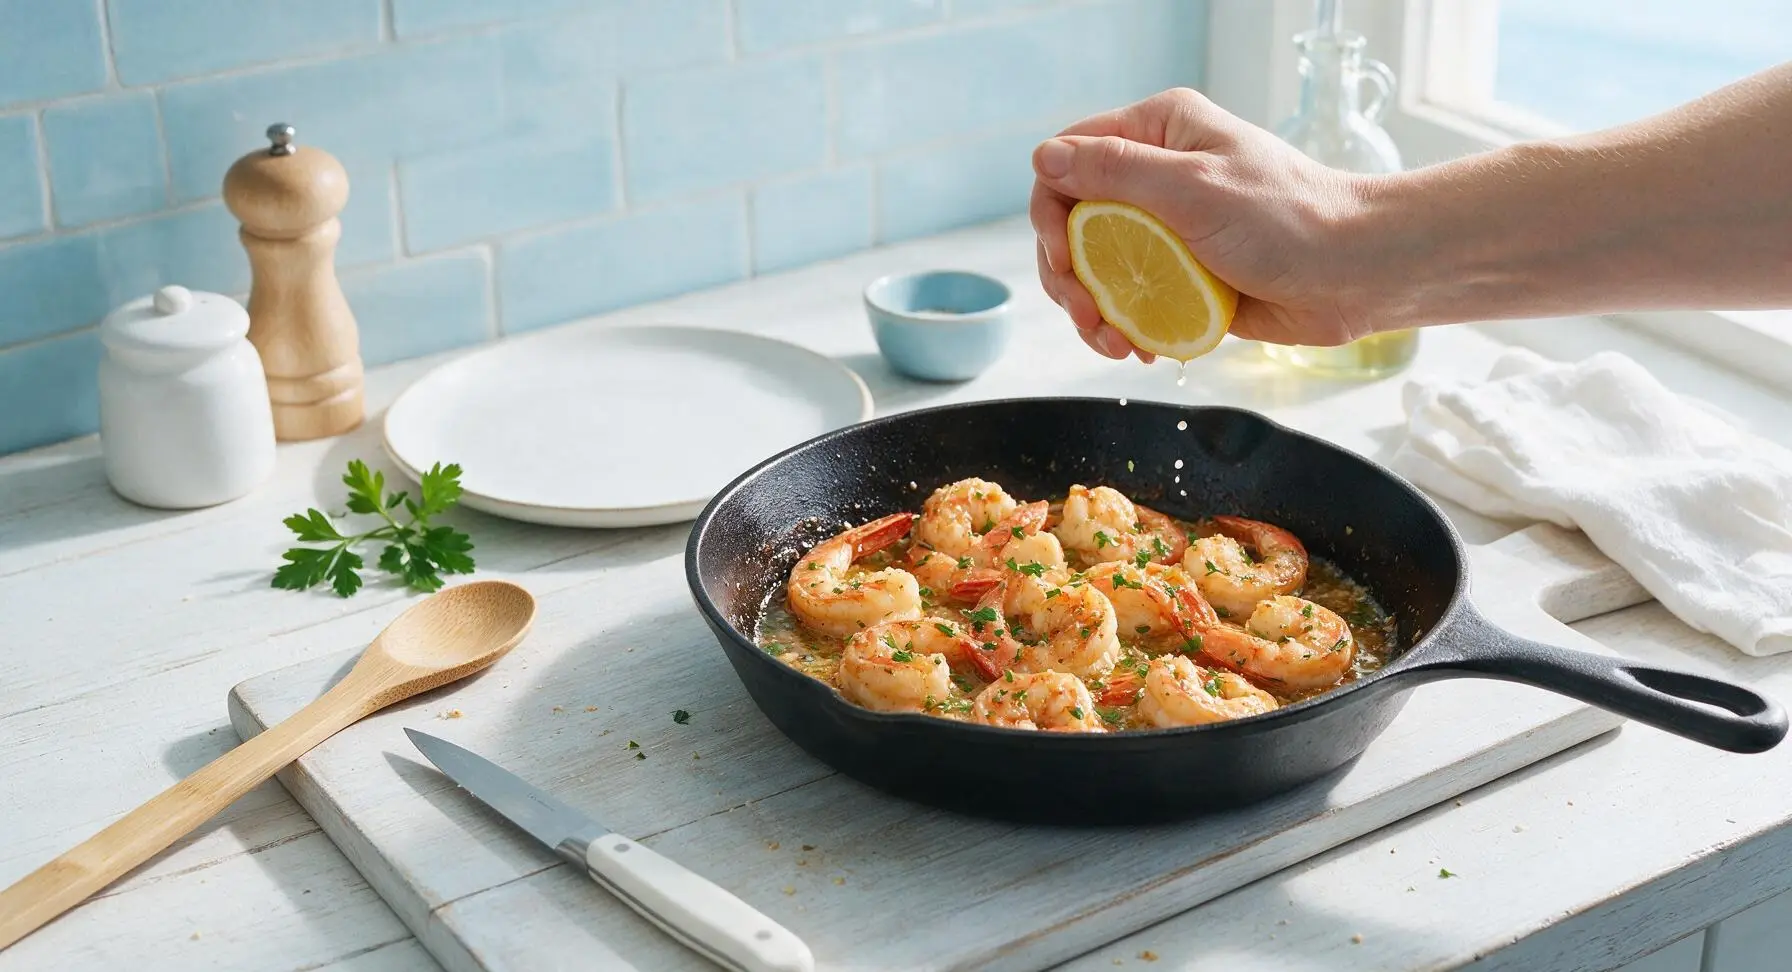
Step 6
step6:Finish with Lemon and Parsley
7

Plate and Garnish Dish

Use the tongs to transfer the cooked shrimp to the matte warm white ceramic dinner plate, piling them loosely in the center. Spoon any remaining garlic butter sauce from the skillet into the small white ramekin and set it on the plate. Garnish the shrimp with the reserved chopped parsley, and tuck 2 lemon wedges on the plate edge for serving.
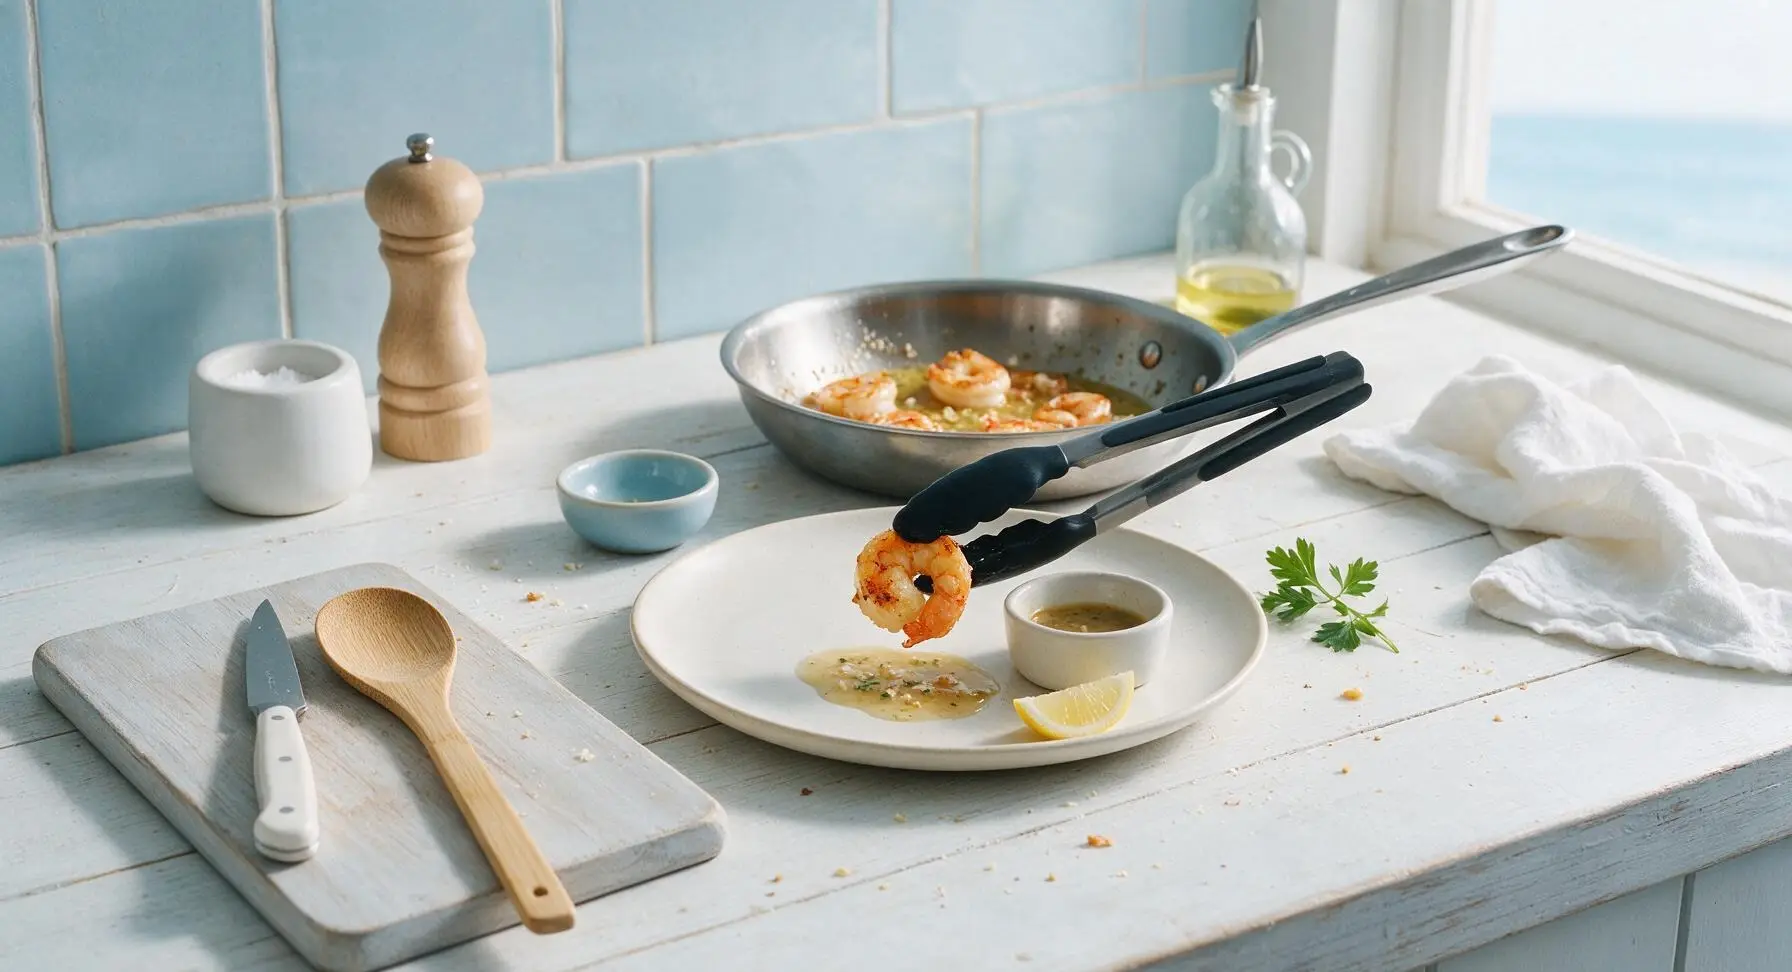
Step 7
step7:Plate and Garnish Dish

Tips

1.Always pat shrimp completely dry with a towel before searing: any residual surface moisture will cause the shrimp to steam instead of developing a crisp, golden, restaurant-style crust, and will cause hot oil to splatter out of the pan.
2.Add garlic only after flipping the shrimp: garlic cooks fully in 60-90 seconds in hot butter, and adding it at the start of searing will result in burnt, bitter garlic that ruins the bright, sweet flavor of the dish.
3.Stick to 16/20 count large shrimp for this recipe: smaller shrimp overcook in seconds and turn rubbery, while this size stays juicy and plump with only 3.5 minutes of total cook time, developing a nice sear without turning tough.
✨ You May Also Like

Seafood
🍜 United States

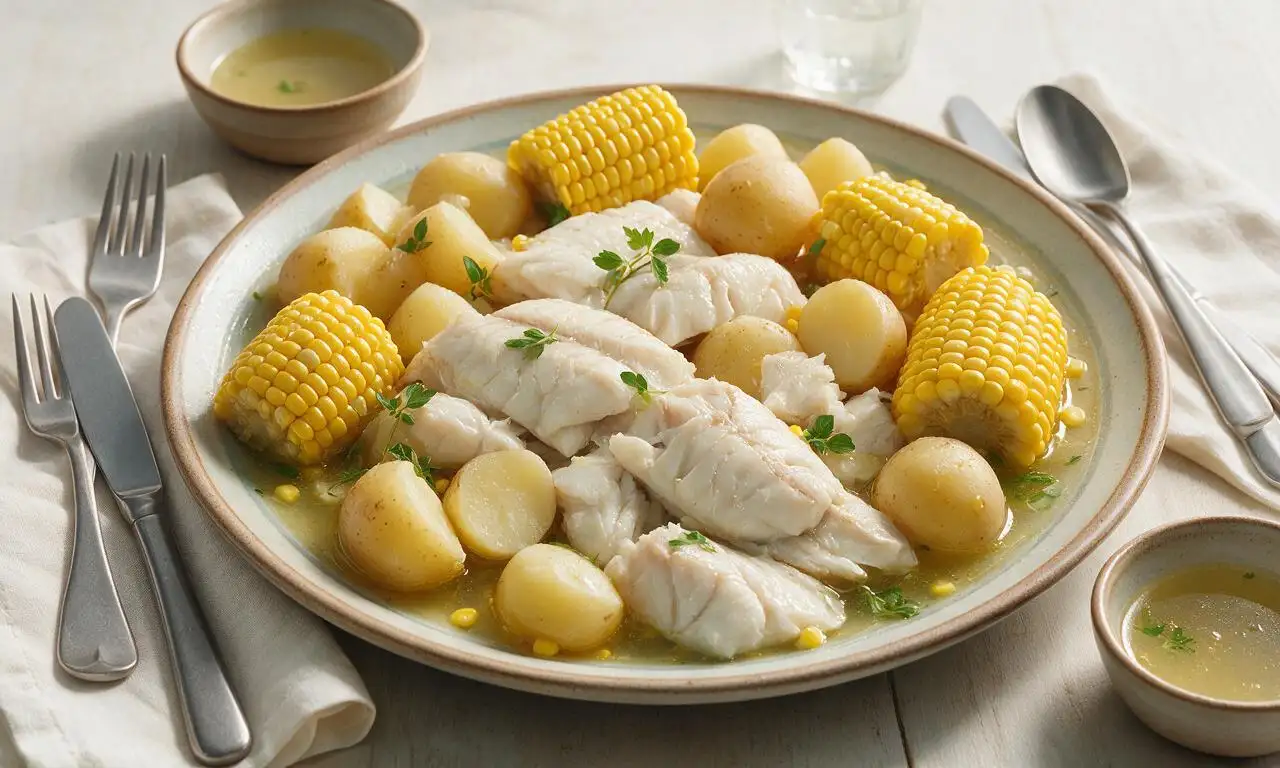
An iconic Door County, Wisconsin tradition of flaky boiled whitefish, tender potatoes, and sweet corn, cooked outdoors for casual, communal summer gatherings.

⏱️ 45 minuteSeafood ★ 4.7
Seafood
🍜 United States

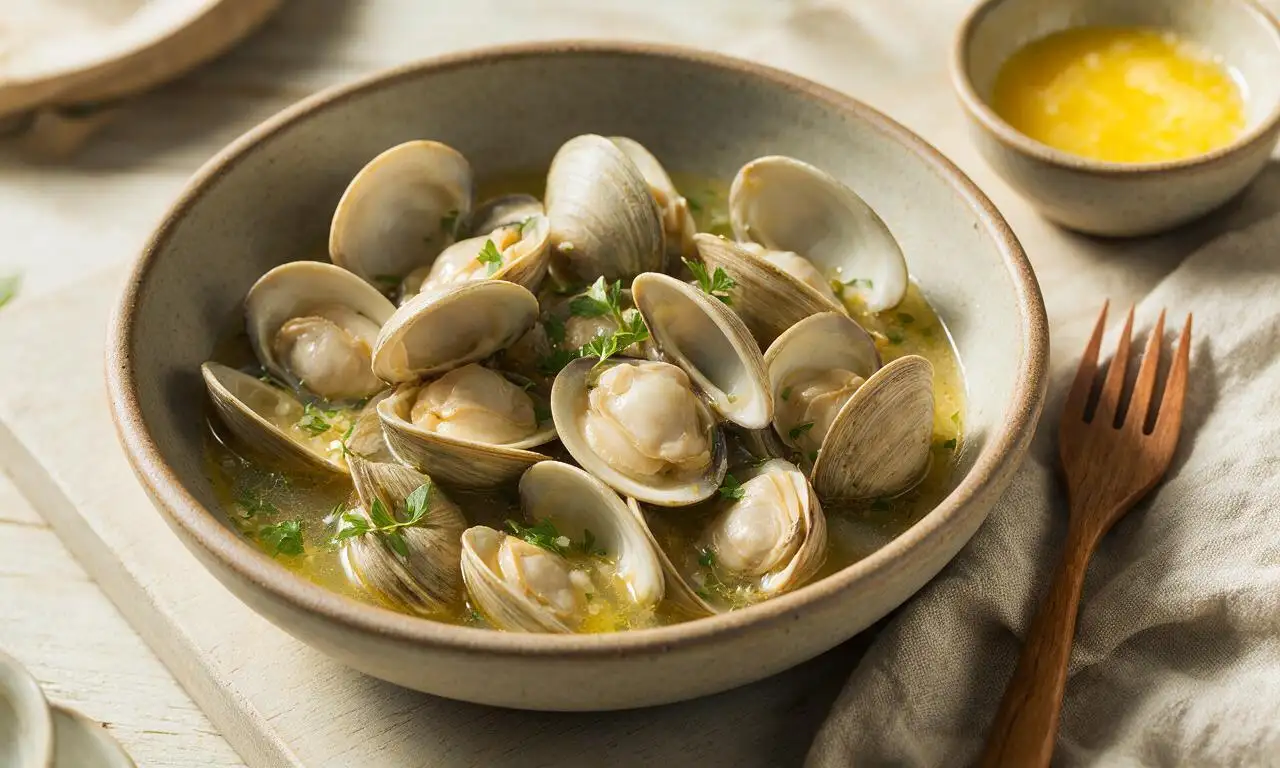
Tender, briny soft-shell clams steamed in garlicky white wine broth, served with warm broth and melted butter for dipping—classic coastal comfort food.

⏱️ 30 minuteSeafood ★ 4.7
Seafood
🍜 United States

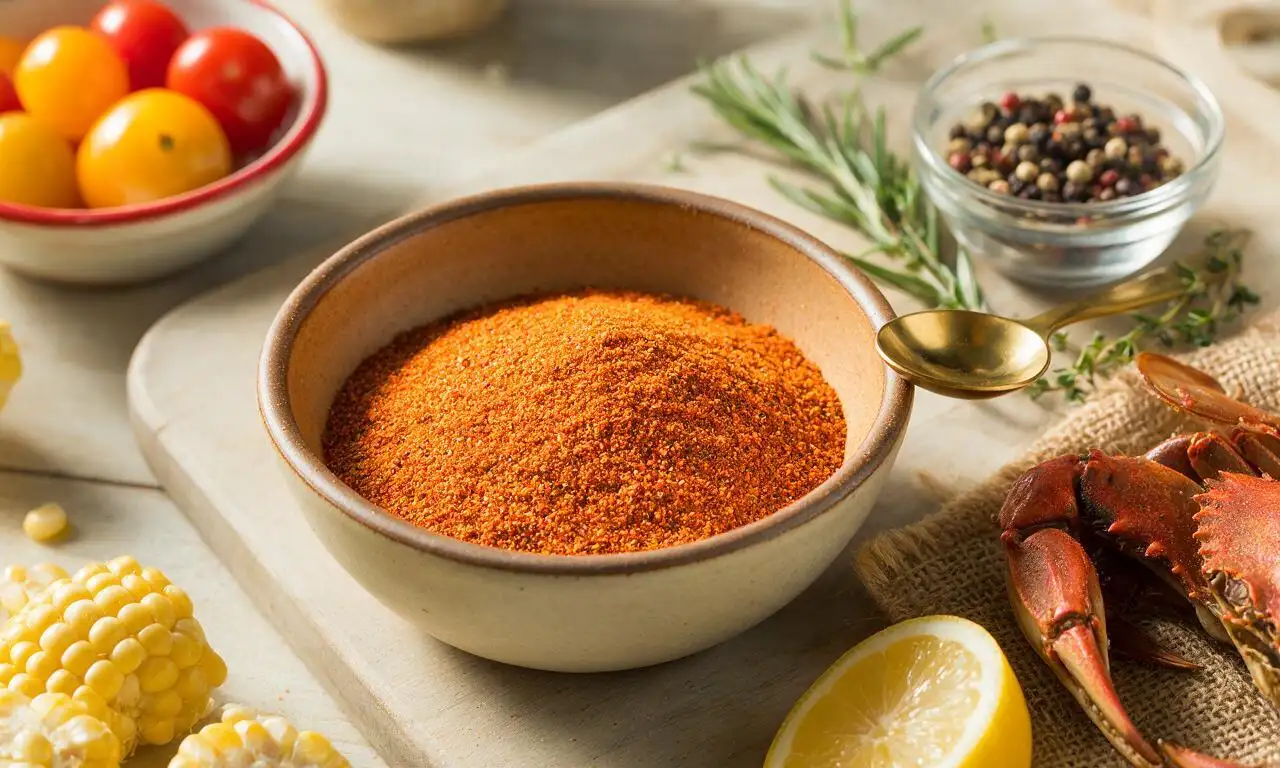
Iconic zesty, savory spice blend from Maryland’s Chesapeake Bay, perfect for seafood boils, grilled fare, fries, and corn, made fresh without preservatives.

⏱️ 10 minuteSeafood ★ 4.9
Seafood
🍜 China

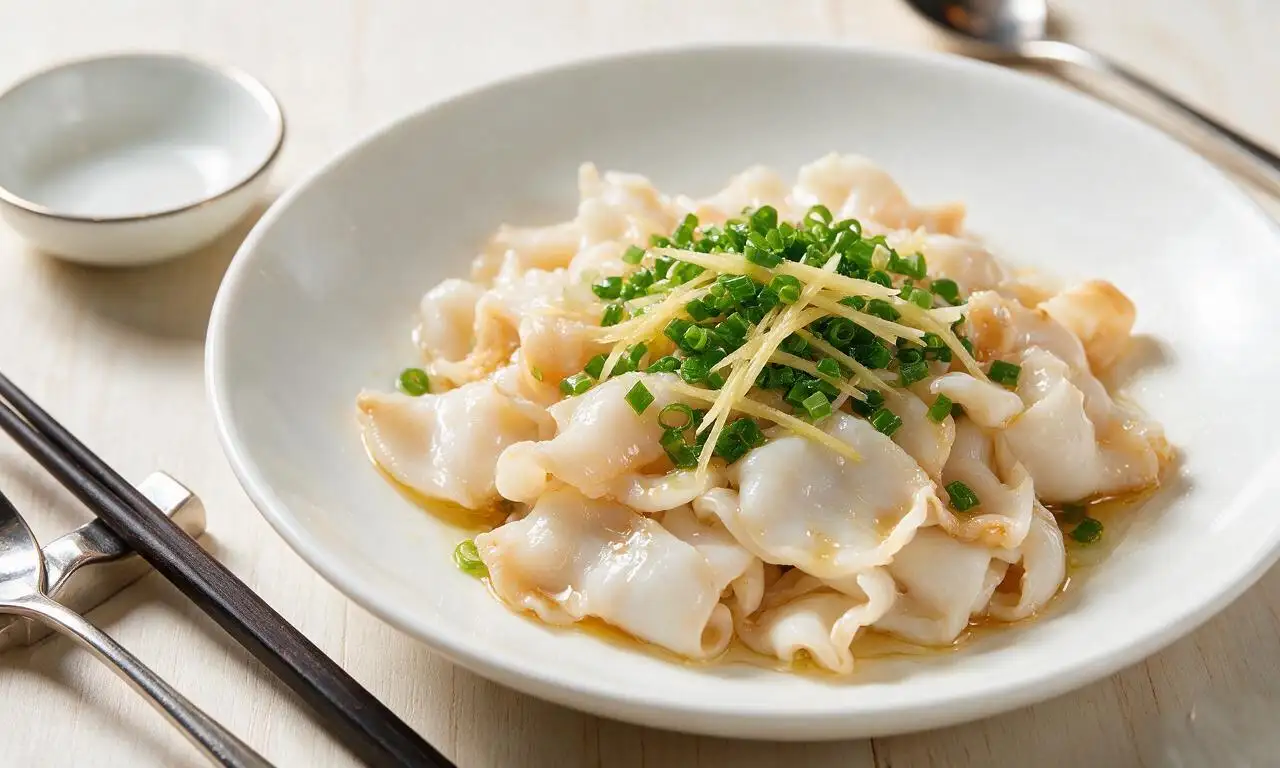
Tender, crisp, sweet blanched geoduck topped with fragrant sizzled ginger and scallion, a luxurious Cantonese dish highlighting the clam’s natural briny, delicate flavor.

⏱️ 30 minuteSeafood ★ 4.7
Seafood
🍜 United States

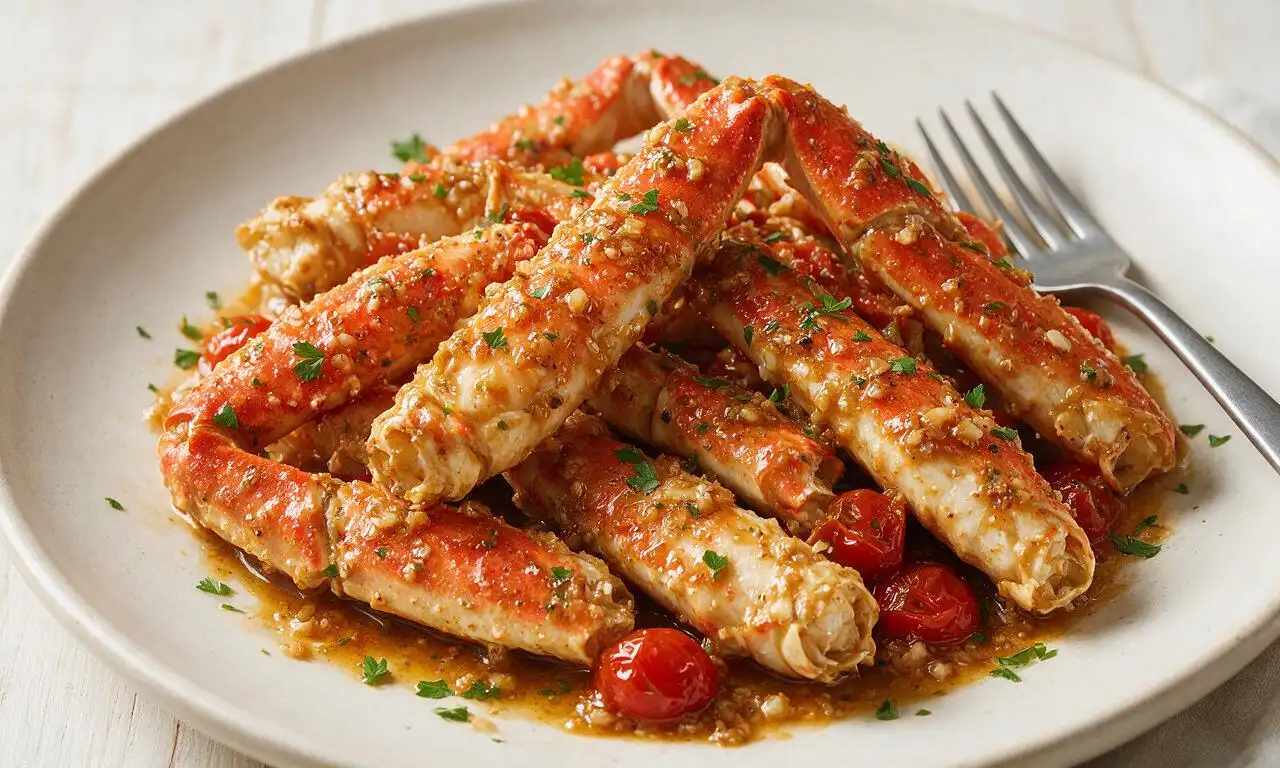
Succulent sweet crab legs coated in rich garlic butter, steamed to tender perfection for a juicy, indulgent seafood feast that requires minimal prep and cook time.

⏱️ 25 minuteSeafood ★ 4.7
Seafood
🍜 United States

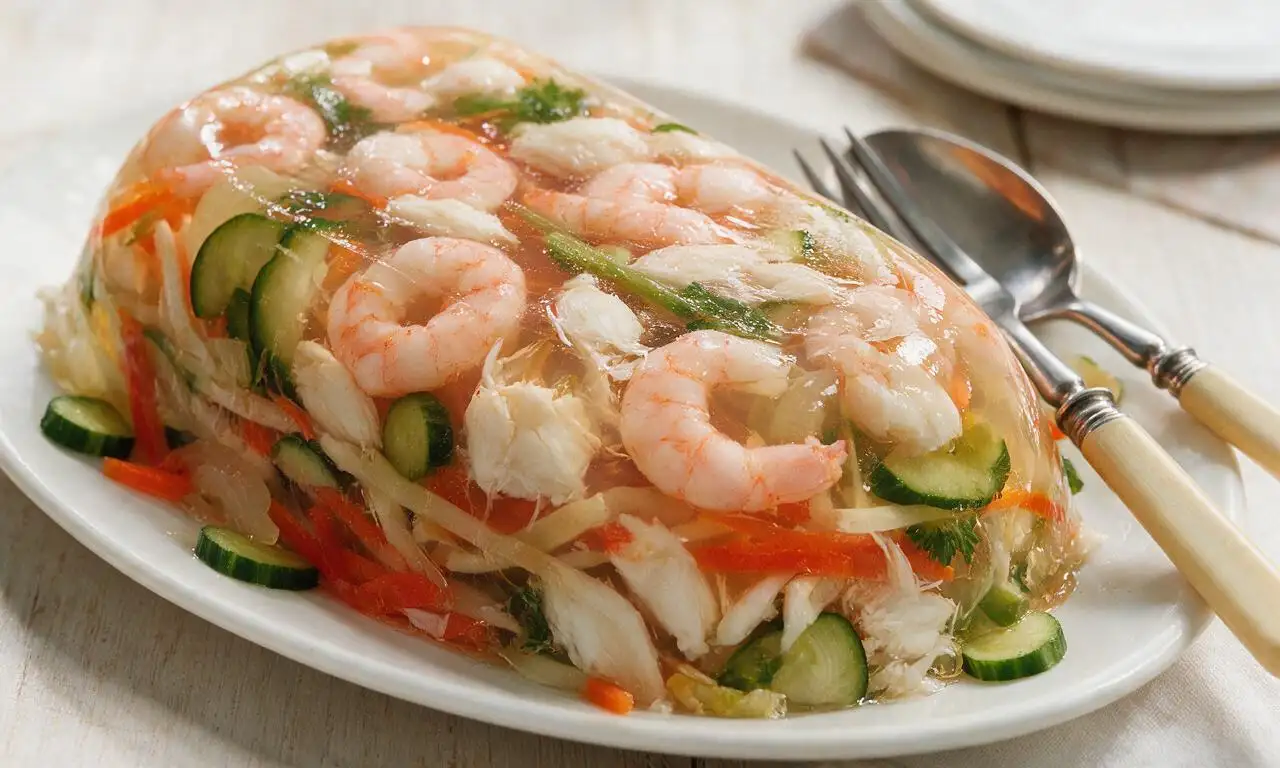
A nostalgic chilled jellied seafood staple of 1950s American potlucks, loaded with tender shrimp, lump crab, crisp veggies, and bright creamy tang.

⏱️ 4 hours 2Seafood ★ 4.6

large shrimp:Frequently Asked Questions

1.What does the 16/20 count label on shrimp mean, and can I use a different size? ▾
That label means you’ll get 16 to 20 individual shrimp per pound, which is the ideal plump, meaty size for this recipe. You can use smaller or larger shrimp if that’s what you have—just adjust searing time: cut 30-45 seconds per side for smaller shrimp, add 1 minute per side for extra-jumbo sizes to avoid rubbery texture.
2.Do I have to leave the tails on the shrimp, or can I peel them completely? ▾
Leaving tails on is totally optional! Tails add a nice, subtle seafood depth to the butter sauce and make for easy, fun finger food if you’re serving this as an appetizer. If you prefer no tails for easier eating, like tossing with pasta, peel them completely before searing—no other recipe adjustments are needed.
3.How do I get crispy, golden edges on my shrimp instead of soggy, steamed ones? ▾
The number one rule is to pat shrimp completely dry with paper towels before seasoning, and make sure your pan is screaming hot before you add them. Don’t overcrowd the pan—cook in two batches if needed—because too many cold shrimp will drop pan temperature fast, making them steam instead of searing crisp.
4.Can I use pre-peeled, frozen shrimp for this recipe? ▾
Absolutely, frozen shrimp works perfectly here as long as you thaw it correctly first. Thaw overnight in the fridge, or in a sealed bag submerged in cold water for 15-20 minutes, then pat every shrimp extremely dry before searing. Skip pre-cooked frozen shrimp, though—those will turn tough and rubbery when re-seared.
5.How do I know when shrimp are done cooking so I don’t overcook them? ▾
Shrimp cook extremely fast, so keep a close eye! They’re perfectly done when they turn opaque pink all over, form a loose 'C' shape, and the flesh is firm but still springy to the touch. If they curl into a tight 'O' shape, that means they’re overcooked and will have that tough, rubbery texture everyone hates.
6.The recipe calls for unwaxed lemons—what if I only have regular waxed lemons? ▾
Waxed lemons work totally fine, you just need to prep them first before zesting, which adds that bright, aromatic punch to the butter. Scrub the lemon rind firmly under hot running water with a stiff produce brush to strip off the edible food-grade wax, pat dry, then zest and juice as normal with no flavor difference.
7.How spicy is this dish from the crushed red pepper flakes, and can I leave them out? ▾
The standard ¼ teaspoon for 1 pound of shrimp adds just a subtle, warm background tingle, not noticeable heat that overwhelms the garlic butter. If you don’t like any spice at all, leave them out entirely, swap for a pinch of smoked paprika for similar depth, or add extra flakes if you love a spicy kick.
8.Can I make this dish fully ahead of time for meal prep or a party? ▾
Shrimp are best served right after cooking for that juicy, crisp texture, but you can prep components ahead to cut down on cook time: peel and devein shrimp 1 day ahead, mince garlic and chop parsley 2 days ahead, stored airtight in the fridge. I don’t recommend cooking shrimp fully ahead, as they turn rubbery when reheated.
9.What should I serve with this garlic butter shrimp to make a full meal? ▾
It’s incredibly versatile! Serve it over buttery pasta, fluffy white rice, or crusty sourdough to soak up every drop of sauce, or pair with roasted veggies, a crisp green salad, or grilled asparagus for a lighter meal. It also works great as a standalone appetizer for game days or dinner parties with toothpicks.
10.Why does my garlic always burn when I make garlic butter sauces? ▾
Garlic burns extremely fast—we’re talking 30 seconds to turn from golden and fragrant to bitter, burnt ash! For this recipe, after searing shrimp, turn heat down to medium-low before adding garlic to the butter, and stir constantly. As soon as you smell that nutty garlic aroma, add lemon juice to stop the cooking.
11.Can I use salted butter instead of unsalted for this recipe? ▾
You can, just adjust your added salt accordingly! Unsalted butter lets you control exact sodium levels so your shrimp don’t end up too salty, since shrimp already have subtle natural brininess. If using salted butter, skip adding extra salt when seasoning shrimp, and taste the sauce at the end to adjust seasoning as needed.
12.Do I need to use a non-stick pan, or can I use cast iron or stainless steel? ▾
Any heavy-bottomed pan works great here! Cast iron and stainless steel actually give you a better, crispier sear than non-stick because they hold heat more evenly at high temperatures. Just add a thin layer of high-smoke-point oil like avocado oil before searing, and don’t move shrimp for the first 1.5 minutes so they release easily.
13.Can I add other ingredients to the sauce to switch up the flavor? ▾
Absolutely! This base recipe is super flexible. Try adding a tablespoon of grated parmesan for a richer sauce, a splash of dry white wine right before adding garlic for bright, briny depth, a handful of cherry tomatoes or spinach to wilt in the butter, or a pinch of Old Bay for classic coastal shrimp flavor.
14.How should I store leftovers, and what’s the best way to reheat them without rubbery shrimp? ▾
Store cooled leftover shrimp in an airtight container in the fridge for up to 3 days. To reheat without that tough rubbery texture, skip the microwave—warm them gently in a skillet over low heat with a tiny splash of extra butter or chicken broth, tossing for 1-2 minutes until just warmed through. Cold leftovers also work great tossed on salads.

Comments (5)

2 days ago

OMG this was SO good!!! I made this for a last-minute weeknight dinner the other night when I forgot to meal prep, and it came together in literally 8 minutes just like the recipe says. Tossed it with some leftover pasta and my husband went back for seconds TWICE. Total game changer for busy school nights. Will be making this on repeat!

1 day ago

Wait did you use pre-peeled shrimp? I hate peeling shrimp after work so I’m wondering if the pre-peeled frozen ones work okay here?

1 day ago

Great question! Pre-peeled frozen large shrimp work perfectly here—just make sure to pat them completely dry before searing so you get that nice golden crust, no soggy shrimp! Thaw them first in a bowl of cold water for 10 minutes if they’re frozen solid.

3 days ago

Super easy recipe, turned out great for our neighborhood potluck this past weekend! I doubled the batch because I knew people would go crazy for garlic butter, and sure enough the platter was empty in 10 minutes. Only note is I added a tiny pinch of red pepper flakes for a little kick, highly recommend if you like a tiny bit of heat.

2 days ago

Love the red pepper flake addition! That’s such a great way to customize this to your taste, so glad it was a hit at the potluck!

1 week ago

My kids loved it!!! I was worried the garlic would be too strong for my picky 7 year old but he ate every last bite and asked if we can have “butter shrimp” again for his birthday dinner. So quick to make even on nights when we have back to back soccer practice. No fancy ingredients needed, which is a huge win for my grocery budget.

5 days ago

Added this to my weekly meal prep rotation! It holds up really well in the fridge for 3 days, I pair it with roasted broccoli and quinoa for a quick high protein lunch. I will say my first batch I had the heat a little too high and burned the garlic, oops, but turned the burner down for the second batch and it was perfect.

3 days ago

Oh thanks for the heads up about the heat! I burn garlic every single time I cook with it, I’ll make sure to keep the burner on medium for this. Can’t wait to try it this weekend!

yesterday

Wow, this is way easier than I thought it would be! I’ve always been intimidated to cook seafood at home because I thought it was easy to mess up, but this was foolproof. The garlic butter sauce is so rich and flavorful, I sopped up every last bit with a crusty piece of sourdough. 10/10, will be making this for my next date night in.

5 hours ago

Date night in for the win! I made this for my boyfriend last week and he thought I ordered takeout from a fancy seafood restaurant, he had no clue it took 8 minutes lmao

2 hours ago

So happy you gave seafood cooking a shot! Nothing beats that garlic butter sopped up with good sourdough—date night approved for sure! If you want to level it up next time, a squeeze of fresh lemon at the end adds such a bright pop of flavor.