Lechon Kawali Turkey

Lechon Kawali Turkey
⏱️ cook time 1 hour 20 minutes
🍽️ servings 6
⚡ Difficulty medium

intro

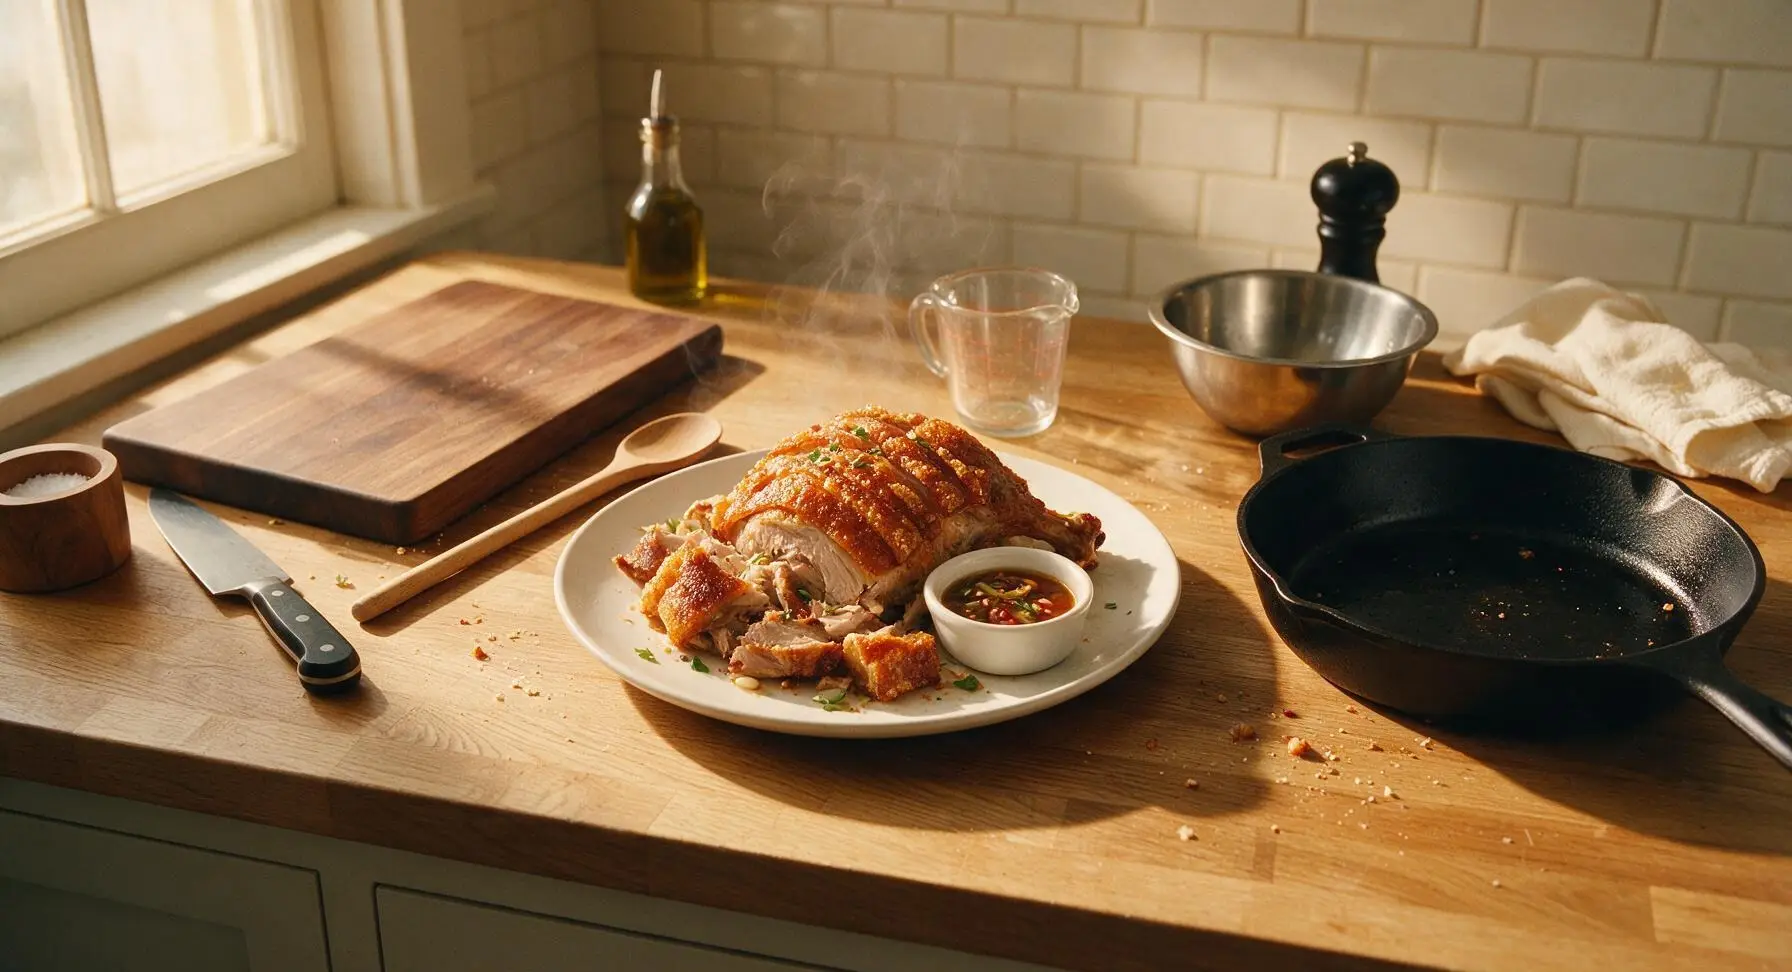
Shatteringly crisp golden turkey skin, juicy savory meat, and tangy spiced vinegar dip: this lechon kawali-inspired twist is a crunchy, unforgettable holiday centerpiece.

Ingredients
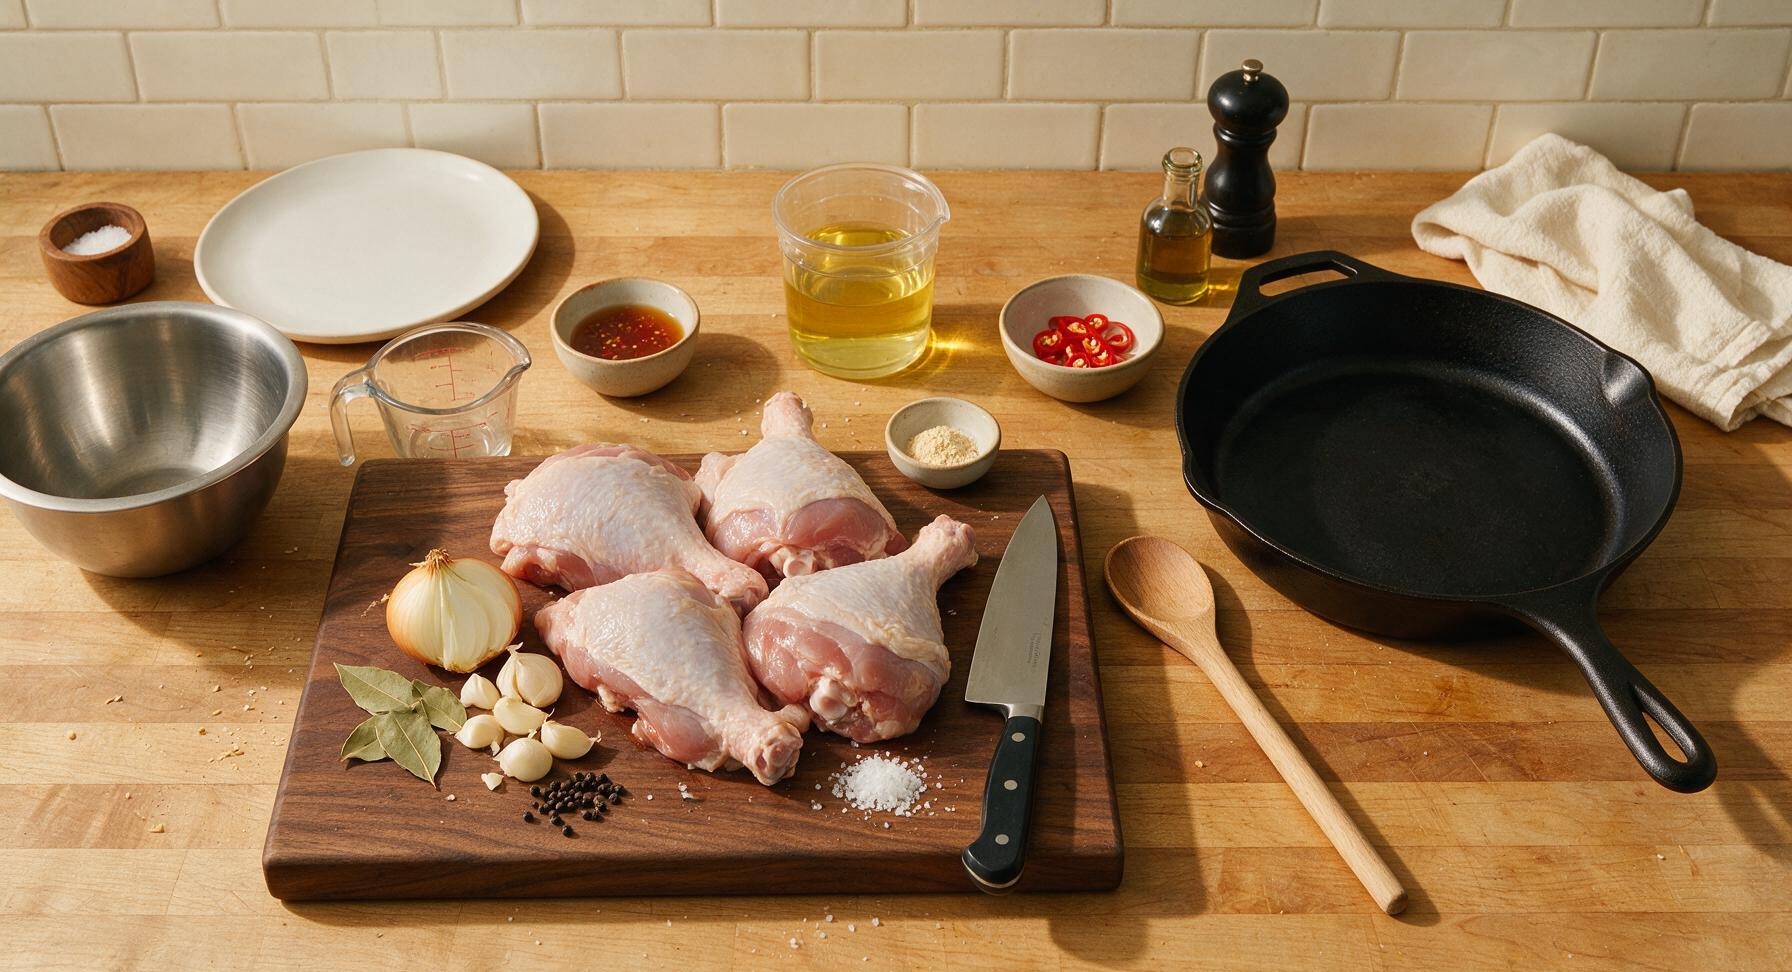
Bone-in, skin-on turkey thighs 1.2 kg (approx. 4 large thighs)
Yellow onion 1 medium (150g, quartered)
Garlic cloves 7 pieces (6 crushed for boiling, 1 for dip)
Dried bay leaves 3 pieces
Whole black peppercorns 1 tbsp
Coarse sea salt 2 tbsp (divided)
Neutral canola oil 1 liter (for deep frying)
Filipino spiced cane vinegar 1/2 cup
Thai bird's eye chili 2 pieces (thinly sliced)
Garlic powder 1 tsp

Steps

1

Prep Boil Ingredients

Place the acacia wood cutting board in the center of the work area. Use the chef knife to quarter the yellow onion, crush 6 garlic cloves with the flat of the knife blade, and trim any excess loose skin from the turkey thighs. Measure out 1 tbsp whole black peppercorns, 3 bay leaves, and 1.5 tbsp coarse sea salt to add to the boiling liquid, setting the remaining 0.5 tbsp salt aside for final seasoning.
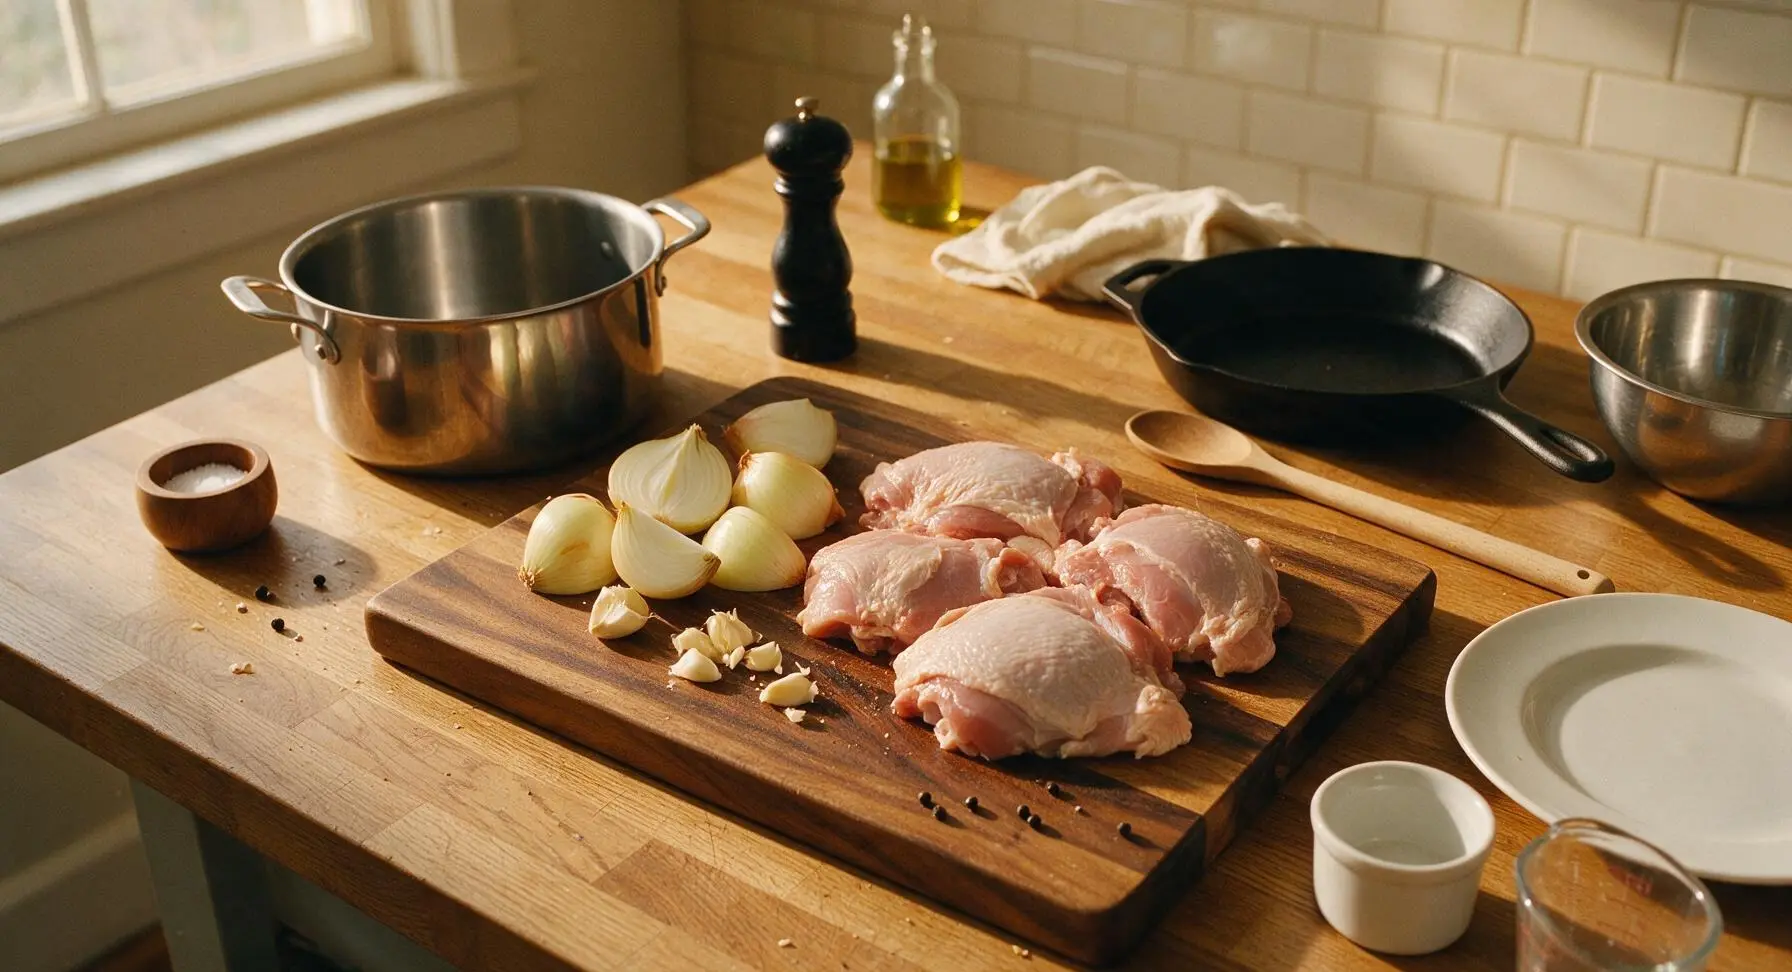
Step 1
step1:Prep Boil Ingredients
2

Simmer Turkey Until Tender

Transfer the turkey thighs to the stock pot, add the quartered onion, crushed garlic, bay leaves, whole peppercorns, and 1.5 tbsp coarse salt. Cover with cold water until turkey is fully submerged by 2 inches. Bring to a rolling boil over high heat, then reduce to a gentle simmer, cover partially with the lid, and cook for 45 minutes. The meat will be tender when a fork pierces the thickest part with no resistance, but will not be falling off the bone. Use the slotted spoon to skim any grey foam that rises to the surface during cooking.
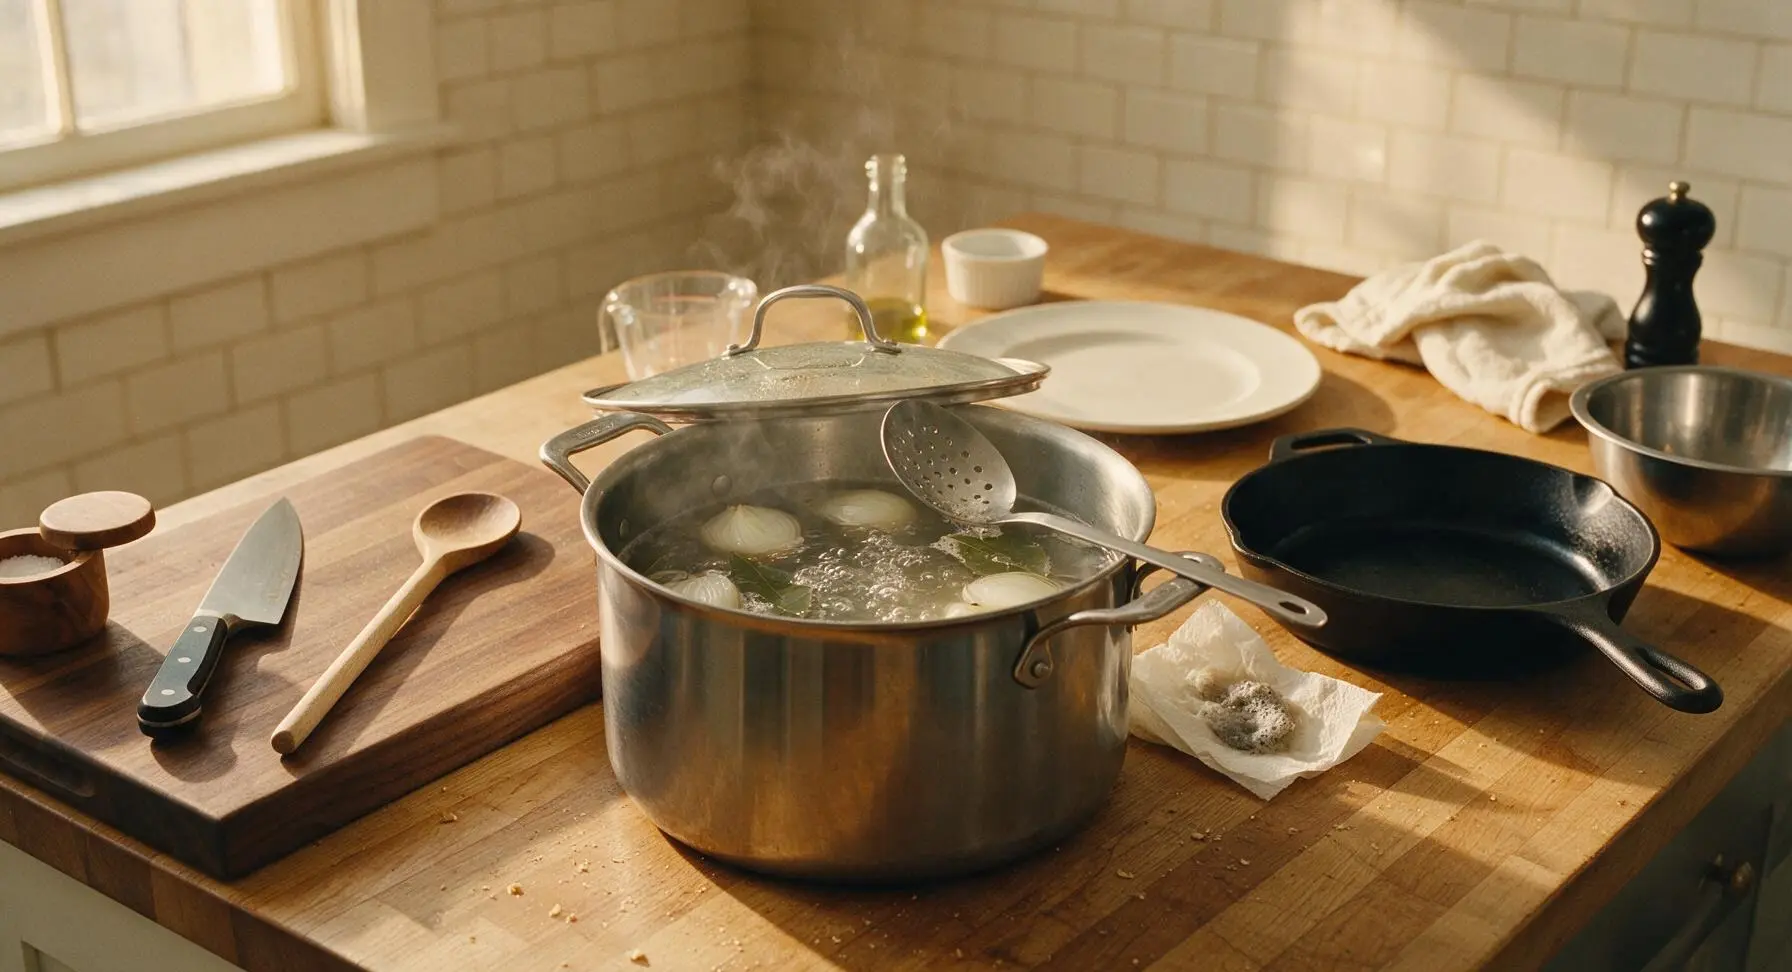
Step 2
step2:Simmer Turkey Until Tender
3

Drain Turkey Thoroughly

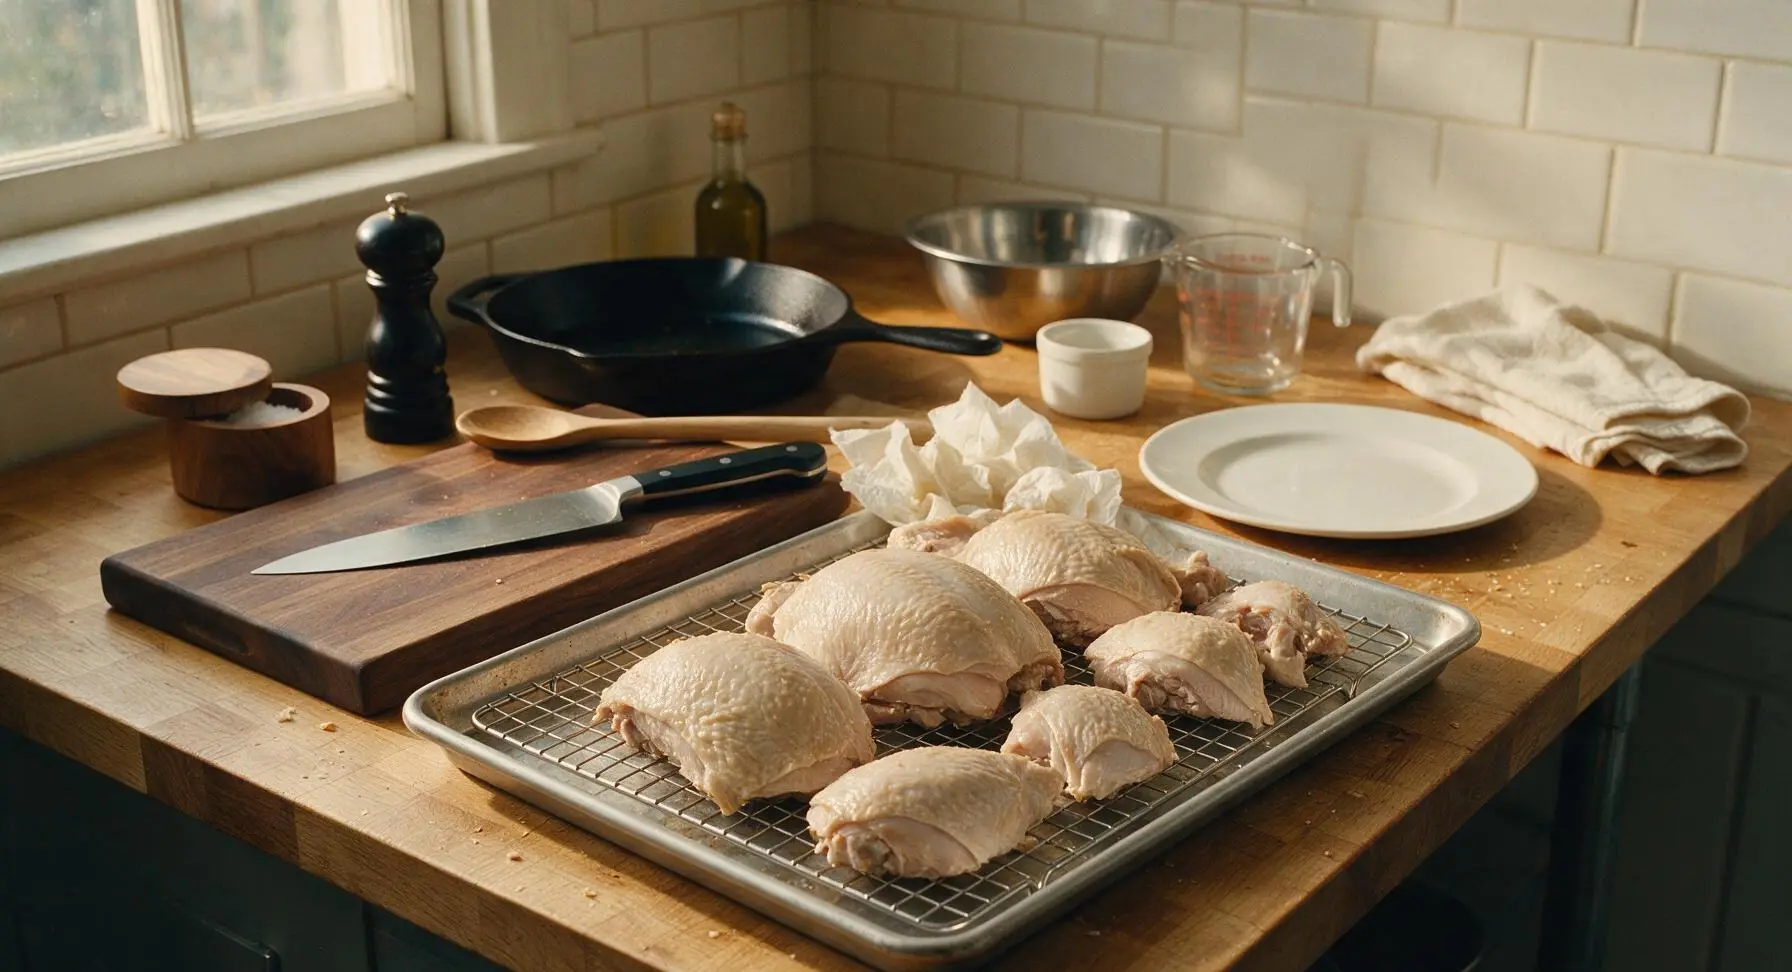
Use the slotted spoon to lift each cooked turkey thigh out of the stock pot, letting excess hot water drain off for 10 seconds per piece. Arrange the turkey skin-side up on the chrome wire rack set inside the rimmed aluminum baking sheet. Pat every surface—especially the skin—completely dry with paper towels. Let turkey rest uncovered at room temperature for 20 minutes to air-dry fully; matte, dry skin is the visual cue it is ready for frying.
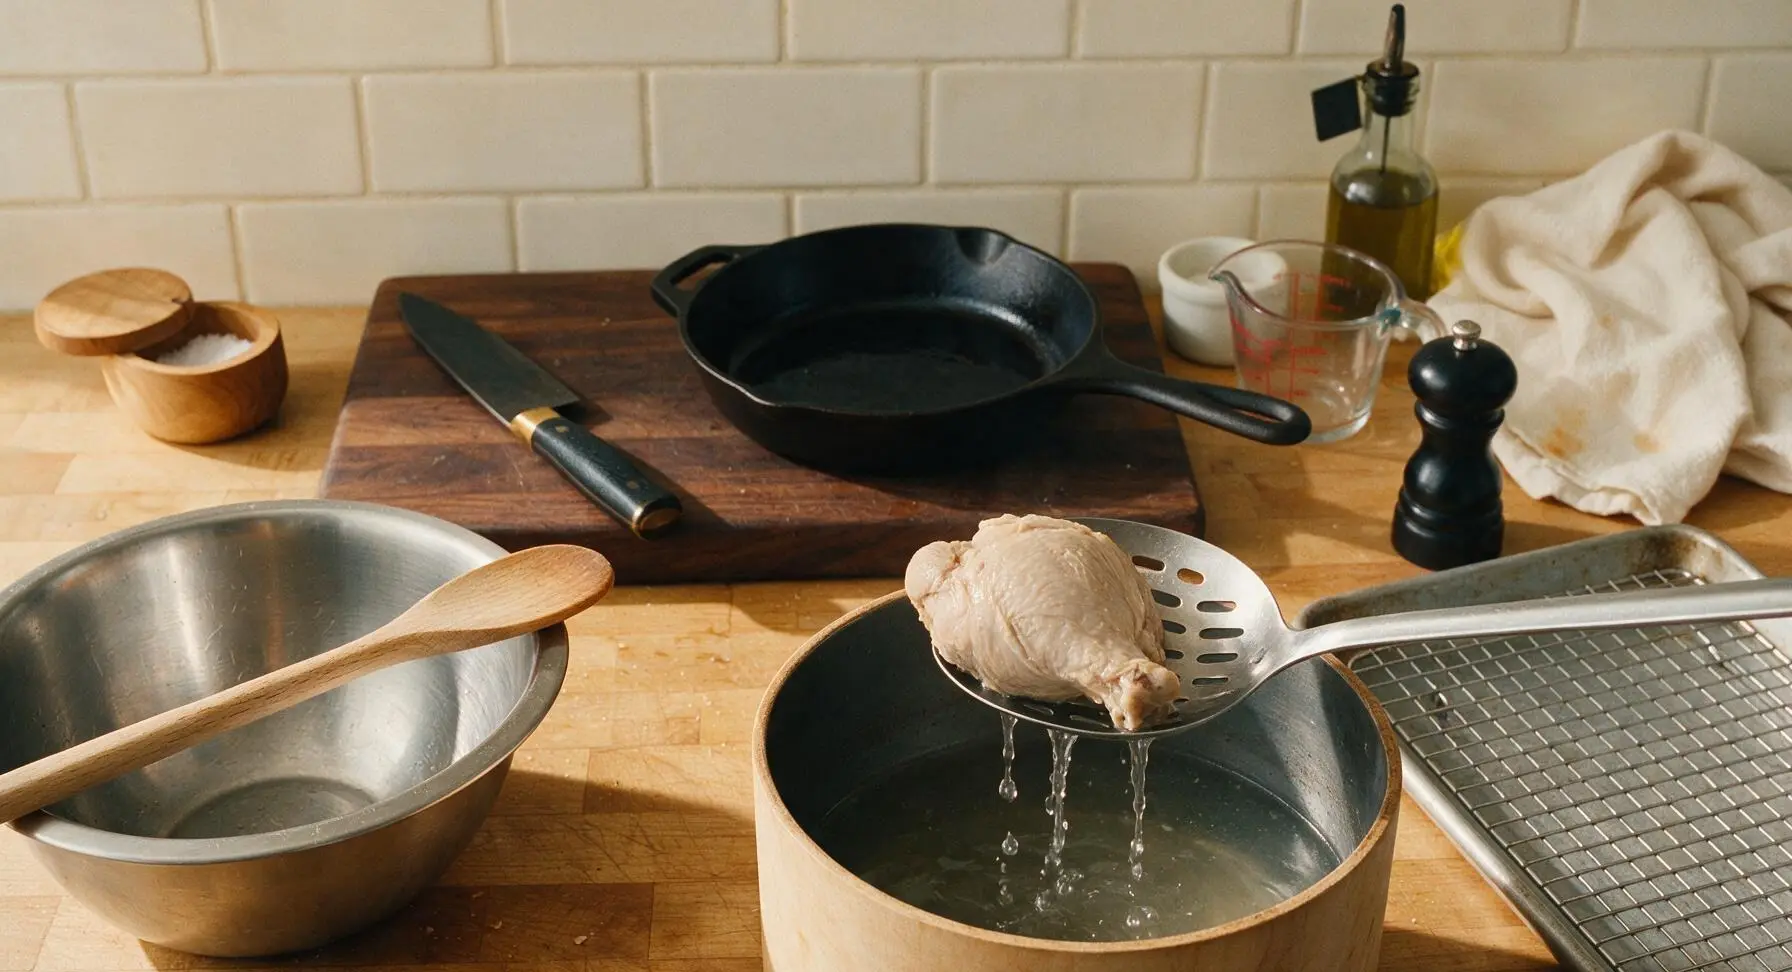
Step 3
step3:Drain Turkey Thoroughly
Step 3
step3:Drain Turkey Thoroughly
4

Heat Oil for Frying

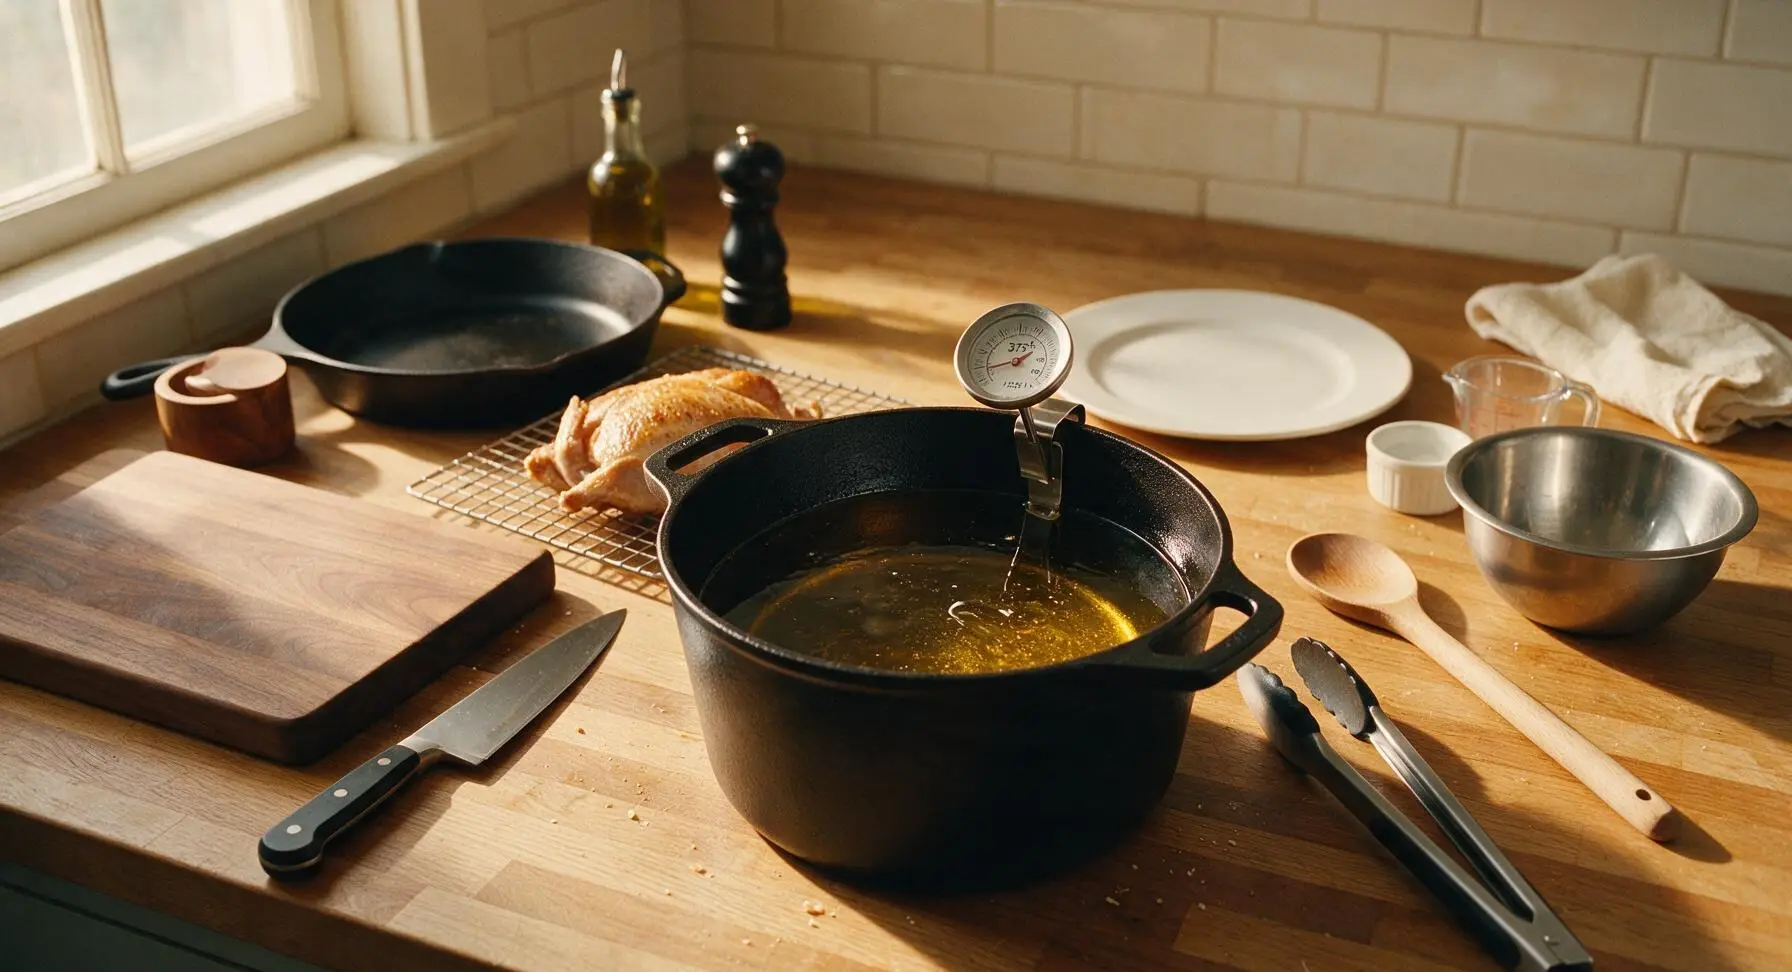
While the turkey air-dries, pour 1 liter of canola oil into the cast iron Dutch oven set over medium-high heat. Clip the deep-fry thermometer to the pot side, ensuring the tip is submerged in oil but not touching the pot bottom. Heat oil to a steady 375°F (190°C), adjusting burner heat as needed to hold this temperature for 5 minutes before frying.
Step 4
step4:Heat Oil for Frying
5

Fry Until Golden Crackling

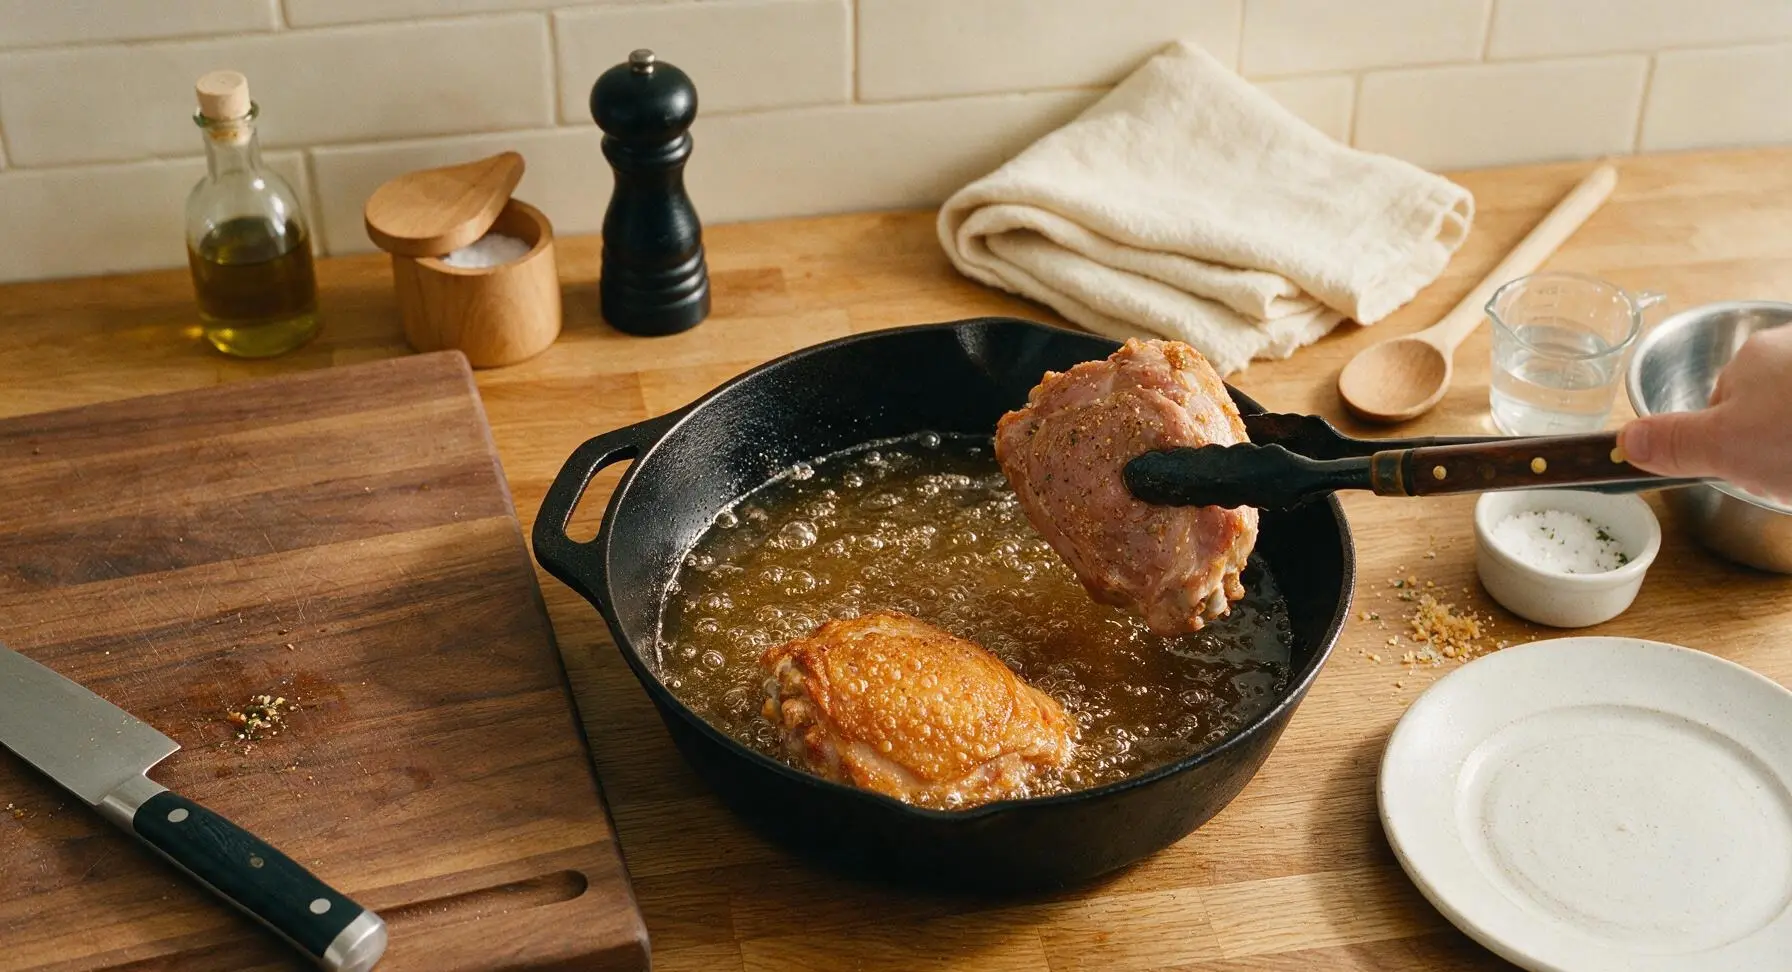
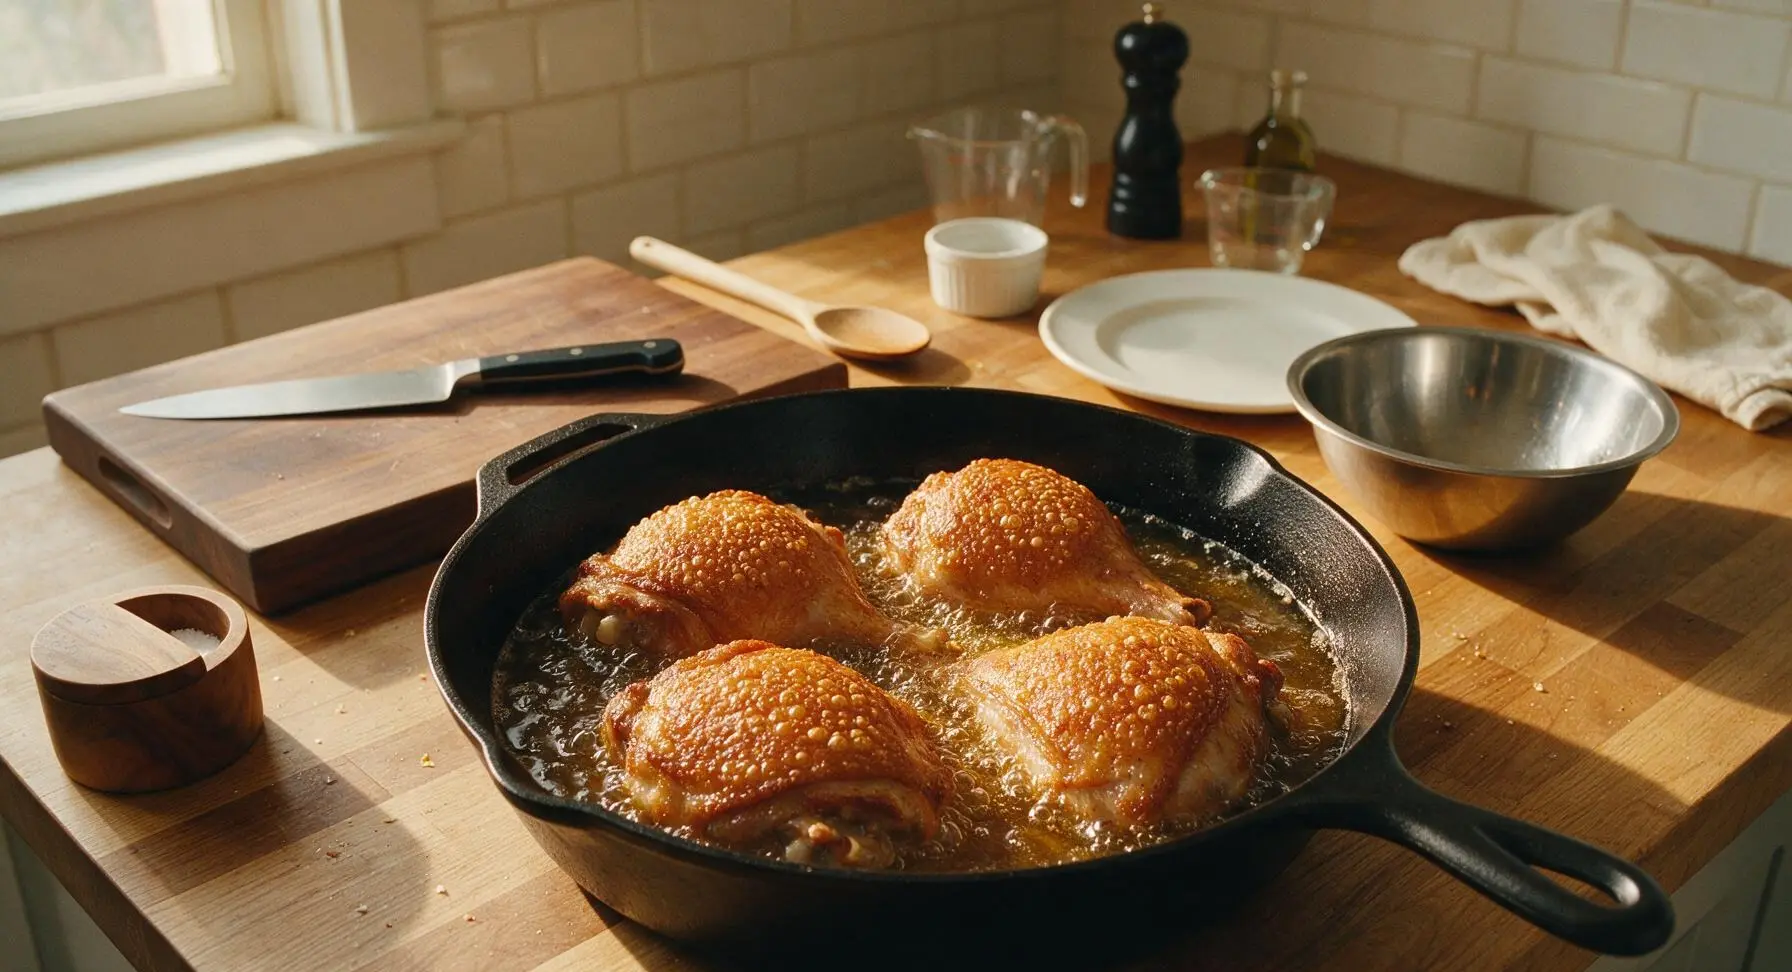
Working in 2 batches of 2 thighs each to avoid overcrowding, use the long tongs to carefully lower turkey pieces skin-side down into the hot oil. Fry for 7-9 minutes per batch, flipping once halfway through cooking, until skin is deep golden amber, covered in tiny, puffed crispy bubbles, and fully crisp. Maintain oil temperature between 360-375°F during frying, adjusting heat as needed.
Step 5
step5:Fry Until Golden Crackling
Step 5
step5:Fry Until Golden Crackling
6

Drain and Season Hot

Once each batch is crisp, use tongs to lift turkey out of the oil, holding it above the pot for 10 seconds to let excess oil drip off. Transfer fried turkey back to the clean wire rack set over the baking sheet. Immediately season the hot, crisp skin with the remaining 0.5 tbsp coarse salt and 1 tsp garlic powder, so the seasoning adheres to the porous hot skin. Let rest 5 minutes to drain fully.
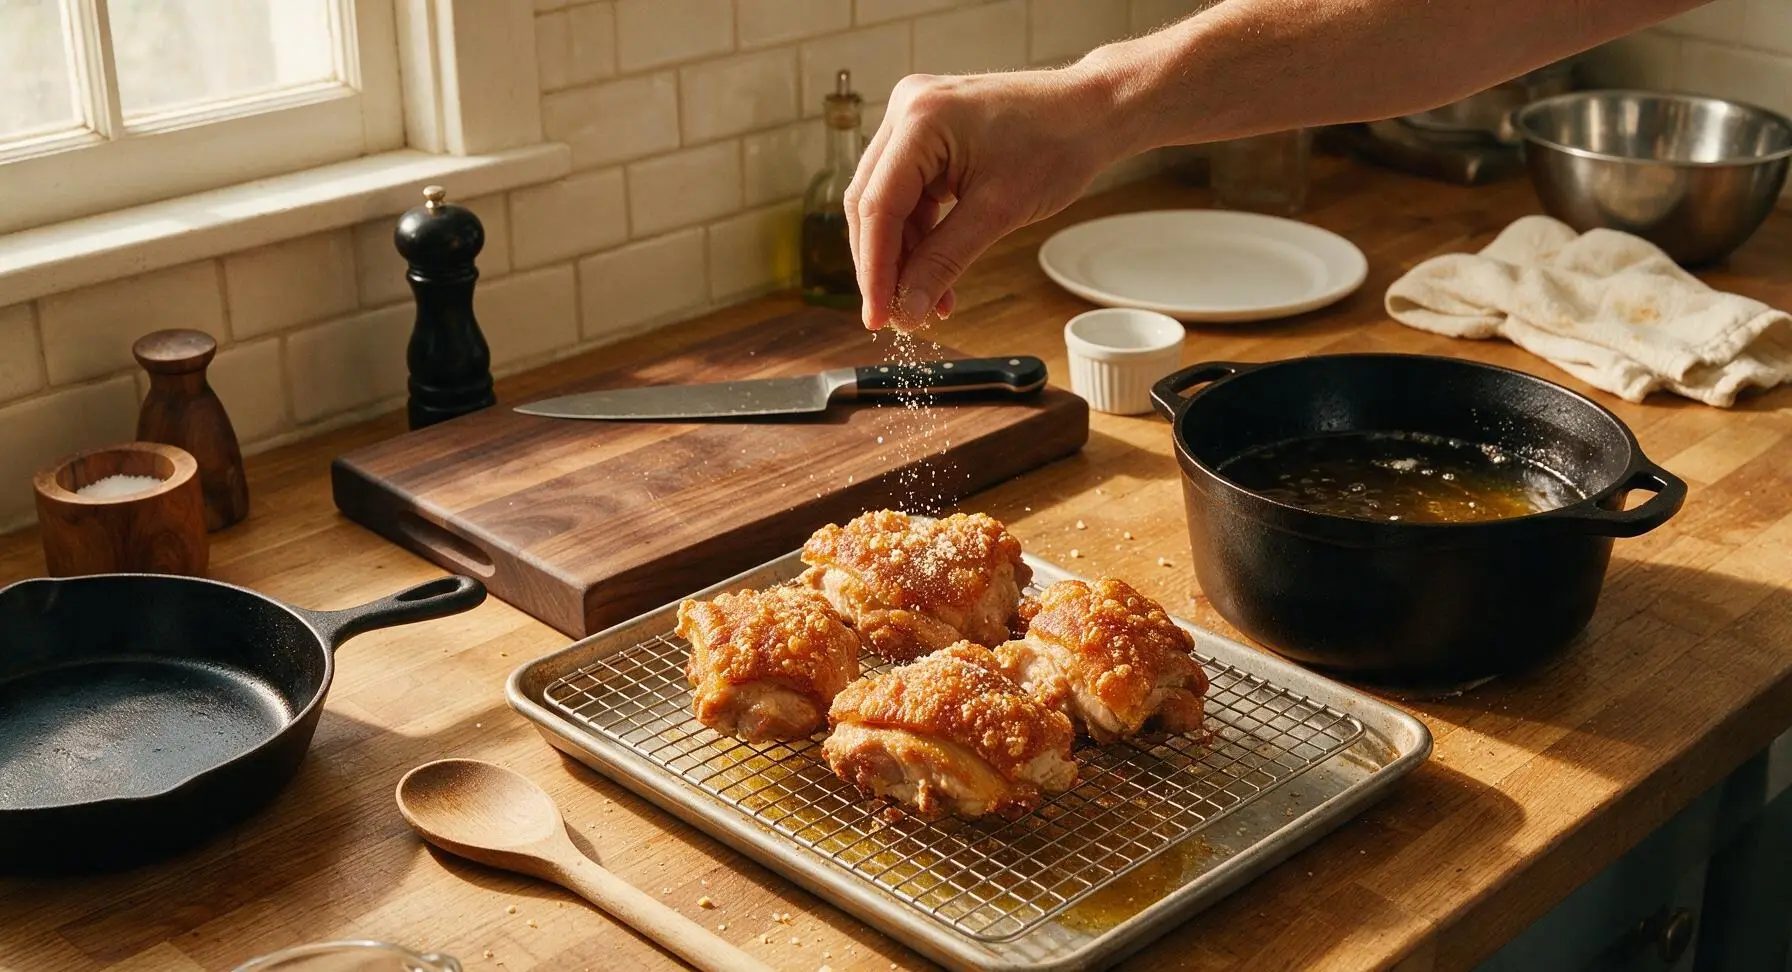
Step 6
step6:Drain and Season Hot
7

Mix Dipping Sauce

While the turkey rests, combine 1/2 cup spiced cane vinegar, sliced Thai bird's eye chilies, 1 crushed garlic clove, and a tiny pinch of salt in the matte white ramekin. Stir gently with the small stainless steel spoon to combine; the tangy, slightly spicy dip cuts through the richness of the crispy skin.
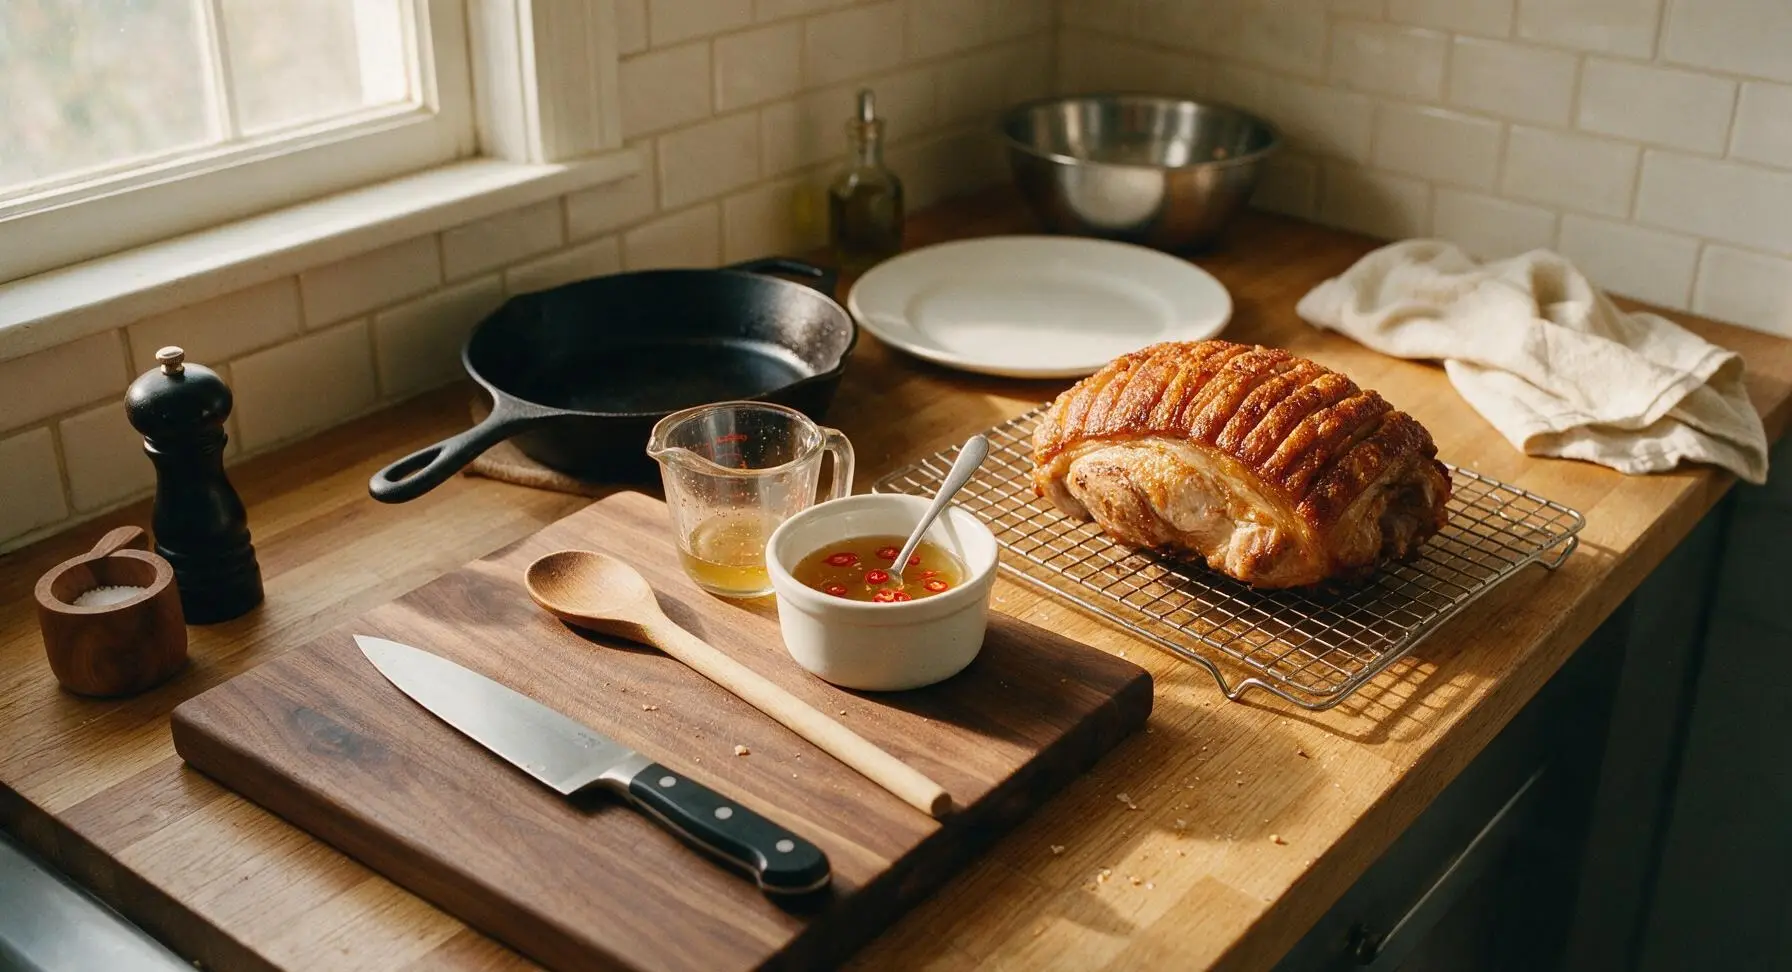
Step 7
step7:Mix Dipping Sauce
8

Plate Crispy Turkey

Transfer the drained crispy turkey pieces to the large cream ceramic serving platter, piling pieces loosely to avoid trapping steam that would soften skin. Tuck one fresh bay leaf between pieces for a simple garnish, and set the ramekin of spiced vinegar dip on the platter. Serve immediately while skin is shatteringly crisp.
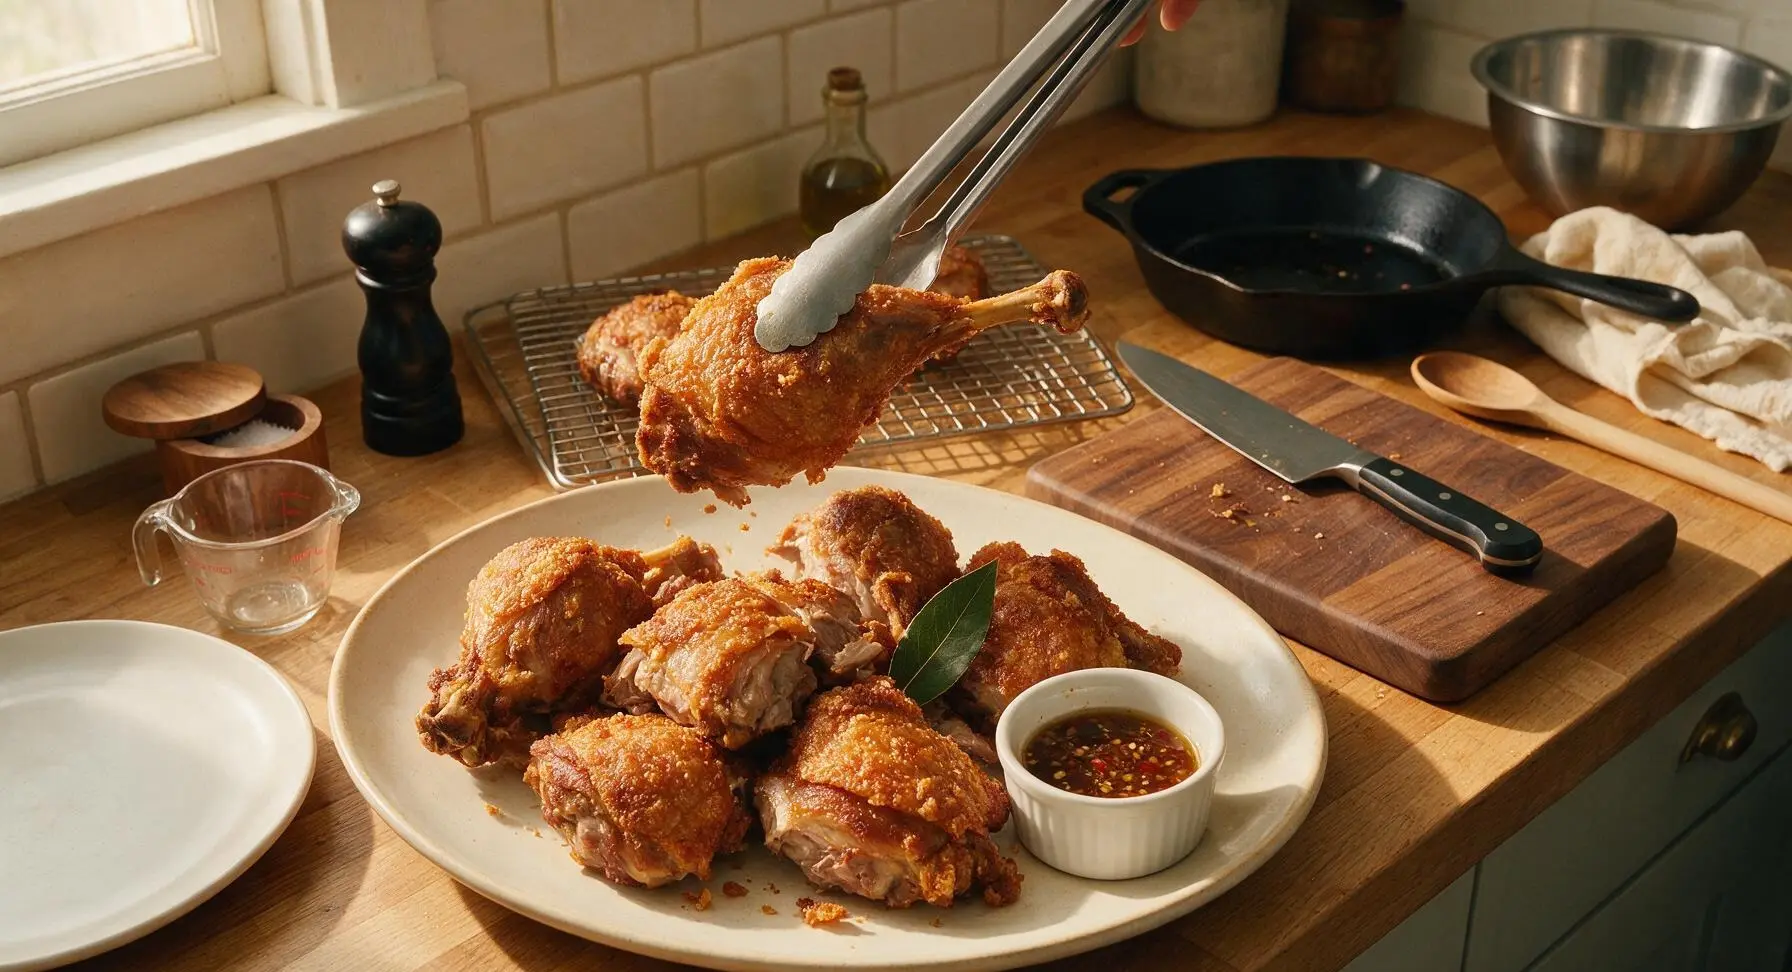
Step 8
step8:Plate Crispy Turkey

Tips

1.Do not skip the full air-dry step after boiling: any remaining moisture on the turkey skin will cause violent hot oil splatter and prevent the skin from puffing into light, shatteringly crisp crackling, leaving it tough and chewy instead. For extra crisp, you can refrigerate the dried turkey uncovered for 4 hours (or overnight) before frying.
2.Always fry in small batches: overcrowding the Dutch oven drops oil temperature by 50°F or more, which causes the turkey to absorb excess oil and turn soggy rather than crisp. Wait 2-3 minutes between batches to let oil return to a steady 375°F before adding more turkey.
3.Never cover fried turkey while it rests: trapping steam under a lid, foil, or paper towel will soften the crispy skin in as little as 2 minutes. Keep turkey uncovered on the wire rack until ready to serve to preserve maximum crunch.
✨ You May Also Like

Main Course
🍜 United Kingdom

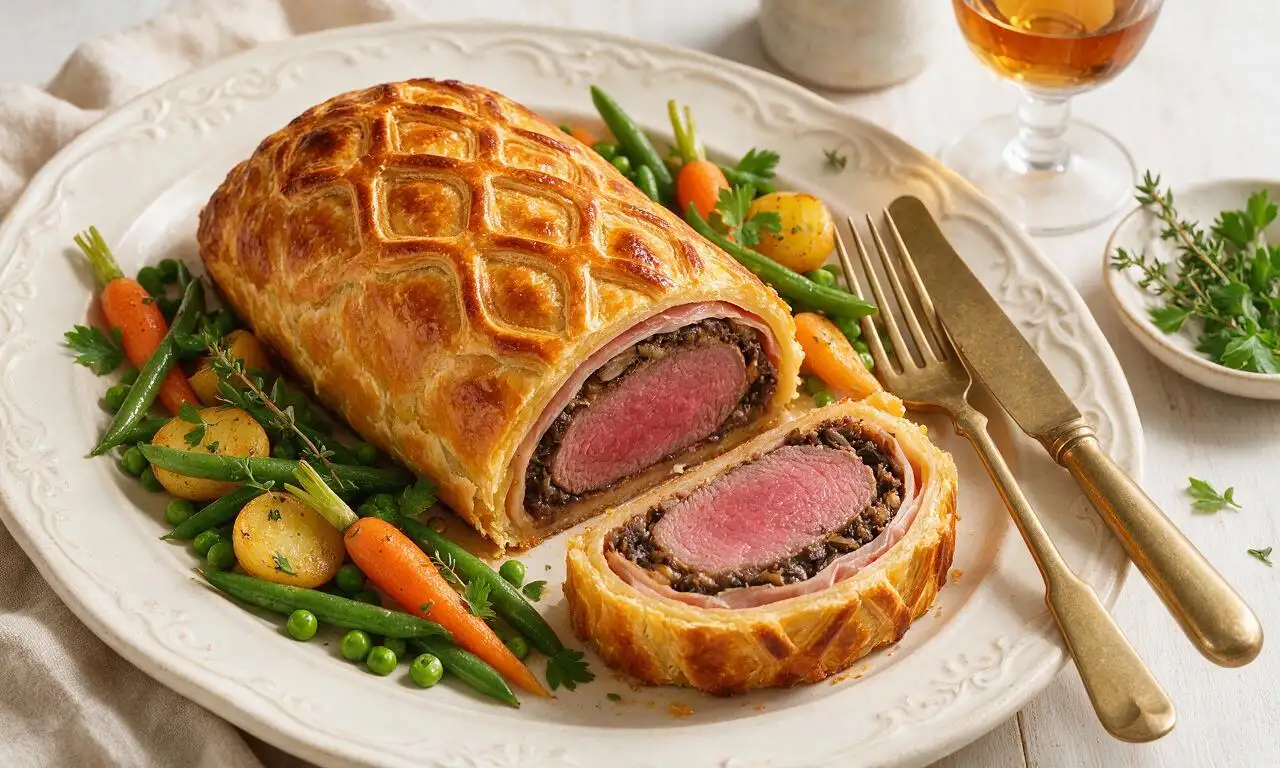
A showstopping classic of tender seared beef, savory mushroom duxelles, and crisp prosciutto wrapped in flaky golden puff pastry, baked to juicy perfection.

⏱️ 2 hours 1Main Course ★ 4.7
Main Course
🍜 India

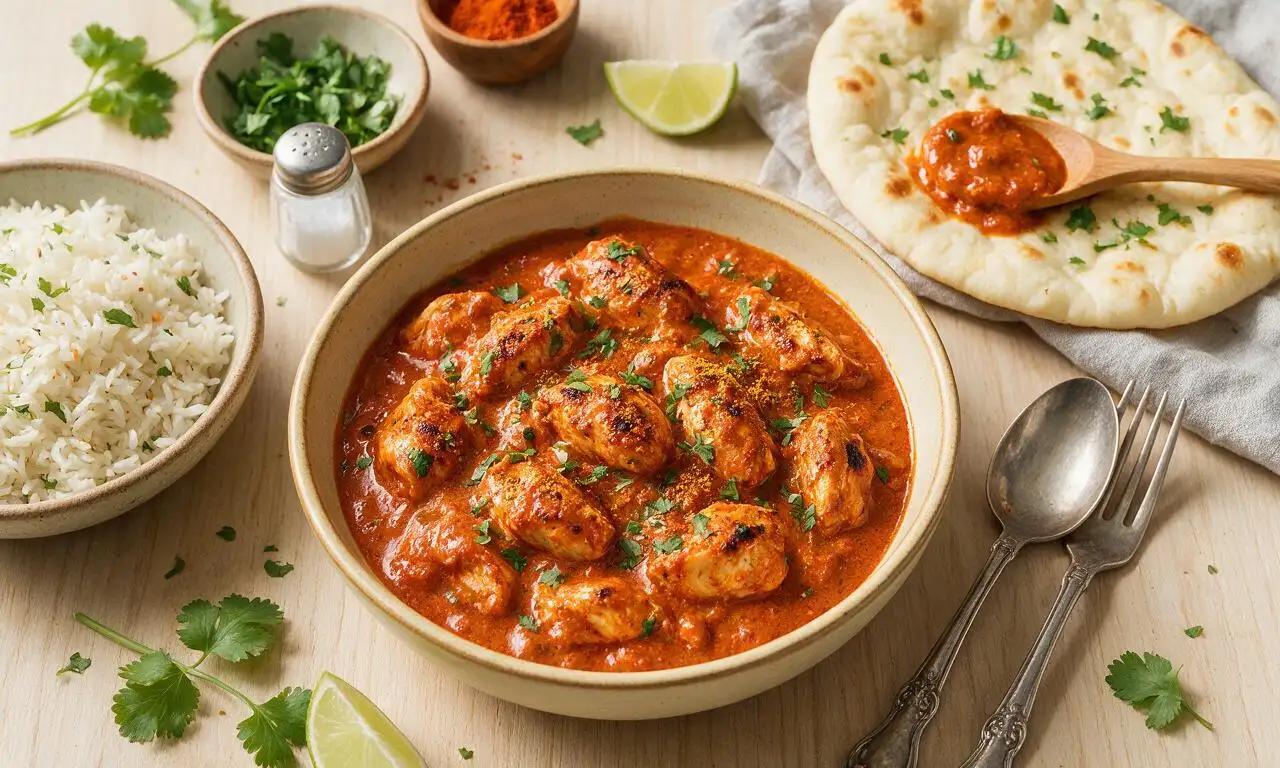
Tender charred marinated chicken simmered in a rich, spiced creamy tomato sauce, this iconic Anglo-Indian curry pairs perfectly with basmati rice or warm naan.

⏱️ 50 minuteMain Course ★ 4.6
Main Course
🍜 Thailand

Classic tangy, sweet, and savory Thai stir-fried rice noodles with shrimp, tofu, and crunchy garnishes, balancing all five core Thai flavor profiles.

⏱️ 30 minuteMain Course ★ 4.5
Main Course
🍜 United Kingdom

Crispy golden beer-battered cod and fluffy double-fried chips, served with tangy tartar sauce and malt vinegar: the timeless, beloved British pub comfort classic.

⏱️ 45 minuteMain Course ★ 4.7
Main Course
🍜 Mexico

Smoky, chile-marinated pork tacos with caramelized pineapple, fresh cilantro, and lime: a beloved classic Mexican street food perfect for casual summer gatherings.

⏱️ 1 hour 45Main Course ★ 4.8
Main Course
🍜 United States

Crunchy Fritos corn chips layered with savory beef chili and melted cheddar, topped with cool, zesty fixings for a beloved, cozy Tex-Mex comfort food.

⏱️ 35 minuteMain Course ★ 4.8

Lechon Kawali Turkey:Frequently Asked Questions

1.What cut of turkey works best for Lechon Kawali Turkey? ▾
Stick exclusively with bone-in, skin-on turkey thighs for this recipe! The higher fat content in dark meat stays juicy even through the high-heat crisping step, and the intact, attached skin is critical for that iconic shatteringly crisp lechon kawali crackling. Lean breast meat will dry out far too easily, so save it for other preparations.
2.Do I have to deep fry this recipe to get the signature crisp turkey skin? ▾
You don’t need a giant, messy deep fryer if you don’t have one! While traditional lechon kawali is deep fried, you can get equally shatteringly crisp skin by air frying pre-simmered thighs at 400°F for 25–30 minutes, or roasting them on an elevated wire rack at 425°F, as long as the skin is completely dry before high-heat cooking.
3.What’s the point of simmering the turkey first before crisping it? ▾
That initial simmer step is non-negotiable for authentic lechon kawali flavor and texture! Simmering thighs in water with yellow onion, garlic, dried bay leaves, and whole black peppercorns infuses every layer of meat with warm, savory depth, and tenderizes tough connective tissue so the meat stays juicy instead of chewy under high-heat crisping.
4.How do I guarantee the turkey skin gets shatteringly crisp instead of rubbery? ▾
The number one rule for perfect crackling is zero excess moisture on the skin before the high-heat step! After simmering, pat turkey thighs completely dry with paper towels, leave them uncovered on a wire rack in the fridge for 4–6 hours (or overnight) to air dry, and skip moist seasonings or oil on the skin right before cooking.
5.What goes into the traditional spiced vinegar dip served with this dish? ▾
The classic tangy dip pairs perfectly with the rich, crispy turkey! Start with cane or plain white vinegar as a base, then add minced garlic, a pinch of crushed black pepper, thinly sliced red onion, a tiny splash of soy sauce, a pinch of sugar, and a sliced Thai chili for gentle heat if you like. Let it sit 30 minutes for flavors to meld before serving.
6.Can I prep Lechon Kawali Turkey ahead of time for holiday gatherings? ▾
You can do most of the prep ahead to cut down on busy holiday day-of work! Simmer the turkey thighs 1–2 days in advance, pat them fully dry, and store them uncovered on a wire rack in the fridge until you’re ready to do the high-heat crisping step. Make the vinegar dip a couple hours before serving for the brightest, tangiest flavor.
7.How long should I simmer the turkey thighs for the best texture? ▾
Simmer the bone-in thighs gently—skip a hard rolling boil, which will make meat stringy and tough—for 35–40 minutes, until the meat is just cooked through and tender but not falling off the bone. If you simmer too long, the meat will get mushy and the skin will tear easily when you transfer thighs to crisp.
8.What can I use if I don’t have whole black peppercorns for the simmer liquid? ▾
If you don’t have whole black peppercorns on hand, you can use 1 teaspoon of coarsely ground black pepper tied up in a small cheesecloth sachet so it doesn’t leave gritty bits on the turkey skin. Avoid fine ground pepper directly in the simmer water, as it will stick to the skin and burn quickly during the high-heat crisping step.
9.How many people does one batch of Lechon Kawali Turkey serve? ▾
If you’re using standard 1–1.25 pound bone-in, skin-on turkey thighs, plan for 1 thigh per 2 people as part of a full holiday spread with sides. A 4-thigh batch will comfortably serve 8 guests, with a little extra for anyone who wants seconds of that addictive crispy skin and tangy dip.
10.Can I use a whole turkey instead of just thighs for this recipe? ▾
I don’t recommend using a whole turkey for this cooking method! The different cuts (breast, wings, legs) cook at wildly different rates, so you’ll end up with dry breast meat and undercooked dark meat long before the skin gets properly crisp. Sticking to evenly sized thighs ensures every bite is juicy with perfect crackling.
11.Should I season the turkey skin with salt before the crisping step? ▾
Lightly sprinkle the very top of fully dried skin with flaky sea salt right before the high-heat step, but don’t salt it earlier! Salting too far in advance will draw moisture out of the skin, which will prevent it from crisping up properly and leave you with chewy, rubbery skin instead of that iconic shatteringly crisp texture.
12.What sides pair best with Lechon Kawali Turkey for a holiday meal? ▾
This rich, crispy dish pairs beautifully with bright, starchy, or tangy sides! Serve it with garlic fried rice, roasted sweet potato, pickled green papaya, buttery steamed green beans, or creamy macaroni salad. The tangy vinegar dip cuts through richness perfectly, so you don’t need heavy gravy to complement the savory meat.
13.How should I store leftovers, and can I get the skin crisp again? ▾
Store leftover turkey in an airtight container in the fridge for up to 3 days. The skin will soften as it sits, but you can bring back that signature crisp texture by reheating pieces on an elevated wire rack in a 400°F oven for 10–12 minutes. Skip microwave reheating, as that will make the skin soggy and rubbery permanently.
14.Do I need to add oil to the simmer liquid for extra flavor? ▾
You don’t need to add any extra oil or fat to the simmer liquid! The turkey skin will render plenty of natural fat as it cooks during the crisping step, and the onion, garlic, bay leaves, and peppercorns already add all the deep, aromatic savoriness you need to infuse the meat without making the skin greasy pre-crisp.
15.My first batch had soft, not crisp skin—what did I do wrong? ▾
The most common culprit is trapped moisture on the skin! If you skipped the post-simmer air-drying step in the fridge, didn’t pat thighs fully dry after simmering, or basted the skin with liquid during high-heat cooking, moisture will get trapped and prevent crisping. Next time, ensure skin is bone dry before cooking for perfect crackling.
16.Can I add extra aromatics to the simmer liquid for more flavor? ▾
Absolutely! While the base recipe uses onion, garlic, bay leaves, and peppercorns, you can toss in a sliced knob of ginger, a couple of crushed lemongrass stalks, or a handful of scallions to the simmer pot for extra bright, warm depth. Just skip sugary or tomato-based ingredients, which will burn quickly on the skin during the high-heat crisping step.

Comments (6)

2 days ago

OMG this lechon kawali turkey was the star of our Sunday family dinner! I was nervous it’d be too tricky (the medium difficulty rating had me sweating a little tbh) but the steps were so straightforward, and the total cook time was way shorter than I expected for that perfect crispy skin. My kids went back for seconds, even my super picky 7 year old! The crunch was insane, paired it with a quick toyomansi dip and *chef’s kiss*, 10/10.

1 day ago

Wait you used toyomansi? I went with a spicy garlic vinegar dip and it slapped too! Quick question — did you do the full brine step the recipe calls for, or did you skip it to save time? I’m making this again for a game night next weekend and wondering if I can cut that corner.

18 hours ago

So stoked this was a hit with your whole family! Both toyomansi and spiced vinegar dips are chef’s kiss pairings for this crispy turkey. We definitely recommend the brine if you have time — it locks so much flavor into the meat under that crunchy skin, but if you’re short on time, just be extra generous with the dry rub and it’ll still turn out great!

1 week ago

Made this for our neighborhood potluck last weekend and people would not stop coming up to ask for the recipe! Only reason I knocked off a star is my skin didn’t get quite as shatteringly crisp as the photos, probably because I overcrowded my roasting pan a little. The 1 hour 20 minute cook time was totally spot on though, which was a lifesaver because I was juggling three other dishes for the block party. Definitely making this again for Friendsgiving this year, just gonna bust out my bigger sheet pan next time to give the turkey pieces more space.

3 days ago

Total game changer. I meal prep turkey for my work lunches every week and it’s always so dry and boring, but this lechon kawali version? The crispy skin holds up okay for a couple days in the fridge, and I just reheat it in the air fryer for 3 minutes to get that crunch right back. The meat is so flavorful I don’t even need to add extra sauce. 10/10, adding this to my permanent weekly meal prep rotation.

2 days ago

We love hearing this works for meal prep! That air fryer reheat trick is exactly what we do too to bring the crisp back without making the meat greasy. So glad this is spicing up your weekly work lunches!

5 days ago

Wait why did I never think to make lechon kawali with turkey instead of pork?? I have a few family members who don’t eat pork so this was the perfect main for our recent family get-together. The seasoning blend is exactly the classic lechon kawali flavor I grew up with, no weird random shortcuts! SO good, even my lola approved and she’s notoriously picky about her Filipino food.

4 days ago

Wait your lola approved?? That’s the highest possible seal of approval, omg. I need to make this for my grandma when she visits next month! Did you serve it with the traditional liver sauce, or go with a simpler dip?

3 days ago

Lola approval is the absolute best win we could ask for! Traditional liver sauce, spicy sukang sawsawan, or a simple soy-calamansi dip all pair beautifully with this recipe — you really can’t go wrong no matter what dipper you pick.

yesterday

I was a little intimidated by the medium difficulty rating since I’m a pretty basic cook who mostly sticks to burgers and frozen pizza, but the steps were super easy to follow! Got that perfect shatteringly crisp skin on the first try, which I was fully not expecting. My wife said it’s better than the fried pork belly we get at our local Filipino spot, which is the highest compliment she could give. Total cook time was exactly 1 hour 20 minutes too, no random hidden steps that add extra time, which I really appreciate.

5 hours ago

Right?? I’m also a super novice cook and I nailed this on my first try too! The tip about patting the skin totally dry before roasting makes all the difference — I almost skipped that step because I was in a rush and I’m so glad I didn’t, that crunch would’ve been totally missing.

30 minutes ago

Obsessed!!! Made this for my little brother’s birthday dinner since he’s obsessed with lechon kawali but has been cutting back on red meat, and he said it’s his new favorite birthday meal ever. The skin was so crunchy I could hear it across the table when people bit into it. Will absolutely be making this again for our extended family Christmas dinner this year, it’s too good not to share with everyone.