
Lemon Cheesecake
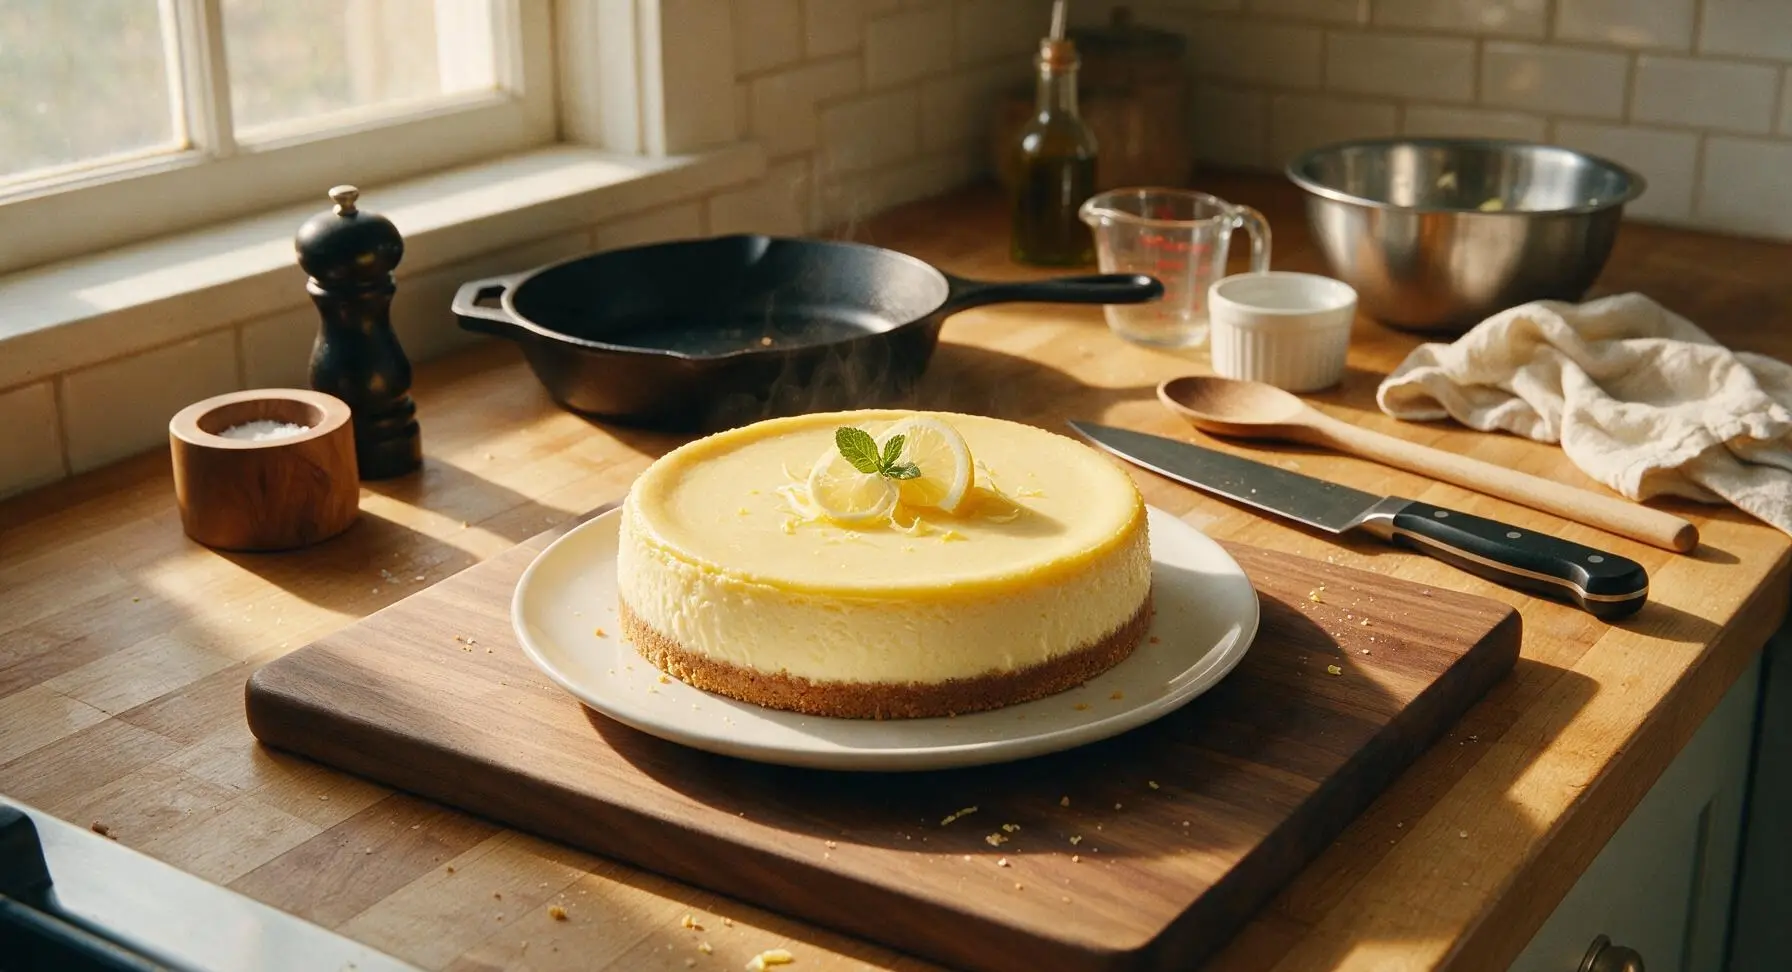
intro
Velvety, tangy baked lemon cheesecake with a buttery crisp graham cracker crust, bright citrus zing, and smooth, crack-free top—perfect for warm summer gatherings.
Ingredients
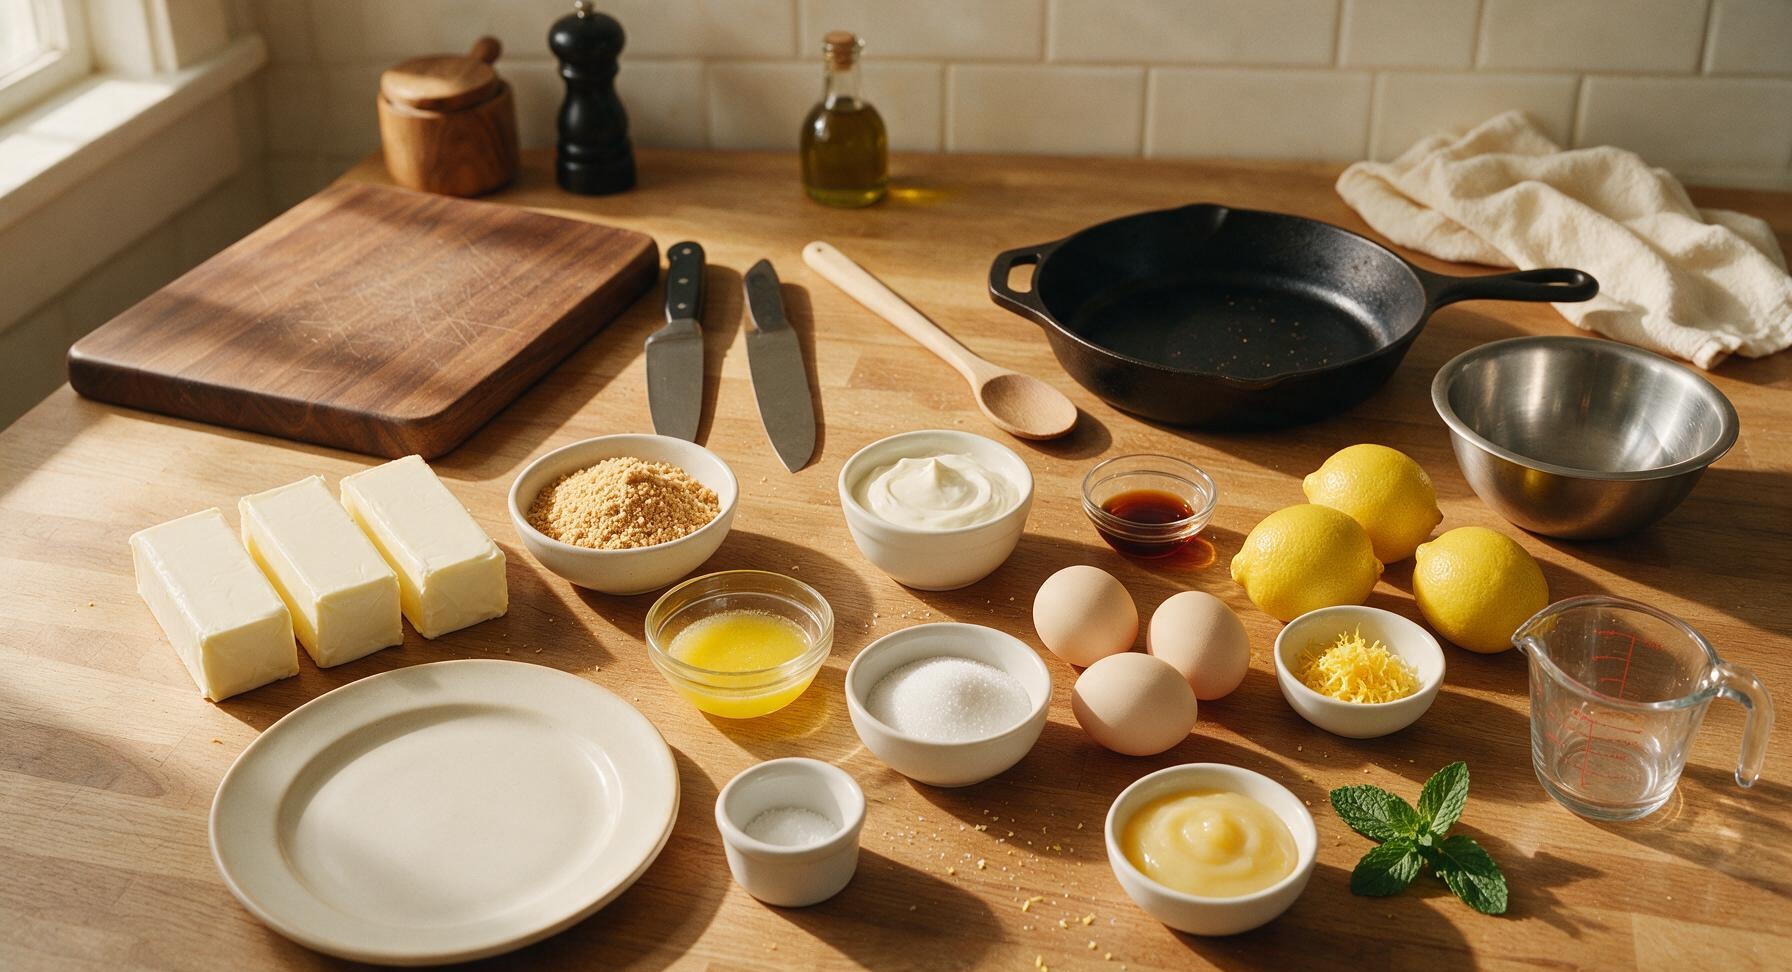
Steps
Mix and Press Crust
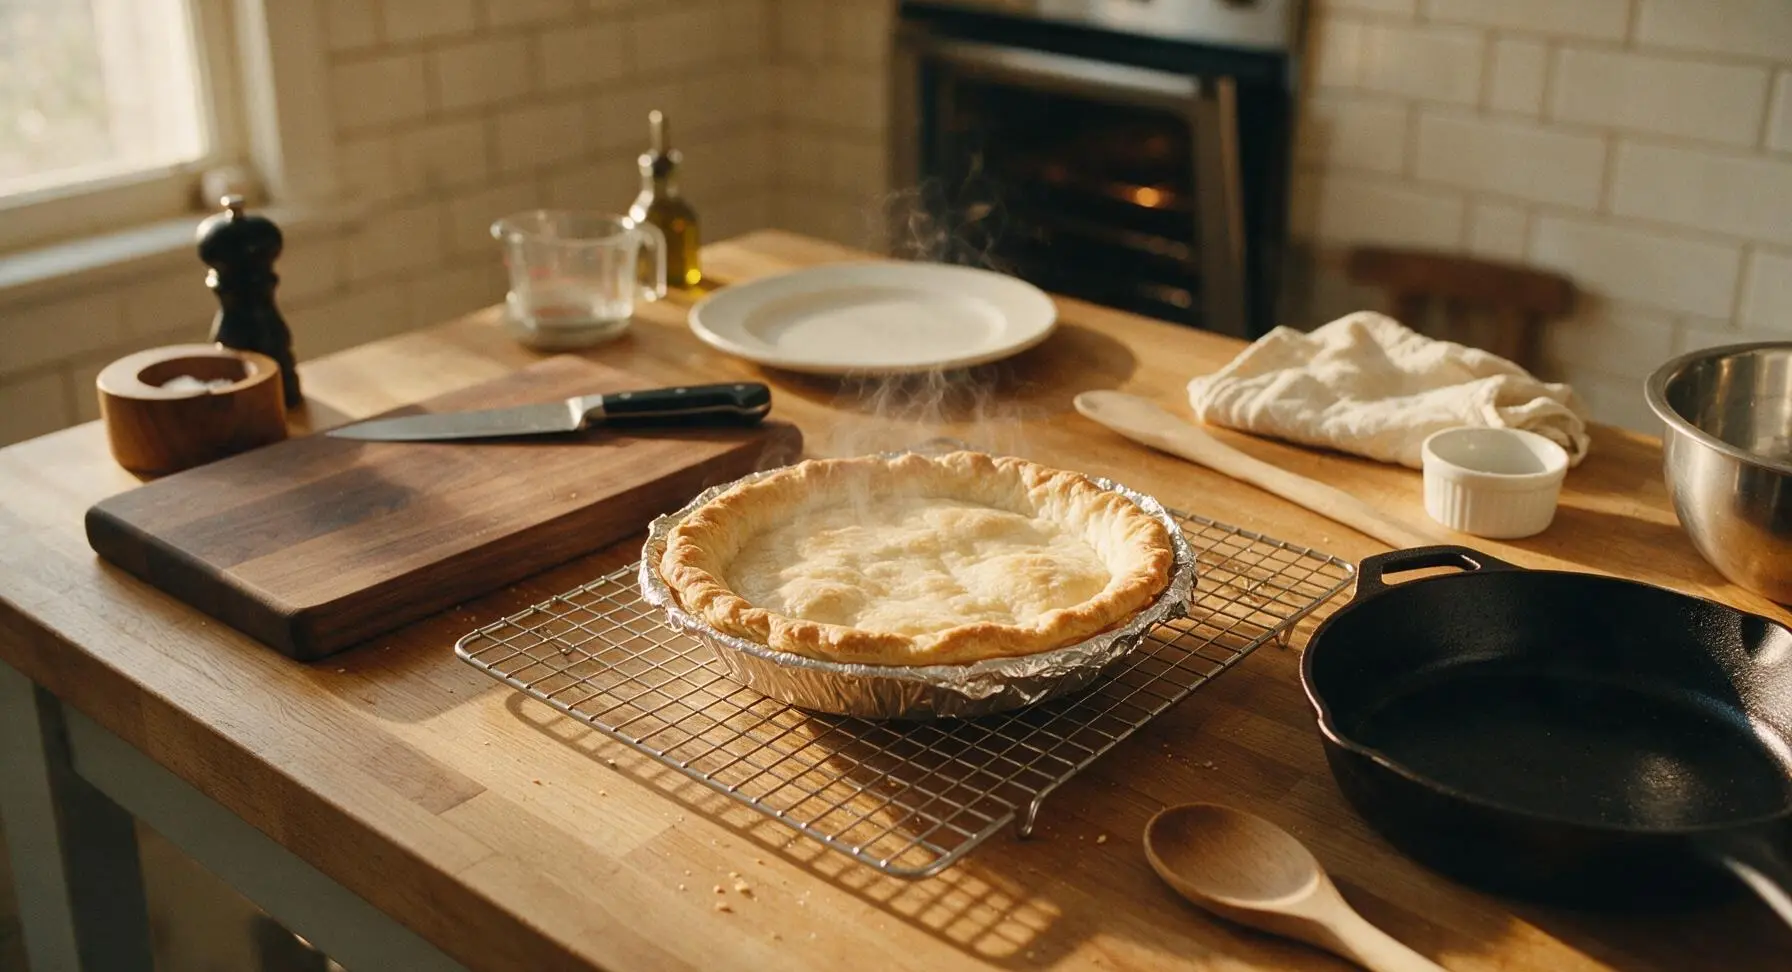
Preheat oven to 175°C (350°F). Wrap the exterior of the 9-inch springform pan in 3 overlapping layers of heavy-duty aluminum foil, covering the bottom and extending all the way up the sides to create a watertight seal. Add graham cracker crumbs, 2 tablespoons of granulated sugar, and melted unsalted butter to the food processor, pulse 8–10 times until the mixture holds together firmly when squeezed between your fingers. Pour the crumb mixture into the prepared pan, pressing firmly and evenly across the bottom and 2cm up the sides to form a compact, even crust.
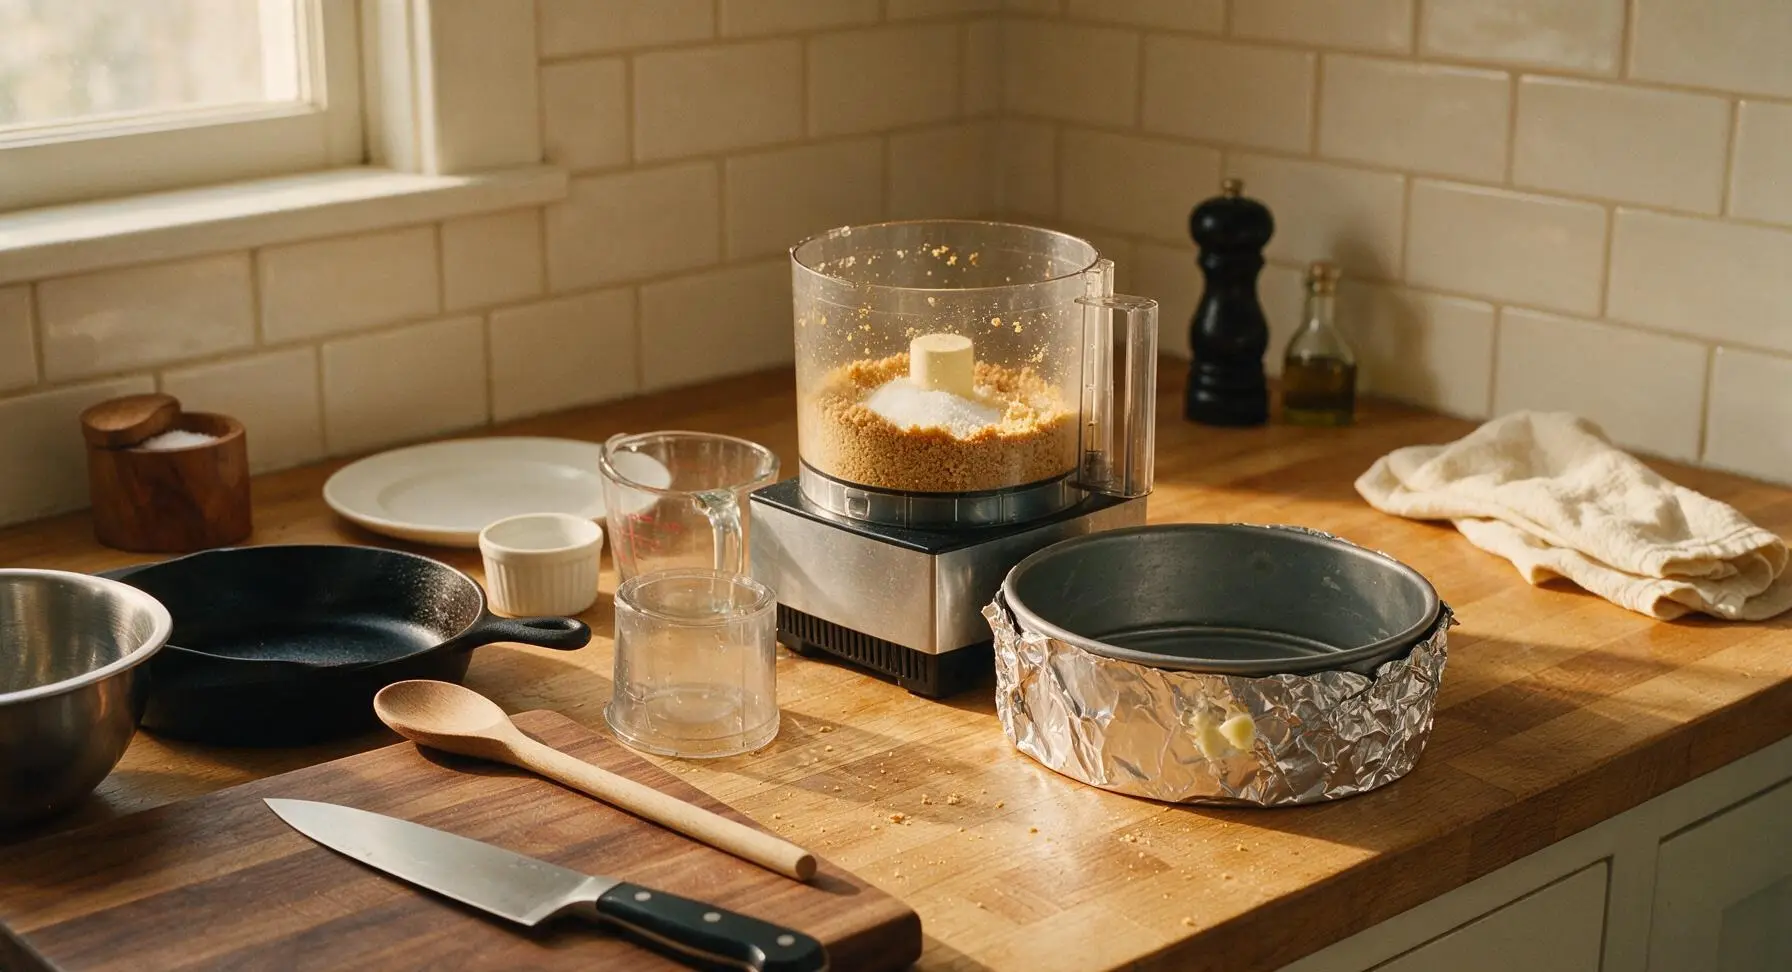
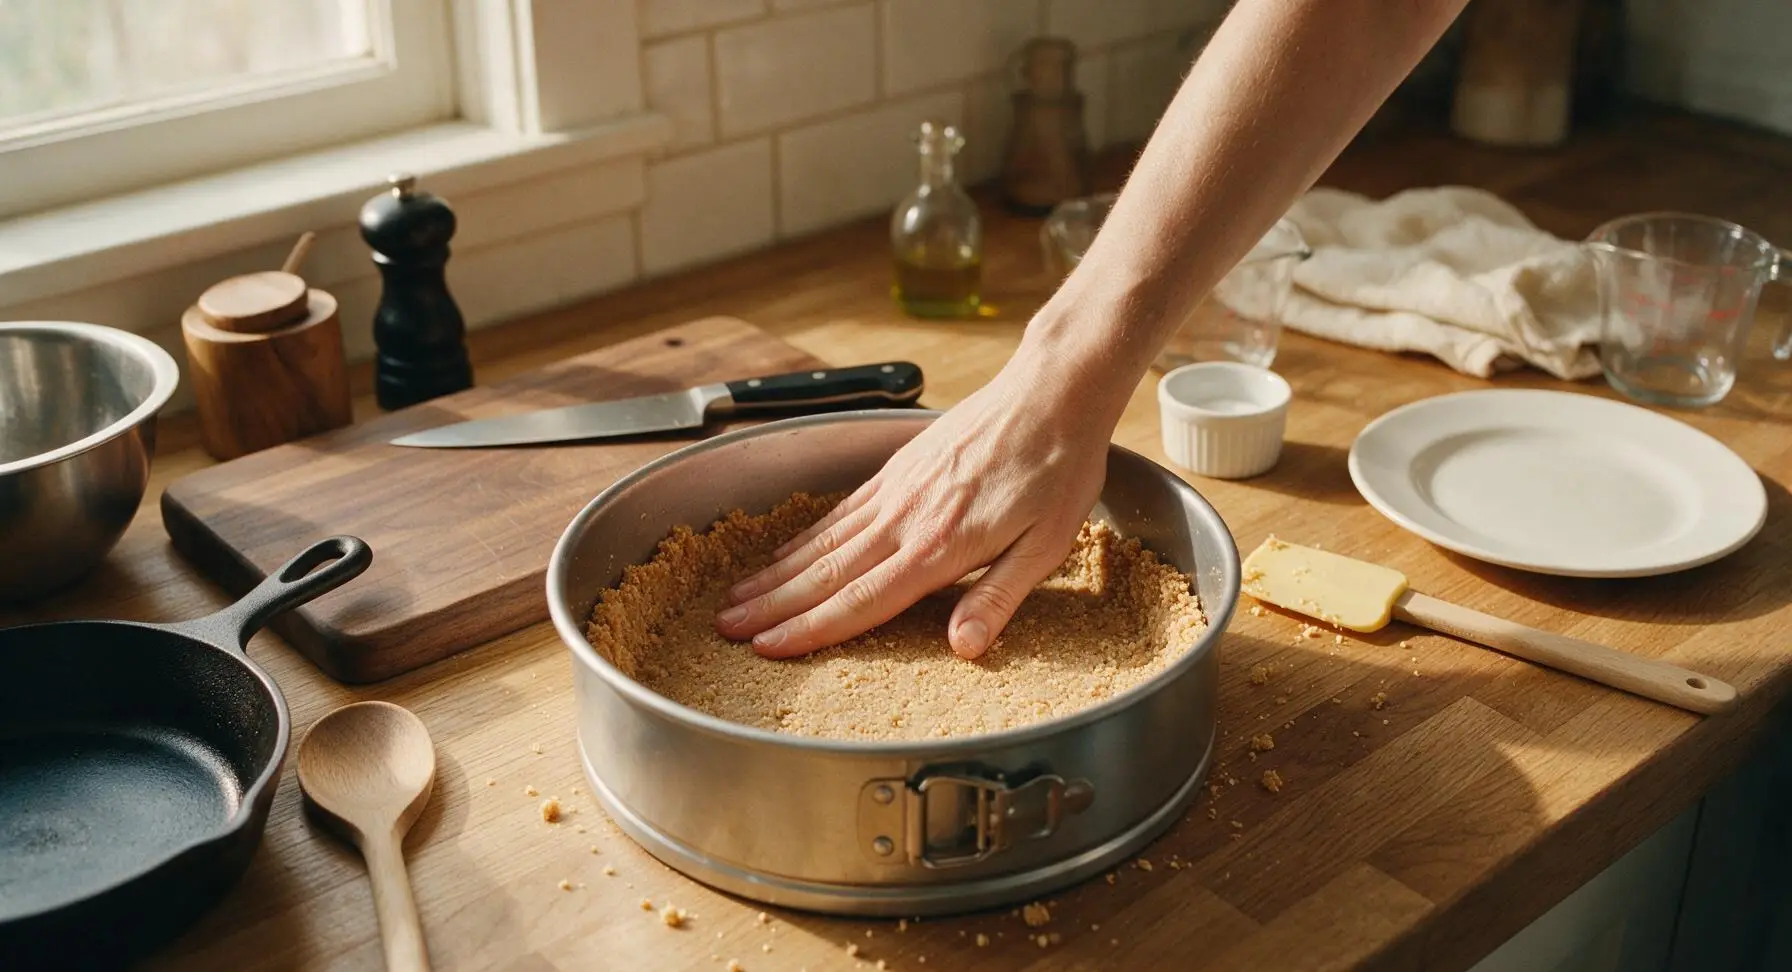
Blind Bake the Crust
Place the crust-lined pan on the middle oven rack and bake for 10 minutes at 175°C (350°F), until the crust is fragrant and lightly golden at the edges. Remove from the oven and set on the wire cooling rack to cool completely while you prepare the filling, leaving the oven heated to temperature.
Beat Cream Cheese Smooth
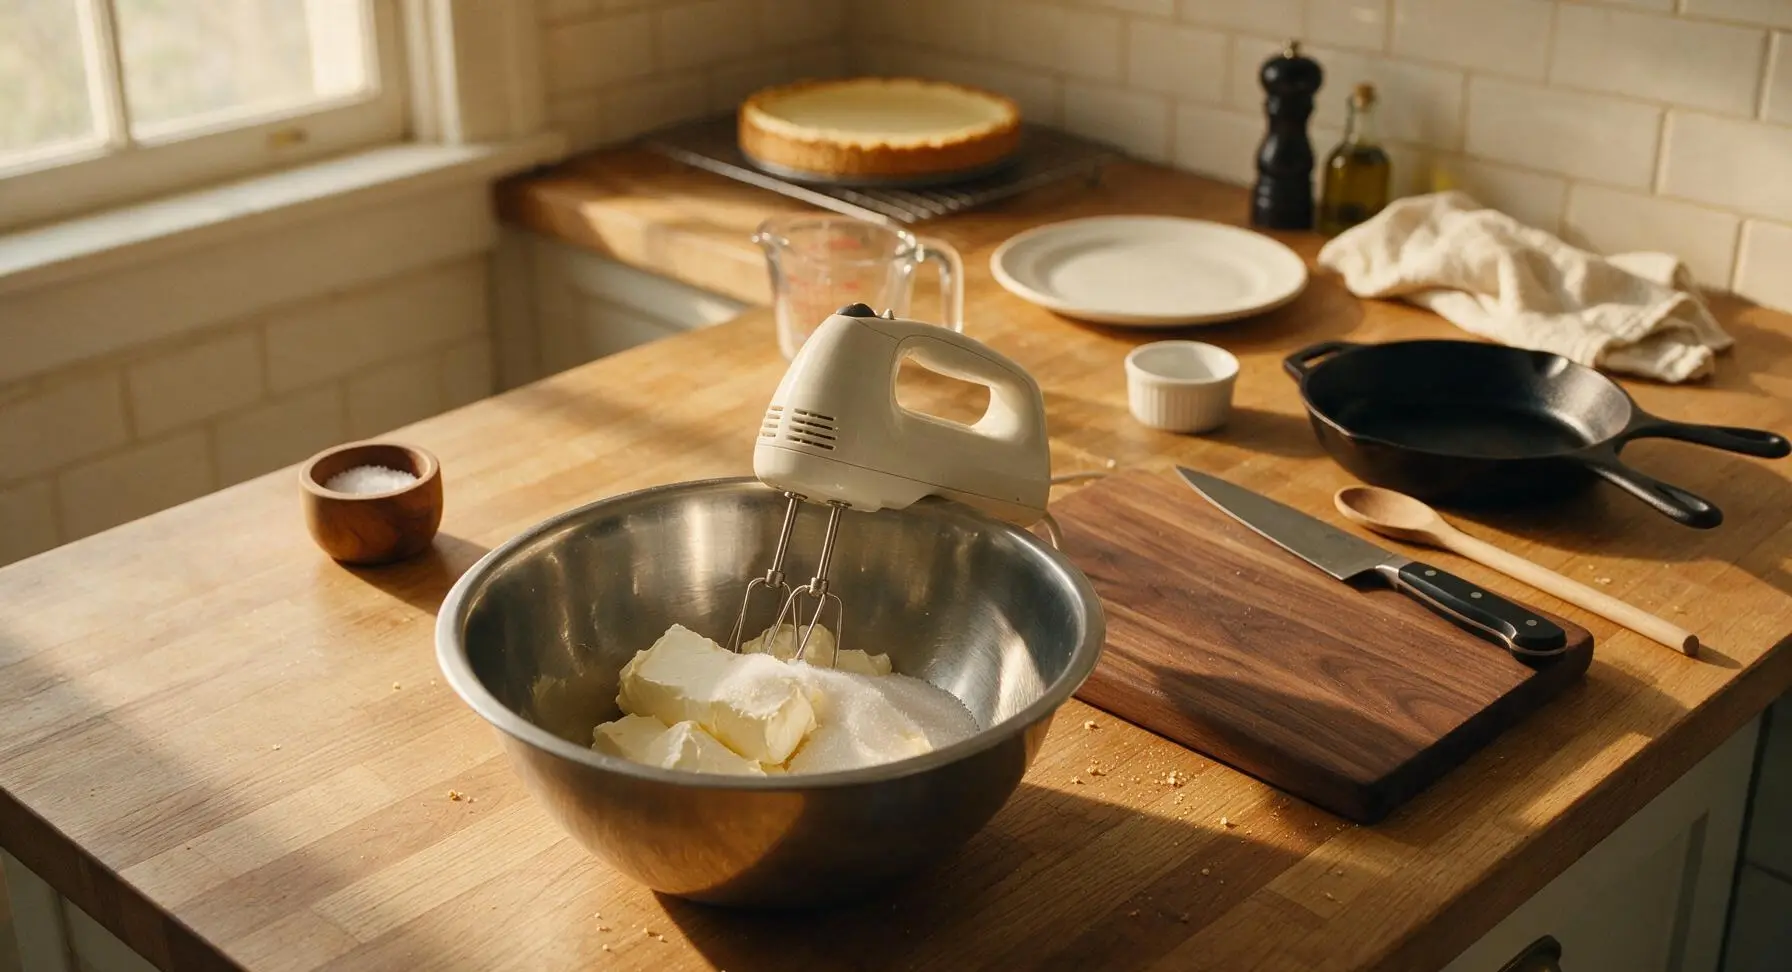
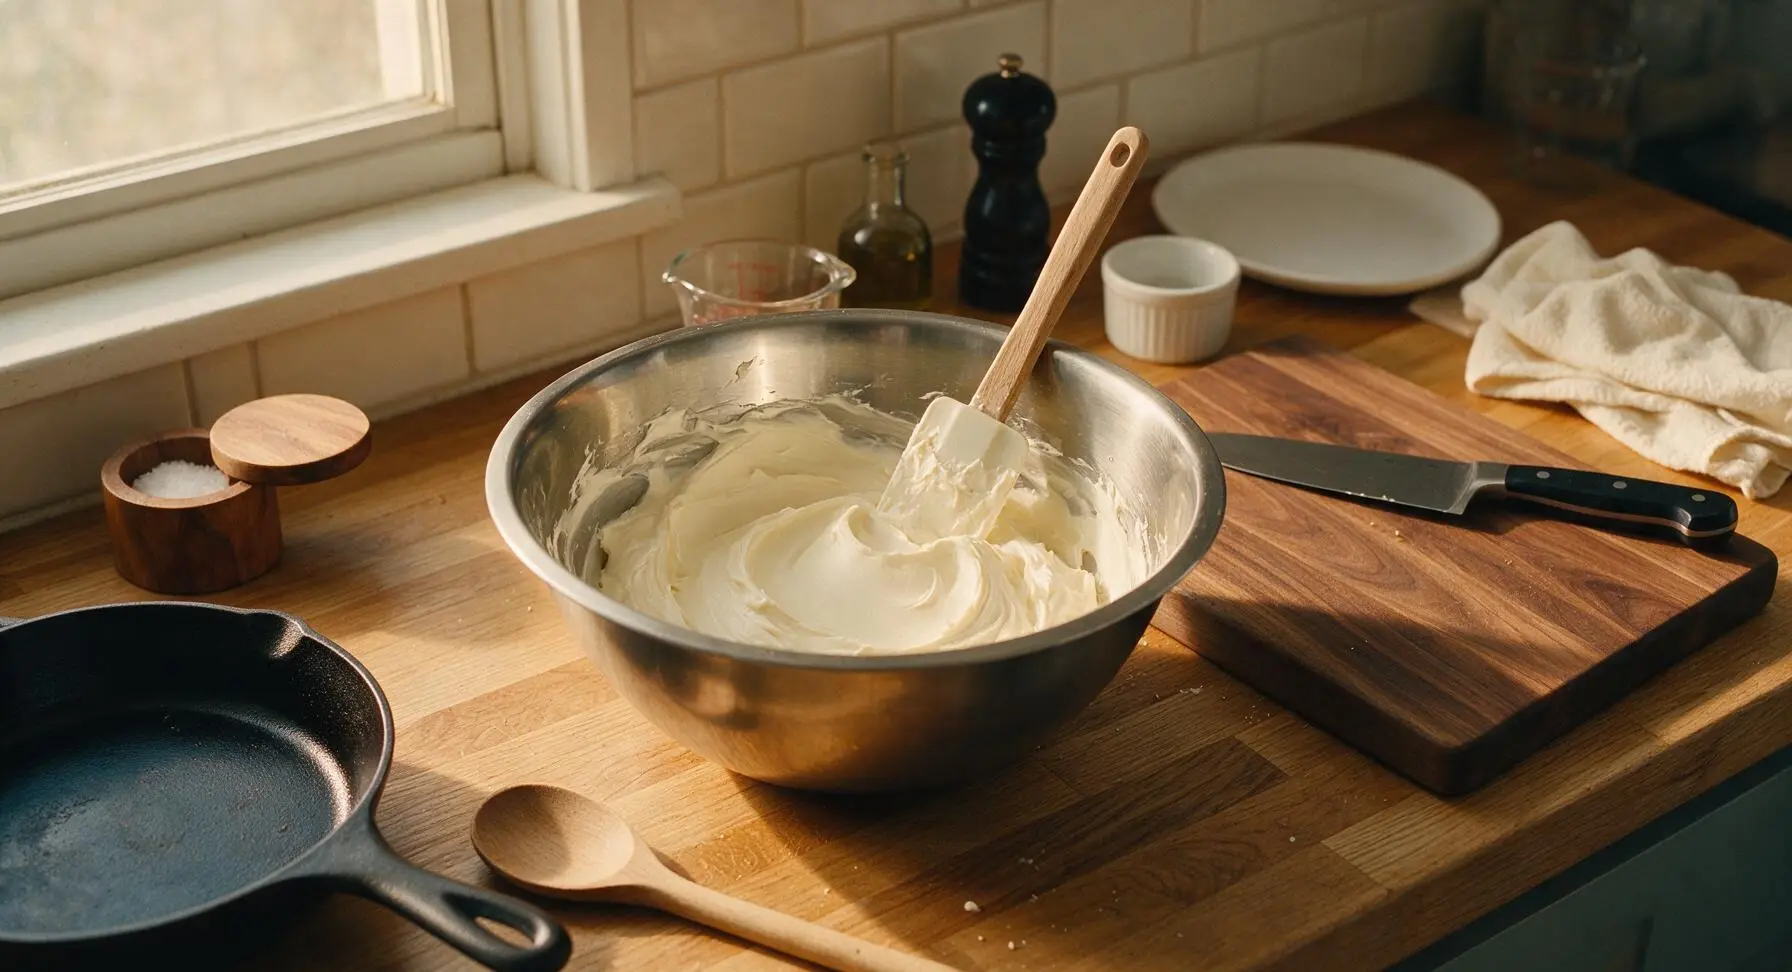
In the large stainless steel mixing bowl, add the room-temperature block cream cheese and remaining granulated sugar. Using the handheld electric mixer on medium-low speed, beat for 3 minutes until completely smooth, with no visible lumps. Stop and scrape down the sides and bottom of the bowl with the silicone spatula every 60 seconds to ensure even mixing. Do not beat on high speed, as this incorporates excess air that causes surface cracking during baking.
Incorporate Eggs and Lemon
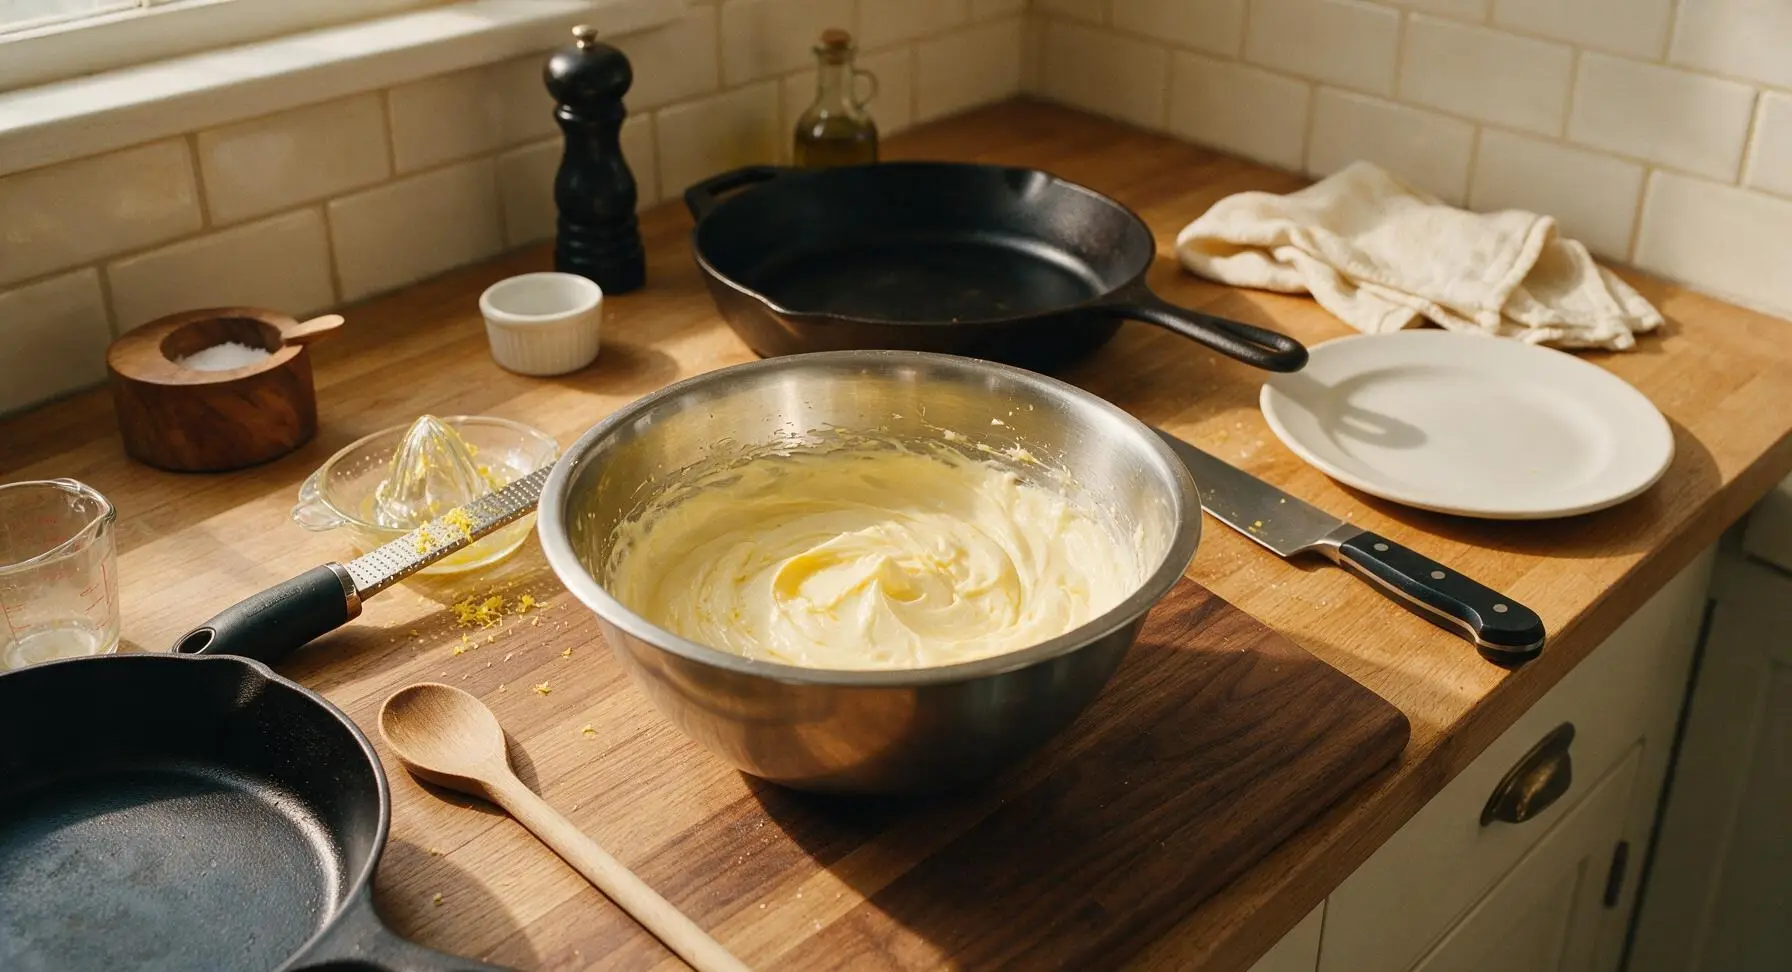
Add eggs one at a time, beating on low speed for 30 seconds after each addition, scraping down the bowl sides between eggs to prevent lumps. Once eggs are fully incorporated, stir in room-temperature sour cream, fresh lemon zest, freshly squeezed lemon juice, vanilla extract, and fine sea salt, mixing on the lowest speed just until combined. Overmixing after adding eggs will incorporate too much air and lead to a cracked top. The finished batter will be thick, silky, and pale creamy yellow.
Fill Pan with Batter
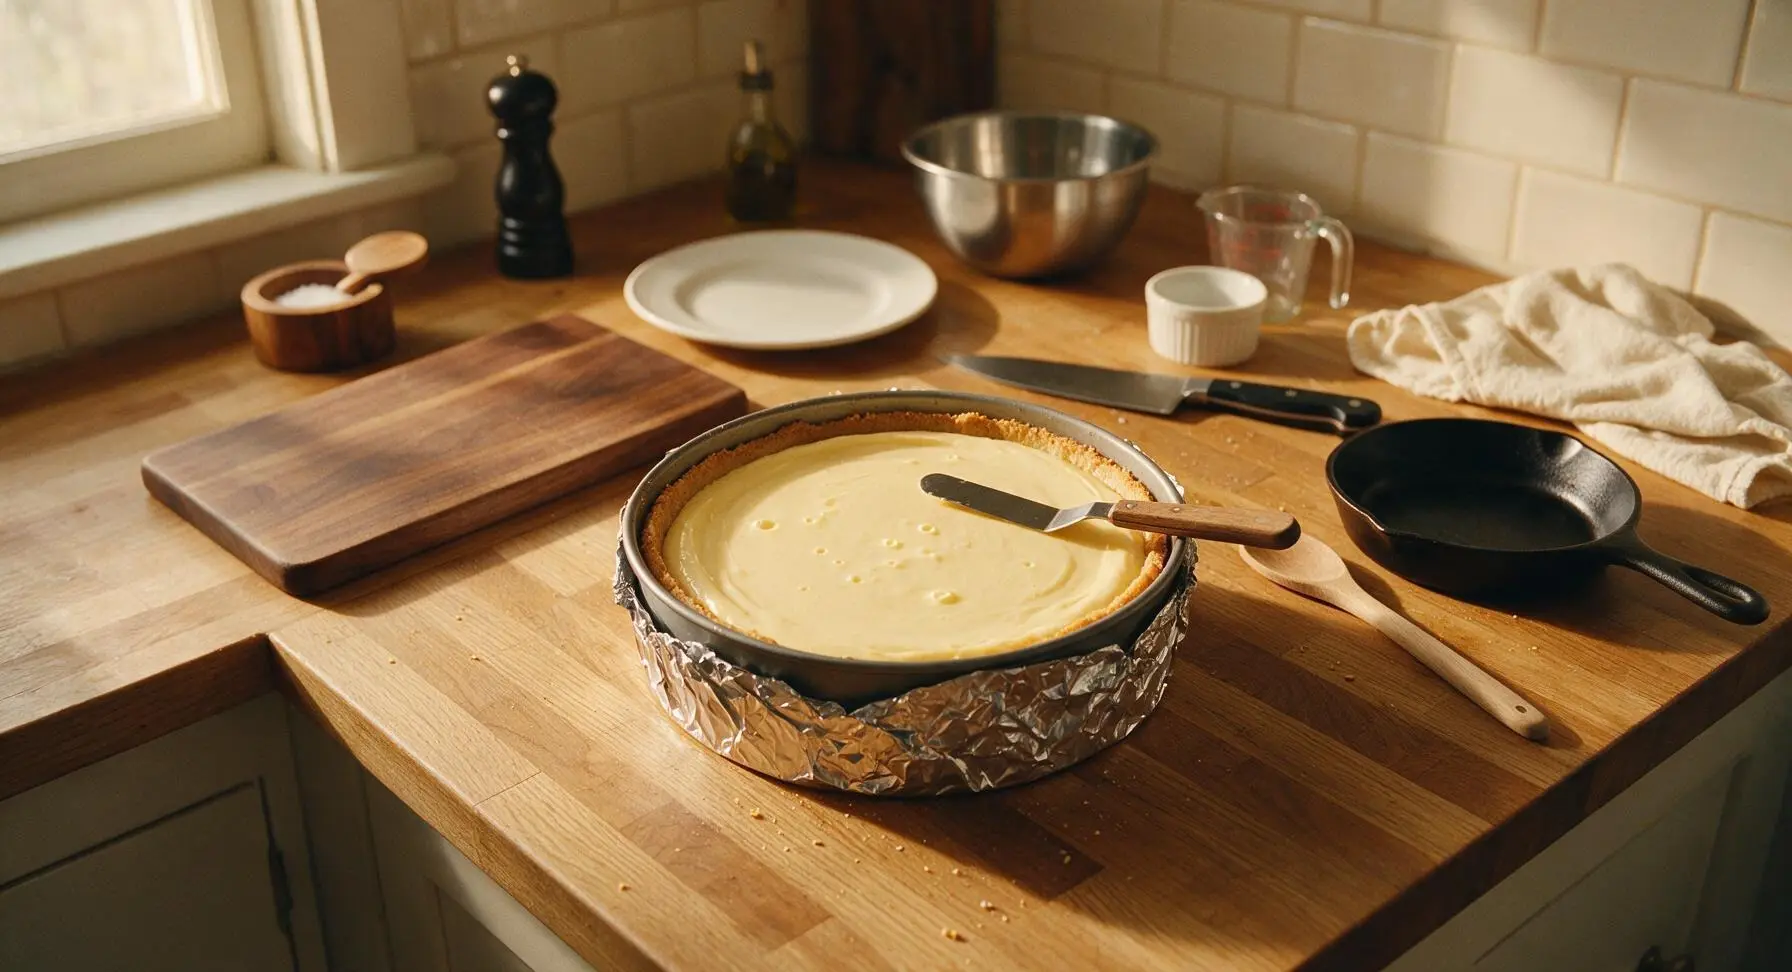
Pour the finished cheesecake batter slowly over the cooled baked crust, spreading it evenly with the small offset spatula to create a flat, smooth top. Tap the pan firmly on the counter 3–4 times to release any trapped air bubbles in the batter, which prevents small surface holes from forming during baking.
Bake With Water Bath
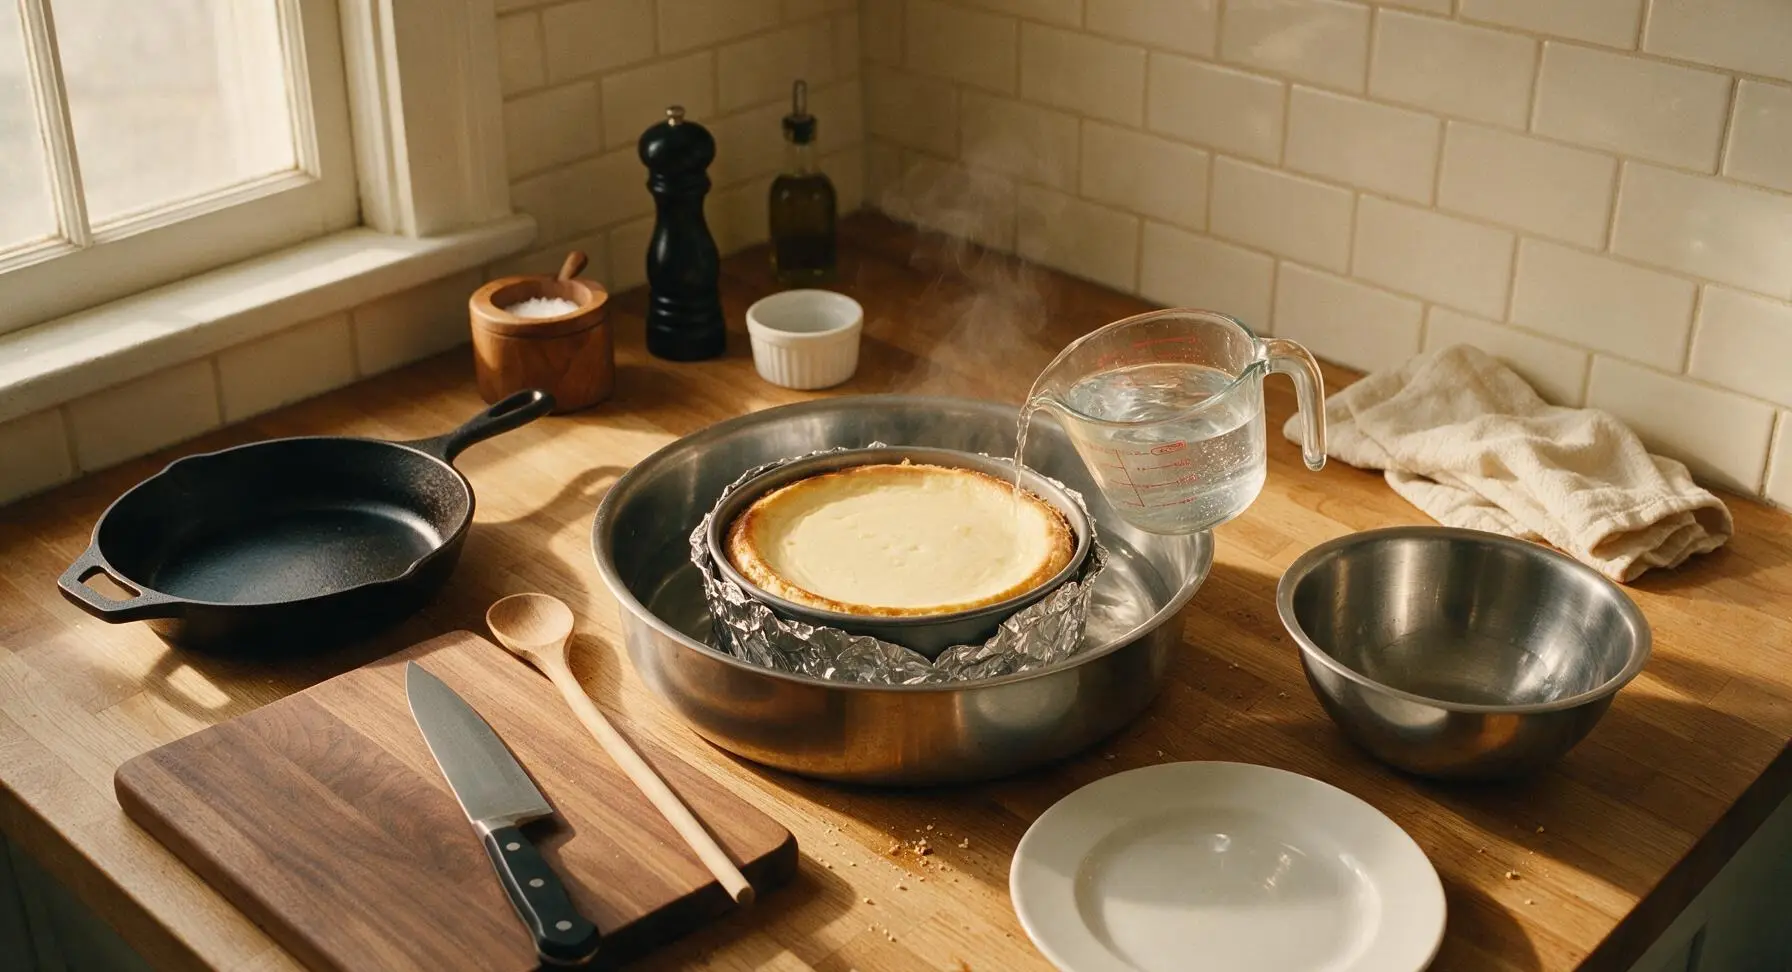
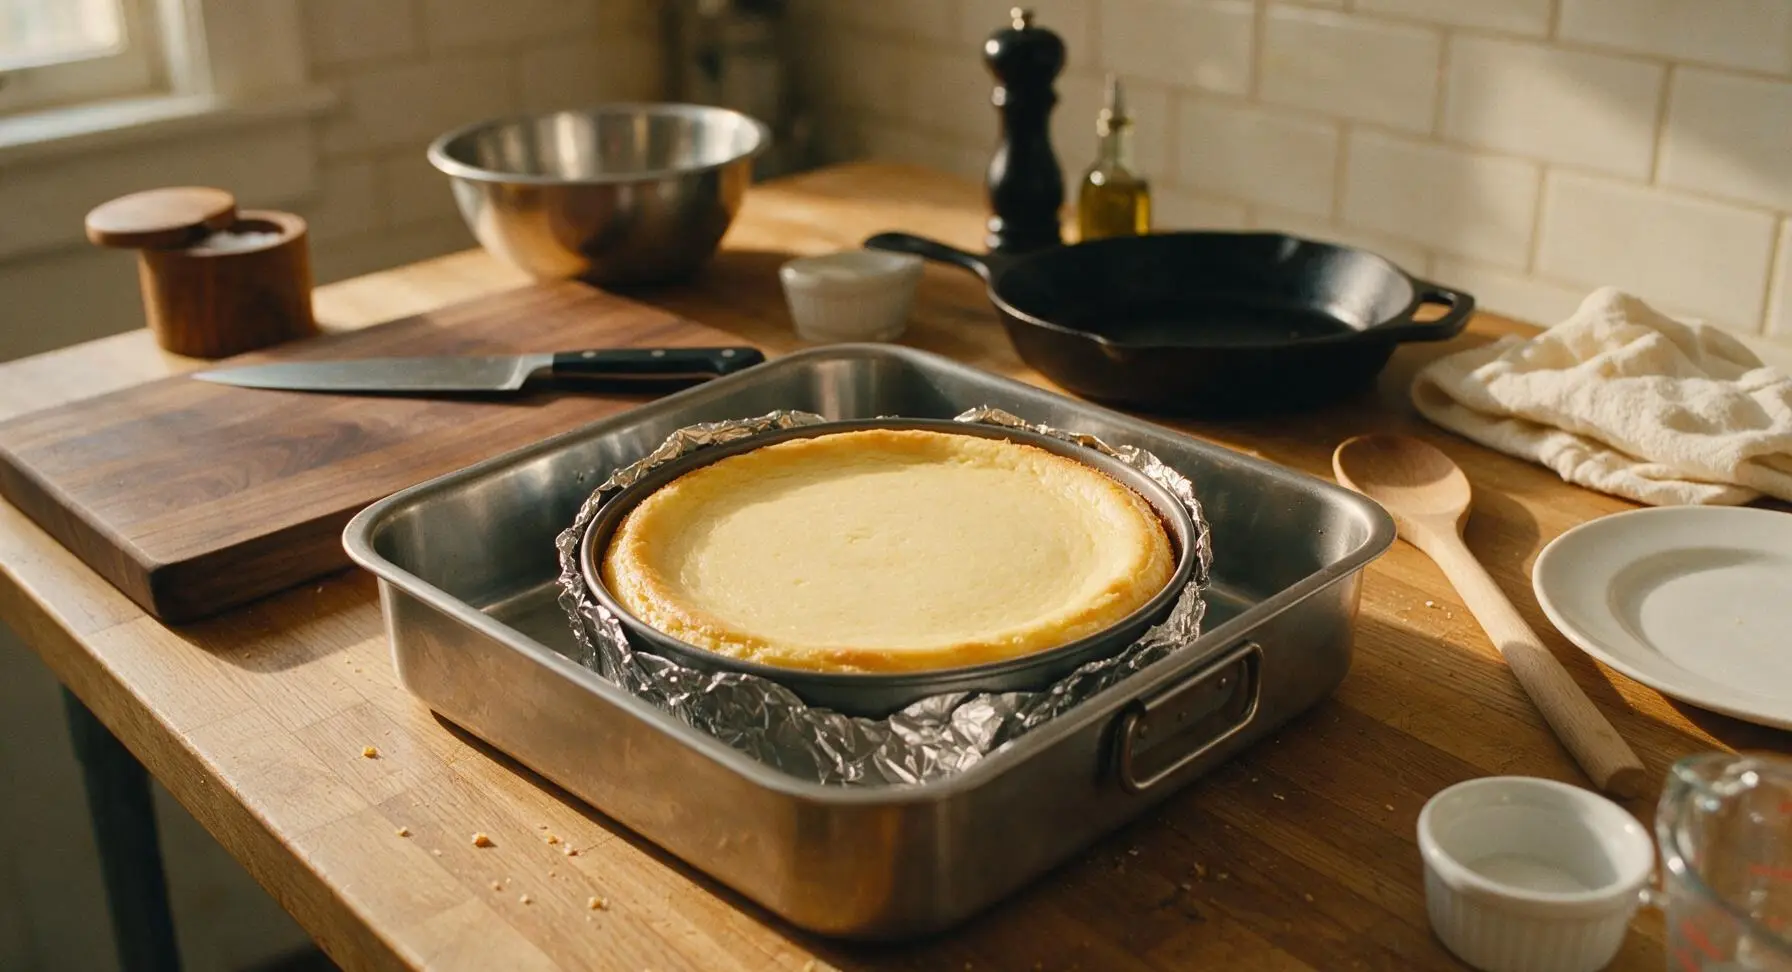
Place the foil-wrapped filled pan inside the large stainless steel roasting pan. Carefully pour hot tap water from the glass measuring jug into the roasting pan until the water comes halfway up the sides of the springform pan, creating a gentle steam environment. Bake for 55–60 minutes at 175°C (350°F). The cheesecake is done when the edges are set and slightly puffed, but the central 5cm area jiggles softly like set Jell-O when the pan is gently nudged—it will finish setting as it cools.
Cool Cheesecake Gradually
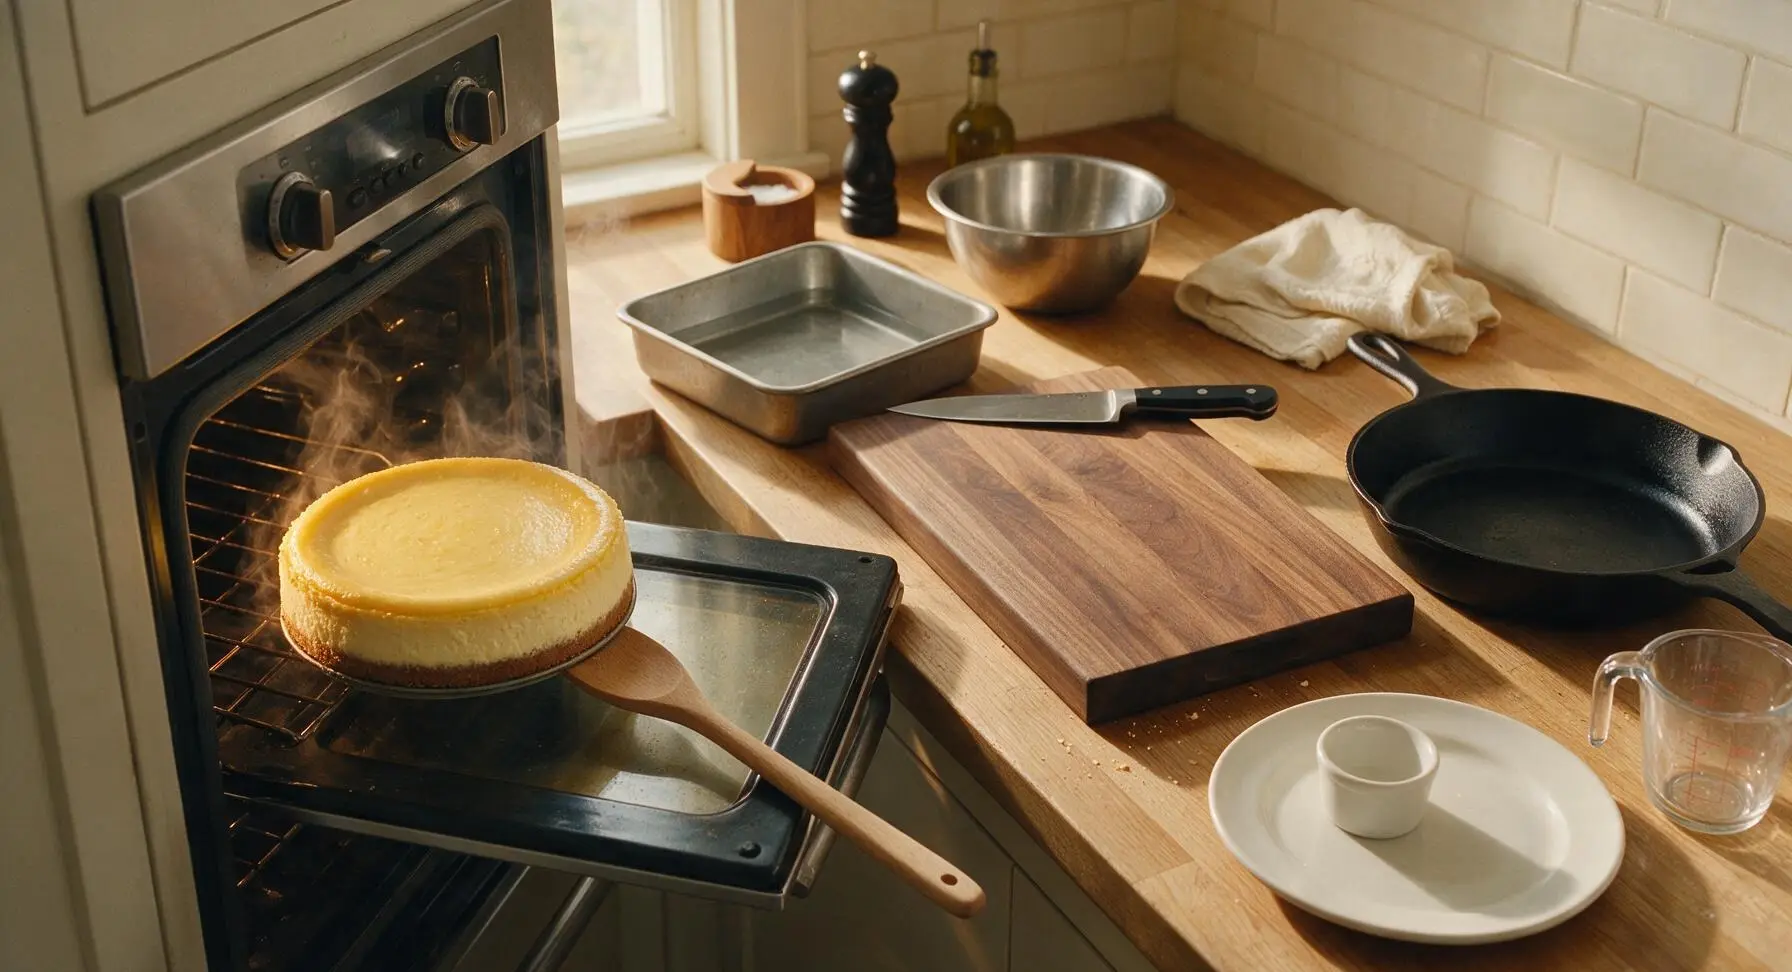
Turn off the oven, crack the oven door open 5cm (2 inches) propped with the long beech wood spoon, and let the cheesecake cool inside the oven for 1 hour. This gradual temperature drop prevents sudden contraction of the cheesecake, which causes unsightly surface cracks. After 1 hour, carefully lift the cheesecake out of the water bath, peel off the outer aluminum foil layers, and transfer to the wire cooling rack to cool fully to room temperature (approximately 2 hours).
Chill and Garnish
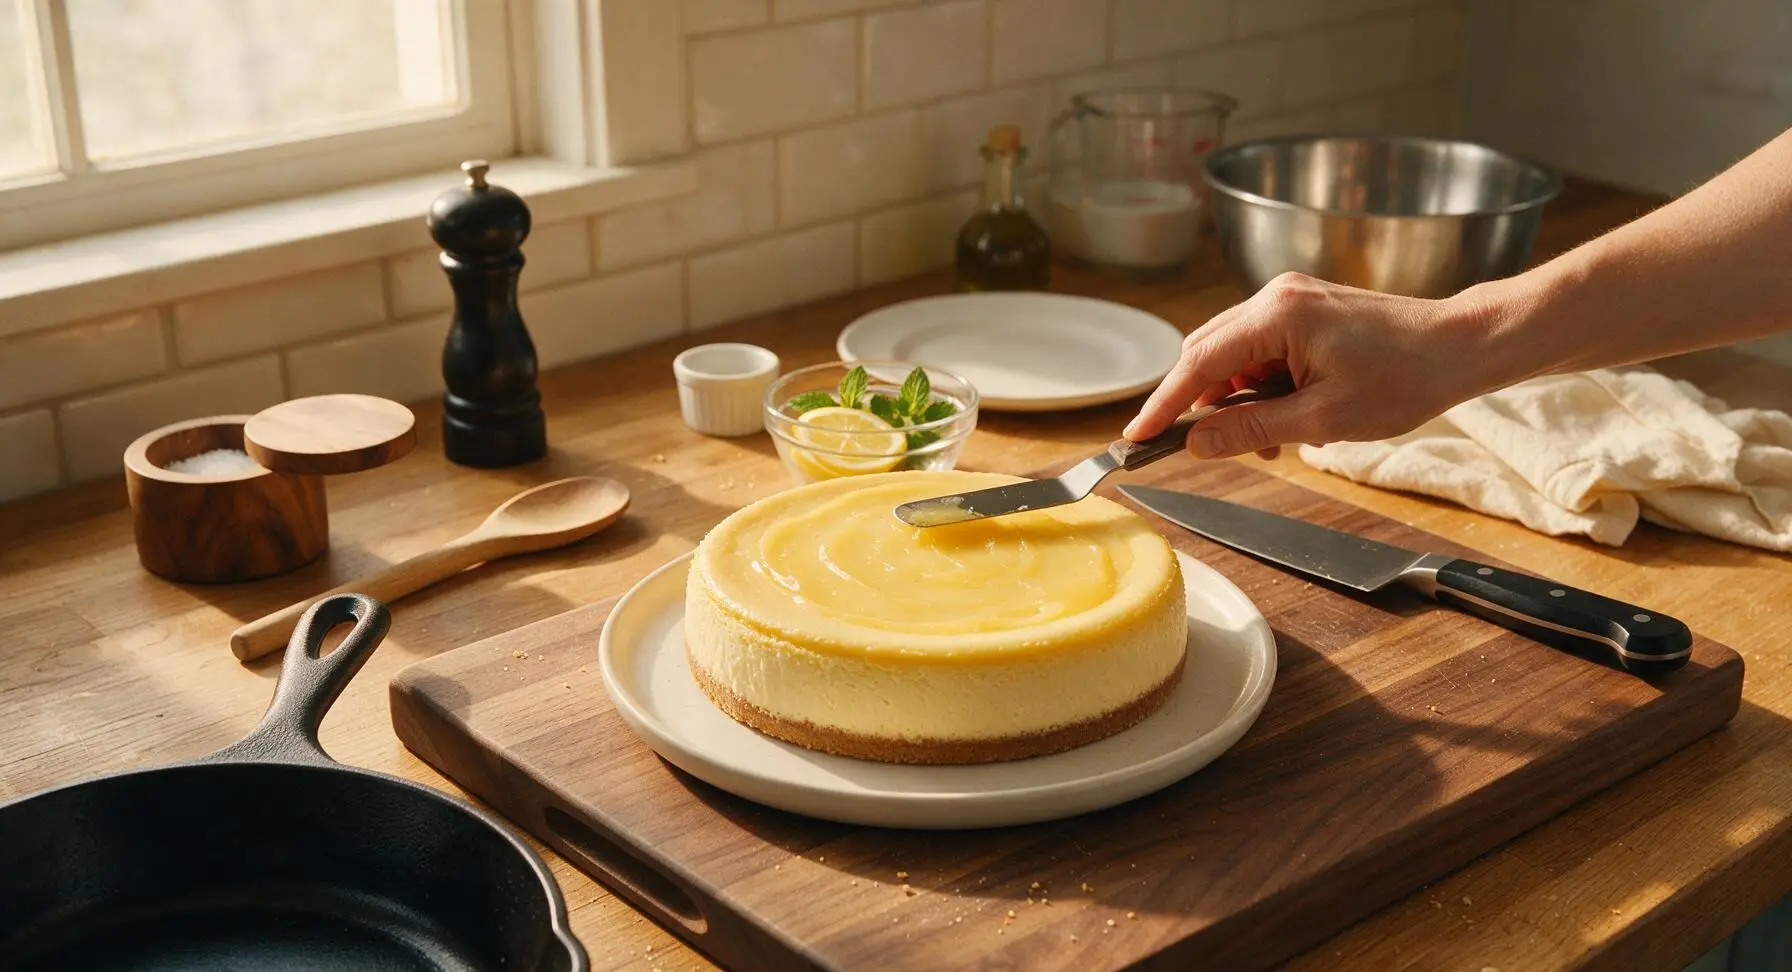
Once the cheesecake reaches room temperature, cover loosely with plastic wrap and refrigerate for at least 6 hours (preferably overnight) to fully set. When ready to serve, run a warm thin knife around the inner edge of the springform pan, release the side clasp, and transfer the cheesecake to the matte white ceramic serving platter. Spread a thin even layer of lemon curd across the top, and garnish with twisted thin lemon slices and fresh mint sprigs.
Tips
2.Do not skip the water bath: the moist, even heat from the surrounding steam cooks the cheesecake gently, preventing surface cracking and ensuring a perfectly creamy texture from edge to center, instead of a rubbery, overcooked outer ring.
3.Resist the urge to cut into the cheesecake before it chills for a full 6 hours (preferably overnight): the cheesecake continues to firm up as it chills, and cutting it early will result in a soft, runny texture that does not hold a clean slice shape on the plate.






OMG this baked lemon cheesecake was the star of our Sunday family dinner last weekend! I was nervous because I’ve only made no-bake cheesecakes before, and the medium difficulty rating had me stressed, but the steps were so straightforward. The lemon flavor is bright, not too tangy, and the texture is perfectly creamy without being dense. My 8 year old asked for a second slice before she even finished her first! 10/10 will be making this for our next potluck for sure.
Okay, I messed this up a little? I followed the cook time exactly (1 hour 10 mins at the temp listed) but my top got pretty brown and the center was still jiggly way more than the recipe said it should be. Flavor was still SO good, don’t get me wrong, but the texture was a little lumpy because I think I overmixed the batter when I was panicking about it not setting. Any tips for next time?
Game changer. I brought this to my office potluck yesterday and people were begging me for the recipe before I even set the platter down. I added a little extra lemon zest on top with a dollop of fresh whipped cream and it looked like it came straight from a fancy bakery. Even my boss, who swears he doesn’t like sweet desserts, went back for a second slice. 10/10, no notes.
Made this for my partner’s birthday and he said it’s better than the cheesecake we had on our honeymoon in Italy! I did a gluten-free graham cracker crust for my sister who has celiac, and it worked perfectly. The only tweak I made was adding a thin layer of lemon curd on top before chilling, and it added such a nice extra zing. Definitely saving this to my permanent recipe rotation!
Has anyone tried making this ahead of time for a party? I’m hosting a baby shower next weekend and want to get as much prep done as possible ahead of time so I’m not scrambling the day of. Would it hold up for 3 days in the fridge, or is it better fresh? Also, can I freeze slices for later?