
Light & Crispy Waffles
intro
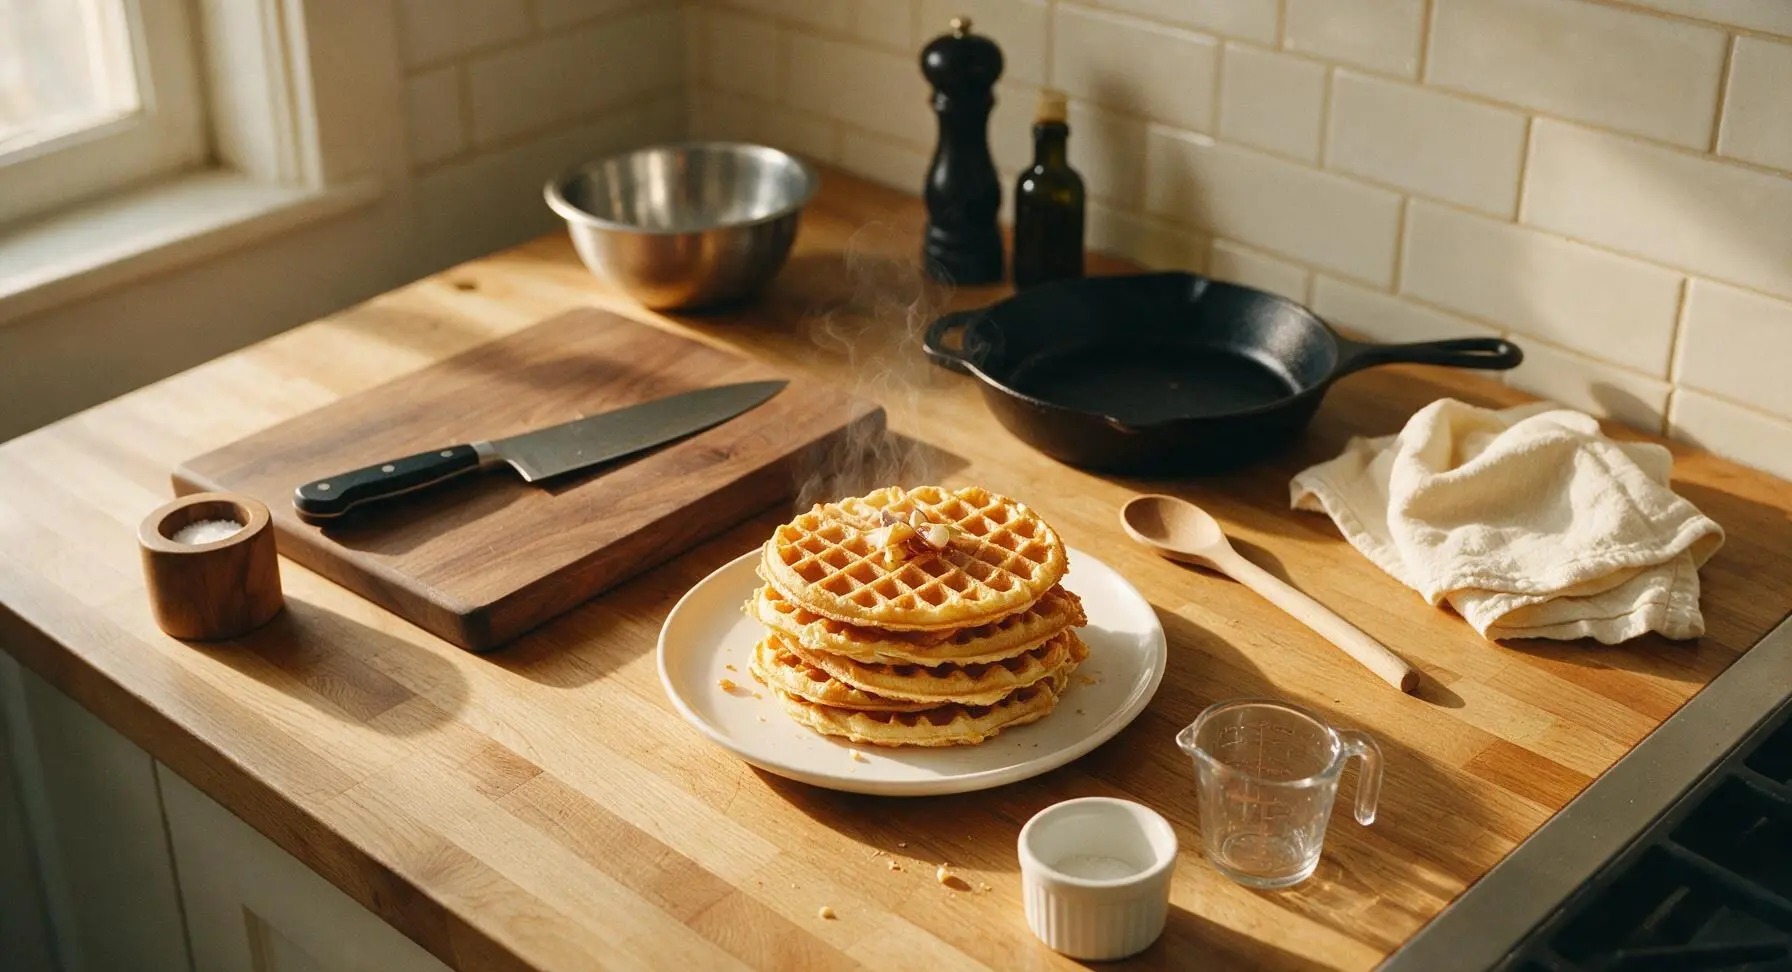
Shatteringly crisp golden waffles with a light, fluffy tender center, quick enough for busy weekday meals and delicious enough for slow weekend brunch.
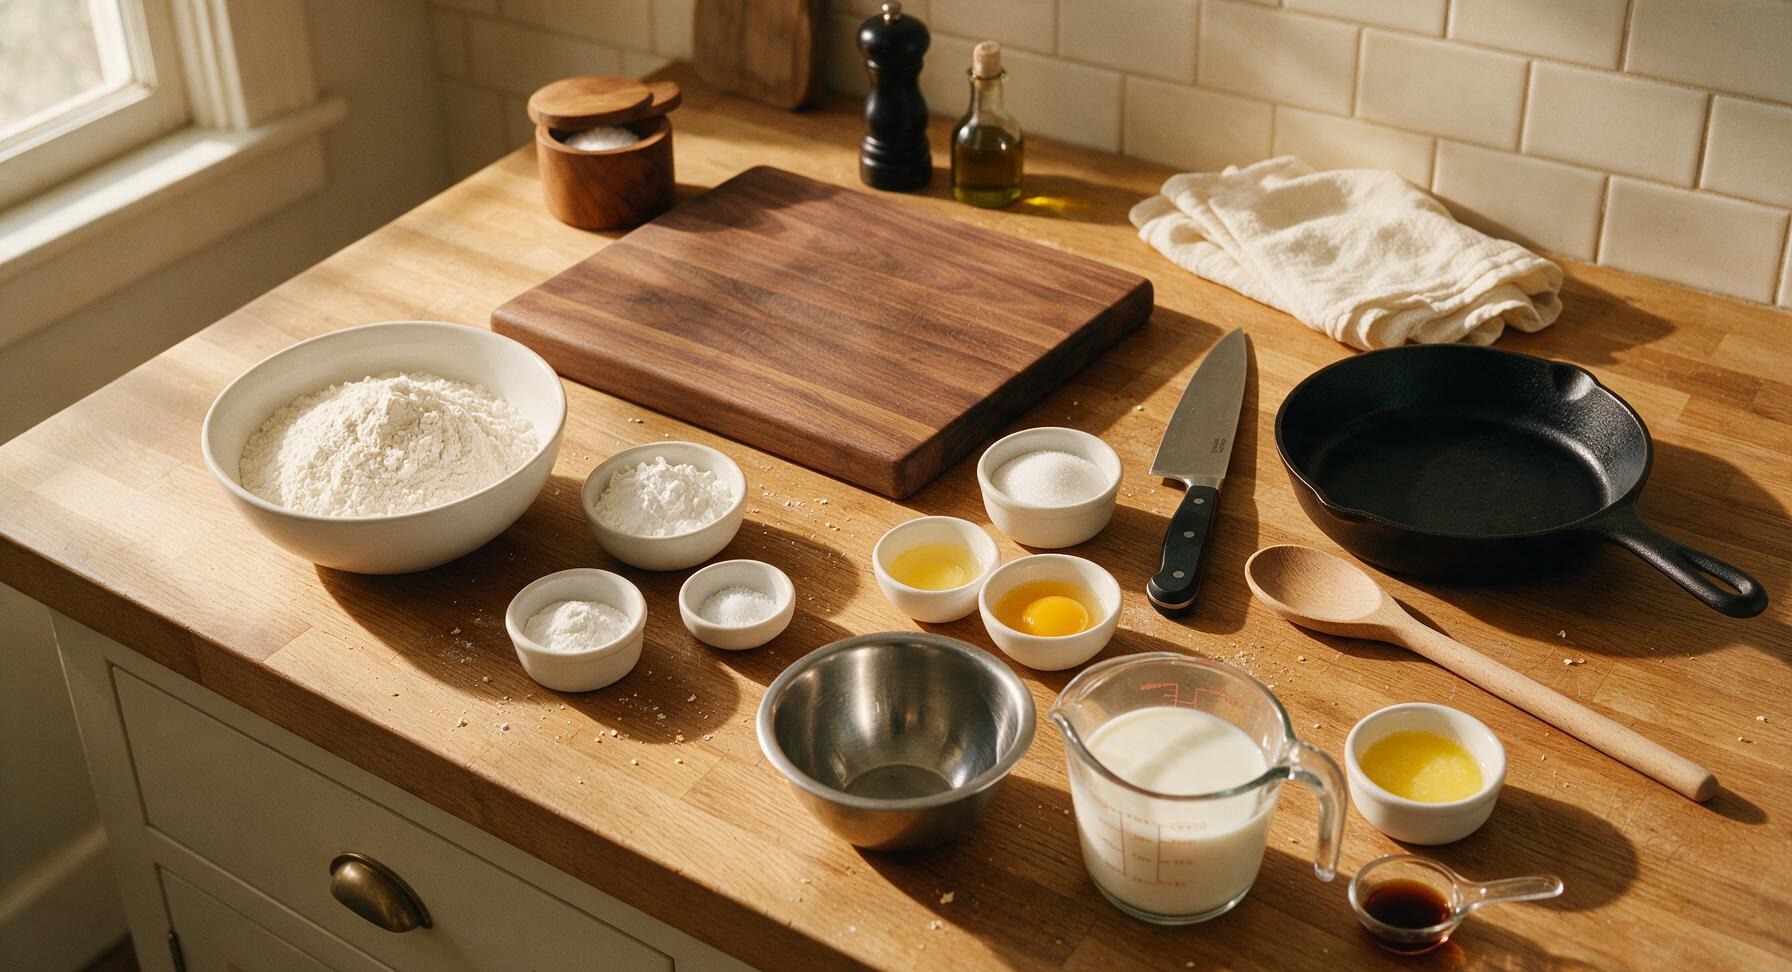
Ingredients
Steps
Preheat Waffle Iron
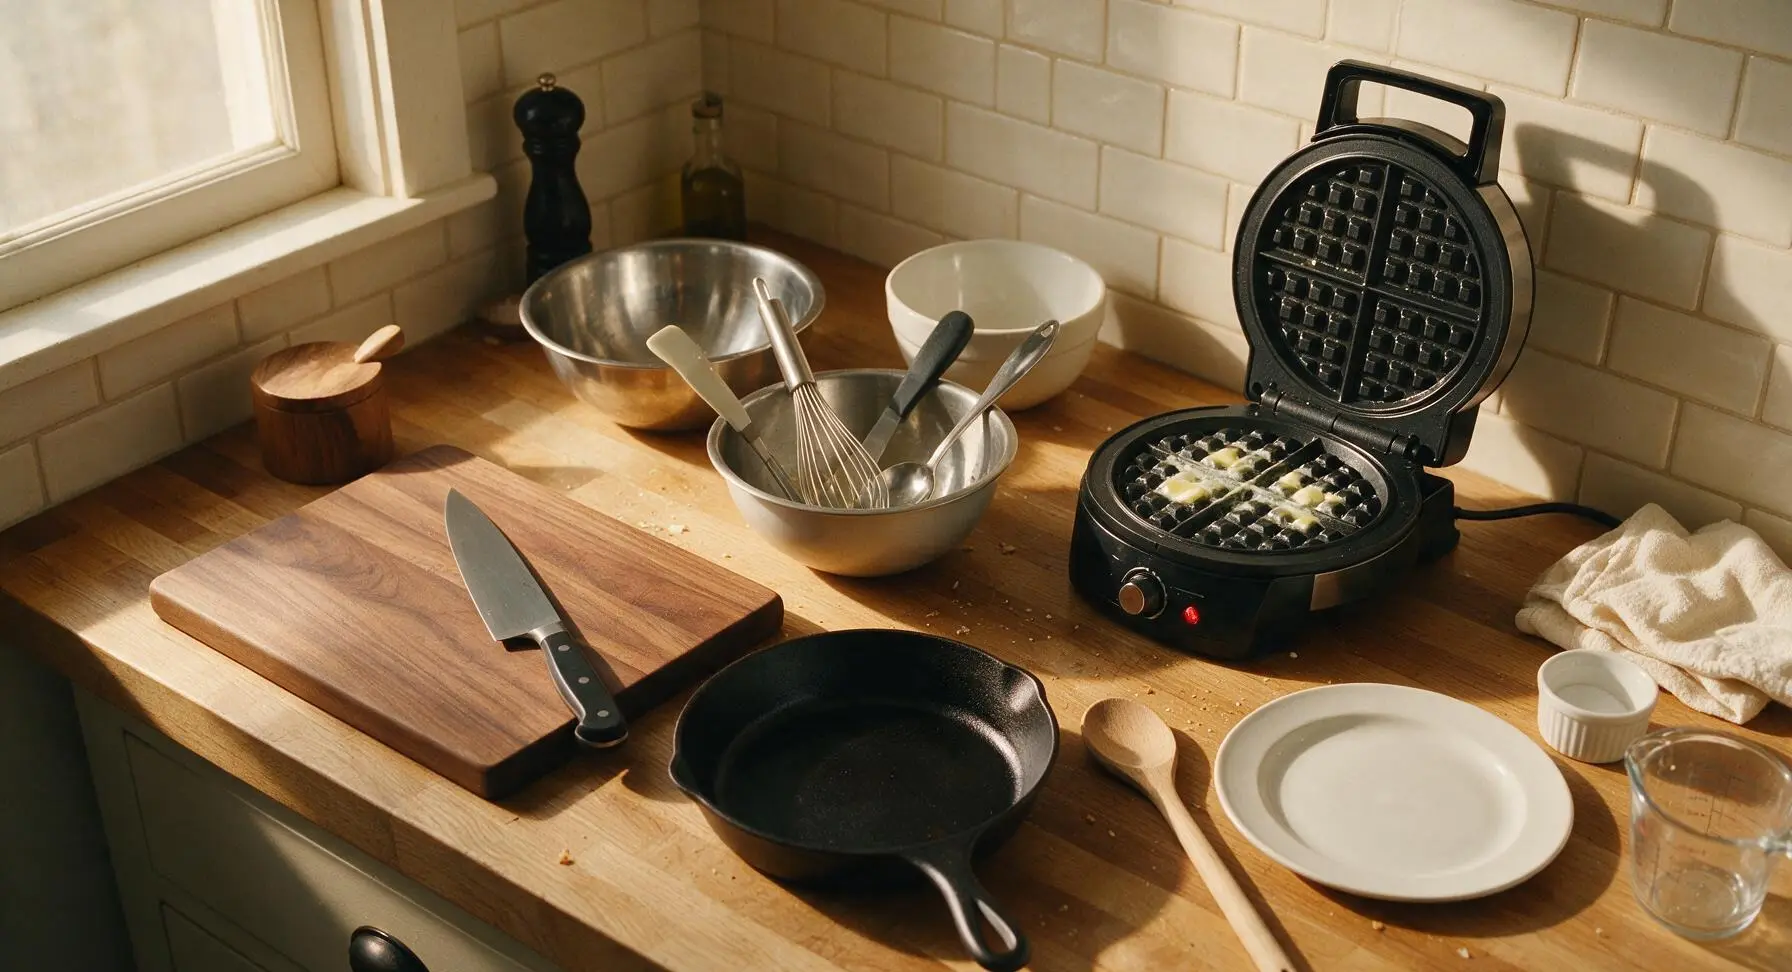
Preheat your 7-inch waffle iron to the medium-high setting (375°F/190°C). Lightly coat the top and bottom cooking grids with a thin layer of melted butter, wiping off any excess with a corner of the linen towel to avoid greasy, soggy waffle edges. Allow the iron to preheat for 3-5 minutes, until the built-in indicator light shows it has reached full cooking temperature.
Whisk Dry Ingredients
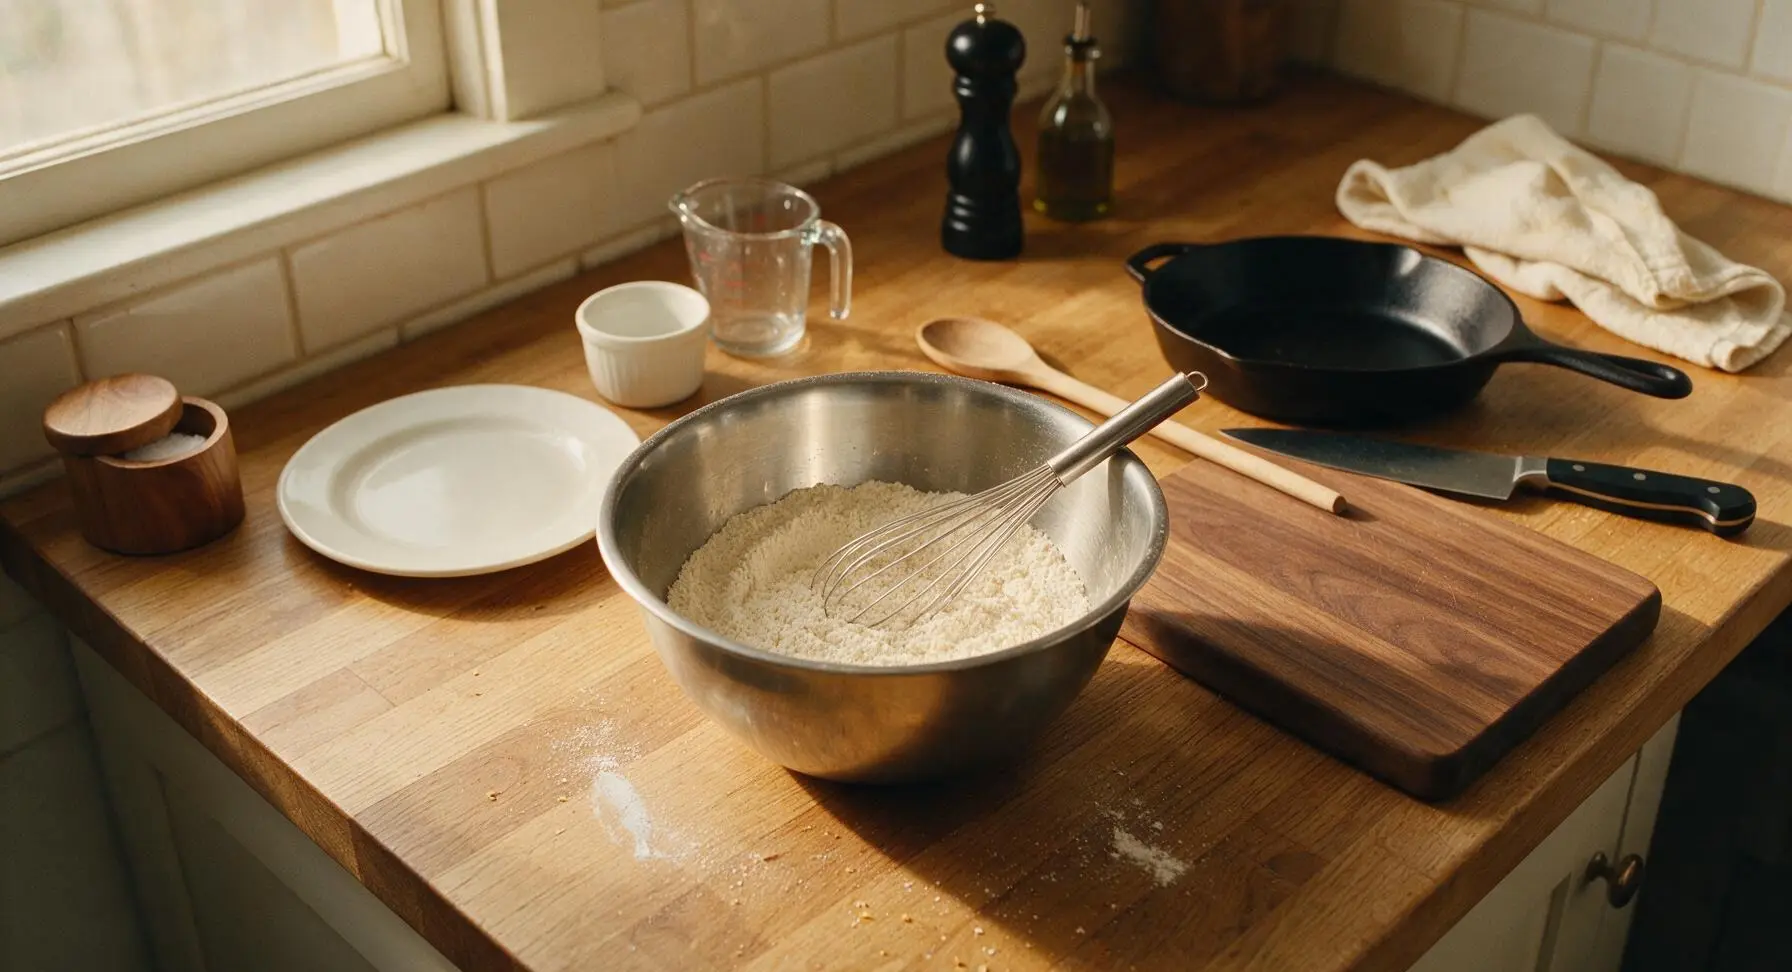
Add the all-purpose flour, cornstarch, baking powder, fine sea salt, and granulated sugar to the medium stainless steel mixing bowl. Use the wire whisk to stir the dry ingredients for 30 seconds, mixing thoroughly to evenly distribute the baking powder and salt, so no clumps remain and the mixture is a uniform pale off-white color.
Mix Wet Yolk Base
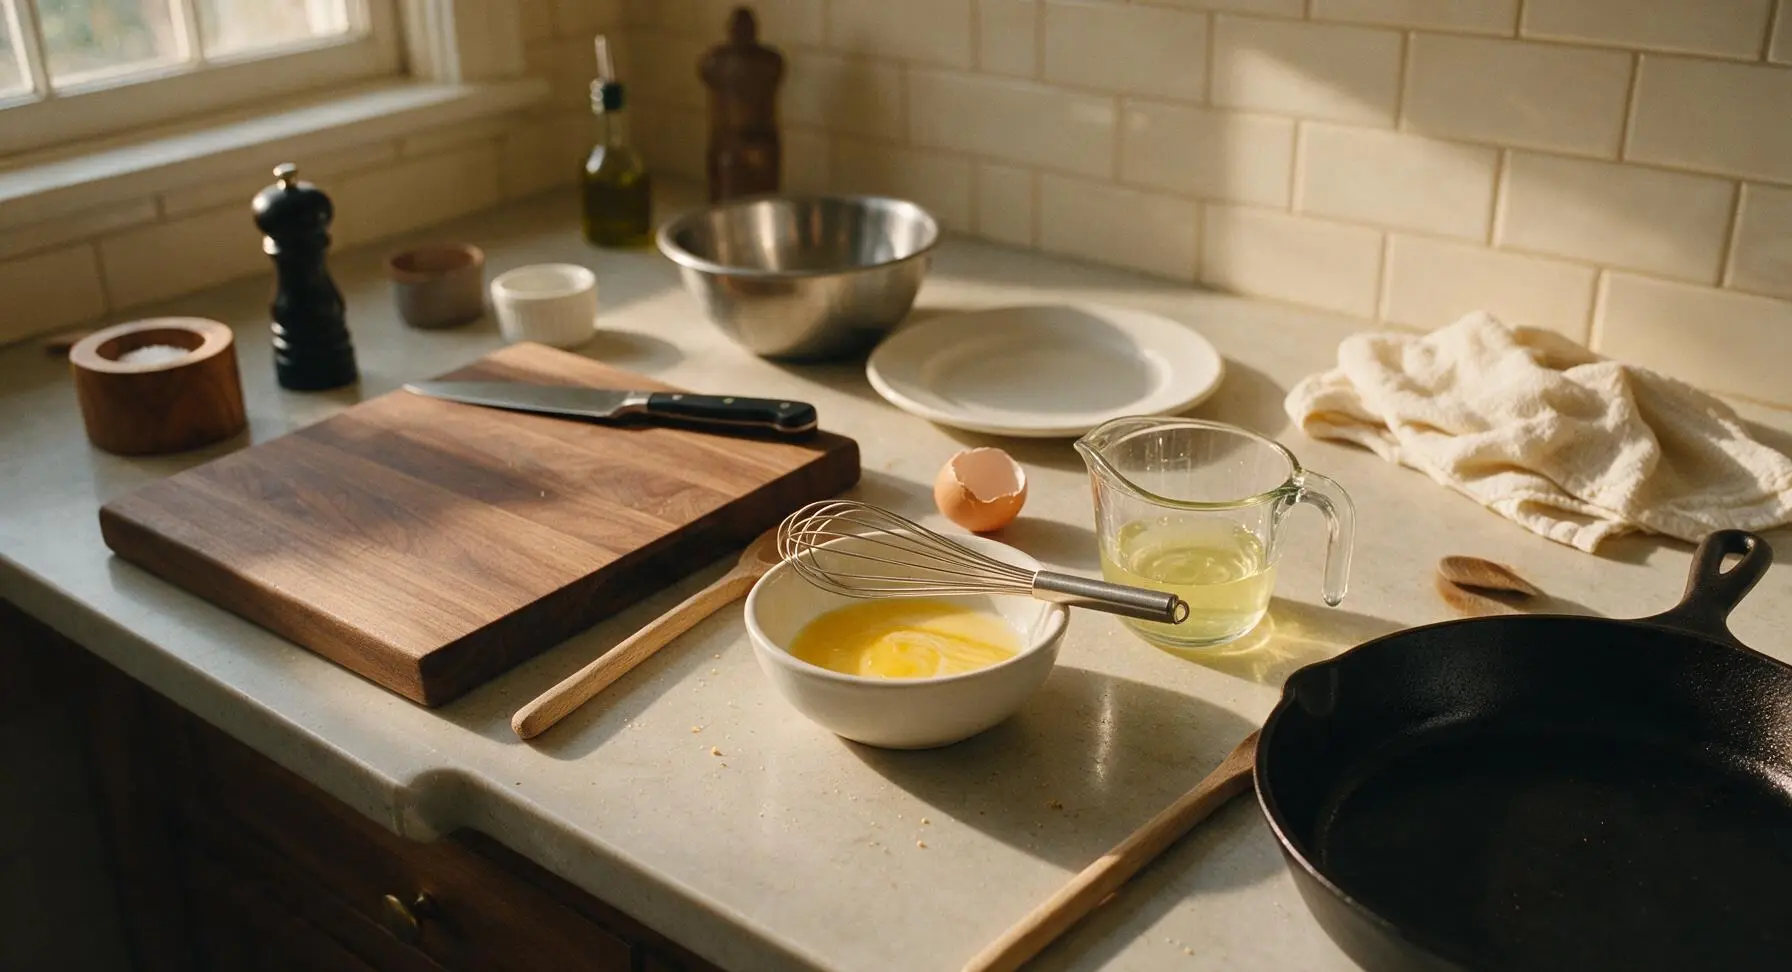
Crack the two eggs, separating the yolks into the small matte white ceramic mixing bowl and the whites into the clear glass measuring cup (ensure no yolk breaks into the whites). Add the whole milk, cooled melted butter, and vanilla extract to the bowl with the yolks. Whisk for 20 seconds until the mixture is smooth and pale yellow, with no streaks of unincorporated egg yolk visible.
Whip Egg Whites
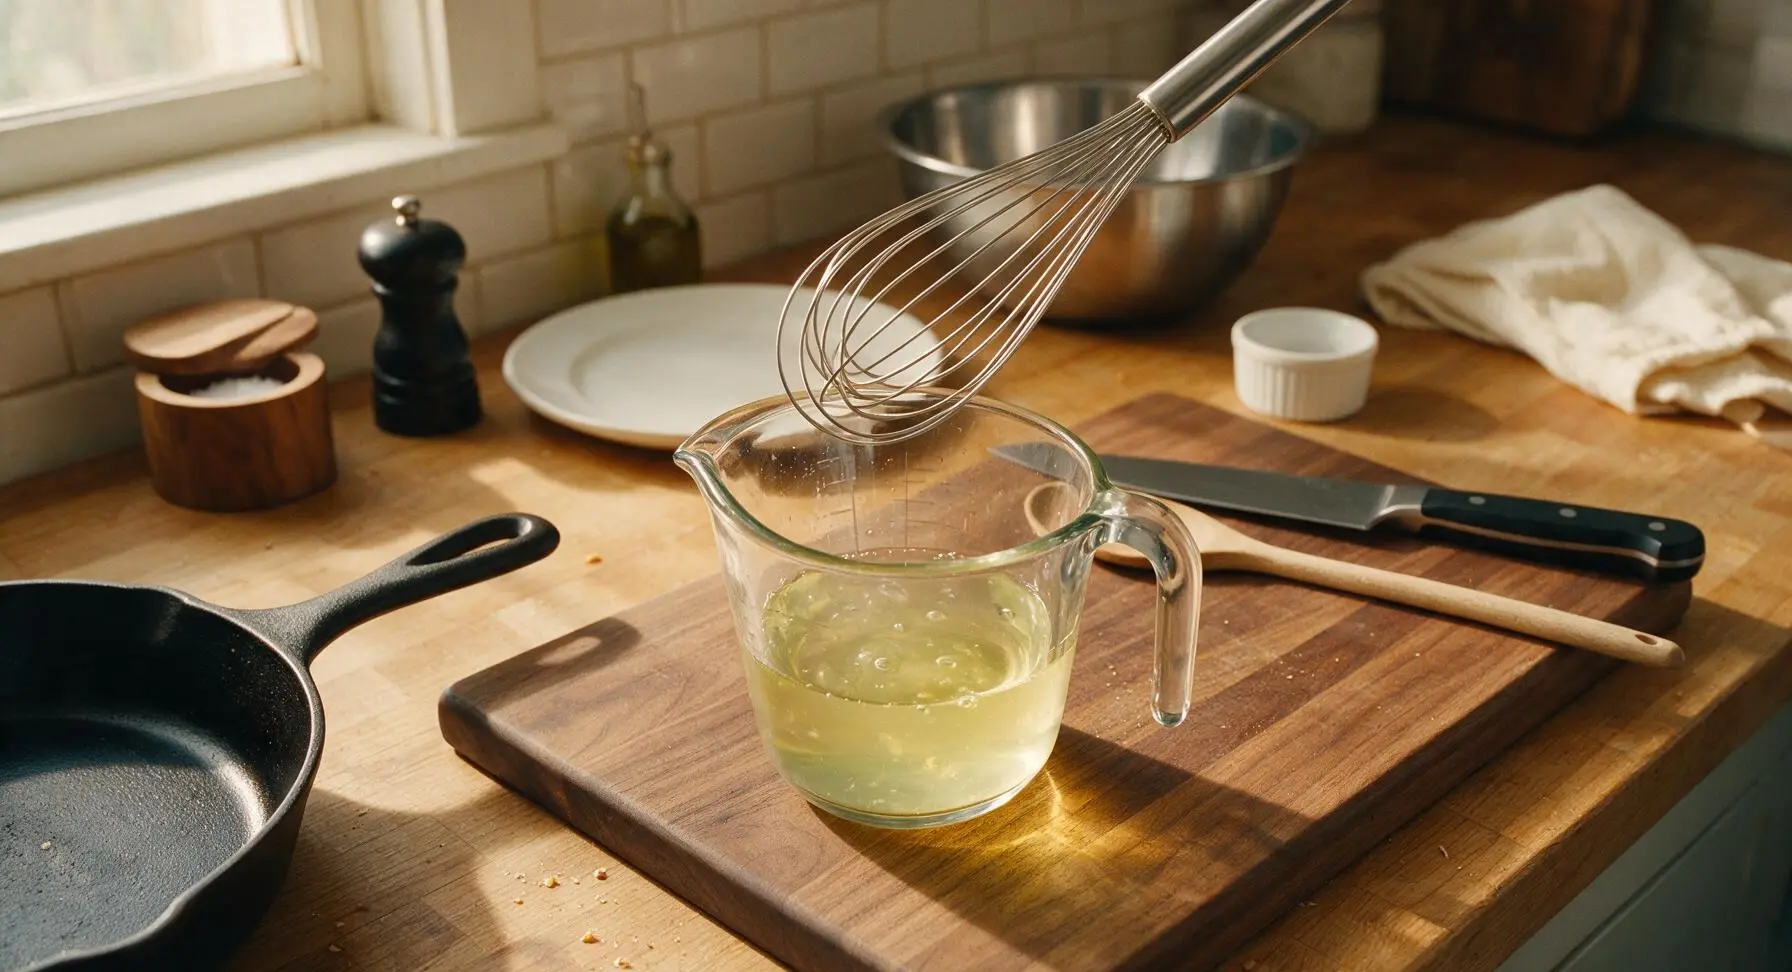
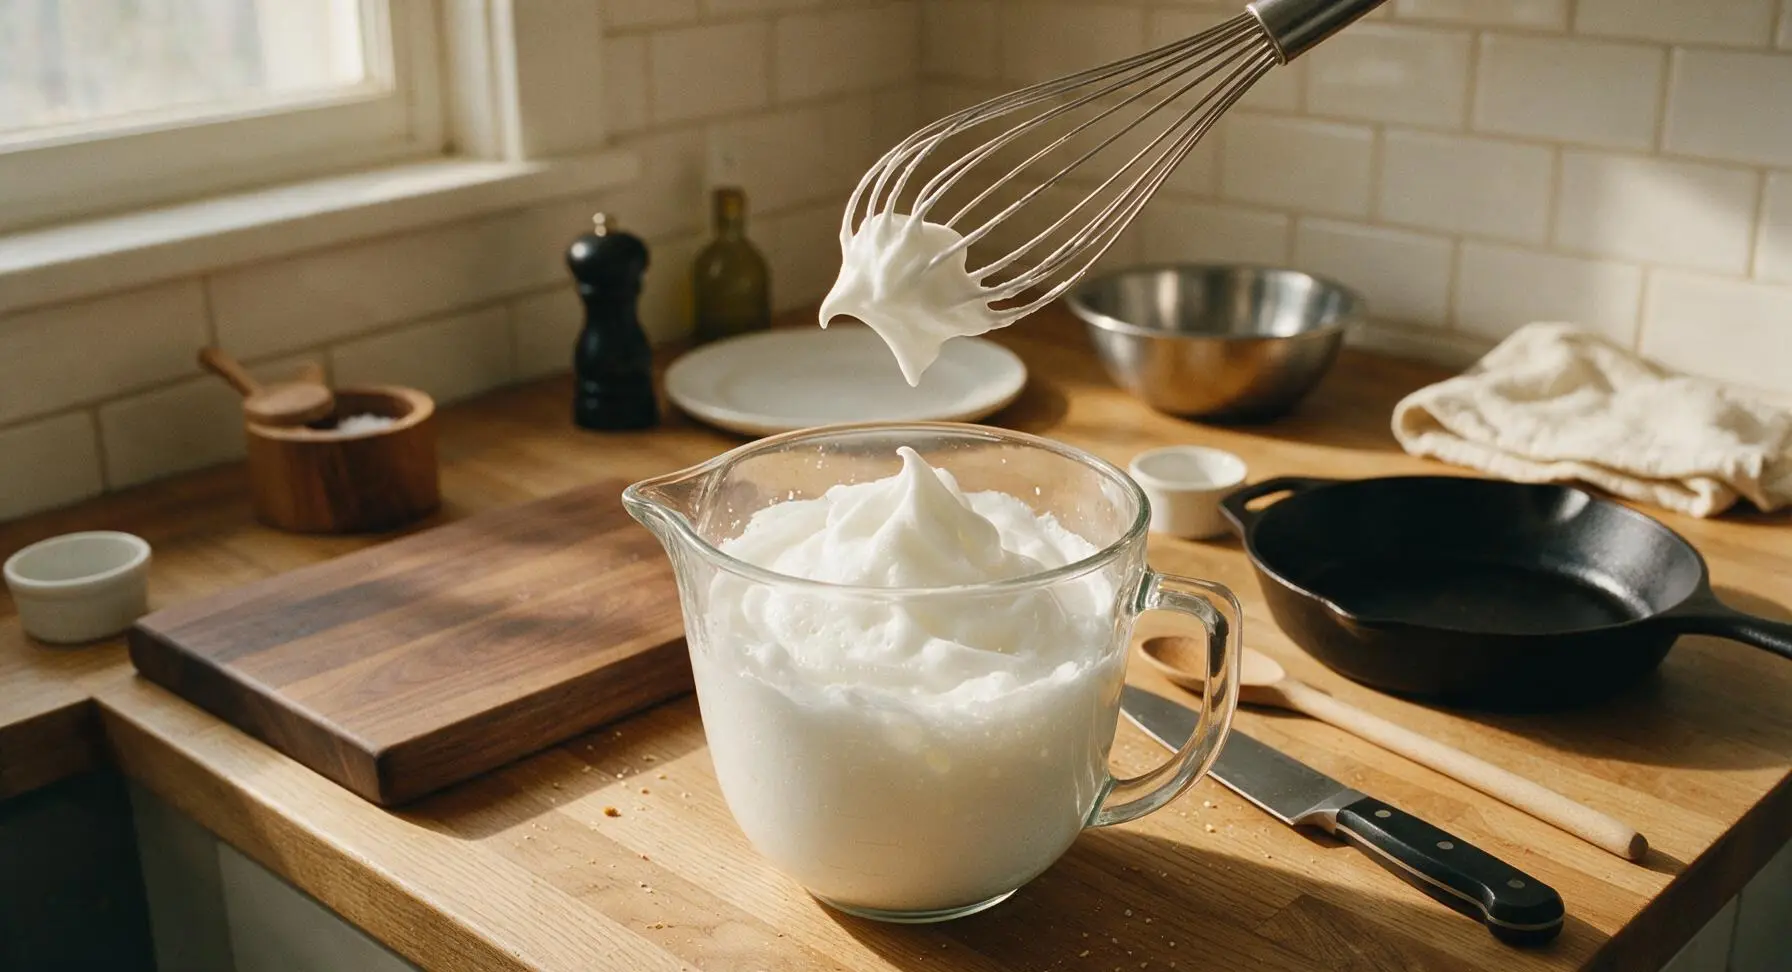
Ensure the wire whisk is completely clean and dry (any trace of fat or yolk will prevent whites from foaming properly). Beat the reserved egg whites in the glass measuring cup at a fast, steady pace for 1 to 2 minutes, until they form soft, glossy peaks that curl gently over when the whisk is lifted from the mixture. Do not overbeat to stiff, dry peaks, as this will create tough, dense waffles.
Gently Fold Batter
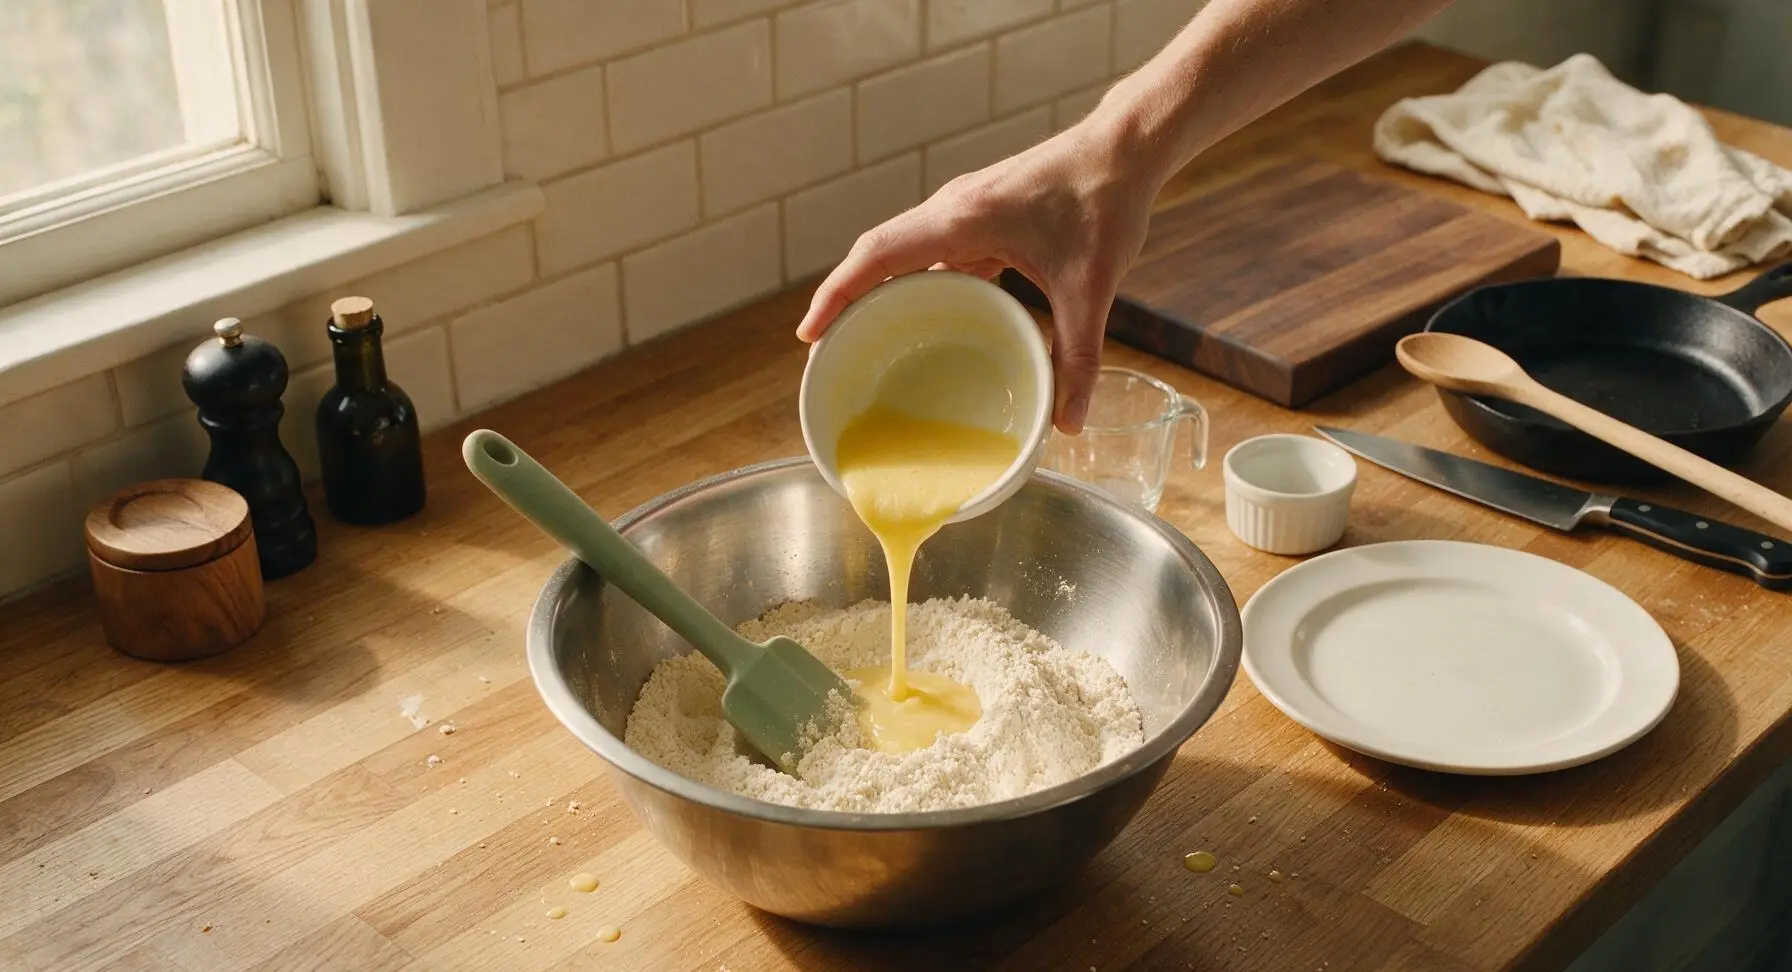
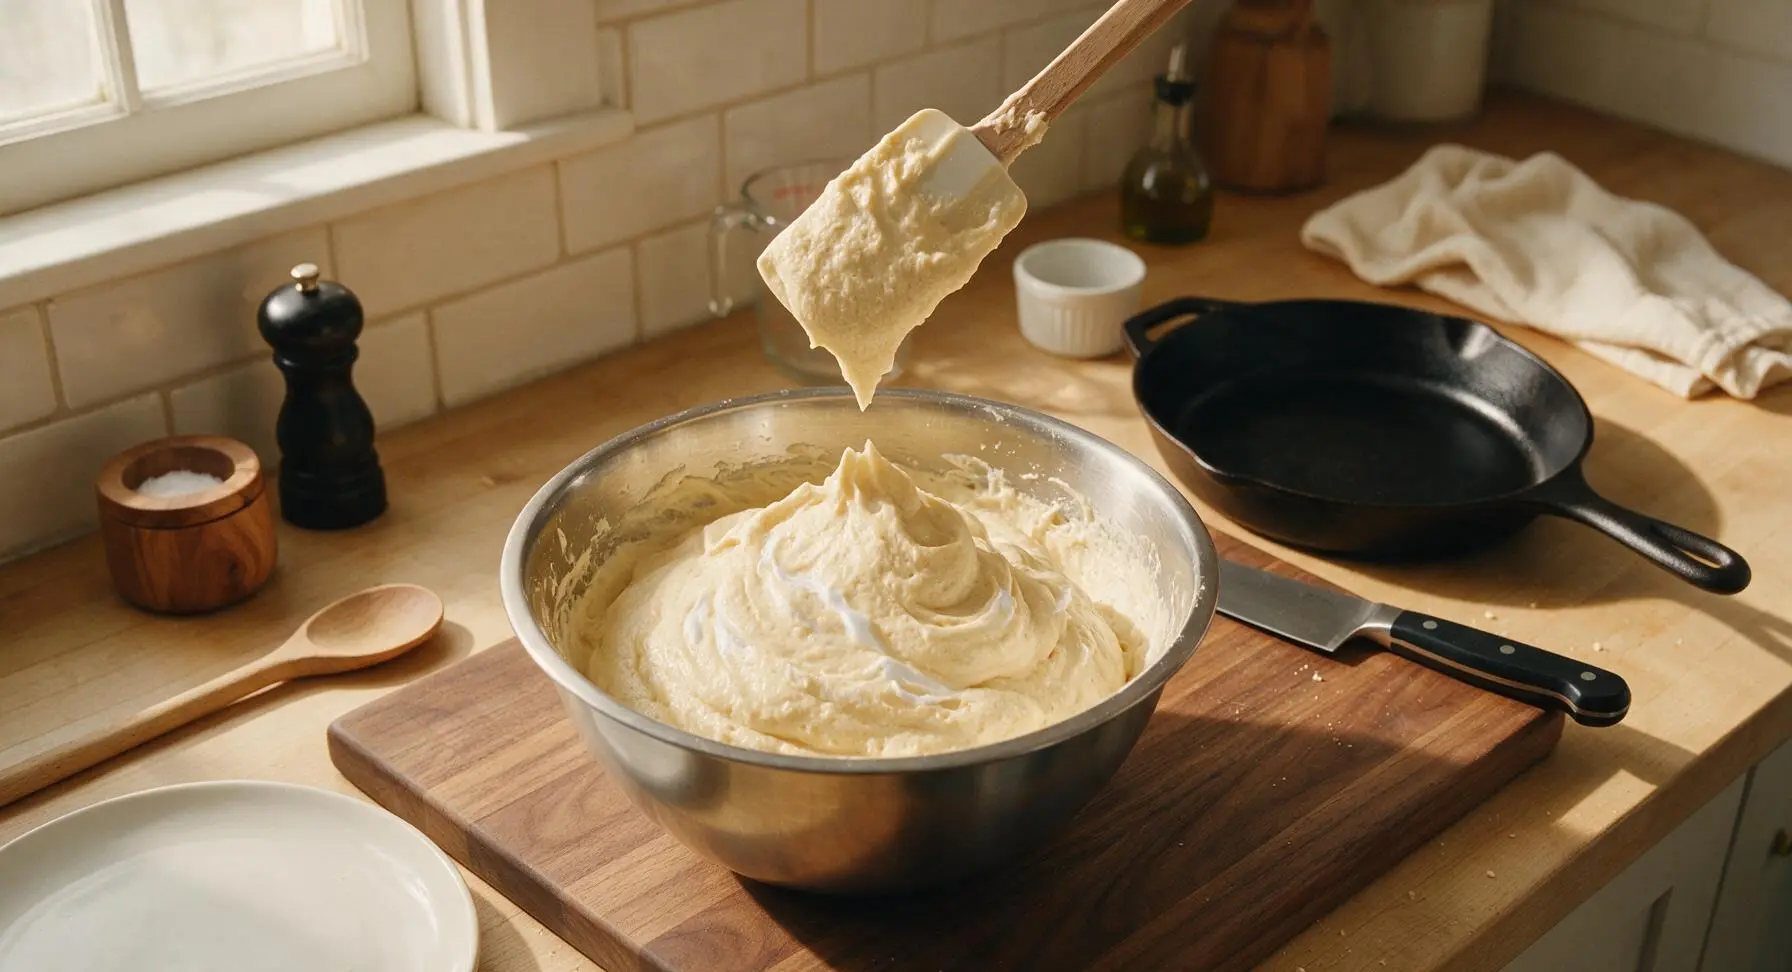
Pour the entire wet yolk mixture into the stainless steel bowl of dry ingredients, stirring gently with the sage green silicone spatula just until no large dry flour streaks remain — the batter will be thick and slightly lumpy, do not overmix. Scoop 1/3 of the whipped egg whites into the batter, folding gently to lighten the mixture, then add the remaining whites in two equal batches, folding just until no large white streaks remain. The finished batter will be light, airy, and thick, with a few small white flecks of egg white visible.
Cook Waffles Crisp
Use the stainless steel ladle to scoop 1/2 cup of the airy batter, pouring it directly into the center of the preheated waffle iron grids. Close the lid and cook for 3.5 to 4 minutes, resisting the urge to open the lid for the first 3 minutes (opening early can tear the waffle and release heat needed for crisping). The waffle is done when it is deep golden brown, the edges appear dry and crisp, and thin streams of steam stop escaping from the iron seams. Transfer cooked waffles to a single layer on the cream linen towel while cooking remaining batter, to avoid trapping moisture that sogs out crispness.
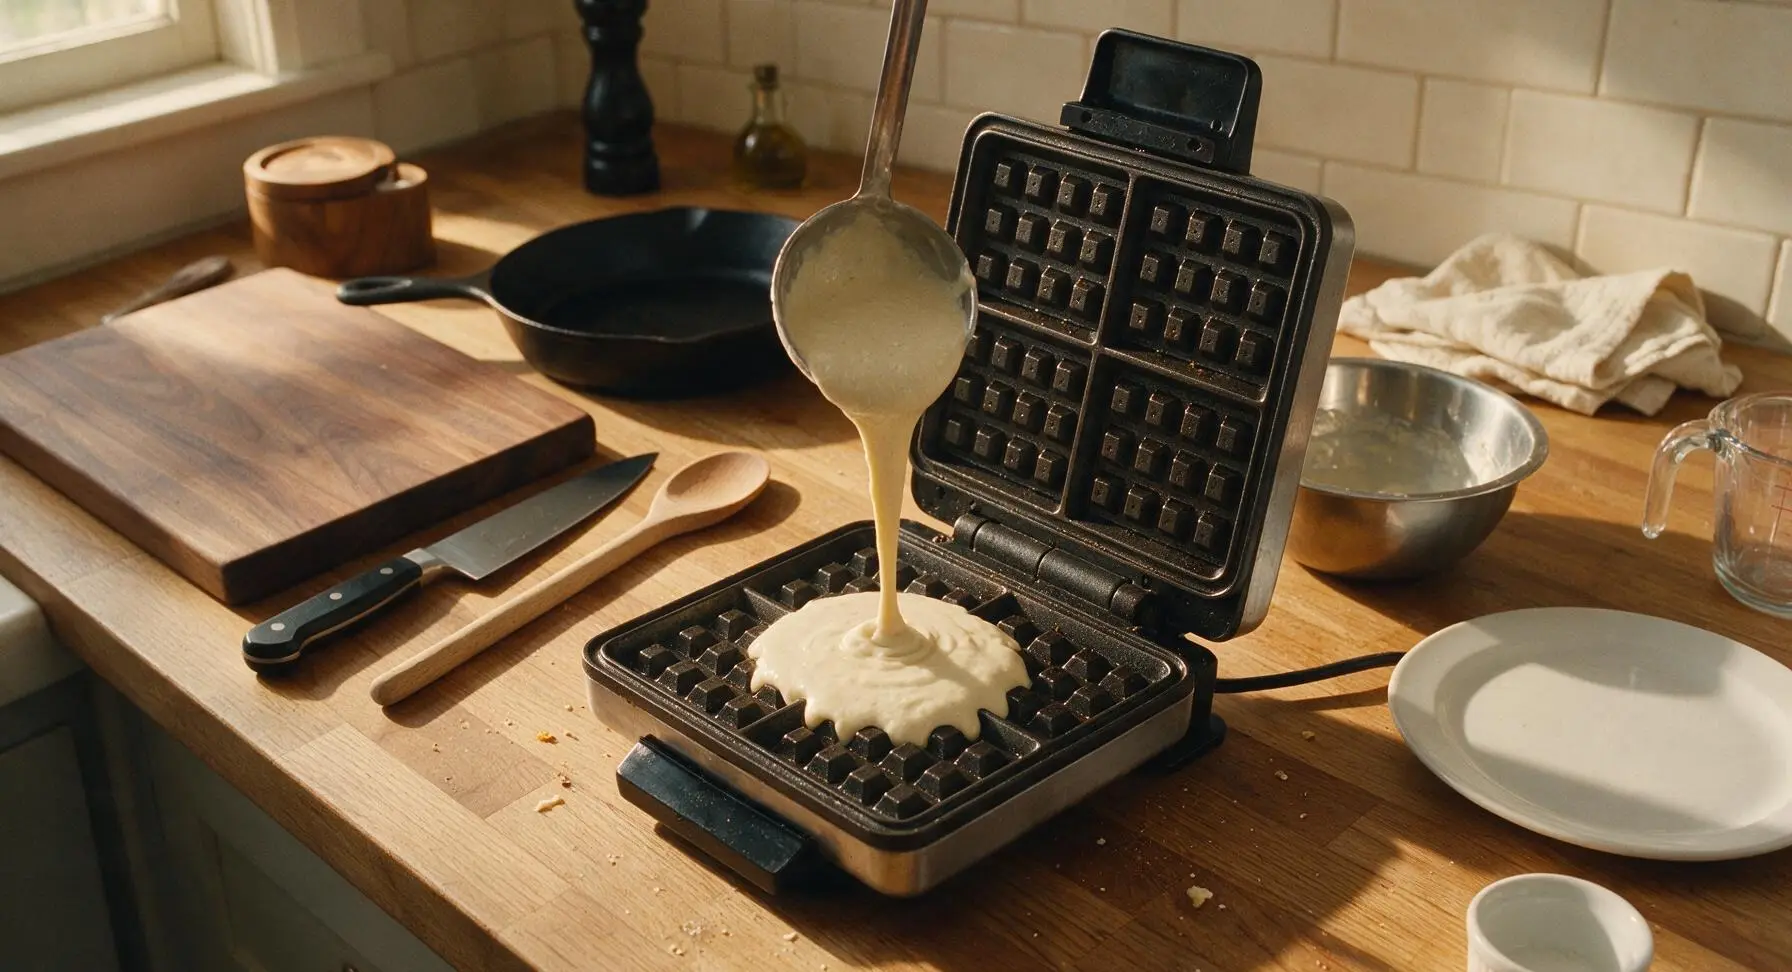
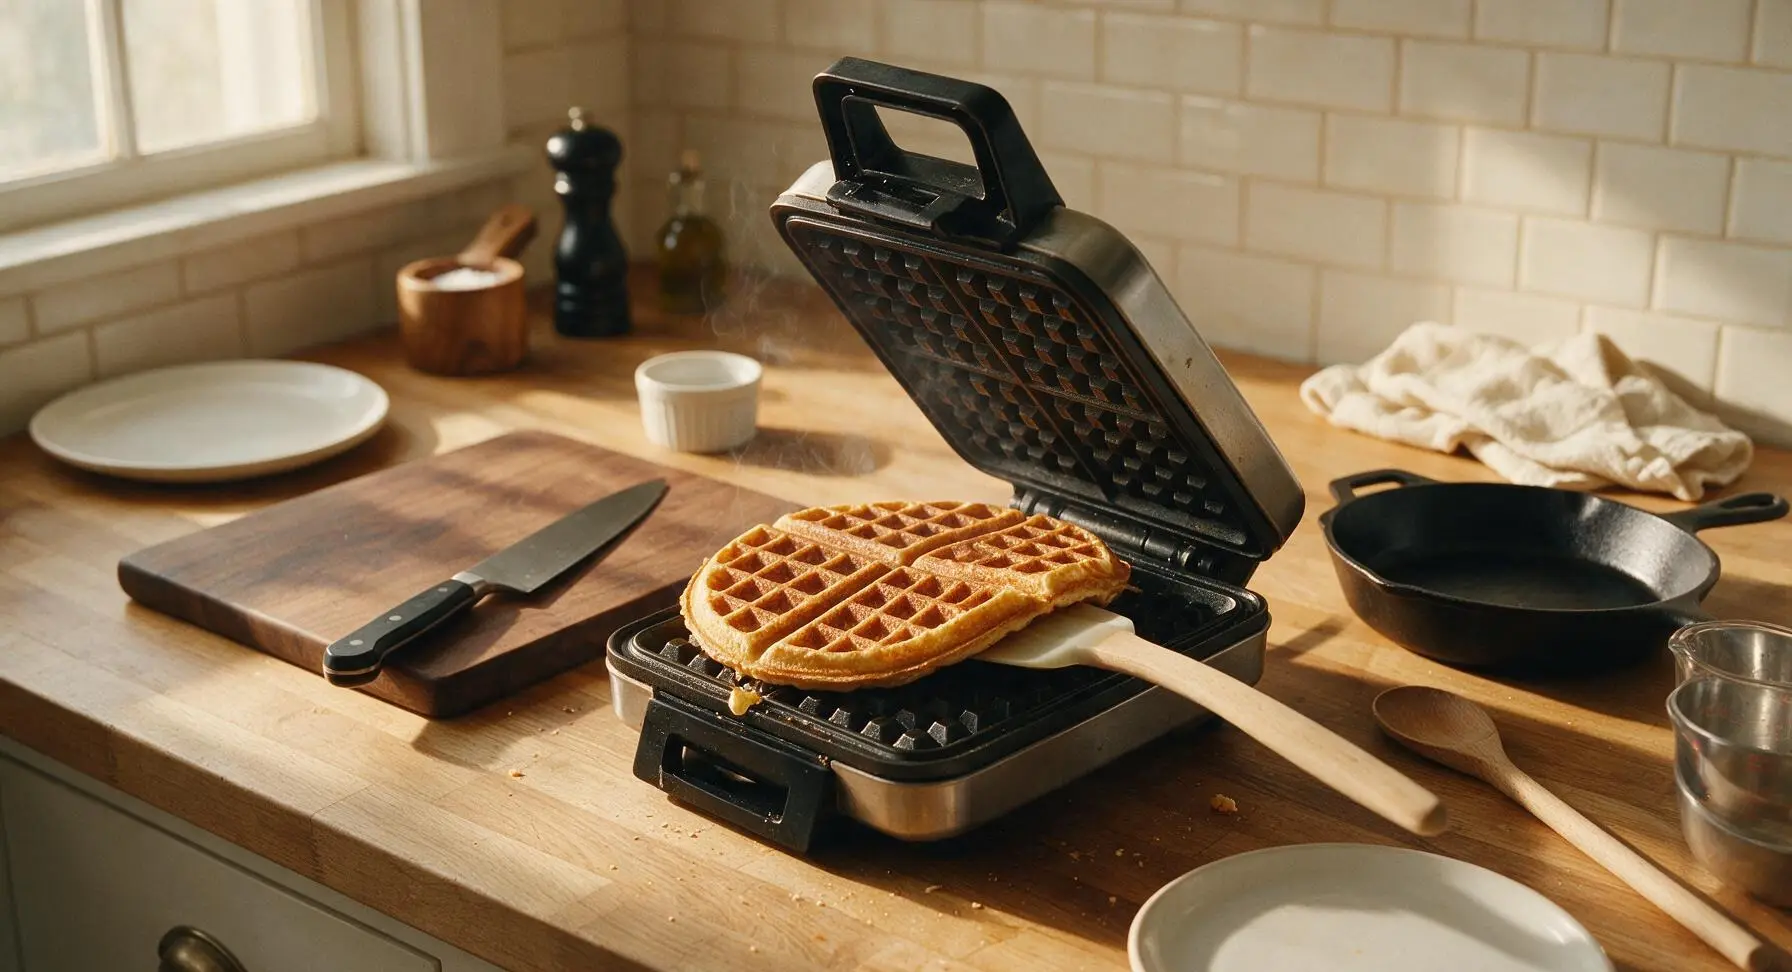
Plate and Serve Hot
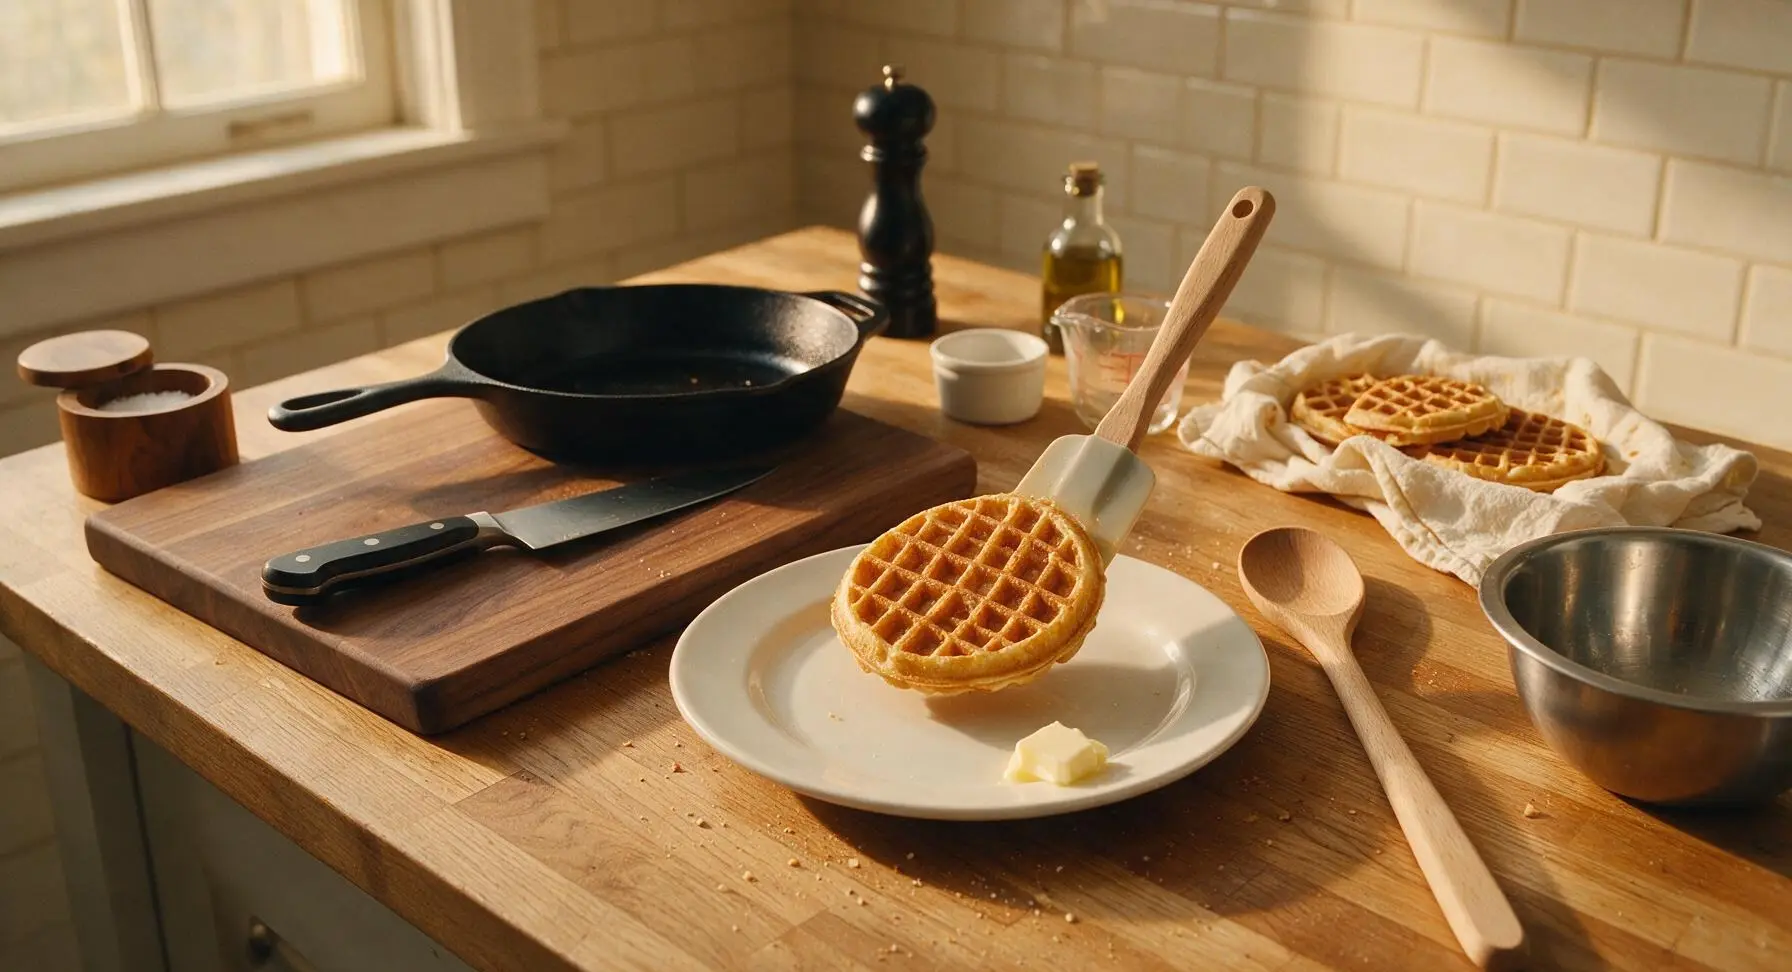
Transfer one freshly cooked waffle to the center of the cream white ceramic dinner plate. Top with a thin 1-tbsp pat of unsalted butter, a light drizzle of pure maple syrup, and sliced fresh strawberries if desired. Serve immediately, as waffles will lose their crisp exterior after 5 to 10 minutes at room temperature.
Tips
2.Do not overmix the batter: small lumps are not only acceptable, they are ideal. Overmixing develops gluten in the flour, which results in tough, chewy waffles instead of tender ones with crisp edges. Stop folding as soon as large streaks of flour or egg white disappear.
3.Avoid stacking cooked waffles while you finish making batches: stacking traps hot steam between waffle layers, which softens the crisp exterior instantly. Resting waffles in a single layer on the linen towel allows air to circulate, keeping edges shatteringly crisp until serving.






Made these for Saturday breakfast this weekend and total game changer! I used to make waffles that turned soggy 2 minutes after putting syrup on, but these stayed crispy the whole time we ate. Even my picky 7 year old who only eats frozen toaster waffles asked when we can make them again. 10/10
I made these last weekend and they were INSANE, so crispy! Quick question: Can I make the batter the night before for meal prep? I host a weekly Sunday brunch with my roommates and it would save so much time to not mix everything morning of.
Took these to a neighborhood potluck last week, set up a little waffle bar with fruit, whipped cream, and chocolate chips, and people were raving the whole time. Cook time was so fast too, I cranked out 2 batches in no time on my old waffle iron. Only note is I added a tiny pinch of extra cinnamon, chef’s kiss.
Wait, has anyone tried making these with a 1:1 gluten free flour blend? I have celiac and have been dying for a crispy waffle recipe that doesn’t turn into a crumbly mess.
Super easy recipe even for someone who burns toast half the time! I made these in my tiny dorm waffle maker and they came out perfect, no fancy ingredients needed. Way cheaper than buying the frozen ones too, saved me so much money on meal swipes this week.
OMG why are these so much crispier than every other waffle recipe I’ve tried?? I was skeptical because it’s such a simple ingredient list but the texture is unreal. Had mine with fresh peaches and maple syrup, absolute summer perfection.
Made a double batch of these on Sunday to freeze for quick weekday breakfasts, and they reheat perfectly in the toaster! No sogginess, just as crispy as when I made them fresh. Total weekday win for my family when we’re rushing out the door for school and work.
Help! I made these this morning and they stuck really bad to my waffle iron, did I do something wrong? I sprayed it with nonstick spray before heating it up but half the waffle stayed stuck to the plates 😭
Obsessed. Made these for my partner’s birthday breakfast and they were SO good, he said they were better than the fancy brunch spot we go to that charges $18 for a waffle plate. Served them with fried chicken for a little chicken and waffles moment, 10/10 will be making this every weekend from now on.
Has anyone tried making these with oat milk instead of regular dairy milk? I’m dairy free and trying to avoid almond milk because of a nut allergy in my house.