
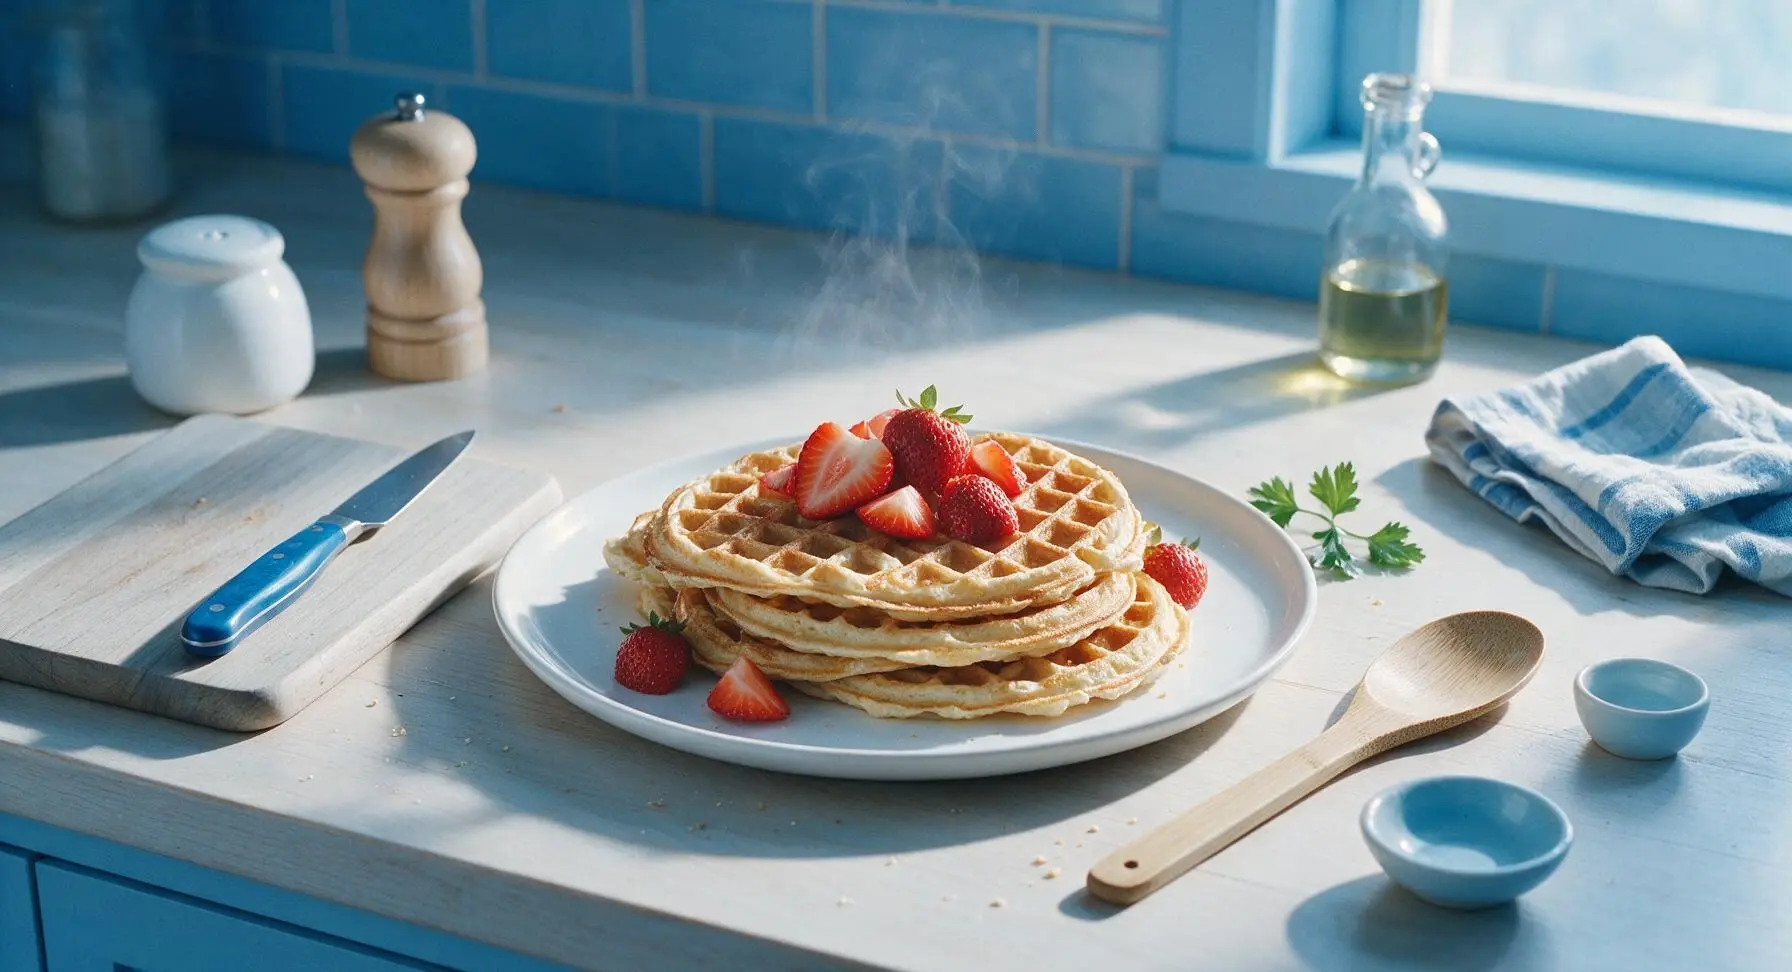
light waffle

title 1
light waffle
⏱️ cook time 12 minutes
🍽️ servings 4
⚡ Difficulty easy

intro

Crisp at the edges, cloud-soft inside, these light waffles skip dense, heavy batter for a quick, bright meal perfect paired with fresh spring strawberries.

Ingredients
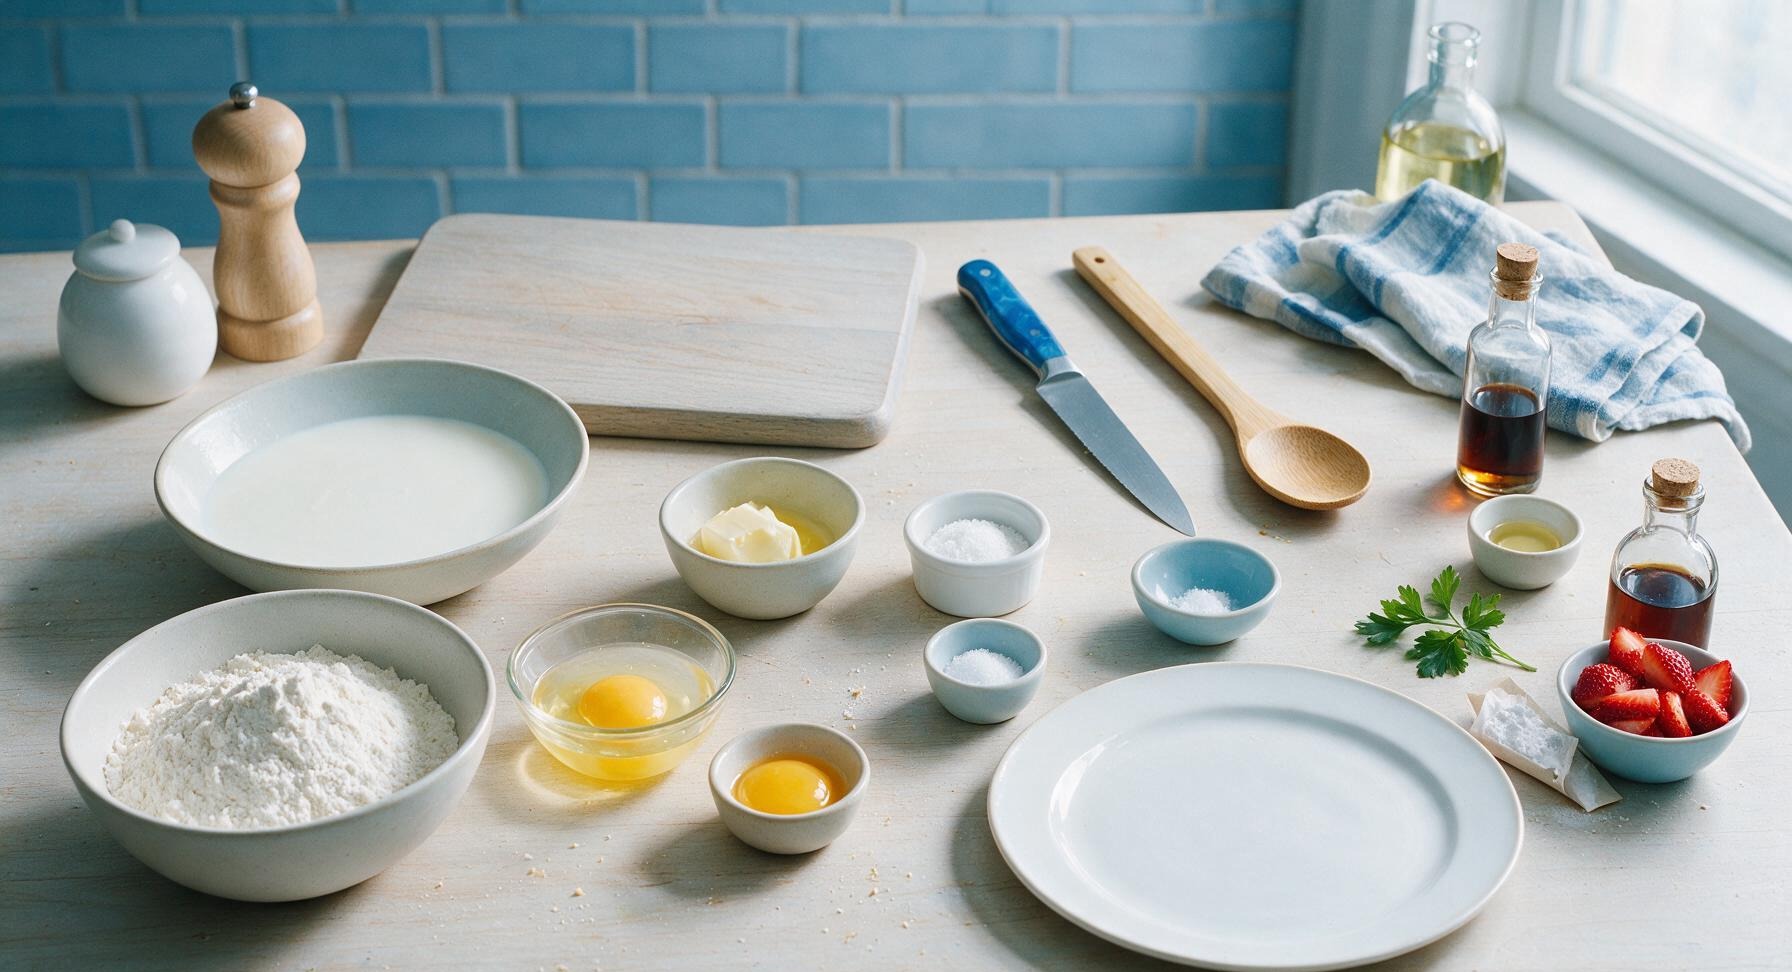
All-purpose flour 1 ½ cups (180g)
Low-fat buttermilk 1 ½ cups (360ml)
Large eggs 2, separated
Unsalted butter 2 tablespoons, melted and cooled
Baking powder 2 teaspoons
Baking soda ¼ teaspoon
Fine sea salt ½ teaspoon
Granulated sugar 1 tablespoon
Pure vanilla extract 1 teaspoon
Neutral canola oil 1 teaspoon, for waffle iron
Powdered sugar 4 teaspoons, for dusting
Fresh strawberries ½ cup, sliced
Pure maple syrup 2 tablespoons, for serving

Steps

1

Whisk Dry Ingredients

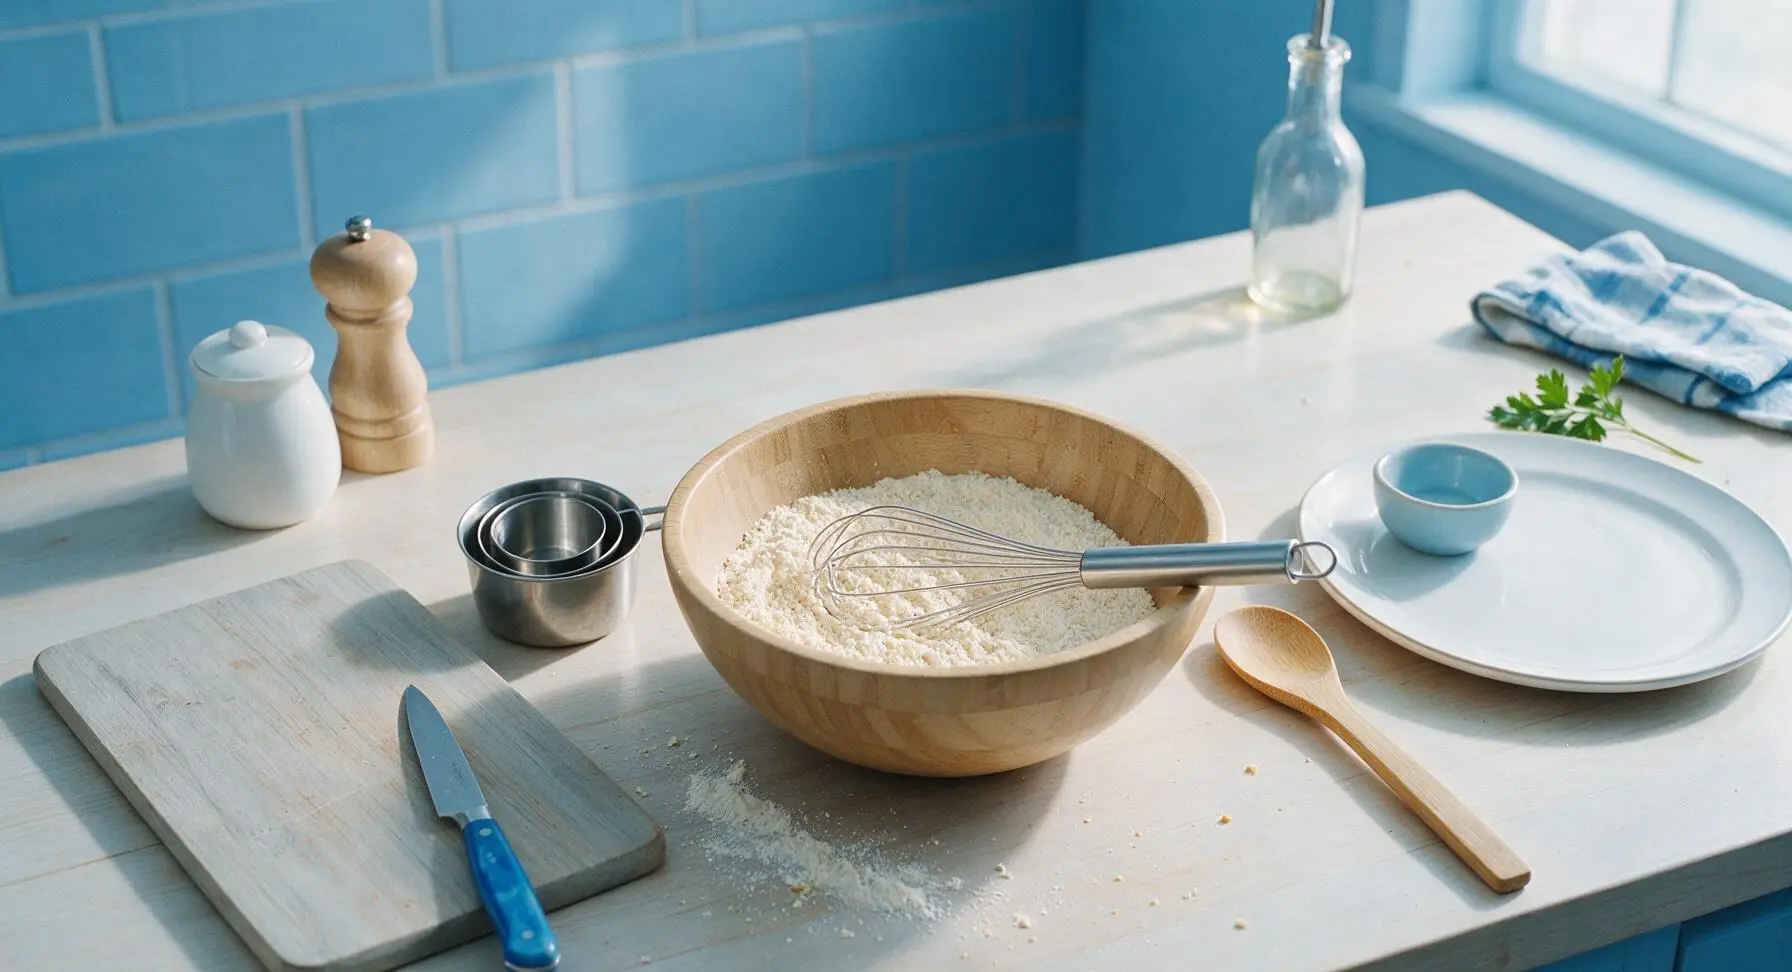
Place the medium bamboo mixing bowl at center counter. Add 1 ½ cups (180g) all-purpose flour, 2 teaspoons baking powder, ¼ teaspoon baking soda, ½ teaspoon fine sea salt, and 1 tablespoon granulated sugar to the bowl. Use the stainless steel balloon whisk to stir for 30 seconds until all dry ingredients are fully combined, with no clumps of baking powder visible. The mixture should be a uniform pale off-white.
Step 1
step1:Whisk Dry Ingredients
2

Separate the Eggs

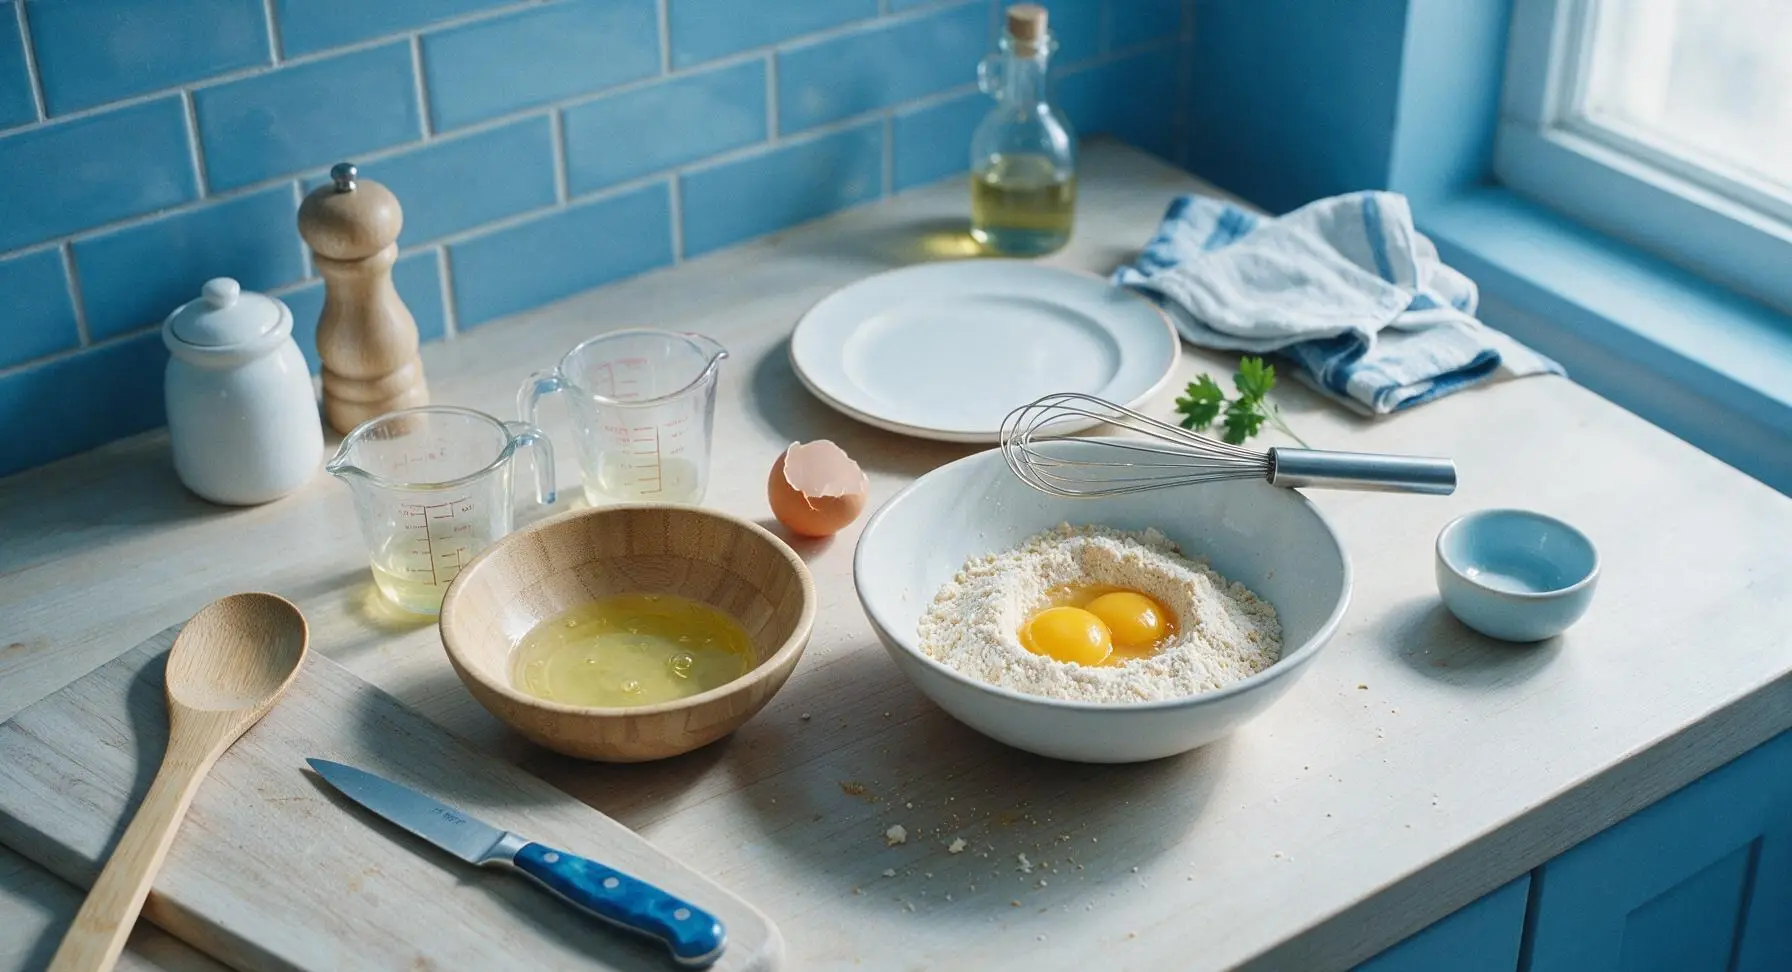
Place the small bamboo mixing bowl to the left of the medium bowl. Crack the 2 large eggs one at a time, carefully pouring egg whites into the small bamboo bowl, and dropping yolks into a small well in the center of the dry ingredient mixture in the medium bowl. Take care not to get any yolk into the egg whites, as even a tiny drop will prevent them from whipping to full volume. Set the bowl of whites aside temporarily.
Step 2
step2:Separate the Eggs
3

Combine Wet Ingredients

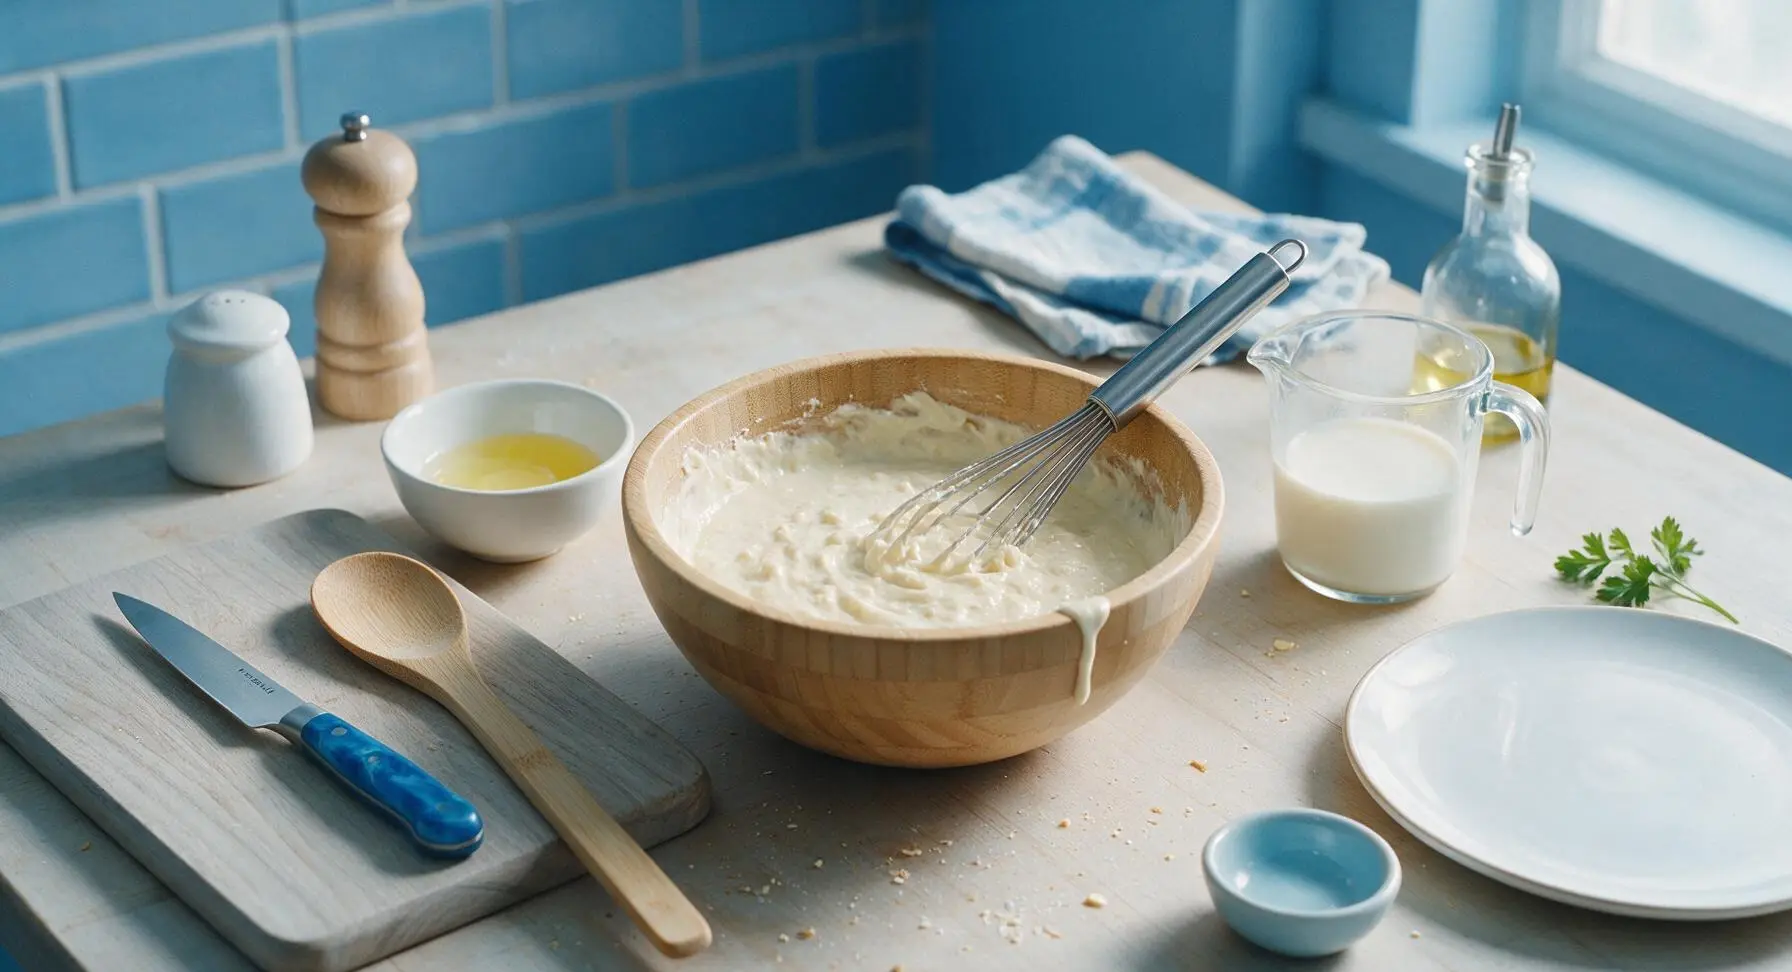
Add 1 ½ cups (360ml) low-fat buttermilk, 2 tablespoons cooled melted unsalted butter, and 1 teaspoon pure vanilla extract to the medium bowl with dry ingredients and egg yolks. Use the whisk to stir gently just until no large dry flour streaks remain — the batter will be slightly lumpy, which is normal. Do NOT overmix, as overdeveloping gluten will make tough, dense waffles instead of light ones. Stop stirring as soon as the last dry flour patch disappears.
Step 3
step3:Combine Wet Ingredients
4

Whip Egg Whites to Peaks

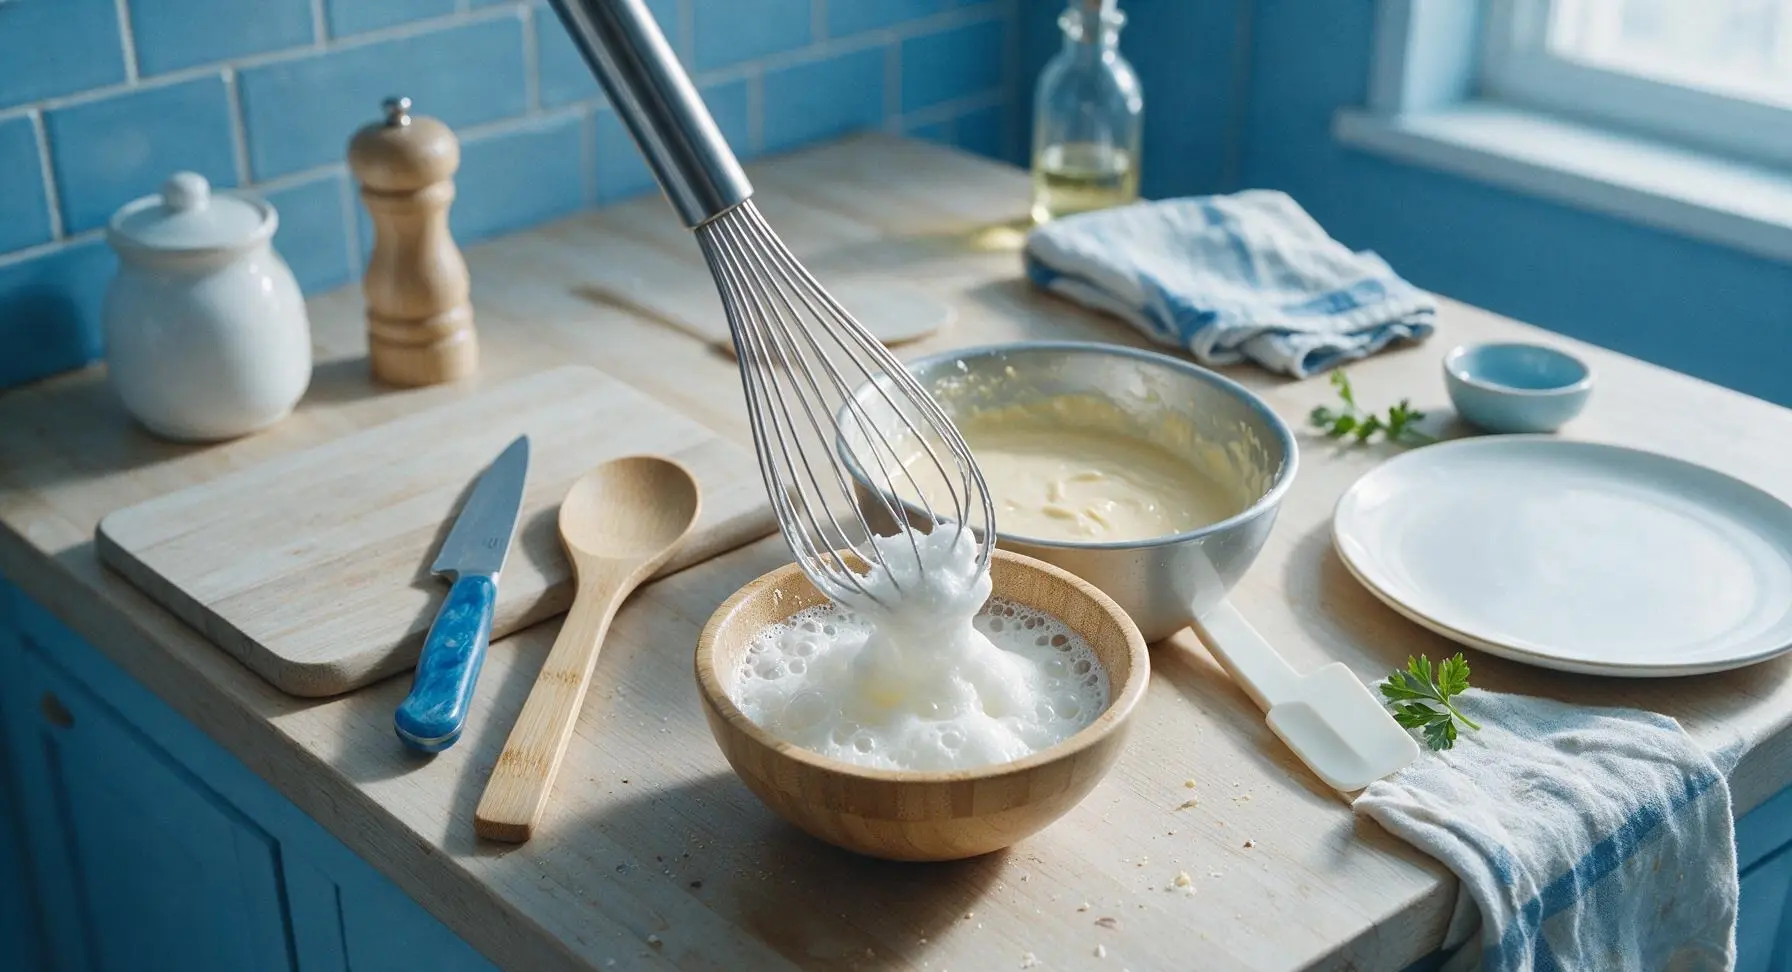
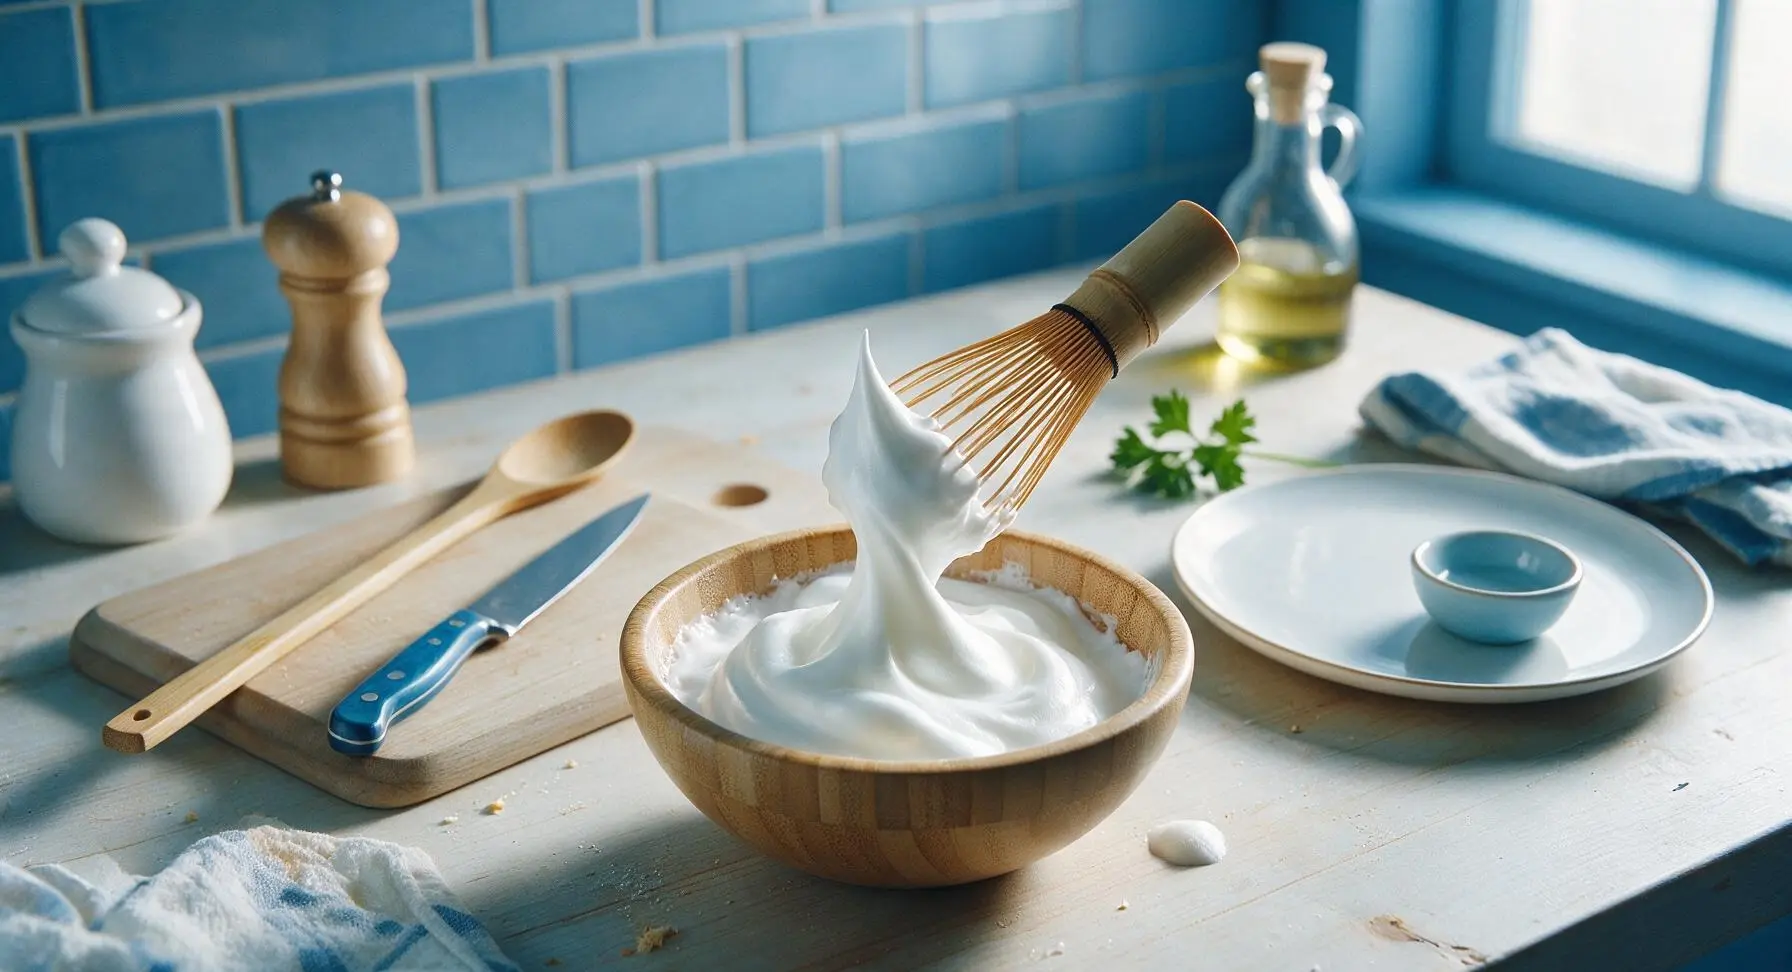
Ensure the whisk is completely clean and dry (any fat will deflate whites), then whip the egg whites in the small bamboo bowl at fast speed for 1 to 2 minutes, until they form stiff, glossy peaks that stand straight up when you lift the whisk. Do not overwhip to the point that whites look dry or crumbly. The whipped whites should be bright white, light, and cloud-like.
Step 4
step4:Whip Egg Whites to Peaks
Step 4
step4:Whip Egg Whites to Peaks
5

Fold Whites Into Batter

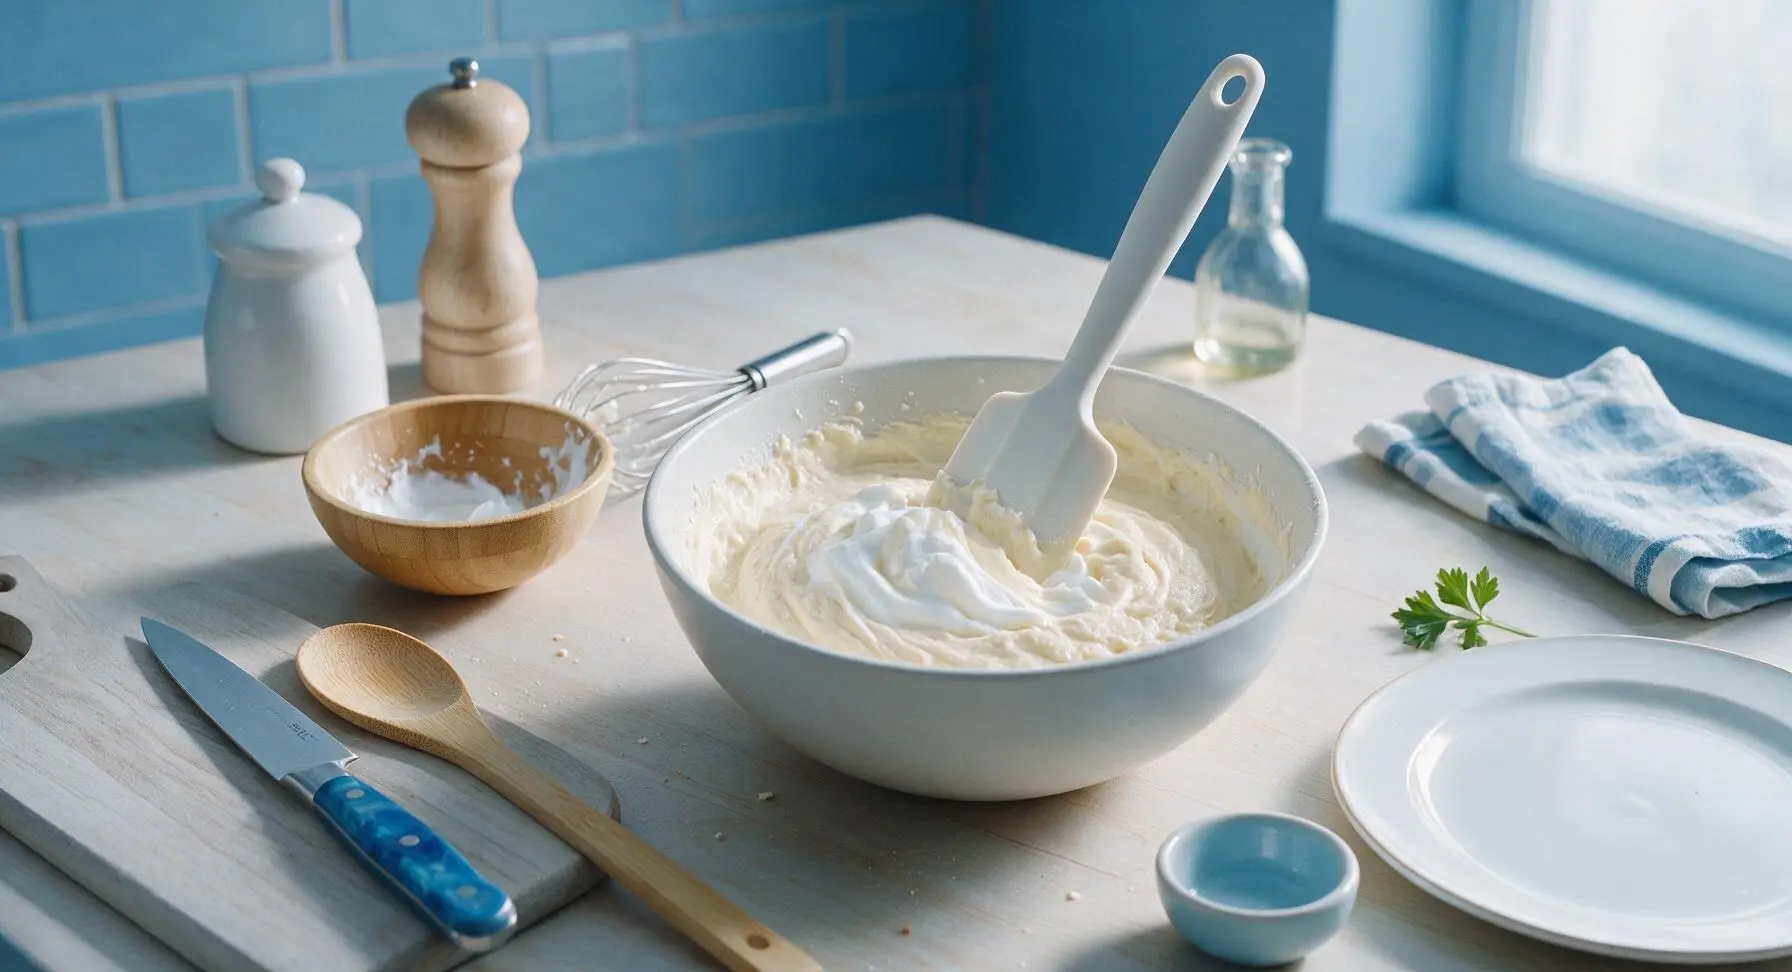
Use the silicone spatula to scoop one third of the whipped egg whites into the batter bowl, stirring gently to lighten the thick batter. Then add the remaining whipped whites, folding in slow, gentle cut-and-scoop motions just until no large streaks of white remain. The batter will be light, fluffy, and billowy — do not stir vigorously or deflate the air bubbles that make the waffles light. A few small white streaks are acceptable, as overfolding will lead to dense waffles.
Step 5
step5:Fold Whites Into Batter
6

Preheat Waffle Maker

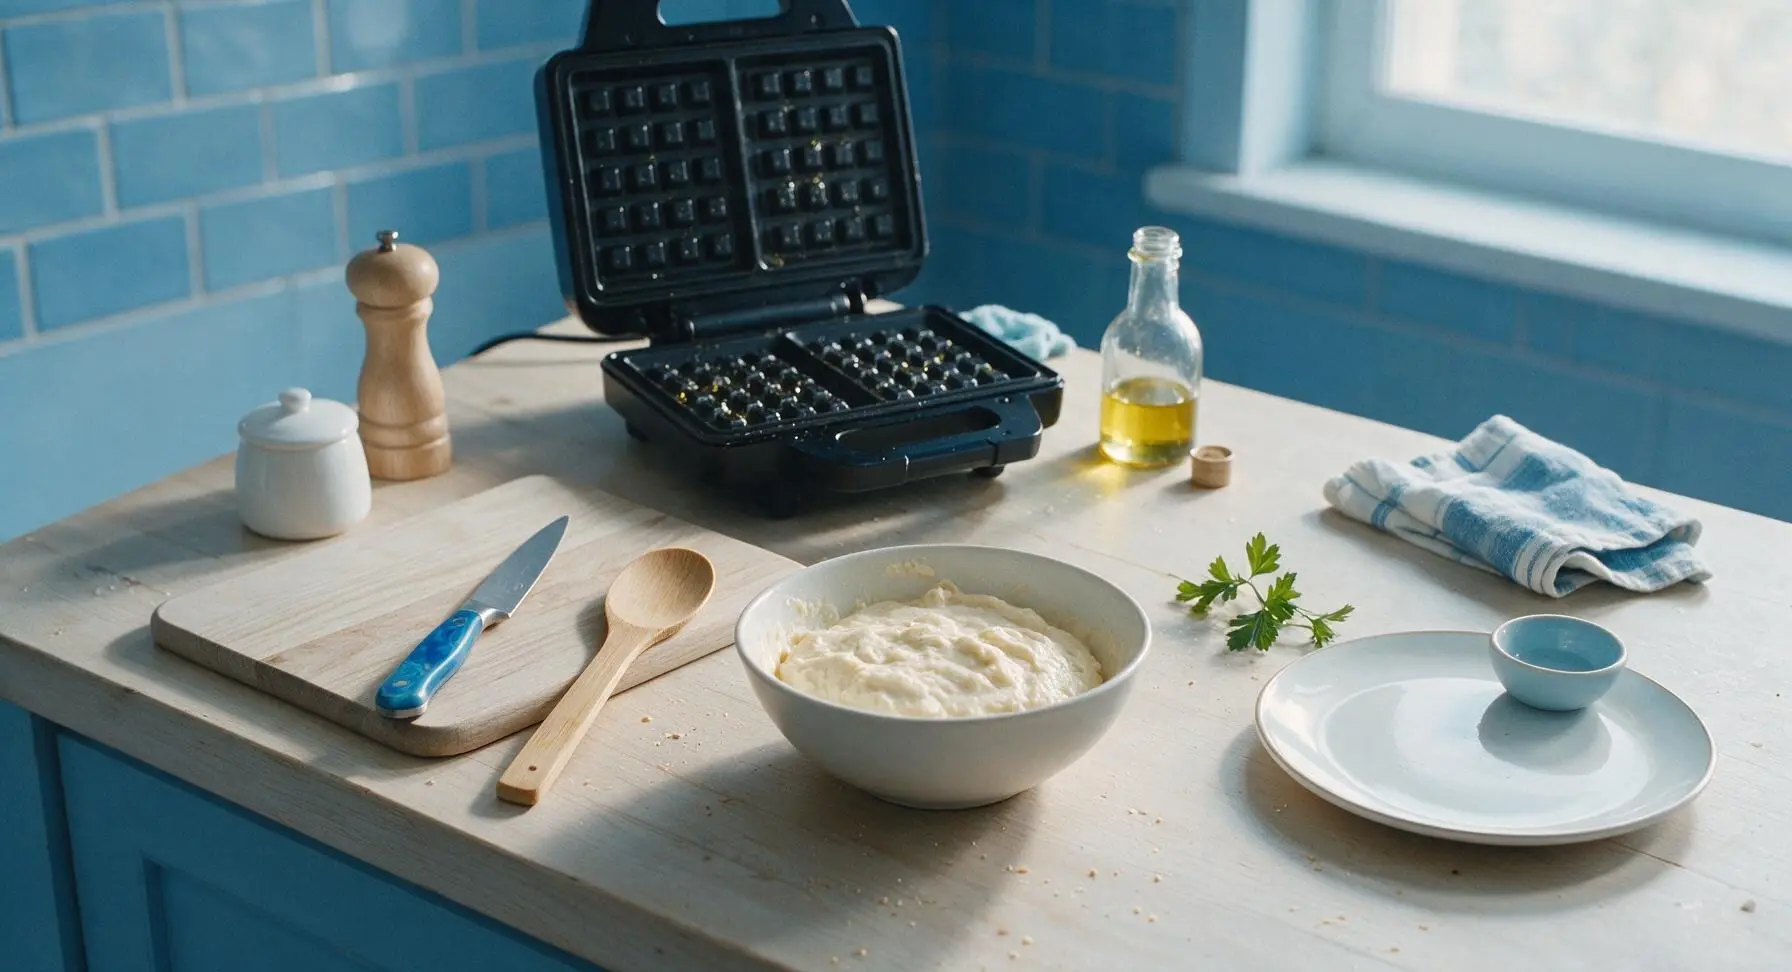
Retrieve the matte black waffle maker from under-counter storage and place it at back center counter. Preheat to medium-high heat (375°F / 190°C). Lightly brush the cooking grids with 1 teaspoon neutral canola oil to prevent sticking, using a corner of the pale blue kitchen towel to spread oil evenly. Wait until the waffle maker’s indicator light shows it is fully preheated, about 3 minutes — pouring batter into a too-cool iron will lead to soggy, stuck waffles.
Step 6
step6:Preheat Waffle Maker
7

Cook Waffles Until Crisp

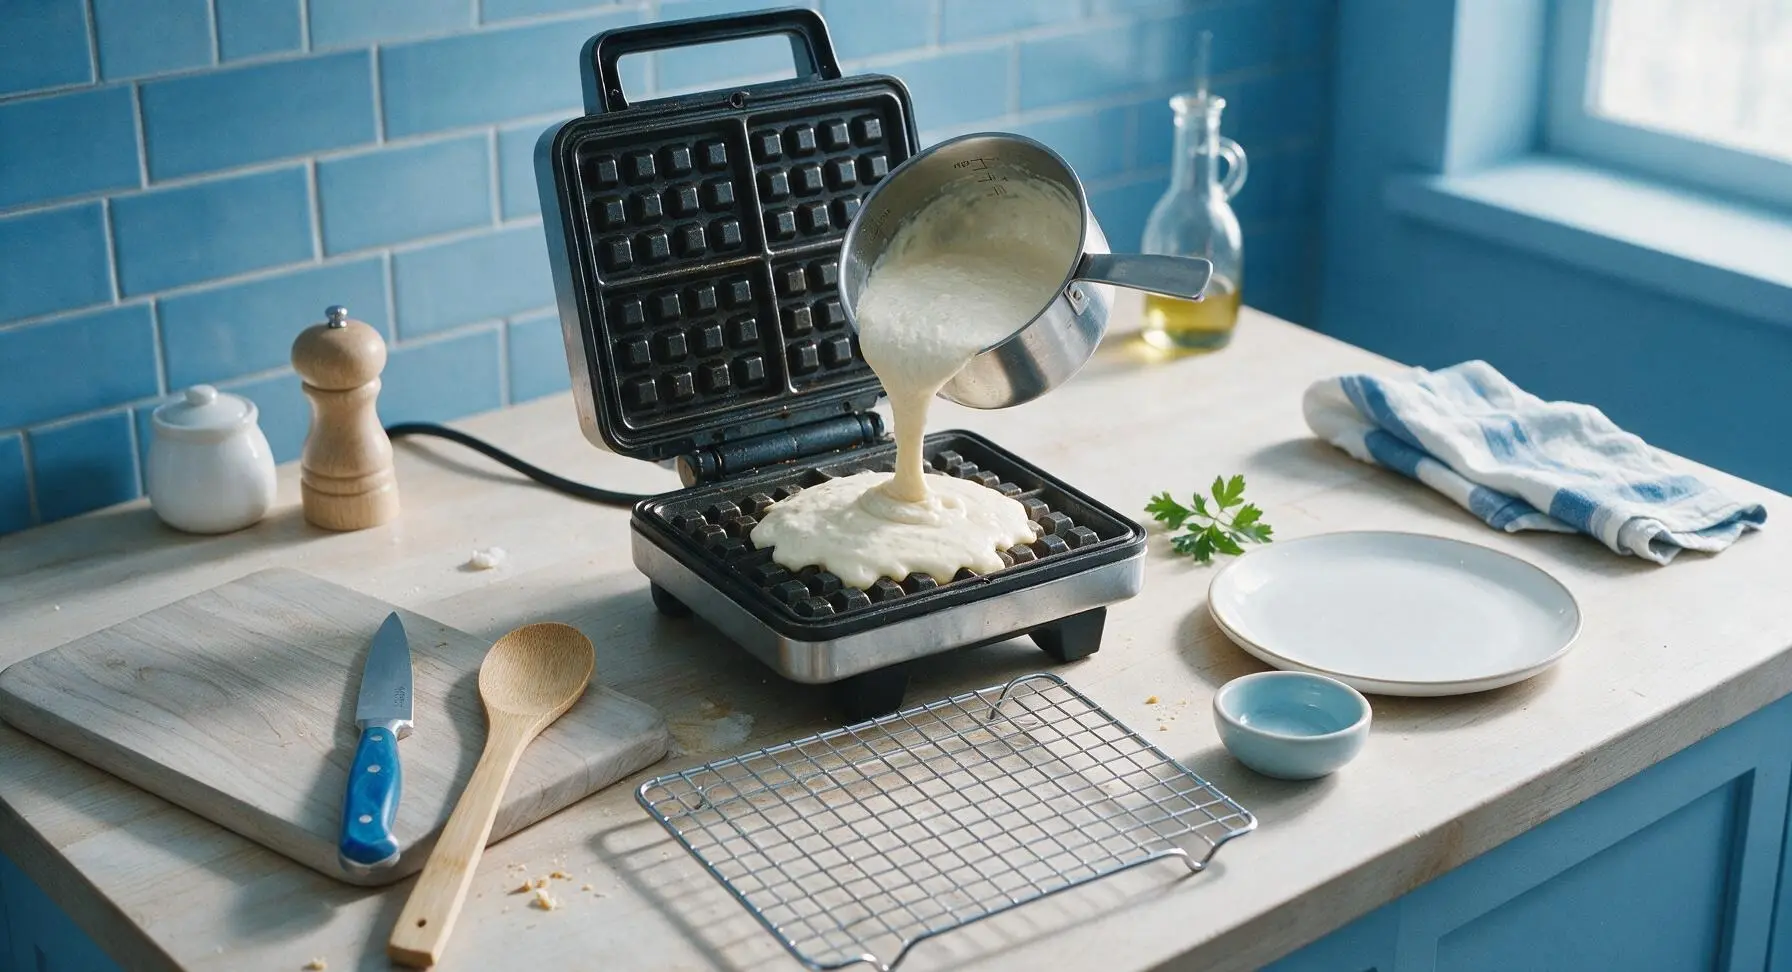
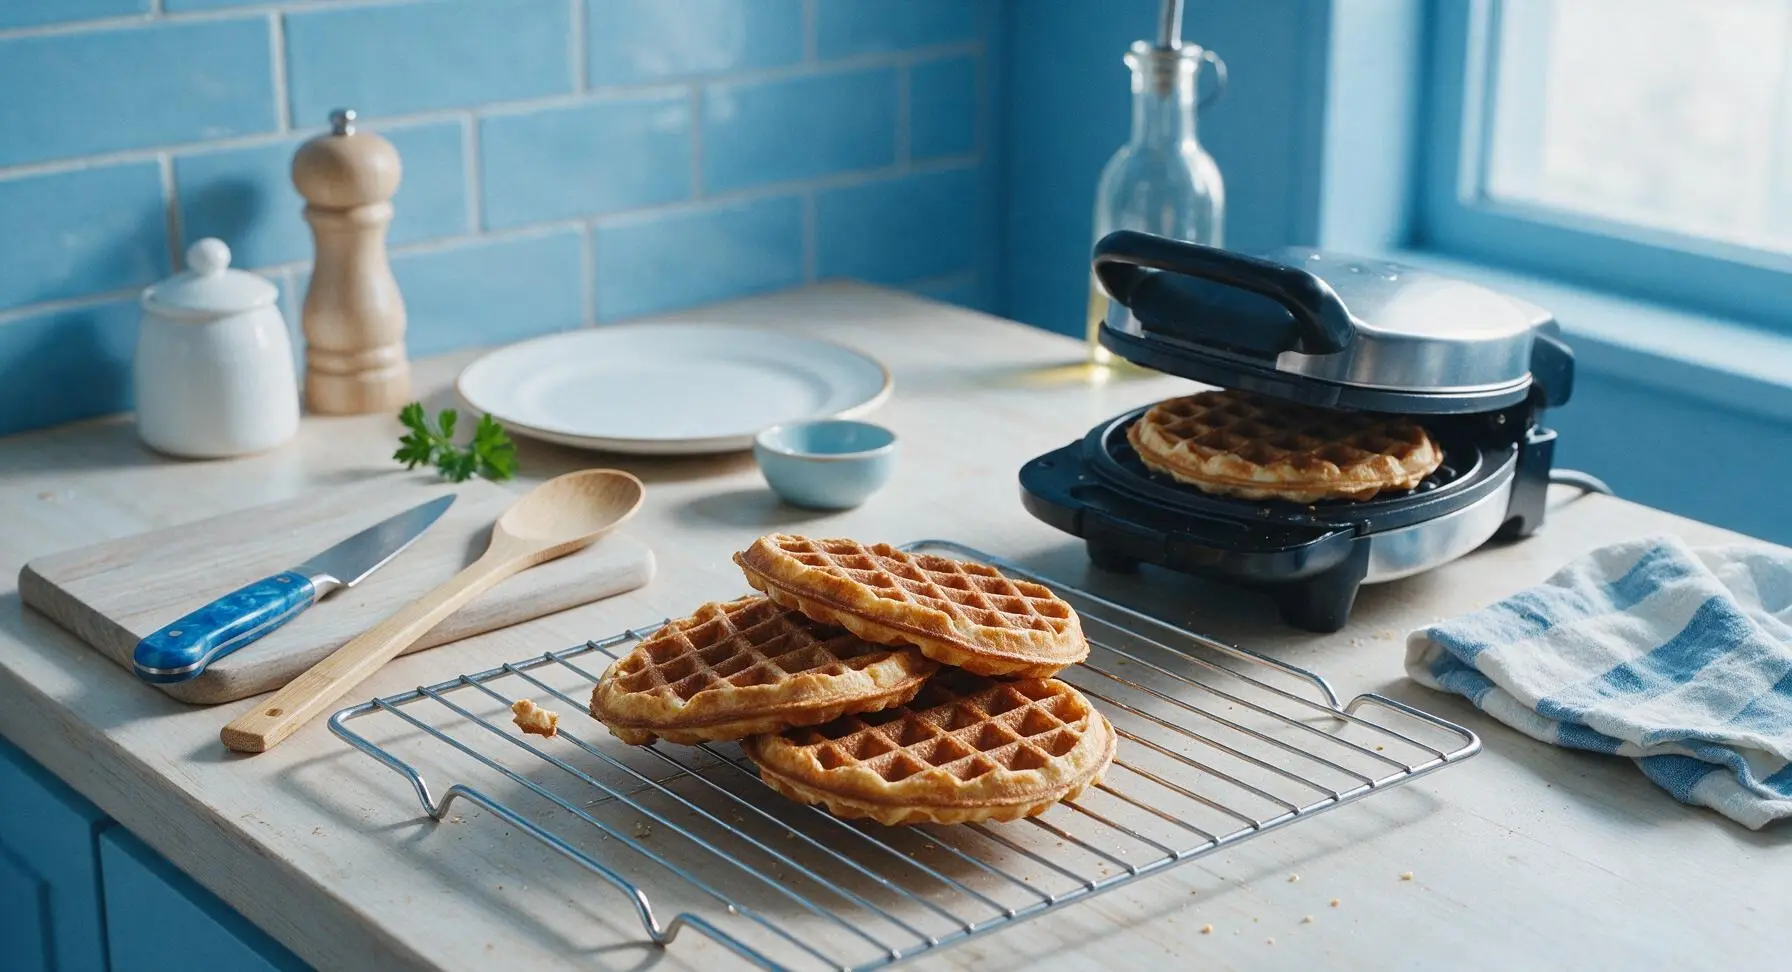
Pour ¾ cup of batter onto the center of the preheated waffle grid, close the lid, and cook for 3 to 4 minutes, until steam stops escaping from the edges of the waffle maker and the waffle is deep golden brown and crisp to the touch. Do not open the lid early, as this will cause the waffle to split and stick. Repeat with remaining batter, placing cooked waffles on the chrome wire cooling rack (set front center counter) as you go, to keep them crisp instead of soggy from stacking on a plate. You will make 4 total waffles.
Step 7
step7:Cook Waffles Until Crisp
Step 7
step7:Cook Waffles Until Crisp
8

Plate and Serve Waffles

Take the top plate from the stack of matte cream ceramic dinner plates and set it in the center of the counter. Place one warm, crisp waffle on the plate, dust lightly with 1 teaspoon powdered sugar, arrange 2 tablespoons of sliced fresh strawberries at one edge, and tuck a tiny fresh mint sprig next to the fruit. Drizzle ½ tablespoon pure maple syrup over the waffle, letting it settle into the grid lines, and set a small clear glass ramekin of extra maple syrup to the side of the plate. Serve immediately while warm and crisp.

Step 8
step8:Plate and Serve Waffles

Tips

1.Avoid overmixing the base batter or overfolding the whipped egg whites: Overworking develops gluten in the flour and deflates trapped air bubbles, turning light, fluffy waffles dense and tough. Small lumps in the base batter are normal and will disappear during cooking.
2.Rest cooked waffles on a wire rack instead of stacking them on a plate: Trapped steam from hot waffles will turn crisp edges soft and soggy in under a minute if stacked. For batch cooking, hold waffles on the rack in a 200°F (95°C) oven to keep them crisp.
3.Ensure no egg yolk contaminates the egg whites before whipping: Even a tiny drop of fat from egg yolk will prevent whites from forming stiff, voluminous peaks, which are key to the waffles' light, airy texture. If yolk falls into the whites, scoop it out with a piece of empty eggshell.


✨ You May Also Like

Breakfast
🍜 United States

Crisp-edged, fluffy lard griddle cakes are a nostalgic homestyle staple, with rich savoriness from rendered lard, perfect topped with maple syrup or savory gravy.

⏱️ 25 minuteBreakfast ★ 4.8
Breakfast
🍜 United States

Flaky, buttery homemade buttermilk biscuits smothered in creamy, peppery pork sausage gravy: a beloved, hearty Southern American comfort food classic.

⏱️ 35 minuteBreakfast ★ 4.8
Breakfast
🍜 United States

Golden, custardy brioche stuffed with sweet cream cheese and fresh berries, pan-fried to crisp perfection. An indulgent, cozy breakfast perfect for slow weekend mornings.

⏱️ 30 minuteBreakfast ★ 4.7
Breakfast
🍜 United States

Flaky, buttery Southern-style biscuits stuffed with savory salty country ham, a portable, satisfying classic perfect for casual on-the-go meals.

⏱️ 25 minuteBreakfast ★ 4.8
Breakfast
🍜 United States

Iconic puffy baked pancake popularized in Seattle, with crisp golden edges and soft custardy center, served warm with classic sweet toppings.

⏱️ 35 minuteBreakfast ★ 4.6
Breakfast
🍜 United States

Fluffy, golden pancakes studded with juicy peak-summer mixed berries, drizzled with maple syrup for a bright, comforting, crowd-pleasing family breakfast.

⏱️ 25 minuteBreakfast ★ 4.7

light waffle:Frequently Asked Questions

1.Why are these buttermilk waffles lighter and less dense than traditional waffle recipes? ▾
That light, non-dense texture comes from two intentional choices: we use a measured amount of baking powder for gentle, even lift without a soapy aftertaste, and avoid overmixing the batter to limit tough gluten development. Low-fat buttermilk also cuts excess heaviness from too much solid fat for that cloud-like crumb.
2.Can I use full-fat buttermilk instead of low-fat for this recipe? ▾
Absolutely, though your waffles will be a touch richer and slightly less crisp on the edges if you make a straight swap. If you use full-fat buttermilk, cut the melted unsalted butter by 1 tablespoon to balance the extra fat, and you’ll still get that soft interior and nice edge crunch without heaviness.
3.How do I keep waffle edges crisp instead of getting soggy after cooking? ▾
Skip stacking waffles directly on a plate right out of the iron—trapped steam turns crisp edges soggy in seconds. Instead, set cooked waffles on a wire rack set over a baking sheet in a 200°F oven while you cook the rest of the batch. This lets air circulate to keep edges crisp until you’re ready to serve.
4.What if I don’t have store-bought buttermilk on hand to make this recipe? ▾
You can make a quick DIY substitute that works perfectly here. For every cup of low-fat buttermilk needed, add 1 tablespoon of white vinegar or fresh lemon juice to a liquid measuring cup, then pour in low-fat milk to reach the 1-cup line. Let it sit 5 minutes until it curdles slightly, then use exactly as you would store-bought buttermilk.
5.Do I need to separate my eggs and whip the whites for extra lightness? ▾
You don’t! This recipe is designed to be quick and low-fuss, so no egg separating or whipped egg white step is required to get that cloud-soft interior. Just whisk the eggs gently into the wet ingredients before combining with the dry mix, and the measured baking powder will deliver all the lift you need without extra work.
6.How hot should my waffle iron be to get the perfect crisp texture? ▾
Preheat your waffle iron fully to the medium-high setting (around 375°F if your model has temperature controls) before adding any batter. A properly preheated iron immediately sets the batter on contact, creates that signature golden crisp edge, and prevents waffles from sticking to the grid plates as they cook.
7.Can I make this waffle batter ahead of time for busy weekday mornings? ▾
I don’t recommend mixing the full batter more than 30 minutes ahead of cooking, because the baking powder will start to lose its leavening power as soon as it hits the acidic buttermilk, leading to flatter, denser waffles. You can pre-mix the dry ingredients in an airtight container the night before to cut down on morning prep time, though.
8.Why did my waffles stick to the waffle iron when I tried to lift them out? ▾
Sticking usually happens for one of three reasons: your iron wasn’t fully preheated before adding batter, you skipped lightly greasing the grids even if they’re marketed as nonstick, or you tried to lift the waffle too early before it finished cooking. Give waffles 30 extra seconds of cook time if they resist when you lift the lid.
9.What’s the right way to mix the batter to keep waffles light and tender? ▾
Mix the dry ingredients first in one bowl, whisk the wet ingredients in a separate bowl, then pour the wet mix right into the dry. Stir only until the ingredients just come together—lumps are totally fine, and you should still see small streaks of dry flour here and there. Overstirring develops gluten that makes waffles tough and dense.
10.Can I freeze leftover cooked waffles for quick future meals? ▾
Absolutely! Let cooked waffles cool completely on a wire rack, then stack them between small squares of parchment paper so they don’t stick together, and store in a sealed freezer bag for up to 3 months. Reheat directly from frozen in a toaster or toaster oven for 2 to 3 minutes to bring back that crisp edge and soft interior.
11.How much batter should I pour per waffle to avoid messy overflow? ▾
Most standard 7-inch waffle irons need about ½ to ⅔ cup of batter per cook cycle. Pour the batter right in the center of the preheated grid, then let it spread naturally as you close the lid. Don’t spread it with a spatula, and don’t overfill—batter will expand as it rises from the baking powder.
12.Can I use whole wheat flour instead of all-purpose flour for a healthier swap? ▾
You can swap up to half the all-purpose flour for whole wheat pastry flour without sacrificing that light, crisp texture. Avoid using 100% regular whole wheat flour, though—it has high bran content that will make waffles dense, gritty, and dry instead of soft and cloud-like inside.
13.Why do my waffles come out pale and soft instead of golden and crisp? ▾
Pale, limp waffles almost always mean your waffle iron temperature is too low, or you’re pulling waffles out too early. Cook waffles until steam stops escaping from the sides of the iron (usually 3 to 4 minutes total) before checking for doneness. That extra cook time builds that deep golden, crisp crust everyone loves.
14.Can I add mix-ins like blueberries or chocolate chips to this batter? ▾
You sure can! Stick to ½ cup of mix-ins total per batch of batter, and toss them in a light dusting of all-purpose flour before folding them in at the very end. That light flour coating keeps mix-ins from sinking to the bottom of the waffle and burning on the hot iron grids.
15.Do I have to use melted unsalted butter, or can I swap for cooking oil? ▾
Melted unsalted butter gives these waffles that rich, nutty edge crisp that oil can’t match, but you can swap for an equal amount of neutral canola or avocado oil if you need a dairy-free option (just pair it with a dairy-free buttermilk substitute too). The texture will be slightly less rich, but still light and crisp.
16.What toppings pair best with these light waffles, especially the fresh spring strawberries mentioned in the recipe intro? ▾
Bright, fresh toppings work perfectly to match these waffles’ light profile—sliced fresh spring strawberries tossed with a tiny bit of sugar, a dollop of lightly whipped cream, a drizzle of pure maple syrup, or a spoonful of lemon curd all work great. Skip heavy, thick toppings like fudge sauce that will weigh the crisp waffles down.
17.How long do these waffles take to cook per batch in a standard iron? ▾
On a standard medium-high preheated waffle iron, each batch takes 3 to 4 minutes to cook fully. You’ll know they’re done when the steady stream of steam coming from the edges of the iron slows to almost nothing, and the waffle pulls away easily from the grids without sticking when you lift the lid.
18.Why does the recipe call for low-fat buttermilk instead of regular plain milk? ▾
Low-fat buttermilk does two key jobs here: its subtle tang balances the rich butter and mild waffle flavor for that bright, non-heavy taste noted in the recipe, and its slight acidity reacts with the baking powder to create extra gentle lift for that cloud-soft interior without adding excess fat that would make waffles greasy.
19.My baking powder has been in the pantry for a while—will old baking powder ruin the waffles? ▾
It might! Old baking powder loses its leavening power over time, which will lead to flat, dense waffles instead of light, crisp ones. Test it first by dropping ½ teaspoon of baking powder into a cup of hot water: if it fizzes vigorously, it’s good to use. If it doesn’t, grab a fresh can before mixing your batter.
20.Can I use this same waffle batter to make pancakes instead? ▾
You can, with one small tweak: add an extra ¼ cup of low-fat buttermilk to thin the batter slightly, since waffle batter is formulated to be a little thicker to hold its shape in the iron. Cook the thinned batter on a preheated greased griddle over medium heat for fluffy, light pancakes with that same subtle buttermilk tang.

Comments (16)

3 days ago

Game changer! I’ve tried so many buttermilk waffle recipes that turn out soggy 2 minutes off the iron, and these stayed crisp the whole time we ate brunch. We topped ours with fresh strawberries and whipped cream, total hit at our weekend potluck!

2 days ago

So glad these worked for your potluck, Kylie! The secret to that lasting crisp is making sure your waffle iron is fully preheated before pouring the batter — sounds like you nailed it!

1 week ago

Super easy to throw together on a lazy Sunday, even when I’m half asleep before my first cup of coffee. Cook time was spot on, no weird fancy ingredients required, just stuff I already had in the fridge. Will be making these every weekend from now on.

5 days ago

Wait, has anyone tried freezing these for weekday breakfasts? I need something I can pop in the toaster on my way out the door for work, and these look perfect!

3 days ago

I froze half a batch last week! They toast up perfectly, still crisp on the edges, no sogginess at all. Just let them cool completely on a wire rack before tossing in a freezer bag, it works like a charm.

2 days ago

Great question, Mia! These freeze incredibly well for up to 3 months. As ColoradoHiker19 mentioned, cooling them fully on a rack first is key to avoiding soggy spots when you reheat them in the toaster or oven.

2 weeks ago

I’ve been making waffles for my grandkids for 40 years, and I have to say this recipe is up there with my old go-to! I added a tiny dash of cinnamon to the batter and it was chef’s kiss. My oldest grandson asked for thirds, which never happens.

1 week ago

Adding cinnamon is such a good call! I’m gonna do that next time I make these, I bet it pairs so well with maple syrup.

2 days ago

Okay full transparency, I messed up the first batch because I used regular milk instead of buttermilk (I forgot to grab it at the dining hall market). They were still fine, but I borrowed buttermilk from my roommate and made them again? Total night and day. So worth it to use the actual buttermilk, trust me.

yesterday

Wait if you don’t have buttermilk you can make a dupe with regular milk and a tablespoon of white vinegar, let it sit 5 minutes! Works perfect for this recipe, I did it last week when I realized I was out too.

2 hours ago

So glad you gave the recipe a second shot with proper buttermilk! That vinegar and milk hack DormRoomChef mentioned is a great backup if you’re in a pinch, it gets the same tang that makes these waffles so light.

yesterday

Made these for a girls’ brunch yesterday and everyone asked for the recipe! We did a whole topping bar with Nutella, banana slices, pecans, and maple syrup, and every single combo banged. Even my gluten-free friend ate two and asked if I could make them for her birthday brunch next month.

30 minutes ago

A waffle topping bar sounds like the perfect brunch setup! So happy these were a hit with your crew — if you make them for your friend’s birthday, you can easily double the batter to feed a bigger crowd without messing up the texture.

1 week ago

I was skeptical that a waffle could actually be crisp and not just soggy bread with syrup, but these delivered. Cooked them on my cast iron waffle maker over the camp stove last weekend while we were camping outside Flagstaff, and they cooked up perfect even at 7000 feet. Wild.

2 hours ago

First time making waffles from scratch since we got our waffle iron as a wedding gift, and my husband said these are better than the diner waffles we get on our anniversary trips! Wait, quick question — the batter was a little lumpy when I mixed it, did I do something wrong?

30 minutes ago

Lumpy batter is good! If you overmix waffle batter they get tough and chewy, lumps mean you didn’t overwork it. I thought I messed up my first batch too but they turned out amazing.

5 minutes ago

Congrats on the new waffle iron! Lumpy batter is totally normal and actually preferred here — overmixing develops gluten and will make your waffles dense instead of light and crisp, so you did everything right!

5 days ago

These are so much lighter than the heavy Belgian waffles I usually make, which is perfect for post-long run breakfasts. I swapped half the all purpose flour for whole wheat and they still got super crisp, no weird dense texture at all. Will be adding these to my weekly meal rotation.

3 days ago

Thanks for the whole wheat swap tip! I’ve been trying to add more whole grains to my diet without giving up my weekend waffles, can’t wait to try that this Saturday.

yesterday

Full disclosure: I’ve never liked waffles because I think they’re mushy and a waste of syrup, but my partner made these last night for dinner (breakfast for dinner night!) and I ate three. Who am I now? The edges are so crunchy, the inside is soft but not gummy. I’m a convert.

2 hours ago

Breakfast for dinner is the best night of the week, no cap! These are the only waffles I’ll eat now too, everything else is just sad and soggy in comparison.

30 minutes ago

Welcome to the waffle fan club! There’s no better compliment than winning over a self-proclaimed waffle hater, that makes our day. So glad you gave them a shot!

5 minutes ago

Made these before my son’s early soccer game this morning, and the whole team devoured the extra batch I brought. Even the coach asked for the recipe! So quick to whip up, no fussy steps, which is exactly what I need on busy school/sports mornings.

1 week ago

I tried making these vegan by swapping the buttermilk for vegan buttermilk (oat milk + apple cider vinegar) and using a flax egg, and they still came out so crisp and tasty! I was worried the swaps would kill the texture, but it worked perfectly. Just wanted to share for other vegan folks looking for a good waffle recipe.

5 days ago

Thanks so much for sharing those vegan swaps! We love hearing how folks adapt the recipe to fit their dietary needs, and we’re glad the texture held up so well with those adjustments.

2 days ago

I put a savory spin on these by adding a little shredded cheddar and crumbled cooked bacon to the batter, and they were insane as a side with our fried chicken dinner last night. Crisp, salty, tangy from the buttermilk — 10/10, will be doing savory waffles way more often now.

2 weeks ago

Such a straightforward, no-fuss recipe! I taught home ec for 25 years, and I can tell you this recipe is written so clearly even a total beginner can nail it on the first try. The tips about not overmixing and preheating the iron are exactly the little tricks people need to make great waffles at home.

1 week ago

That means so much coming from a former home ec teacher, Pam! We try to write all our recipes with clear, actionable tips so new cooks don’t feel intimidated to try making things from scratch.

3 days ago

I added a teaspoon of vanilla extract to the batter because I can never leave a recipe alone, and it was so good. These waffles have the perfect crunch when you bite into them, no floppy sad edges at all. My niece said they taste like the fancy waffles we get at the beach boardwalk, which is the highest possible praise.

30 minutes ago

Uh, quick question — my first batch came out a little paler and not as crisp as the photos, what did I do wrong? I poured the batter as soon as I turned the waffle iron on, maybe that’s it?

5 minutes ago

Oh yeah, you gotta wait until the iron is fully heated! Most irons have a little light that turns on when it’s ready, if yours doesn’t, sprinkle a drop of water on the plates — if it sizzles and evaporates right away, it’s hot enough. Wait for that and your next batch will be crisp!

just now

That’s exactly the issue! If you pour batter on a not-fully-heated waffle iron, the waffle will steam instead of crisp up, leading to that pale, soft texture. Give your iron 5-7 minutes to preheat fully before your next batch, and you’ll get that perfect golden crisp exterior!



