

liquid waffle mix

title 1
liquid waffle mix
⏱️ cook time 4 minutes per waffle
🍽️ servings 4
⚡ Difficulty easy

intro

Smooth, pourable liquid waffle mix creates crisp-edged, fluffy waffles in minutes, with zero lumps and make-ahead convenience for busy, cozy mornings.

Ingredients
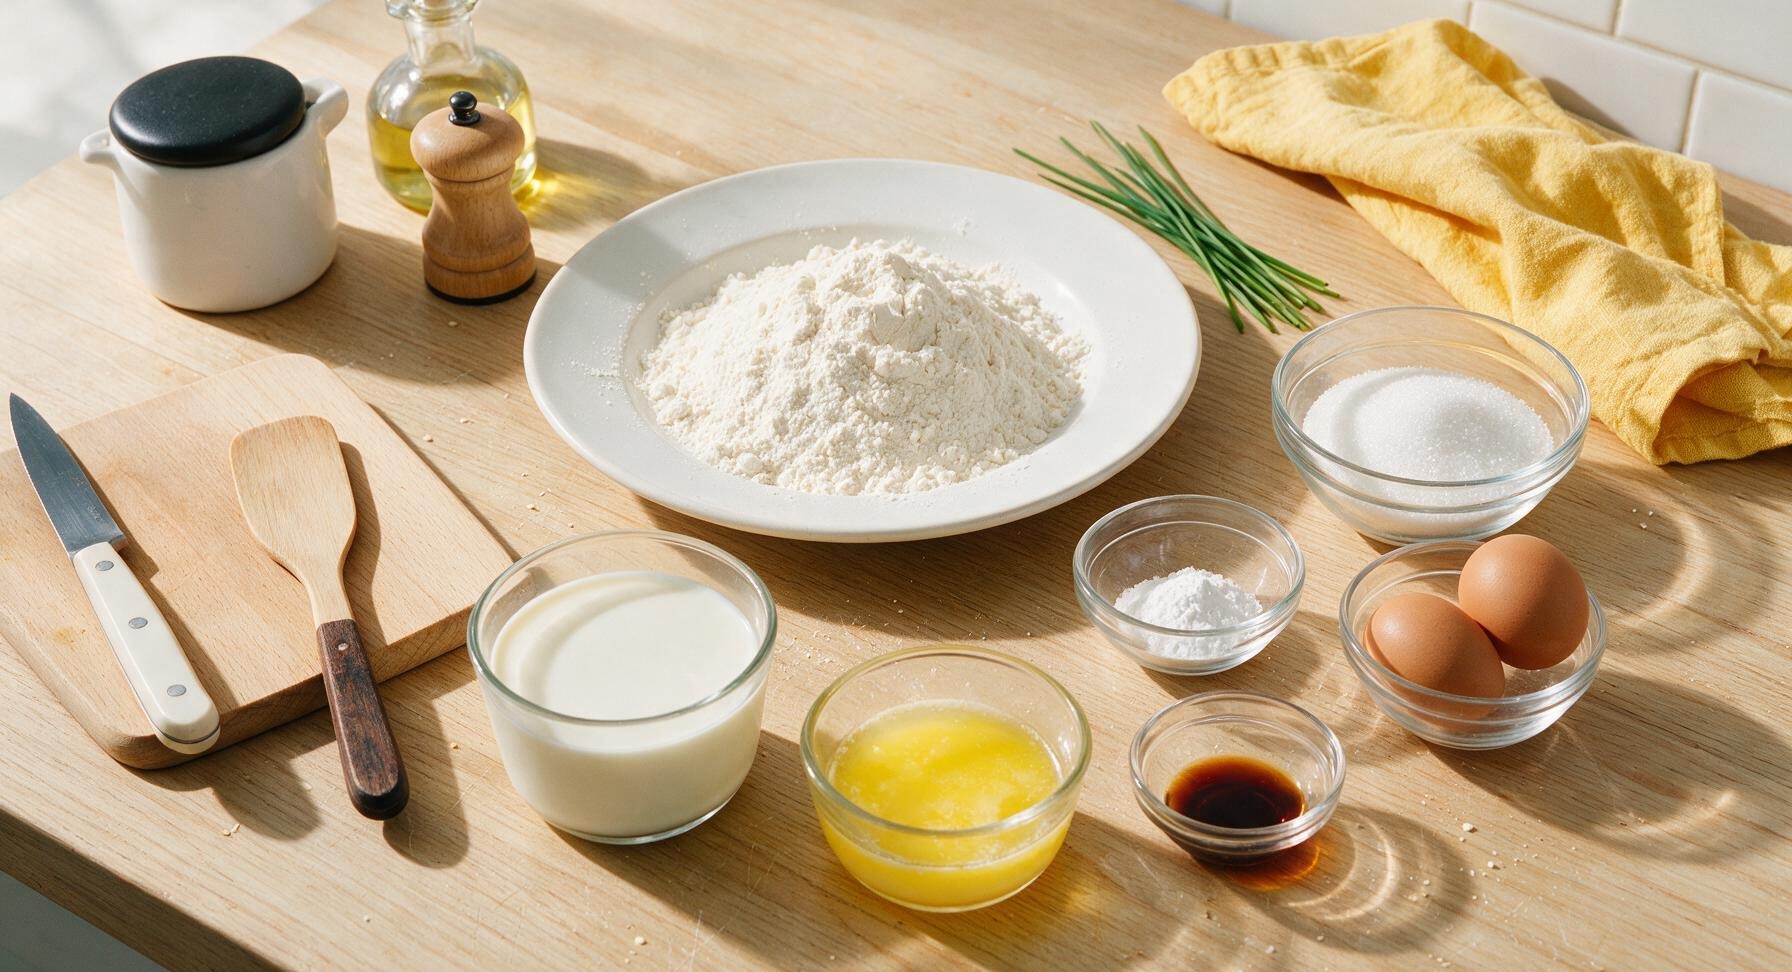
All-purpose flour 2 cups (240g)
Whole milk 1 3/4 cups (420ml)
Large eggs 2 each
Unsalted butter, melted and cooled 1/4 cup (57g)
Granulated sugar 2 tbsp (25g)
Baking powder 2 tsp (8g)
Fine sea salt 1/2 tsp (3g)
Pure vanilla extract 1 tsp (5ml)

Steps

1

Whisk Dry Ingredients

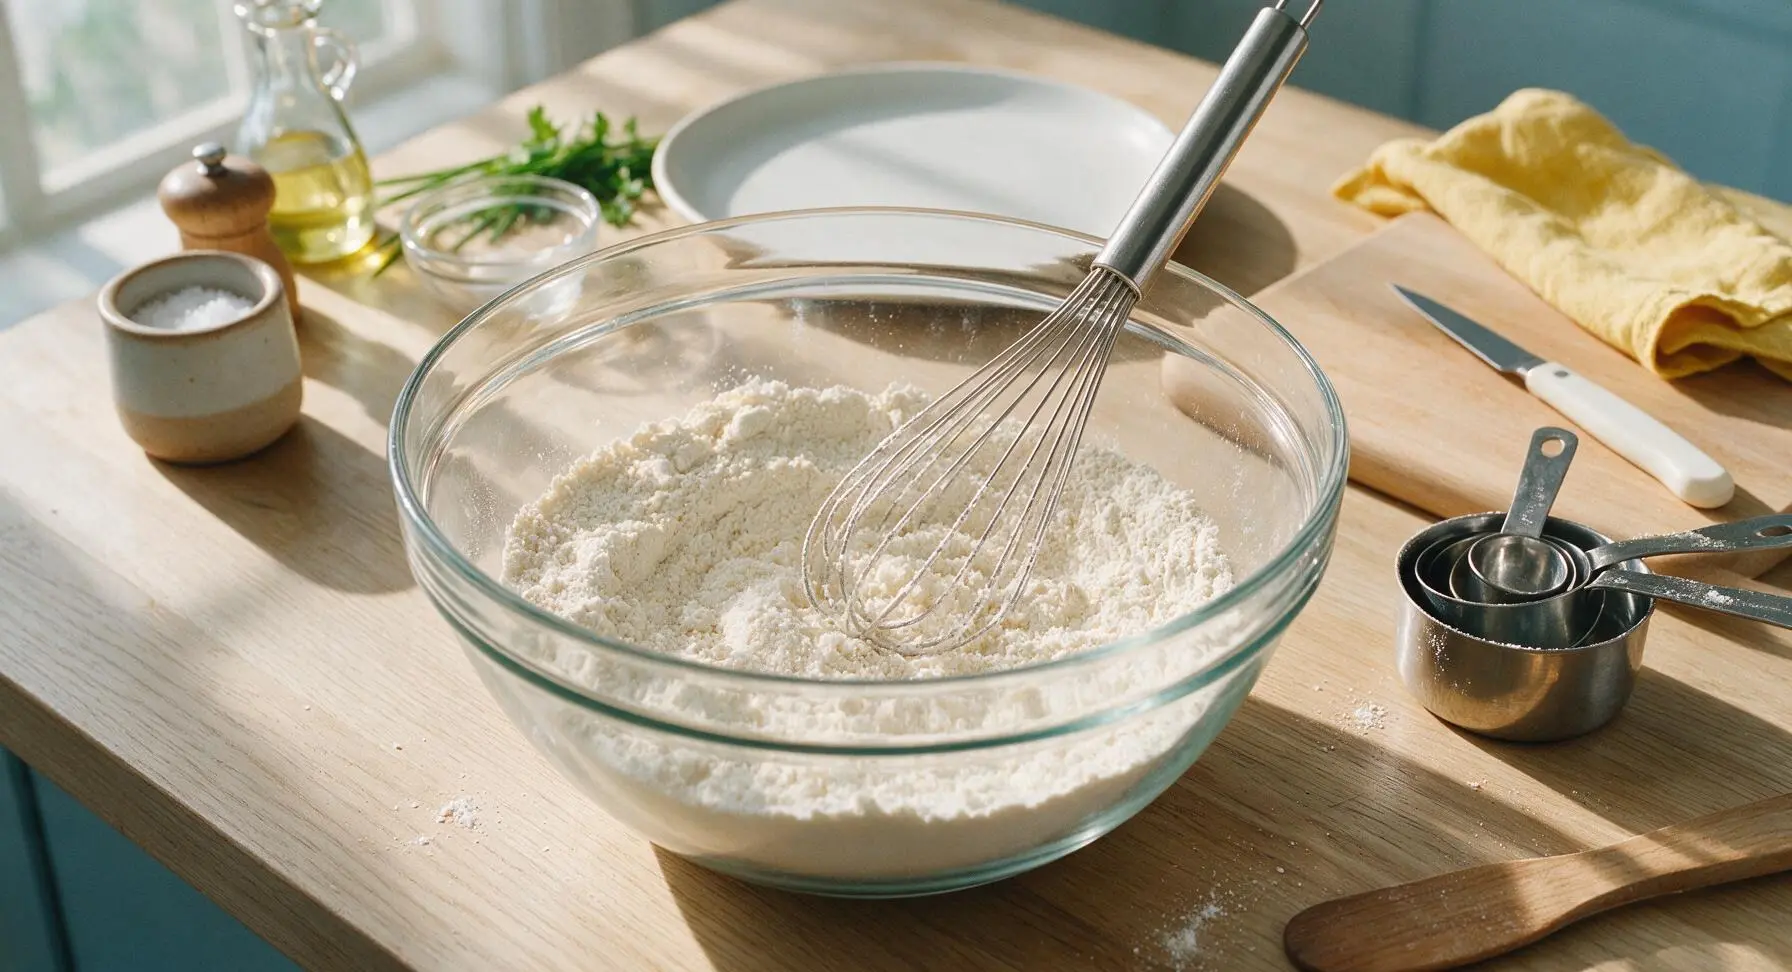
Add 2 cups all-purpose flour, 2 tbsp granulated sugar, 2 tsp baking powder, and 1/2 tsp fine sea salt to the 2-quart clear glass mixing bowl. Use the stainless steel wire whisk to stir for 30 seconds until all dry ingredients are evenly combined, with no clumps of baking powder visible. The mixture should be a uniform pale off-white color.
Step 1
step1:Whisk Dry Ingredients
2

Combine Wet Ingredients

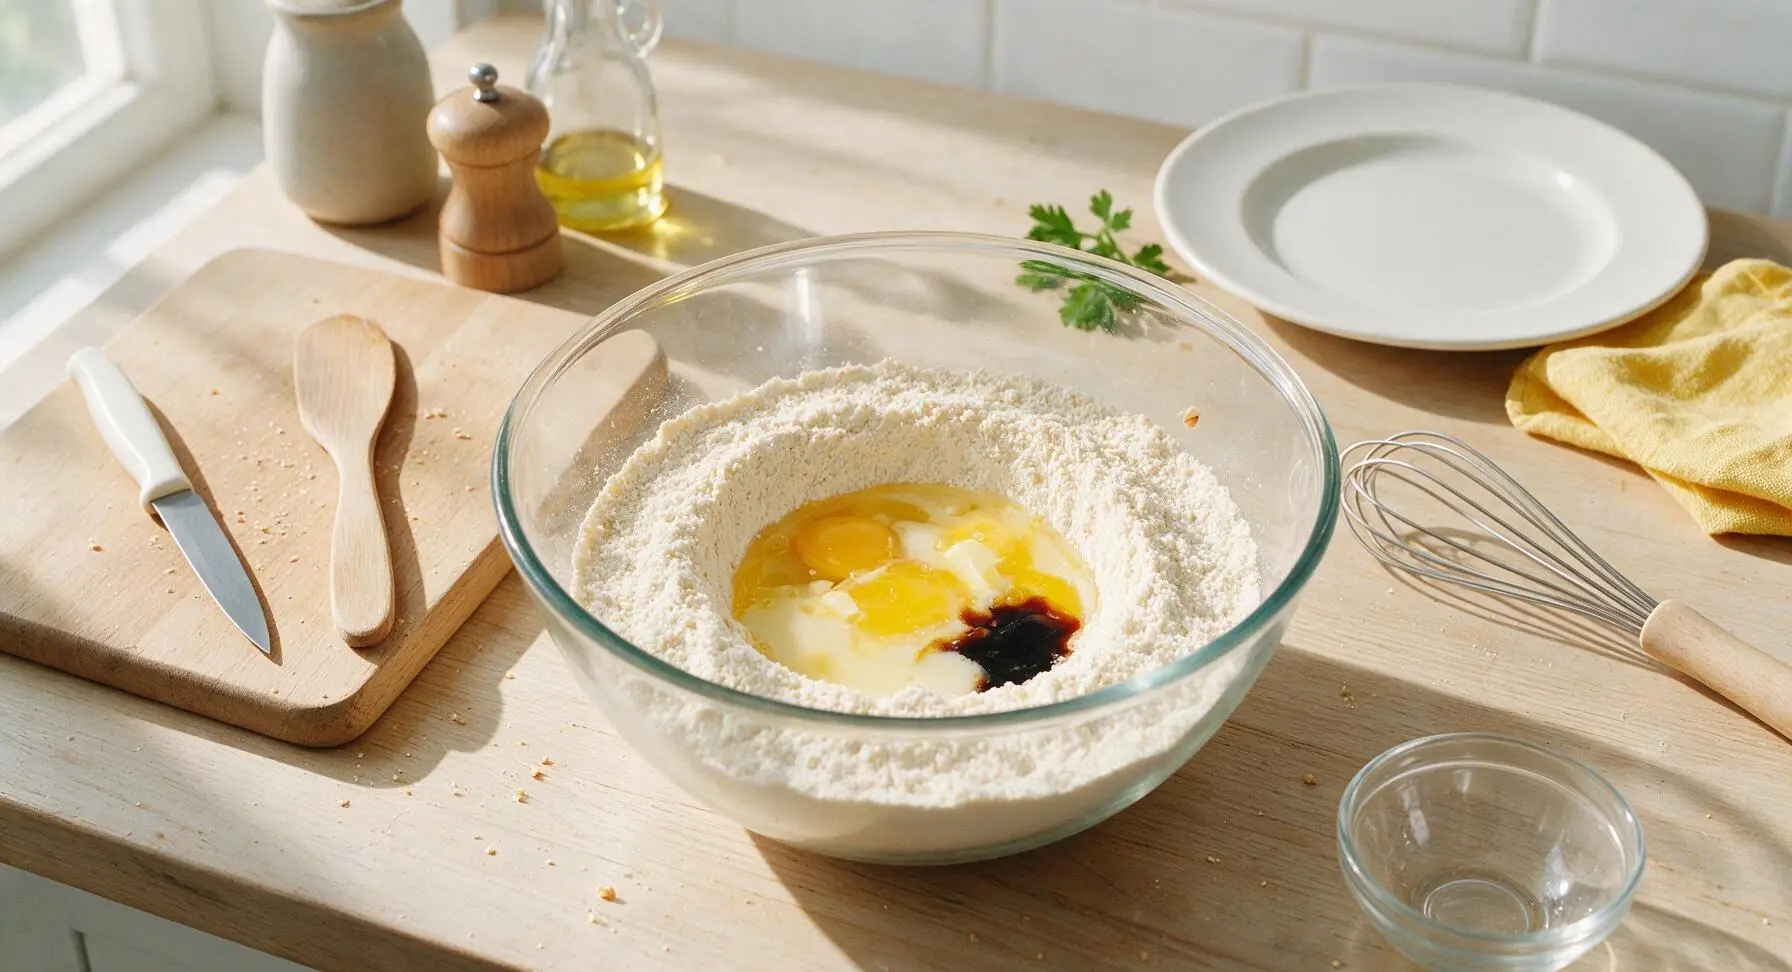
Make a 2-inch wide well in the center of the dry ingredient mixture. Crack the 2 large eggs into the well, pour in 1 3/4 cups whole milk, 1/4 cup cooled melted butter, and 1 tsp vanilla extract. Do not stir yet; the wet ingredients should sit pooled in the center well without mixing into the dry flour at the edges.
Step 2
step2:Combine Wet Ingredients
3

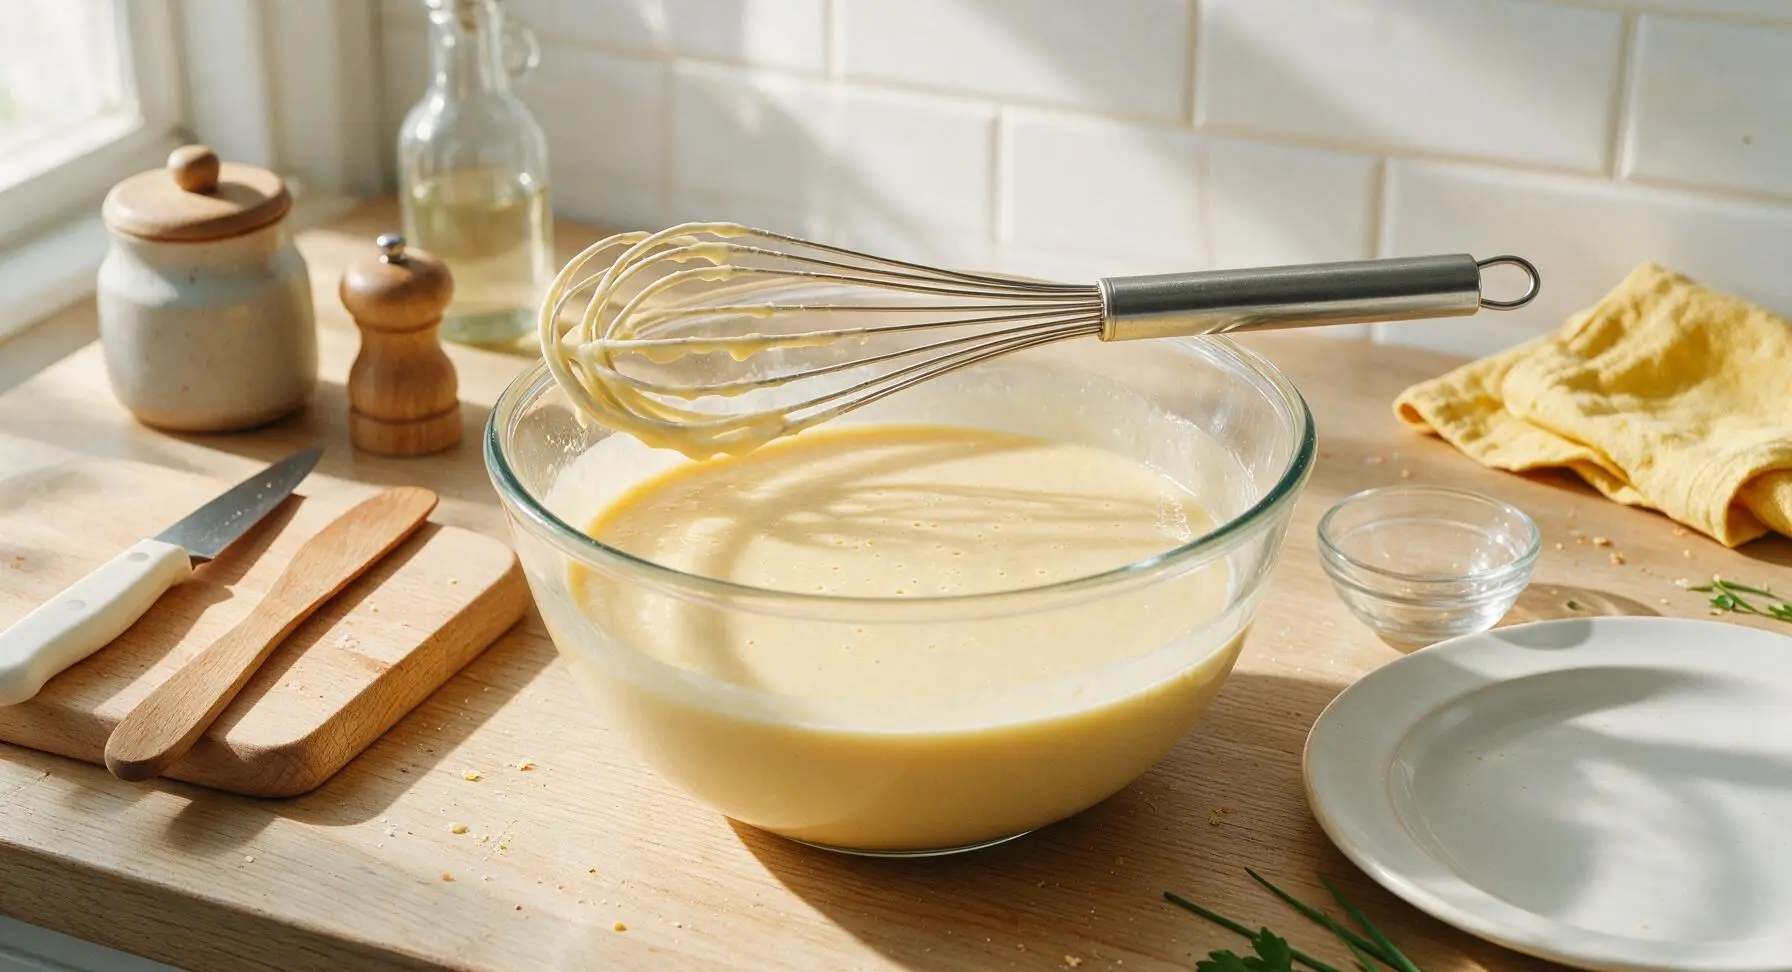
Mix to Smooth Batter

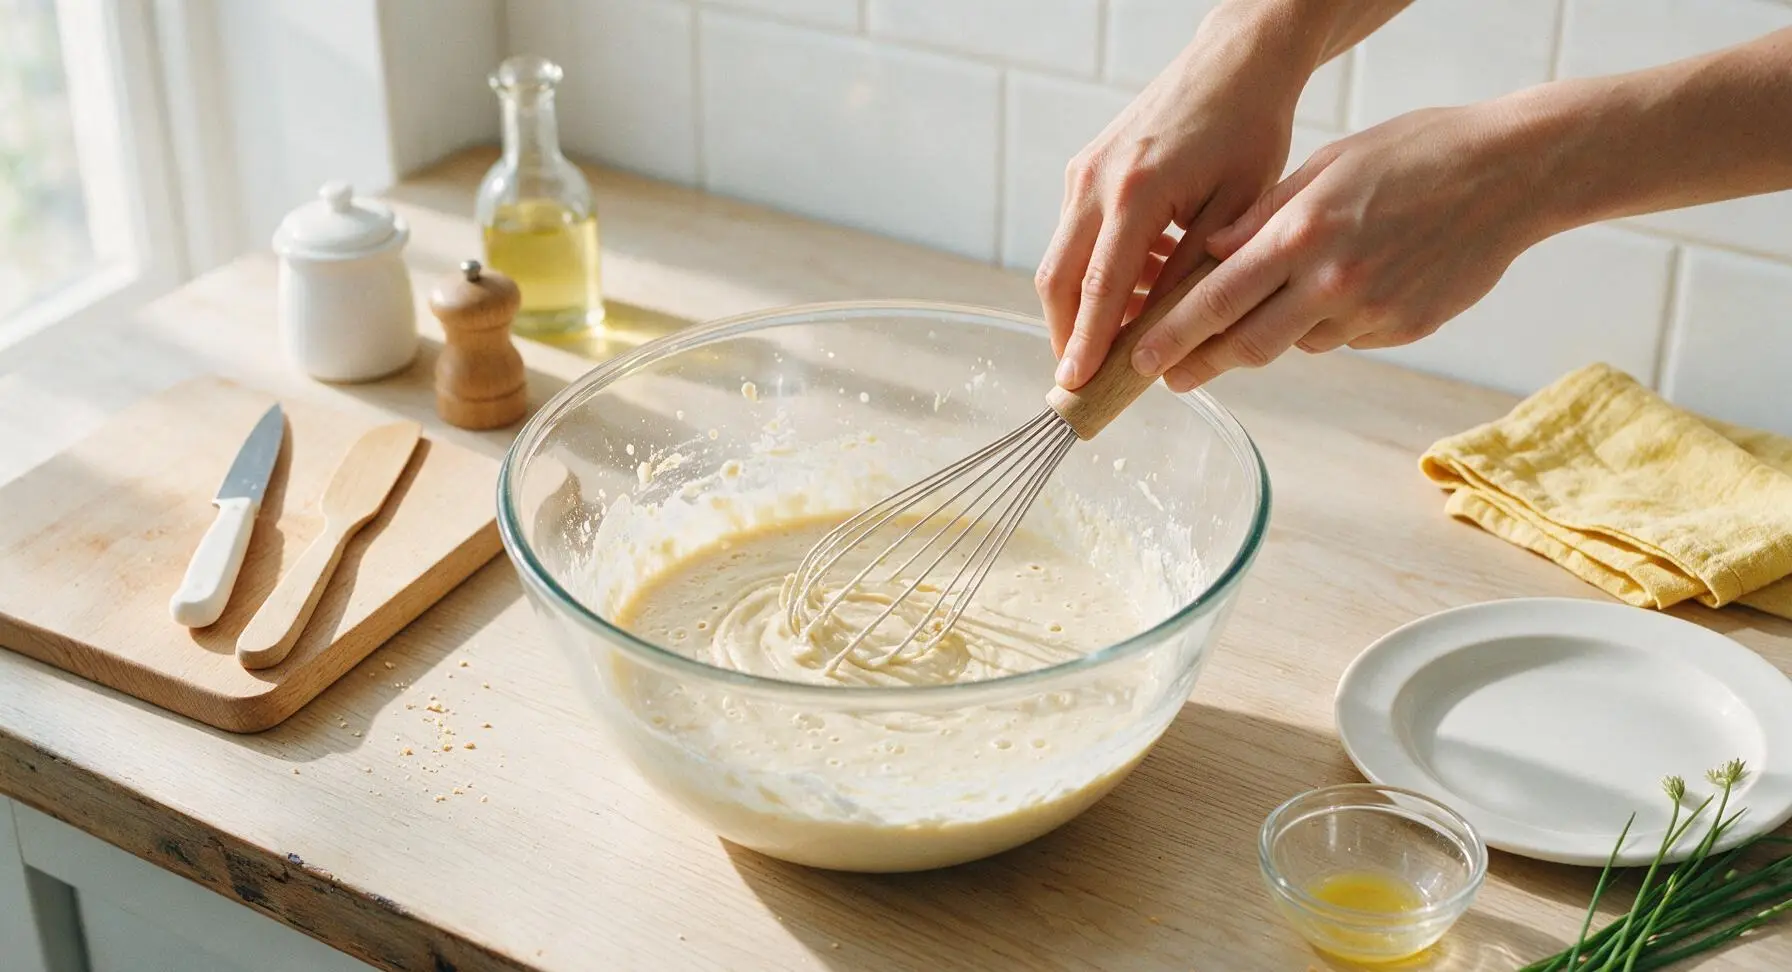
Use the wire whisk to stir the wet and dry ingredients together in slow, circular motions, starting from the center of the well and gradually working outward to incorporate flour from the edges. Whisk for 45-60 seconds just until the batter is completely smooth, with no visible lumps of dry flour. Do not overmix—small, tiny air bubbles on the surface are normal, but over-whisking will develop gluten and make tough, dense waffles. The finished batter should be thin, freely pourable, and the consistency of cold heavy cream.
Step 3
step3:Mix to Smooth Batter
Step 3
step3:Mix to Smooth Batter
4

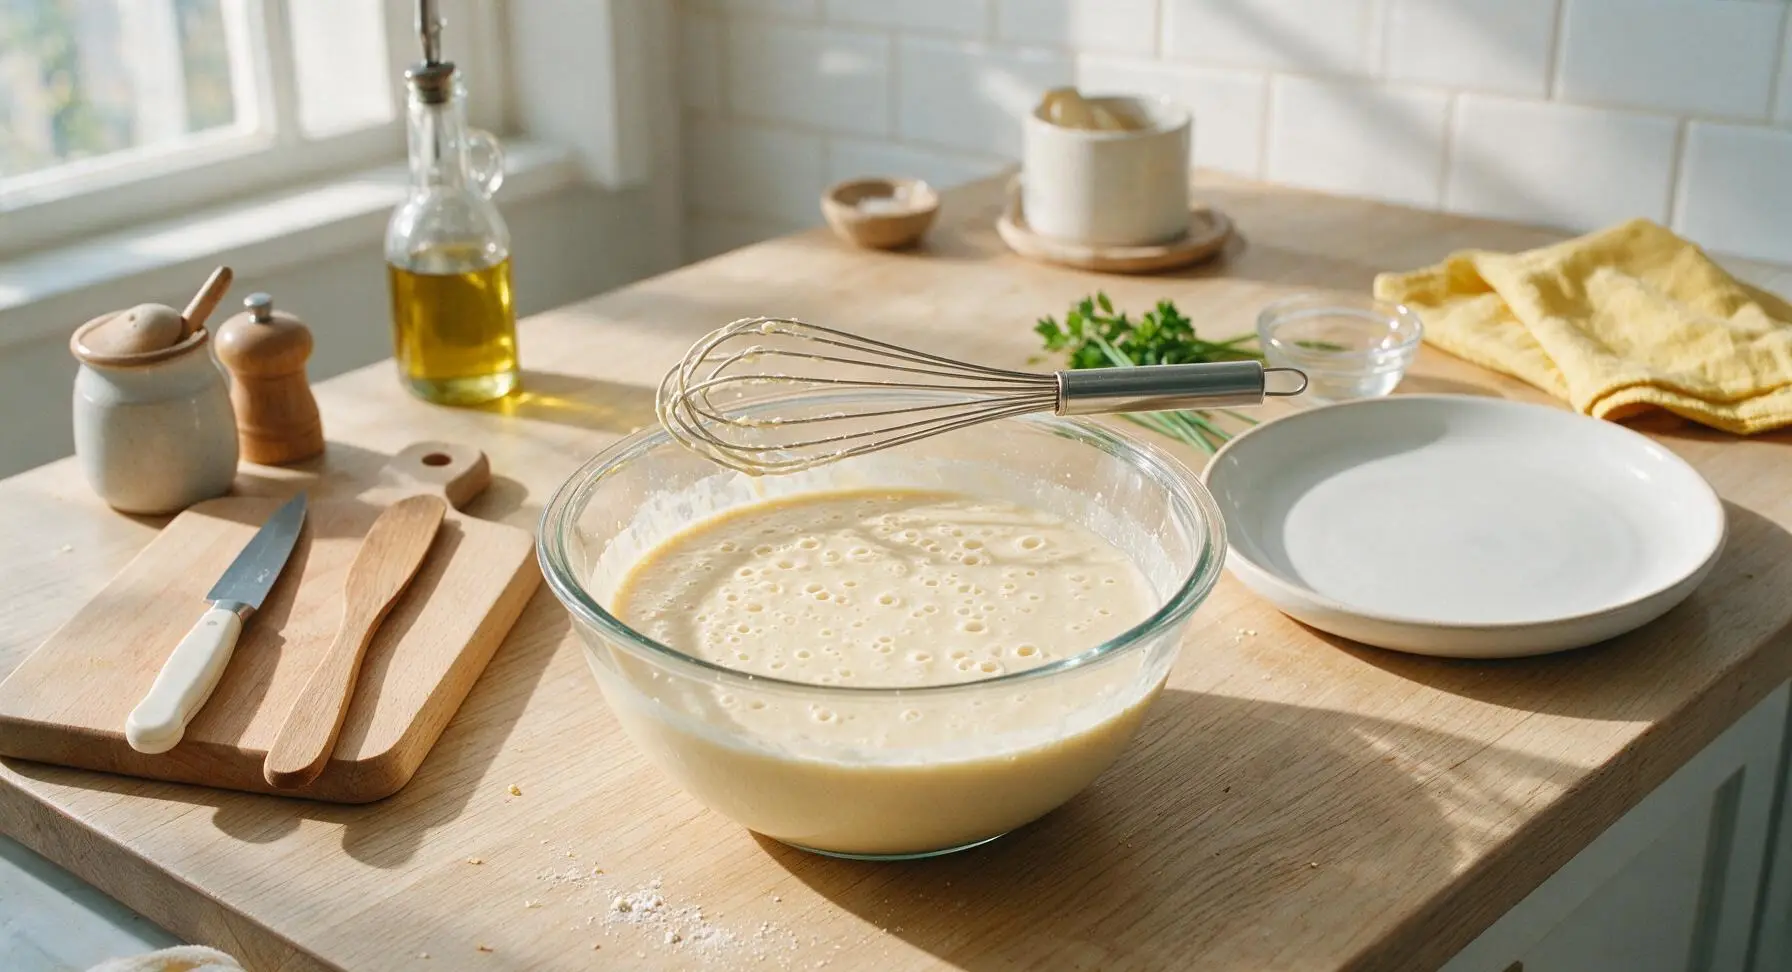
Rest the Batter

Let the batter rest at room temperature for 5 minutes. This allows the baking powder to fully activate and the flour granules to absorb liquid, which creates lighter, higher-rise waffles with crisp edges. You will see more small, pinprick bubbles rise to the surface as it rests; do not stir the batter again after resting, as this will pop the built-up air bubbles.
Step 4
step4:Rest the Batter
5

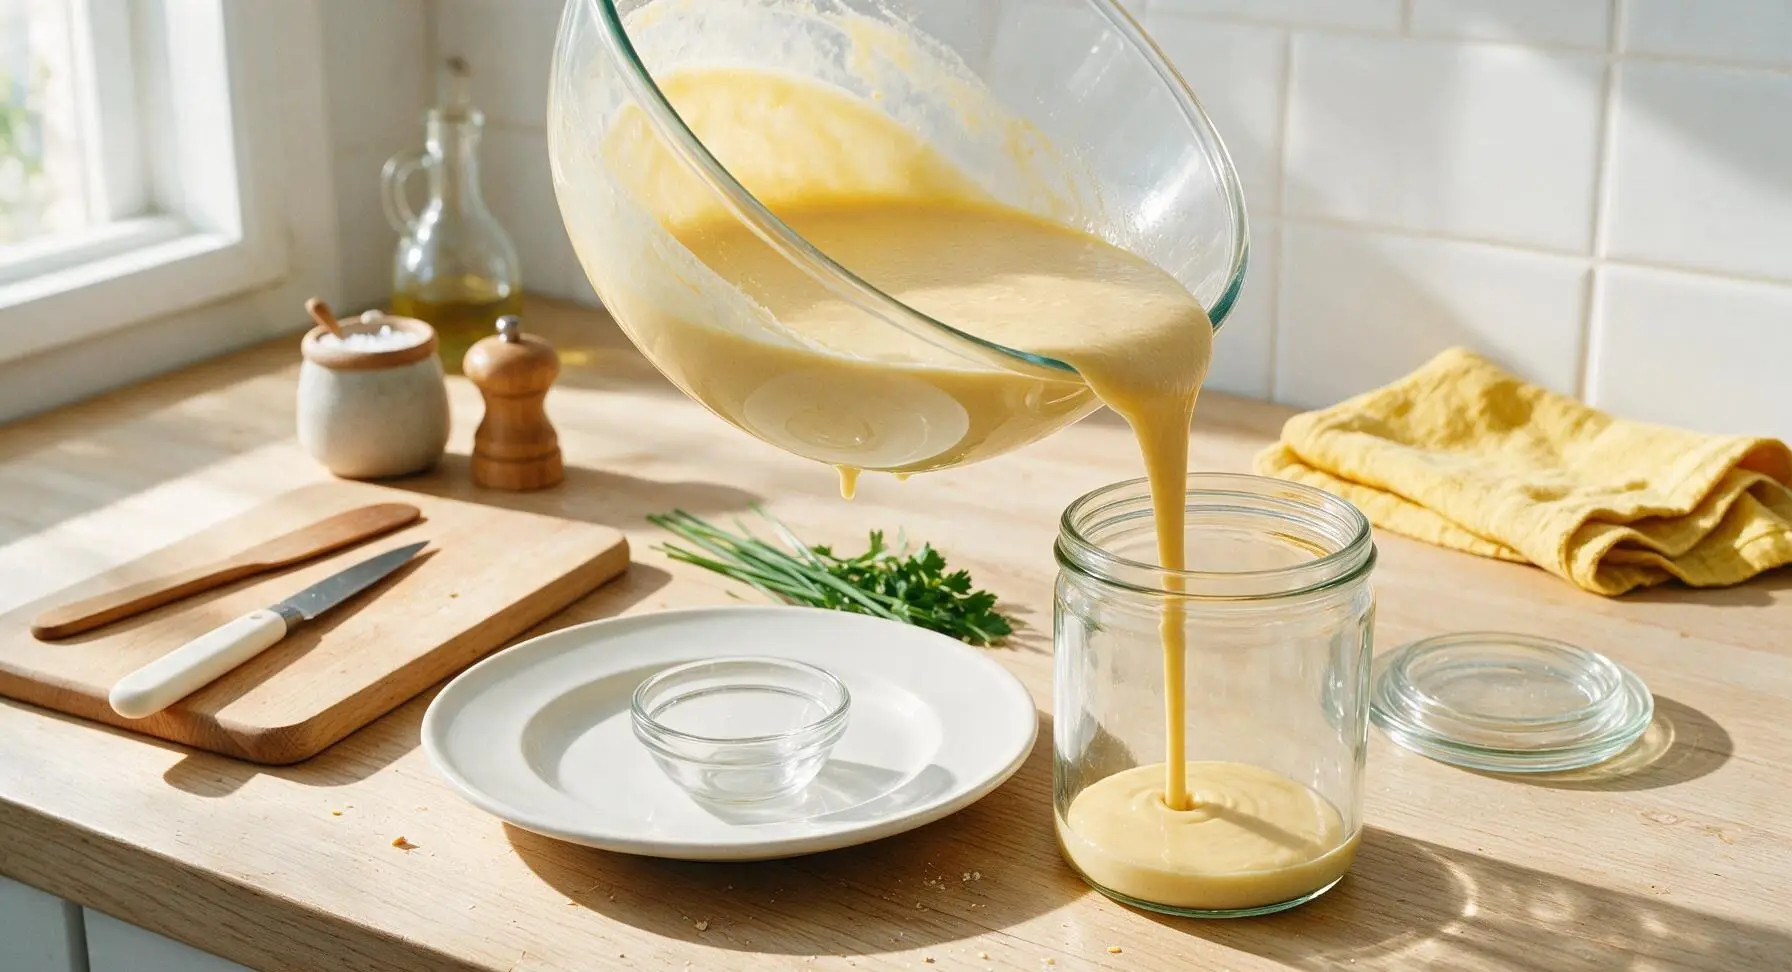
Transfer to Storage Jar

If not using immediately, pour the rested batter carefully into the 1-liter clear glass airtight storage jar. Seal the lid tightly. The mix will keep in the refrigerator for up to 5 days—give the jar a very gentle swirl before pouring if the batter has separated slightly, but do not shake vigorously. The mix can also be frozen for up to 3 months; thaw in the refrigerator overnight before use.
Step 5
step5:Transfer to Storage Jar
6

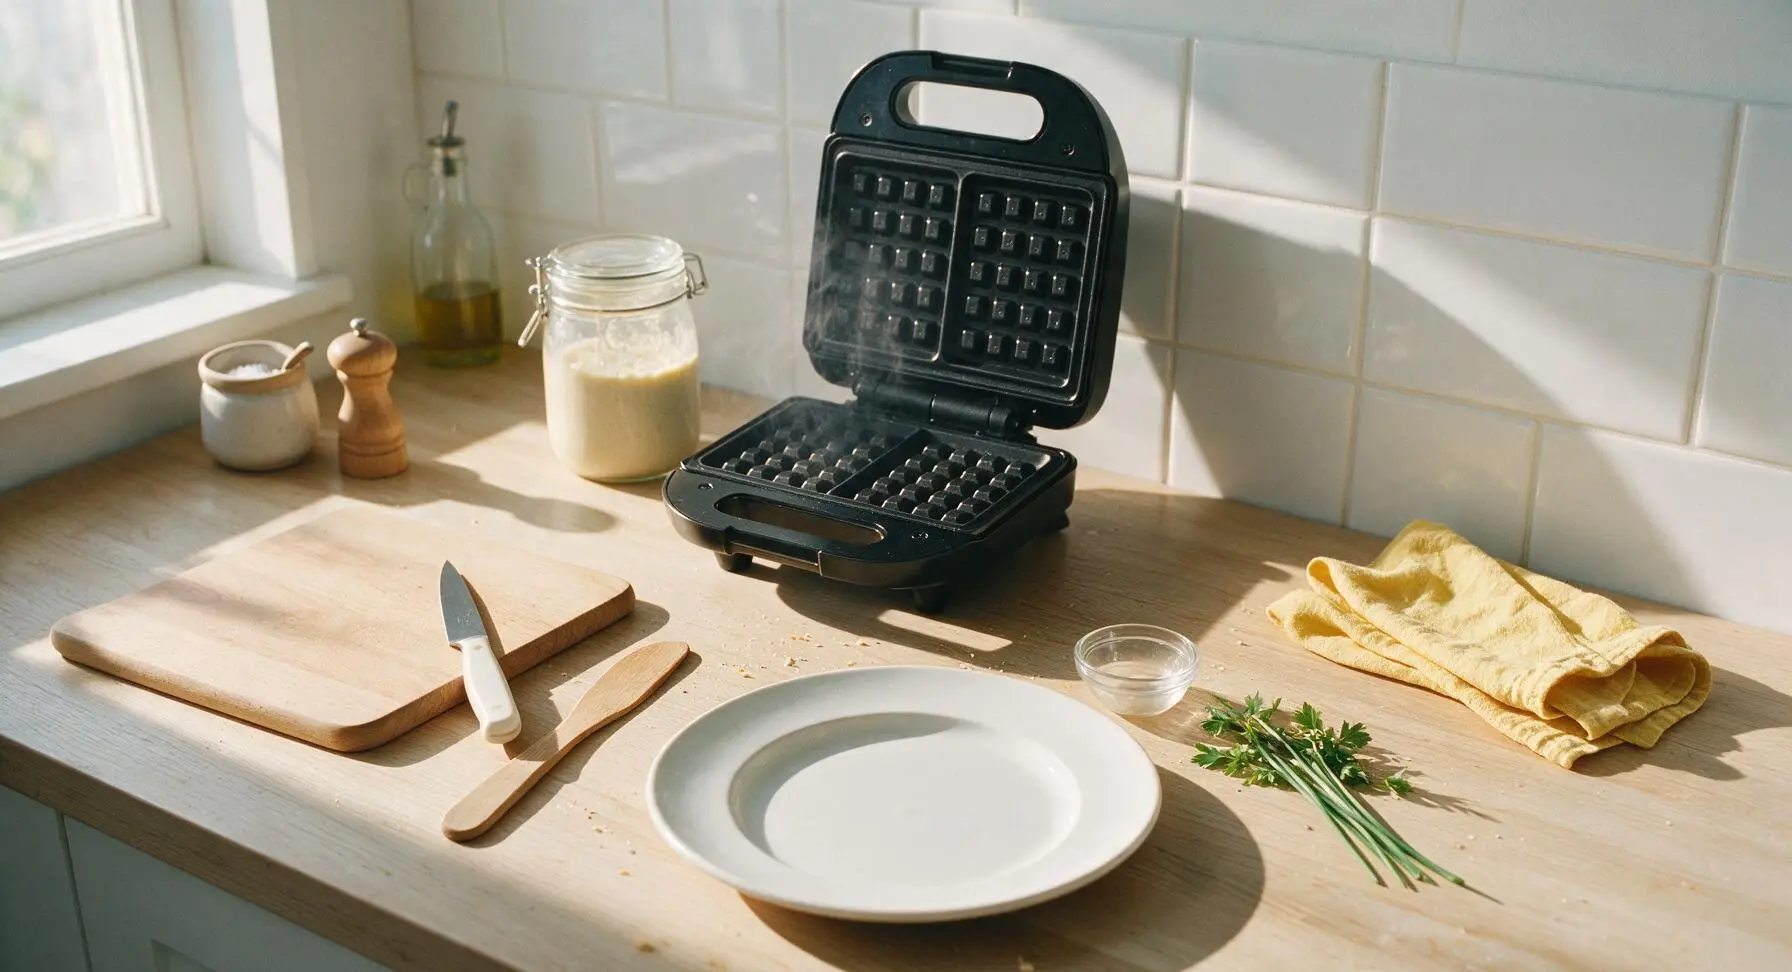
Preheat Waffle Iron

When ready to cook waffles, preheat the matte black non-stick waffle iron to 375°F (190°C). The iron is fully ready when a single drop of cold water flicked onto the cooking surface sizzles and evaporates in exactly 2 seconds. There is no need to spray or grease the iron if it has a good non-stick coating, as the melted butter in the batter creates enough natural release.
Step 6
step6:Preheat Waffle Iron
7

Cook Test Waffle

Pour 1/2 cup of the liquid waffle mix directly onto the center of the preheated waffle iron cooking surface. Close the lid, and cook for 3-4 minutes, until steam stops escaping from the edges of the iron and the waffle is deep golden brown with crisp edges. Do not open the lid before the 3-minute mark, as this will cause the partially set waffle to split, stick, and deflate.


Step 7
step7:Cook Test Waffle
Step 7
step7:Cook Test Waffle

Tips

1.Skip sifting the flour: The thin, pourable consistency of this batter means any small flour lumps will whisk out completely in 60 seconds, saving you 5 minutes of extra prep work with no impact on final texture.
2.Add 1 tablespoon cornstarch to the dry ingredients for extra crispness: Cornstarch reduces gluten development in the batter, creating a shatteringly crisp outer waffle crust that stays crisp even when loaded with syrup, fruit, or whipped cream.
3.Do not shake or vigorously stir stored batter: Aggressive mixing pops the tiny air bubbles created by the baking powder, leading to flat, dense waffles instead of light, fluffy ones. A single gentle swirl of the storage jar is all that is needed if minor batter separation occurs.


✨ You May Also Like

Breakfast
🍜 United States

Crisp-edged, fluffy lard griddle cakes are a nostalgic homestyle staple, with rich savoriness from rendered lard, perfect topped with maple syrup or savory gravy.

⏱️ 25 minuteBreakfast ★ 4.8
Breakfast
🍜 United States

Flaky, buttery homemade buttermilk biscuits smothered in creamy, peppery pork sausage gravy: a beloved, hearty Southern American comfort food classic.

⏱️ 35 minuteBreakfast ★ 4.8
Breakfast
🍜 United States

Golden, custardy brioche stuffed with sweet cream cheese and fresh berries, pan-fried to crisp perfection. An indulgent, cozy breakfast perfect for slow weekend mornings.

⏱️ 30 minuteBreakfast ★ 4.7
Breakfast
🍜 United States

Flaky, buttery Southern-style biscuits stuffed with savory salty country ham, a portable, satisfying classic perfect for casual on-the-go meals.

⏱️ 25 minuteBreakfast ★ 4.8
Breakfast
🍜 United States

Iconic puffy baked pancake popularized in Seattle, with crisp golden edges and soft custardy center, served warm with classic sweet toppings.

⏱️ 35 minuteBreakfast ★ 4.6
Breakfast
🍜 United States

Fluffy, golden pancakes studded with juicy peak-summer mixed berries, drizzled with maple syrup for a bright, comforting, crowd-pleasing family breakfast.

⏱️ 25 minuteBreakfast ★ 4.7

liquid waffle mix:Frequently Asked Questions

1.How long will this homemade liquid waffle mix stay fresh in the refrigerator? ▾
Stored in a lidded, airtight container, this mix stays perfectly usable for 3 to 4 days in the fridge. You’ll notice slight natural separation as it sits, so give it a slow, gentle stir before pouring—no vigorous mixing needed, to keep waffles light and tender.
2.Why do I need to cool the melted unsalted butter before adding it to the mix? ▾
Adding hot melted butter will partially cook the large eggs in the recipe, creating tiny, rubbery egg curds that ruin the smooth, lump-free texture. Let butter sit 3 to 5 minutes after melting until it’s just warm to the touch, not steaming, before mixing it in.
3.Can I freeze this liquid waffle mix for later use? ▾
Absolutely! Pour the mix into a labeled, freezer-safe airtight container, leaving 1 inch of headspace for expansion, and it will keep for up to 3 months. Thaw it overnight in the fridge before using, and give it a gentle stir to recombine separated ingredients before pouring into your waffle iron.
4.Why is my finished waffle coming out soggy instead of crisp-edged? ▾
Sogginess usually comes from two common issues: your waffle iron isn’t fully preheated, or you’re lifting the lid too early. Wait for the iron’s ready indicator before pouring mix, and don’t peek until steam stops escaping from the edges, usually 3 to 5 minutes per waffle for crisp results.
5.Can I use low-fat or skim milk instead of whole milk in this recipe? ▾
You can, but note that whole milk creates a richer, more tender crumb and crispier edge thanks to its higher fat content. If using skim or low-fat milk, add 1 extra tablespoon of cooled melted butter per cup of milk to make up for missing fat and keep texture consistent.
6.How do I get that perfectly lump-free liquid mix the recipe promises? ▾
Skip dumping all dry ingredients into the wet all at once. First, whisk your granulated sugar and large eggs until smooth, then stream in cooled butter and milk, then slowly whisk in sifted all-purpose flour just until no dry streaks remain—overmixing makes waffles tough.
7.Can I use this liquid waffle mix to make pancakes too? ▾
You absolutely can! This smooth, pourable consistency works perfectly for pancakes, though you may want to thin it with 1 to 2 extra tablespoons of whole milk if you prefer thinner pancake batter. Cook on a preheated, buttered griddle over medium heat for 1 to 2 minutes per side.
8.Do I need to let the liquid mix rest before using it to make waffles? ▾
A short 10-minute rest at room temperature (or up to 30 minutes in the fridge) is helpful, because it gives the all-purpose flour time to absorb wet ingredients, leading to extra-fluffy waffles with no random gummy spots. You don’t need to rest it longer than that for great results.
9.What if I only have medium eggs instead of large eggs for the mix? ▾
For every large egg the recipe calls for, use 1 extra medium egg for small batches, or measure out 3 tablespoons of beaten medium egg per required large egg. This keeps the wet-to-dry ingredient ratio balanced so your waffles don’t turn out dense or dry.
10.Can I reduce the amount of granulated sugar in the mix for less sweet waffles? ▾
Definitely! The granulated sugar in this base recipe adds subtle sweetness and helps with browning and crisp edges, but you can cut it in half, or even omit it entirely, for savory waffles for toppings like fried chicken or cheese. Just note browning will be slightly lighter.
11.Is it safe to leave this liquid waffle mix out on the counter overnight? ▾
No, this mix contains raw eggs and dairy, so it should not sit at room temperature for more than 2 hours total to avoid foodborne illness risk. For make-ahead convenience, store it in the fridge for up to 4 days, or freeze it for longer storage, rather than leaving it out.
12.Why is my mix separating in the fridge, and is that normal? ▾
Separation is totally normal! The denser all-purpose flour will settle to the bottom of the container, and some milk fat may rise to the top as it chills. You don’t need to throw it out—just stir slowly and gently until smooth again before pouring onto your waffle iron.
13.Can I add mix-ins like chocolate chips or blueberries to this liquid mix ahead of time? ▾
It’s better to add mix-ins right before you cook each waffle, rather than stirring them into the whole stored batch. Berries will bleed color and make the mix mushy, and chocolate chips will sink to the bottom during storage, leading to unevenly distributed add-ins.
14.Can I use whole wheat flour instead of all-purpose flour for a healthier mix? ▾
You can swap up to half of the all-purpose flour for whole wheat flour without major texture changes, but swapping 100% will lead to denser, nuttier waffles that aren’t as light. If using a full whole wheat swap, add an extra 2 tablespoons of whole milk to thin the mix to the right consistency.
15.How thin should the liquid waffle mix be for perfect waffles? ▾
The mix should be the consistency of heavy cream—pourable, but not watery enough to run right off a spoon. If it’s too thick and gloppy, stir in 1 tablespoon of whole milk at a time to thin; if it’s too runny, whisk in 1 tablespoon of all-purpose flour at a time to thicken.
16.Can I use melted salted butter instead of unsalted butter in the mix? ▾
You can, just cut any added salt you plan to use in the recipe by ¼ teaspoon per stick of salted butter you use. Unsalted butter lets you control the exact sodium level, but salted butter works in a pinch and won’t ruin the smooth, pourable texture of the finished mix.
17.Why do my waffles come out dense and heavy instead of fluffy? ▾
Dense waffles usually mean you overmixed the batter, which develops too much gluten in the all-purpose flour, or your waffle iron wasn’t hot enough. Mix just until dry streaks disappear, and always wait for your iron’s ready signal before pouring batter for light, fluffy results.
18.How much mix should I pour into my waffle iron per waffle? ▾
For most standard 7-inch round waffle irons, ½ to ¾ cup of liquid mix is perfect—pour it right in the center, and it will spread evenly as you close the lid. Using too much causes batter to leak out the edges, while too little leaves you with thin, unevenly cooked waffles.
19.Can I make this mix dairy-free for family members with allergies? ▾
Yes! Swap the whole milk for unsweetened plain oat or soy milk (these have the closest thickness to dairy milk), and use melted cooled vegan butter in place of the unsalted dairy butter. The mix will still be smooth, pourable, and produce crisp, fluffy waffles with a nearly identical texture.
20.Do I need to spray my waffle iron with nonstick spray even with butter in the mix? ▾
It’s a smart idea, especially for older waffle irons with worn nonstick coating. A quick light spray of nonstick cooking spray, or thin wipe of extra melted butter, before the first batch will ensure your crisp waffles lift out easily without tearing, even with butter in the batter.

Comments (5)

2 days ago

OMG this liquid waffle mix is a total game changer for my weekday morning rush! I prepped a big batch on Sunday, stuck it in a mason jar in the fridge, and I just pour and go all week. My 7 and 9 year old devour these, they say they’re way fluffier than the boxed stuff I used to buy. 4 minutes per waffle is no joke, I can knock out breakfast for the whole family before the school bus comes! Only tiny note: I added a dash of cinnamon to mine and it slapped.

1 day ago

Wait how long does this stay good in the fridge for? I tried a different homemade mix once and it went weird after 3 days, would love to meal prep this for my work from home breakfasts!

1 day ago

Great question! This mix stays fresh in a tightly sealed container in the fridge for up to 5 days, just give it a quick gentle stir before pouring each time. So glad you’re loving the recipe, and the cinnamon addition sounds chef’s kiss!

1 week ago

Brought this to my neighborhood block party potluck last weekend, set up my little countertop waffle maker, and people were lined up! Everyone kept asking for the recipe, I couldn’t believe how easy it was to mix up ahead of time instead of hauling a bunch of dry ingredients and measuring cups with me. SO good, even the pickiest teen at the party went back for seconds with extra whipped cream and strawberries.

5 days ago

That sounds like the perfect potluck setup! We love how portable this liquid mix is for events, so stoked it was a hit with your neighbors. Pro tip for next time: add a little vanilla extract to the mix for extra warm flavor if you’re feeling fancy!

2 hours ago

Full transparency, I burn basically everything I make for breakfast, but this was so easy even I couldn’t mess it up? No lumpy batter to worry about, pours perfectly, 4 minutes exactly on my waffle iron and it came out crispy on the outside, soft inside. Only reason it’s not a 5 is I forgot to spray my waffle iron the first time and it stuck a little, but that’s 100% user error lmao.

3 days ago

Wait has anyone tried making this with 1:1 gluten free flour? I have celiac and have been searching for a good liquid waffle mix I don’t have to mix from scratch every single weekend, regular flour messes me up but this looks too good to pass up!

2 days ago

I did! Used my favorite Bob’s Red Mill 1:1 GF flour, added an extra 2 tbsp of oat milk to thin it a tiny bit, and it came out perfect! No weird gritty texture at all, my husband who eats regular wheat didn’t even notice the difference.

yesterday

This is going to save me so much money! I was spending like $6 a box on that fancy organic liquid waffle mix from the grocery store, and this tastes way better for a fraction of the cost. I made a double batch last night, poured it into old cleaned-out syrup bottles, and it’s so easy to squeeze right onto the waffle iron no mess. Obsessed.

2 hours ago

Wait the old syrup bottle hack is genius! I’ve been using a mason jar and pouring is always messy, I’m definitely stealing that idea for my next batch.

30 minutes ago

Love the syrup bottle storage hack! We’re totally going to add that tip to the recipe notes, that’s such a smart way to cut down on mess and make pouring even easier. So glad the recipe is helping you save a little cash too!



