
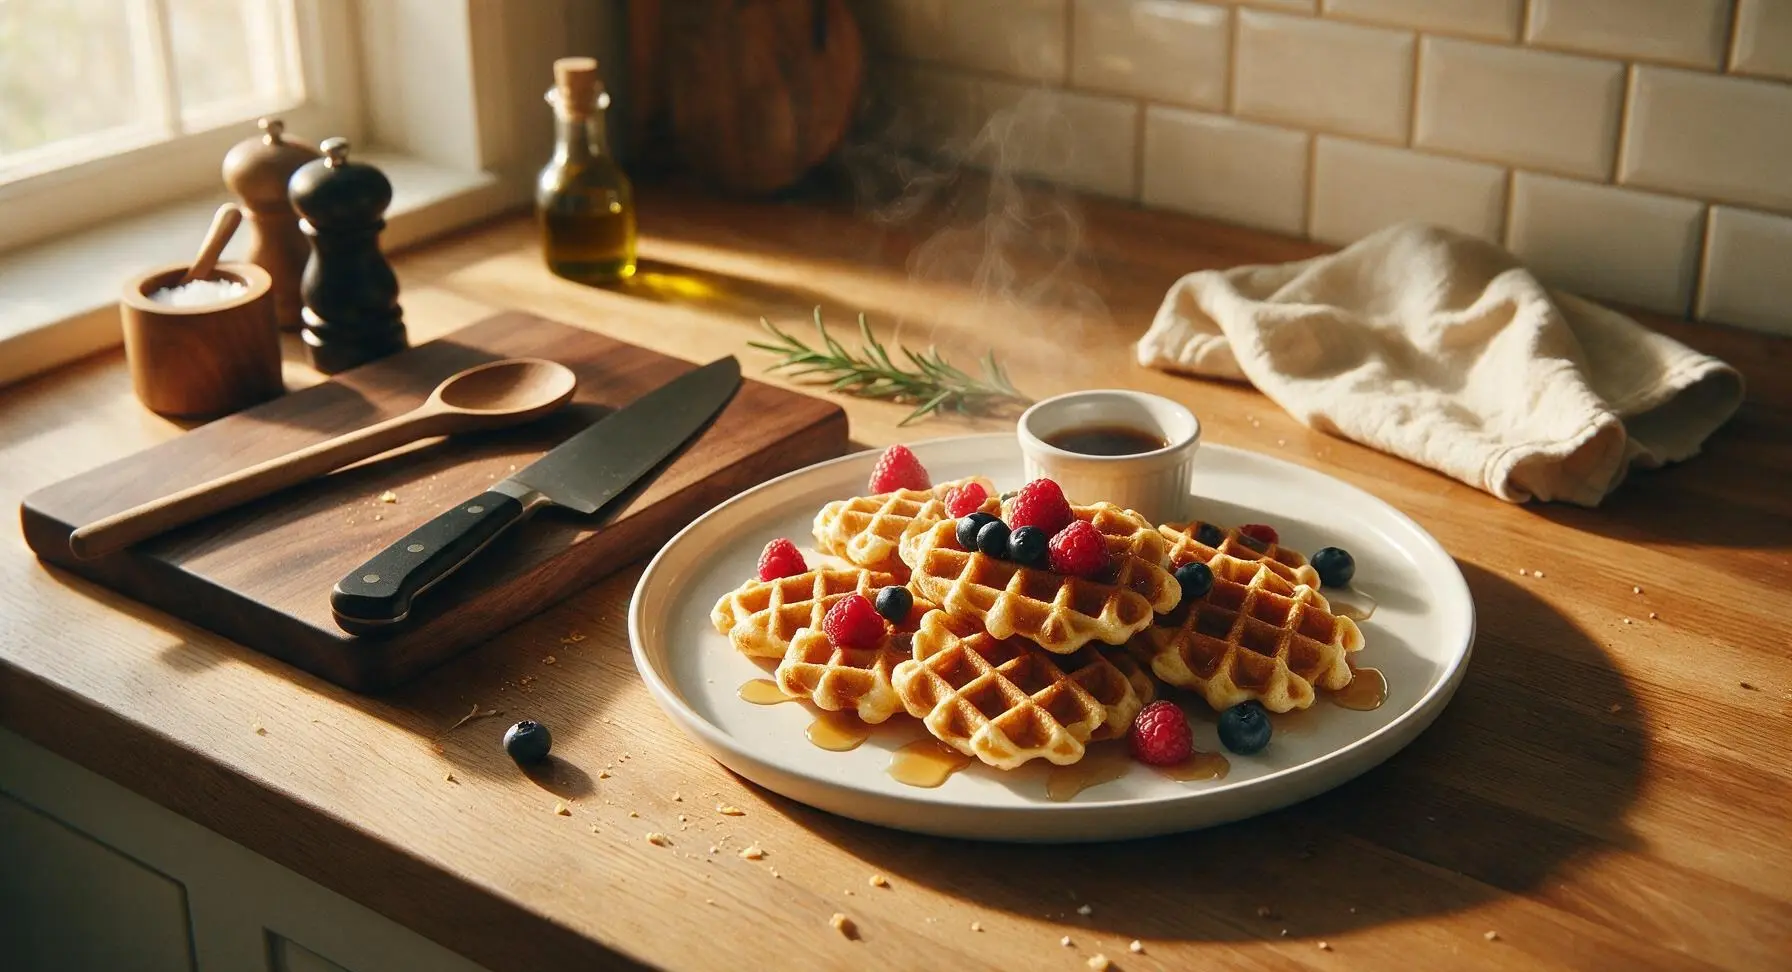
little gem waffles

title 1
little gem waffles
⏱️ cook time 15 minutes
🍽️ servings 4
⚡ Difficulty easy

intro

Tender, crisp-edged mini little gem waffles with a hint of vanilla, perfect for topping with fresh berries and maple syrup, ready in 25 minutes for a cozy, quick meal.

Ingredients
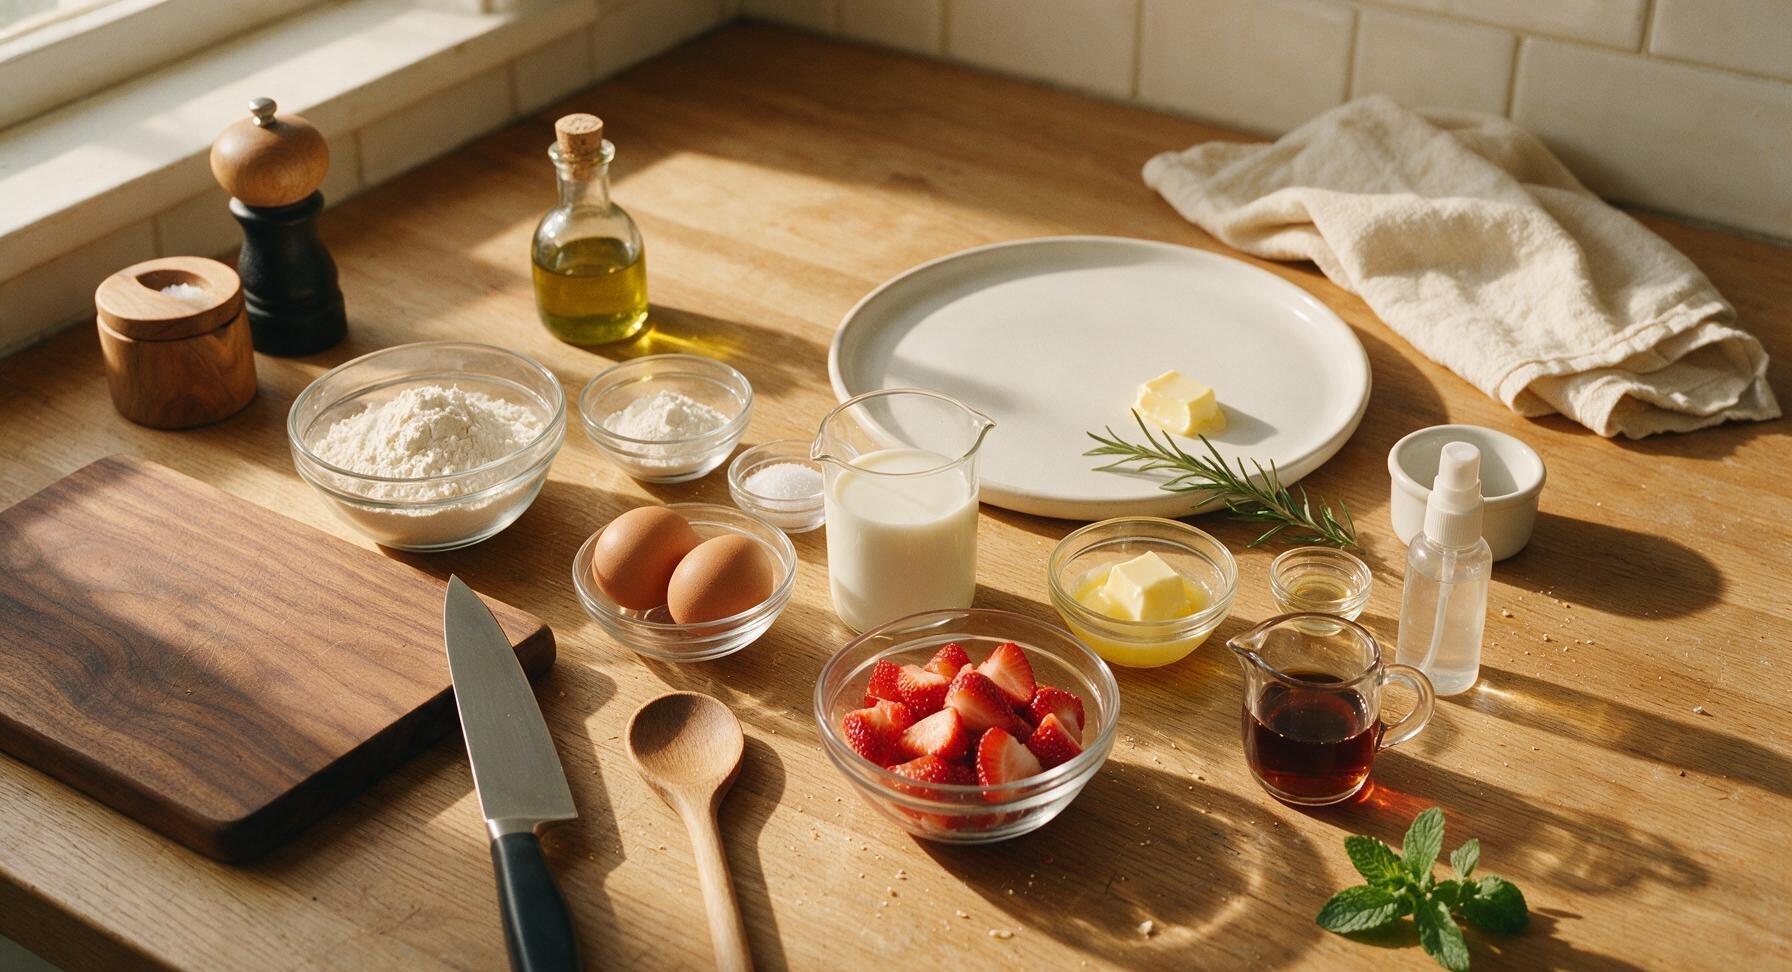
All-purpose flour 180g (1 ½ cups)
Baking powder 2 tsp
Fine sea salt ¼ tsp
Granulated sugar 2 tbsp
Large eggs, room temperature 2
Whole milk, room temperature 240ml (1 cup)
Unsalted butter, melted and cooled 57g (4 tbsp)
Pure vanilla extract 1 tsp
Non-stick cooking spray as needed
Fresh strawberries, hulled and sliced 150g (1 cup)
Pure maple syrup 60ml (¼ cup)
Salted butter (for garnish) 1 tsp pat
Fresh mint sprig 1

Steps

1

Preheat Waffle Iron

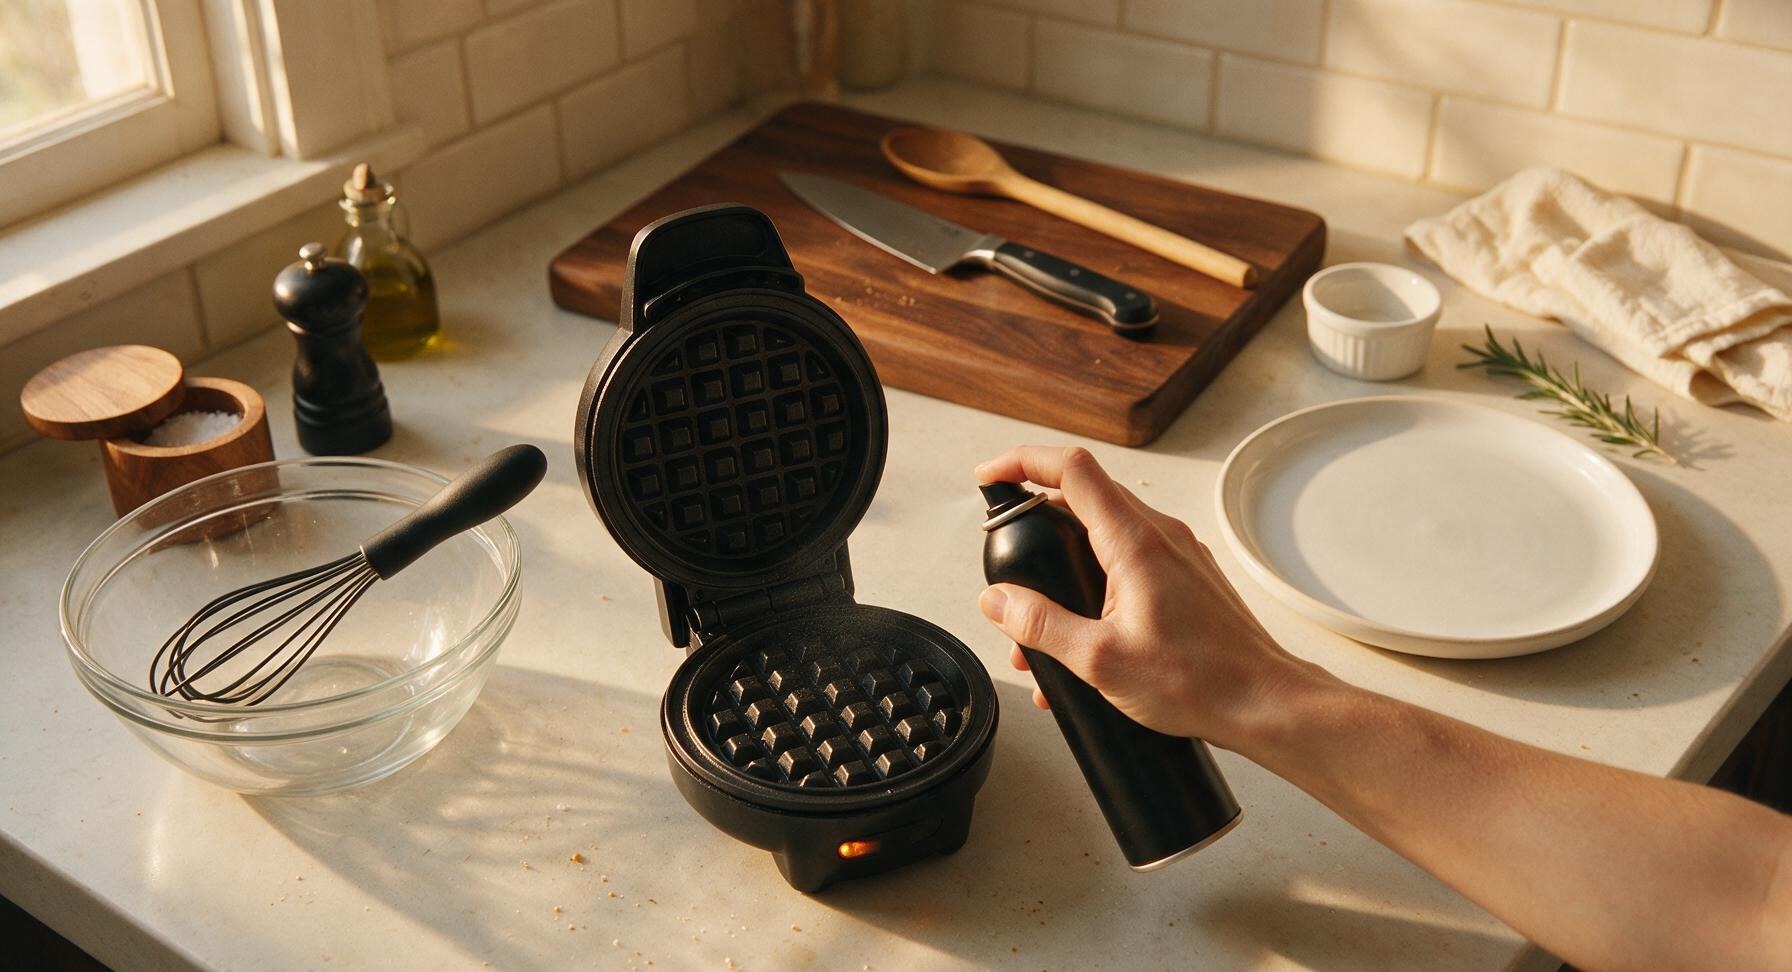
Plug in the mini waffle iron and preheat to medium-high heat (375°F / 190°C) until the built-in ready indicator light illuminates, approximately 3 to 4 minutes. Lightly coat both upper and lower waffle plates with non-stick cooking spray, holding the spray can 15cm away from the plates to avoid over-saturating; wipe any excess spray from the countertop with the edge of the linen towel if needed.
Step 1
step1:Preheat Waffle Iron
2

Whisk Dry Ingredients

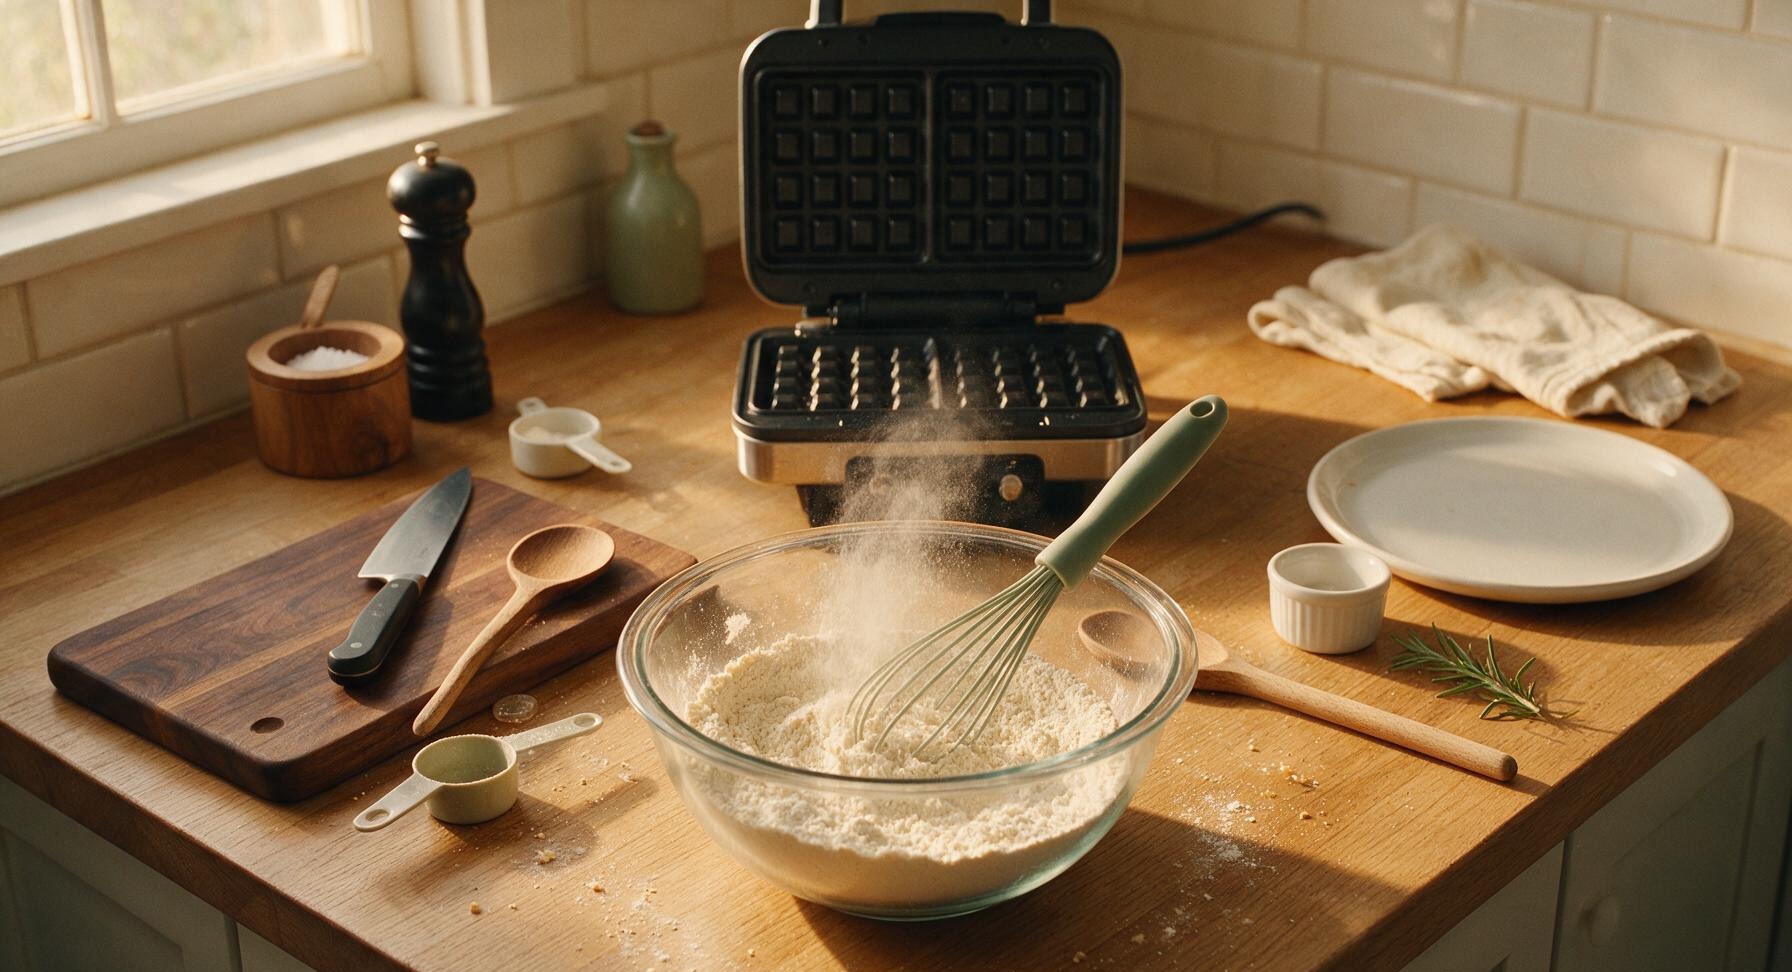
Add 180g (1 ½ cups) all-purpose flour, 2 tsp baking powder, ¼ tsp fine sea salt, and 2 tbsp granulated sugar to the 2L clear glass mixing bowl. Use the silicone whisk to stir the dry ingredients for 30 seconds, scraping the bottom and sides of the bowl to ensure even distribution. Stop when the mixture is a uniform pale off-white, with no visible clumps of baking powder or concentrated salt pockets.
Step 2
step2:Whisk Dry Ingredients
3

Add Wet Ingredients

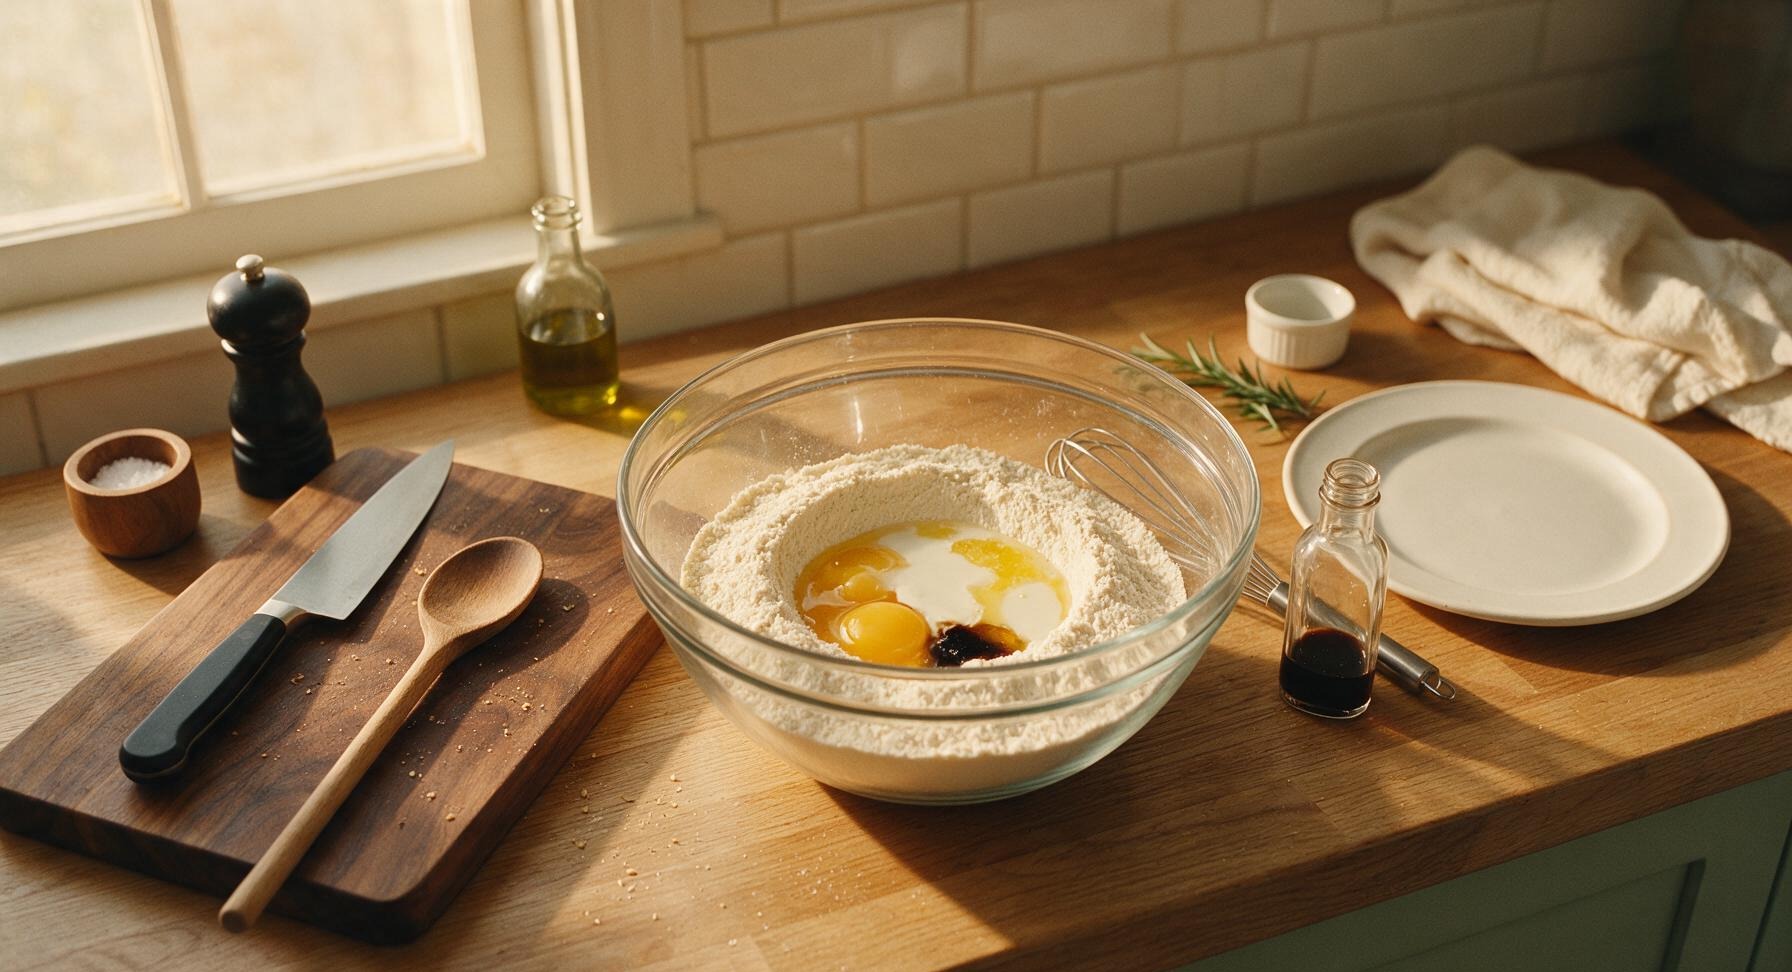
Use the whisk to create a 10cm wide well in the center of the dry ingredient mixture. Crack 2 large room-temperature eggs into the well, then pour in 240ml (1 cup) whole milk, 57g (4 tbsp) cooled melted unsalted butter, and 1 tsp pure vanilla extract. Confirm the melted butter is below 120°F (49°C) before adding to avoid cooking the eggs on contact, which would create lumpy batter.
Step 3
step3:Add Wet Ingredients
4

Mix Resting Batter

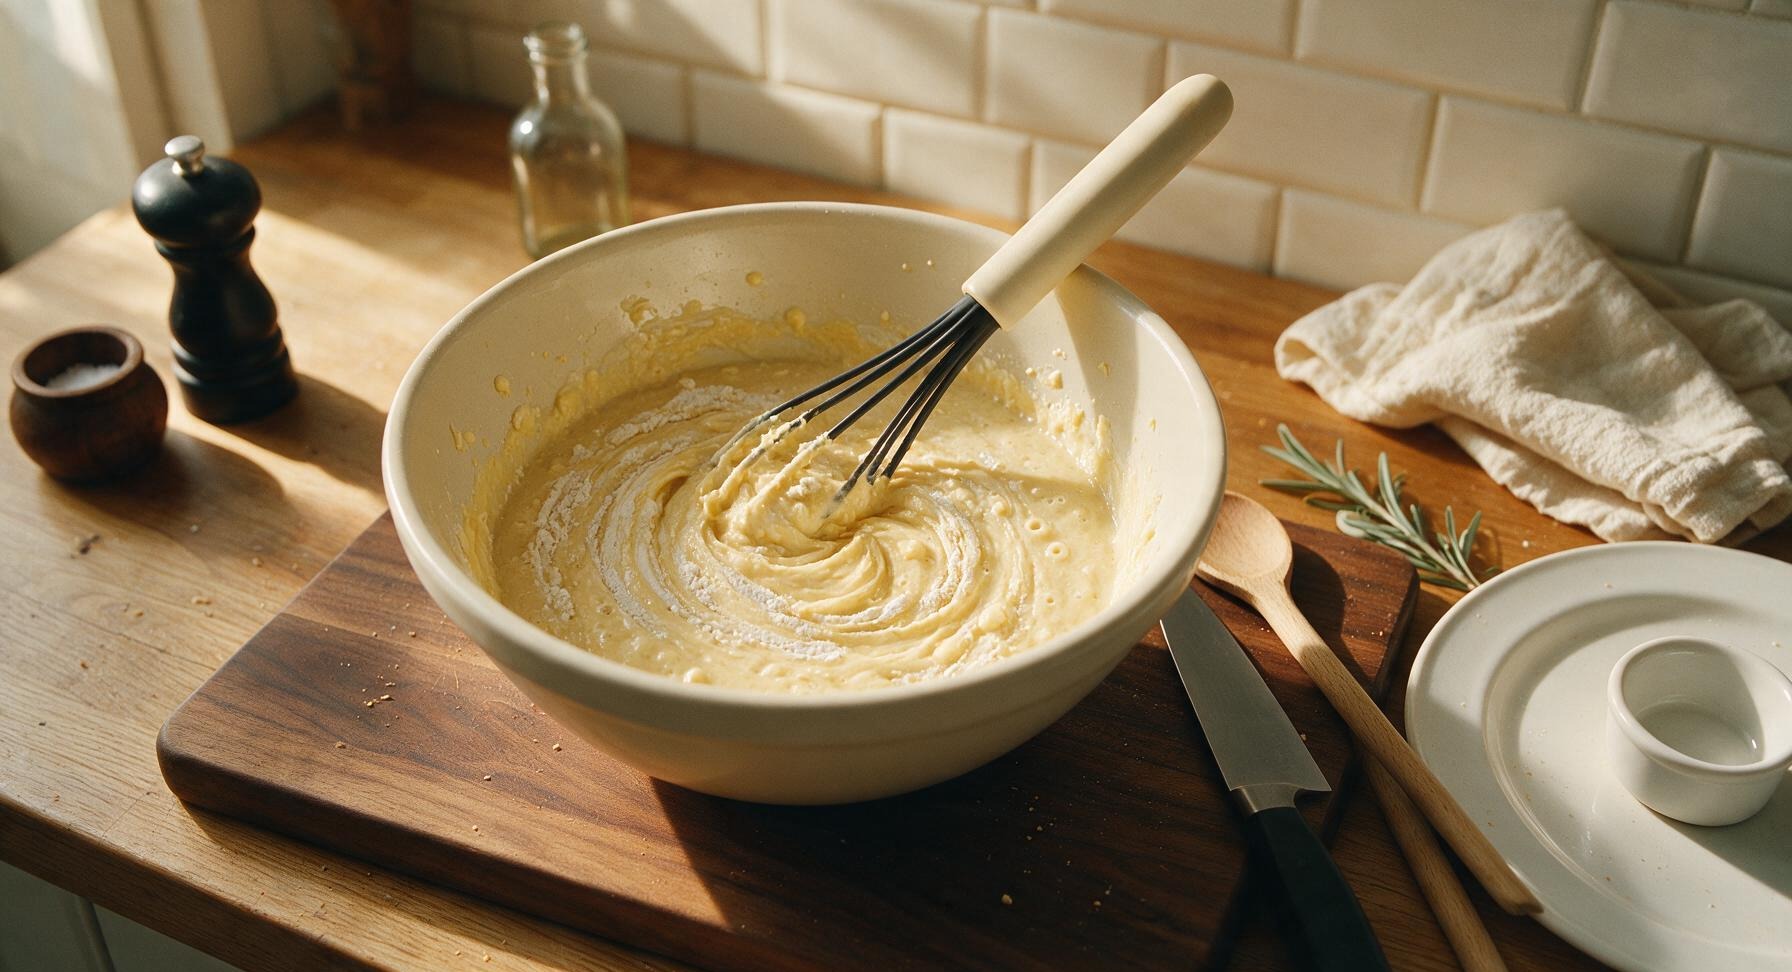
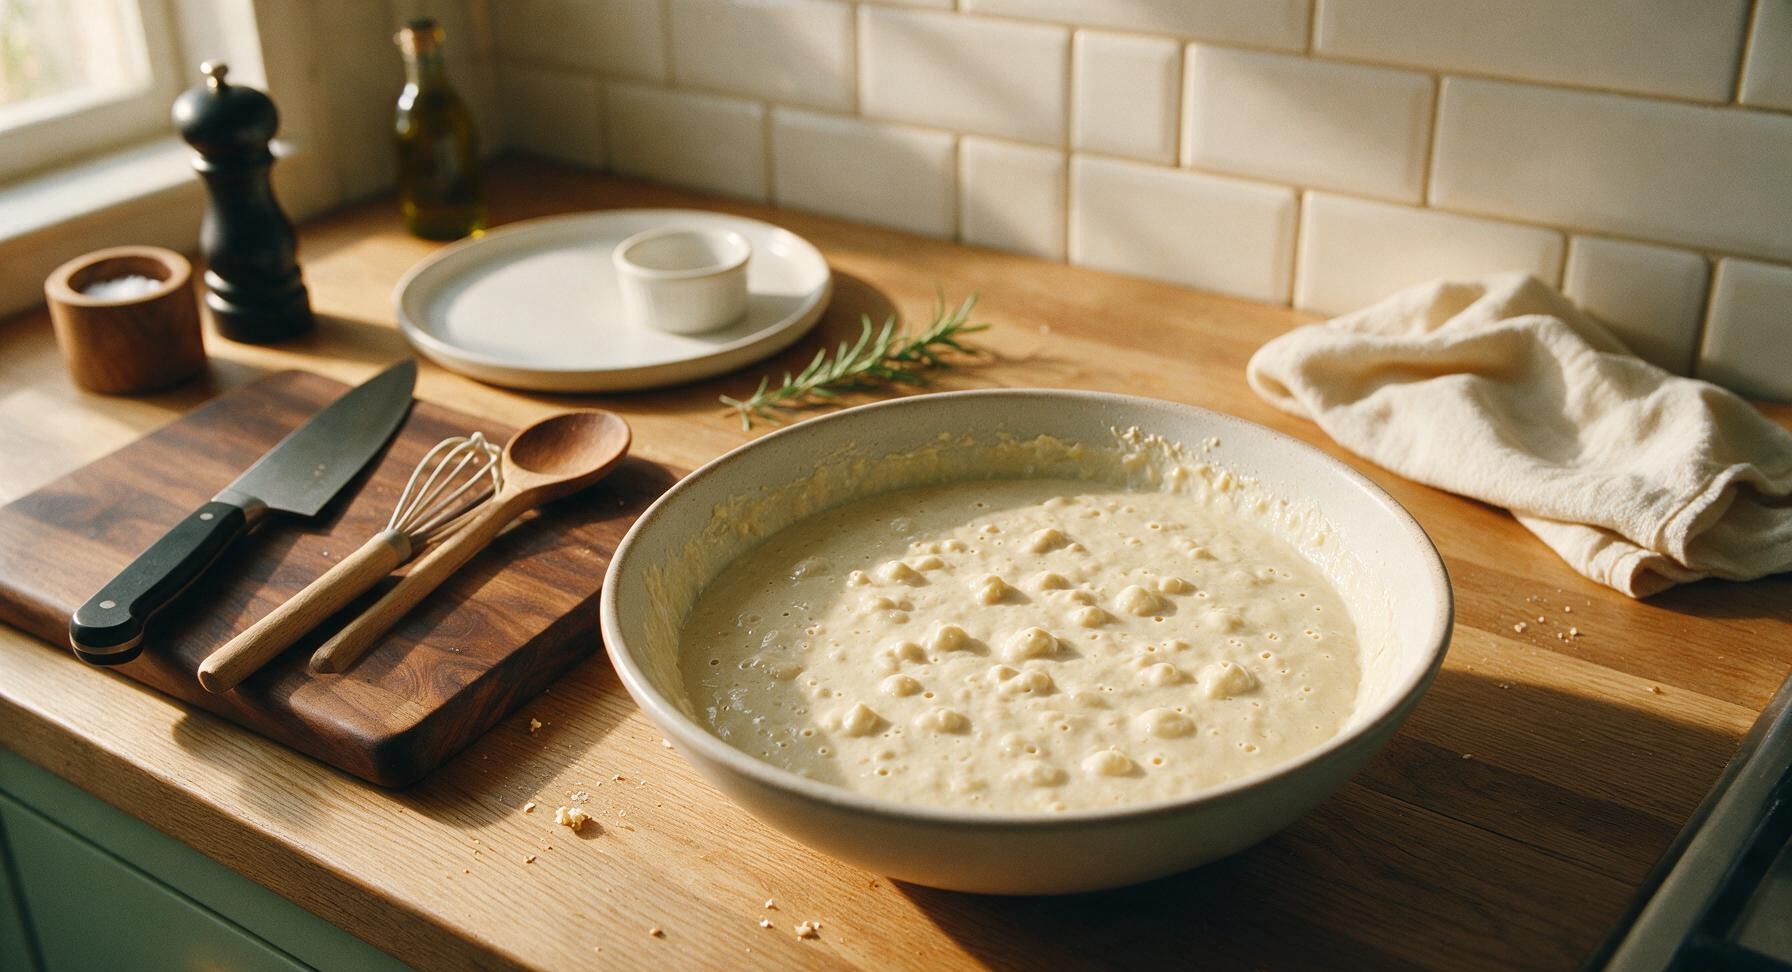
Use the silicone whisk to gently fold the wet ingredients into the dry ingredients, stirring in slow circular motions just until no large pockets of dry flour remain. Stop mixing immediately once the batter comes together; small pea-sized lumps are normal and desired, as overmixing develops gluten and creates tough, dense waffles. Let the batter rest for 3 minutes at room temperature, during which tiny air bubbles will appear on the surface as the baking powder activates.
Step 4
step4:Mix Resting Batter
Step 4
step4:Mix Resting Batter
5

Portion Batter to Iron

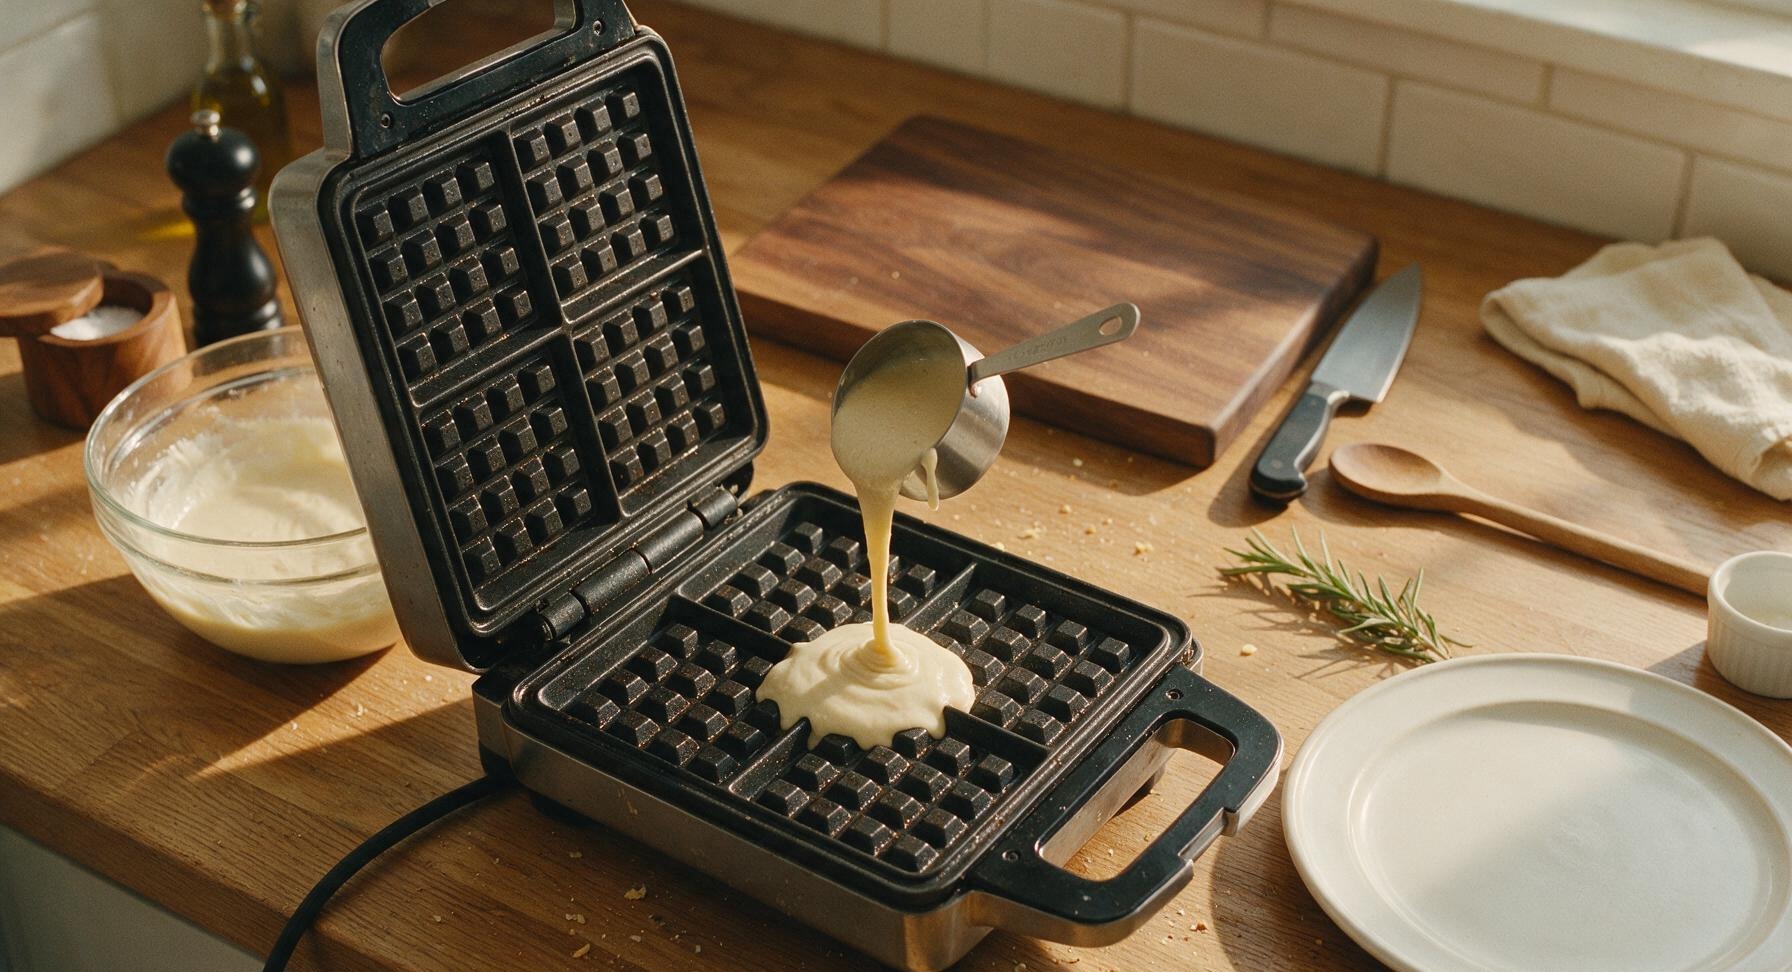
Once the waffle iron’s ready indicator light is illuminated and the batter has finished resting, use the ¼ cup brushed stainless steel measuring cup to scoop a level portion of batter. Pour the batter directly into the exact center of the lower waffle plate; do not spread the batter, as it will flow evenly across the plate when the lid closes. Close the waffle iron lid immediately after pouring to trap heat.
Step 5
step5:Portion Batter to Iron
6

Cook Waffles Crisp

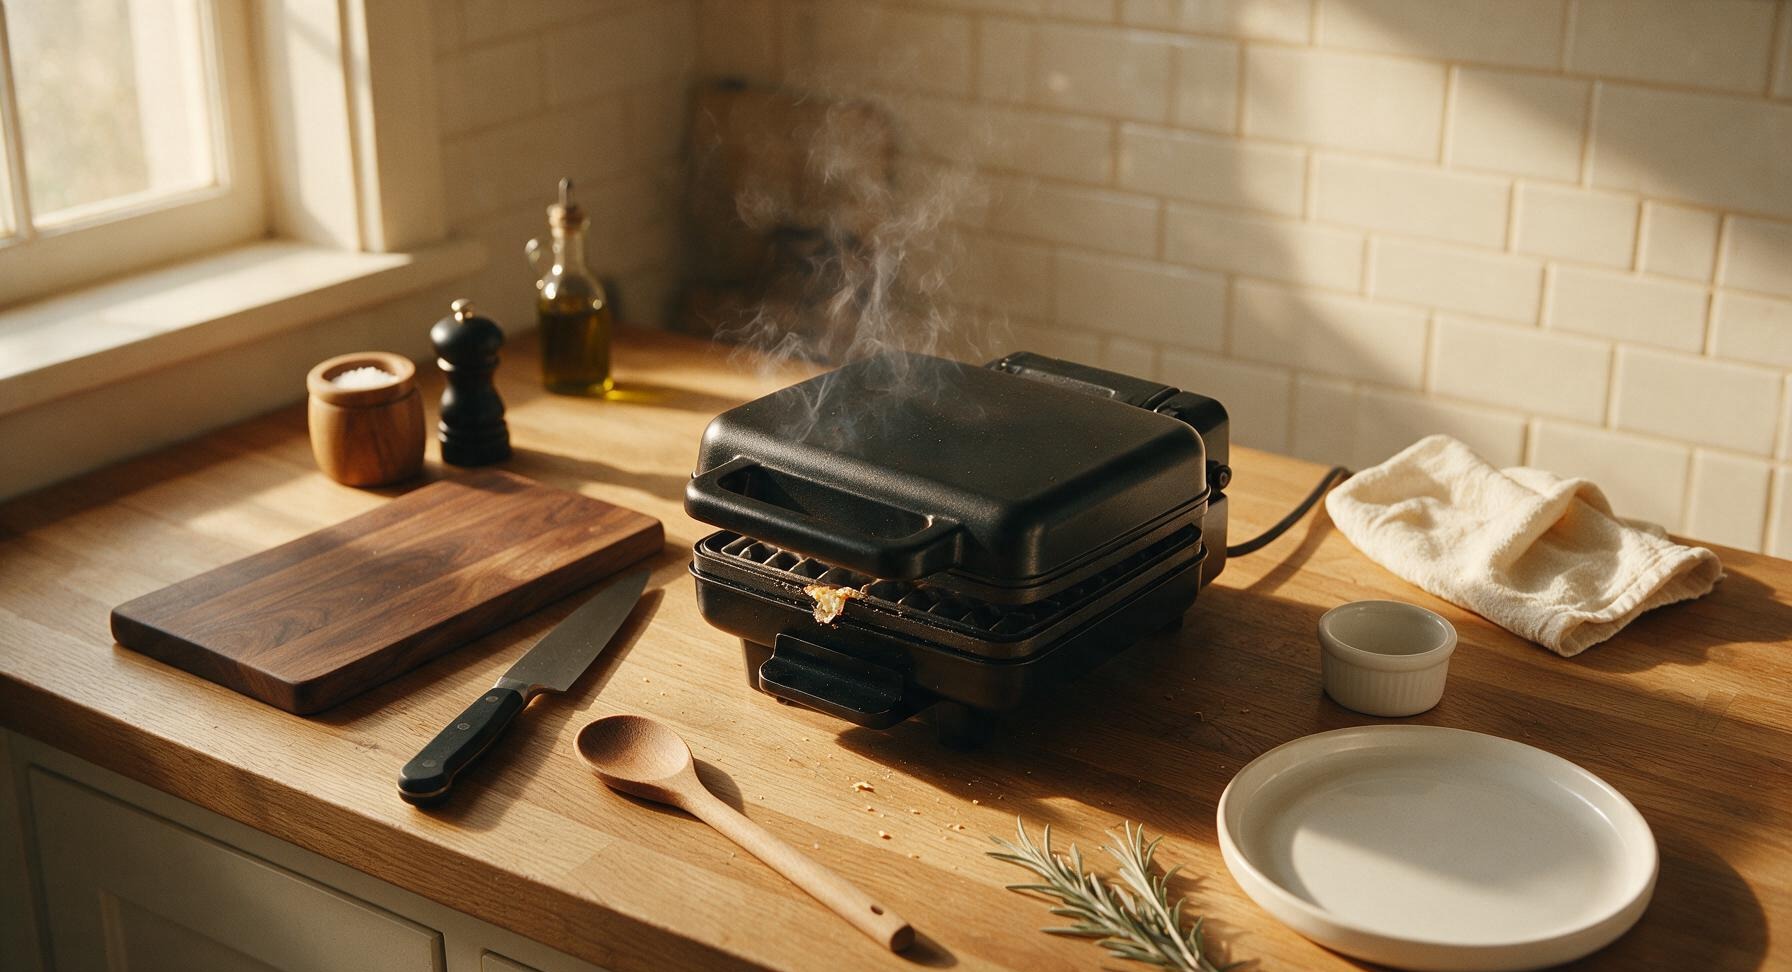
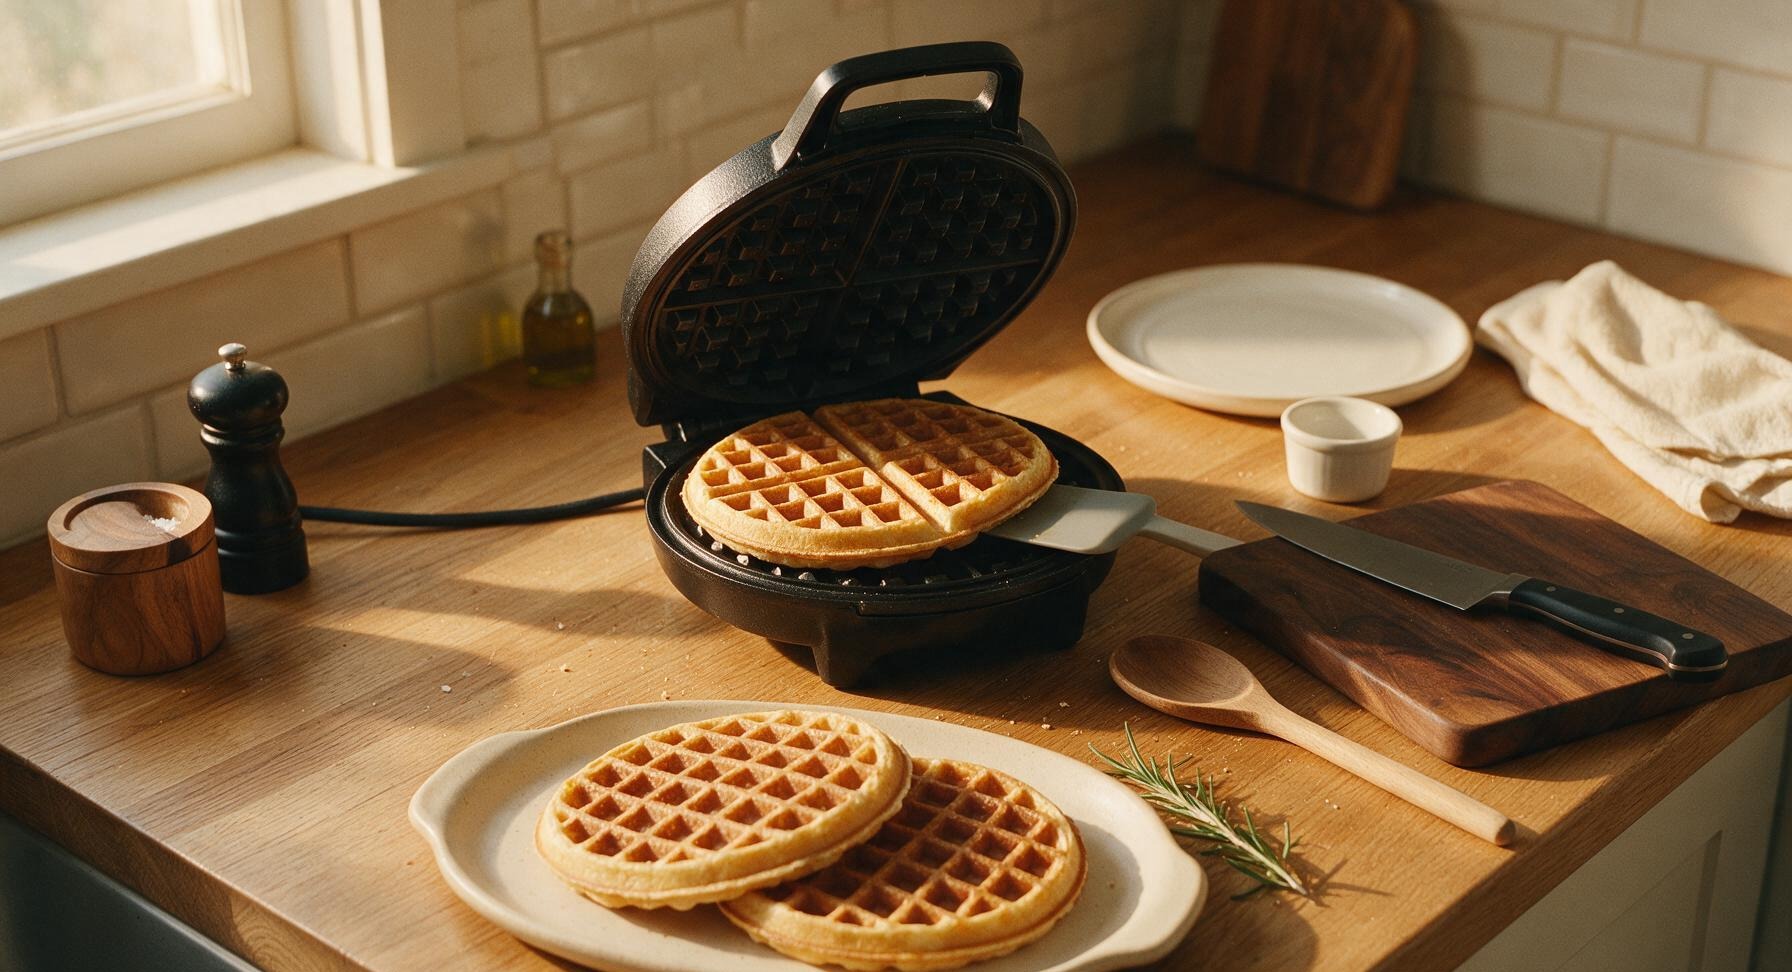
Close the waffle iron lid and cook for 3 to 3.5 minutes, without opening the lid before the 3-minute mark (opening early will cause the waffle to tear and stick). The waffle is done when it is a deep, even golden brown, with crisp defined grid edges, and no visible steam escapes from the seam between the iron plates. Use the silicone spatula to gently lift the finished waffle from the plate, transferring it to the matte cream serving platter at front-center.
Step 6
step6:Cook Waffles Crisp
Step 6
step6:Cook Waffles Crisp
7

Cook Remaining Batch

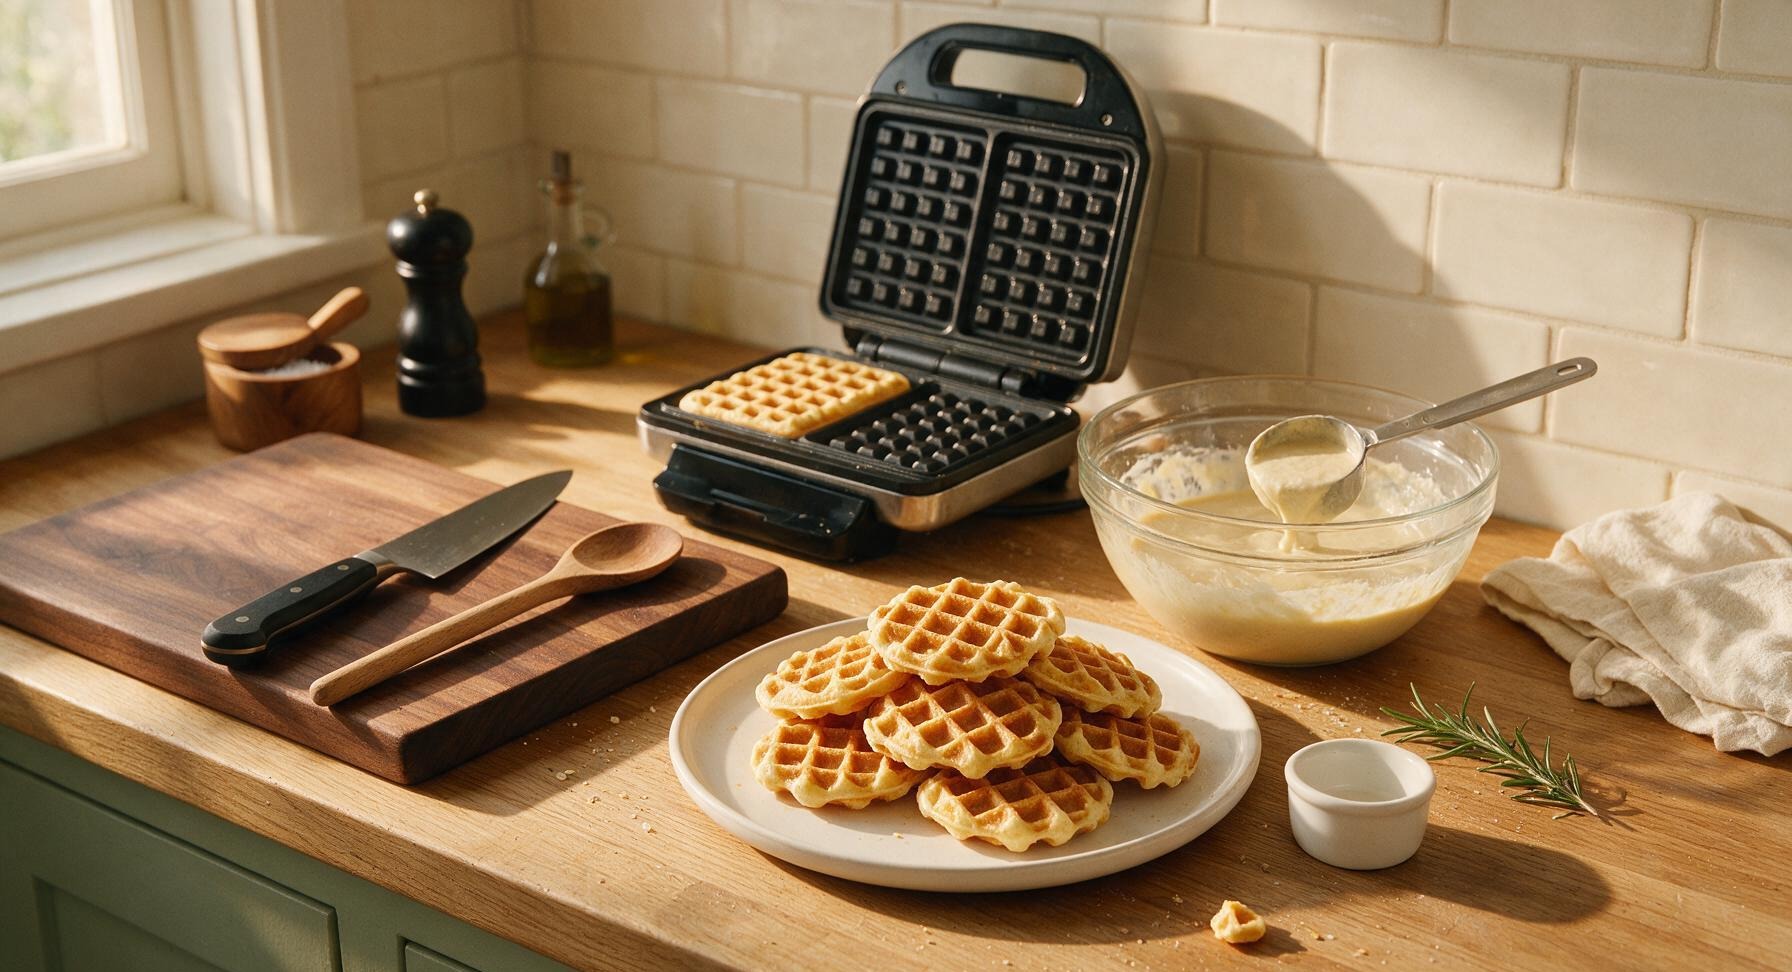
Lightly re-spray the waffle plates with non-stick cooking spray every 2 to 3 waffles to prevent sticking. Continue portioning ¼ cup batter per waffle, cooking each for 3 to 3.5 minutes, and stacking cooked waffles loosely on the serving platter. Loosely tent the stacked waffles with a small sheet of aluminum foil to retain heat while cooking the remaining batter; this recipe yields 12 total 3-inch little gem waffles.
Step 7
step7:Cook Remaining Batch
8

Garnish and Serve

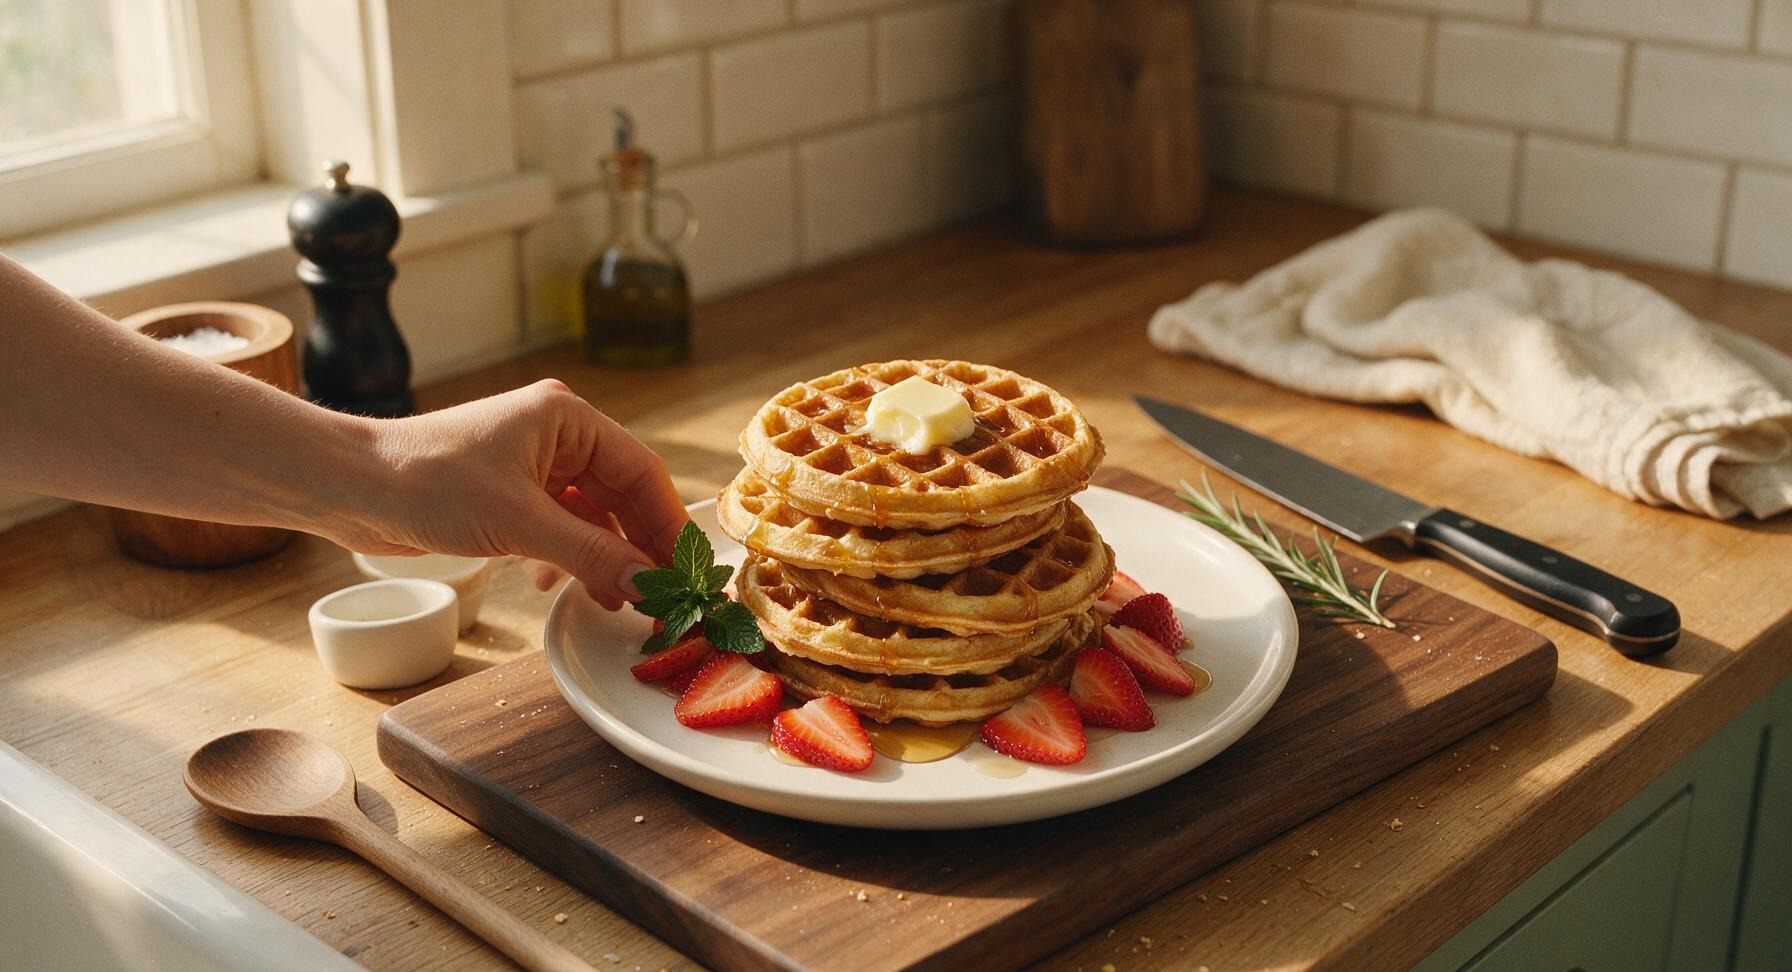
Once all waffles are cooked and stacked on the platter, top the center of the stack with a 1 tsp pat of cold salted butter, arrange thinly sliced fresh strawberries around the base of the stack, tuck a single sprig of fresh mint at the 3 o’clock position on the platter, and drizzle 1 tbsp of pure maple syrup over the top of the stack. Serve immediately, with remaining maple syrup and extra berries on the side for custom topping.
Step 8
step8:Garnish and Serve

Tips

1.Use room-temperature eggs and milk for the lightest batter: Cold ingredients slow baking powder activation, leading to denser, less fluffy waffles, while room-temperature ingredients mix more evenly and create a better rise.
2.Do not overmix the batter: Overstirring develops gluten in the flour, which results in tough, chewy waffles instead of tender, crisp-edged ones. The small lumps in the batter will cook out completely, leaving a soft, tender crumb.
3.Keep waffles crisp by avoiding tight, covered stacking while hot: If you seal waffles in an airtight container or stack them tightly while hot, trapped steam will turn crisp edges soggy. A loose foil tent allows enough air flow to retain crispness while keeping waffles warm.


✨ You May Also Like

Breakfast
🍜 United States

Crisp-edged, fluffy lard griddle cakes are a nostalgic homestyle staple, with rich savoriness from rendered lard, perfect topped with maple syrup or savory gravy.

⏱️ 25 minuteBreakfast ★ 4.8
Breakfast
🍜 United States

Flaky, buttery homemade buttermilk biscuits smothered in creamy, peppery pork sausage gravy: a beloved, hearty Southern American comfort food classic.

⏱️ 35 minuteBreakfast ★ 4.8
Breakfast
🍜 United States

Golden, custardy brioche stuffed with sweet cream cheese and fresh berries, pan-fried to crisp perfection. An indulgent, cozy breakfast perfect for slow weekend mornings.

⏱️ 30 minuteBreakfast ★ 4.7
Breakfast
🍜 United States

Flaky, buttery Southern-style biscuits stuffed with savory salty country ham, a portable, satisfying classic perfect for casual on-the-go meals.

⏱️ 25 minuteBreakfast ★ 4.8
Breakfast
🍜 United States

Iconic puffy baked pancake popularized in Seattle, with crisp golden edges and soft custardy center, served warm with classic sweet toppings.

⏱️ 35 minuteBreakfast ★ 4.6
Breakfast
🍜 United States

Fluffy, golden pancakes studded with juicy peak-summer mixed berries, drizzled with maple syrup for a bright, comforting, crowd-pleasing family breakfast.

⏱️ 25 minuteBreakfast ★ 4.7

little gem waffles:Frequently Asked Questions

1.Why do my little gem waffles turn out soggy instead of having that signature crisp edge? ▾
That’s such an easy fix! First, make sure your waffle iron is fully preheated before pouring batter—if it’s too cool, batter steams instead of searing to a crisp. Don’t overmix the batter (small lumps are totally fine!) and avoid opening the iron for the first 2 minutes of cooking to let edges set properly. A light nonstick spray, not slathered butter, also cuts down on sogginess.
2.Do I really need to use room temperature eggs, or can I use cold eggs straight from the fridge? ▾
You can use cold eggs in a total pinch, but room temperature eggs mix more evenly into batter for a lighter, tender crumb with no dense, rubbery spots. If you’re short on time, submerge cold whole eggs in a bowl of warm (not boiling) tap water for 5 minutes to bring them up to temp quickly, with zero flavor or texture tradeoff.
3.What size are these “little gem” waffles, and do I need a special waffle iron to make them? ▾
These are adorable 2 to 3 inch mini waffles, perfect for stacking, snacking, or serving as a light quick meal. You don’t need fancy equipment: use a standard mini waffle iron, or drop 2-tablespoon scoops of batter spaced apart on a regular waffle iron. Trim any ragged connecting edges after cooking if you want tidy, uniform little rounds.
4.Can I mix up the batter ahead of time to make breakfast even faster on busy mornings? ▾
You can prep the dry ingredient blend (flour, baking powder, salt, sugar) up to 3 months ahead in an airtight pantry container, but hold off on mixing in eggs until right before cooking. Baking powder activates as soon as it hits wet ingredients, so pre-mixed wet batter will make flat, dense waffles with no crisp lift if stored for more than 15 minutes.
5.Can I swap the all-purpose flour for a gluten-free alternative to make these waffles gluten-free? ▾
Absolutely! Swap all-purpose flour for a 1:1 gluten-free all-purpose baking blend (look for one with xanthan gum listed in the ingredients) without adjusting any other measurements. Skip using single gluten-free flours like almond or coconut flour alone—they won’t build the right tender, crisp structure and will turn out crumbly or overly dense without added binders.
6.How do I store leftover waffles so they don’t get mushy, and what’s the best way to reheat them? ▾
First, let leftover waffles cool completely on a wire rack—trapping hot steam in a sealed container right away is the top cause of mushy leftovers. Store cooled waffles in a sealed zip-top bag in the fridge for up to 3 days, or freeze for up to 1 month. Reheat in a toaster or 350°F oven for 3-4 minutes to bring back that crisp edge; skip the microwave, which makes them rubbery.
7.The intro mentions a hint of vanilla, but it’s not listed in the key ingredients—how much vanilla should I add? ▾
Great catch! For that subtle warm vanilla note that pairs perfectly with fresh berries and maple syrup, add 1 teaspoon of pure vanilla extract when you whisk in the room temperature eggs. If you love bolder vanilla flavor, you can bump that up to 1.5 teaspoons, but skip imitation vanilla—it has a harsh, artificial aftertaste that throws off the waffles’ mild, cozy flavor.

Comments (5)

2 days ago

OMG these were SO good! I made them for Saturday morning breakfast with my husband and kids, and they gobbled every last bite up before I even got to sit down with my own plate. The little gems give them that perfect shatteringly crisp edge that regular waffles never seem to hold onto, total game changer. 10/10 will be adding these to our weekly breakfast rotation!

yesterday

So happy to hear your whole family loved these! Quick pro tip: toss a handful of mini chocolate chips in the batter next time for a fun weekend treat, they pair perfectly with the crispy little gem texture without making the waffles soggy.

5 days ago

Game. Changer. I’ve tried every crispy waffle hack out there — separating egg whites, adding cornstarch, letting the batter rest for an hour, you name it. Adding little gems? No fussy steps, 15 minutes total from mixing to plate, and the crunch is unreal. I made a double batch for meal prep this week and they reheat perfectly in the toaster, no sogginess at all. I ate three straight off the waffle iron with zero toppings because they were that good. No notes, 10/10 perfect easy recipe.

3 days ago

Brought these to our neighborhood block party potluck last weekend and people were hounding me for the recipe before I even set the platter down! I topped them with a little whipped feta and drizzle of hot honey for a savory-sweet vibe and it was chef’s kiss. Who knew crispy little gem waffles would outshine all the burgers and hot dogs at the cookout?

2 days ago

Wait the hot honey and whipped feta combo sounds insane! Did you chop the little gems finer for the savory version or keep them the same cut size as the recipe calls for?

2 days ago

Love that creative savory spin! The original chop size works perfectly for savory toppings, no extra prep needed. That hot honey and feta combo is going straight to the top of my list of recipe variations to test next!

yesterday

Tried these this morning after seeing the recipe pop up on my feed and honestly? Way better than I expected for how easy they are. I’ve been messing up waffles for years trying to get that crispy exterior without the inside turning into dry cardboard, and this recipe nails that balance perfectly. My toddler even asked for seconds, which is basically a Michelin star rating in my house.

2 hours ago

These look so good! Quick question — do you think the recipe works with a 1:1 gluten free flour blend? I’ve been hunting for a crispy waffle recipe my gluten-sensitive daughter can eat for her birthday brunch next weekend.

30 minutes ago

Okay, I’m literally the worst at cooking — I burn toast like 50% of the time — and these came out perfect on my first try! The instructions were so straightforward, no weird fancy ingredients I had to run to three different grocery stores to track down. My roommate thought I ordered them from that overpriced brunch spot downtown, I felt so proud lmao. Will absolutely be making these again for our next lazy movie night.

5 minutes ago

Wait this gives me hope! I can barely make boxed mac and cheese without messing it up, so easy recipes are my love language. Do you need a fancy Belgian waffle maker for these, or will that cheap $20 basic waffle iron I got for my dorm work?

just now

So stoked you nailed these first try — that’s what we love to see! No fancy waffle maker needed at all, that cheap dorm waffle iron will work perfectly. Just give it a quick spritz of nonstick spray before pouring the batter in and you’re golden.



