
Livermush
intro
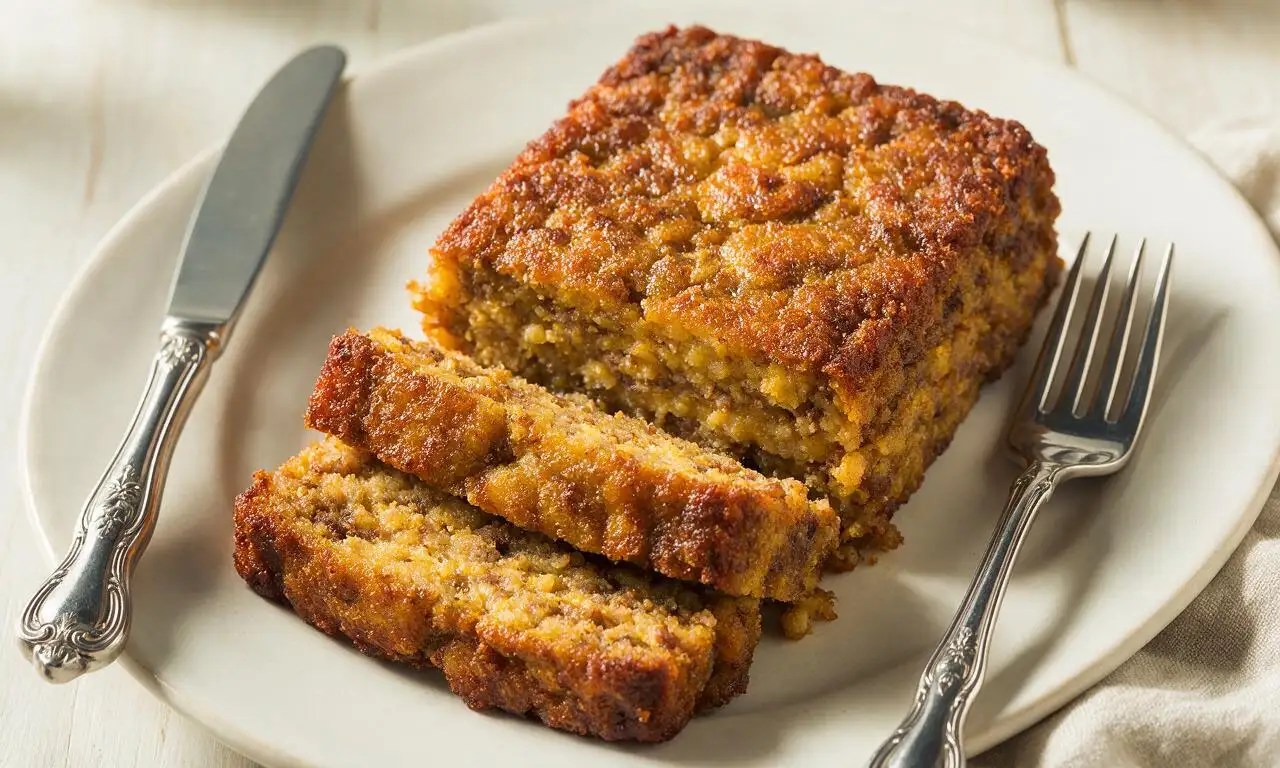
A savory cornmeal-bound pork and liver loaf from the Southern Appalachians, sliced thick and pan-fried until crispy for hearty, quick, comforting meals.
Ingredients
Steps
Simmer the pork mixture
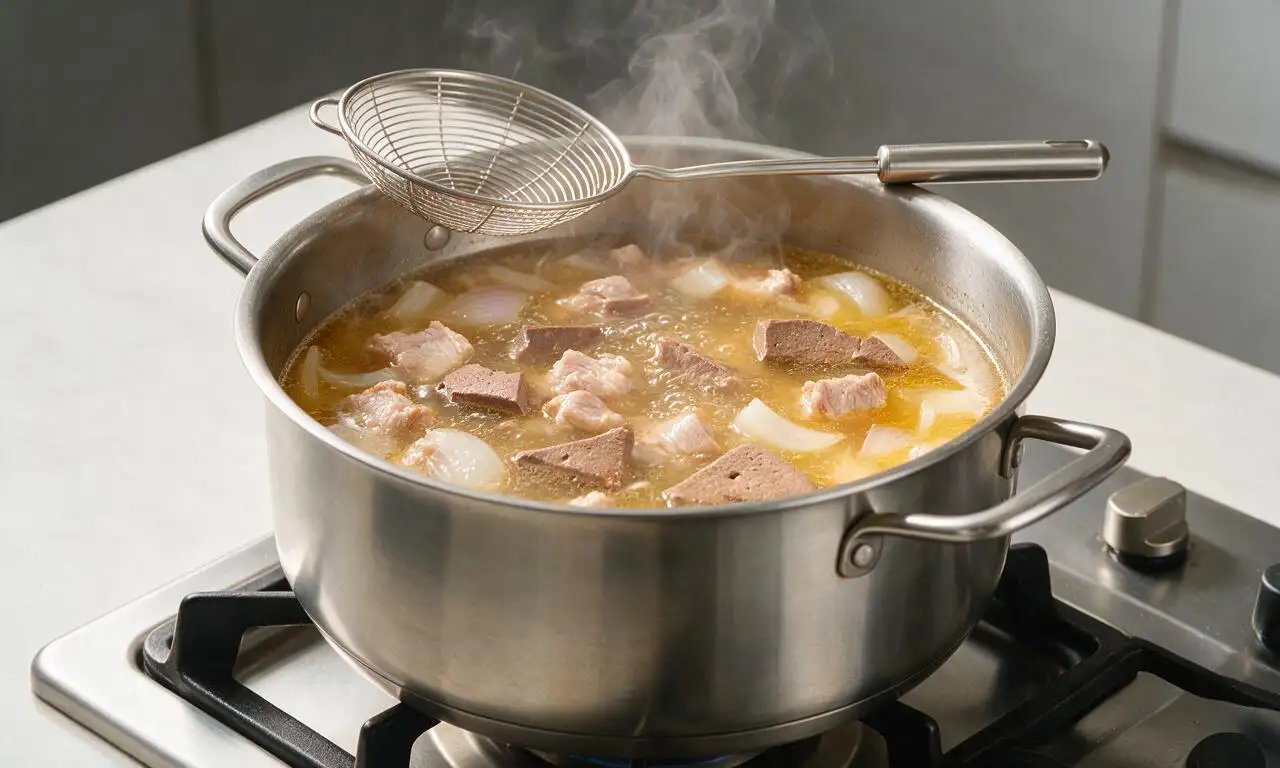
Place pork shoulder chunks, quartered onion, and bay leaf in a large 5L stockpot. Pour in 1.4L low-sodium pork broth, bring to a rolling boil over medium-high heat, then reduce heat to medium-low to maintain a gentle, bubbling simmer. Cook uncovered for 30 minutes, skimming any gray foamy residue that rises to the surface with a slotted spoon. Add trimmed pork liver to the pot, and continue simmering for 15 more minutes, until both pork and liver are fork-tender. Remove pot from heat and discard the bay leaf.
Grind the cooked meat
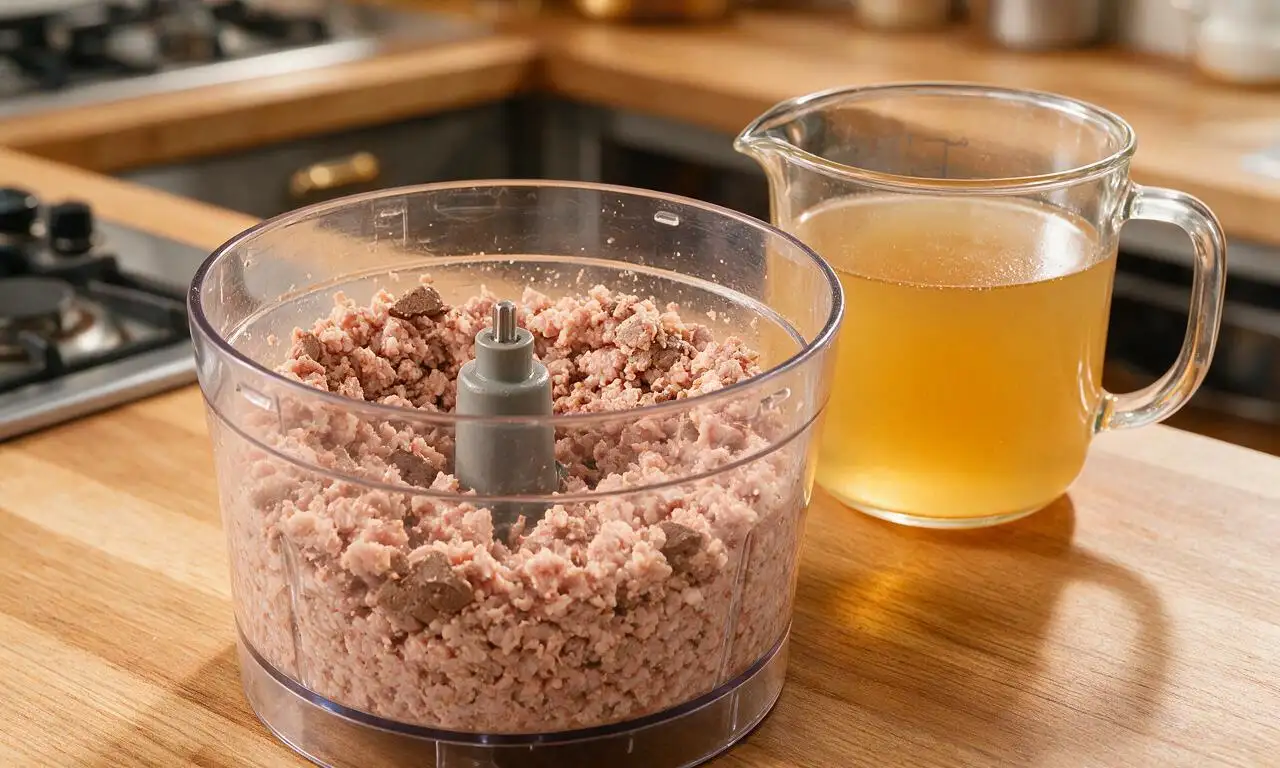
Use a slotted spoon to transfer all cooked pork, liver, and onion from the pot to a food processor, leaving the hot broth in the stockpot. Measure out 950ml (4 cups) of the warm reserved broth, setting it aside; discard any remaining broth or save for other recipes. Pulse the meat and onion mixture in 30-second bursts for a total of 90 seconds, until it is finely and evenly ground, taking care not to over-process into a completely smooth paste.
Cook the cornmeal base
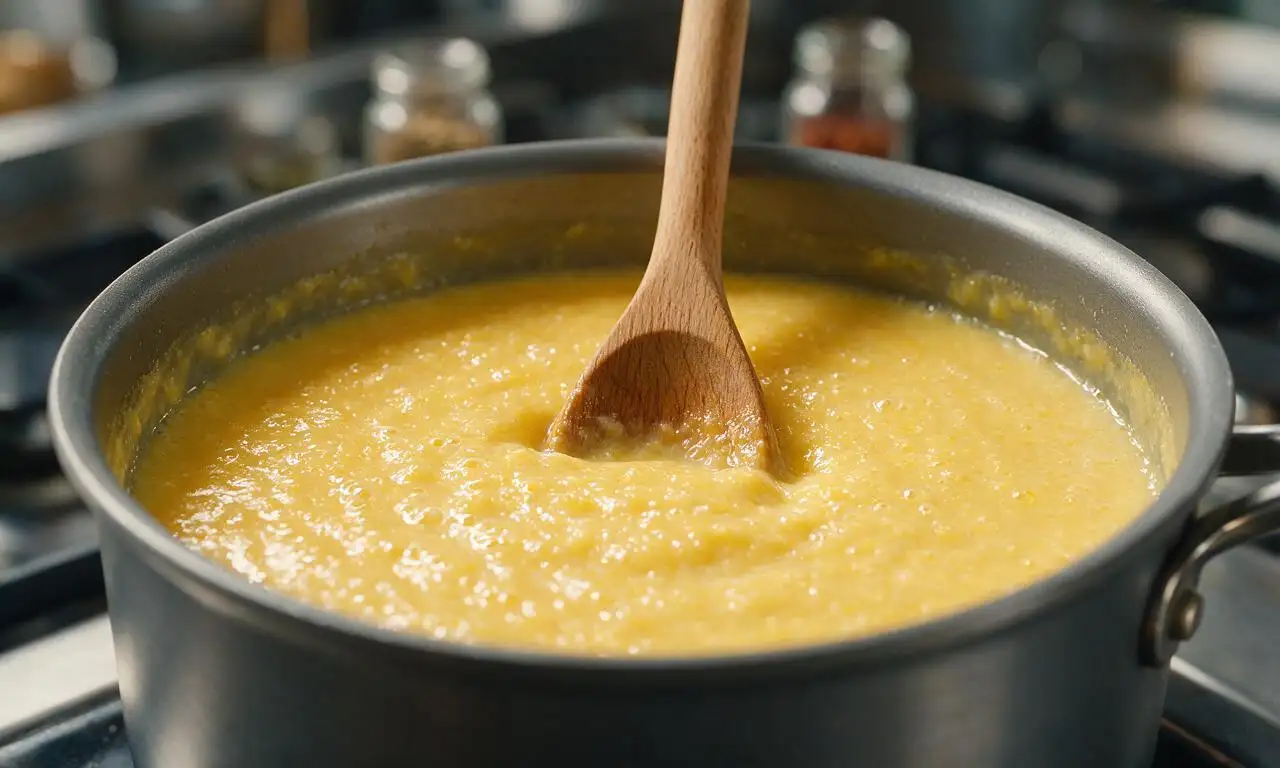
Return the 950ml reserved broth to the stockpot, and bring to a low simmer over medium heat. Whisk in kosher salt, dried sage, black pepper, and red pepper flakes until fully dissolved. Slowly stream in the cornmeal while whisking constantly to prevent dry lumps from forming. Continue cooking, stirring continuously with a stiff wooden spoon, for 8 minutes over medium-low heat, until the mixture thickens to a stiff, porridge-like consistency that pulls cleanly away from the pot sides.
Set the livermush loaf
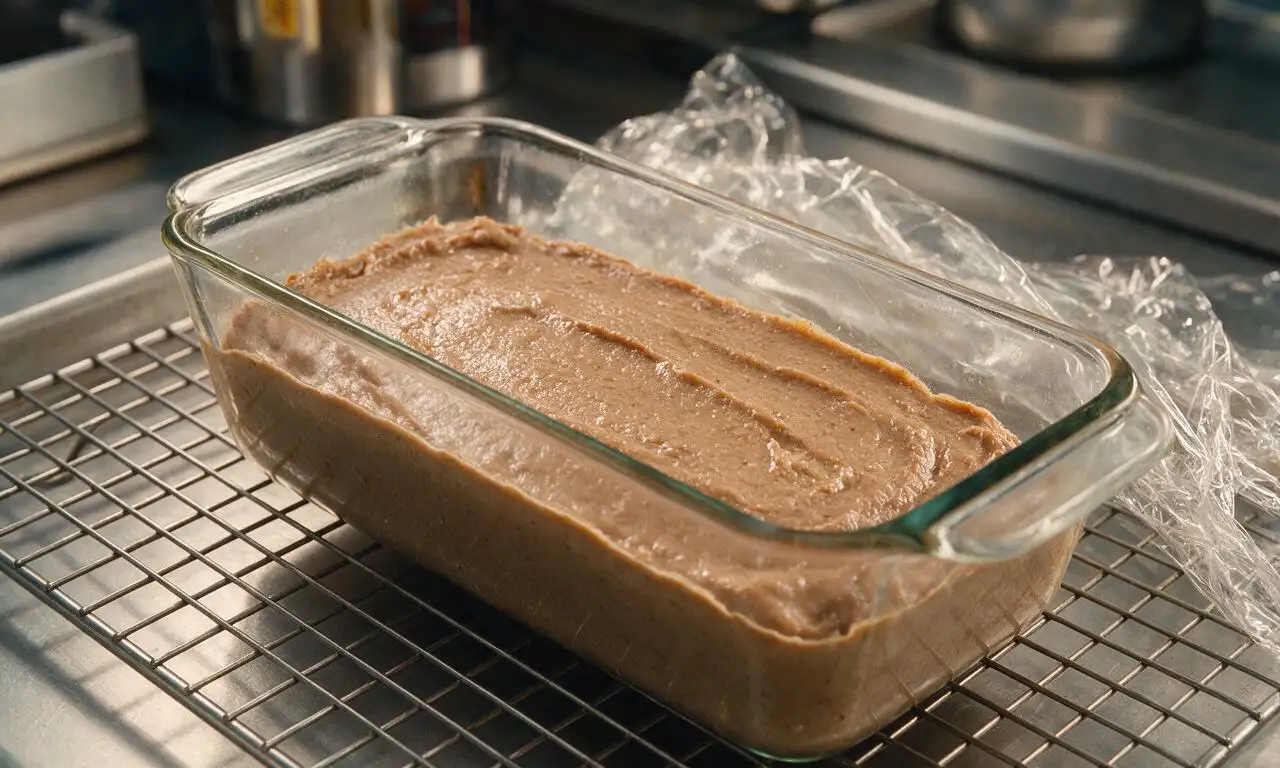
Stir the finely ground meat and onion mixture into the thickened cornmeal until fully combined, with no visible streaks of cornmeal or separate meat. Cook the combined mixture for 2 more minutes over low heat, stirring constantly to avoid sticking. Lightly grease a 23cm (9 inch) glass loaf pan with nonstick spray, then pour the hot livermush mixture into the pan, pressing firmly with a rubber spatula to eliminate air pockets and smooth the top surface. Let cool to room temperature for 20 minutes, then cover tightly with plastic wrap and refrigerate for 1 full hour until the loaf is completely firm and set.
Slice the chilled loaf
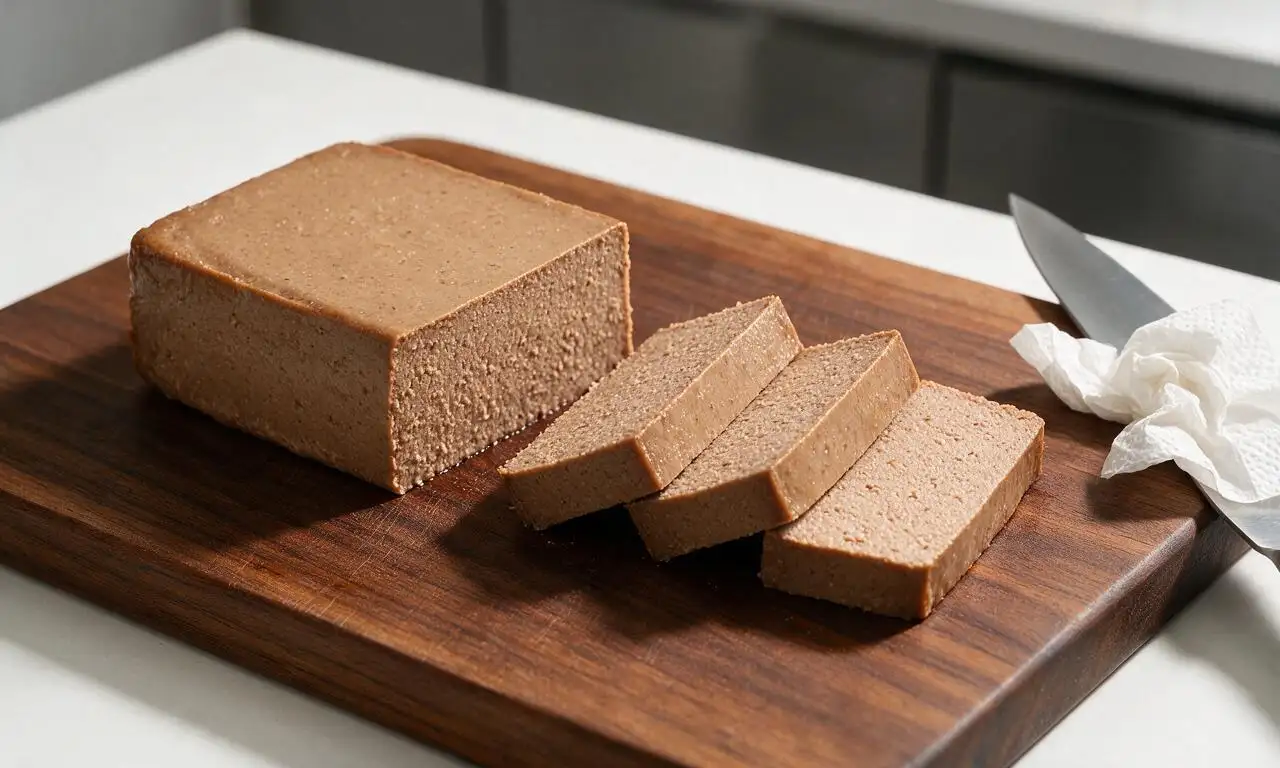
Remove the fully chilled, firm livermush from the refrigerator. Run a thin paring knife around the inner edges of the loaf pan to loosen the sides, then invert the pan onto a clean wooden cutting board to release the whole loaf. Use a sharp chef’s knife to cut the loaf into uniform 1.25cm (½ inch) thick slices, patting each slice lightly on both sides with a paper towel to remove excess surface moisture for crispier frying.
Pan-fry until crispy
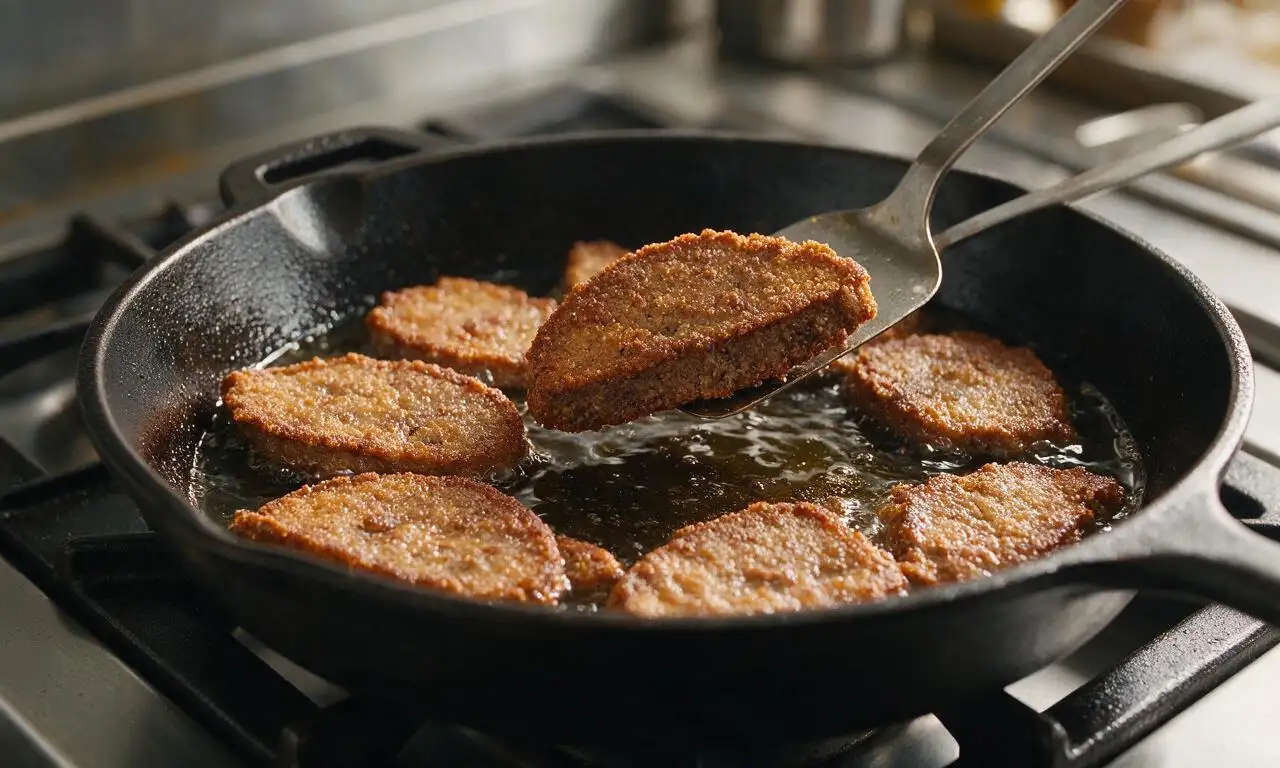
Heat 2 tablespoons of vegetable oil in a large 30cm (12 inch) cast-iron skillet over medium heat. Once the oil shimmers and moves easily across the pan, add livermush slices in a single layer, working in batches of 2-3 slices to avoid crowding the pan. Cook for 3-4 minutes per side, until the edges are deep golden brown and crispy, and the center of each slice is heated through. Transfer cooked slices to a paper-towel lined plate to drain excess oil for 1 minute before serving hot.
Tips
2.Patting sliced livermush dry with paper towels before frying is non-negotiable for a crispy exterior: excess surface moisture will cause slices to steam in the oil instead of developing a crunchy crust.
3.The fully set, unsliced livermush loaf will keep tightly wrapped in plastic wrap in the refrigerator for up to 7 days, so you can fry fresh slices as needed for quick breakfasts or weeknight meals.






OMG this tastes exactly like the livermush my papaw used to make for Saturday breakfasts when I was a kid growing up in western NC! I was so nervous I’d mess up the texture since it’s my first time making it, but the instructions were so clear. Sliced it thick, fried it up crispy, served with grits and fried eggs — my whole family cleared their plates. 10/10, will be making a double batch next month for our church potluck!
Game changer for my weekly meal prep! I made a big loaf Sunday night, sliced it into individual portions, and have been eating it for breakfast all week. It holds up so well in the fridge, and it’s way less processed than the store-bought stuff I used to grab. Only thing I added was a tiny pinch of red pepper flakes for a little heat, chef’s kiss.
Pretty solid recipe! Cook time was spot on, though I had to simmer the liver a little longer than noted because it was still a touch tough for my liking. Ended up blending it a bit smoother than the recipe says too, since that’s how my family prefers it. Tasted great on biscuits with a little apple butter.
Full transparency: I moved down to Alabama from New York last year and had never even heard of livermush before my neighbor brought me a slice. I was so skeptical but loved it, so I decided to try making it myself with this recipe. Wait — is it supposed to be this crumbly when I go to slice it? I followed all the steps exactly, let it chill overnight like it said, but it’s falling apart when I cut it. Did I do something wrong?
SO good. Made this for our family fishing trip last weekend, cooked it up over the campfire on a cast iron skillet, and even my teen boys who turn their nose up at anything “organ meat” were going back for seconds. We put it on white bread with a little yellow mustard, classic style. 100% adding this to our regular camping rotation.
Quick question for anyone who’s made this — is there a way to adjust this to be gluten free? I know a lot of traditional livermush recipes use wheat flour or breadcrumbs as a binder, and I can’t have gluten. Would cornmeal work as a swap?
I upped the sage and added a little smoked paprika and black pepper to this, and wow, it’s perfect. Reminds me of the livermush I used to get at the little diner off the highway in my hometown. Pro tip: don’t skip the step of grinding the meat twice, it makes the texture so much smoother.
Brought this to our neighborhood block party last weekend and I swear people were asking me for the recipe before they even finished their first bite! A couple people said they’d never tried livermush before and were shocked how much they loved it. The only bummer was I didn’t make enough — it was gone in 15 minutes flat!
This is such an affordable recipe to make for a crowd! Liver is so cheap at the grocery store, and a single loaf feeds like 8 people for breakfast. I calculated it out and it’s less than $1 per serving, which is wild for how flavorful it is. My kids loved it with a drizzle of maple syrup, weirdly enough, but I’m not complaining.
Good, solid traditional recipe, no weird fancy add-ins that ruin the classic flavor. I’ve been making livermush for over 40 years, and I tried this recipe last week when my grandson asked for it for his birthday breakfast. It turned out just as good as my old go-to recipe, I might even switch to this one permanently. The ratio of sage to liver is perfect, not too overpowering.
Wait, I’m a little intimidated by the 2.5 hour cook time — is this recipe actually doable for someone who’s only really made basic stuff like scrambled eggs and pasta? I love livermush from the local meat market but I’ve never tried making any kind of charcuterie or loaf meat at home before, I don’t want to waste a bunch of ingredients.
Who says livermush is only for breakfast? I sliced this up, pan fried it crispy, and put it on a sandwich with caramelized onions, melted swiss, and a little dijon for dinner last night. It was insane, my roommate thought I ordered it from a fancy sandwich shop. 10/10, will be making this for dinner all the time now.
I was worried there would be too much sage in this because a lot of livermush recipes go overboard with it, but the balance here is perfect. I did cut the sage back by about a teaspoon just to be safe, and it was still plenty flavorful. Next time I might add a tiny bit of thyme to mix it up, but the base recipe is chef’s kiss.