
Livermush / Liver Pudding
intro
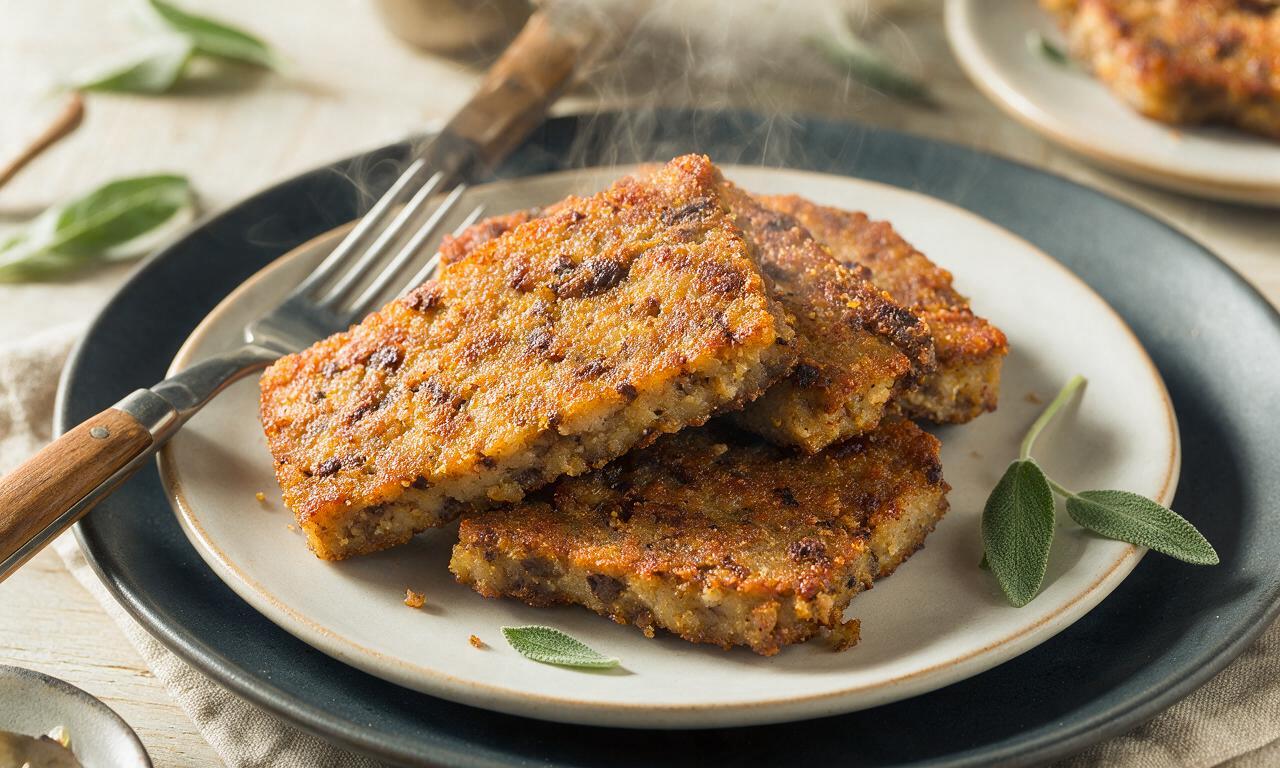
A sage-scented, hearty Southern Appalachian staple made with ground pork, liver, and cornmeal, sliced and pan-fried to crispy golden perfection for cozy, satisfying meals.
Ingredients
Steps
Simmer pork and liver
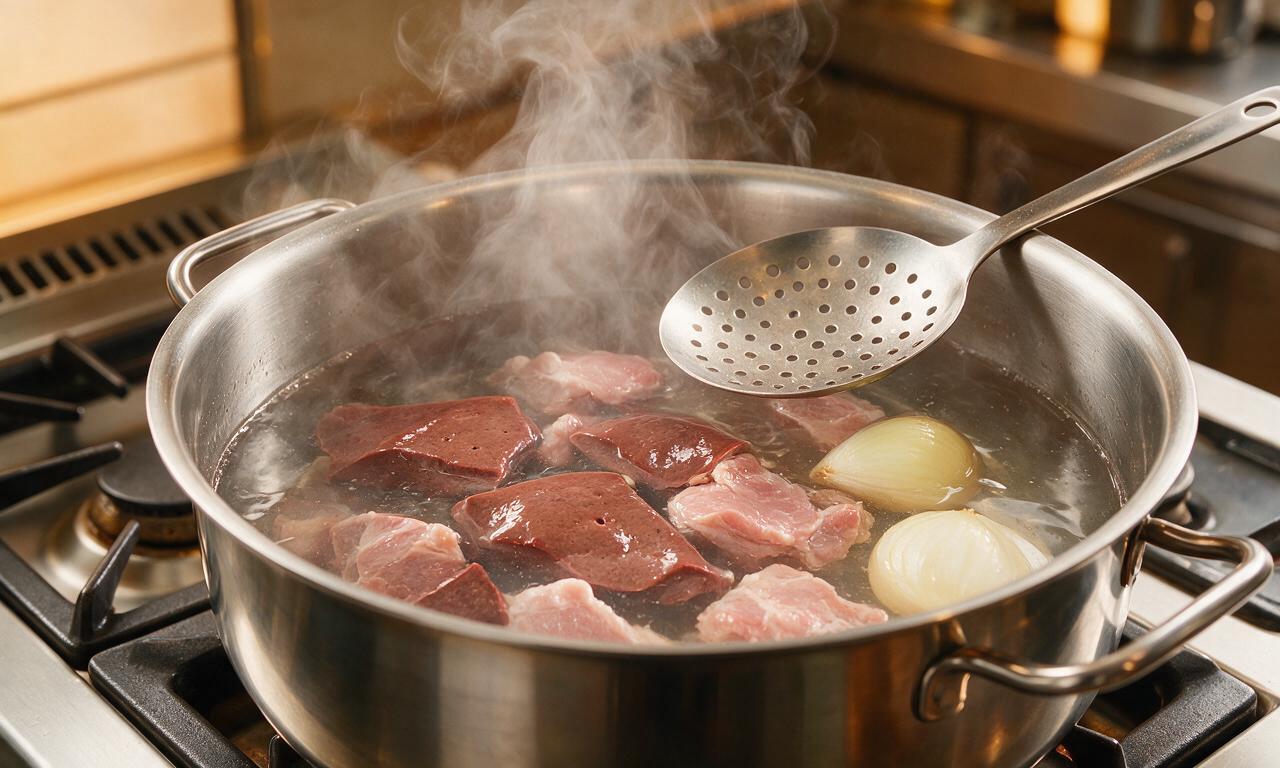
Place 450g trimmed pork liver, 450g cubed pork shoulder, and 150g quartered yellow onion in a large stockpot, pour in 1.2L cold water to fully submerge all ingredients. Bring to a rolling boil over medium-high heat, then reduce heat to medium-low, cover, and simmer for 45 minutes until pork is fork-tender, skimming any gray foamy residue from the water surface every 10 minutes with a slotted spoon.
Grind cooked meat mixture
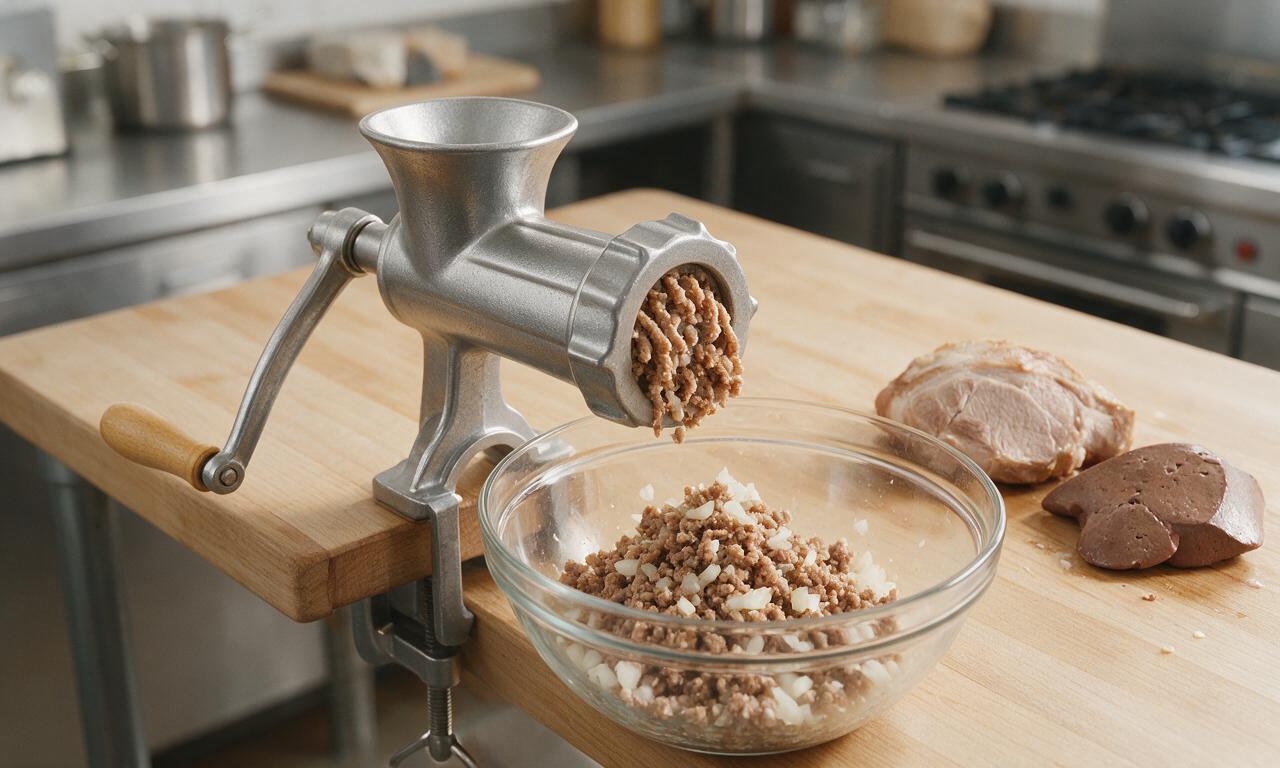
Use a slotted spoon to lift all cooked liver, pork, and onion from the pot, transfer to a rimmed plate, and reserve exactly 720ml (3 cups) of the hot savory cooking liquid, discarding any remaining liquid. Let the meat rest for 10 minutes until cool enough to handle, then run it through a meat grinder fitted with a fine grinding plate, or pulse in a food processor in 3 equal batches until evenly finely ground, taking care not to overprocess into a smooth paste.
Cook cornmeal base
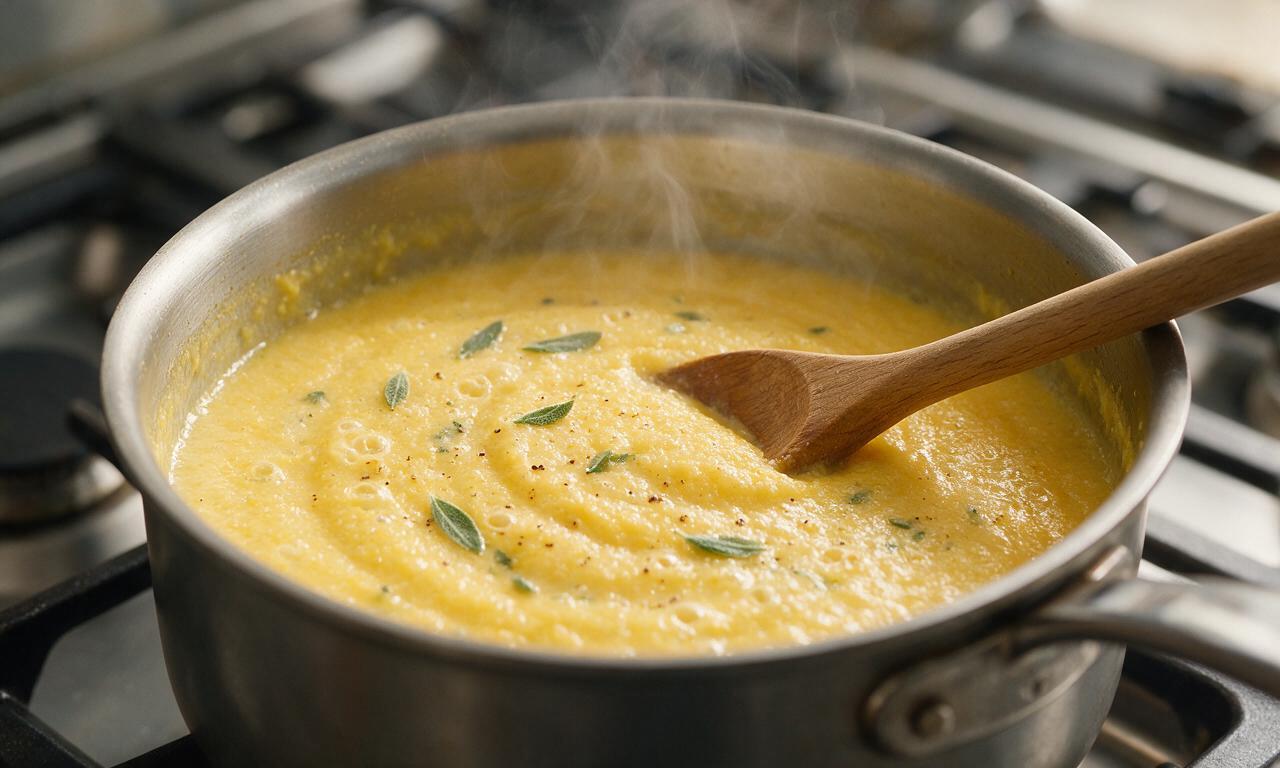
Pour the reserved 720ml cooking liquid back into the stockpot, and bring to a gentle simmer over medium heat. Slowly whisk in 180g fine yellow cornmeal, 1 tablespoon dried rubbed sage, 2 teaspoons kosher salt, 1 teaspoon black pepper, and 1/2 teaspoon red pepper flakes, stirring constantly to prevent dry lumps from forming. Reduce heat to low, cover, and cook for 15 minutes, stirring thoroughly every 3 minutes, until the cornmeal is fully thickened and no longer gritty when tasted.
Combine meat and cornmeal
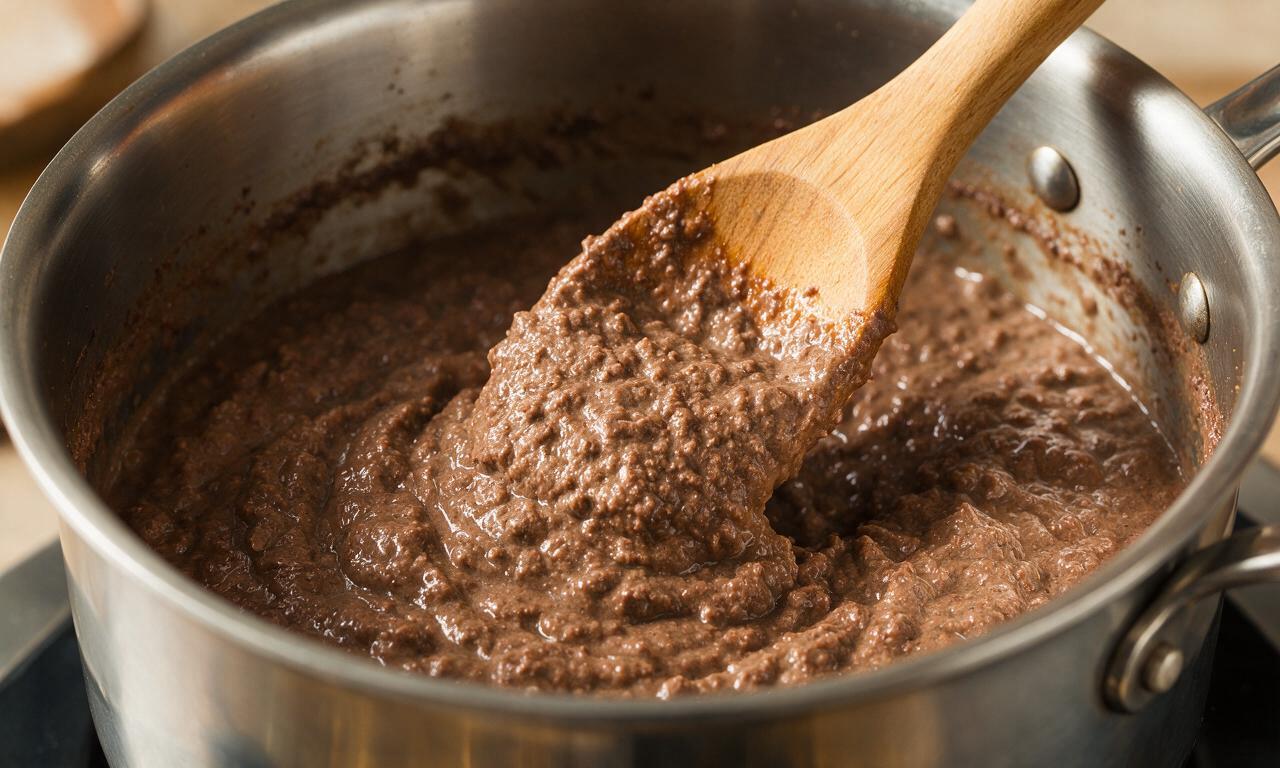
Add the finely ground liver, pork, and onion mixture to the thickened cornmeal in the pot, stir vigorously with a stiff wooden spoon over low heat for 5 minutes until the mixture is completely uniform, with no visible streaks of separate cornmeal or ground meat. The finished mixture will be very dense, pulling cleanly away from the pot sides as you stir.
Mold and chill loaf
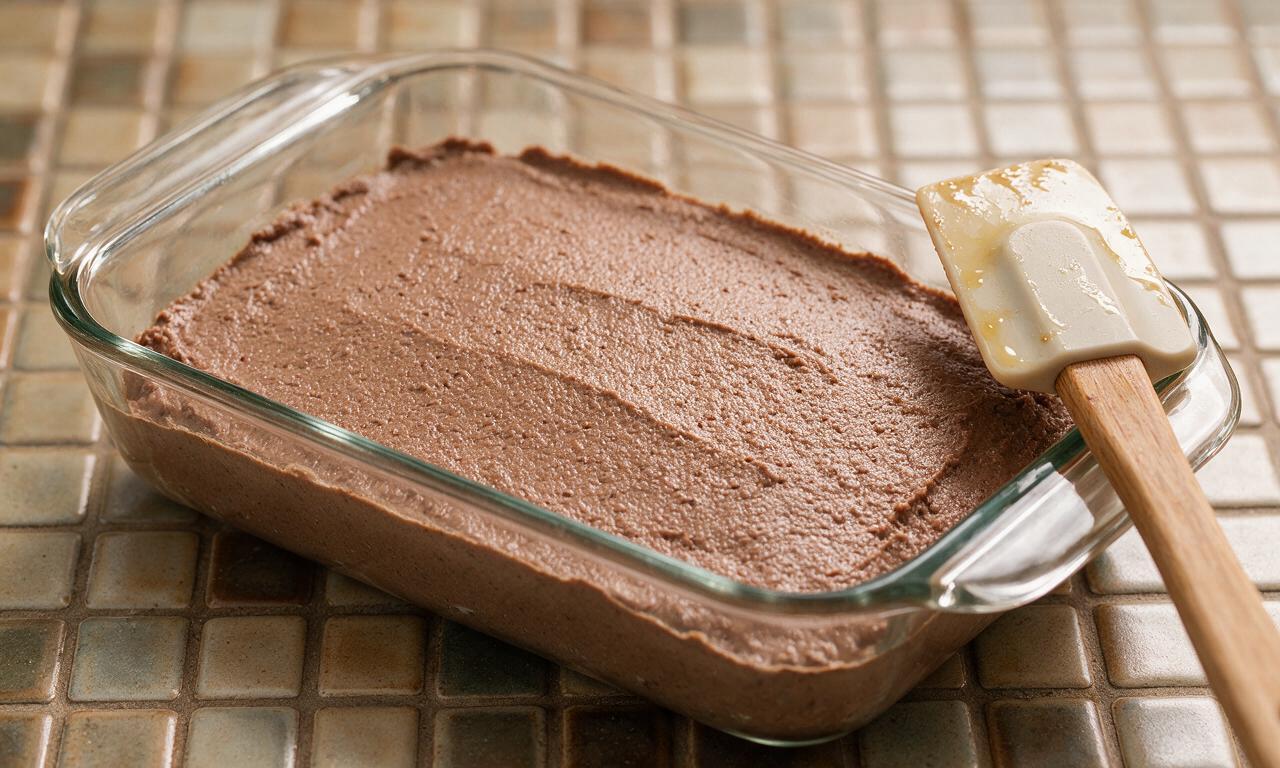
Lightly coat the inside of a 23cm (9 inch) glass loaf pan with a thin layer of neutral oil, then spoon the hot livermush mixture into the pan, pressing firmly with the back of a greased spoon to eliminate trapped air pockets and smooth the top into an even layer. Let the pan cool on the counter for 30 minutes to reach room temperature, then cover tightly with plastic wrap and refrigerate for a minimum of 4 hours (or overnight) until the loaf is completely firm and easy to slice.
Fry slices to serve
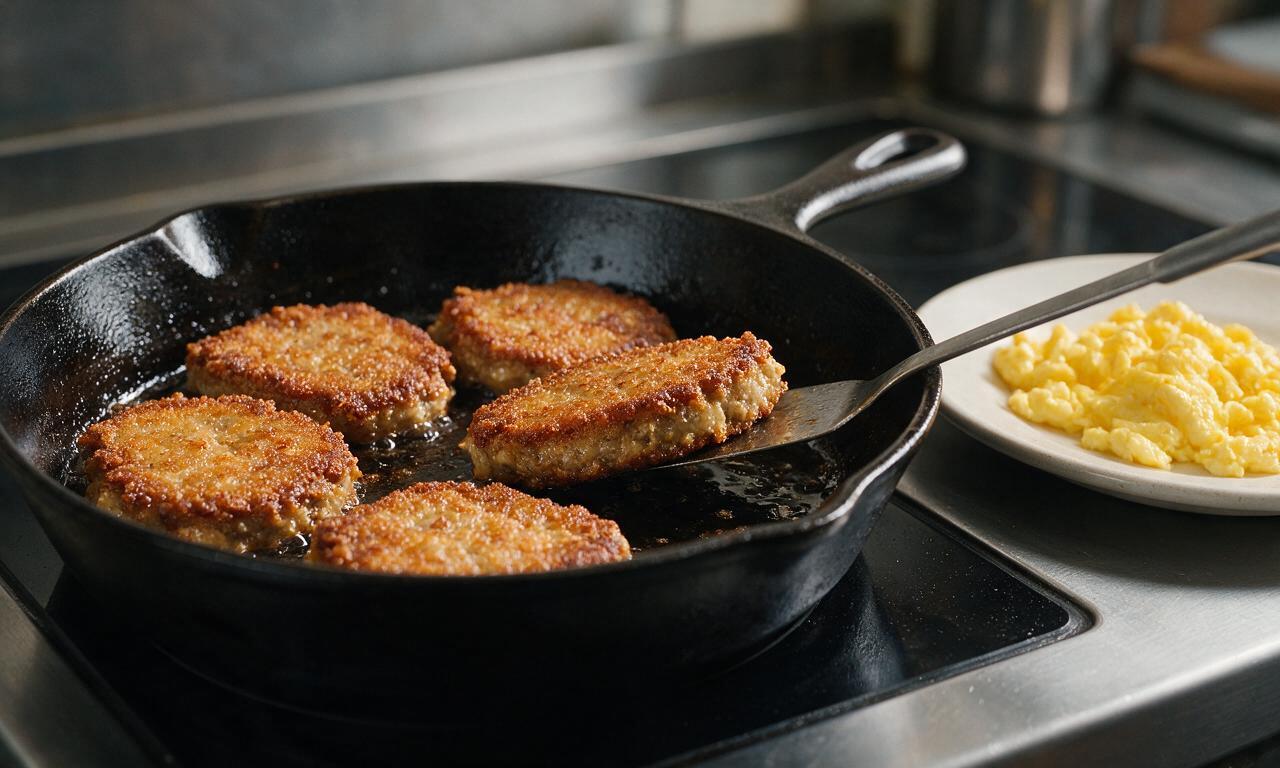
Once fully chilled, invert the loaf pan to turn the firm livermush loaf out onto a cutting board, and cut into 1cm (1/2 inch) thick even slices. Heat 1 tablespoon of neutral oil in a cast iron skillet over medium heat, add slices in a single layer without overcrowding the pan, and fry for 3 minutes per side until the edges are crispy and deep golden brown, and the center is warmed all the way through. Serve hot alongside scrambled eggs, grits, or buttery biscuits.
Tips
2.For extra-crispy fried slices, pat the surface of each chilled livermush slice dry with a paper towel before adding to hot oil; excess surface moisture will cause steaming instead of crisp, golden browning.
3.The fully chilled, unsliced livermush loaf will keep tightly wrapped in plastic in the refrigerator for up to 1 week, making it ideal for quick, pre-prepped weekday meals.
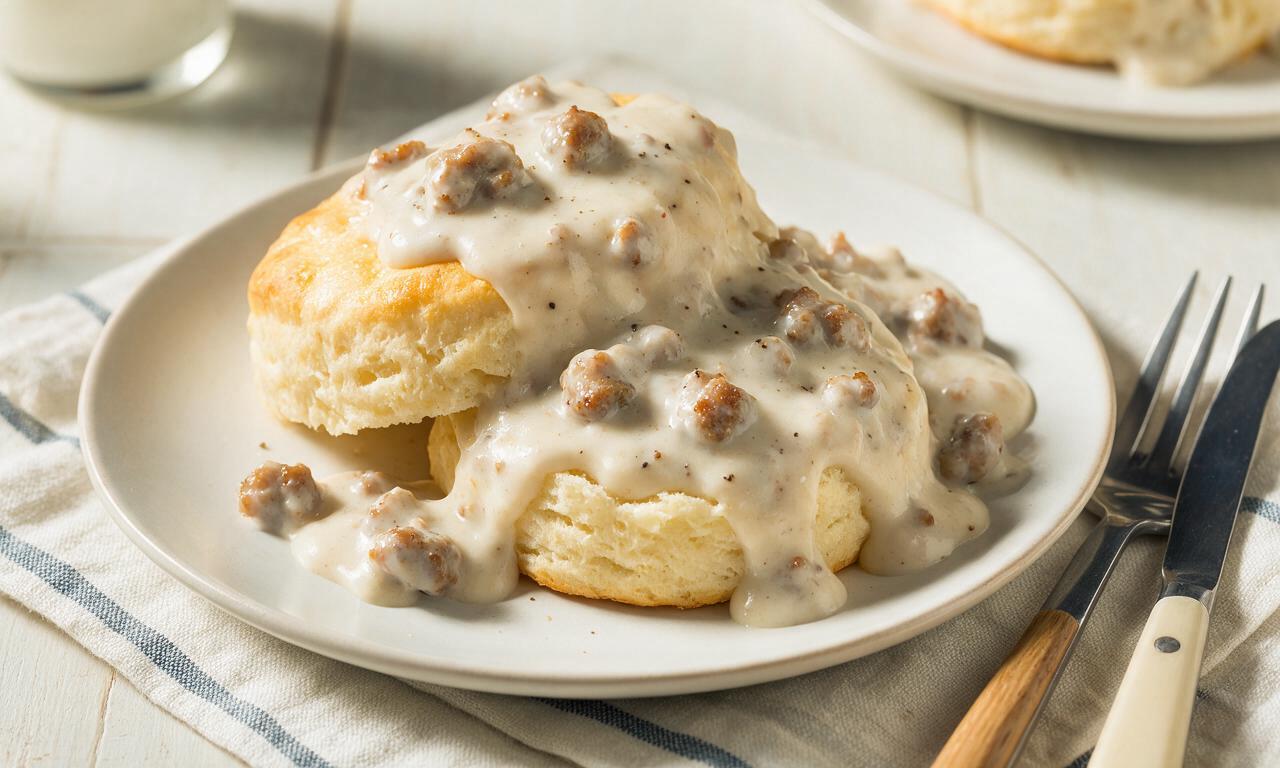


OMG y’all, this livermush recipe tastes EXACTLY like the stuff my granddaddy used to bring home from the small-town butcher shop in western NC when I was a kid! I made it for Sunday breakfast last weekend, served it pan-fried crispy with grits and fried eggs, and my whole crew went back for seconds. Even my super picky 10 year old who turns his nose up at all organ meats ate two pieces! Game changer for weekend meal prep too, I sliced up the whole loaf and froze portions for quick weekday breakfasts. Only note: I added a tiny extra pinch of sage because my family loves that warm herby flavor. 10/10 will make again and again!
Pretty solid recipe! Cook time was spot on for me, though I will say I had to run my mixture through the food processor an extra two times to get that super smooth texture I look for in liver pudding. I brought a sliced, fried platter of it to my office potluck earlier this week and half the team was asking for the recipe. Knocked a star off only because I wish there was a note about how long it keeps in the fridge – mine started to get a little slimy after day 6, so next time I’ll freeze half like the other commenter mentioned.
Whoa, I never thought I could make livermush at home! I grew up eating it on camping trips with my dad but always assumed it was some super complicated butcher-only thing. Made this last night, let it chill overnight, had it for breakfast this morning pan-fried with a little apple butter on the side (don’t knock it till you try it) and it was SO good. Way less salty than the store-bought stuff I’ve picked up at the grocery store too. Definitely adding this to my regular camping meal prep rotation!
Flavor was great, but I ran into a texture issue? I followed the recipe exactly, but after the 4 hour chill time, the loaf was super crumbly and wouldn’t hold together when I tried to slice it for frying. Did I do something wrong? I used pork liver as called for, didn’t skimp on the cornmeal, let it simmer the full time… pretty bummed because the little crumbly bits I fried up tasted amazing, I just wanted nice clean slices!
Okay, hear me out: I fried up slices of this, put them on warm flour tortillas with scrambled eggs, pickled jalapeños, and a drizzle of hot honey, and it might be the best breakfast taco I’ve ever made in my life. I’m from south Texas so I didn’t grow up with livermush at all, I saw this recipe pop up on my feed and decided to give it a shot on a whim. Absolute home run, my roommate already asked me to make another batch next weekend.
This is such an affordable, high-protein meal option! I got a whole pound of pork liver for under $3 at my local grocery store, plus the other ingredients are all pantry staples I already had on hand. I seasoned mine with a little extra black pepper and red pepper flakes for a tiny kick, and it’s been perfect for quick breakfasts before my early morning shifts. Way better than paying for expensive frozen breakfast sandwiches that are loaded with weird preservatives. 10/10 for budget cooks!
Good, solid livermush recipe. I’ve been making my own for 40+ years, and this one is pretty close to my old family recipe, though I always add a pinch of cloves and a little bit of cooked, crumbled bacon to the mix for extra depth. Only complaint is the 4 hour chill time feels a little long – I usually get away with 2.5 hours in my fridge set to 34 degrees, but I guess it’s better to tell new cooks to chill longer so they don’t end up with crumbly slices like the other reviewer mentioned. Will be sharing this with my grandson who’s been asking to learn how to make old-school southern breakfasts.