
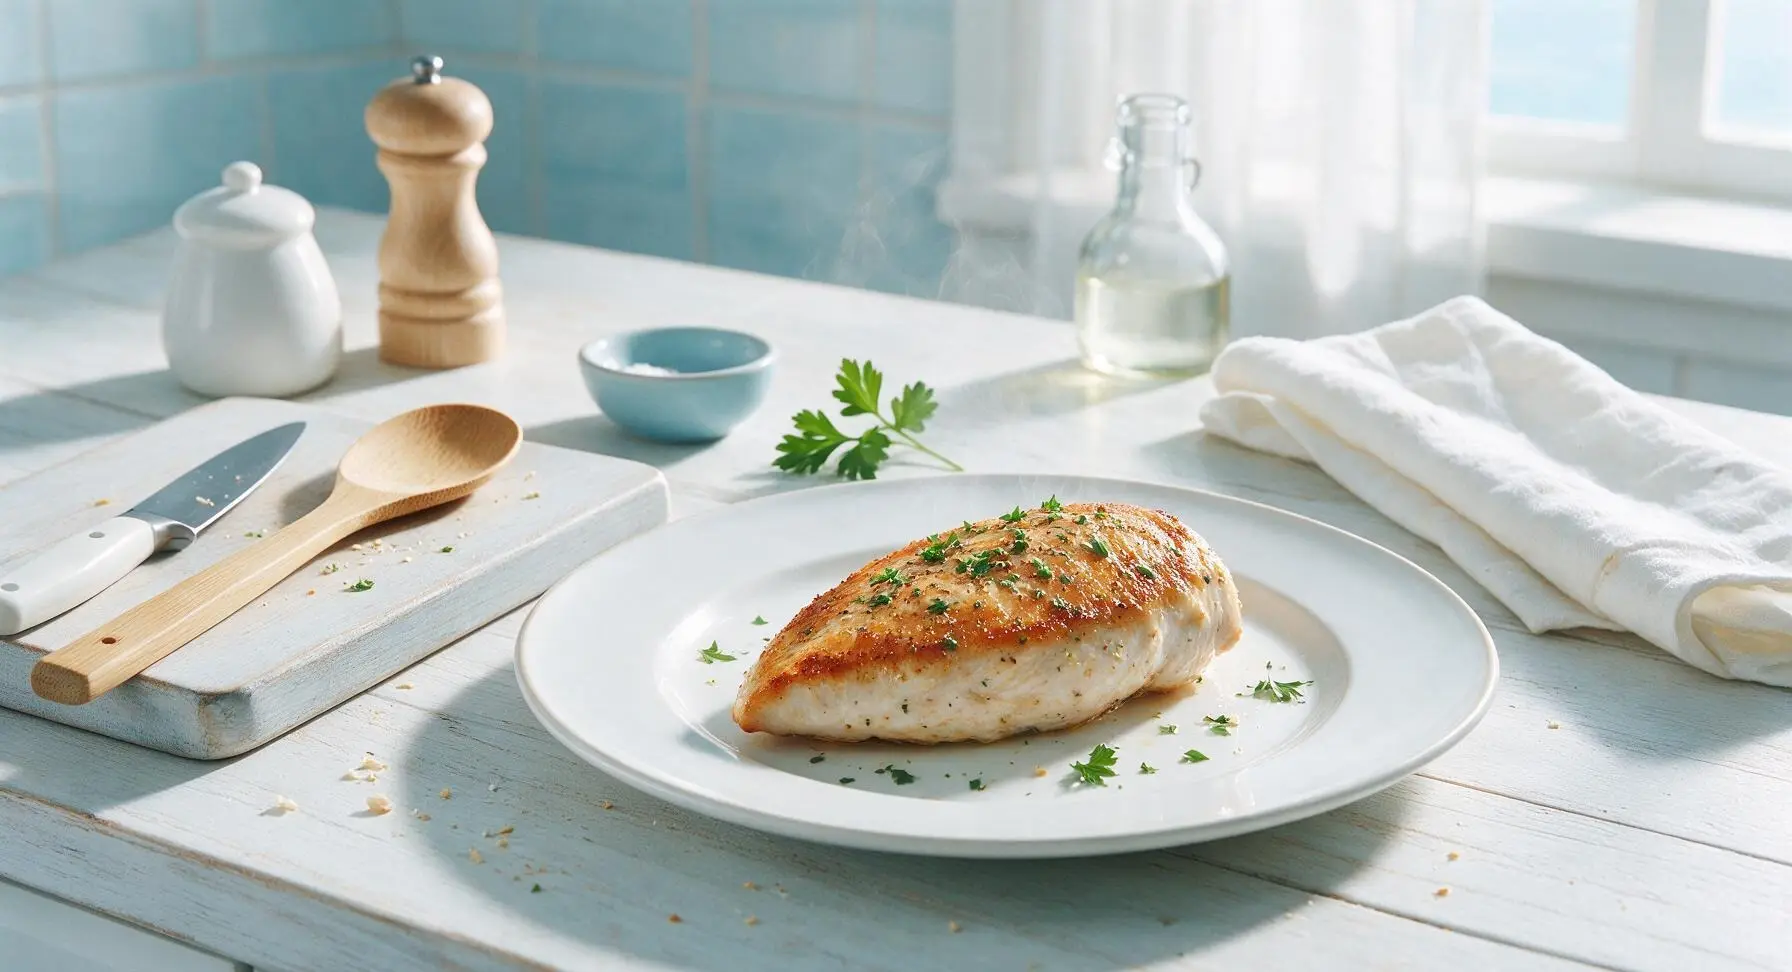
low calorie chicken

title 1
low calorie chicken
⏱️ cook time 15 minutes
🍽️ servings 4
⚡ Difficulty easy

intro

Juicy, crisp-seared lemon herb chicken breast with bright, fresh flavor, clocking in at just 220 calories per serving. A fast, high-protein meal perfect for easy healthy weeknights.

Ingredients
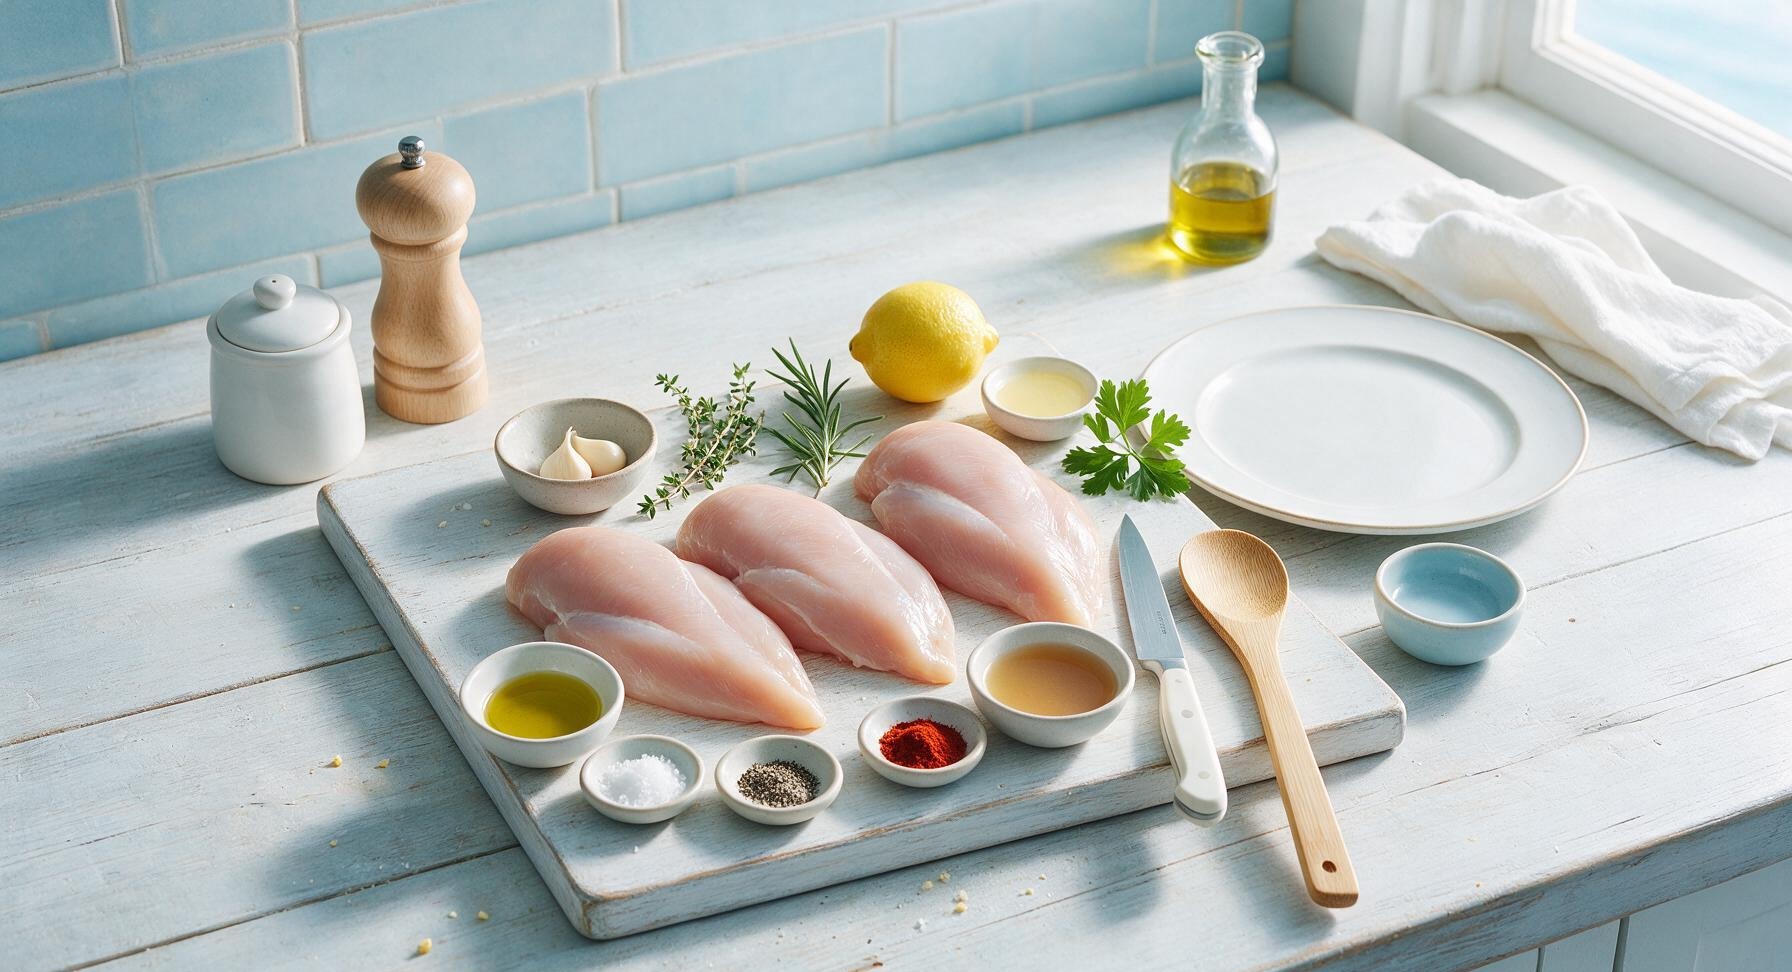
Boneless, skinless chicken breasts 680g (4 pieces, ~170g each)
Extra virgin olive oil 1 tsp
Garlic cloves 2 cloves, minced
Fresh lemon 1 medium (zest + 2 tbsp juice)
Fresh thyme 3 sprigs
Fresh rosemary 1 sprig
Kosher salt 1/2 tsp
Freshly ground black pepper 1/4 tsp
Smoked paprika 1/4 tsp
Low-sodium chicken broth 2 tbsp

Steps

1

Trim Chicken Breasts

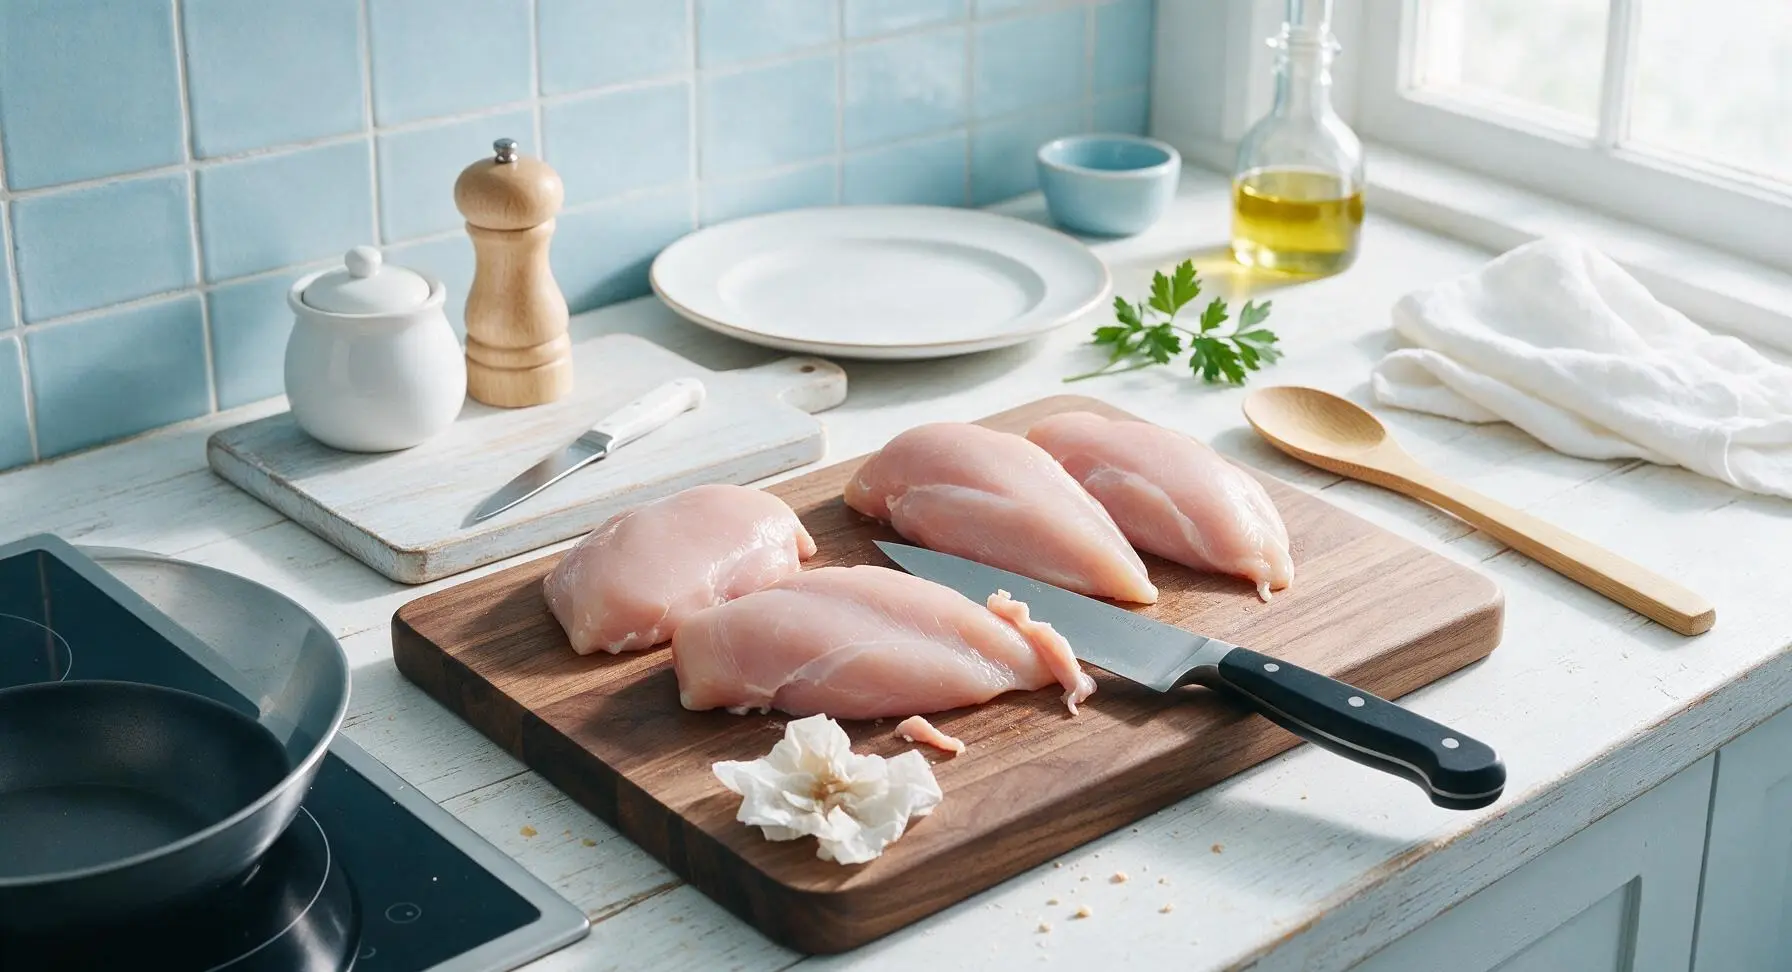
Place the 4 boneless, skinless chicken breasts (170g each) on the walnut cutting board. Use the 8-inch chef knife to trim any visible excess fat or thin silver skin from the breast edges. Pat each breast completely dry on all sides with a paper towel (discard the used towel after use) to ensure a crisp, even sear; excess surface moisture will cause chicken to steam instead of browning. The chicken should feel dry to the touch with no wet, slippery spots.
Step 1
step1:Trim Chicken Breasts
2

Mix Herb Seasoning

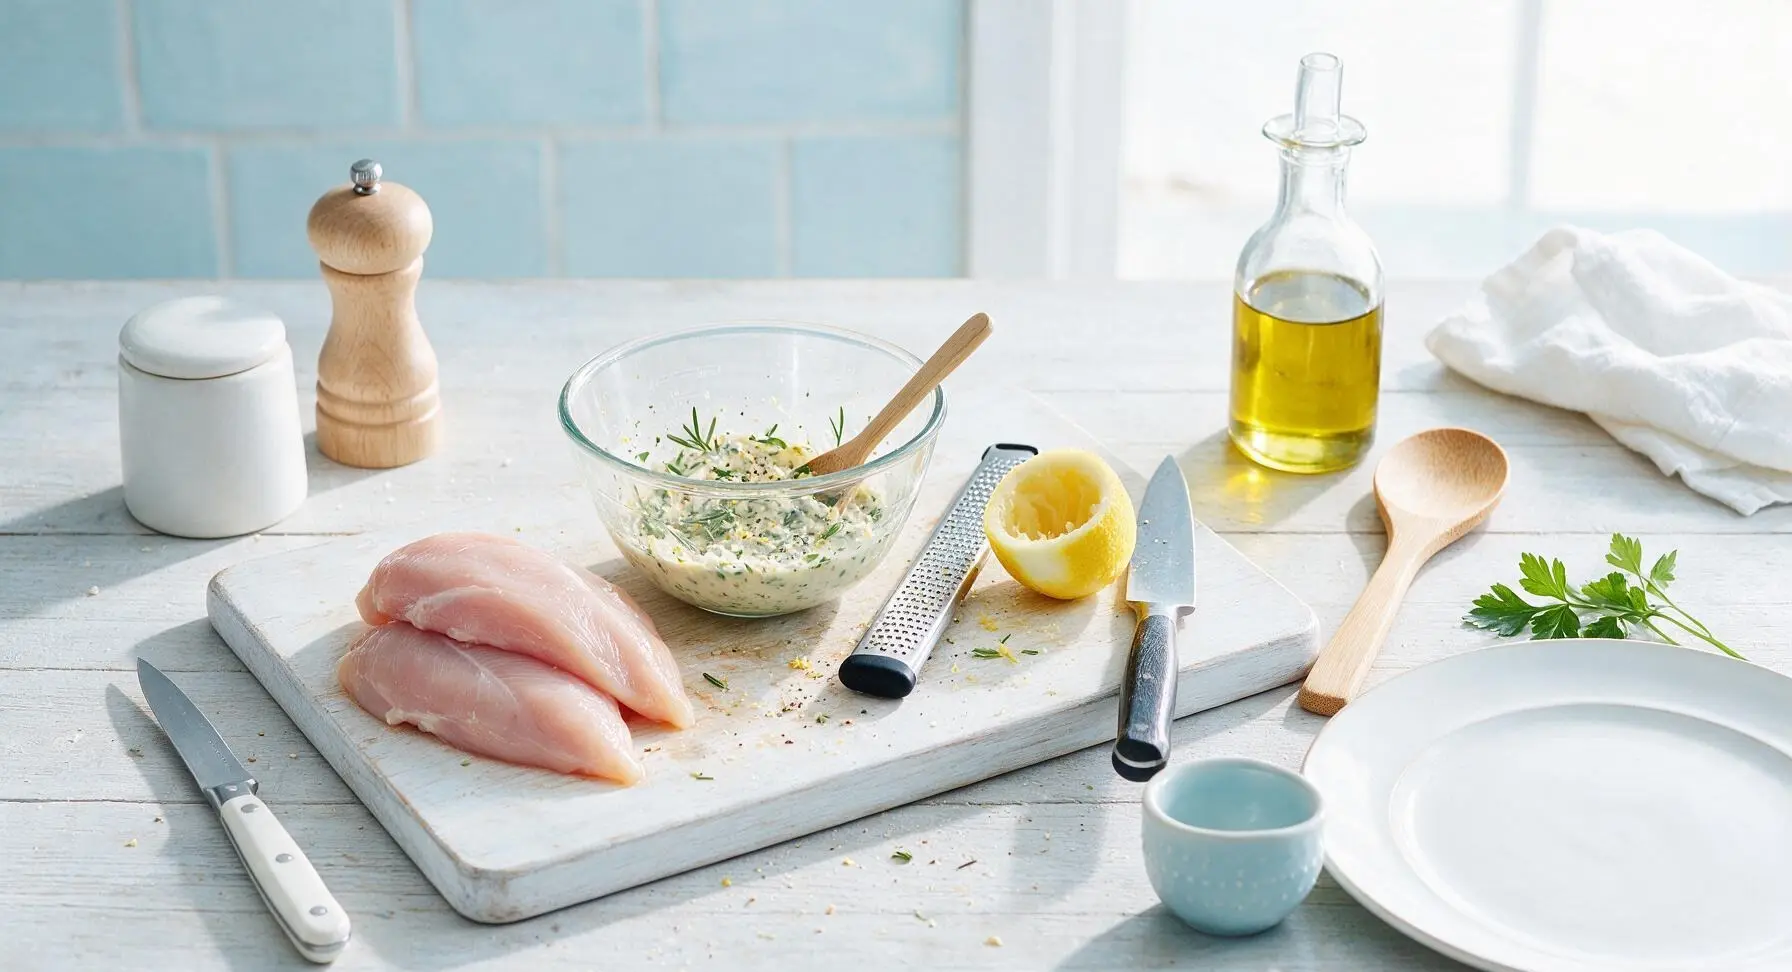
In the small clear glass mixing bowl, combine 1/2 tsp kosher salt, 1/4 tsp freshly ground black pepper, 1/4 tsp smoked paprika, 1 tsp finely chopped fresh rosemary leaves stripped from the stem, 1 tsp fresh thyme leaves, and the finely grated zest of the whole lemon (zested using the microplane zester). Stir the mixture with a small spoon to evenly distribute the herbs, spices, and lemon zest.
Step 2
step2:Mix Herb Seasoning
3

Season Chicken Evenly

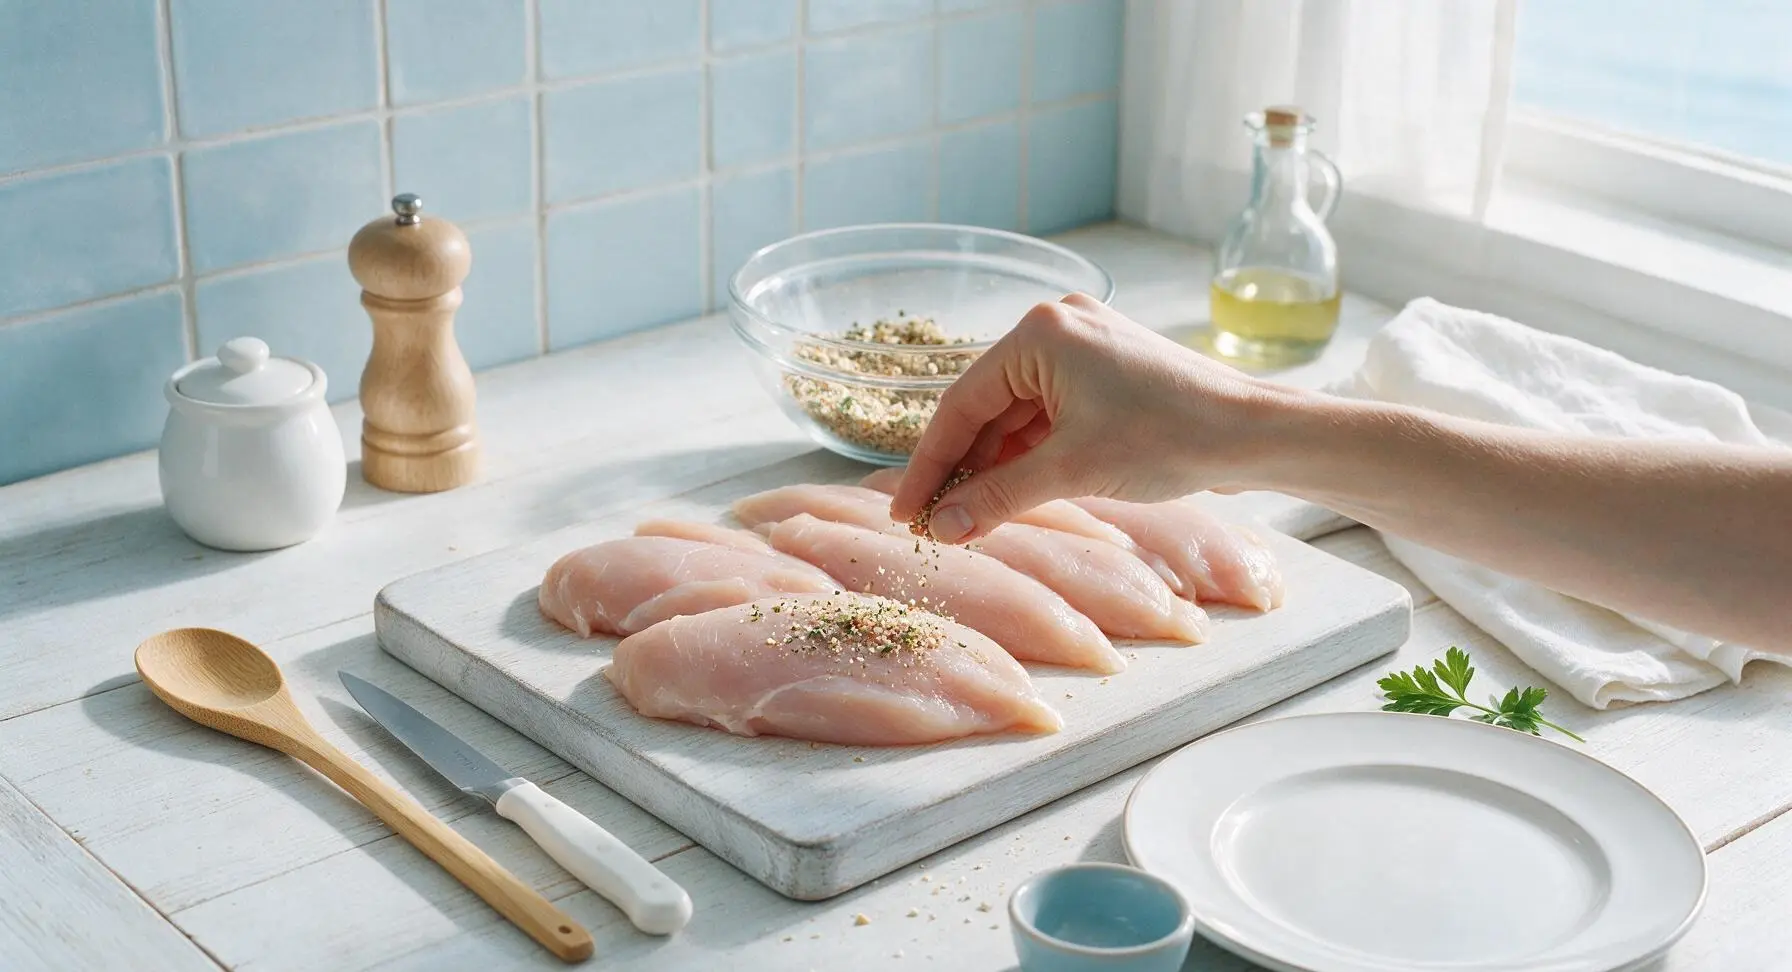
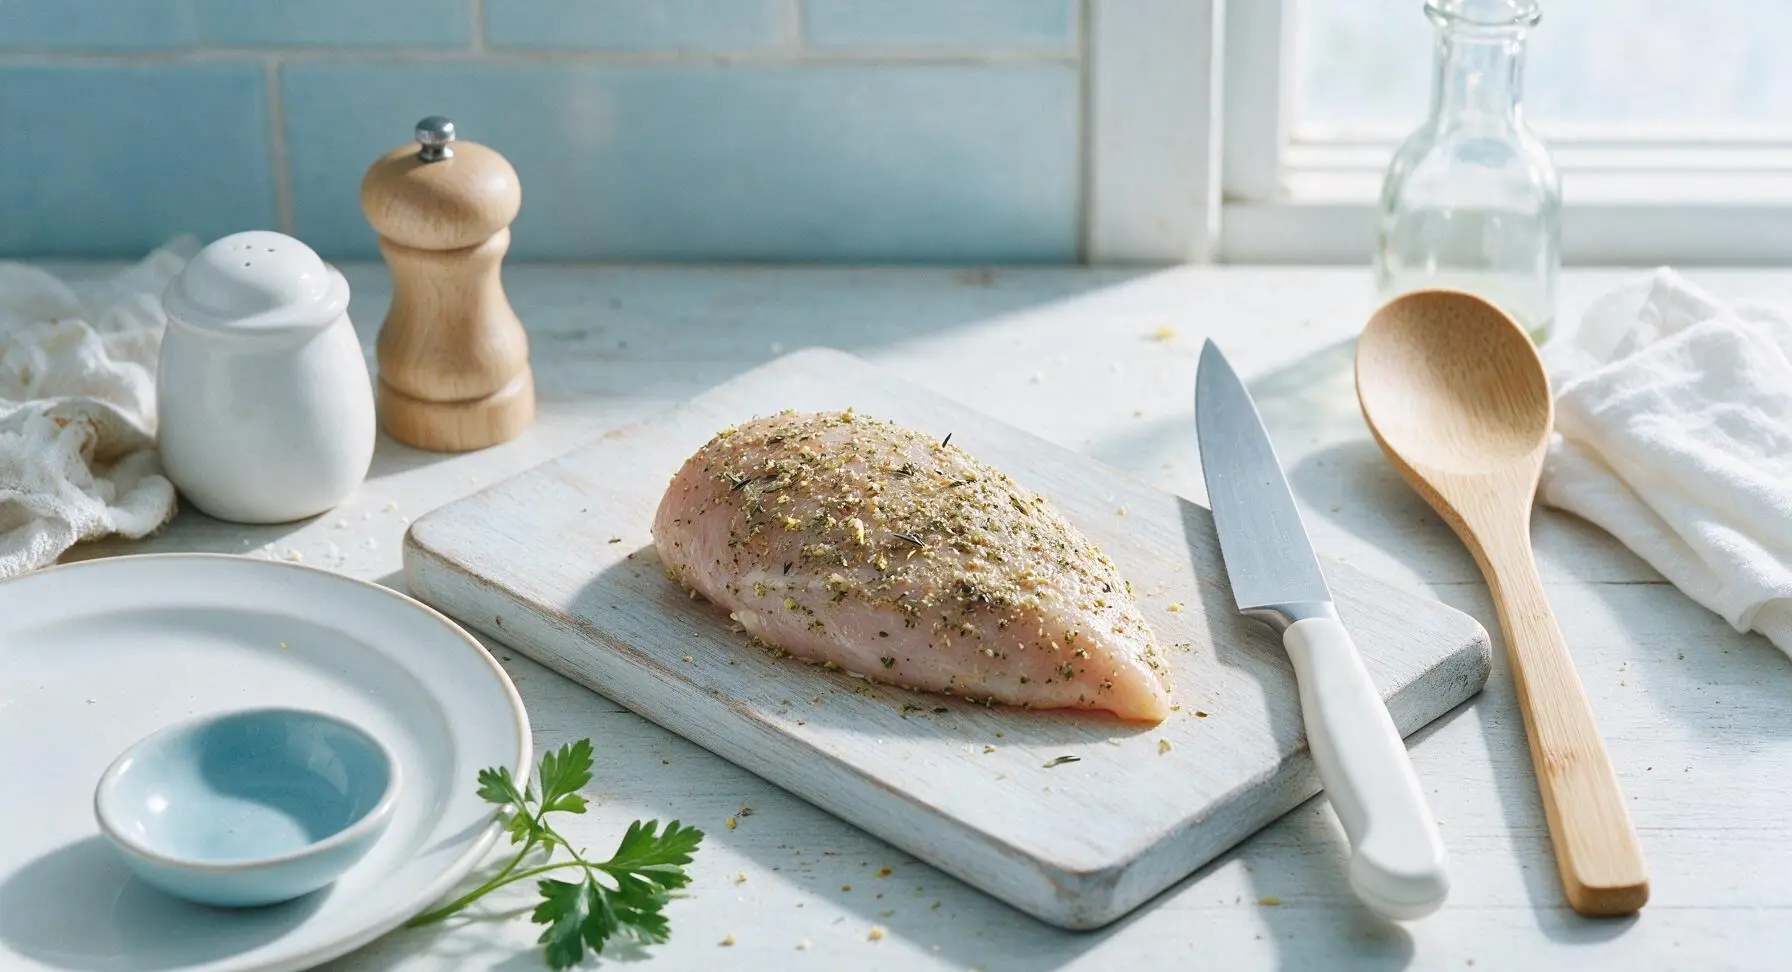
Sprinkle the herb seasoning mix evenly over both sides of each dried chicken breast, rubbing lightly with your fingertips to press the seasoning into the meat surface. Let the seasoned chicken rest for 5 minutes at room temperature to allow the seasoning to adhere and the chicken to come to a slightly cool room temperature, which promotes even cooking.
Step 3
step3:Season Chicken Evenly
Step 3
step3:Season Chicken Evenly
4

Preheat Pan With Oil

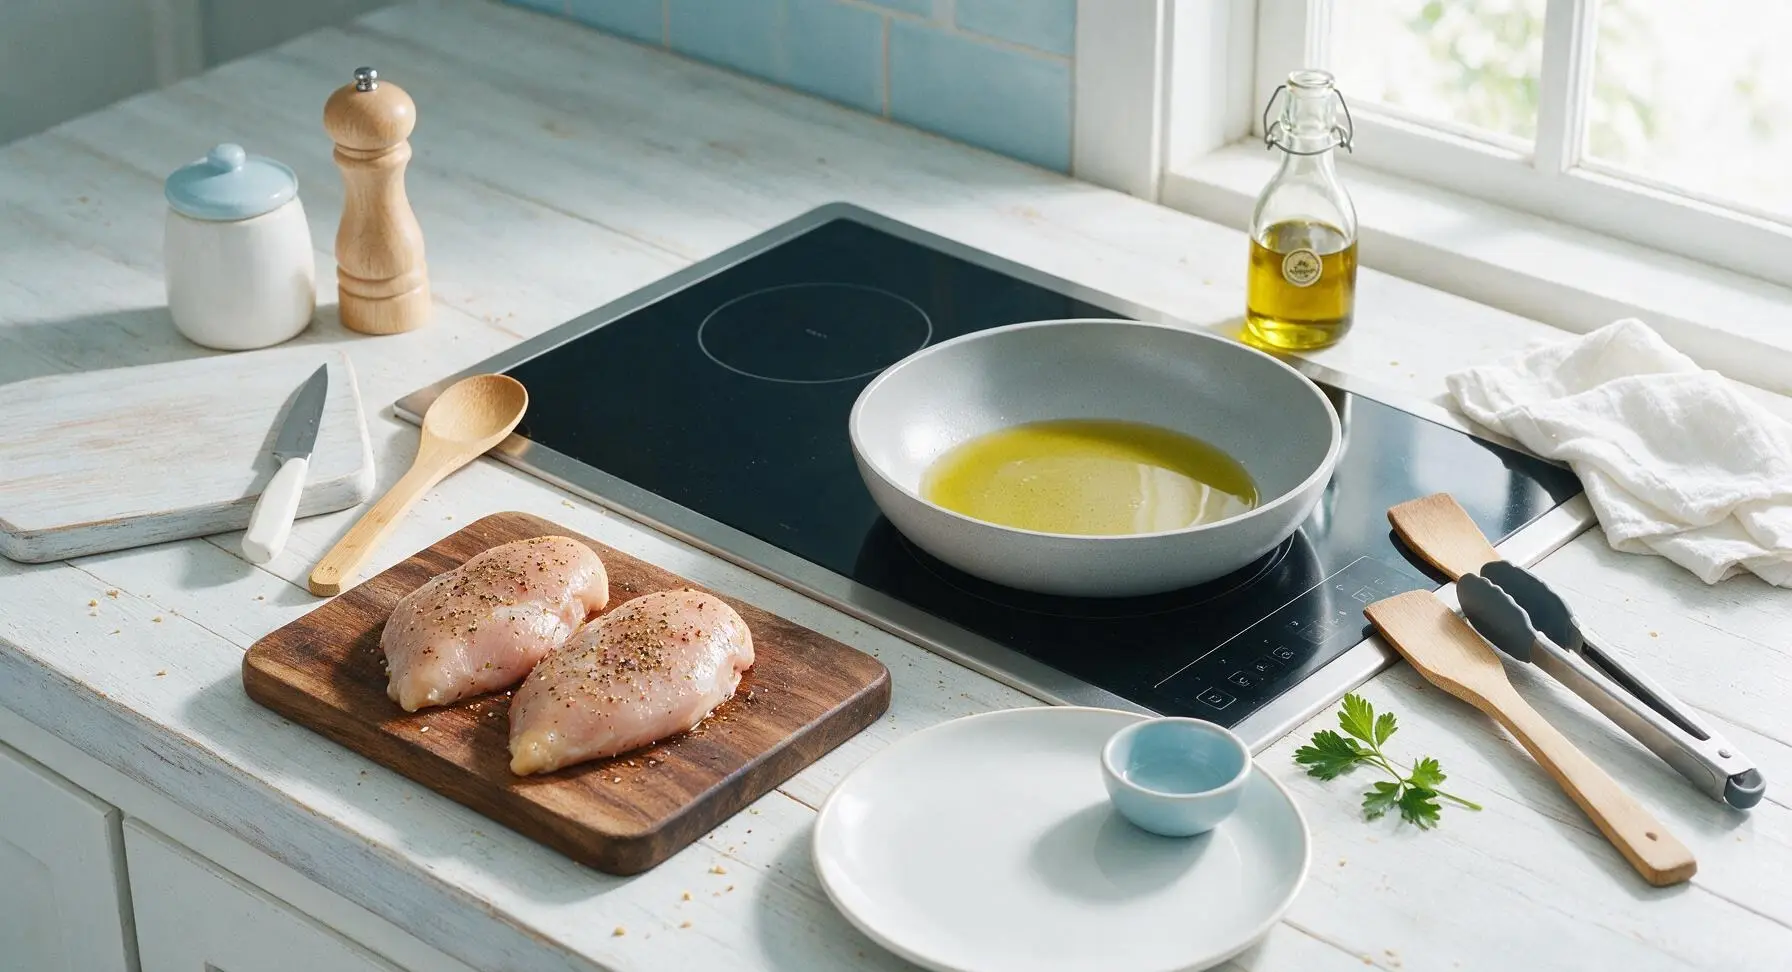
Retrieve the 10-inch matte light gray ceramic non-stick skillet from the lower cabinet and place it on the right-side induction cooktop zone. Set heat to medium (375°F / 190°C), add the 1 tsp extra virgin olive oil, and swirl the pan to coat the bottom evenly. Heat for 2 minutes until the oil shimmers lightly but does not smoke; smoking oil indicates the pan is too hot and will burn the seasoning before the chicken cooks through.
Step 4
step4:Preheat Pan With Oil
5

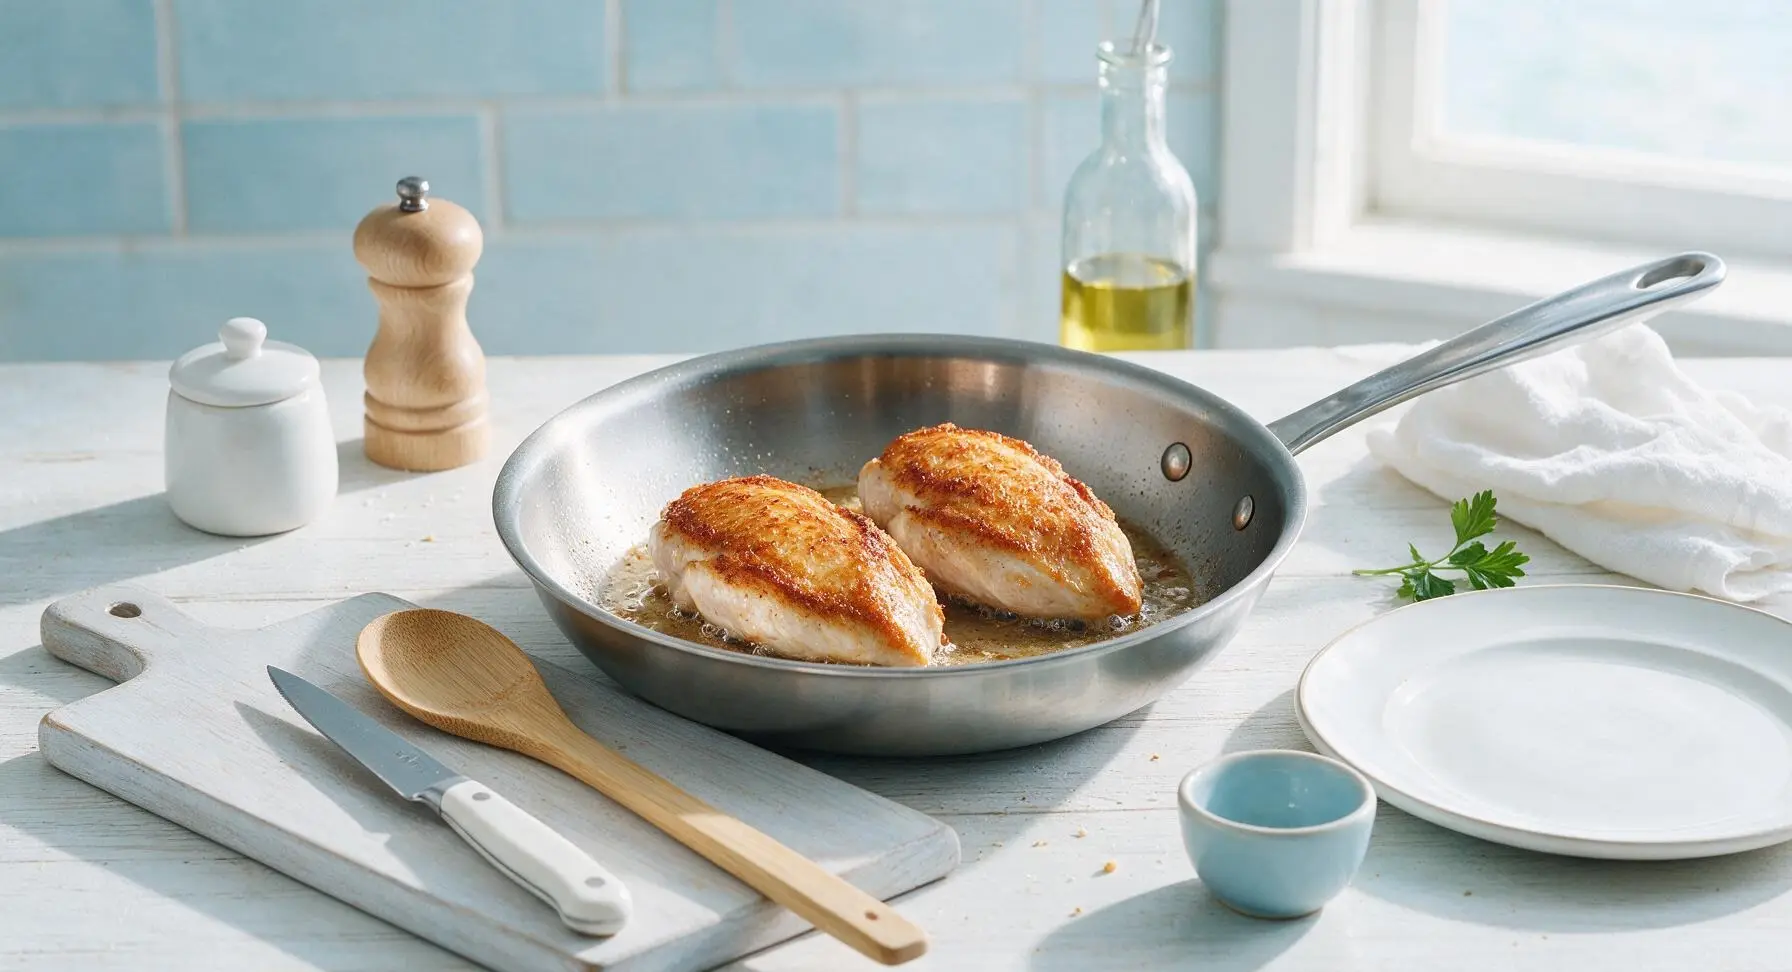
Sear First Chicken Side

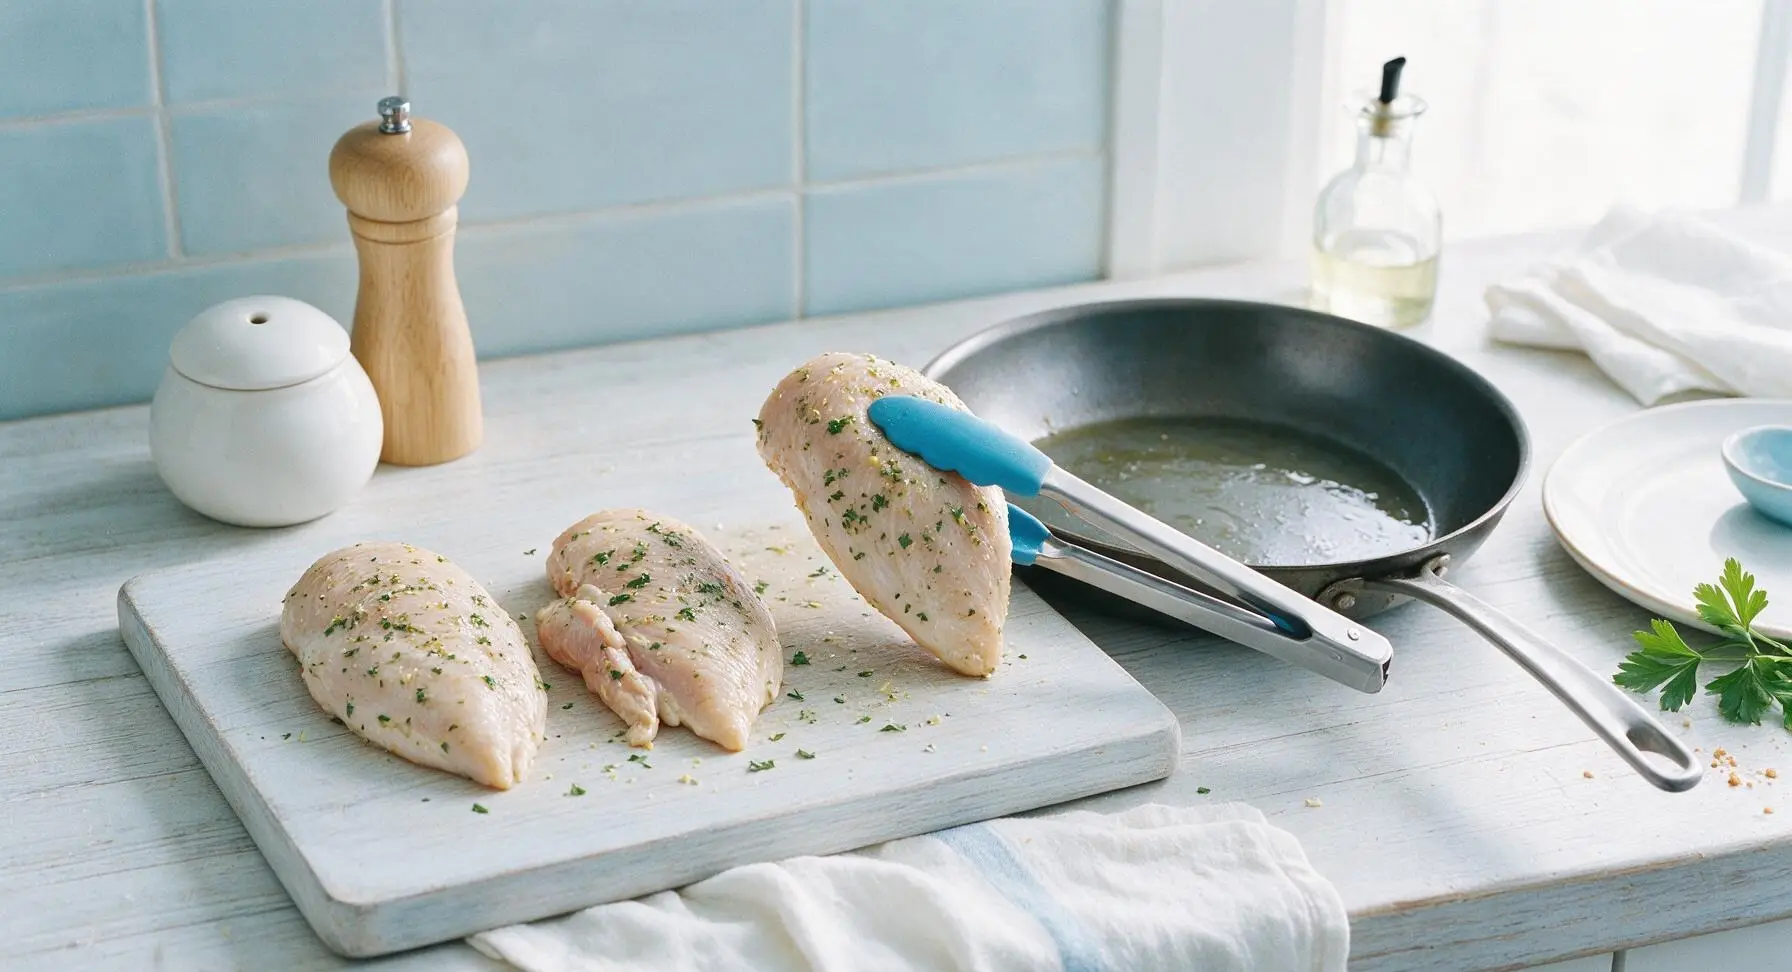
Use the stainless steel silicone-tipped tongs to carefully place each seasoned chicken breast in the preheated skillet, laying the breasts down away from your body to avoid hot oil splatter. Cook undisturbed for 6 minutes on the first side, until the bottom develops a deep golden, crisp crust. Resist the urge to move or lift the chicken during this time, as constant movement prevents a proper sear from forming.
Step 5
step5:Sear First Chicken Side
Step 5
step5:Sear First Chicken Side
6

Flip And Cook Through

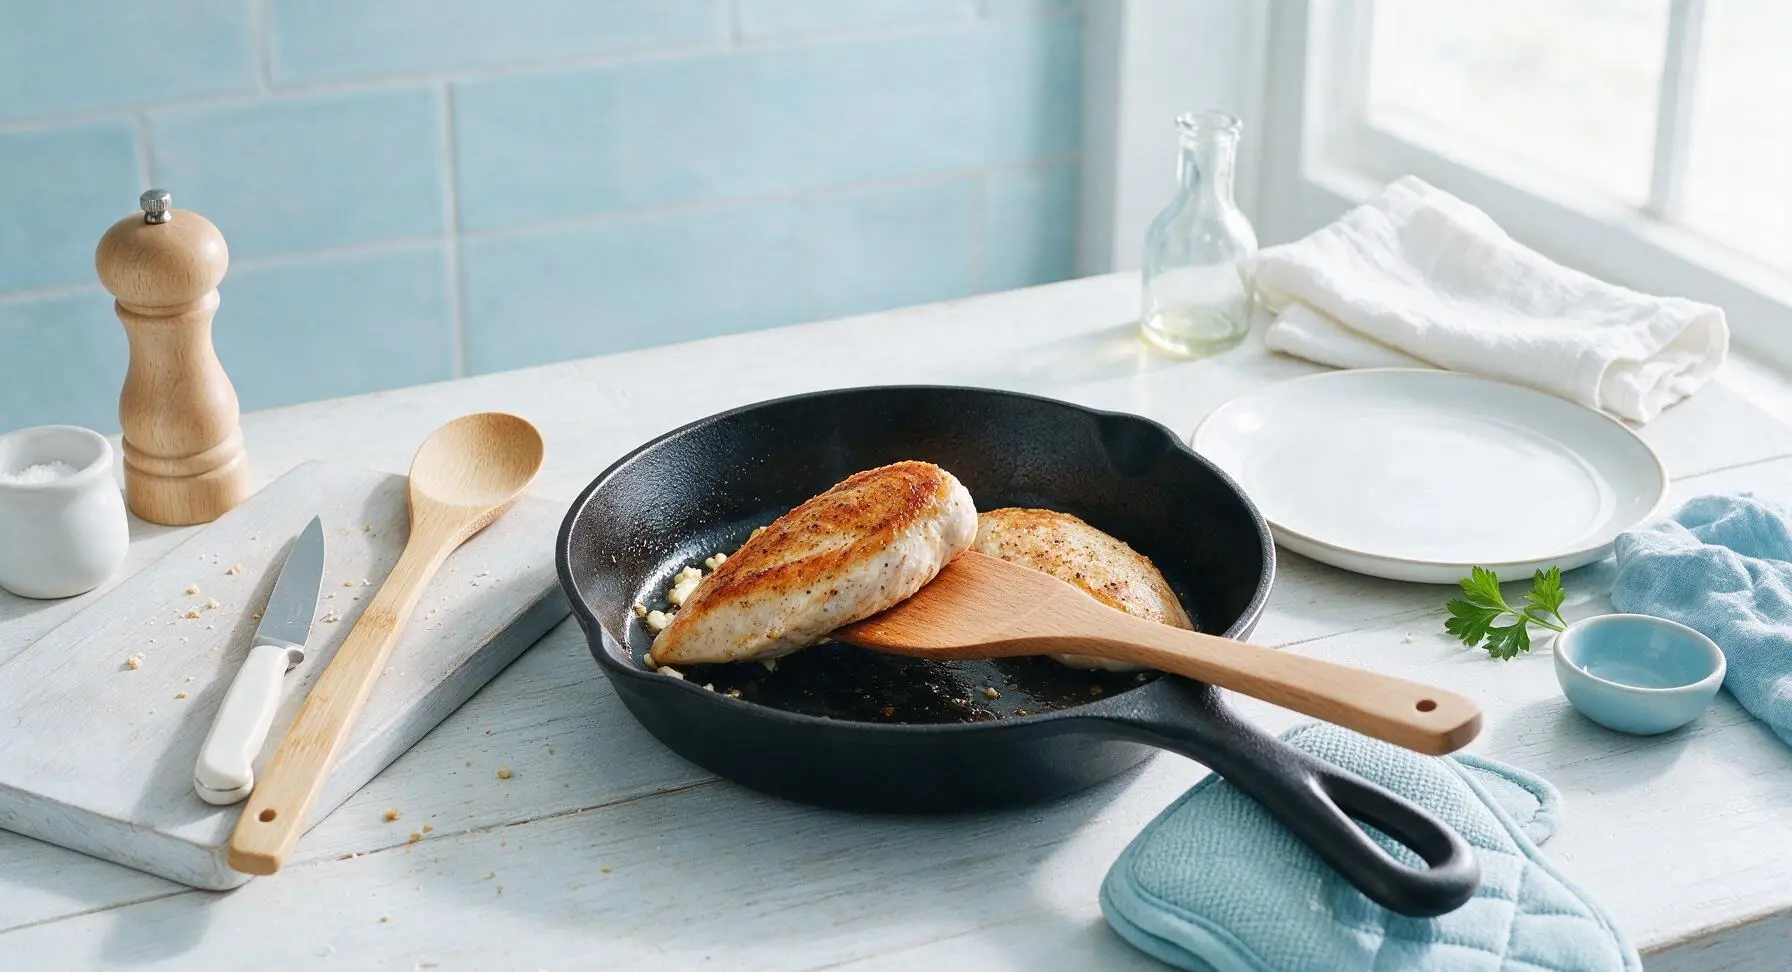
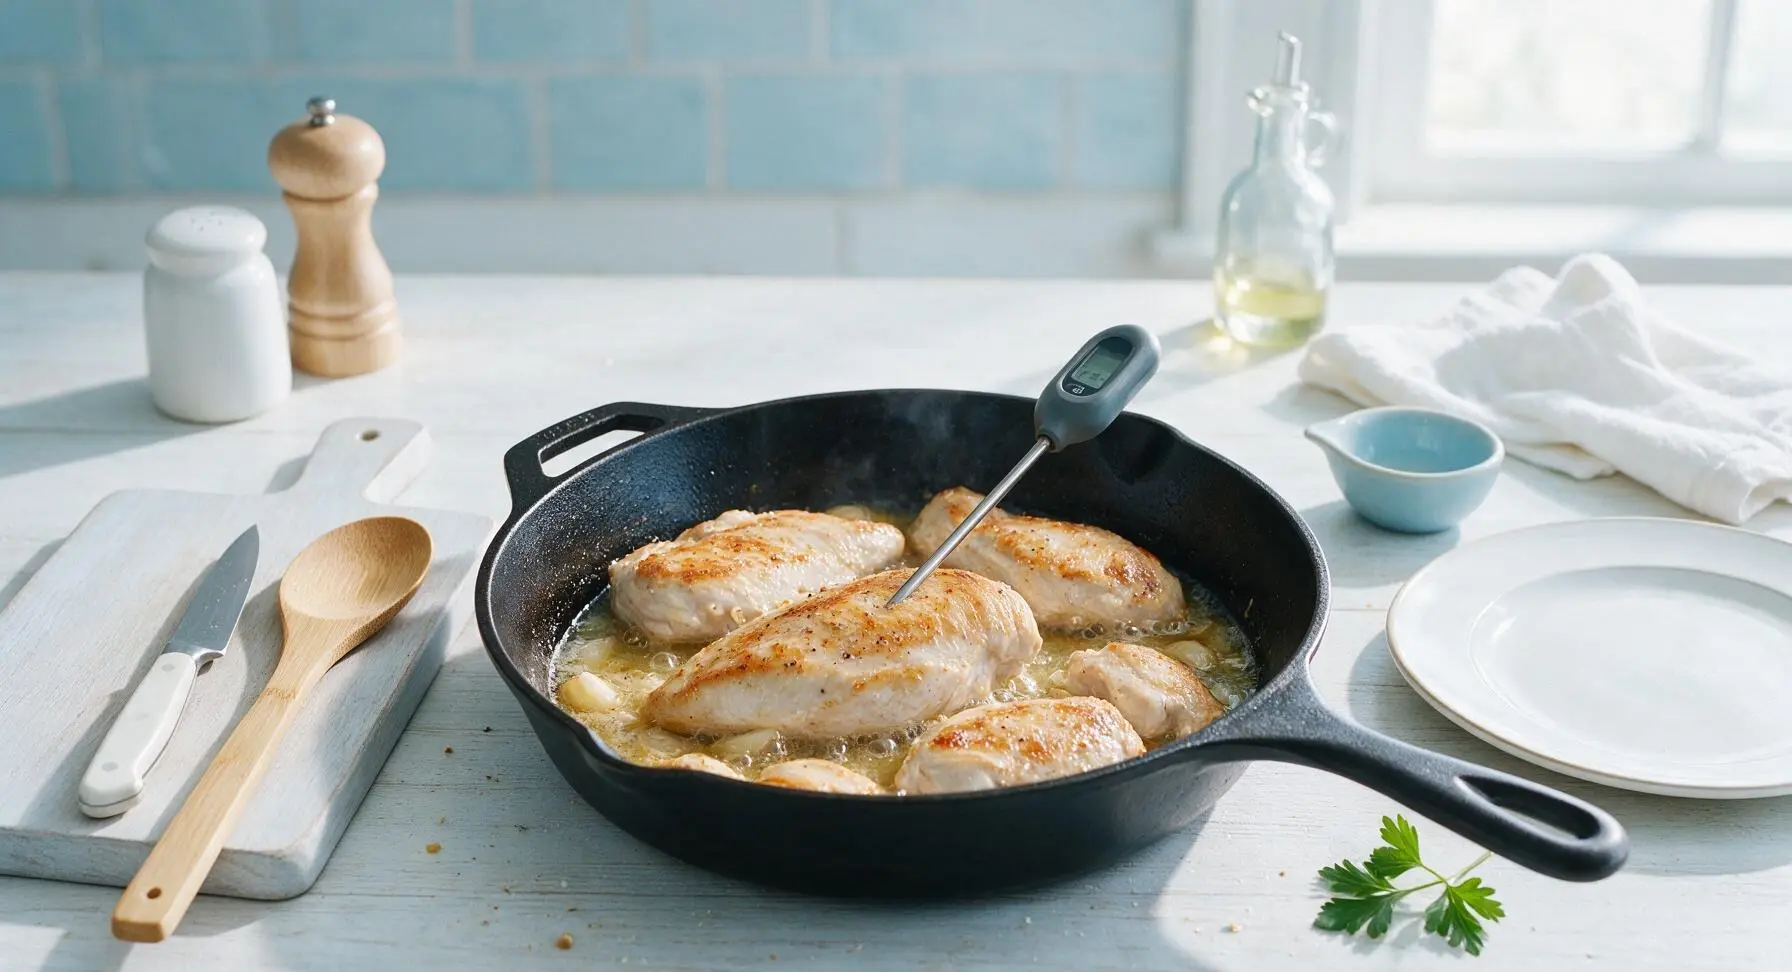
Use the beech wood spatula to gently slide under each chicken breast and flip to the second side, taking care not to tear the seared crust. Add the 2 minced garlic cloves to the empty pan space between the chicken breasts, stirring gently for 30 seconds until fragrant (do not let the garlic burn, as it will turn bitter). Pour in the 2 tbsp low-sodium chicken broth and 2 tbsp fresh lemon juice, then reduce heat to medium-low (325°F / 160°C). Cook for an additional 5-6 minutes, until the instant-read meat thermometer inserted into the thickest part of the largest breast reads an internal temperature of 165°F (74°C).
Step 6
step6:Flip And Cook Through
Step 6
step6:Flip And Cook Through
7

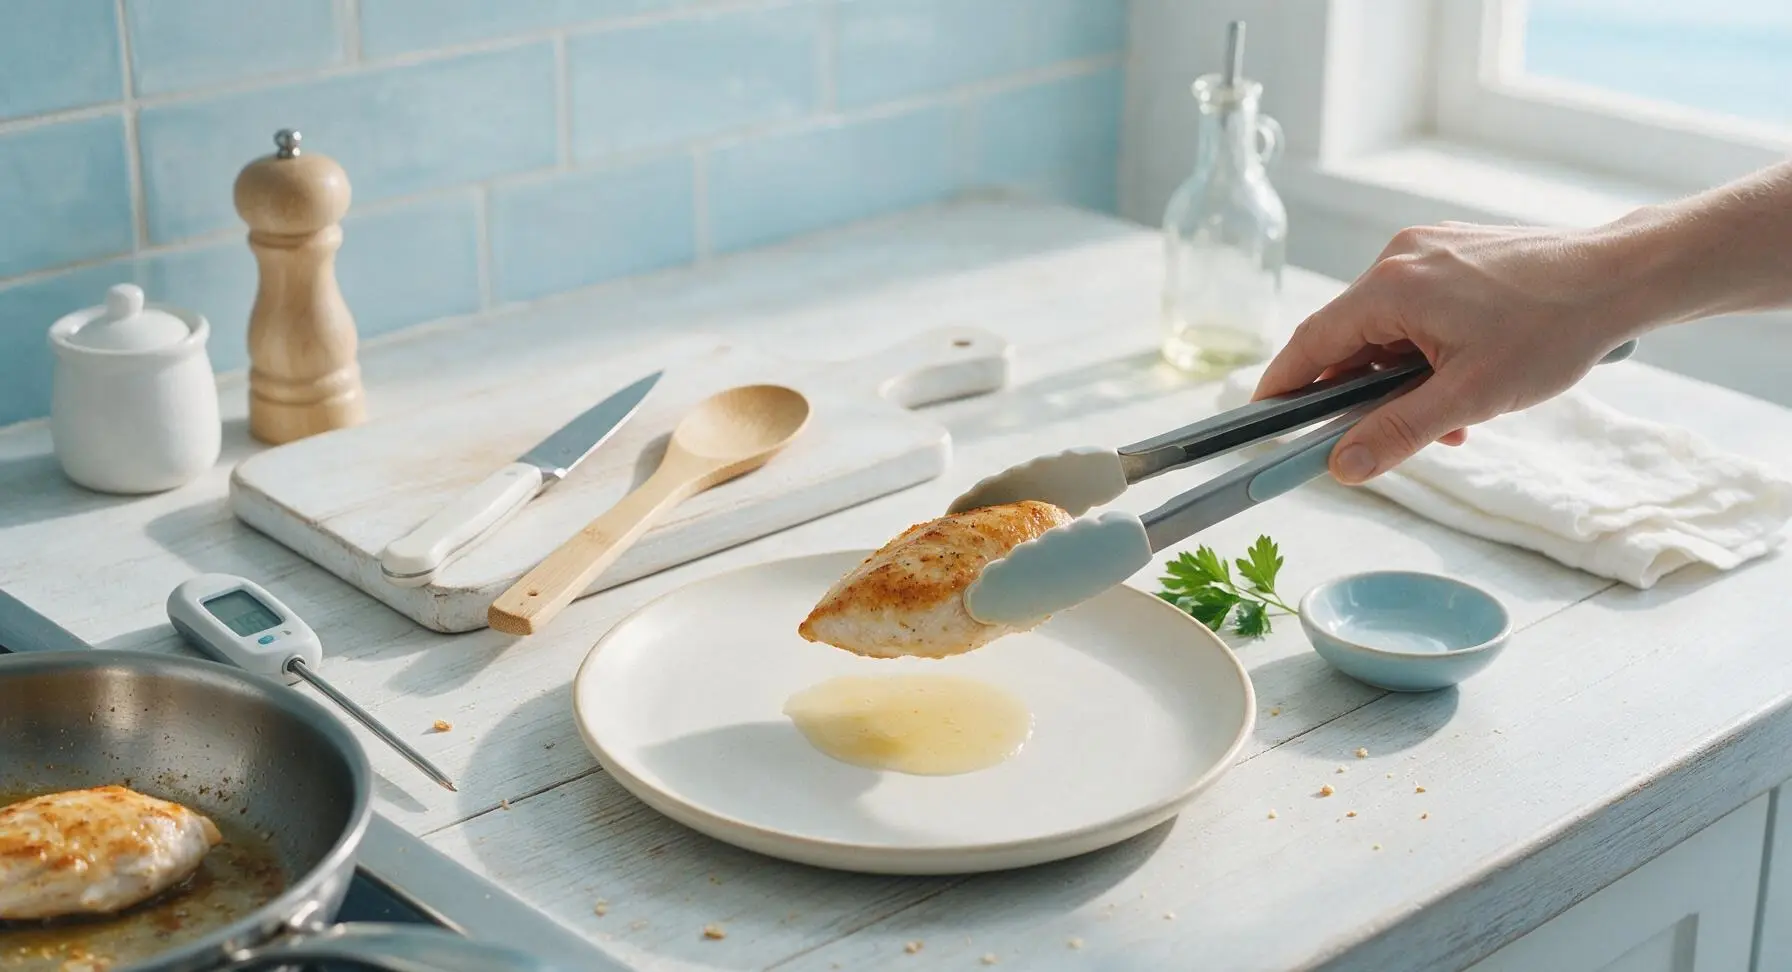
Rest And Plate Chicken

Use the tongs to transfer the cooked chicken from the skillet to the matte cream white ceramic dinner plate. Spoon 1 tsp of the light lemon-herb pan jus over each breast, then loosely tent the plate with a small piece of foil and let the chicken rest for 3 minutes to allow muscle fibers to relax and redistribute juices, ensuring every bite is juicy. Garnish with a fresh thyme sprig and thin lemon wheel before serving.
Step 7
step7:Rest And Plate Chicken

Tips

1.Always pat chicken dry with paper towels before seasoning: any remaining surface moisture from packaging will cause the chicken to steam in the pan instead of searing, leading to pale, flavorless chicken without a crisp, golden crust, even with a properly preheated pan.
2.Skip adding extra oil to cut calories: a well-preheated non-stick ceramic pan only needs 1 teaspoon of oil to prevent sticking and build a great sear, as the tiny amount of fat rendered from the chicken itself will add enough lubrication as it cooks.
3.Let the chicken rest for 3 full minutes after cooking: cutting into chicken immediately after removing it from the pan will cause all the hot, flavorful juices to run out onto the plate, leaving you with dry, tough chicken; resting lets juices reabsorb into the meat for maximum juiciness even without added fat or sauces.


✨ You May Also Like

Main Course
🍜 United Kingdom

A showstopping classic of tender seared beef, savory mushroom duxelles, and crisp prosciutto wrapped in flaky golden puff pastry, baked to juicy perfection.

⏱️ 2 hours 1Main Course ★ 4.7
Main Course
🍜 India

Tender charred marinated chicken simmered in a rich, spiced creamy tomato sauce, this iconic Anglo-Indian curry pairs perfectly with basmati rice or warm naan.

⏱️ 50 minuteMain Course ★ 4.6
Main Course
🍜 Thailand

Classic tangy, sweet, and savory Thai stir-fried rice noodles with shrimp, tofu, and crunchy garnishes, balancing all five core Thai flavor profiles.

⏱️ 30 minuteMain Course ★ 4.5
Main Course
🍜 United Kingdom

Crispy golden beer-battered cod and fluffy double-fried chips, served with tangy tartar sauce and malt vinegar: the timeless, beloved British pub comfort classic.

⏱️ 45 minuteMain Course ★ 4.7
Main Course
🍜 Mexico

Smoky, chile-marinated pork tacos with caramelized pineapple, fresh cilantro, and lime: a beloved classic Mexican street food perfect for casual summer gatherings.

⏱️ 1 hour 45Main Course ★ 4.8
Main Course
🍜 United States

Crunchy Fritos corn chips layered with savory beef chili and melted cheddar, topped with cool, zesty fixings for a beloved, cozy Tex-Mex comfort food.

⏱️ 35 minuteMain Course ★ 4.8

low calorie chicken:Frequently Asked Questions

1.How do I keep this chicken breast juicy without adding high-calorie fats or keeping the skin on? ▾
Start by pounding breasts to an even 1-inch thickness for uniform cooking, and pat them completely dry with paper towels before searing to build a moisture-locking crust. Cook only until internal temp hits 160°F, then rest 5 minutes—carryover heat brings it to a food-safe 165°F, and resting prevents juicy runoff when you slice.
2.Can I use dried thyme instead of fresh thyme for this recipe? ▾
Absolutely! Use the standard 1:3 dried-to-fresh herb ratio, which means 1 teaspoon of dried thyme for every 1 tablespoon of fresh the recipe calls for. Dried thyme is more concentrated, so add it 1 minute earlier during the sear to let its flavor bloom, and you won’t notice a difference in bright, herby taste.
3.How big is a single serving, and is the 220-calorie count accurate? ▾
One serving is 4 ounces of raw boneless, skinless chicken breast (which yields roughly 3 ounces of cooked chicken). The 220-calorie count includes the measured amount of olive oil, garlic, lemon, and thyme per portion, so it’s fully accurate as long as you stick to the listed ingredient measurements with no hidden add-ins.
4.What pan temperature gives a crisp sear without burning the garlic or herbs? ▾
Preheat a heavy-bottomed skillet (cast iron works perfectly) over medium-high heat for 2 to 3 minutes before adding oil. The pan is ready when the oil shimmers but doesn’t smoke. Add garlic and thyme in the last 2 minutes of cooking to avoid bitter, burnt bits that ruin the dish’s bright, fresh flavor.
5.Can I meal prep this chicken ahead for weekly lunches or dinners? ▾
Definitely! Let the cooked chicken cool completely to room temperature within 2 hours of cooking, then store it in an airtight container in the fridge for up to 4 days. Wait to slice it until right before eating to lock in moisture, and it works perfectly on salads, in grain bowls, or alongside quick roasted veggies.
6.Is it really necessary to pound the chicken breasts before cooking? ▾
Pounding is highly recommended for even, consistent results. Most store-bought breasts are thick on one end and tapered thin on the other, which leads to dry, overcooked thin sections before the thickest part reaches a safe temperature. Pound between two sheets of parchment to a 1-inch thickness with a meat mallet or heavy pan.
7.How can I add more flavor without increasing the calorie count? ▾
You have tons of zero-calorie options! Add a pinch of smoked paprika, red pepper flakes, or black pepper before searing for extra depth, or spritz on extra fresh lemon juice right before serving. For extra juiciness without added calories, brine chicken for 30 minutes in salted water before cooking, just pat it fully dry before searing.
8.Why does my chicken always stick to the pan when I try to sear it? ▾
Sticking almost always traces back to three easy-to-fix issues: your pan isn’t fully preheated, you tried to flip the chicken too early before a crust formed, or you didn’t pat the chicken dry before adding it to the pan. Wait until the chicken releases easily on its own (about 4 minutes per side) before flipping for a perfect, non-stick crust.
9.Can I cook this recipe on an outdoor grill instead of on the stovetop? ▾
Totally! Preheat your grill to medium-high (around 400°F), oil the grates lightly to prevent sticking, and cook the pounded chicken breasts 3 to 4 minutes per side until they hit 160°F internally. Toss a few lemon slices on the grill for a smoky charred garnish that pairs beautifully with the herb flavor, no extra calories needed.
10.What low-calorie side dishes pair best with this lemon herb chicken? ▾
For a light, balanced meal, pair this chicken with roasted broccoli, steamed green beans, a crisp arugula salad tossed in lemon juice, or riced cauliflower. All these sides clock in under 100 calories per serving, keep the total meal high in protein and fiber, and complement the bright lemon and thyme flavors perfectly.
11.Can I swap boneless, skinless chicken thighs for the chicken breasts? ▾
You absolutely can, if you prefer a richer, more forgiving cut of chicken. Just note that boneless, skinless thighs will bump the per-serving calorie count to roughly 280 calories per 4-ounce raw portion. Thighs are less prone to drying out, so they’re a great pick for new cooks; just cook them to a 165°F internal temp for food safety.
12.Why do I need to let the chicken rest after cooking, and how long should it rest? ▾
That 5-minute rest after cooking is non-negotiable for juicy results! When chicken cooks at high heat, its muscle fibers tighten and push moisture toward the center. Resting lets those fibers relax and reabsorb moisture, so you won’t lose all those delicious, flavorful juices onto your cutting board when you slice into it.

Comments (4)

yesterday

Game changer!!! I’ve been cutting for my first half marathon and was so sick of boring, dry chicken breast. This came out perfectly juicy, the lemon herb flavor is bright without being overpowering, and it’s so low cal I could pair it with roasted veggies and quinoa without blowing my macro goals for the day. Cooked it in my cast iron exactly as the recipe said, 15 minutes total start to finish. 10/10, already sent the link to my whole running group!

2 hours ago

Wait did you use regular olive oil or cooking spray? I always mess up pan-seared chicken and it sticks to my pan no matter what I try!

30 minutes ago

Great question! We recommend using a thin layer of regular extra virgin olive oil heated until it shimmers before adding the chicken—that helps prevent sticking while locking in that juicy texture and crispy golden crust. So glad you loved the recipe, Jess, and hope this tip works perfectly for you too!

3 days ago

Made this for family dinner last night and my kids loved it! I was worried the lemon would be too tart for my 6 year old who turns his nose up at anything “citrusy” but he ate every bite and asked if we could have it again next week. Super easy to throw together after work, no fancy ingredients needed, and cleanup was a breeze. Perfect weeknight staple for sure!

2 days ago

That makes our day to hear, Mike! So glad the whole family enjoyed it—this recipe is designed specifically for busy weeknights when you don’t have time for a ton of prep or messy cleanup. If your kids want a fun little twist next time, a tiny sprinkle of parmesan on top at the end adds great savory flavor without piling on extra calories!

1 week ago

Brought this to my neighborhood potluck over the weekend and people were coming up to me for the recipe all night! I sliced the chicken up and served it over a big green salad, and it held up perfectly even after sitting out for a little bit. It’s light enough that folks didn’t feel too stuffed after loading up on all the other potluck sides, but flavorful enough that it didn’t get lost next to all the cheesy casseroles and chocolate chip cookies. Will absolutely be making this for future gatherings!

5 minutes ago

Wow, I am NOT good at cooking chicken—mine always comes out either totally raw in the middle or so tough you can barely chew it, but this turned out perfect on the first try! The cook time was spot on, the seasoning measurements were simple enough that I didn’t even have to get out my fancy measuring spoons (I totally eyeballed it, oops), and it tasted way better than the sugary pre-marinated chicken I usually grab from the grocery store that’s loaded with weird preservatives. Total win for my lazy low-cal meal rotation.

just now

Same! I’m terrible at cooking chicken too, I was so shocked how juicy this came out even when I eyeballed the seasonings instead of measuring. I added a little extra lemon zest at the end and it was chef’s kiss!



