
Mac and Cheese Manicotti

title 1
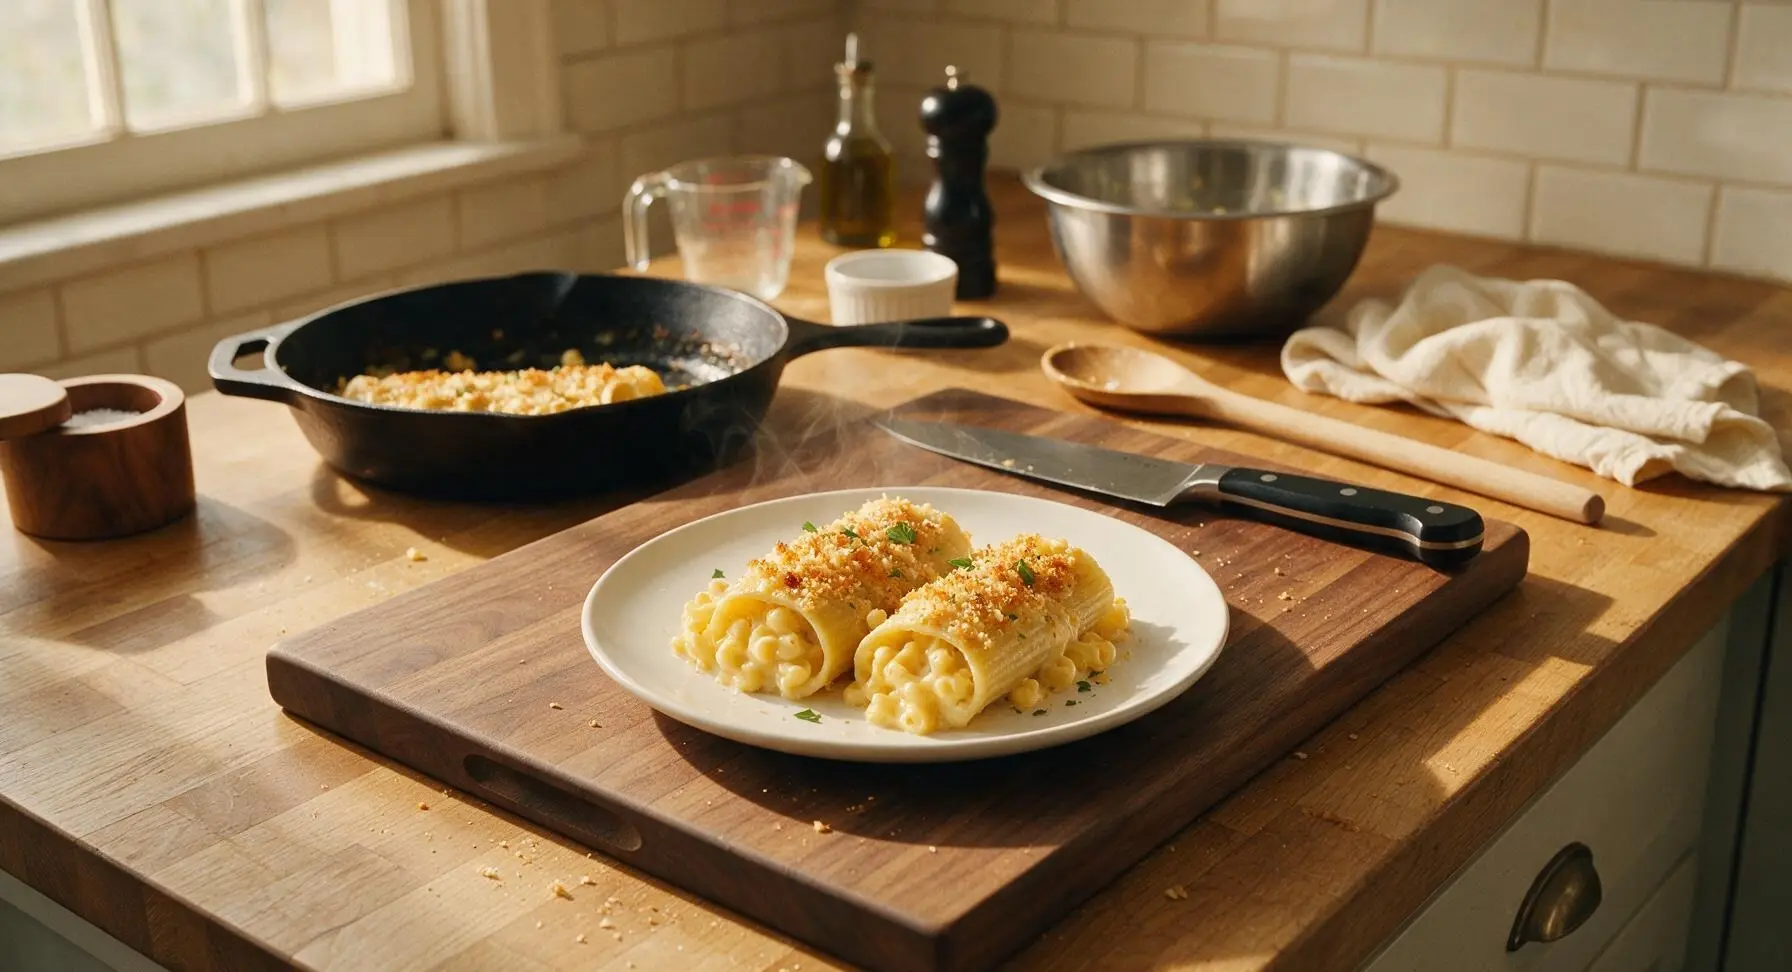
Mac and Cheese Manicotti
⏱️ cook time 35 minutes
🍽️ servings 4
⚡ Difficulty medium

intro

Tender pasta tubes stuffed with ultra-creamy three-cheese mac, baked under crisp golden breadcrumbs for the ultimate cozy fusion comfort food.

Ingredients
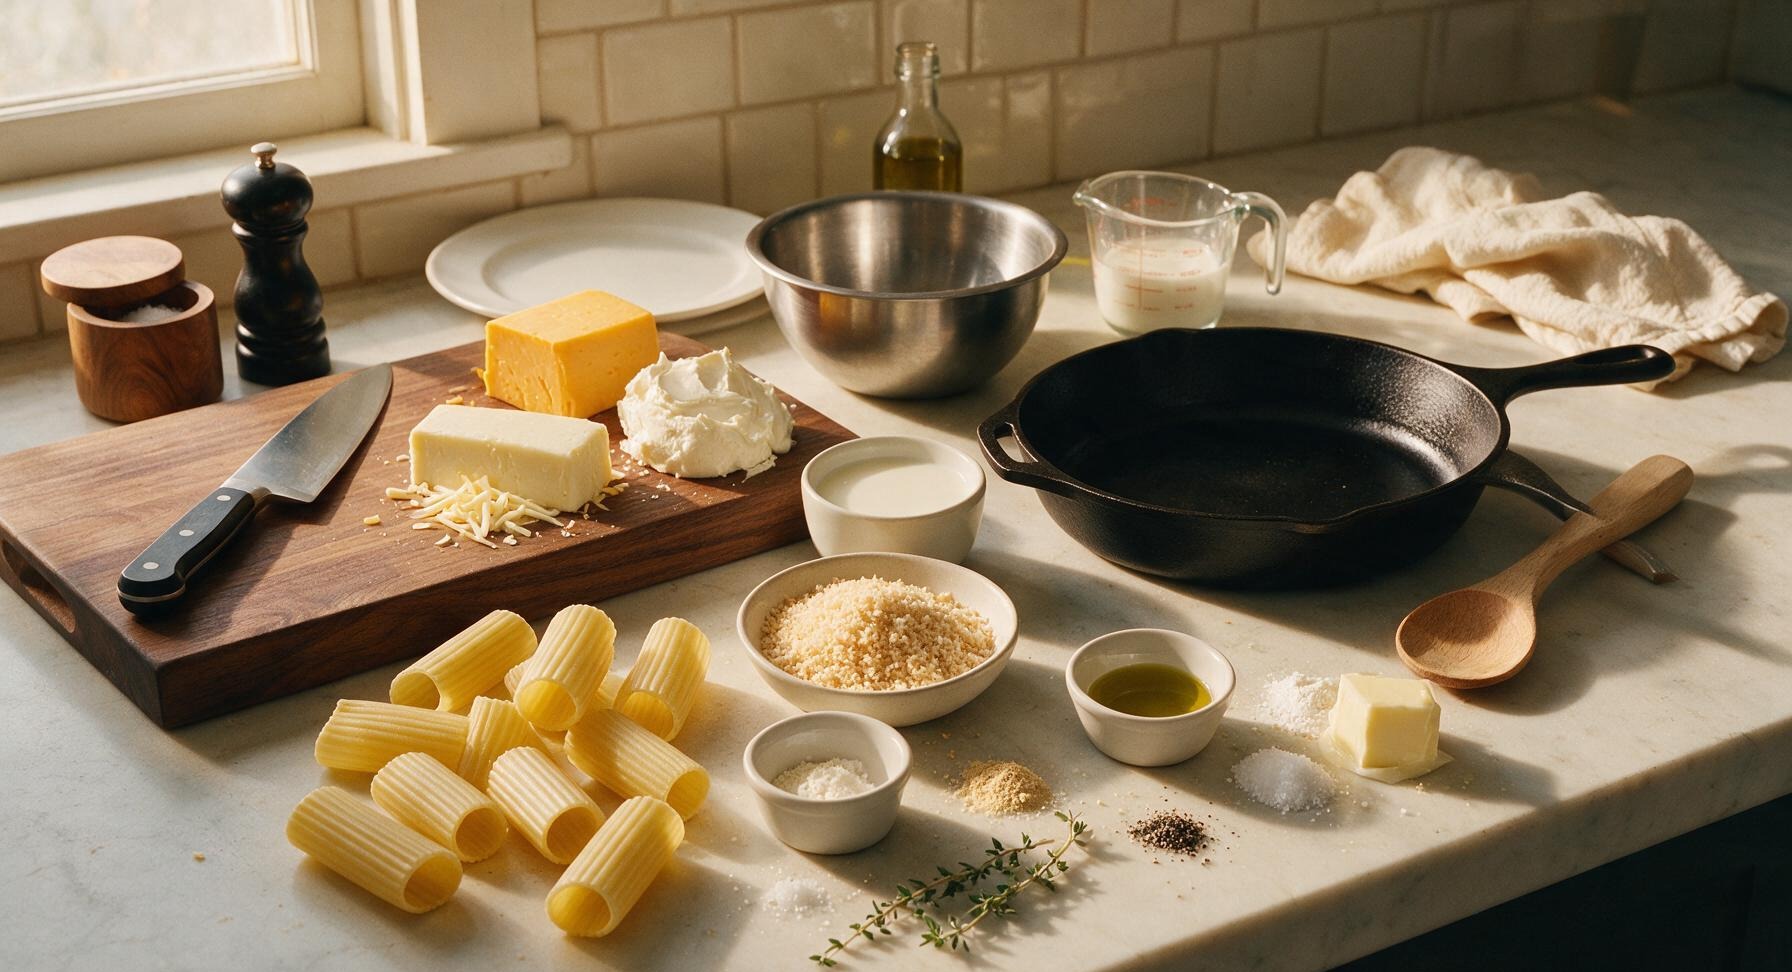
Manicotti pasta shells 12 pieces
Sharp cheddar cheese 225g (8oz)
Low-moisture mozzarella cheese 115g (4oz)
Cream cheese 115g (4oz), room temperature
Whole milk 360ml (1.5 cups)
Unsalted butter 2 tbsp
All-purpose flour 2 tbsp
Panko breadcrumbs 30g (1/2 cup)
Garlic powder 1 tsp
Dry mustard powder 1/2 tsp
Kosher salt 1.5 tsp (divided)
Freshly ground black pepper 1/2 tsp
Fresh thyme 2 sprigs
Extra-virgin olive oil 1 tsp

Steps

1

Parboil Pasta Shells

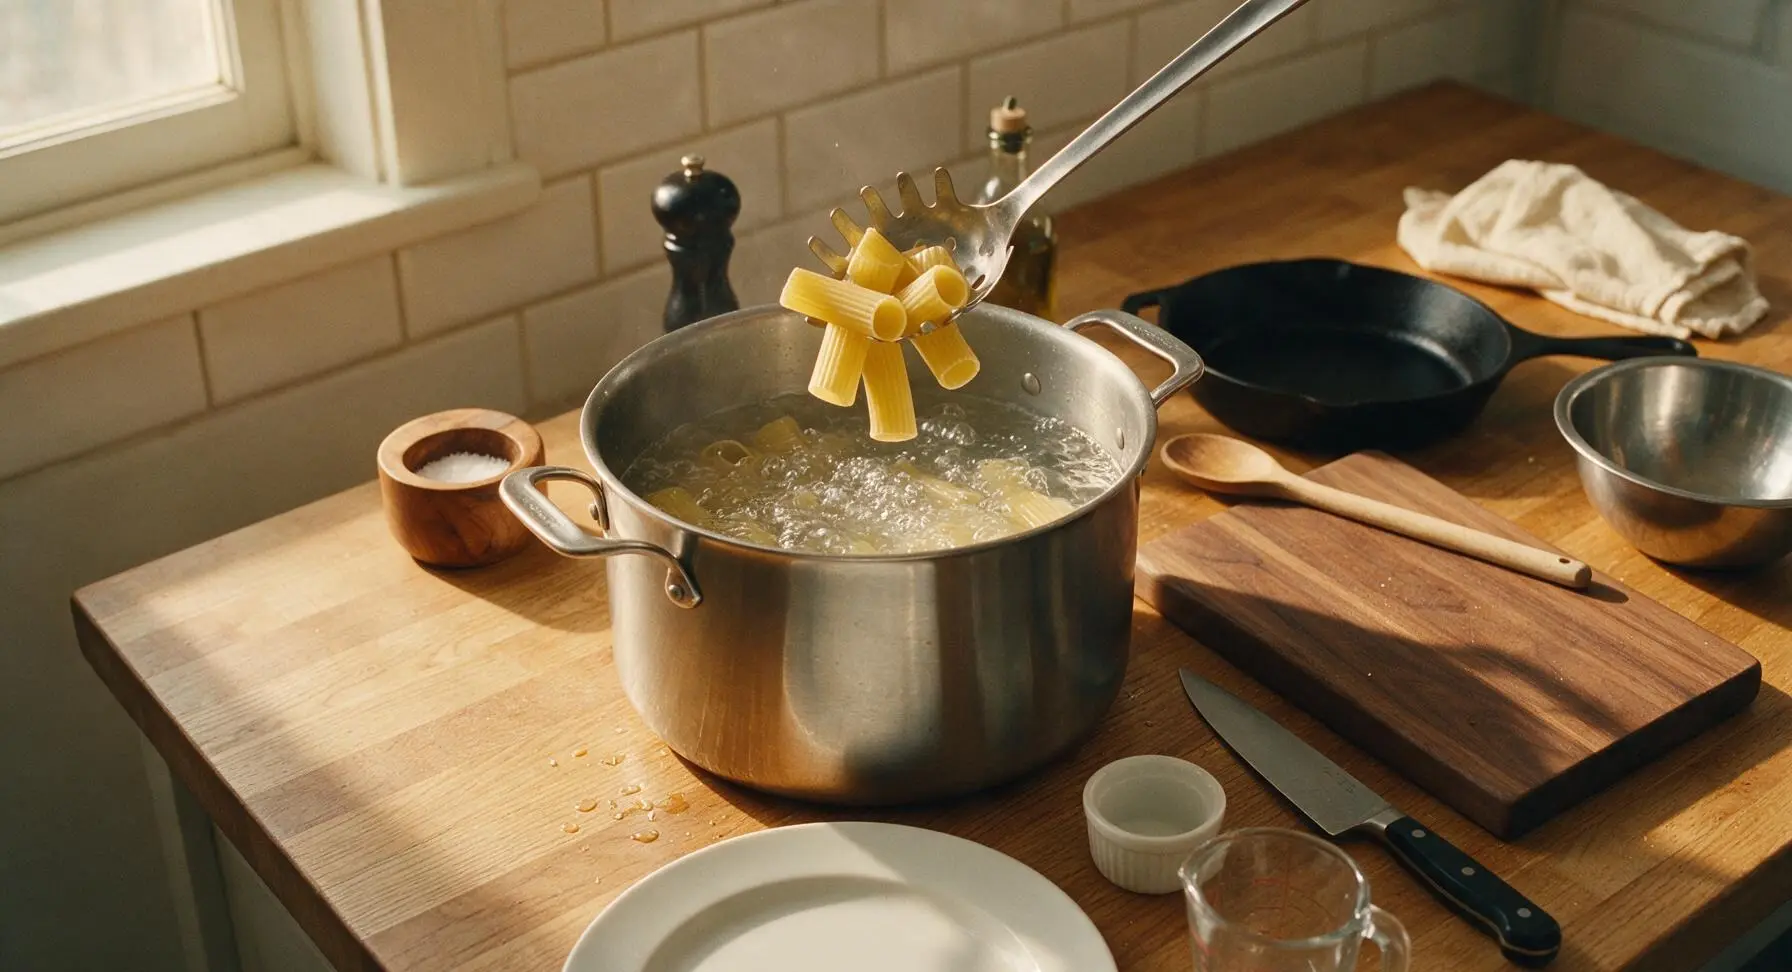
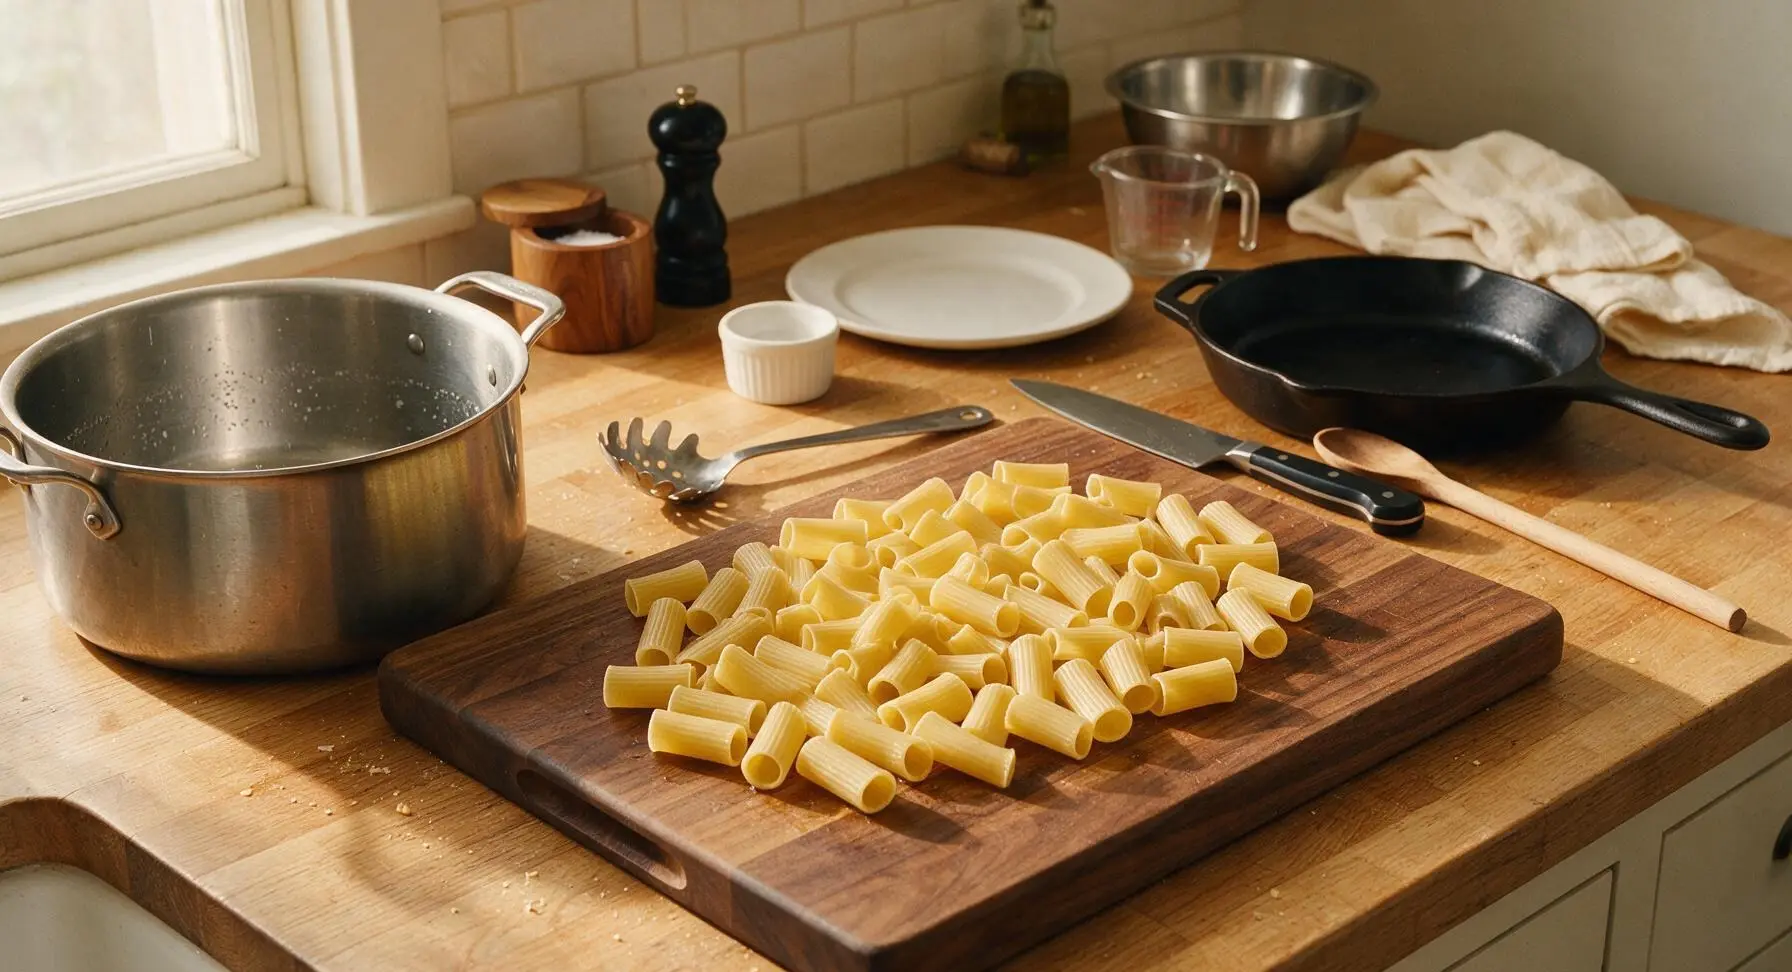
Fill the 4-quart brushed stainless steel stock pot with 3 liters of cold tap water, add 1 tsp kosher salt and 1 tsp extra-virgin olive oil, and bring to a rolling boil over high heat. Add 12 dry manicotti shells to the boiling water, stirring gently with the slotted stainless steel pasta spoon to prevent sticking. Cook for exactly 6 minutes, until pasta is very al dente (firm to the bite, slightly translucent around the edges, too firm to eat as-is, with no splits or tears). Drain immediately, rinse briefly with cool tap water to stop the cooking process and prevent sticking, then lay the shells in a single layer on the acacia wood cutting board to cool completely before stuffing.
Step 1
step1:Parboil Pasta Shells
Step 1
step1:Parboil Pasta Shells
2

Shred Cheese Blend

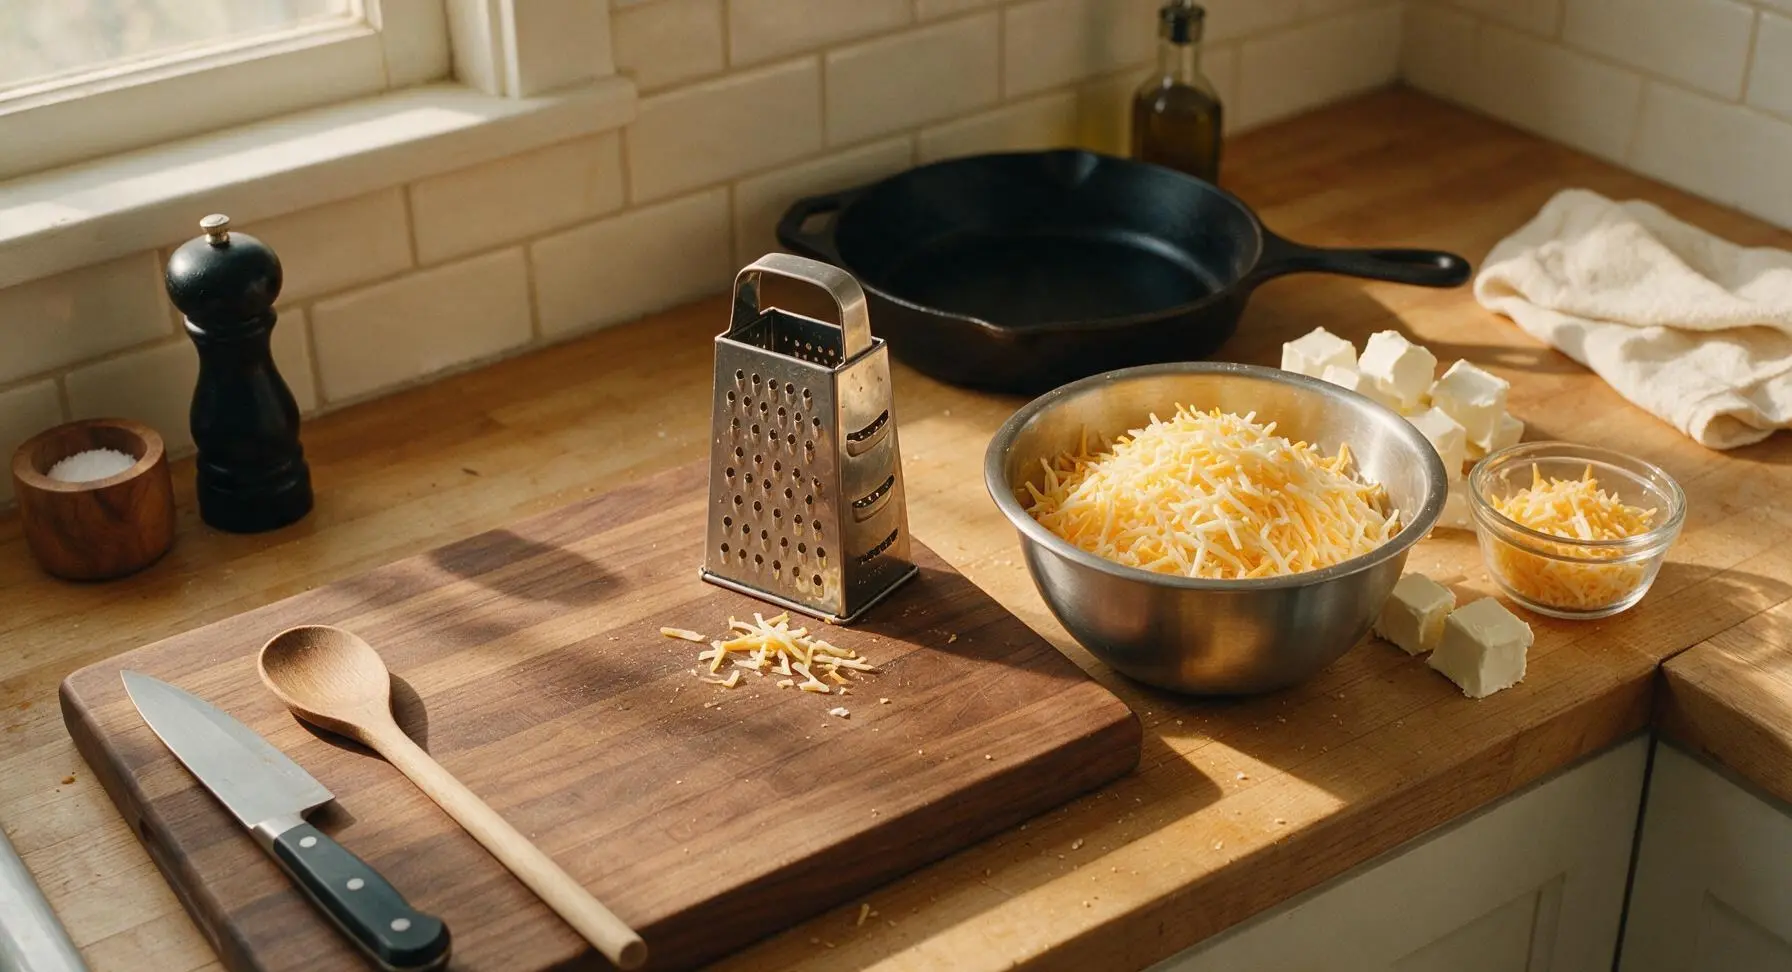
Set the 4-sided stainless steel box grater on the acacia wood cutting board. Shred 225g sharp cheddar and 115g low-moisture mozzarella into the 1-quart brushed stainless steel mixing bowl, creating light, fluffy shreds. Measure out 1/2 cup of the shredded cheese blend and set it aside in the 9cm clear glass ramekin for the final topping. Cut the 115g room-temperature cream cheese into 2cm cubes, and add the remaining cubes to the mixing bowl with the bulk of the shredded cheese. Do not press the cheese shreds into clumps, as this will cause uneven melting in the sauce.
Step 2
step2:Shred Cheese Blend
3

Make Creamy Cheese Sauce

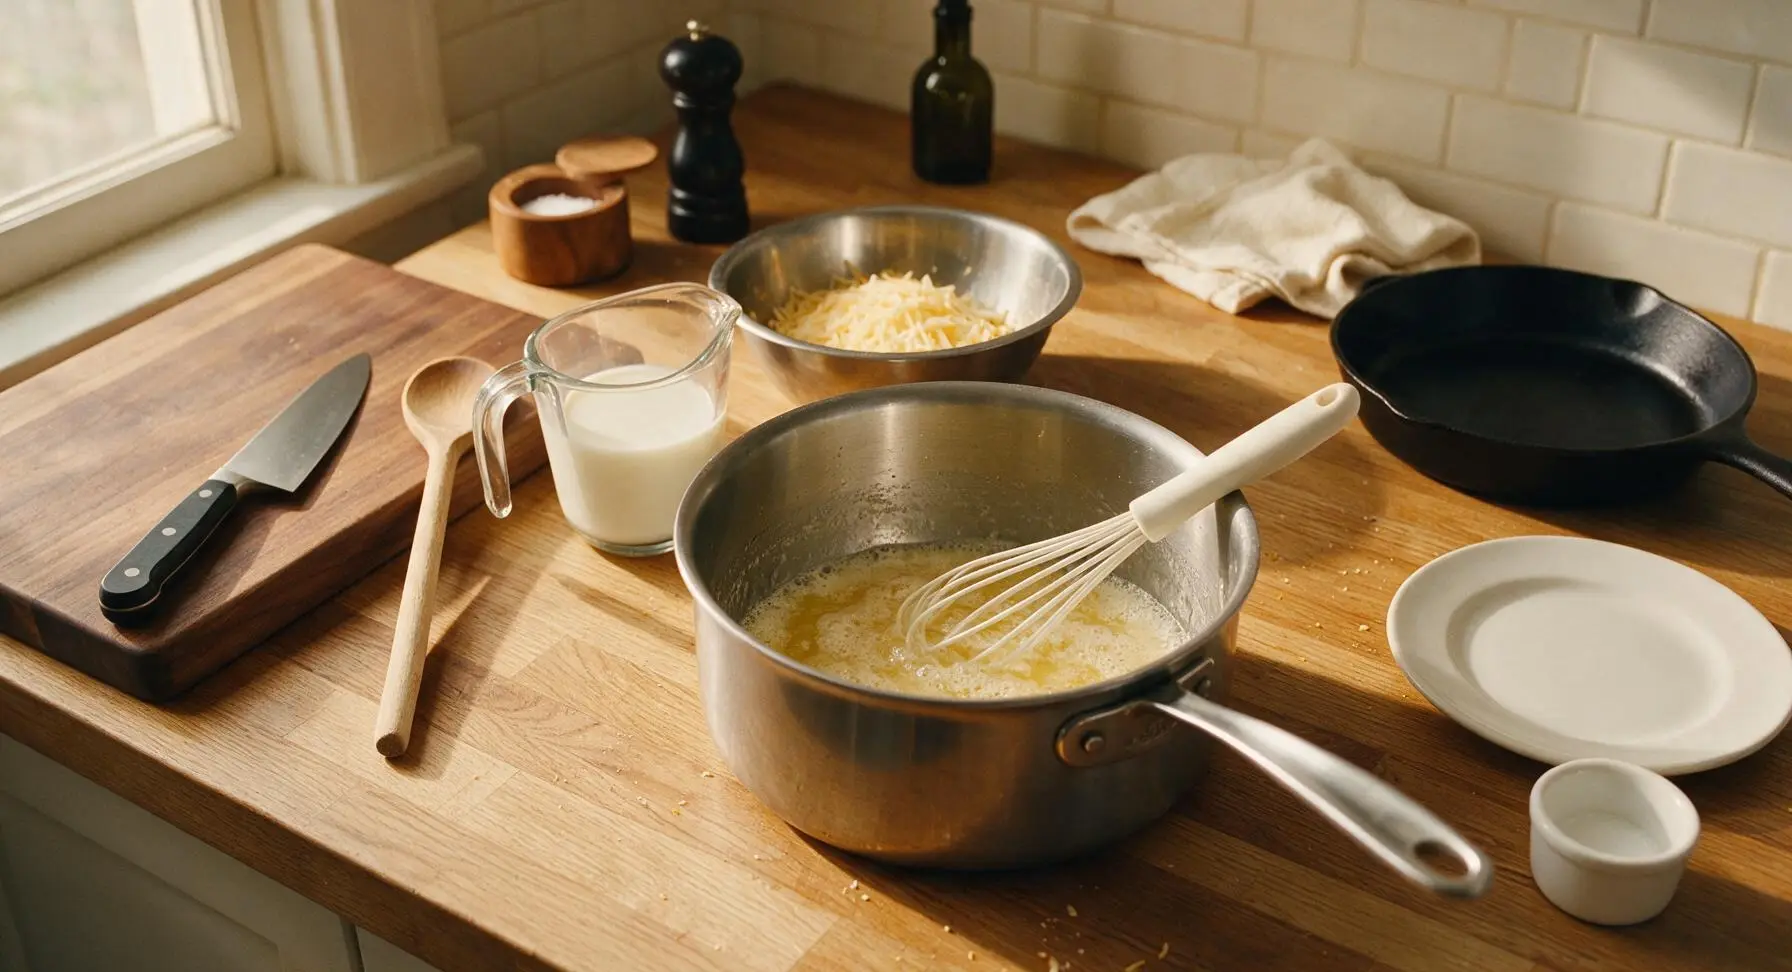
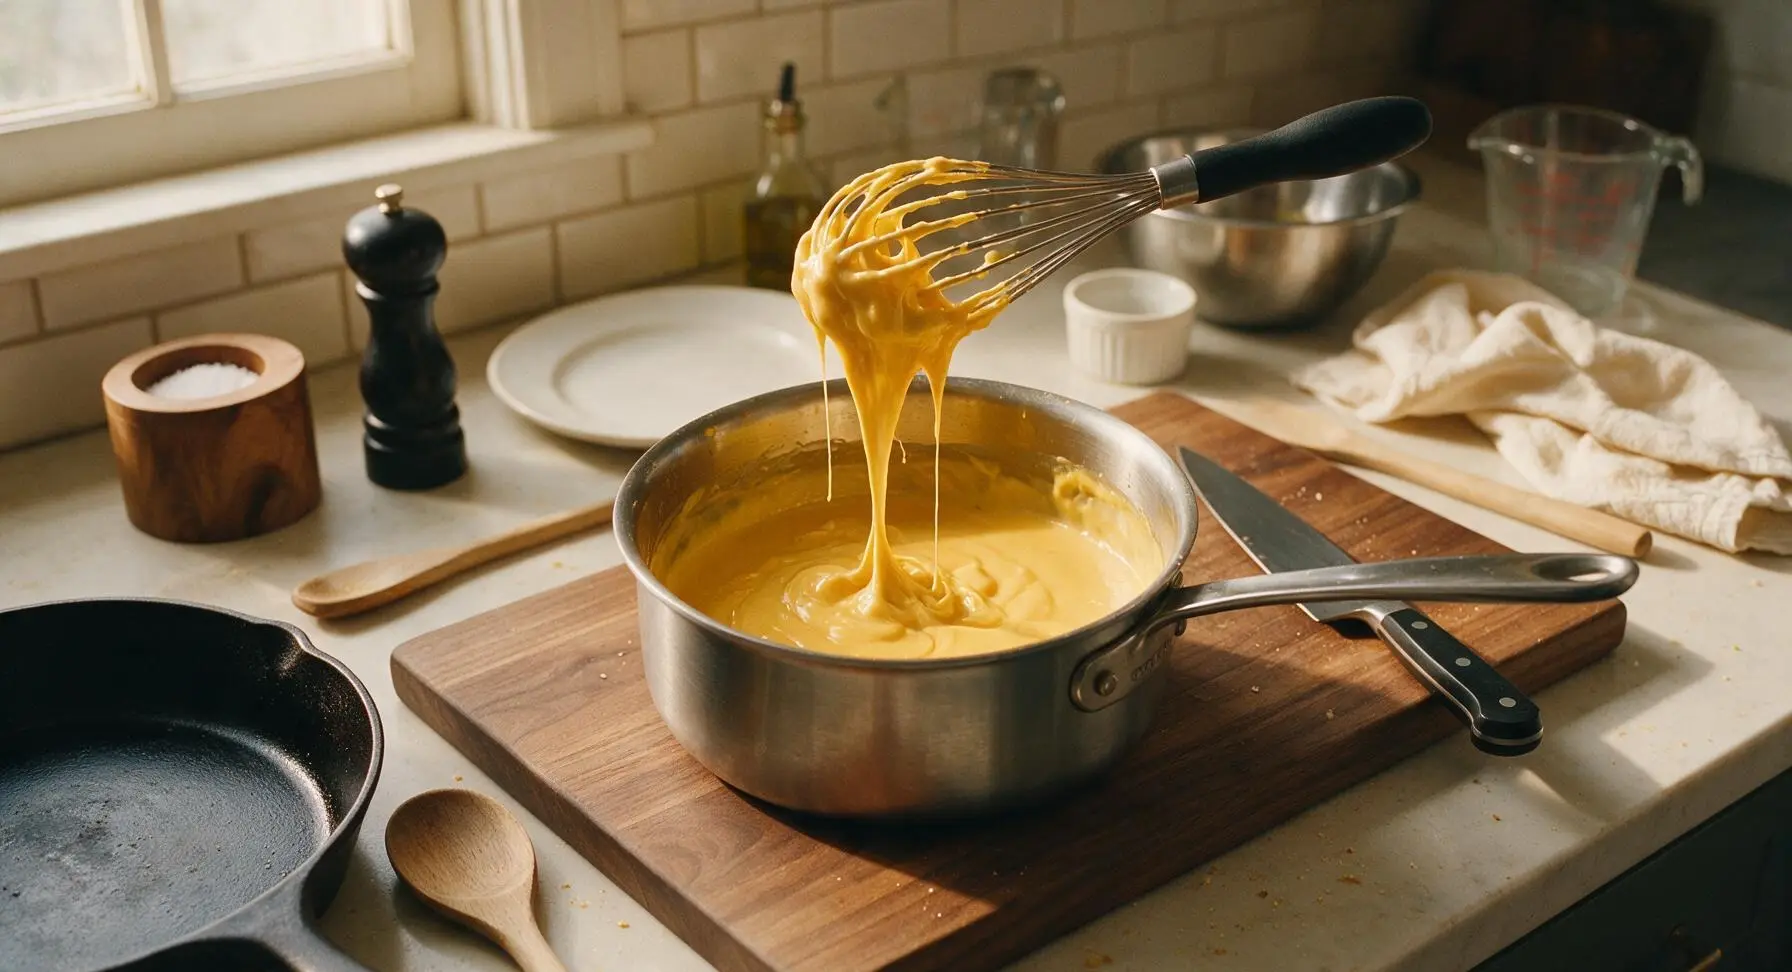
Place the 3-quart heavy-bottomed stainless steel saucepan over medium-low heat, add 2 tbsp unsalted butter, and melt until foamy (about 1 minute, no browning). Use the silicone whisk to stir in 2 tbsp all-purpose flour, forming a smooth, pale golden roux, and cook for 2 minutes until the roux gives off a nutty, toasty aroma with no raw flour scent. Slowly pour in 360ml whole milk (measured in the clear glass measuring cup) while whisking constantly to prevent lumps, cooking for 3-4 minutes until the sauce thickens enough to coat the back of a spoon (a finger drawn across the coated spoon leaves a clean line that does not run). Remove the pan from heat, stir in 1 tsp garlic powder, 1/2 tsp dry mustard powder, 1/2 tsp kosher salt, and 1/2 tsp freshly ground black pepper, then fold in the shredded cheese and cubed cream cheese from the mixing bowl, stirring until completely smooth and glossy. Set aside 1/2 cup of the finished cheese sauce to spread across the base of the baking dish.
Step 3
step3:Make Creamy Cheese Sauce
Step 3
step3:Make Creamy Cheese Sauce
4

Stuff Pasta Tubes

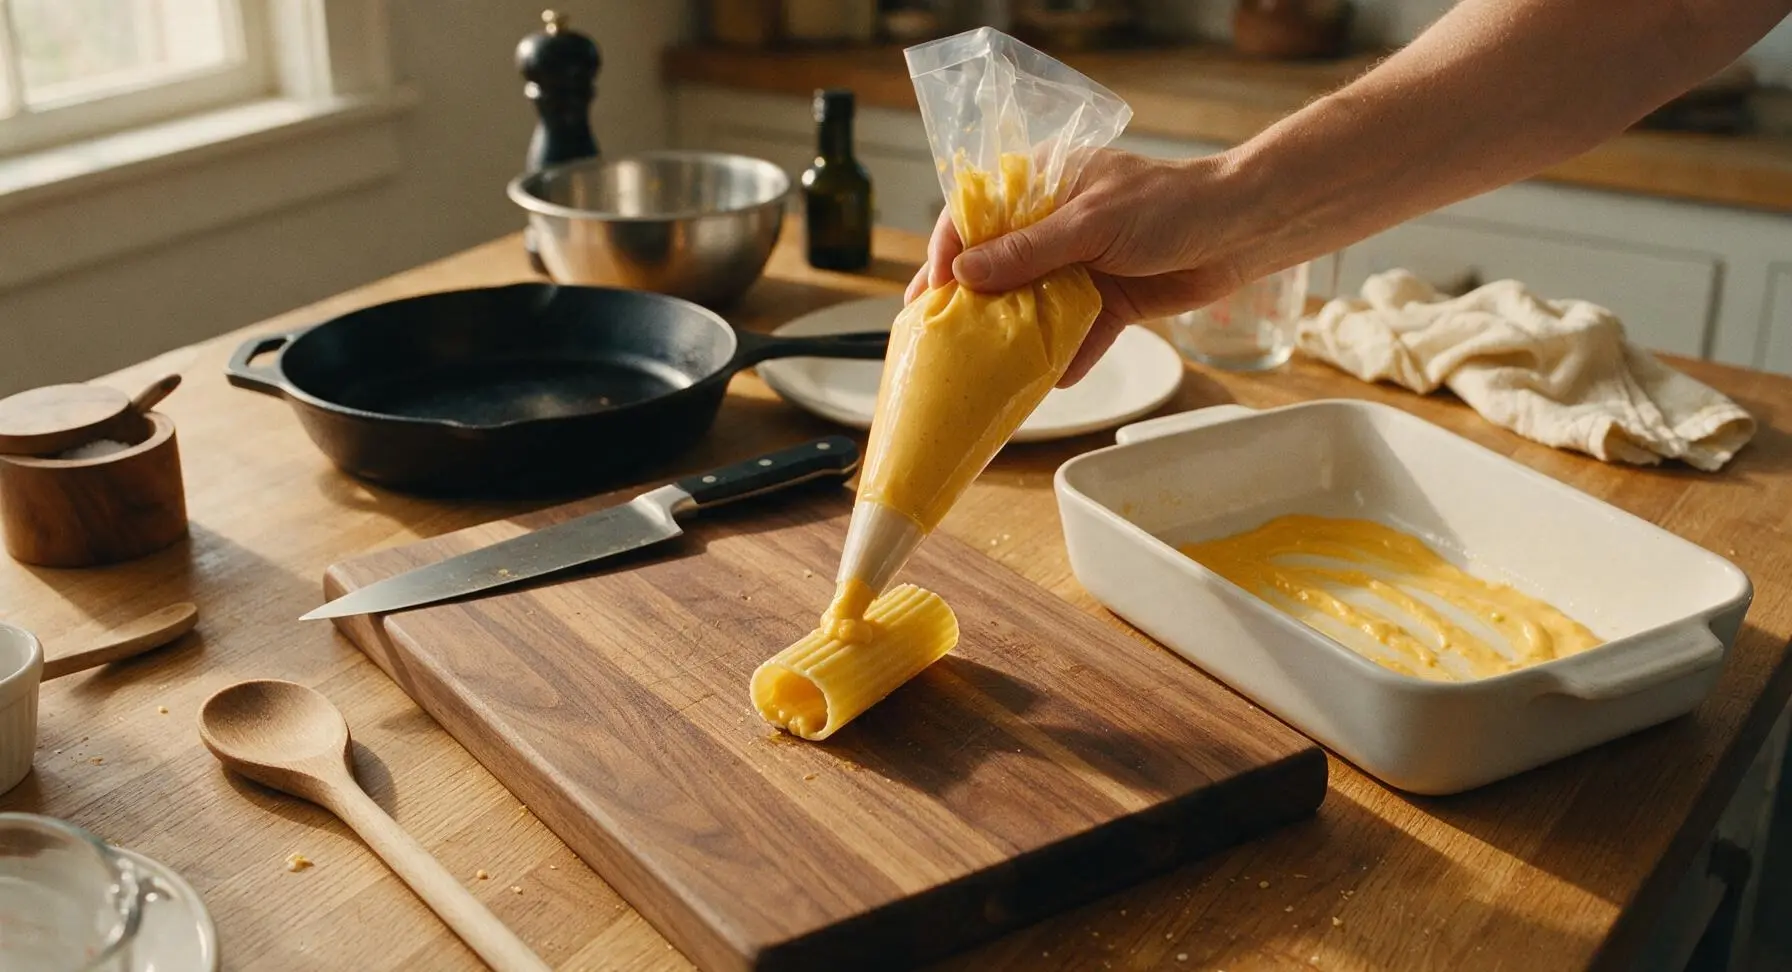
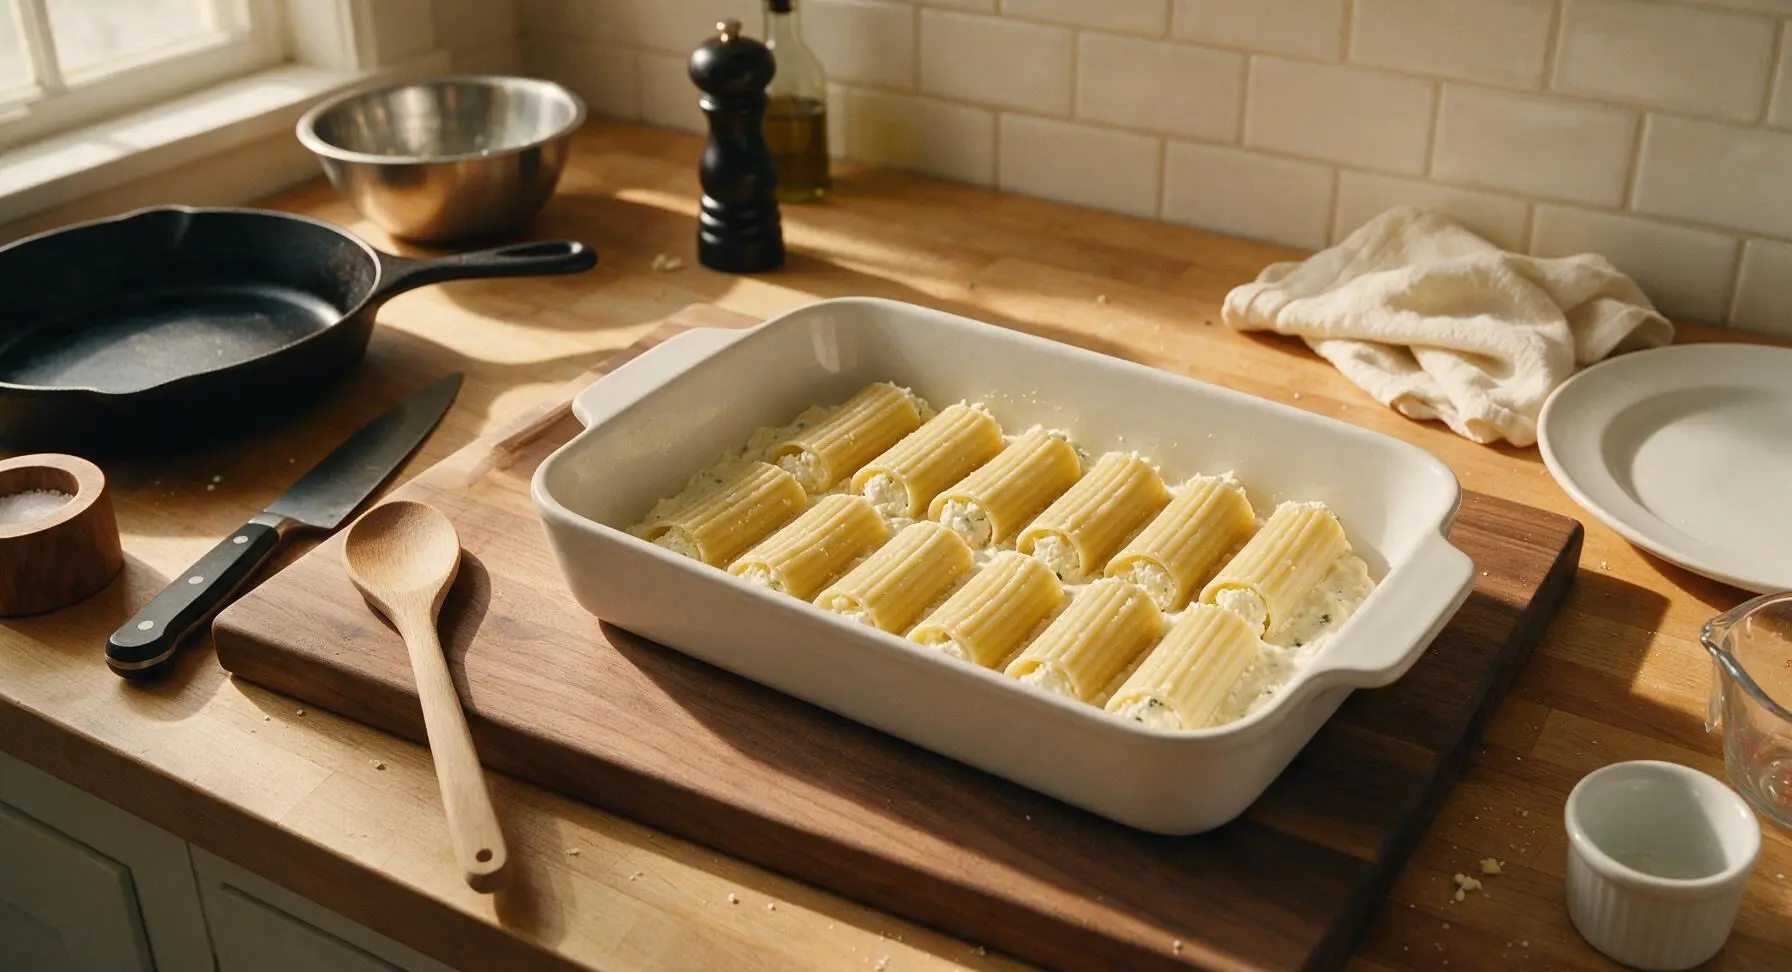
Let the cheese sauce cool for 5 minutes (hot sauce will split the delicate parboiled pasta), then spoon it into the clear disposable piping bag, snipping a 2cm opening off the pointed end. Hold one cooled manicotti tube at a time over the cutting board, piping filling into both open ends until the tube is plump and filling peeks slightly out of both sides—do not overstuff, as this will cause the pasta to split during baking. Spread the reserved 1/2 cup of plain cheese sauce evenly across the bottom of the 9x13 inch matte white ceramic baking dish, then arrange the stuffed manicotti in three neat rows of four across the sauced dish base.
Step 4
step4:Stuff Pasta Tubes
Step 4
step4:Stuff Pasta Tubes
5

Bake Until Bubbly

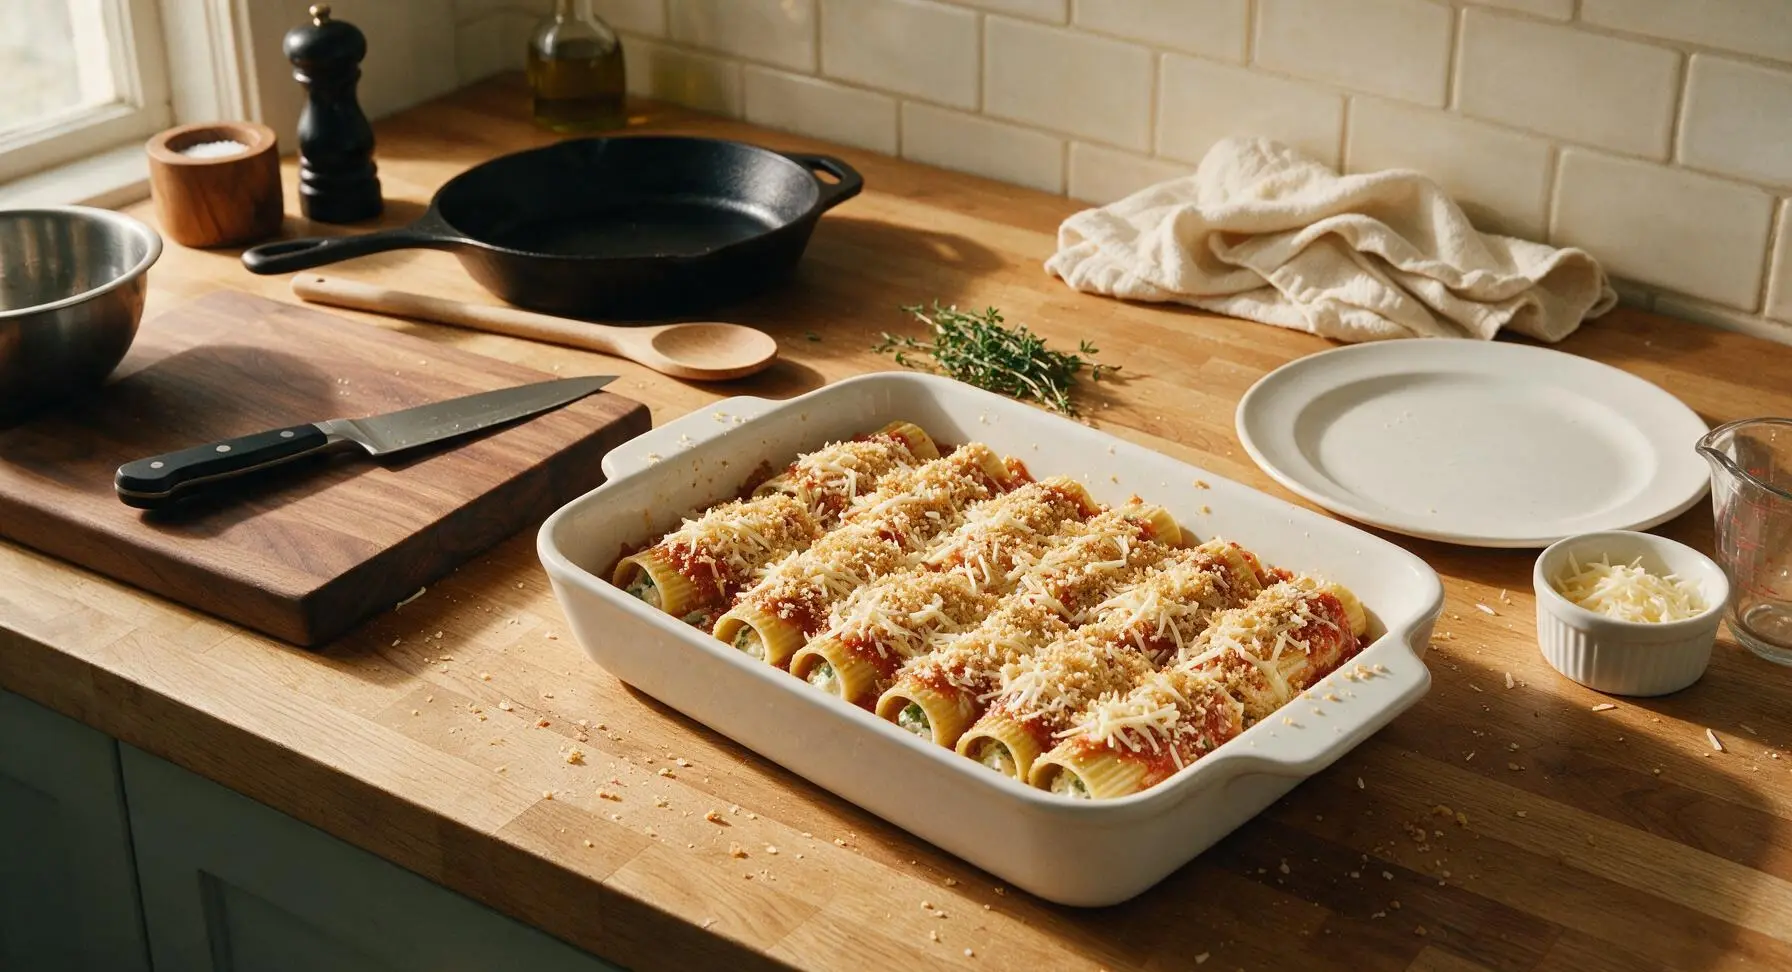
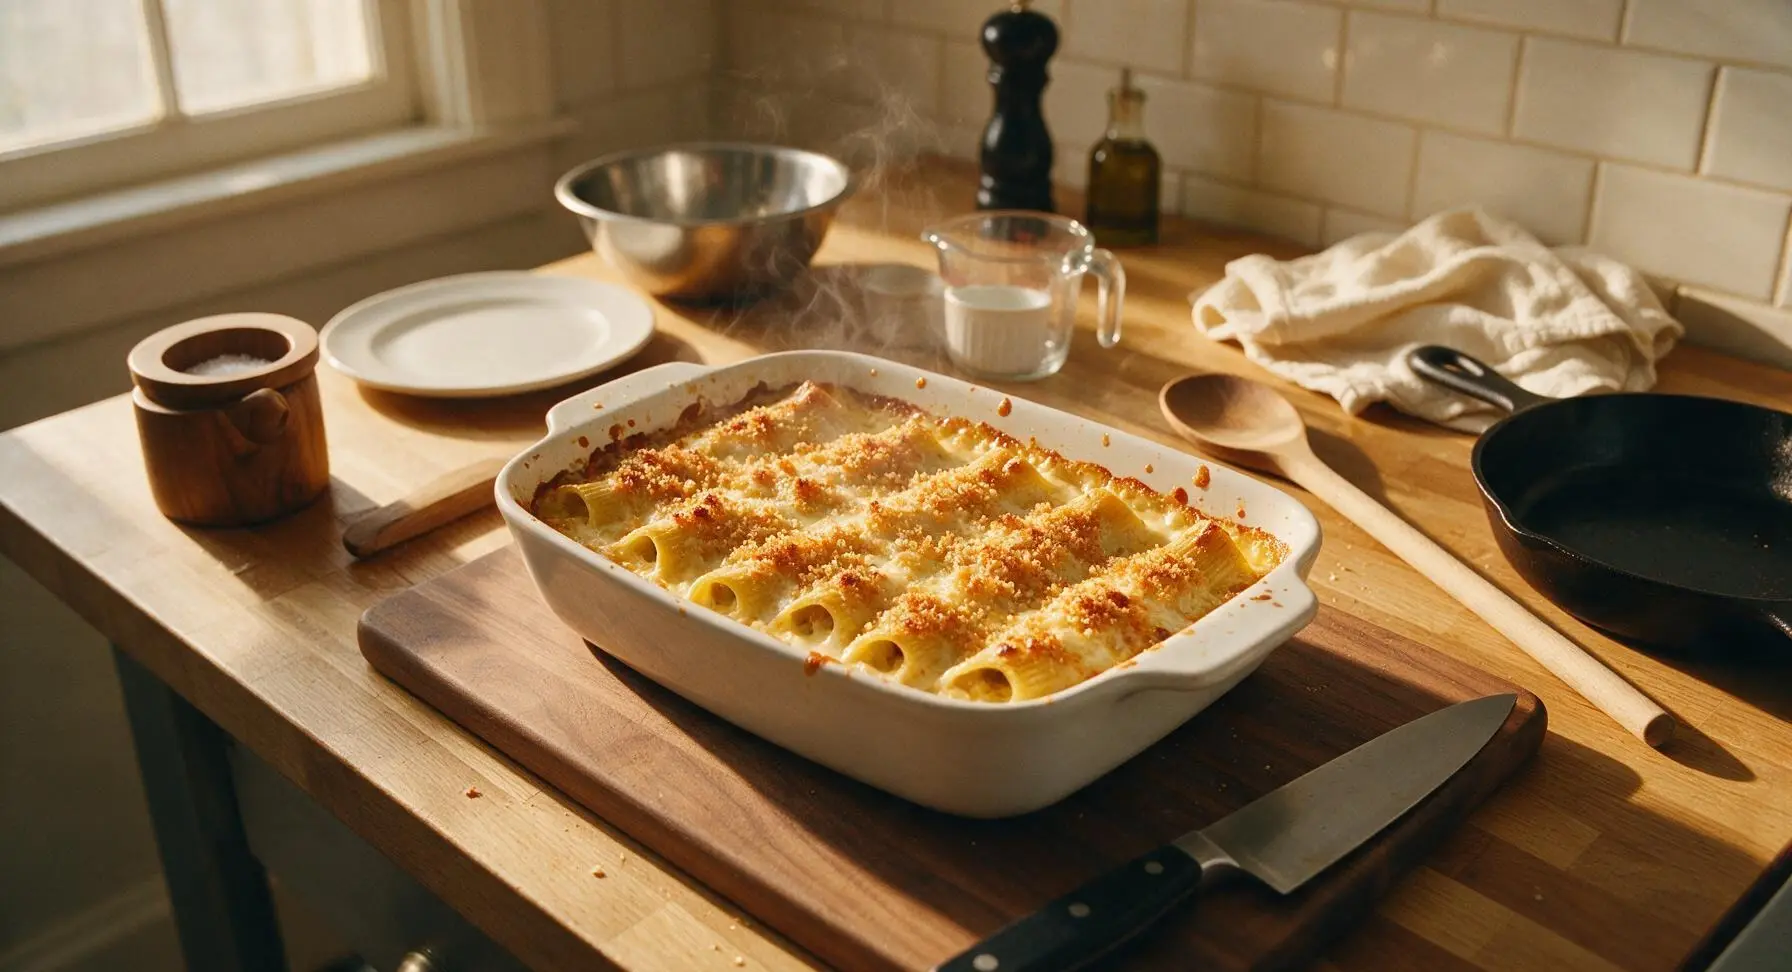
Pour the remaining cheese sauce evenly over the top of the arranged stuffed manicotti, spreading gently with the back of a spoon to coat every pasta surface (this prevents dry, crunchy pasta edges during baking). Sprinkle the reserved shredded cheese from the glass ramekin evenly across the sauced pasta, then scatter 30g panko breadcrumbs and leaves picked from one fresh thyme sprig over the cheese. Transfer the baking dish to a preheated 190°C (375°F) oven, and bake for 25 minutes, until the sauce bubbles vigorously around the entire dish edge, the top cheese is melted and streaked with light golden brown spots, and the panko crumbs are crisp and pale golden.
Step 5
step5:Bake Until Bubbly
6

Rest Before Serving

Carefully remove the hot baking dish from the oven, set it on the quartz counter, and let the manicotti rest for 10 full minutes at room temperature. This rest period allows the hot, runny cheese filling to set, so portions hold their shape when plated instead of oozing out of the pasta. Garnish the top of the dish with remaining fresh thyme leaves before plating individual servings.
Step 6
step6:Rest Before Serving

Tips

1.Do not overcook the manicotti during the parboil step: the pasta will cook for a second time in the oven, so a 6-minute parboil leaves it firm enough to handle without tearing during stuffing, and prevents mushy, overcooked pasta in the final dish.
2.Skip the spoon when stuffing manicotti: using a piping bag (or a resealable plastic bag with a corner snipped) fills the tubes evenly with no air gaps, and cuts down on torn pasta shells that leak filling during baking, no fancy pastry tools required.
3.Never skip the 10-minute rest after baking: straight out of the oven, the cheese filling is thin and runny, so it will pour out of cut pasta and leave you with a plate of loose sauce. The short rest lets the cheese set for clean, neat portions that hold their shape.


✨ You May Also Like

Main Course
🍜 United Kingdom

A showstopping classic of tender seared beef, savory mushroom duxelles, and crisp prosciutto wrapped in flaky golden puff pastry, baked to juicy perfection.

⏱️ 2 hours 1Main Course ★ 4.7
Main Course
🍜 India

Tender charred marinated chicken simmered in a rich, spiced creamy tomato sauce, this iconic Anglo-Indian curry pairs perfectly with basmati rice or warm naan.

⏱️ 50 minuteMain Course ★ 4.6
Main Course
🍜 Thailand

Classic tangy, sweet, and savory Thai stir-fried rice noodles with shrimp, tofu, and crunchy garnishes, balancing all five core Thai flavor profiles.

⏱️ 30 minuteMain Course ★ 4.5
Main Course
🍜 United Kingdom

Crispy golden beer-battered cod and fluffy double-fried chips, served with tangy tartar sauce and malt vinegar: the timeless, beloved British pub comfort classic.

⏱️ 45 minuteMain Course ★ 4.7
Main Course
🍜 Mexico

Smoky, chile-marinated pork tacos with caramelized pineapple, fresh cilantro, and lime: a beloved classic Mexican street food perfect for casual summer gatherings.

⏱️ 1 hour 45Main Course ★ 4.8
Main Course
🍜 United States

Crunchy Fritos corn chips layered with savory beef chili and melted cheddar, topped with cool, zesty fixings for a beloved, cozy Tex-Mex comfort food.

⏱️ 35 minuteMain Course ★ 4.8

Mac and Cheese Manicotti:Frequently Asked Questions

1.Do I need to pre-cook manicotti shells before stuffing them for this recipe? ▾
Yes, parboil your manicotti shells 2 full minutes less than the package’s al dente recommendation—this keeps them firm enough to stuff without tearing, and prevents mushy pasta after baking. Drain them, rinse briefly with cool water to stop the cooking process, and pat gently with paper towels so the creamy cheese filling adheres well instead of sliding out.
2.What’s the easiest way to stuff manicotti shells without making a huge mess? ▾
Skip the tiny spoon mess! Scoop your cooled three-cheese mac filling into a gallon-sized zip-top bag, snip a ½-inch corner off the bottom, and pipe the filling straight into each end of the parboiled shell. It’s fast, evenly fills every tube, and cuts down on split shells and messy counter spills by a mile.
3.Can I use pre-shredded cheese for this recipe instead of shredding my own? ▾
I don’t recommend it for the creamiest result! Pre-shredded cheddar and mozzarella are coated in anti-caking agents like potato starch that keep shreds from clumping in the bag, but they also make your cheese sauce grainy and prevent smooth melting. Shred your own cheese right before use for the silkiest, richest filling.
4.How do I get the breadcrumb topping crisp and golden instead of soggy? ▾
First, toast your breadcrumbs in a little melted butter for 2-3 minutes on the stovetop before sprinkling them over the assembled manicotti—this jumpstarts crisping. Don’t cover the baking dish with foil for the last 10 minutes of bake time, so the topping is exposed directly to oven heat instead of getting steamed under trapped moisture.
5.Can I make this Mac and Cheese Manicotti ahead of time for a party or meal prep? ▾
Absolutely! Assemble the stuffed, sauced manicotti (hold off on adding the breadcrumb topping) in a baking dish, cover tightly, and refrigerate for up to 2 days before baking. When you’re ready to cook, top with buttered breadcrumbs, add 8-10 minutes to the standard bake time to account for the cold dish, and bake until bubbly.
6.Why do you recommend low-moisture mozzarella instead of fresh mozzarella for this dish? ▾
Fresh mozzarella has a very high water content that leaches out as it bakes, making your creamy mac filling watery and diluting that rich, cheesy flavor. Low-moisture mozzarella melts into that perfect stretchy, gooey texture without adding extra liquid, so your filling stays thick, creamy, and cohesive in every pasta tube.
7.My cheese sauce turned out lumpy last time I made baked mac—what went wrong? ▾
Lumps usually happen when you add shredded cheese too quickly to milk that’s too hot. Keep your stovetop heat on medium-low when making the sauce, add small handfuls of cheese at a time, and stir constantly between additions. Make sure your cream cheese is softened to room temperature first too, so it blends smoothly without clumps.
8.What sides pair well with Mac and Cheese Manicotti for a full meal? ▾
This rich, ultra-cheesy dish pairs perfectly with bright, simple sides to cut through the heaviness. Try a crisp arugula salad tossed with lemon vinaigrette, roasted garlic broccoli, or buttery steamed green beans. Warm garlic bread works too if you’re leaning all in on cozy, indulgent comfort food for a crowd.
9.How should I store leftovers, and how long will they keep? ▾
Let leftover manicotti cool completely to room temperature within 2 hours of baking, then transfer to an airtight container and refrigerate for up to 4 days. Reheat individual portions in the microwave or 350°F oven, covered loosely with foil, until heated through—add a tiny splash of whole milk if the filling feels dry after storing.

Comments (9)

2 days ago

OMG y’all, this Mac and Cheese Manicotti was an absolute game changer for our weekly family dinner! My 3 and 5 year old gobbled up two servings each without complaining about veggies (I snuck a little steamed broccoli in the cheese filling, don’t tell them). Cook time was exactly as advertised too, perfect for a chaotic weeknight. Will 100% be making this for our next neighborhood potluck!

1 day ago

Wait sneaking broccoli in is such a smart hack! I’ve been trying to get my picky 7 year old to eat more veggies without a fight, I’ll have to try that next time I make this.

yesterday

Love the broccoli add-in, Liz! Finely chopped steamed broccoli or even roasted red peppers mix perfectly into the cheese filling without throwing off the creamy texture. So glad your whole family enjoyed it!

3 days ago

Tried this for my apartment potluck last weekend and everyone raved about it! Only reason I’m not giving 5 stars is I struggled a little to stuff the manicotti shells without tearing them — I think I overcooked the noodles a tiny bit. Flavor was insane though, way better than regular boxed mac and cheese.

2 days ago

Pro tip: undercook the shells by 2 minutes! They finish cooking all the way through in the oven while it bakes, so they’re firm enough to stuff without ripping. Total game changer when I figured that out on my first try.

2 days ago

Great call from Mia! Undercooking the pasta shells by a couple minutes is exactly the trick we recommend for easy stuffing, since they’ll continue to cook as the manicotti bakes. Happy to hear the flavor was a hit at your potluck!

1 week ago

SO good!!! I brought this to my church potluck last Sunday and the entire pan was gone in 10 minutes flat. Multiple people asked for the recipe, I felt like a total rockstar. The crispy panko topping on top takes it to the next level, no sad mushy mac here!

5 days ago

That makes us so happy to hear, Kari! The panko crust is our favorite little touch to add that perfect crunch contrast to the creamy cheese filling. Thanks for sharing it with your church group!

5 days ago

I was skeptical mixing classic mac and cheese with manicotti, but holy cow this works. I added a little crumbled bacon to the filling per my wife’s request and it was chef’s kiss. Perfect comfort food for our rainy weekend movie night.

3 days ago

Oh the bacon addition sounds incredible! I’m making this for my husband’s birthday dinner next week and I’m definitely stealing that idea. Can’t wait to see how it turns out!

yesterday

Made this with gluten-free manicotti shells and dairy-free cheddar for my sister who has dietary restrictions, and even my pickiest uncle who hates “alternative food” went back for seconds! Only note is the gluten-free noodles needed a couple extra minutes in the oven to soften up all the way.

30 minutes ago

So glad the swaps worked out for you, Gabi! Thanks for the note about gluten-free noodles — we’ll add that tip to the recipe card for folks making dietary adjustments. That means a lot that your uncle loved it too!

2 weeks ago

This is my new go-to meal prep for the work week! I portion it out into single-serve containers on Sunday and it heats up perfectly in the microwave for 2 minutes, no weird sogginess. The three cheese blend is so rich and creamy, I don’t even miss takeout pasta on lunch breaks.

just now

Just pulled this out of the oven and had a bite before serving it to my roommates, and WOW. The cheese pull is insane. I used a mix of sharp cheddar and gouda because that’s what I had in the fridge, and it’s so creamy and decadent. 10/10, will make again.

30 minutes ago

My kids loved it!!! I was worried the manicotti would be too fancy for their plain palates, but they said it’s “the cheesiest pasta ever” and asked if we can have it every Friday for pasta night. Total win for mom! Cook time was super manageable even with helping with homework while it baked.

2 hours ago

Tasted great, but man, stuffing all those manicotti shells took me way longer than I expected! I’m a pretty novice cook so I think that’s on me, but next time I’ll enlist my partner to help stuff so it goes faster. Flavor is 10/10 though, the creamy sauce is totally worth the extra work.

30 minutes ago

I feel this so hard! I use a small spoon and a piping bag (no fancy tip, just the cut end) to squirt the filling into the shells, it cuts stuffing time in half. No more ripped shells or cheese all over my counter!

5 minutes ago

Great tip from Meg! Using a piping bag or even a large zip-top bag with the corner snipped off makes stuffing the shells so much faster and less messy, especially for folks newer to cooking stuffed pasta. So glad you loved the flavor even with the extra work!



