
mac and cheese recipe stovetop

title 1
mac and cheese recipe stovetop
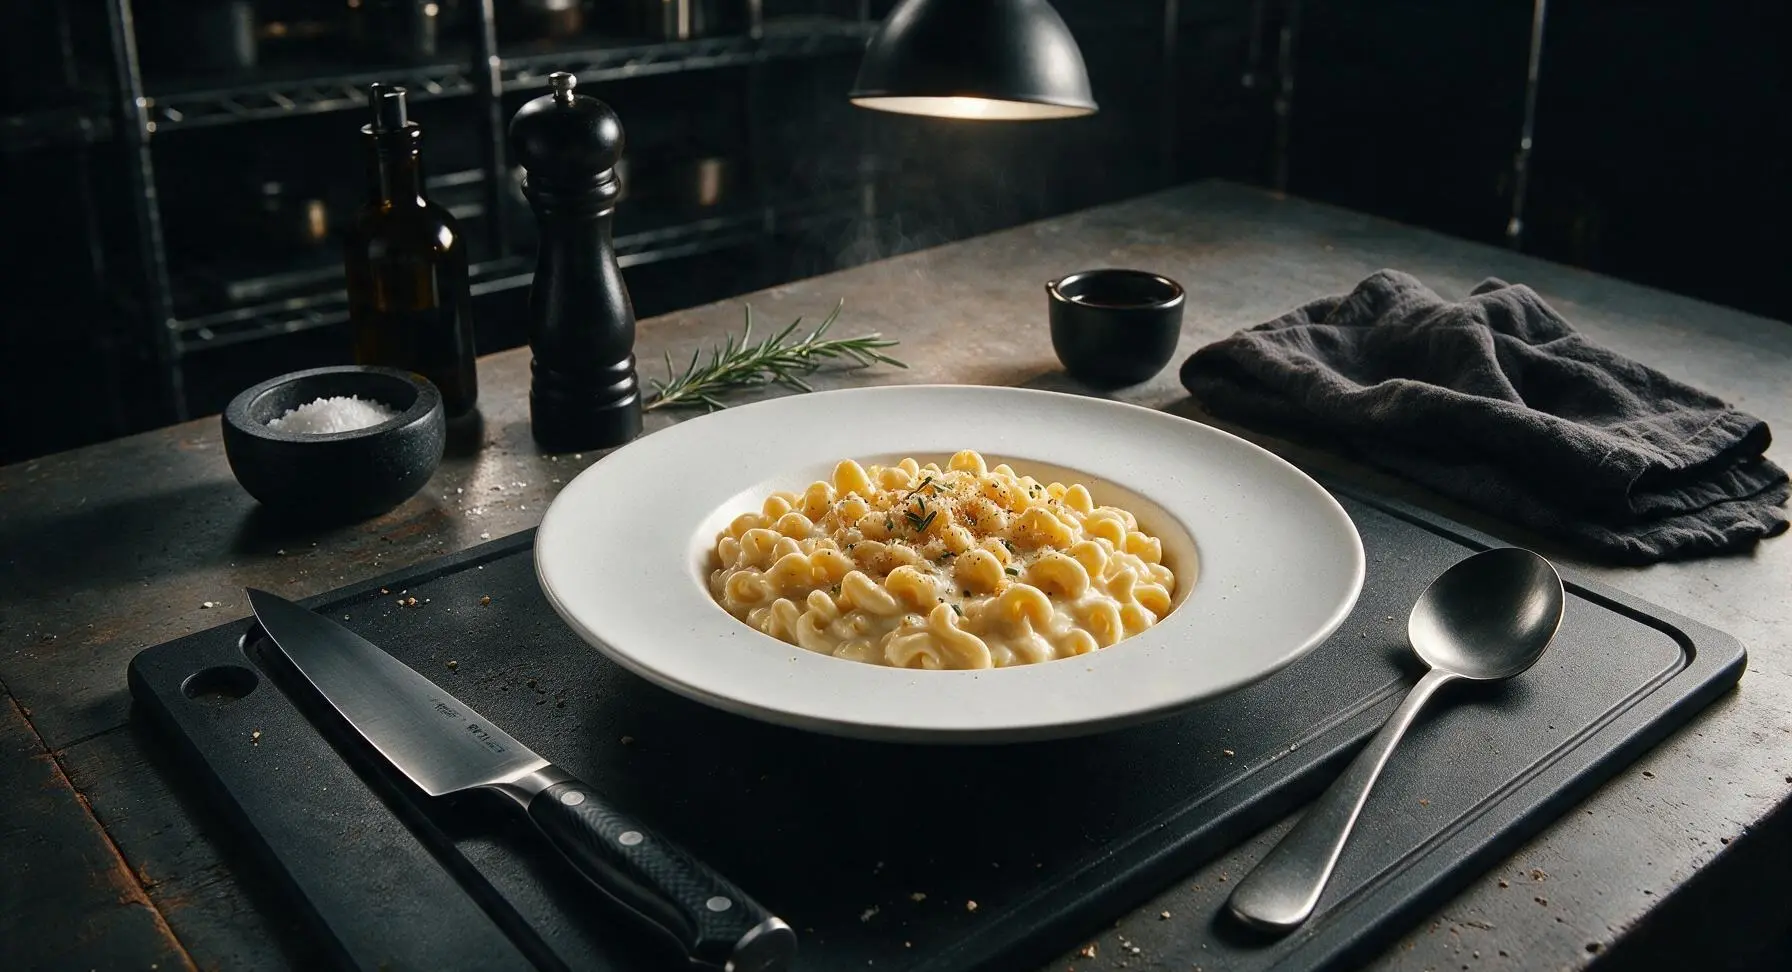
⏱️ cook time 15 minutes
🍽️ servings 4
⚡ Difficulty easy

intro

Velvety, perfectly smooth stovetop mac and cheese with zero grainy sauce, ready in 25 minutes for cozy, no-fuss weeknight comfort the whole family will love.

Ingredients
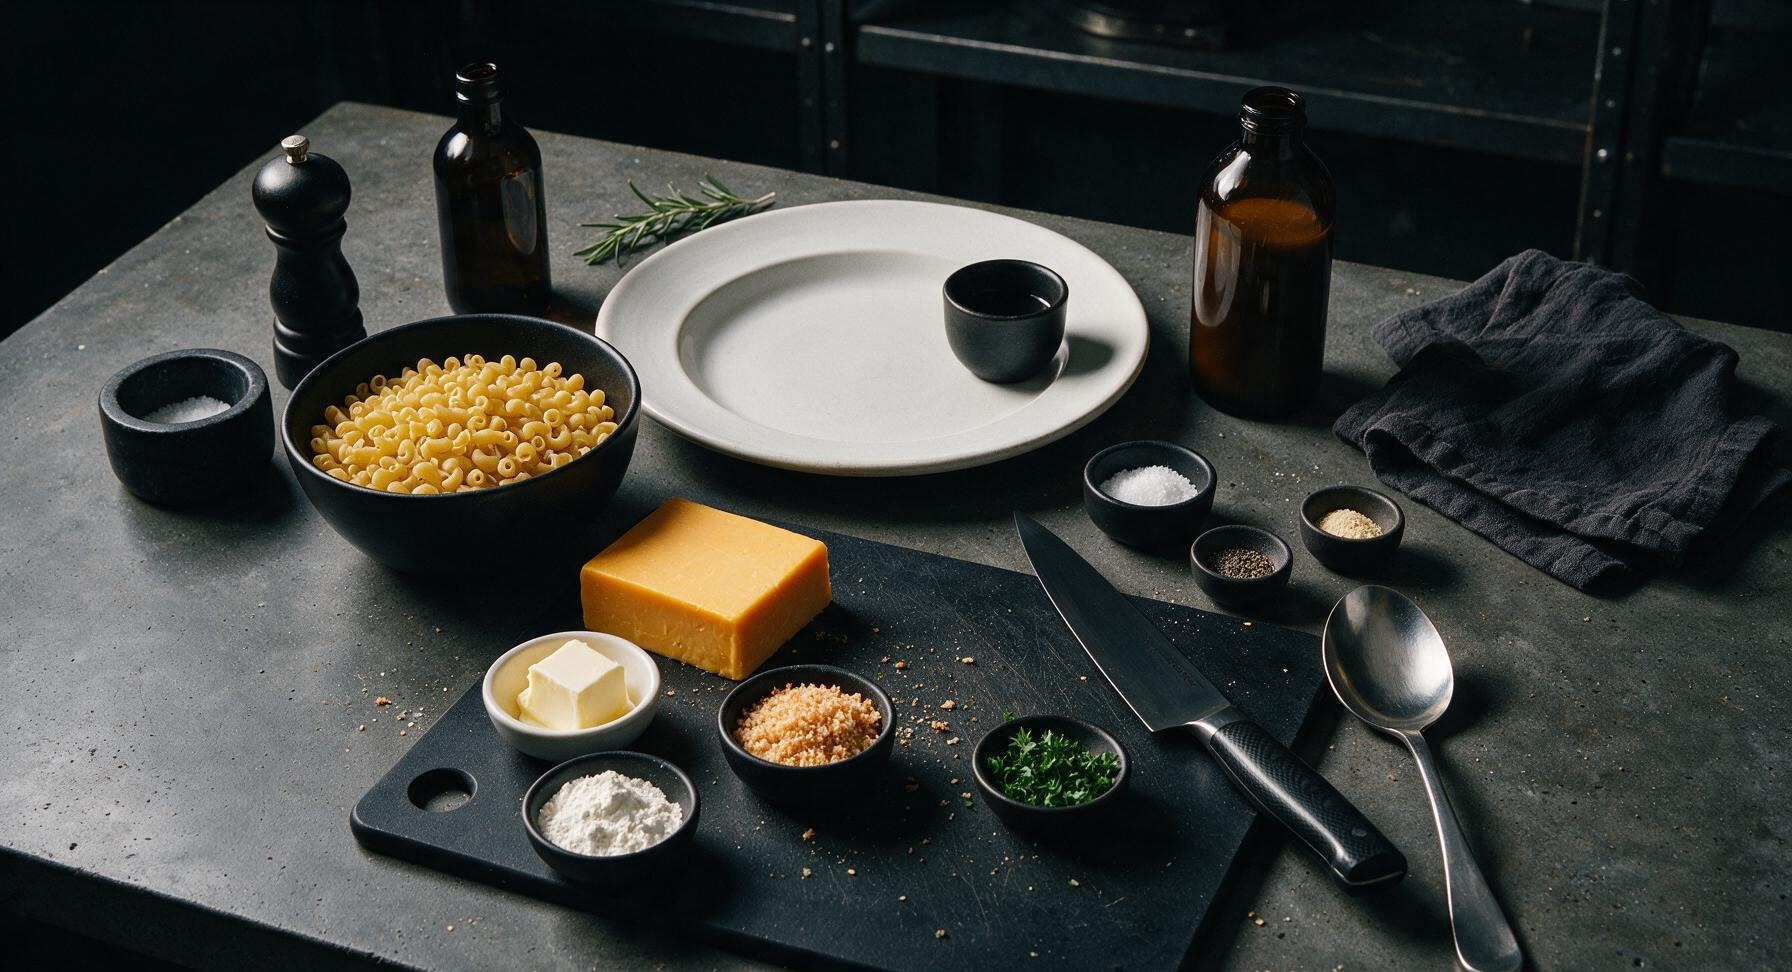
Dry elbow macaroni 225g (8oz)
Sharp yellow cheddar cheese (block) 170g (6oz)
Unsalted butter 3 tbsp (42g)
All-purpose flour 2 tbsp (16g)
Whole milk 2 cups (480ml)
Kosher salt 1 tsp (plus 1 tbsp for pasta water)
Freshly ground black pepper 1/2 tsp
Garlic powder 1/4 tsp
Panko breadcrumbs (toasted, optional) 2 tbsp
Fresh curly parsley (chopped, for garnish) 1 tbsp

Steps

1

Boil Salted Pasta Water

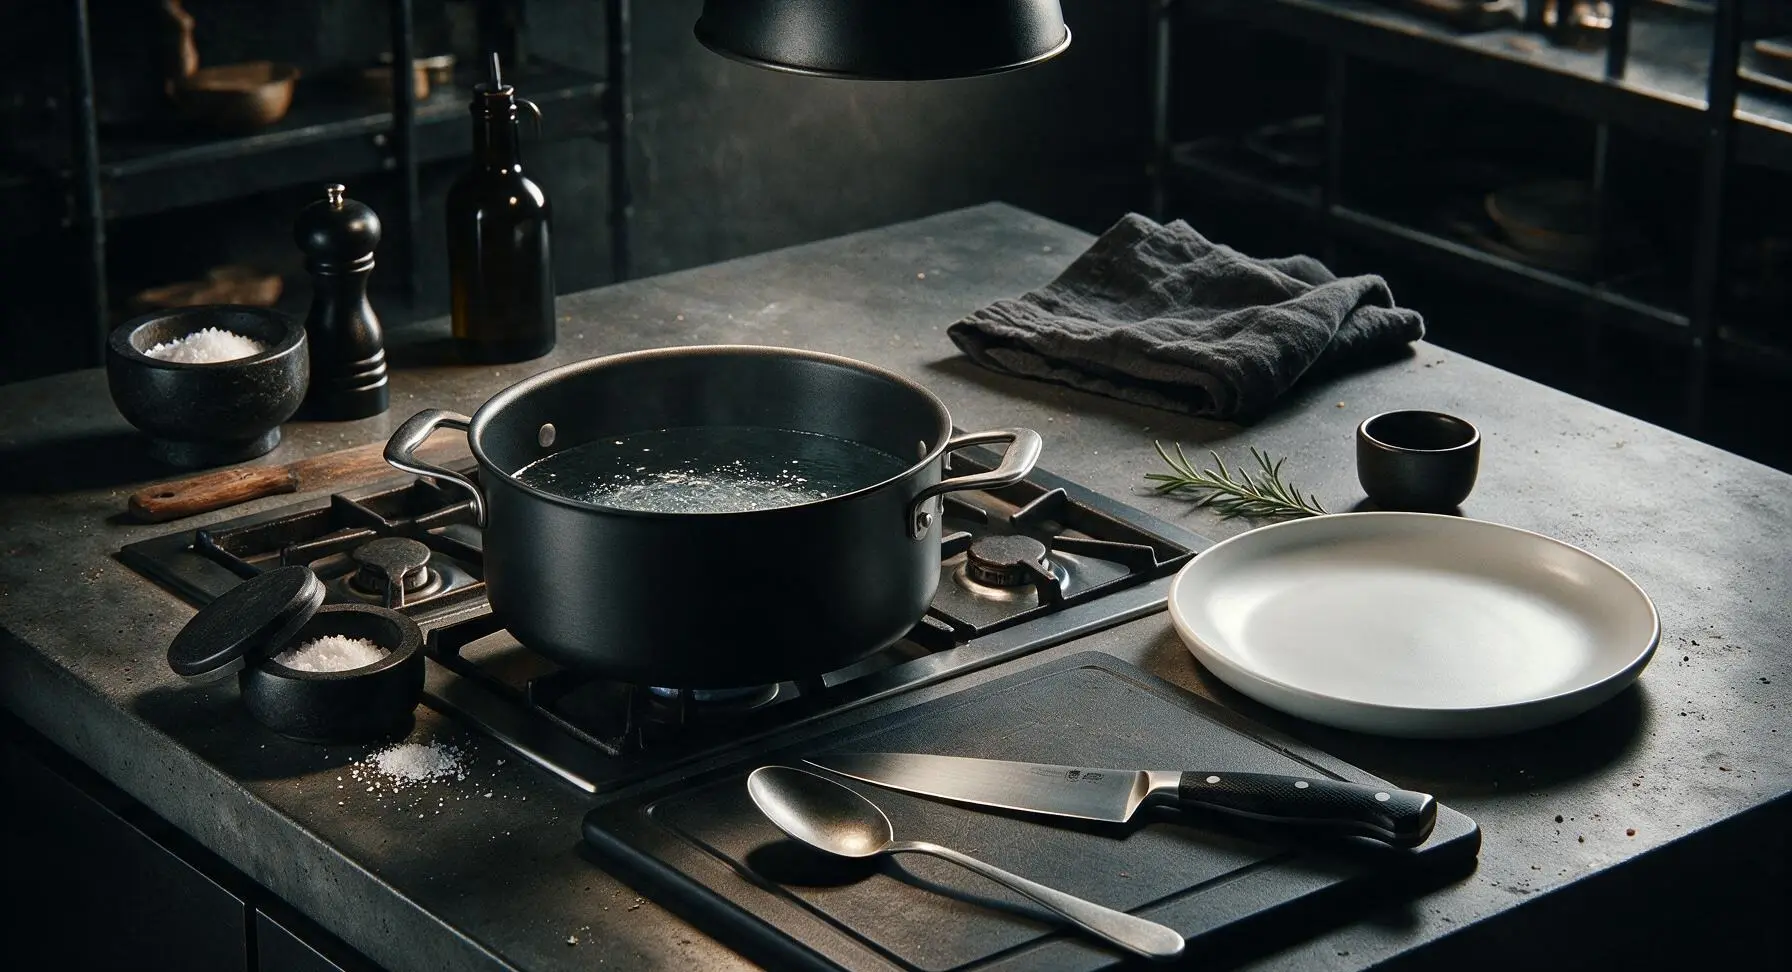
Fill the 5-quart matte black stock pot with 4 quarts of cold tap water, add 1 tablespoon of kosher salt (water should taste as salty as sea water), place on the front stovetop burner over high heat. Bring to a rolling, bubbling boil, approximately 8 minutes. Do not add oil to the water, as it will prevent sauce from clinging to noodles later.
Step 1
step1:Boil Salted Pasta Water
2

Grate Fresh Cheddar

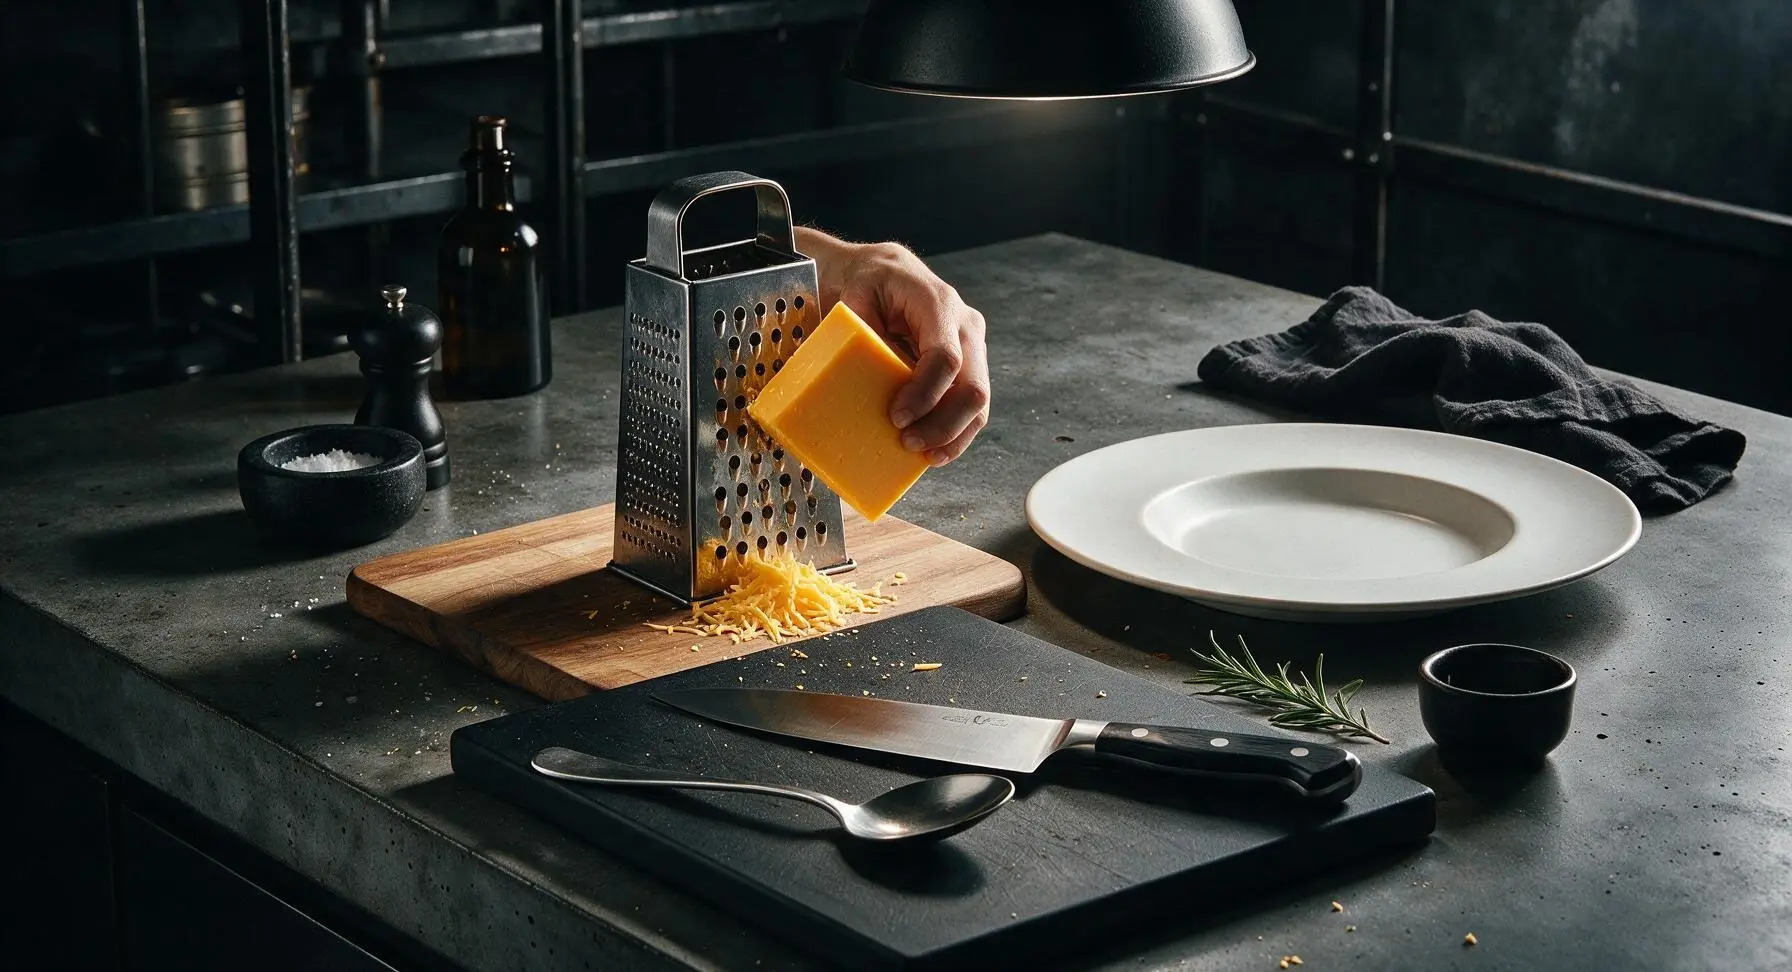
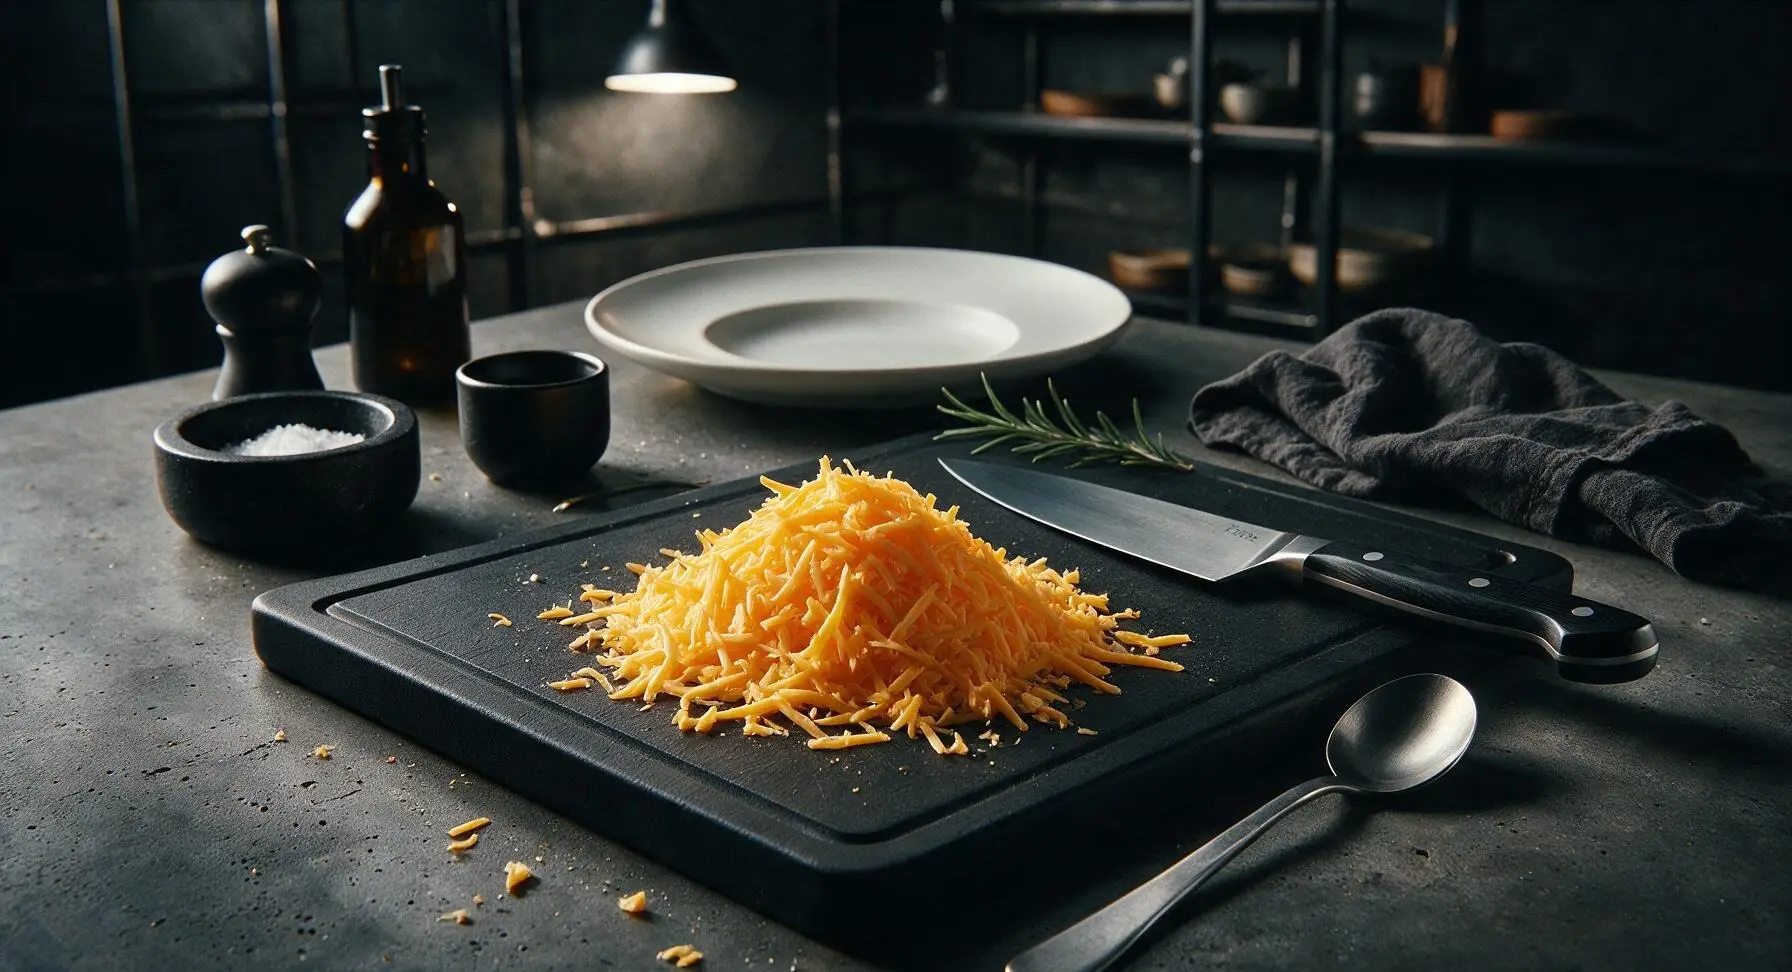
While waiting for water to boil, place the box grater on the beechwood cutting board. Grate the 6oz block of sharp cheddar using the large holes of the grater, set grated cheese aside in a small pile on the cutting board. Do not use pre-shredded cheese, as it contains anti-caking agents that make sauce grainy.
Step 2
step2:Grate Fresh Cheddar
Step 2
step2:Grate Fresh Cheddar
3

Cook Elbow Macaroni

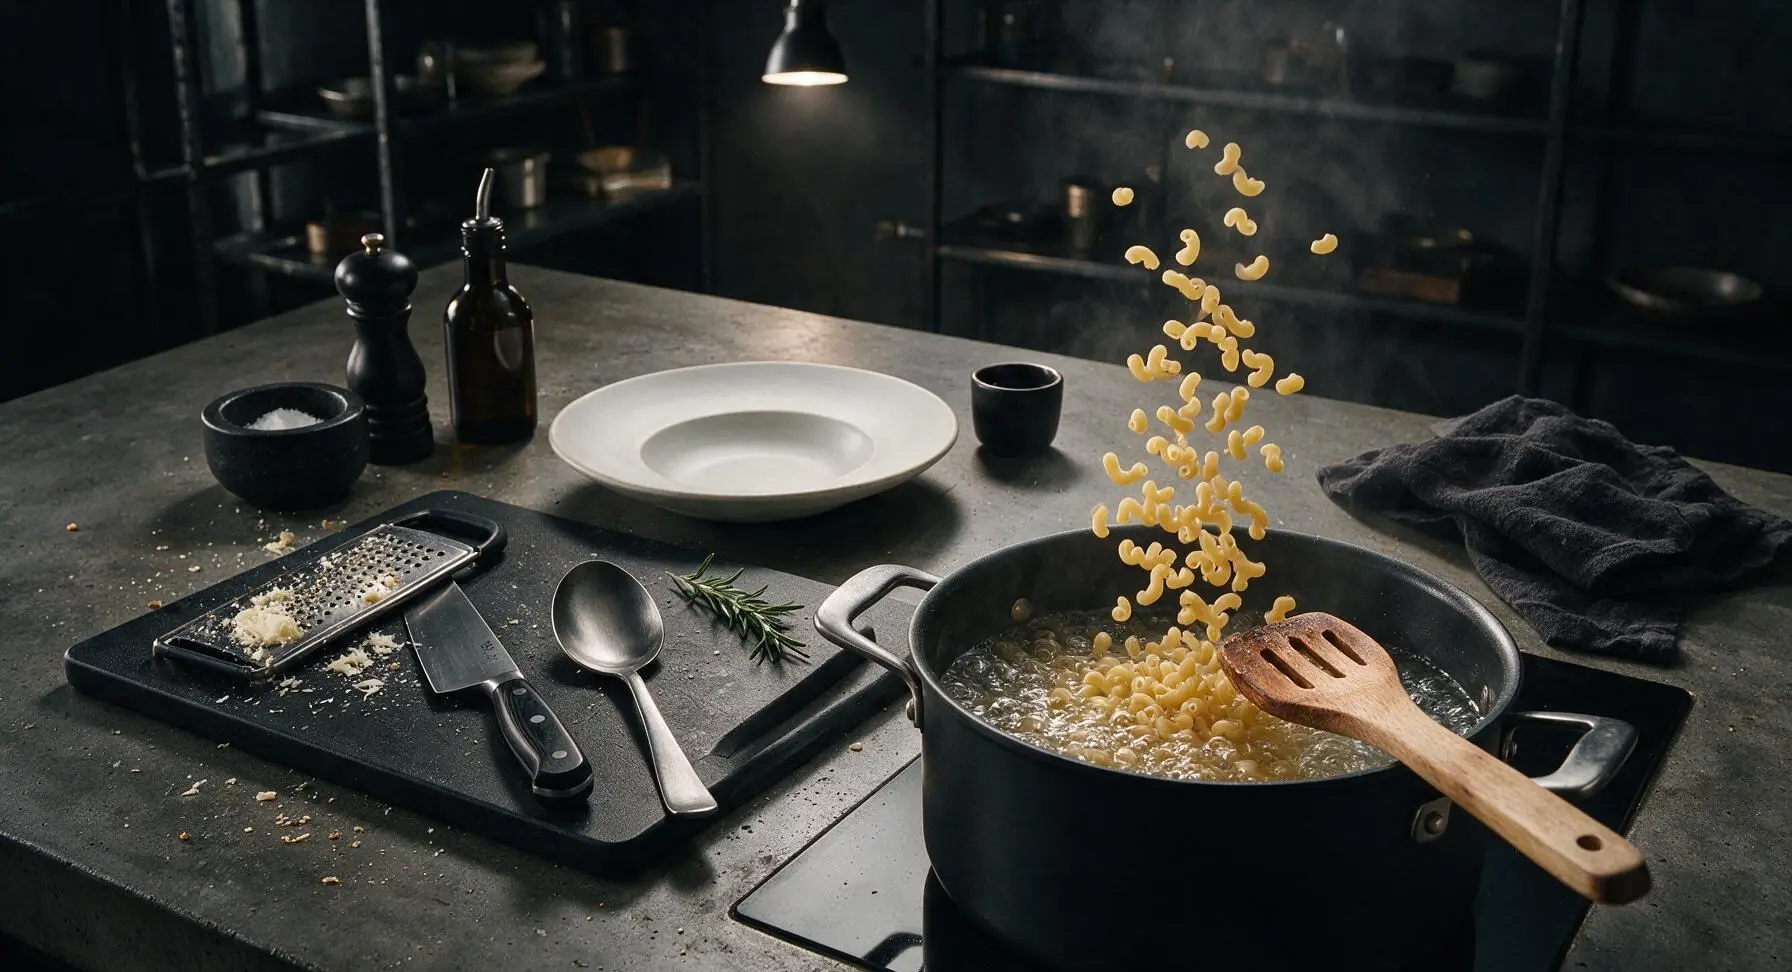
Once water reaches a full rolling boil, add the 225g dry elbow macaroni to the stock pot, stir immediately with the beechwood slotted pasta spoon to prevent noodles from sticking. Cook for 7 minutes, stirring occasionally, until pasta is al dente — firm to the bite with a tiny white core at the center, as it will continue to cook slightly when mixed with sauce. Reserve 1/4 cup of starchy pasta water before draining.
Step 3
step3:Cook Elbow Macaroni
4

Drain Cooked Pasta

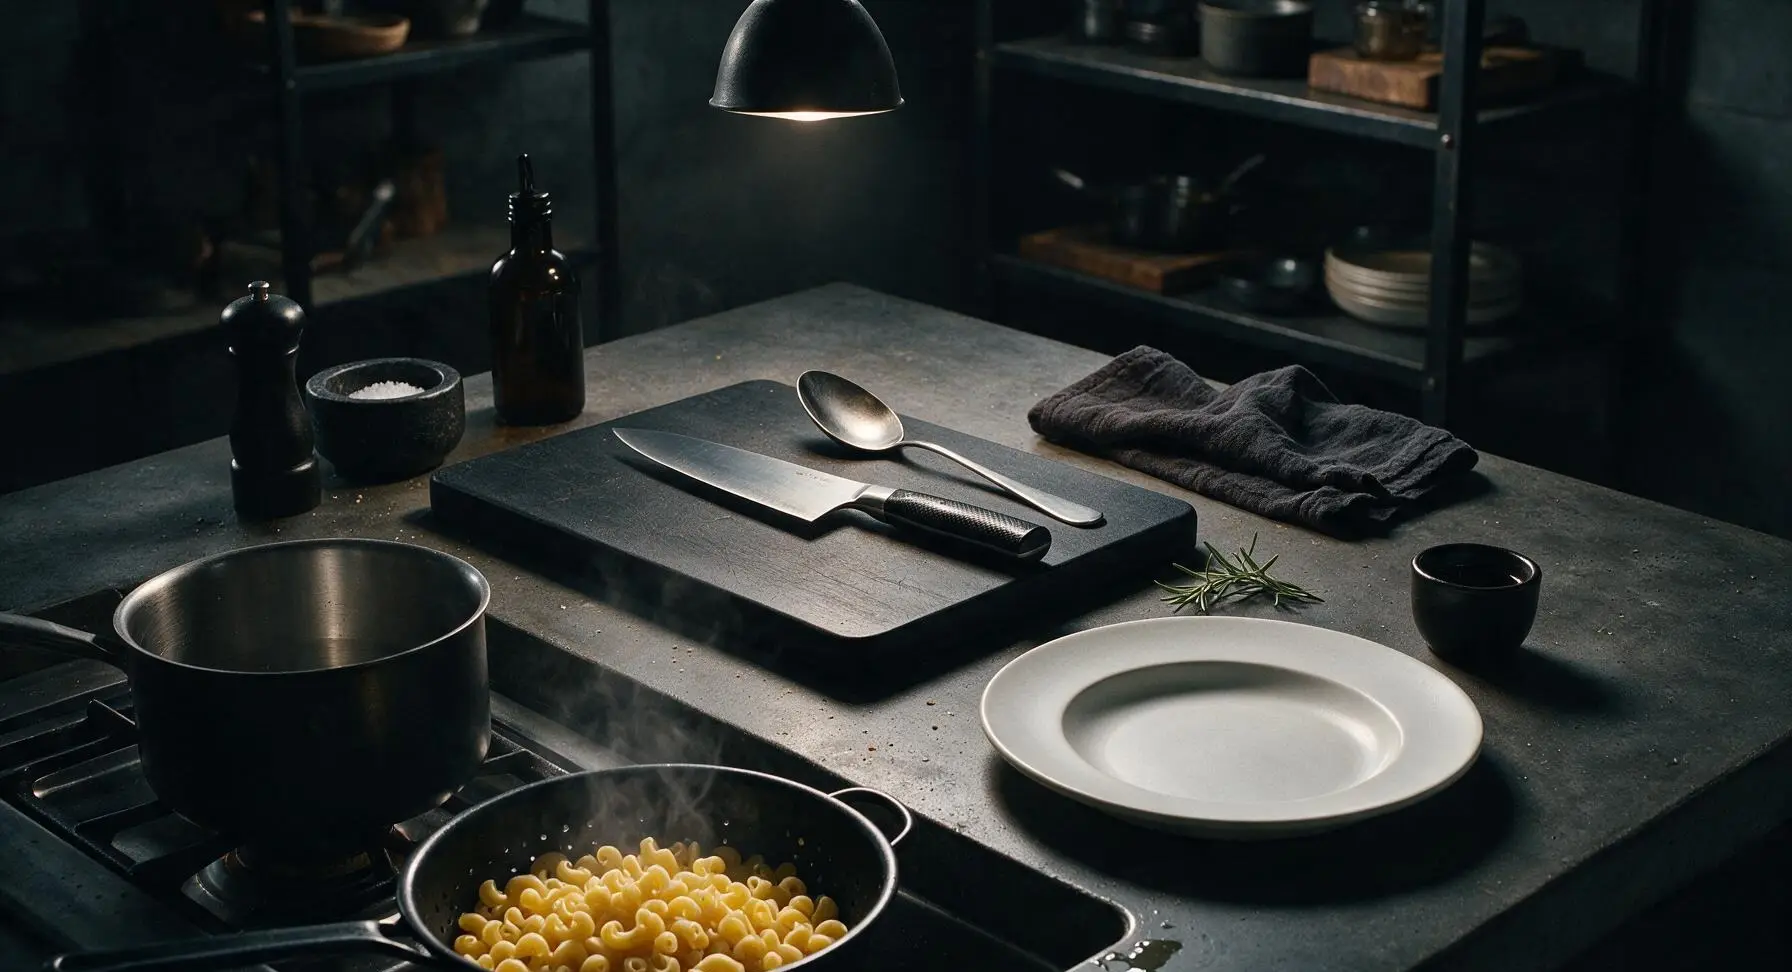
Once pasta reaches al dente, carefully pour the contents of the stock pot into the black colander placed in the sink. Do not rinse the pasta, as rinsing removes the starchy coating that helps cheese sauce cling to noodles. Set drained pasta aside temporarily while you make the sauce.
Step 4
step4:Drain Cooked Pasta
5

Make Roux Sauce Base

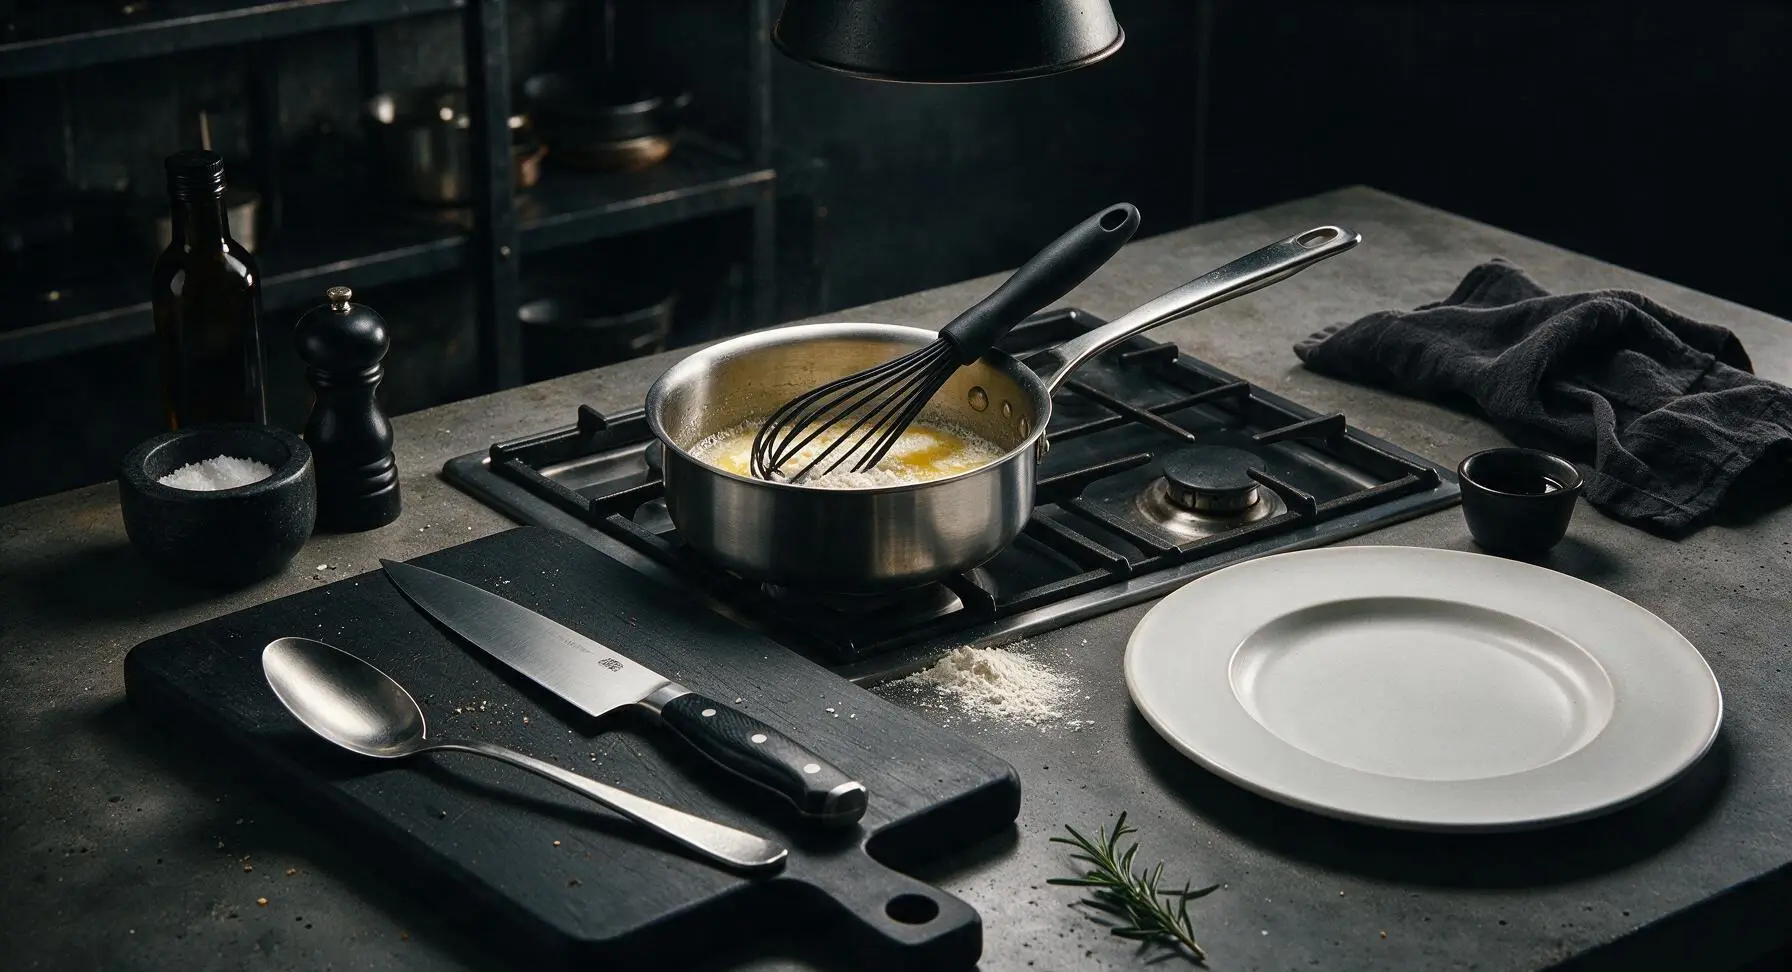
Place the 2-quart stainless steel saucepan on the second stovetop burner over medium-low heat, add the 3 tablespoons of unsalted butter. Once butter is fully melted and foaming slightly, add the 2 tablespoons of all-purpose flour, whisking constantly with the black silicone whisk for 2 minutes. The roux will be pale golden, smooth, and smell faintly nutty when ready — do not let it turn dark brown, as that will create a burnt flavor that overwhelms the mild cheese sauce.
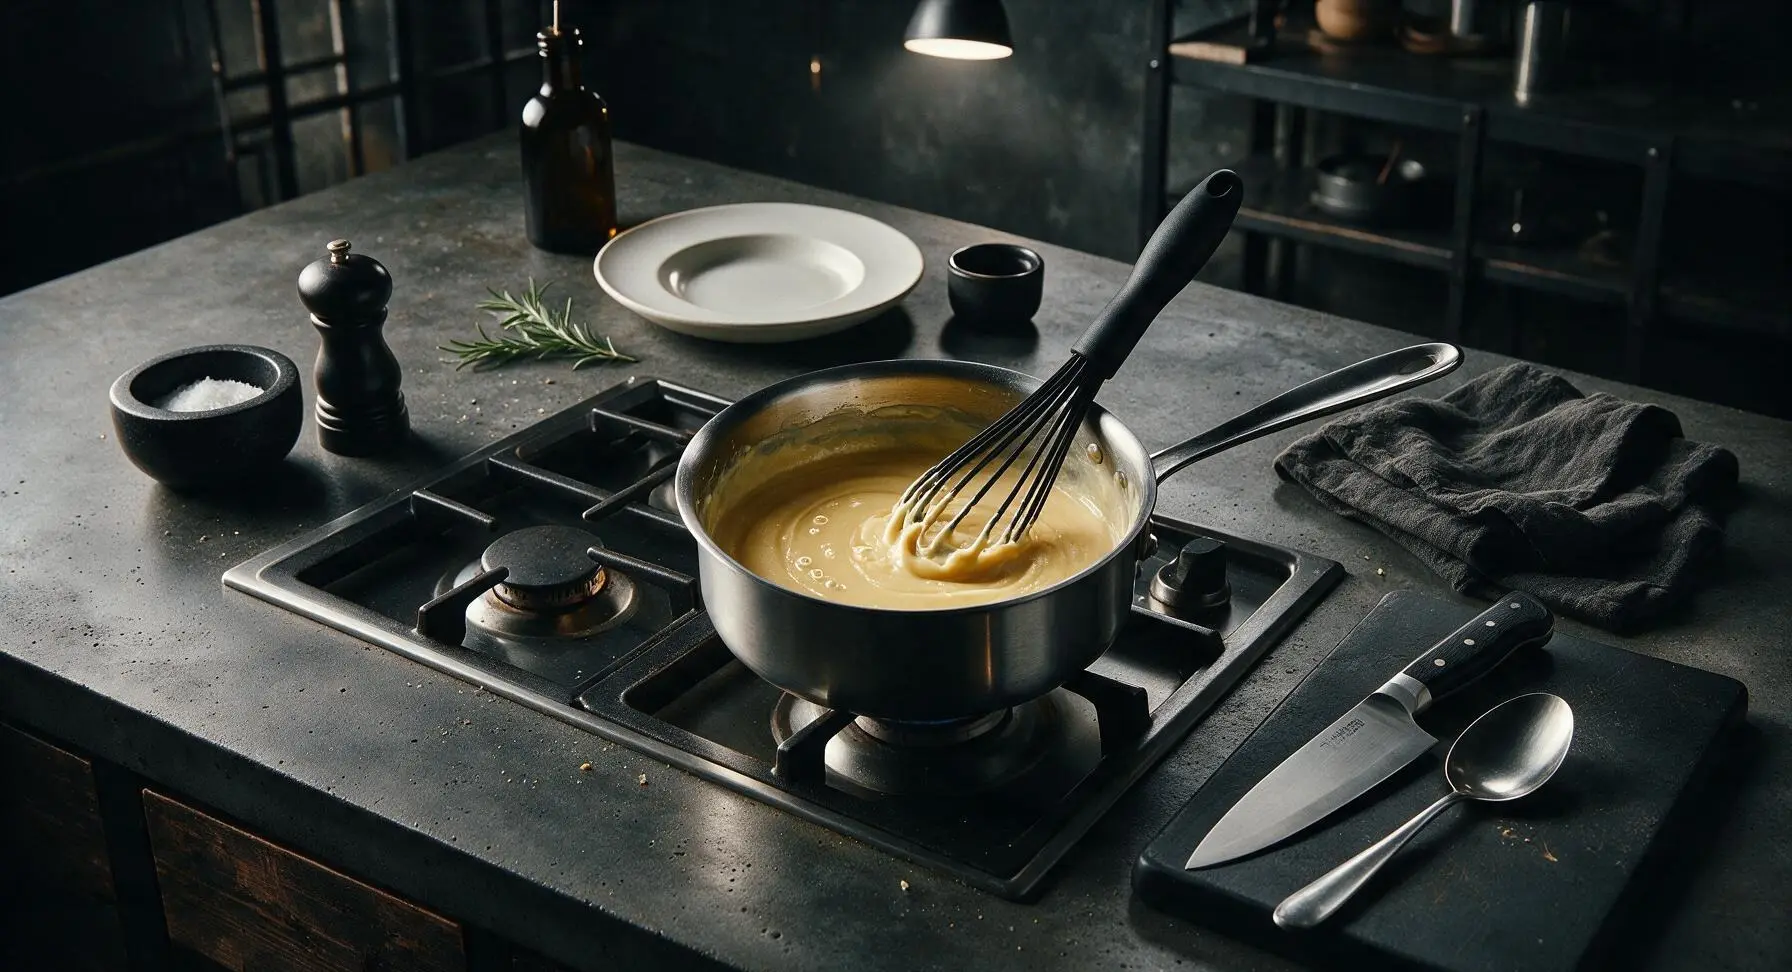
Step 5
step5:Make Roux Sauce Base
Step 5
step5:Make Roux Sauce Base
6

Whisk in Milk Slowly

Slowly pour the 2 cups of whole milk into the roux, 1/4 cup at a time, whisking constantly to prevent lumps from forming. Once all milk is added, continue cooking for 3-4 minutes, whisking occasionally, until the sauce thickens enough to coat the back of a spoon — when you run your finger across the coated spoon, a clear line should remain without sauce running through it. Stir in 1 teaspoon kosher salt, 1/2 teaspoon black pepper, and 1/4 teaspoon garlic powder.
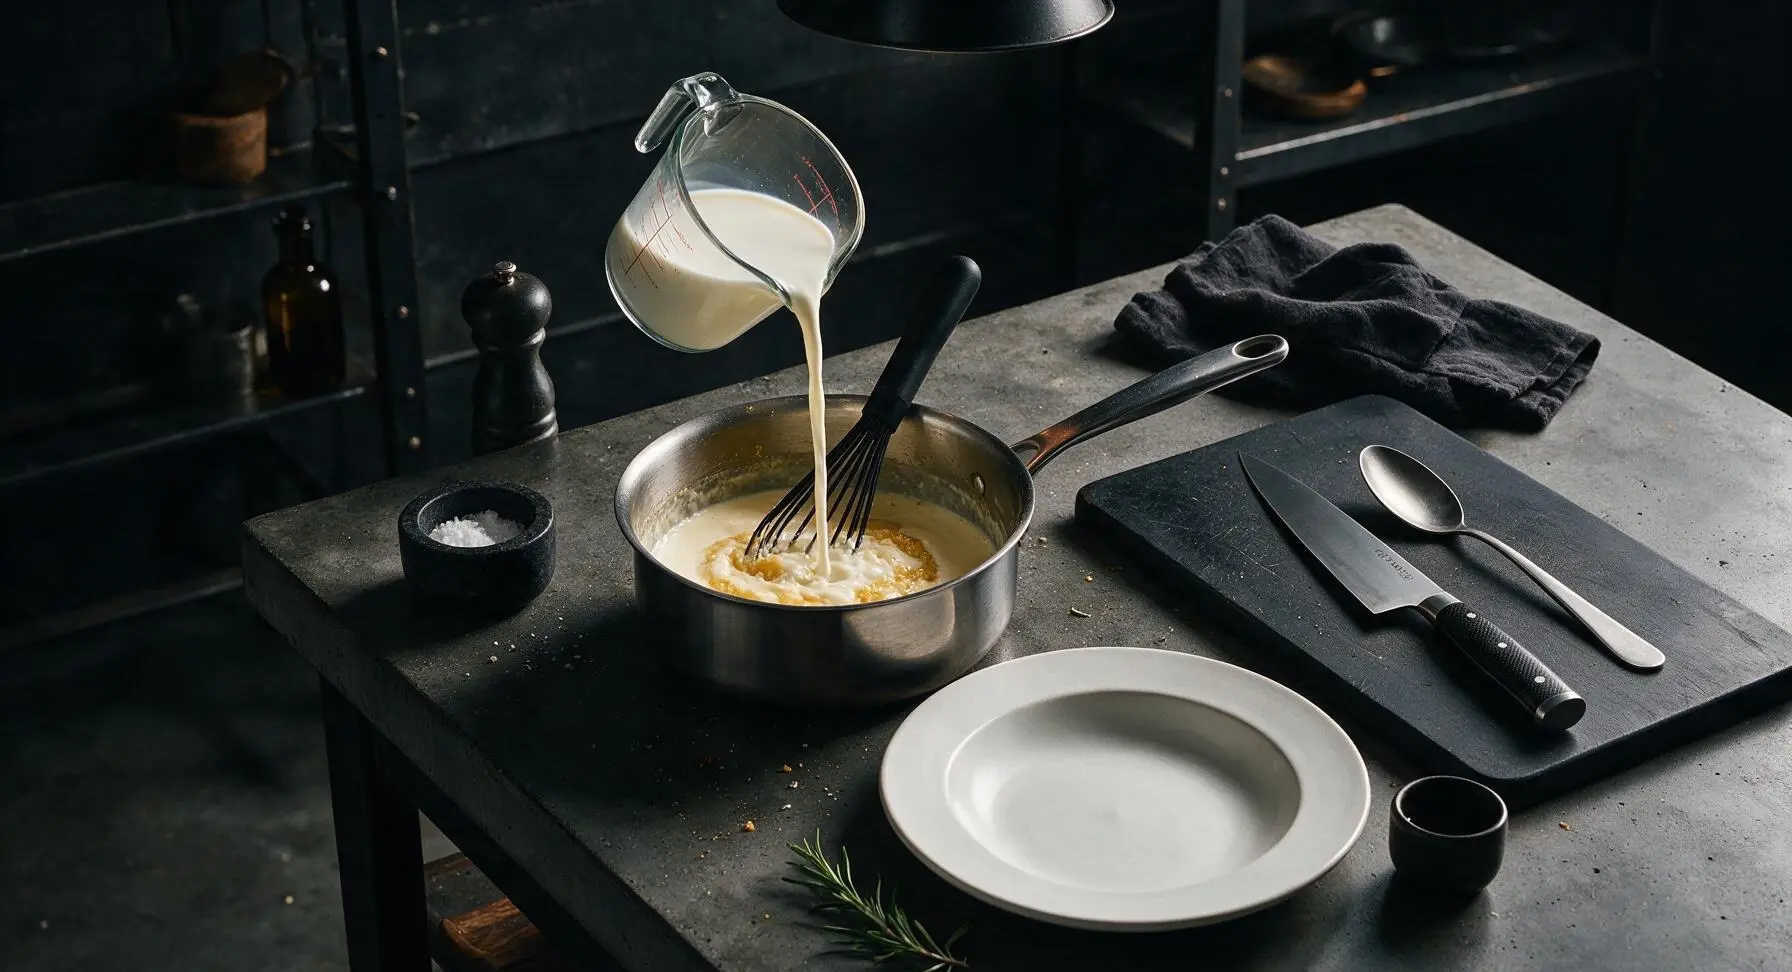
Step 6
step6:Whisk in Milk Slowly
7

Melt Cheese into Sauce

Turn the stovetop heat to the lowest setting, add the freshly grated sharp cheddar to the thickened milk sauce one handful at a time, stirring gently with the silicone whisk until each handful is fully melted before adding the next. Once all cheese is melted, the sauce will be smooth, glossy, and deep golden yellow. If sauce is too thick, stir in 1-2 tablespoons of the reserved starchy pasta water to thin to a silky, pourable consistency.
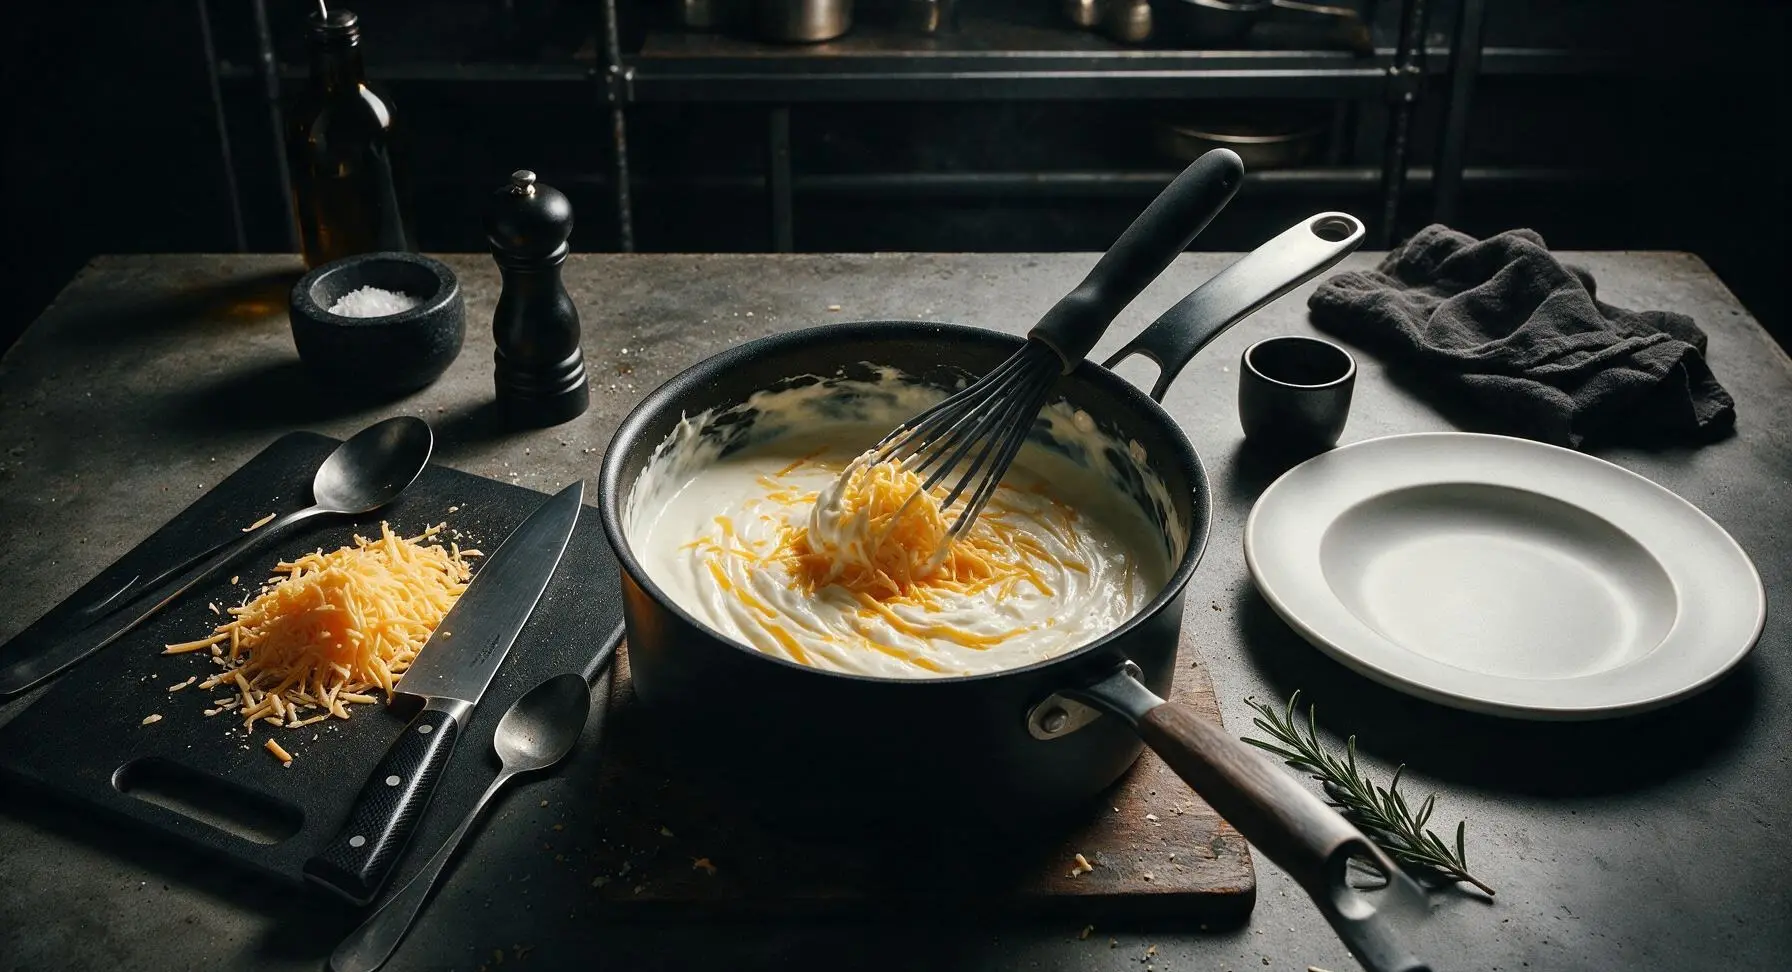
Step 7
step7:Melt Cheese into Sauce
8

Toss Pasta with Sauce

Add the drained al dente elbow macaroni directly into the saucepan with the cheese sauce, stir gently with the beechwood slotted spoon until every noodle is evenly coated in glossy cheese sauce, about 1 minute. Turn off the heat, let rest for 2 minutes to allow the sauce to thicken slightly and cling to noodles. Top with optional toasted panko crumbs and freshly chopped parsley before serving.
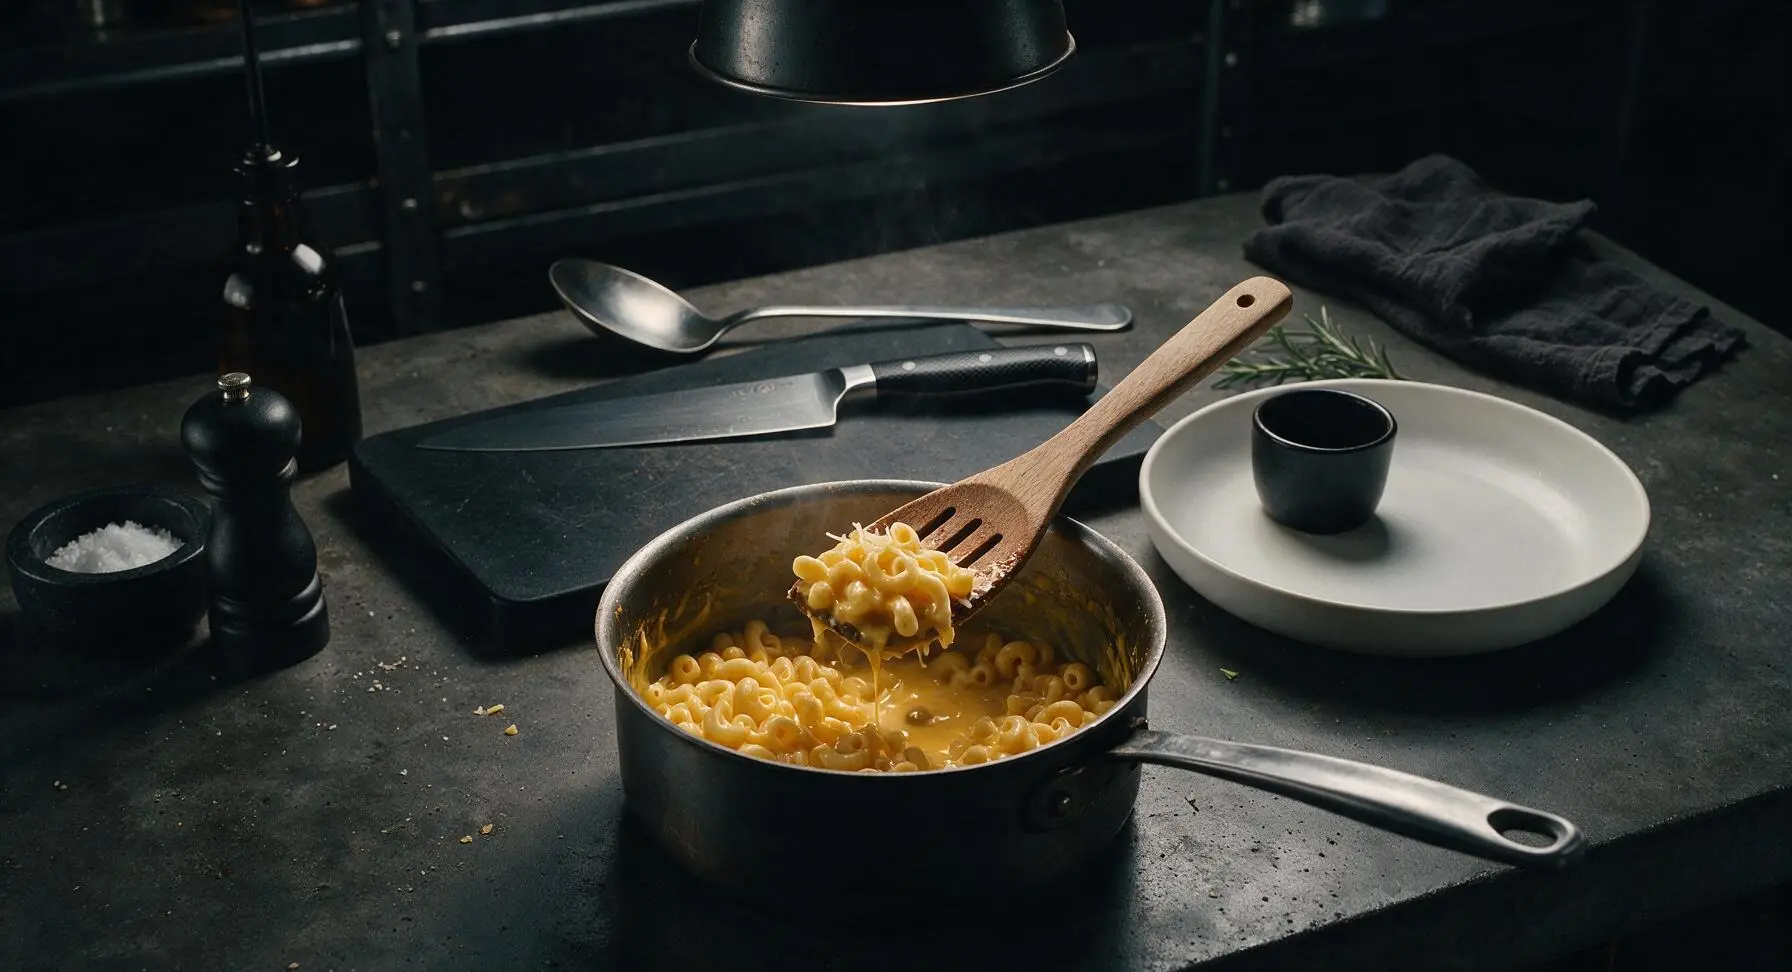
Step 8
step8:Toss Pasta with Sauce

Tips

1.Always grate cheese from a block instead of using pre-shredded bagged cheese: pre-shredded cheese is coated in potato starch and anti-caking agents that prevent smooth melting, resulting in a grainy, dull sauce instead of the velvety texture of freshly grated cheese.
2.Skip rinsing cooked pasta: the starchy coating on drained, unrinsed noodles helps the cheese sauce emulsify and cling tightly to every piece, rather than sliding off as it does on rinsed, starch-free pasta.
3.Melt cheese over the lowest heat setting: high heat causes cheese proteins to separate and curdle, leading to a greasy, broken sauce; low, gentle heat melts cheese smoothly into a glossy, cohesive sauce that coats noodles perfectly.


✨ You May Also Like

Main Course
🍜 United Kingdom

A showstopping classic of tender seared beef, savory mushroom duxelles, and crisp prosciutto wrapped in flaky golden puff pastry, baked to juicy perfection.

⏱️ 2 hours 1Main Course ★ 4.7
Main Course
🍜 India

Tender charred marinated chicken simmered in a rich, spiced creamy tomato sauce, this iconic Anglo-Indian curry pairs perfectly with basmati rice or warm naan.

⏱️ 50 minuteMain Course ★ 4.6
Main Course
🍜 Thailand

Classic tangy, sweet, and savory Thai stir-fried rice noodles with shrimp, tofu, and crunchy garnishes, balancing all five core Thai flavor profiles.

⏱️ 30 minuteMain Course ★ 4.5
Main Course
🍜 United Kingdom

Crispy golden beer-battered cod and fluffy double-fried chips, served with tangy tartar sauce and malt vinegar: the timeless, beloved British pub comfort classic.

⏱️ 45 minuteMain Course ★ 4.7
Main Course
🍜 Mexico

Smoky, chile-marinated pork tacos with caramelized pineapple, fresh cilantro, and lime: a beloved classic Mexican street food perfect for casual summer gatherings.

⏱️ 1 hour 45Main Course ★ 4.8
Main Course
🍜 United States

Crunchy Fritos corn chips layered with savory beef chili and melted cheddar, topped with cool, zesty fixings for a beloved, cozy Tex-Mex comfort food.

⏱️ 35 minuteMain Course ★ 4.8

mac and cheese recipe stovetop:Frequently Asked Questions

1.Why does my mac and cheese sauce turn out grainy instead of smooth? ▾
Grainy sauce almost always stems from two common missteps: using pre-shredded cheese coated in anti-caking starch, or overheating the cheese once added. Grate your own block sharp cheddar, pull the thickened milk base off heat for 1 minute before stirring cheese in small handfuls, and never boil the sauce after adding cheese for perfectly silky results.
2.Can I use pre-shredded cheddar instead of grating a block myself? ▾
I don’t recommend it for this creamy recipe! Pre-shredded cheddar is coated in potato starch and natamycin to prevent clumping in the bag, which melts unevenly, creates a gritty texture, and keeps the sauce from reaching that ideal velvety consistency. The 2 minutes it takes to grate your own block makes a massive difference.
3.Do I have to use whole milk, or can I swap in a lower-fat milk? ▾
Whole milk’s higher fat content is key to creating that rich, stable creamy sauce without separation. If you only have 2% on hand, you can make it work by stirring in an extra tablespoon of butter when making the roux to bump up the fat content. Skim milk leads to thin, watery sauce that lacks classic cozy richness, so skip it if possible.
4.How do I keep the sauce from getting too thick and clumpy as it sits? ▾
Starchy pasta water is your secret weapon here! Reserve ½ cup of salty pasta cooking water before draining your elbows, and stir in a tablespoon or two at a time if the sauce thickens too much as it cools. The starchy water thins the sauce smoothly without breaking the emulsion, for perfect consistency from first bite to last.
5.Can I make this mac and cheese ahead of time for meal prep? ▾
This recipe is best served fresh right after mixing, but you can prep components ahead to cut down on weeknight work: grate your cheese, measure out roux ingredients, and cook pasta 1 day in advance, stored airtight in the fridge. Reheat leftover portions gently on low stovetop heat with a splash of milk to restore that silky texture.
6.What’s the correct ratio of butter to flour for the roux in this recipe? ▾
You’ll use equal parts unsalted butter and all-purpose flour for a classic blonde roux — typically 2 tablespoons of melted butter whisked with 2 tablespoons of flour, cooked for 1 minute to remove raw flour taste. This ratio creates just enough thickening power to hold cheese and milk together without making the sauce gummy or pasty.
7.Can I add other cheese varieties to mix with the sharp yellow cheddar? ▾
Absolutely! Sharp cheddar gives that classic tangy base, but you can swap up to ⅓ of it for other melting cheeses for extra depth. Gruyère adds nutty notes, fontina makes the sauce extra stretchy, and a small amount of cream cheese amps up creaminess — just skip crumbly, non-melting cheeses like feta in large amounts.
8.How long should I cook the elbow macaroni for the best texture? ▾
Cook dry elbow macaroni 1 minute less than the package instructions for al dente, since the pasta will keep cooking slightly when tossed with hot cheese sauce. Salt the pasta water heavily (it should taste like sea water) to season noodles from the inside out, so you don’t end up with bland mac even with a flavorful sauce.
9.Why does my roux sometimes leave a raw flour taste in the sauce? ▾
That happens when you don’t cook the roux long enough after mixing melted butter and flour together. Once you whisk flour into bubbly melted butter, cook it for 60 full seconds over medium heat, stirring constantly, until it smells faintly nutty and looks like pale, wet sand to cook out that starchy raw taste.
10.Should I rinse my cooked macaroni before mixing it with the cheese sauce? ▾
Skip rinsing your pasta entirely! Rinsing washes off the thin layer of starchy coating on the outside of cooked noodles, which is what helps cheese sauce cling evenly to every elbow. Rinsed pasta leads to sauce that slides right off noodles, leaving you with separated, less cohesive mac and cheese.
11.Can I make this creamy mac and cheese gluten-free? ▾
You can easily adapt this for gluten-free diets! Swap the all-purpose flour for a 1:1 gluten-free all-purpose baking blend to make the roux, and use your favorite gluten-free elbow macaroni. Stick to grating your own block cheddar (most block cheddars are gluten-free, but double check labels) for the same creamy result.
12.What’s the best way to add milk to the roux to avoid lumpy sauce? ▾
Warm your milk slightly first (zap it in the microwave for 45 seconds) and add it ¼ cup at a time, whisking constantly after each addition until the mixture is completely smooth before adding more. Adding cold milk all at once shocks the roux, which creates hard, tiny lumps that are almost impossible to strain out later.
13.How do I fix a cheese sauce that ends up too thin and runny? ▾
If your sauce is too thin, let it simmer gently for 2 to 3 minutes over medium-low heat, whisking often, to let the flour’s thickening power activate fully. If it’s still too runny, toss in an extra handful of grated cheddar, which will melt and thicken the sauce without graininess as long as you keep heat low.
14.Can I stir in mix-ins like bacon, broccoli, or crispy toppings? ▾
Of course! This creamy base works beautifully with all your favorite mix-ins. Crispy cooked bacon, steamed chopped broccoli, diced ham, or roasted garlic all taste great folded in right before serving. If you love a crunchy top, toast buttered panko breadcrumbs and sprinkle over servings to keep the sauce silky, no baking required.
15.Why does my cheese sauce sometimes separate and look greasy? ▾
Greasy, separated sauce happens when cheese gets too hot, causing milk fats to split from the solids. Make sure you turn the heat all the way down or pull the pan off the burner before adding cheese, and never let the sauce come to a rolling boil after you stir the cheddar in. Low, gentle heat is key to a stable emulsion.
16.Do I need to use unsalted butter, or can I use salted butter? ▾
Unsalted butter lets you control the exact salt level of the dish, which is ideal since sharp cheddar already has a good amount of sodium. If you only have salted butter on hand, that works fine — just hold off on adding extra salt until the very end, after tasting the finished sauce, to avoid over-salting.
17.How long do leftovers stay good, and what’s the best way to reheat them? ▾
Leftover mac and cheese will stay fresh for 3 to 4 days stored in an airtight container in the fridge. Reheat it gently on the stovetop over low heat, stirring in a splash of whole milk a teaspoon at a time to loosen the sauce back to its original creamy consistency, instead of microwaving on high which can make sauce grainy and greasy.
18.Can I use a different pasta shape instead of elbow macaroni? ▾
Elbows are classic because their curved, ridged shape catches cheese sauce in every crevice, but you can swap in any small, ridged pasta shape you have on hand. Shells, cavatappi, rotini, or mini farfalle all work great — just avoid long, smooth pasta like spaghetti that won’t hold the thick, creamy cheese sauce well.
19.How much salt should I add to make sure the mac and cheese isn’t bland? ▾
Start by salting your pasta water heavily until it tastes as salty as seawater — that seasons the noodles themselves. Then, when making the sauce, add a small pinch of salt and black pepper once the cheese is fully melted, taste, and adjust as needed. Remember, sharp cheddar is salty, so it’s always easier to add more than fix an over-salted batch.
20.Why is this stovetop version creamier than baked mac and cheese? ▾
Baked mac and cheese spends 20+ minutes in a hot oven, which can cause the cheese sauce to break, thicken too much, or develop a grainy texture as it cooks. This stovetop version cooks entirely on the burner in minutes, so the delicate cheese emulsion stays perfectly smooth and velvety, with no dry, curdled spots.

Comments (16)

yesterday

OMG this was SO good!!! I’ve been searching for a no-bake mac and cheese that doesn’t get grainy and this hit every single note. My 3 kids devoured it in 10 minutes flat and asked for seconds before I even sat down for dinner. Total game changer for busy weeknights!

yesterday

Same here! My picky 7 year old who usually only eats chicken nuggets went back for thirds. I added a little sprinkle of paprika on top and it was chef’s kiss!

2 hours ago

That makes our day to hear! So glad it worked for your family – the paprika sprinkle is such a great pro tip, we love adding that too for a little extra depth!

3 days ago

Wait, 15 minutes total? I was skeptical because every homemade mac I’ve tried takes forever and still turns out clumpy, but this was actually so fast and creamy even when I used the cheap block cheese I had in my dorm fridge. 10/10 would make again for my roommates.

2 days ago

So stoked this worked for dorm cooking! The key to no clumps is whisking the cheese in off the heat, right? No fancy ingredients required for great mac!

1 week ago

Made this for our neighborhood block party potluck last weekend and people were literally coming up to me asking for the recipe all night. I doubled the batch and it was completely gone in 20 minutes. Only note: I added a handful of crispy bacon bits on top and it was *chef’s kiss*.

5 days ago

Bacon bits are such a good call! I brought this to my buddy’s cookout a few days ago and did the same, plus a little toasted breadcrumb topping for crunch. People lost their minds.

3 days ago

We love hearing this is potluck-approved! Bacon and crispy breadcrumbs are such delicious upgrades – we’ll have to add that as a variation note in the recipe soon!

5 minutes ago

Does this hold up well for meal prep? I make lunches for the whole week for me and my partner and was wondering if it gets gummy when you reheat it in the microwave?

just now

Great question! It does hold up really well – just stir in a tiny splash of milk when you reheat it (like 1-2 teaspoons per serving) and it’ll go right back to that creamy texture, no gumminess! It stays good in the fridge for up to 4 days.

30 minutes ago

Just made this for a quick lunch and wow. I used a mix of sharp cheddar and gouda because that’s what I had and it was insanely rich and creamy. No weird processed cheese taste at all, way better than the boxed stuff.

yesterday

Okay so I messed up the first time and added the cheese while the pot was still boiling on high and it got all grainy, oops. Tried again 10 minutes later after reading the note about taking it off heat, and it was perfect. Even my teenager who makes fun of my cooking said it was better than Panera. Win!

yesterday

Oh I did the exact same thing my first try! Rookie mistake, but once you remember the off-heat trick it’s foolproof. I’ve made it 3 times in 2 weeks now lmao

2 days ago

Wait, can I use gluten free pasta for this? My youngest has celiac so we’re always on the hunt for easy GF dinners the whole family will eat, and this looks perfect!

2 days ago

I used brown rice GF pasta last week and it worked perfectly! Just cook it al dente so it doesn’t get mushy when you mix it with the cheese sauce. No one in my house could tell it was GF!

yesterday

Absolutely! Gluten free pasta works wonderfully here – just like the comment above says, cook it to al dente and it’ll hold up perfectly in the sauce. We’ve tested it with chickpea pasta too and it was delicious!

2 weeks ago

Threw in a dash of hot sauce and a pinch of cayenne to give it a little kick and oh my gosh. Game changer. It cuts the richness just enough so you can eat, like, three servings without it feeling heavy. Highly recommend.

3 days ago

This is the first thing I’ve cooked in my new apartment that didn’t come out burnt or bland! My boyfriend thought I ordered takeout lmao. So easy to follow even for someone who can barely boil water.

2 days ago

Congratulations on the new apartment! That’s such an exciting win – so glad this recipe was easy enough for your first home-cooked win, hope you make it many more times!

5 days ago

Used this cheese sauce on top of roasted broccoli last night too after I ran out of pasta. Don’t sleep on that, it’s like elevated cheese sauce for veggies. 10/10 versatile recipe.

1 week ago

I’ve been making stovetop mac for 50 years and I have to say, this recipe is better than my old go-to. The ratio of cheese to milk is perfect, not too runny, not too thick. My grandkids begged me to write it down to take to their parents’ house.

5 days ago

That is high praise! If someone who’s made mac for 50 years loves it, I know I need to try it tonight. I was gonna make hamburgers, but mac and cheese sounds way better now.

3 days ago

Wow, that means the absolute world to us! There’s no better compliment than coming from someone who’s perfected homemade mac over decades. Hope the grandkids keep asking for it for years to come!

2 hours ago

How much does this cost to make? I’m on a super tight grocery budget this month and trying to avoid overpriced pre-made meals.

30 minutes ago

Great question! If you grab generic pasta, block cheese (shred it at home, it’s cheaper!), and regular milk, this comes out to about $1.50 per serving, which is way cheaper than takeout or even the fancy boxed versions. Shredding your own cheese also helps it melt smoother too, double win!

30 minutes ago

Added a scoop of protein powder? Kidding, no, I added grilled chicken breast chunks to mine to bump up the protein and it was the perfect post-workout meal. Creamy, filling, way better than the boring chicken and rice I usually eat.

yesterday

I stirred in some frozen peas and steamed carrots when I mixed the pasta and sauce to get some veggies in for my toddler, and she didn’t even pick them out! Total mom win, no dinner fight tonight.

yesterday

That’s genius! My kid turns her nose up at every vegetable but will eat anything covered in cheese, I’m definitely stealing that trick for dinner tomorrow.

2 weeks ago

Made this at 1am after getting home from a concert because I was starving and had no food in the house except pasta, cheese, and milk. No measuring, just eyeballed everything, and it still came out incredible. How is that possible? Other recipes are so finicky but this is foolproof.

1 week ago

LMAO I did the exact same thing after my friend’s birthday party last weekend! Eyeballed the whole thing, added way too much cheese, zero regrets. Best late night snack ever.

5 days ago

That’s the beauty of this recipe! It’s super forgiving even if you don’t measure perfectly, which makes it perfect for late night cooking sessions when you don’t wanna pull out measuring cups. So glad it hit the spot after the show!

2 days ago

I grew up eating baked mac and cheese for every holiday and was convinced stovetop could never compare, but boy was I wrong. This is so creamy and flavorful, I’m gonna be making this for our next family cookout instead of the baked version. Don’t tell my grandma lol.



