
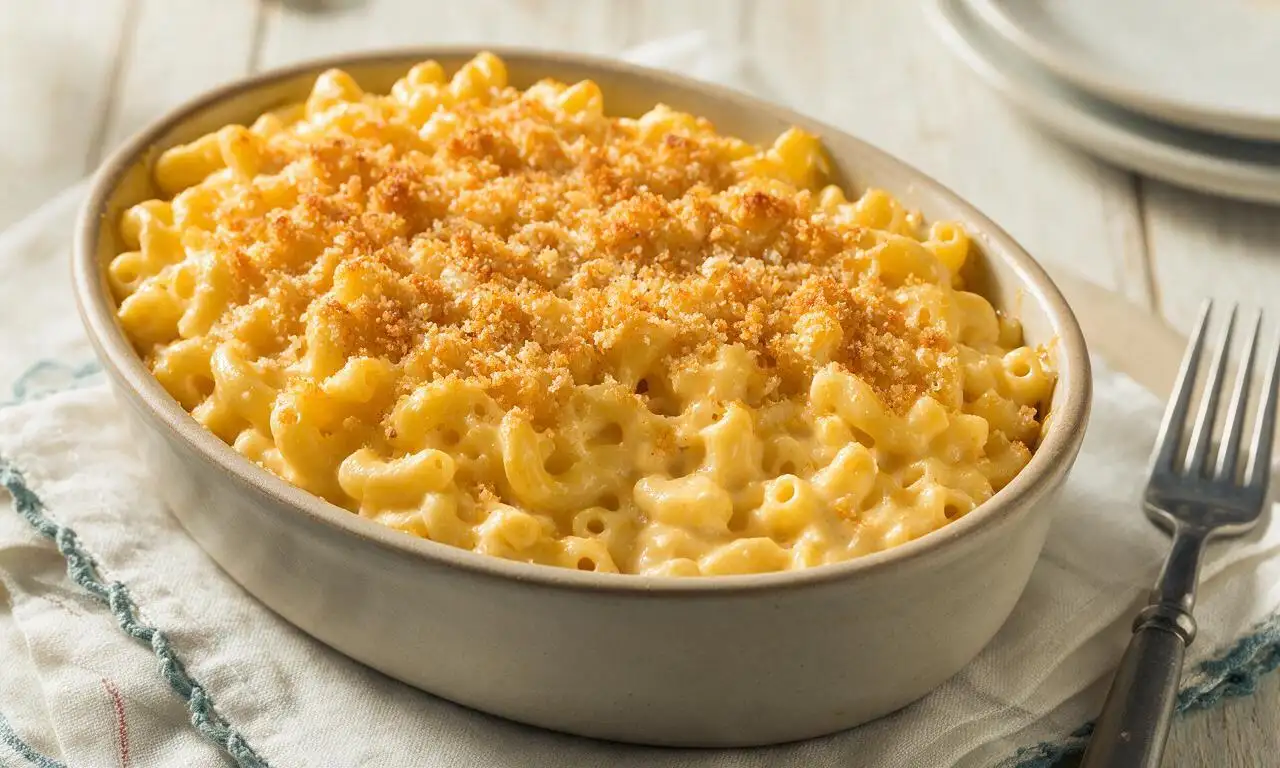
Mac & Cheese

title 1
Mac & Cheese
⏱️ cook time 40 minutes
🍽️ servings 4
⚡ Difficulty easy

intro

Ultra-creamy, cheesy baked macaroni with a crisp golden breadcrumb top, the ultimate cozy comfort food perfect for casual Sunday family meals.

Ingredients

Elbow macaroni 225 grams (about 2 cups dry)
Sharp cheddar cheese 340 grams (3 cups, freshly shredded)
Whole milk 480 ml (2 cups)
Unsalted butter 57 grams (4 tablespoons)
All-purpose flour 24 grams (3 tablespoons)
Panko breadcrumbs 30 grams (1/2 cup)
Kosher salt 1 tablespoon + 1 teaspoon
Ground black pepper 1/2 teaspoon
Dry ground mustard 1/2 teaspoon

Steps

1

Boil the macaroni

Bring 2 liters of water to a rolling boil over high heat, then add 1 tablespoon of the kosher salt until it dissolves. Add 225 grams dry elbow macaroni, stir, and cook for 8 minutes (2 minutes less than package directions for al dente, as pasta will finish cooking in the oven). Drain and set aside, do not rinse.
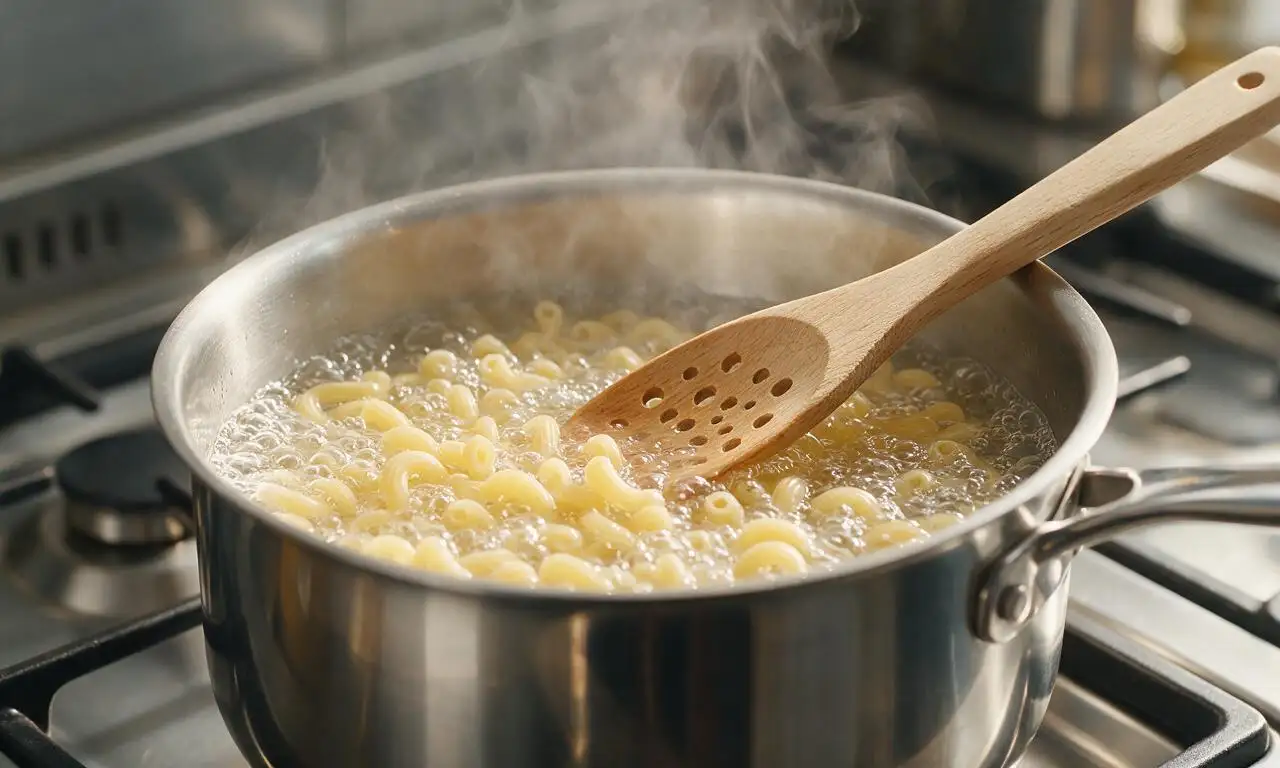
Step 1
step1:Boil the macaroni
2

Melt butter for roux

Set a large 3-liter oven-safe skillet over medium heat. Add 43 grams (3 tablespoons) of the unsalted butter, and melt completely for 1 minute, swirling the pan occasionally until the butter foams slightly but does not turn brown.
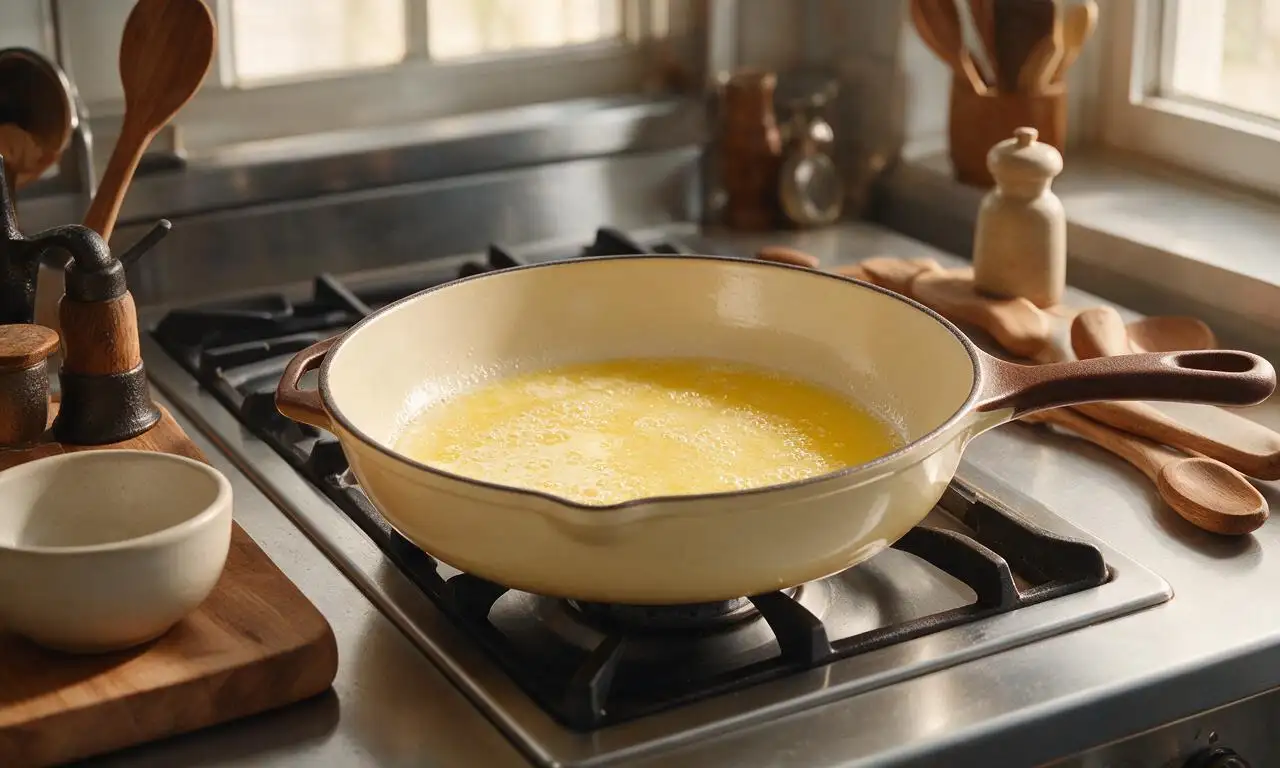
Step 2
step2:Melt butter for roux
3

Cook the roux base

Whisk 24 grams (3 tablespoons) all-purpose flour, 1/2 teaspoon dry ground mustard, 1/2 teaspoon ground black pepper, and 3/4 teaspoon of the kosher salt into the melted butter. Cook, whisking constantly, for 2 minutes over medium heat until the mixture turns a pale sandy gold and smells lightly nutty.
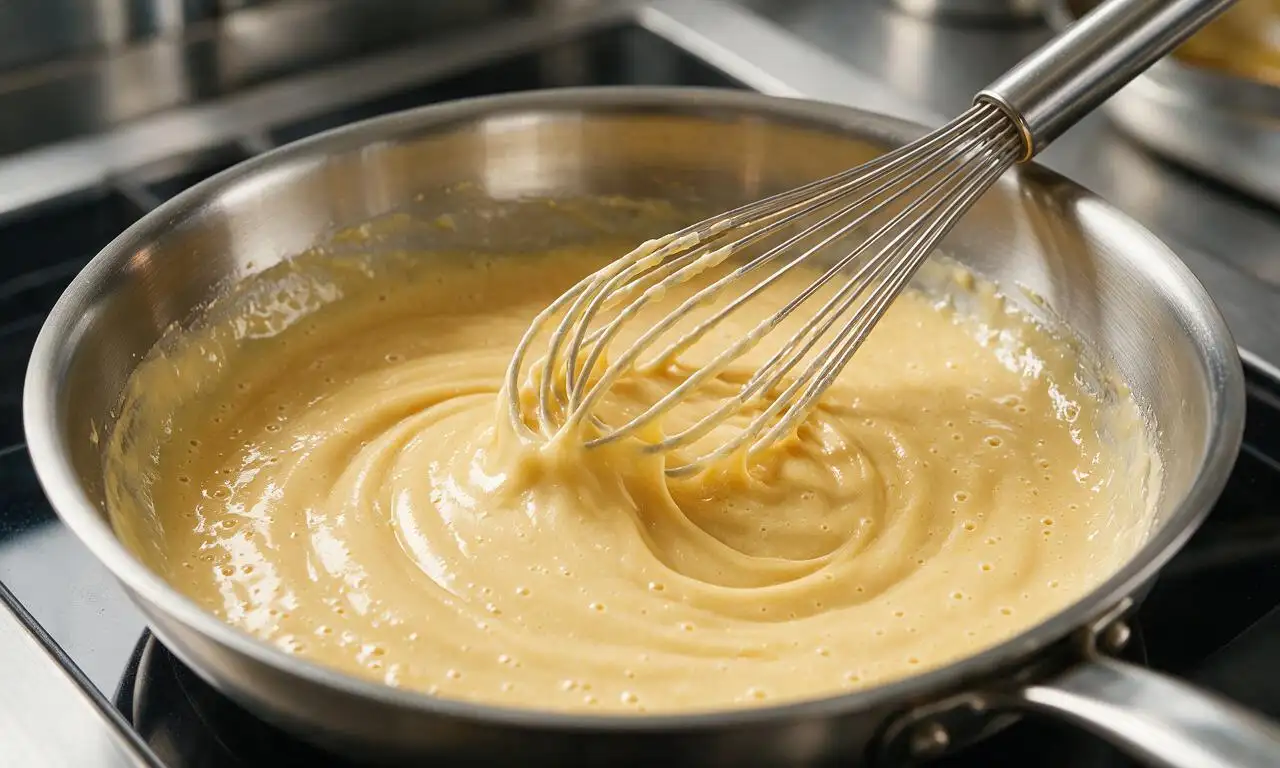
Step 3
step3:Cook the roux base
4

Make the cheese sauce

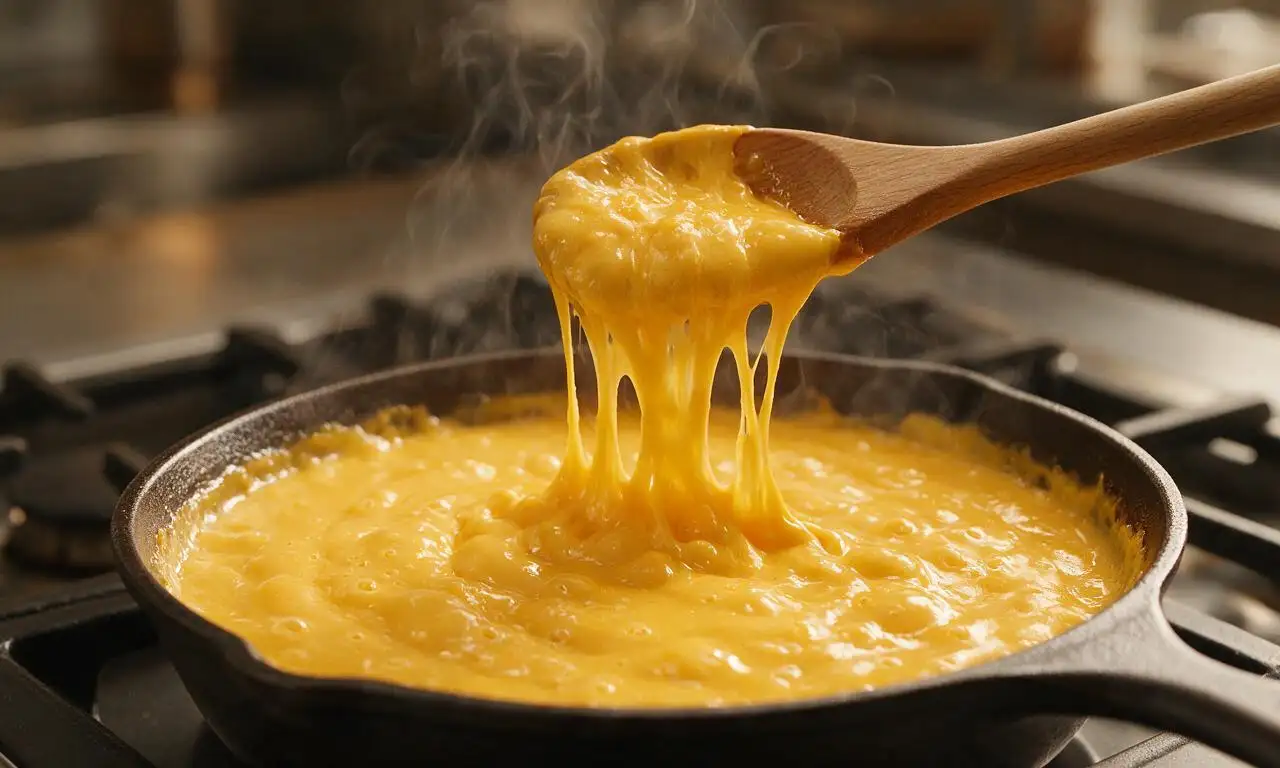
Slowly pour 480 ml (2 cups) whole milk into the roux, whisking constantly to prevent lumps from forming. Bring the sauce to a gentle simmer over medium-low heat, and cook for 3 minutes until it thickens enough to leave a clear line when you run a finger across the back of a coated spoon. Remove the pan from heat, then stir in 280 grams (2.5 cups) of the shredded sharp cheddar until fully melted and silky smooth.
Step 4
step4:Make the cheese sauce
5

Combine pasta and sauce

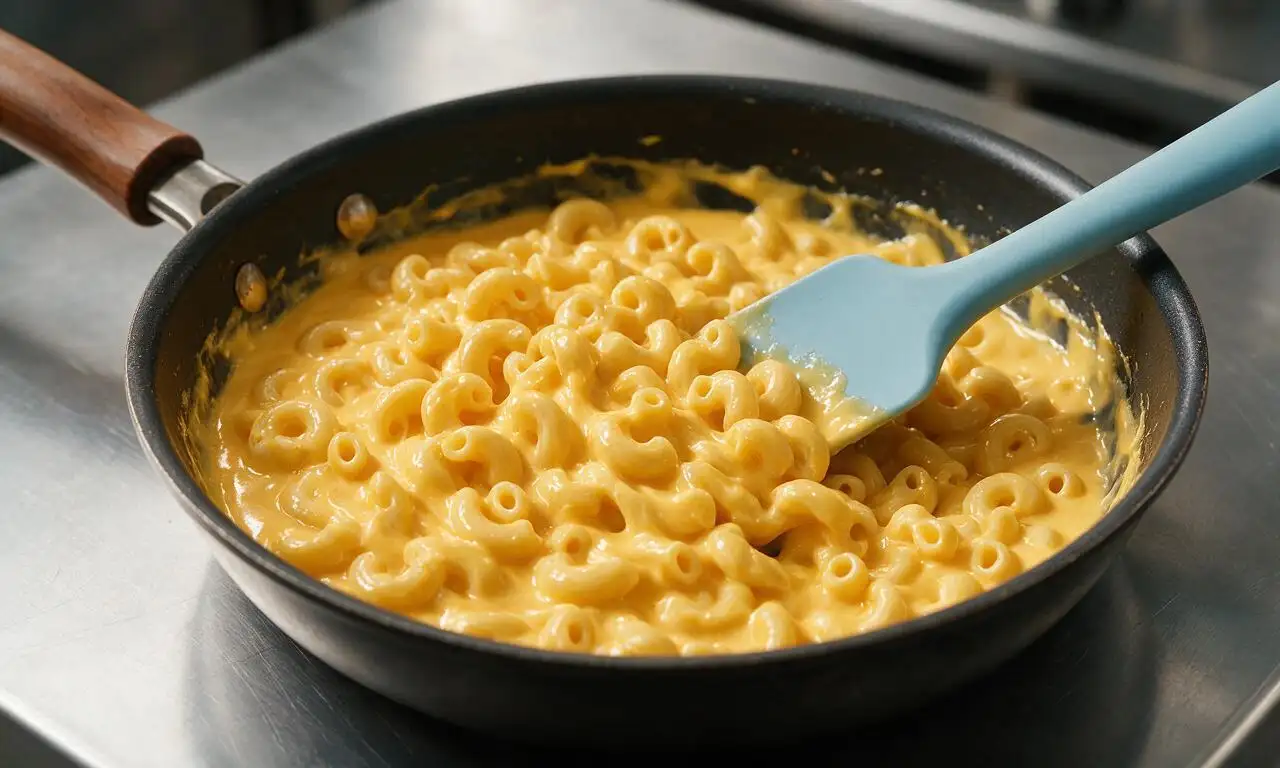
Add the drained, cooked elbow macaroni to the finished cheese sauce, stirring gently with a flexible silicone spatula until every piece of pasta is evenly coated in sauce. Spread the mac and cheese mixture into a flat, even layer across the bottom of the skillet.
Step 5
step5:Combine pasta and sauce
6

Add topping and bake

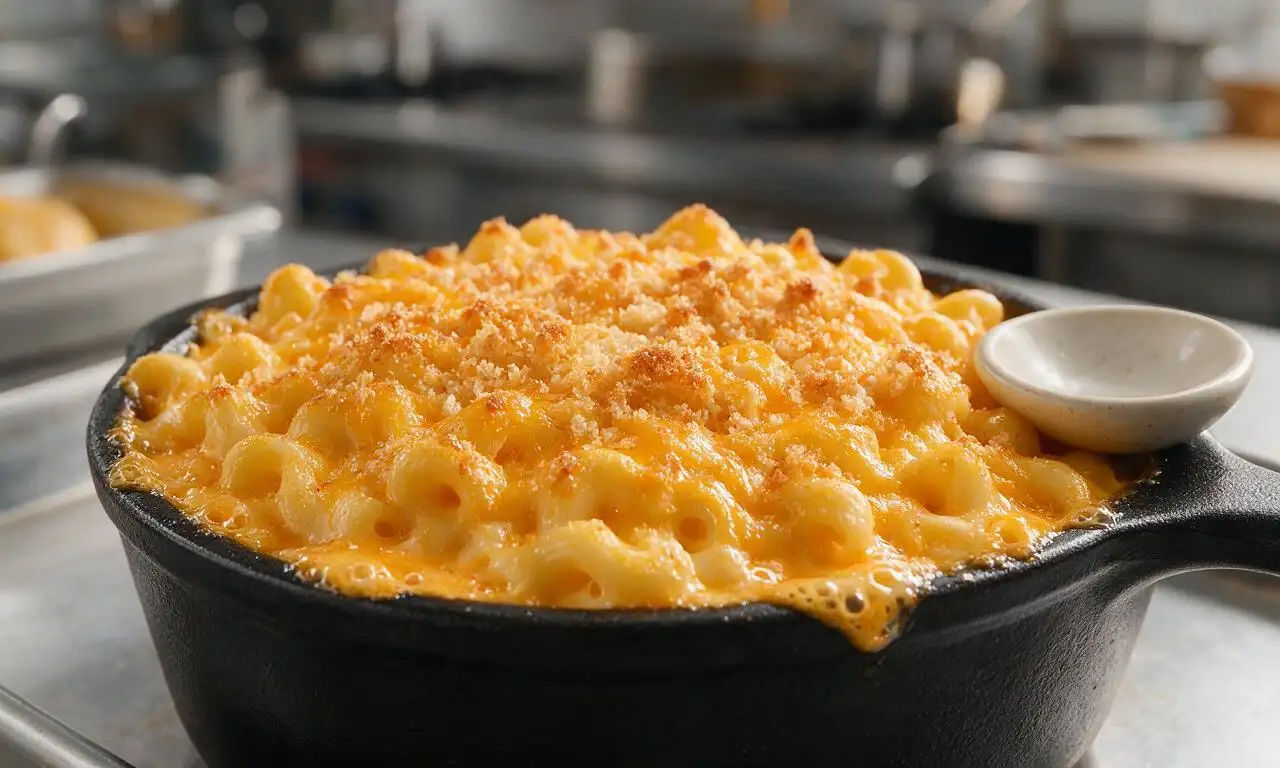
Preheat your oven to 200°C (400°F) as you finish combining the pasta and sauce. Melt the remaining 14 grams (1 tablespoon) of unsalted butter, mix with 30 grams (1/2 cup) panko breadcrumbs and the remaining 1/4 teaspoon kosher salt, then sprinkle the crumb mixture evenly over the mac and cheese, followed by the remaining 60 grams (1/2 cup) of shredded cheddar. Bake for 15 minutes, until the sauce bubbles vigorously around the pan edges and the top is crisp and deep golden brown. Let rest 5 minutes at room temperature before serving to allow the sauce to set.
Step 6
step6:Add topping and bake

Tips

1.Always shred your own cheese from a block instead of using pre-shredded packaged cheese; pre-shredded cheese is coated in potato starch or anti-caking agents that prevent it from melting into a perfectly smooth, creamy sauce.
2.Do not rinse your cooked pasta after draining—rinsing removes the starchy outer layer that helps the cheese sauce cling tightly to each macaroni piece, leading to separated, slippery pasta.
3.Undercook your pasta by 2 minutes before adding it to the sauce; the pasta will continue to absorb liquid and cook while baking in the oven, and overcooking it first will result in mushy, soft mac and cheese.


✨ You May Also Like

Main Course
🍜 United Kingdom

A showstopping classic of tender seared beef, savory mushroom duxelles, and crisp prosciutto wrapped in flaky golden puff pastry, baked to juicy perfection.

⏱️ 2 hours 1Main Course ★ 4.7
Main Course
🍜 India

Tender charred marinated chicken simmered in a rich, spiced creamy tomato sauce, this iconic Anglo-Indian curry pairs perfectly with basmati rice or warm naan.

⏱️ 50 minuteMain Course ★ 4.6
Main Course
🍜 Thailand

Classic tangy, sweet, and savory Thai stir-fried rice noodles with shrimp, tofu, and crunchy garnishes, balancing all five core Thai flavor profiles.

⏱️ 30 minuteMain Course ★ 4.5
Main Course
🍜 United Kingdom

Crispy golden beer-battered cod and fluffy double-fried chips, served with tangy tartar sauce and malt vinegar: the timeless, beloved British pub comfort classic.

⏱️ 45 minuteMain Course ★ 4.7
Main Course
🍜 Mexico

Smoky, chile-marinated pork tacos with caramelized pineapple, fresh cilantro, and lime: a beloved classic Mexican street food perfect for casual summer gatherings.

⏱️ 1 hour 45Main Course ★ 4.8
Main Course
🍜 United States

Crunchy Fritos corn chips layered with savory beef chili and melted cheddar, topped with cool, zesty fixings for a beloved, cozy Tex-Mex comfort food.

⏱️ 35 minuteMain Course ★ 4.8

Mac & Cheese:Frequently Asked Questions

1.Why does my baked mac and cheese turn out grainy instead of smooth and creamy? ▾
Graininess almost always stems from two common missteps: using pre-shredded cheese coated in anti-caking potato starch, or overheating the cheese once it’s added to the sauce. Shred your own sharp cheddar off the block, pull the roux sauce off direct heat before stirring in cheese, and avoid baking at temperatures over 375°F to keep texture silky.
2.Can I use a different pasta shape if I don’t have elbow macaroni on hand? ▾
Absolutely! Elbows are classic because their ridges and hollow centers trap cheese sauce perfectly, but small, sturdy shapes work great too. Reach for cavatappi, small shells, rotini, or campanelle—skip long, thin shapes like spaghetti that won’t hold the thick, creamy sauce as well for that homestyle bite.
3.How do I get that perfectly crisp, golden breadcrumb top without it burning? ▾
For a crisp, not burnt, topping, mix panko or regular fine breadcrumbs with melted unsalted butter first so every crumb is lightly coated. Sprinkle it evenly over the top right before baking, and if you notice crumbs browning too fast halfway through, tent a loose piece of aluminum foil over the dish for the remaining bake time.
4.Can I make this mac and cheese ahead of time for a Sunday family dinner? ▾
You totally can! Assemble the sauced pasta and cheese base (hold off on adding the breadcrumb topping) in a baking dish, cover tightly, and refrigerate for up to 2 days. When you’re ready to bake, add the buttered breadcrumbs, add 10-12 minutes to total bake time, and cook until bubbly around the edges.
5.Why does my cheese sauce get thick and clumpy when I add flour to the melted butter? ▾
That clumpy roux happens if you add all the flour at once, or don’t stir consistently as it cooks. Melt your unsalted butter over medium-low heat, whisk in all-purpose flour a little at a time, and keep whisking for 2-3 minutes as it forms a smooth, pale golden paste before slowly streaming in cold whole milk.
6.Is it okay to use low-fat milk instead of whole milk for this recipe? ▾
You can use 2% milk if that’s what you have on hand, but I don’t recommend skim or low-fat non-dairy milks for that classic homestyle creaminess. Whole milk has just the right fat content to create a rich, stable sauce that doesn’t separate or turn watery as it bakes, for that cozy nostalgic texture.
7.How do I keep my mac and cheese from drying out in the oven? ▾
The key to avoiding dry baked mac is two-fold: first, make your cheese sauce a little looser than you think it should be, since pasta will absorb liquid as it bakes. Second, don’t overbake it—pull it out as soon as the edges are bubbly and the top is golden, usually 25-30 minutes at 375°F, then rest 5 minutes before serving.
8.Can I mix other cheeses in with the sharp cheddar for more flavor depth? ▾
Of course! Sharp cheddar gives that classic tangy base, but you can swap up to ⅓ of it for other melting cheeses to switch things up. Gruyère adds nutty depth, Monterey Jack adds extra melt, and a small sprinkle of smoked gouda adds cozy savor—just skip crumbly, non-melting cheeses like feta or paneer.
9.Should I rinse my cooked macaroni before mixing it with the cheese sauce? ▾
Skip the rinse! Rinsing cooked pasta washes off the starchy outer layer that helps cheese sauce cling tightly to every noodle. Just drain the elbows well when they’re al dente (still a tiny firm bite in the center, since they’ll cook more in the oven) and toss them straight into warm cheese sauce for the best coverage.
10.How long should I let the baked mac and cheese rest before serving it? ▾
Let it rest for 5 to 10 minutes right after you pull it out of the oven, I know it’s hard to wait! This short rest lets the hot, loose cheese sauce thicken up and set a little, so it coats every noodle instead of running all over your plates when you scoop, and prevents burnt tongues for the whole family.
11.Can I add mix-ins like bacon, broccoli, or hot sauce to this base recipe? ▾
Absolutely, this homestyle base is super customizable. Crispy cooked bacon, steamed chopped broccoli, diced ham, a pinch of cayenne, a dash of hot sauce, or even caramelized onions all work beautifully. Just fold solid mix-ins into the sauced pasta before adding it to the baking dish so they’re evenly distributed.
12.What’s the best baking dish size to use for this family-sized recipe? ▾
A standard 9x13 inch glass or ceramic baking dish works perfectly for a full batch. The shallow depth means you get an ideal ratio of crispy breadcrumb top to creamy, cheesy pasta in every scoop. If you use a deeper, smaller dish, you’ll need extra bake time and will end up with less of that coveted crisp top.
13.Why does my cheese sauce sometimes separate or look greasy after baking? ▾
Greasy, separated sauce usually happens when cheese gets too hot and milk fats break away from the rest of the sauce. Stick to medium-low heat when making the roux and sauce, don’t boil the sauce once cheese is added, and avoid overly dry extra-sharp cheddar if you’ve had this issue before, for a more stable emulsion.
14.Can I freeze leftover baked mac and cheese to enjoy later? ▾
You sure can! Let the fully baked mac and cheese cool completely, then portion it into airtight, freezer-safe containers and freeze for up to 3 months. To reheat, thaw it in the fridge overnight, then bake covered at 350°F for 20-25 minutes until heated through, stirring in a tiny splash of whole milk if it feels a touch dry.

Comments (16)

2 days ago

OMG this baked mac and cheese is a GAME CHANGER for our weekly family dinners! I’ve tried so many recipes that come out grainy or dry, but this stayed perfectly creamy even after baking. My kids begged for seconds before they even finished their first serving. 10/10 will be making this for our neighborhood potluck next weekend too!

yesterday

Wait did you use regular cheddar or a blend? I’m prepping this for a potluck too and don’t want to mess it up!

yesterday

So glad your family loved it! For potlucks, a 50/50 blend of sharp cheddar and colby jack works amazing for that classic creamy, tangy flavor. Just make sure to shred your own cheese instead of using pre-shredded (it has anti-caking agents that can make the sauce grainy!)

yesterday

Made this for my kid’s birthday dinner last night and every single kid at the party cleaned their plate. Even the one who ‘hates all cheese’ ate two helpings! I didn’t have time for a fancy side so I just served it with steamed broccoli and it was the perfect easy meal, and 40 minutes total time meant I didn’t have to spend all evening in the kitchen.

1 week ago

As someone who’s basically lived on boxed mac my whole college career, this was so easy to make I didn’t even mess it up! Didn’t have heavy cream so I used half and half and it still turned out rich and creamy. My roommates all thought I ordered takeout lmao

5 days ago

Love that hack with half and half! It’s such a flexible recipe, so it’s perfect for college dorms or small kitchens. Pro tip: toss a handful of diced ham in if you want some extra protein!

5 days ago

I brought this to my church potluck last Sunday and people were asking me for the recipe before we even finished the main course! The only tweak I made was a tiny pinch of nutmeg in the cheese sauce, it adds such a warm depth that no one can place but everyone loves. Will absolutely be a staple on my holiday table from now on.

3 days ago

The nutmeg trick is chef’s kiss! I do that with all my cheese sauces now, it makes such a difference without being noticeable.

3 days ago

That nutmeg hack is one of our favorite little secret touches too! So glad it was a hit at the potluck — nothing beats a mac and cheese that gets the whole table talking.

2 weeks ago

Made this after a long day hike with the family last weekend and we all devoured it. Super straightforward, no fancy ingredients, tastes exactly like the mac and cheese my grandma used to make when I was a kid. Hit that perfect homestyle vibe I was searching for.

30 minutes ago

Great base recipe! I swapped the regular pasta for gluten-free elbow pasta and it worked really well, though my sauce came out a little thinner than I expected. Flavor was still 10/10 though, even my picky gluten-eating husband loved it.

5 minutes ago

So glad you enjoyed the flavor! Gluten-free pasta can release a little extra starch sometimes, next time try simmering the sauce for an extra 2-3 minutes before adding the pasta to thicken it up, that should do the trick!

1 week ago

Paired this with my slow-smoked brisket last weekend for a football watch party and y’all… it was the real star of the show. I topped mine with crushed potato chips instead of breadcrumbs for that extra salty crunch, 10/10 would recommend.

5 days ago

Crushed potato chips on mac is a top tier move! I do that with my smoked mac too, adds such a better crunch than panko imo.

5 days ago

The crushed potato chip topping hack is genius — we’re definitely testing that for our next game day recipe roundup! So glad it held up next to your brisket, that’s the ultimate compliment.

2 weeks ago

This is my new go-to Sunday meal prep recipe! I make a big pan on Sundays, portion it out into containers, and it lasts me all work week for lunches. It reheats so much creamier than other baked mac recipes I’ve tried, no weird rubbery cheese texture after microwaving.

1 week ago

We love hearing that it works for meal prep! Pro tip for even better reheating: add a tiny splash of milk before microwaving and stir halfway through, it’ll taste just as fresh as the day you baked it.

2 hours ago

First time making any kind of baked mac and cheese and I was so nervous I’d mess up the roux, but the steps were so easy to follow, and total time was only 40 minutes which was perfect for a quick weeknight meal! It came out perfectly creamy, no lumps at all. My roommate said it’s better than the fancy restaurant version downtown. Win for me!

3 days ago

I was skeptical a homemade baked mac could be this creamy without using weird processed cheese, but wow. The sauce is so smooth and rich, I didn’t even miss the neon orange Velveeta I grew up on. My partner is a total mac and cheese snob and he said this is top 3 he’s ever had.

2 days ago

Right?! I used to think Velveeta was the only way to get that super creamy texture, but this recipe proves that’s totally not true. The shredded cheese blend works so much better for flavor.

2 days ago

We grew up on that neon orange mac too, so we designed this recipe to hit that same nostalgic creamy texture but with real, simple ingredients. So glad your snob partner approved — that’s the toughest critic to win over!

1 week ago

I’ve been making baked mac and cheese for over 50 years, and I have to say this recipe is right up there with my own! I added a little layer of extra cheese on top during the last 5 minutes of baking to get that perfect bubbly browned top, just how my family likes it. Fantastic recipe, will be sharing it with my grandkids.

5 days ago

That means the absolute world coming from someone who’s been making this classic for decades! The extra cheese layer on top is such a perfect touch, we do that too when we’re craving that extra cheesy crust.

5 days ago

Made this for the team potluck after our last game and the whole team devoured the whole pan in 10 minutes flat. Teens are the toughest critics because they’ll tell you straight if something sucks, and every single one came back to tell me how good it was. Total win.

2 days ago

Loved the base recipe! I added a diced jalapeño and a handful of pepper jack cheese to give it a little kick, and it was chef’s kiss. Perfect balance of creamy and spicy, not too hot that the kids wouldn’t eat it, but enough flavor to keep the adults happy.

yesterday

Ooh the jalapeño and pepper jack addition sounds amazing! I’ve been looking for a way to jazz up regular mac for taco night, I’m definitely trying that next time.

yesterday

Love that spicy twist! We’ve tested that exact variation before and it’s so good — it’s especially great served with a side of crumbled bacon on top for extra savoriness. Thanks for sharing your tweak!

5 minutes ago

Can I assemble this the night before and bake it the next day? I’m hosting a small dinner party and want to get as much prep done ahead of time as possible so I’m not stuck in the kitchen while my guests are here.

just now

Absolutely! You can fully assemble the mac and cheese (hold off on adding the topping until right before baking) and keep it covered in the fridge for up to 24 hours. Just add 10-15 minutes to the bake time since it’ll be cold going into the oven, and you’re good to go!

2 days ago

This recipe is so budget friendly! I already had most of the ingredients in my pantry and fridge, no fancy expensive cheeses required. It made enough for 6 servings which worked out to less than $2 a serving, way cheaper than takeout and tastes 10x better.

yesterday

Right?! I priced it out too when I made it last week, it’s perfect for feeding a big family on a tight budget. Even my super picky toddler eats it without complaining!

30 minutes ago

I was feeling super lazy on a rainy Sunday and didn’t want to put a ton of effort into dinner, so I threw this together. It was so easy, minimal cleanup, and tasted like pure comfort food. Ate it while watching movies on the couch and it was the perfect cozy night in meal.



