
mac pie

title 1
mac pie
⏱️ cook time 45 minutes
🍽️ servings 6
⚡ Difficulty easy

intro

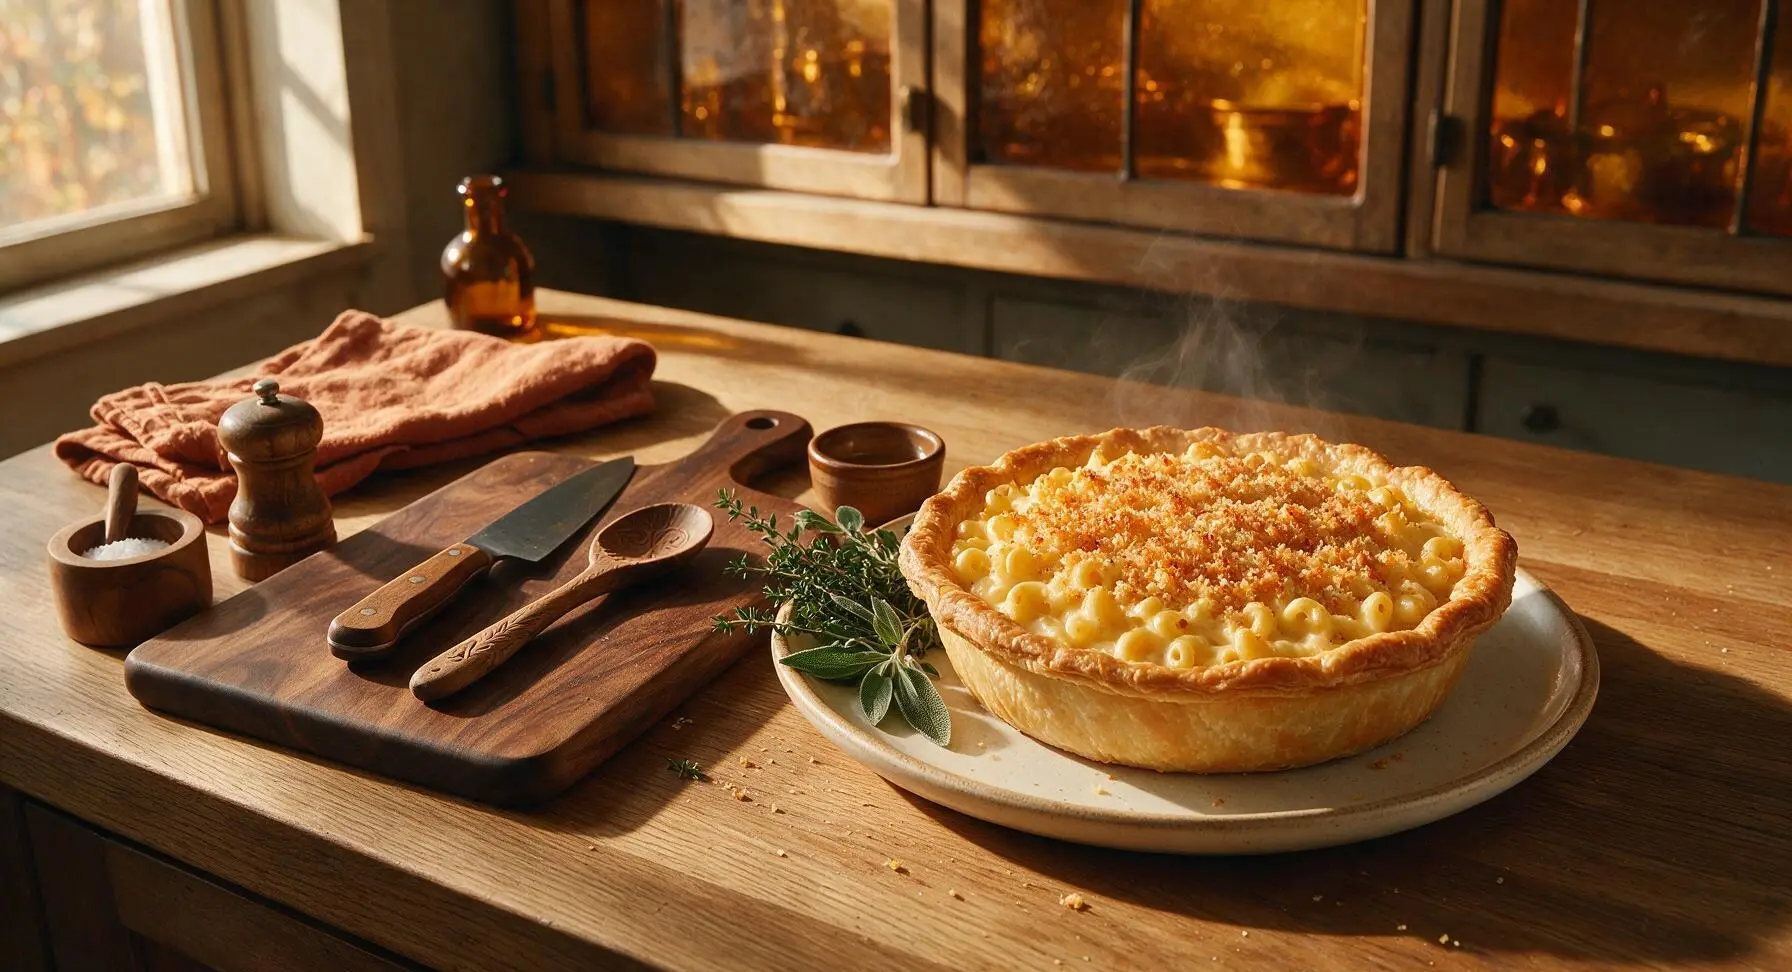
Creamy, cheesy elbow macaroni baked in a flaky buttery crust with a crisp panko top. This cozy Southern classic is rich, satisfying, and made for gathering around the table.

Ingredients
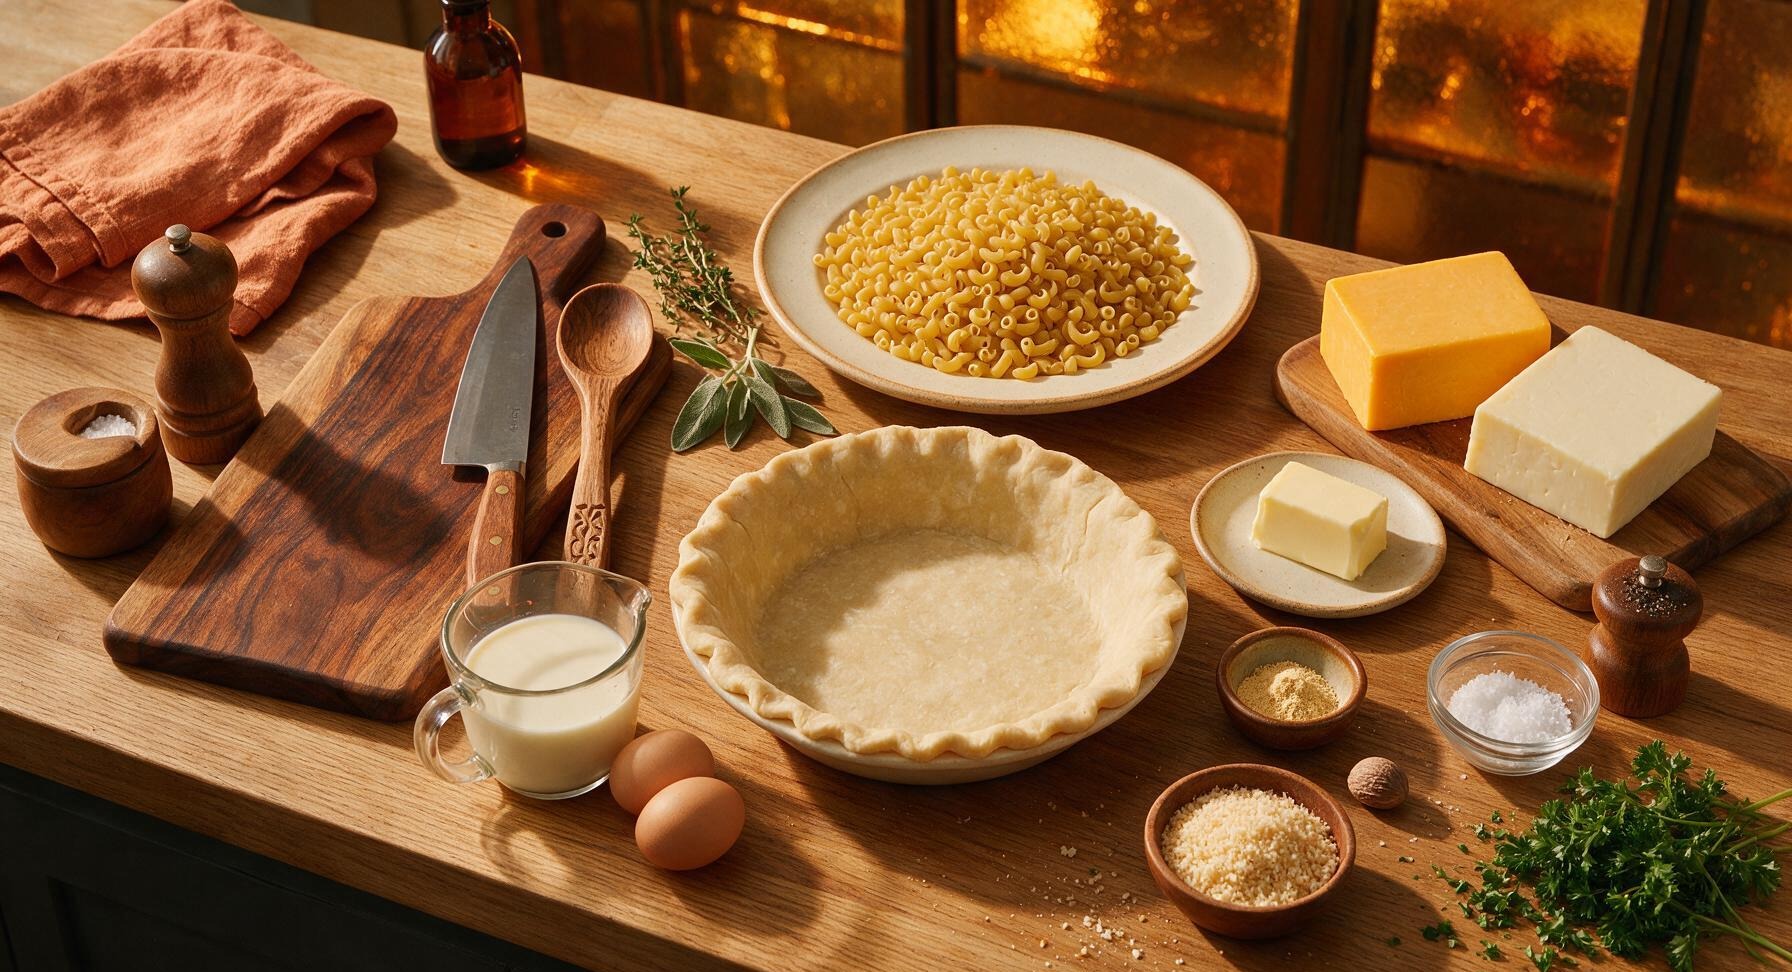
Dry elbow macaroni 2 cups (200g)
Sharp yellow cheddar cheese 8 oz (225g)
Mild white cheddar cheese 4 oz (115g)
Refrigerated deep-dish pie crust 1 (140g)
Half-and-half 1.5 cups (360ml)
Large eggs 2
Unsalted butter 2 tbsp (28g)
Panko breadcrumbs 1/4 cup (15g)
Dry mustard powder 1 tsp
Whole nutmeg 1 (for 1/4 tsp freshly grated)
Kosher salt 1 tbsp (for pasta water) + 1 tsp (for filling)
Freshly ground black pepper 1/2 tsp
Fresh curly parsley 2 tbsp (chopped, for garnish)

Steps

1

Prep Crust and Oven

Preheat oven to 375°F (190°C). Unroll the refrigerated pie crust and gently press it into the 9-inch matte cream ceramic pie dish, smoothing it firmly against the bottom and up the fluted sides. Use the chef knife to trim any excess crust hanging over the dish rim, leaving a 1/2-inch overhang to crimp if desired. Prick the crust bottom 6-8 times with a fork to prevent air bubbles from puffing the crust during baking. No pre-baking is required for this recipe.
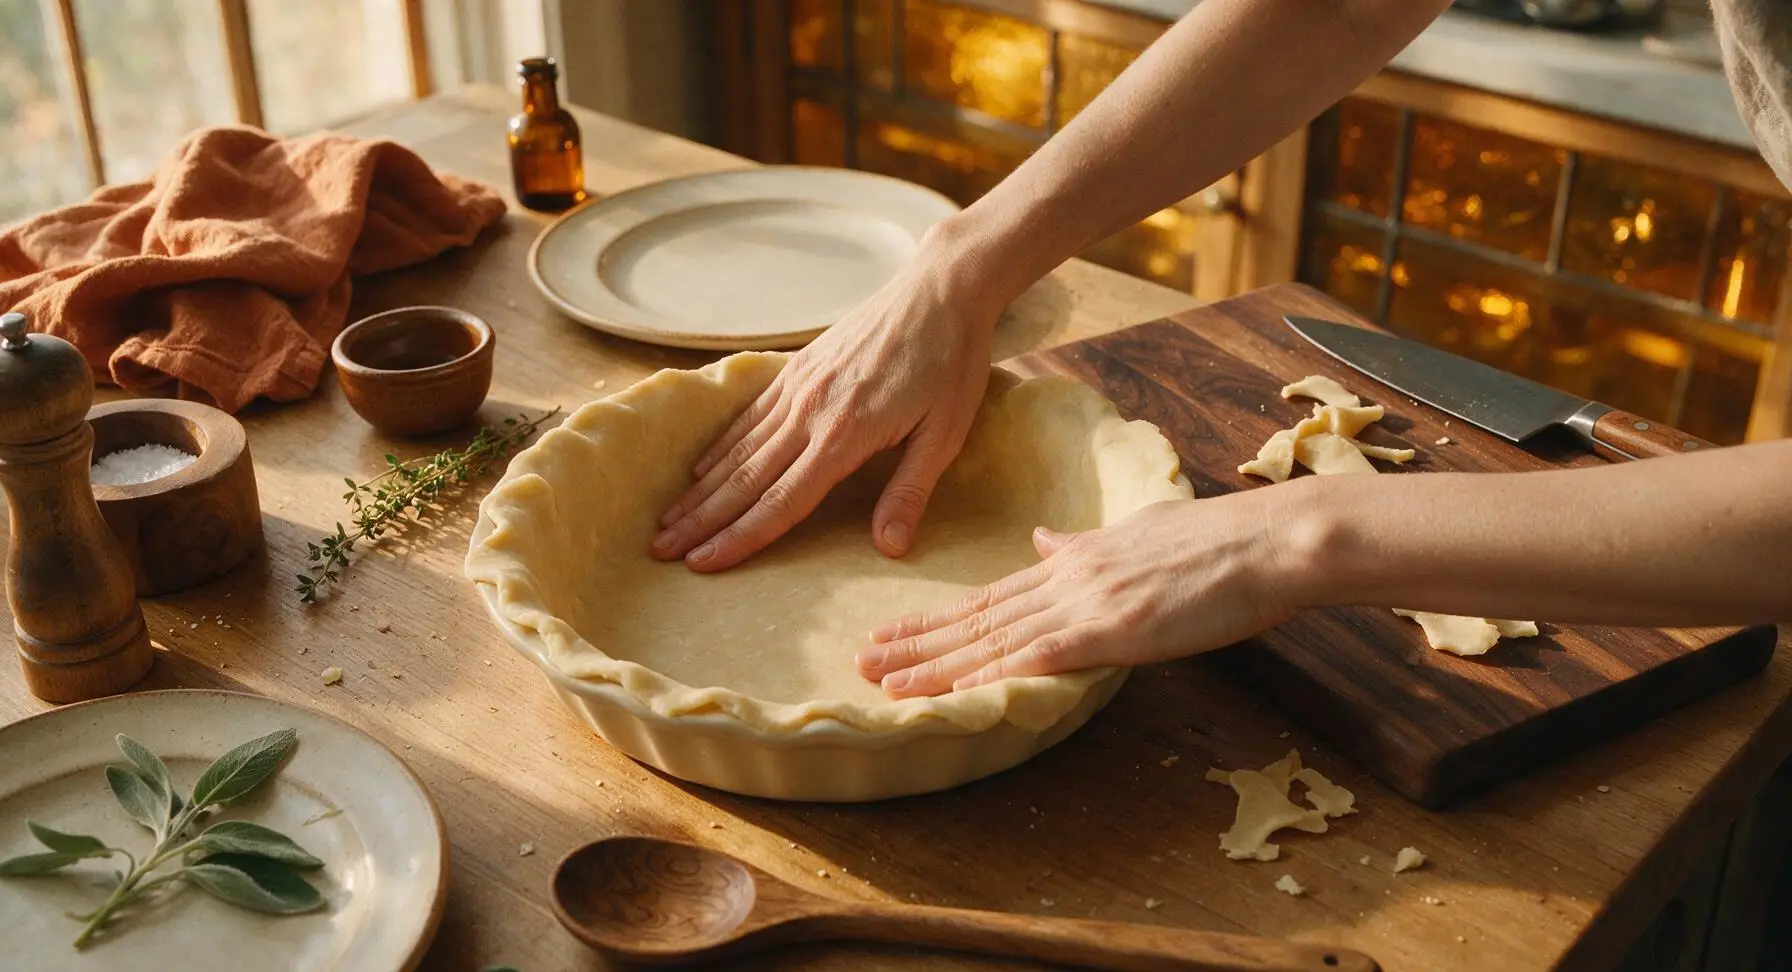
Step 1
step1:Prep Crust and Oven
2

Cook Elbow Macaroni

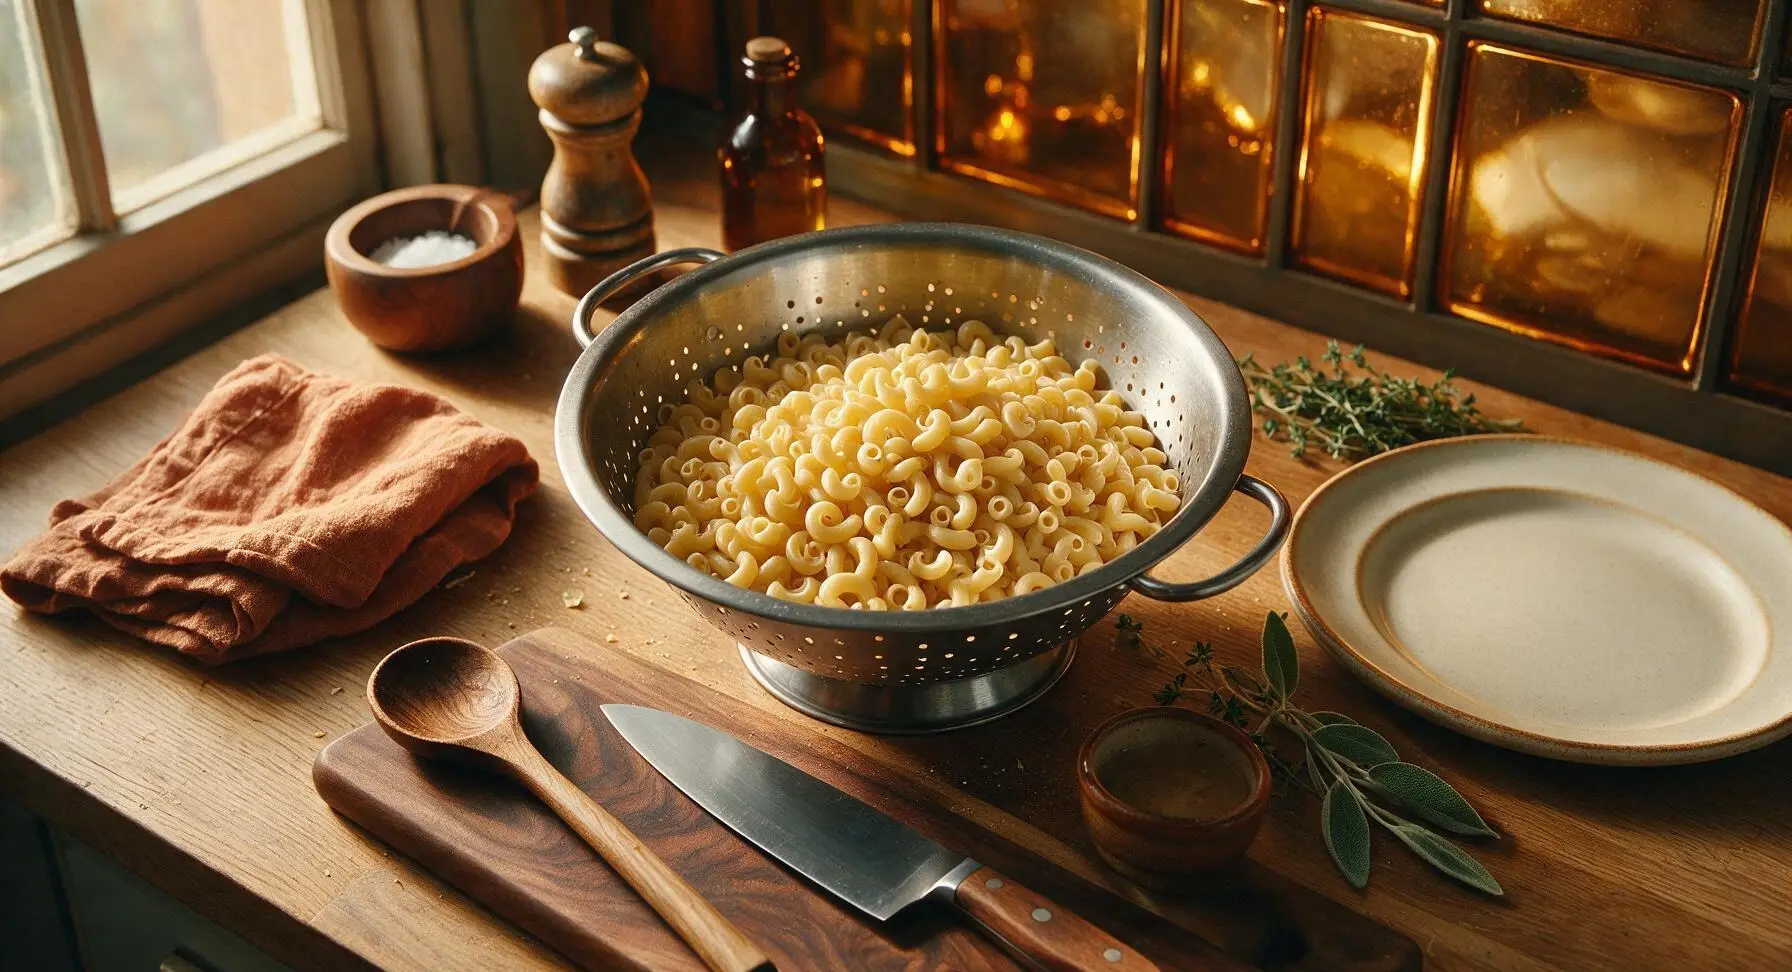
Fill the 3-quart stainless steel saucepan with 2 quarts of cold water, add 1 tbsp kosher salt, and bring to a rolling boil over high heat. Add the dry elbow macaroni and cook for exactly 6 minutes, until the pasta is very firm to the bite (2 minutes short of package al dente directions, as it will finish cooking in the pie). Drain the pasta completely in the stainless steel colander, do not rinse (residual starch helps the custard cling to noodles), and set aside.
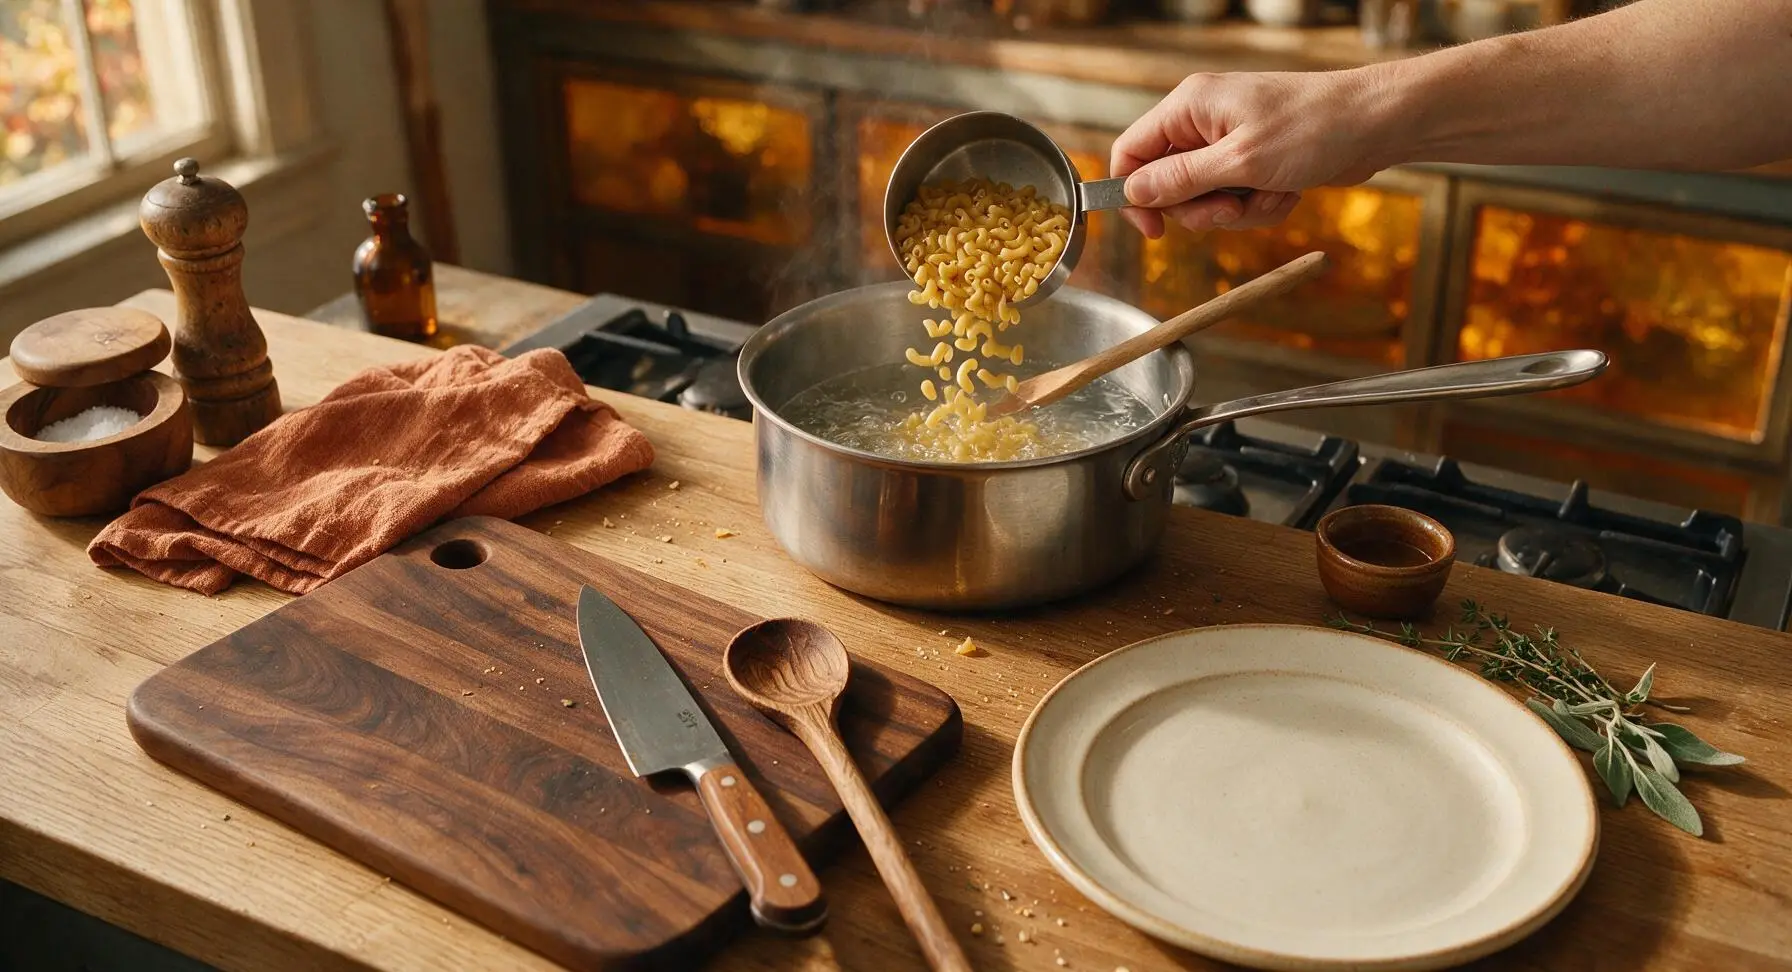
Step 2
step2:Cook Elbow Macaroni
Step 2
step2:Cook Elbow Macaroni
3

Shred Cheddar Cheeses

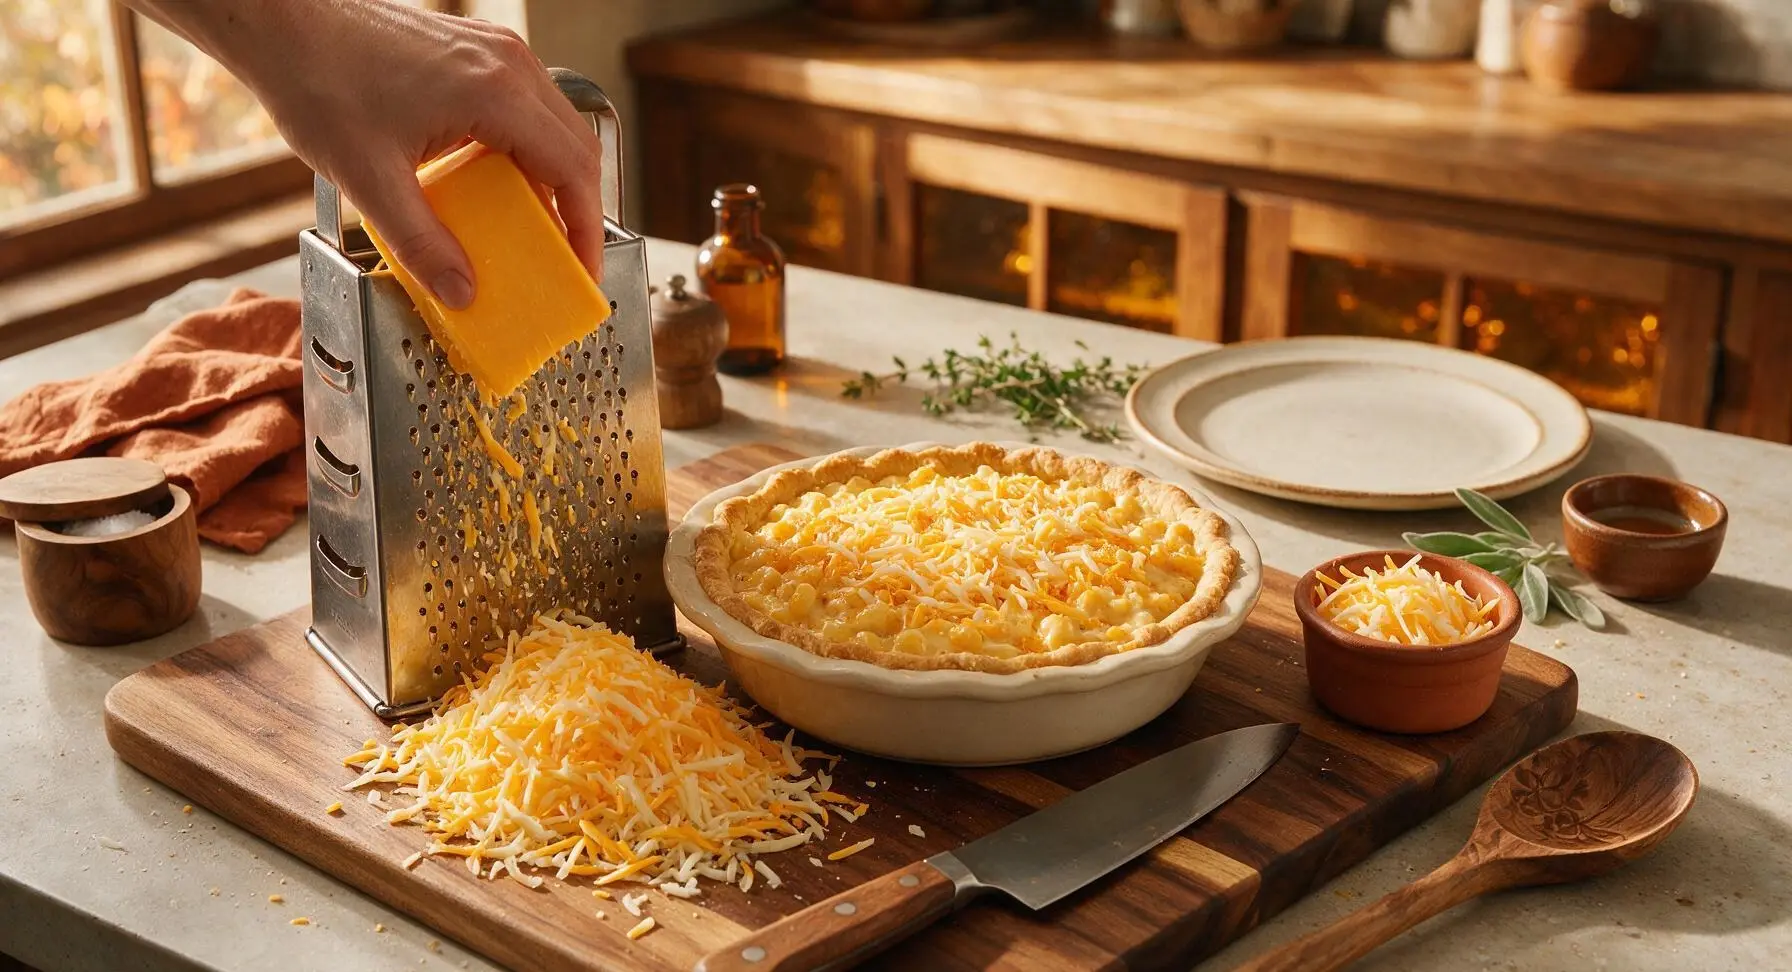
Set the stainless steel box grater on the acacia cutting board. Shred both blocks of sharp yellow and mild white cheddar into a loose, fluffy pile. Measure out 1/2 cup of the mixed shredded cheese and set it aside in the small terracotta ramekin for the topping. Toss the remaining shredded cheese with the dry mustard, freshly grated nutmeg, remaining 1 tsp kosher salt, and black pepper until evenly mixed.
Step 3
step3:Shred Cheddar Cheeses
4

Mix Cheese Custard

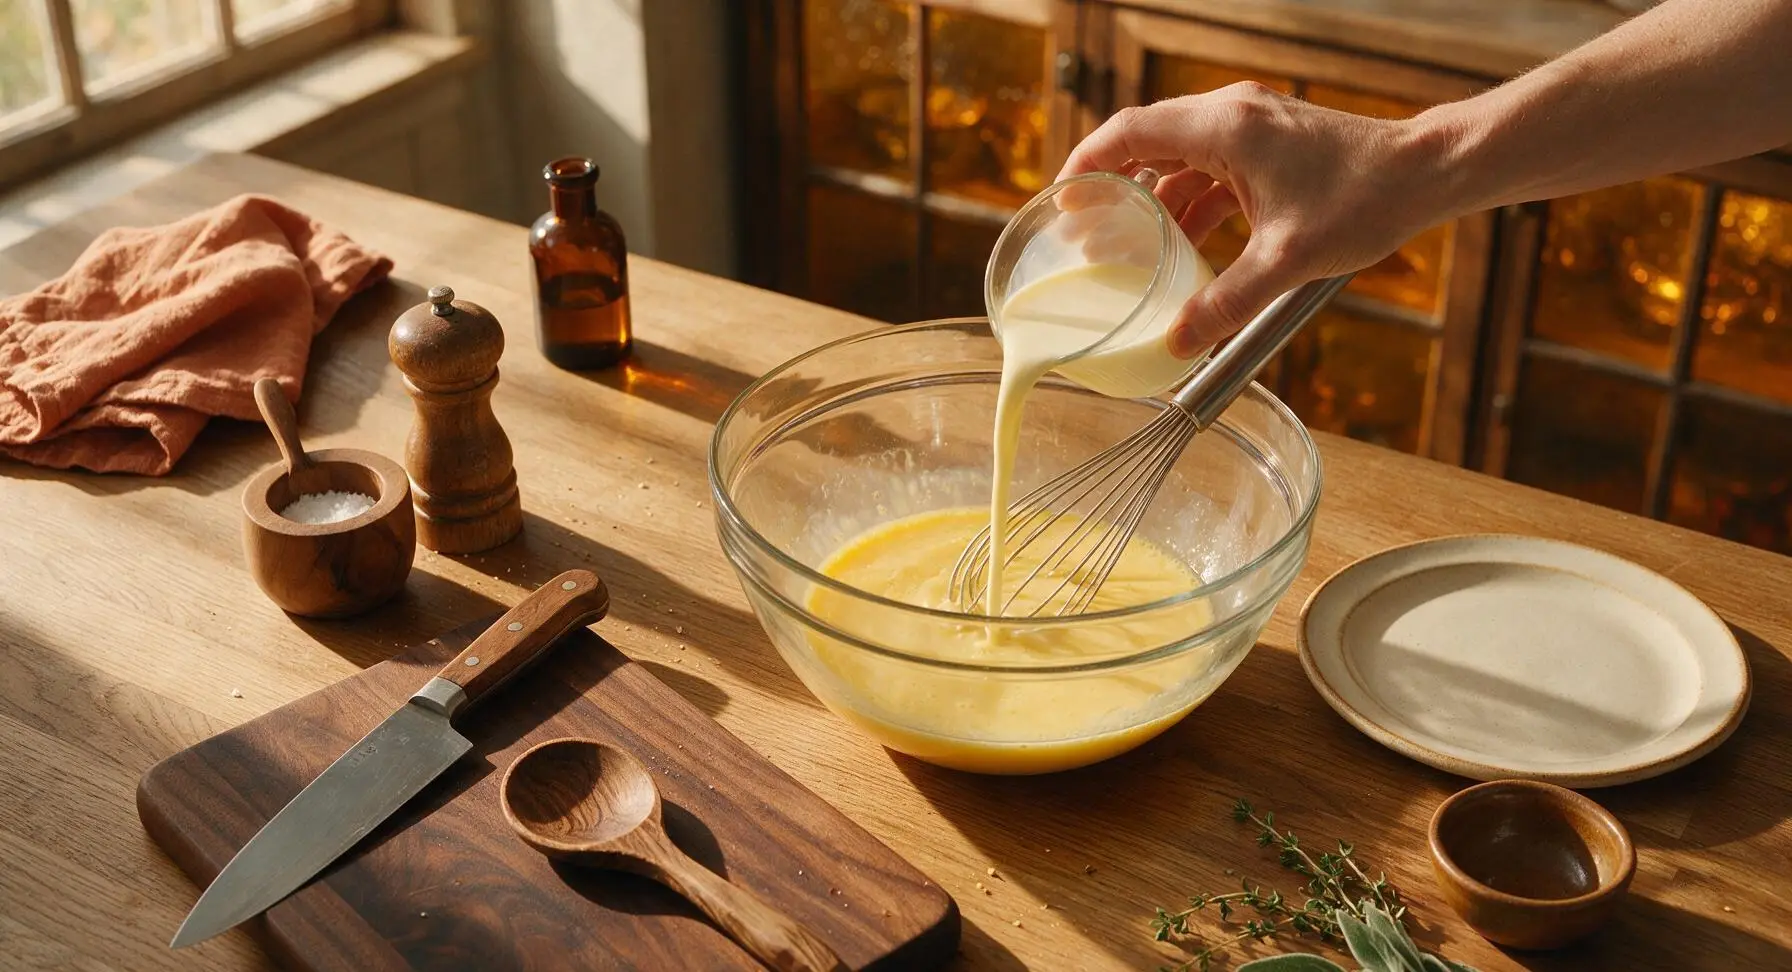
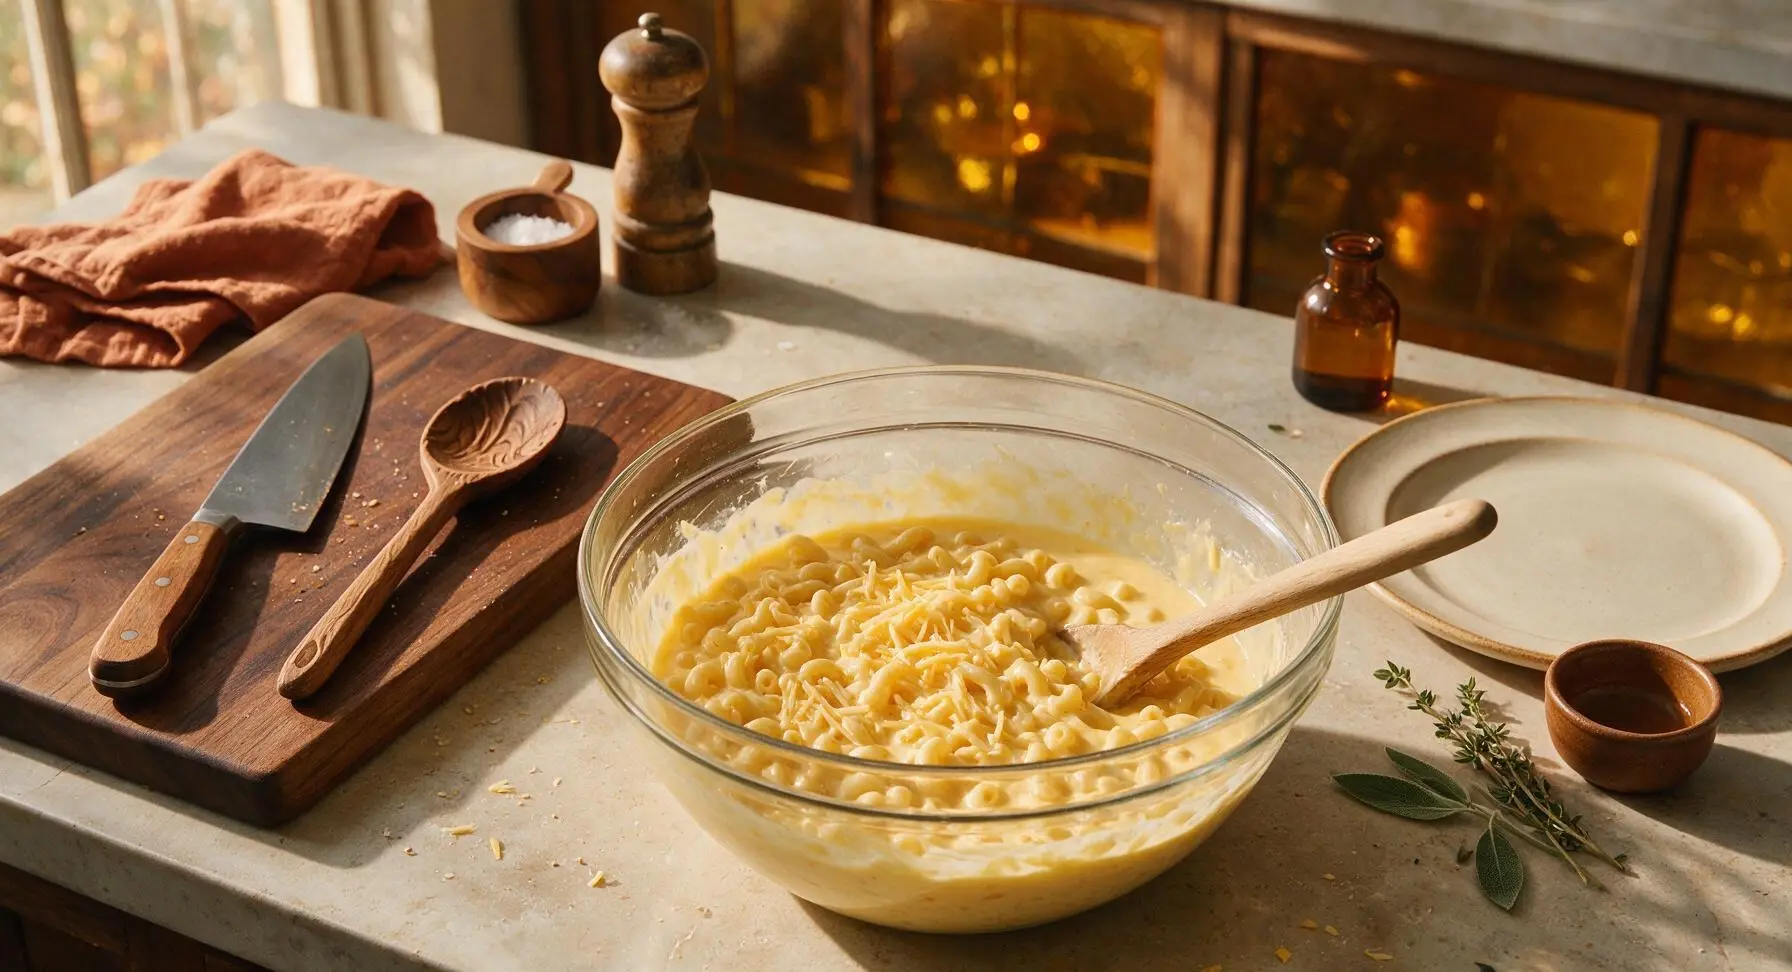
Melt the 2 tbsp unsalted butter and let it cool slightly. Crack the 2 large eggs into the clear glass mixing bowl, and use the wire whisk to beat them gently until smooth, no streaks of egg white remaining. Slowly stream in the half-and-half while whisking constantly to avoid curdling, then stir in the cooled melted butter. Add the seasoned shredded cheese and drained cooked macaroni to the bowl, and stir with the beech wood spoon until every noodle is evenly coated in the pale yellow custard mixture.
Step 4
step4:Mix Cheese Custard
Step 4
step4:Mix Cheese Custard
5

Fill Pie Shell

Pour the entire macaroni and custard mixture into the prepared pie crust in the ceramic dish. Use the beech wood spoon to spread the mixture evenly, pressing gently so no air pockets remain, and ensuring the top is level so it bakes evenly. Sprinkle the reserved 1/2 cup shredded cheese evenly over the top, followed by the 1/4 cup panko breadcrumbs for a crispy, crunchy top layer.
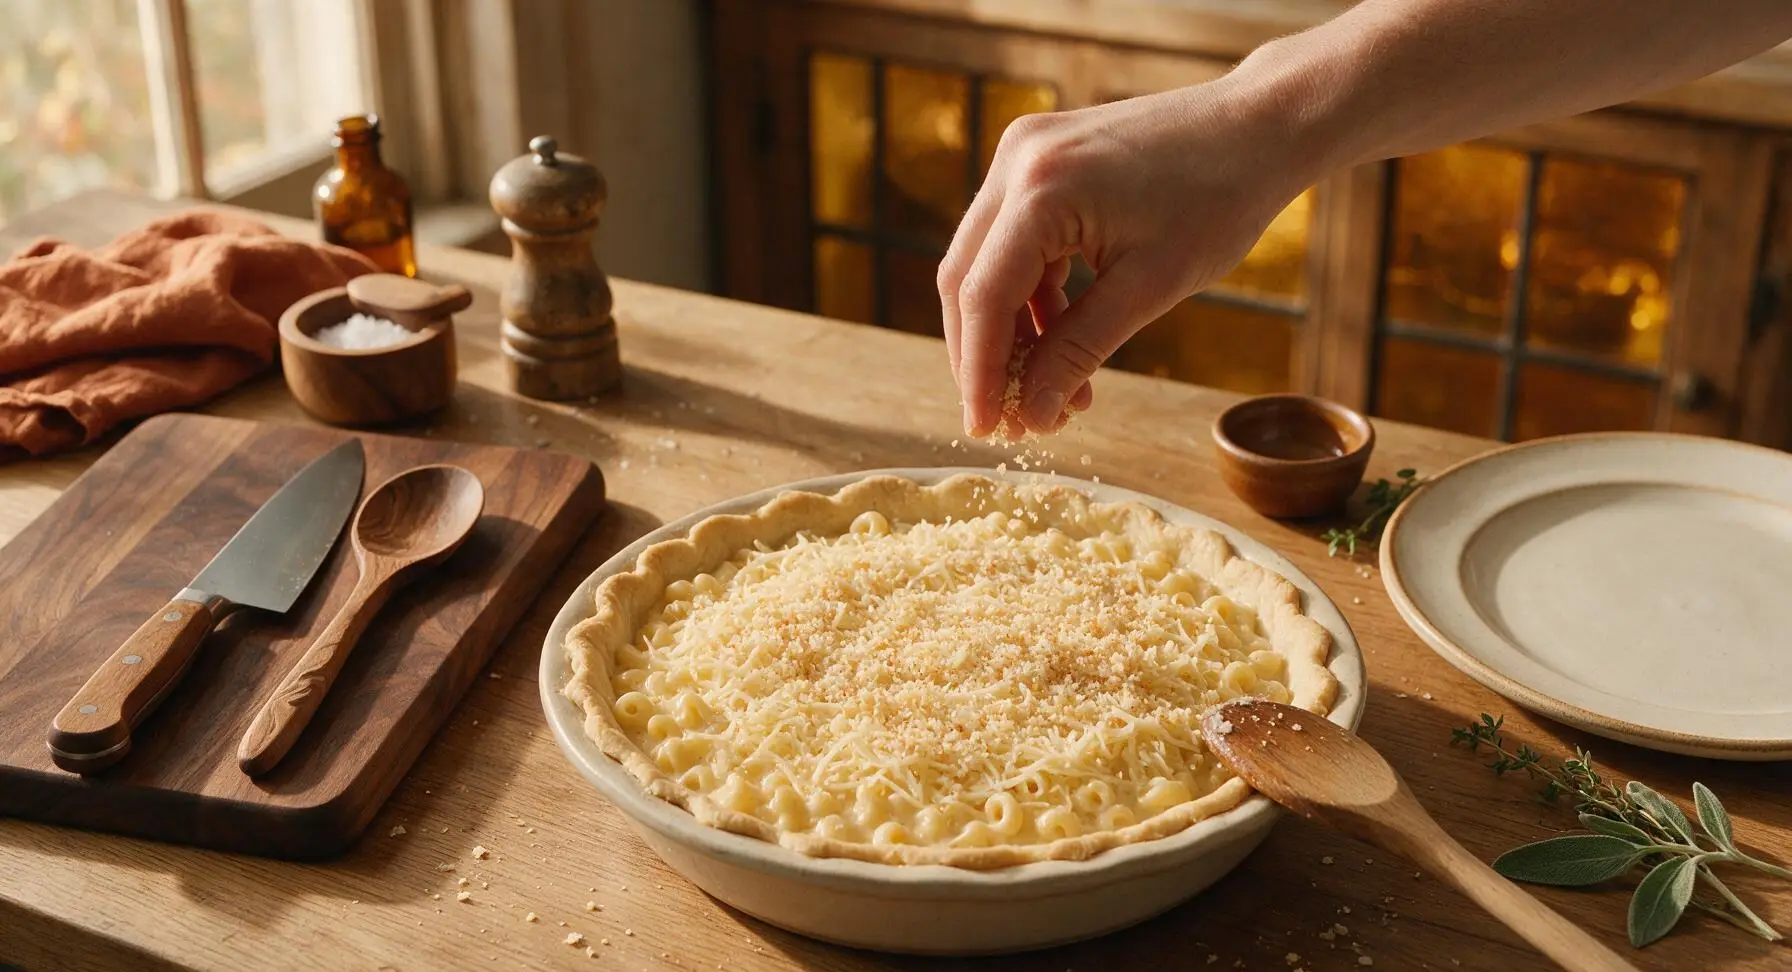
Step 5
step5:Fill Pie Shell
6

Bake Until Golden

Carefully transfer the filled pie dish to the middle rack of the preheated 375°F (190°C) oven. Bake for 35-40 minutes, until the center of the pie is fully set (no liquid jiggle when you gently nudge the dish), the panko and cheese top is deep golden brown and crispy, and the crust edges are flaky and light amber. If the crust edges brown too quickly, cover them with thin strips of aluminum foil halfway through baking.
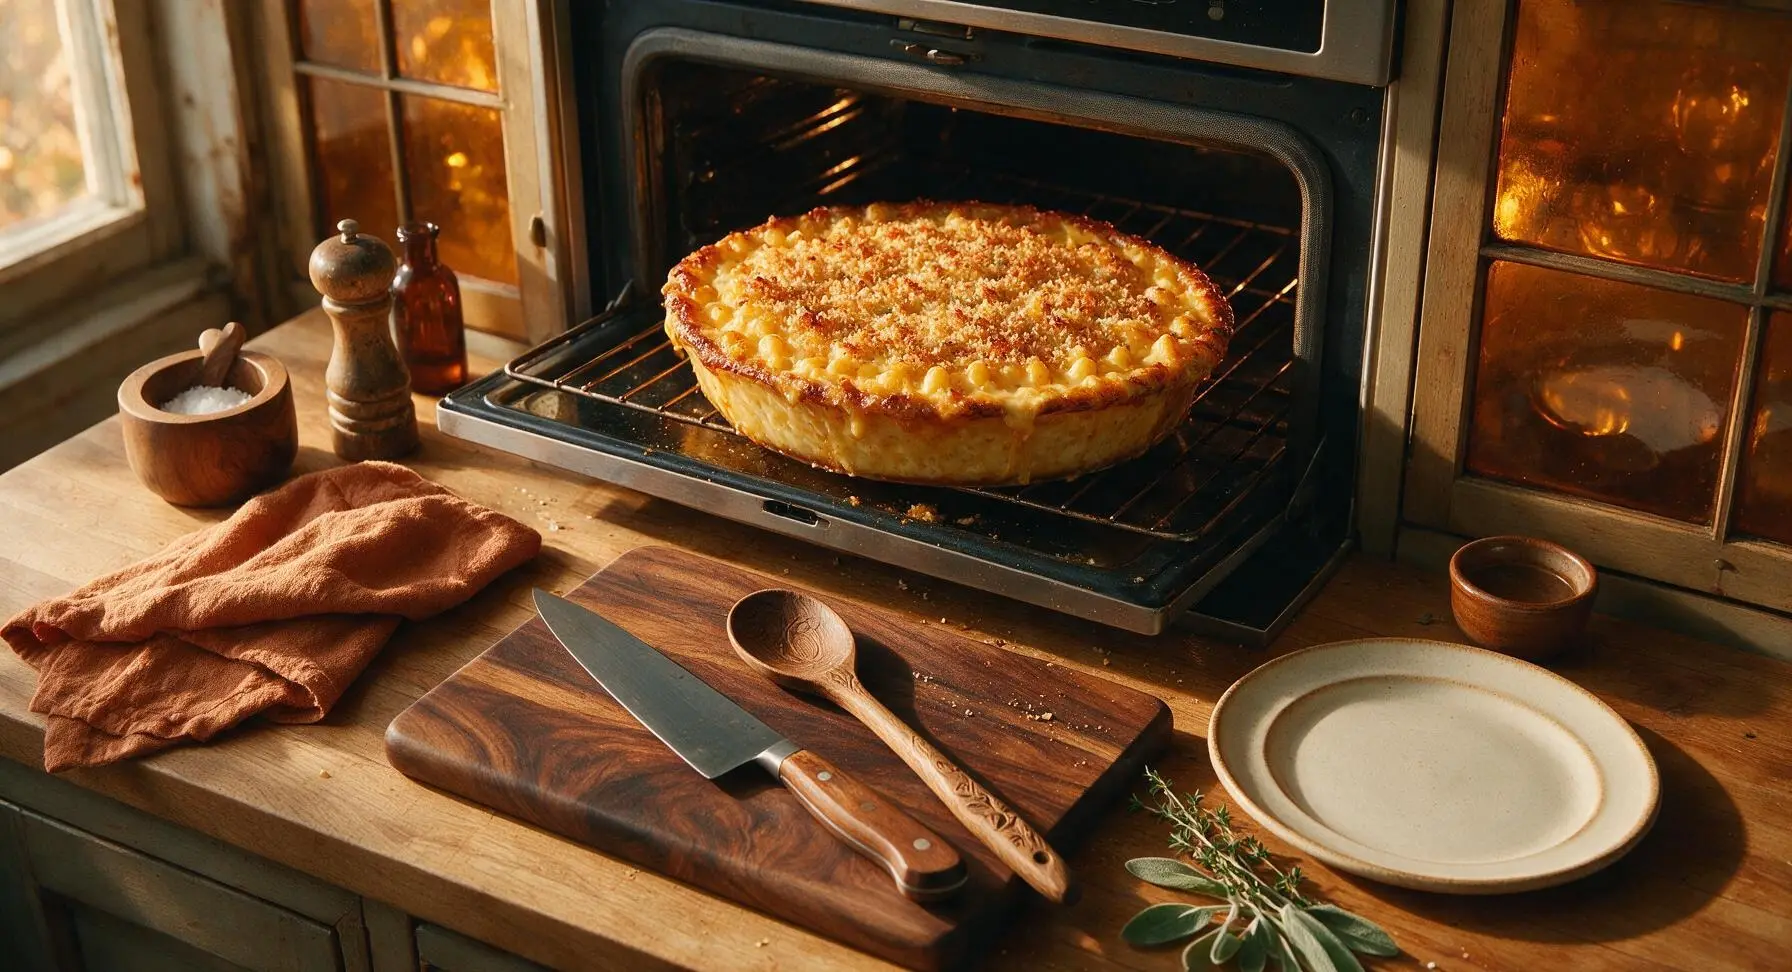
Step 6
step6:Bake Until Golden
7

Rest and Garnish

Use oven mitts to remove the baked pie from the oven, and return it to its fixed center-right position on the soapstone counter. Let it rest for a full 10 minutes to allow the cheese custard to set completely — this is critical for clean slices. Chop the fresh curly parsley and sprinkle it lightly over the warm pie top before slicing and serving.
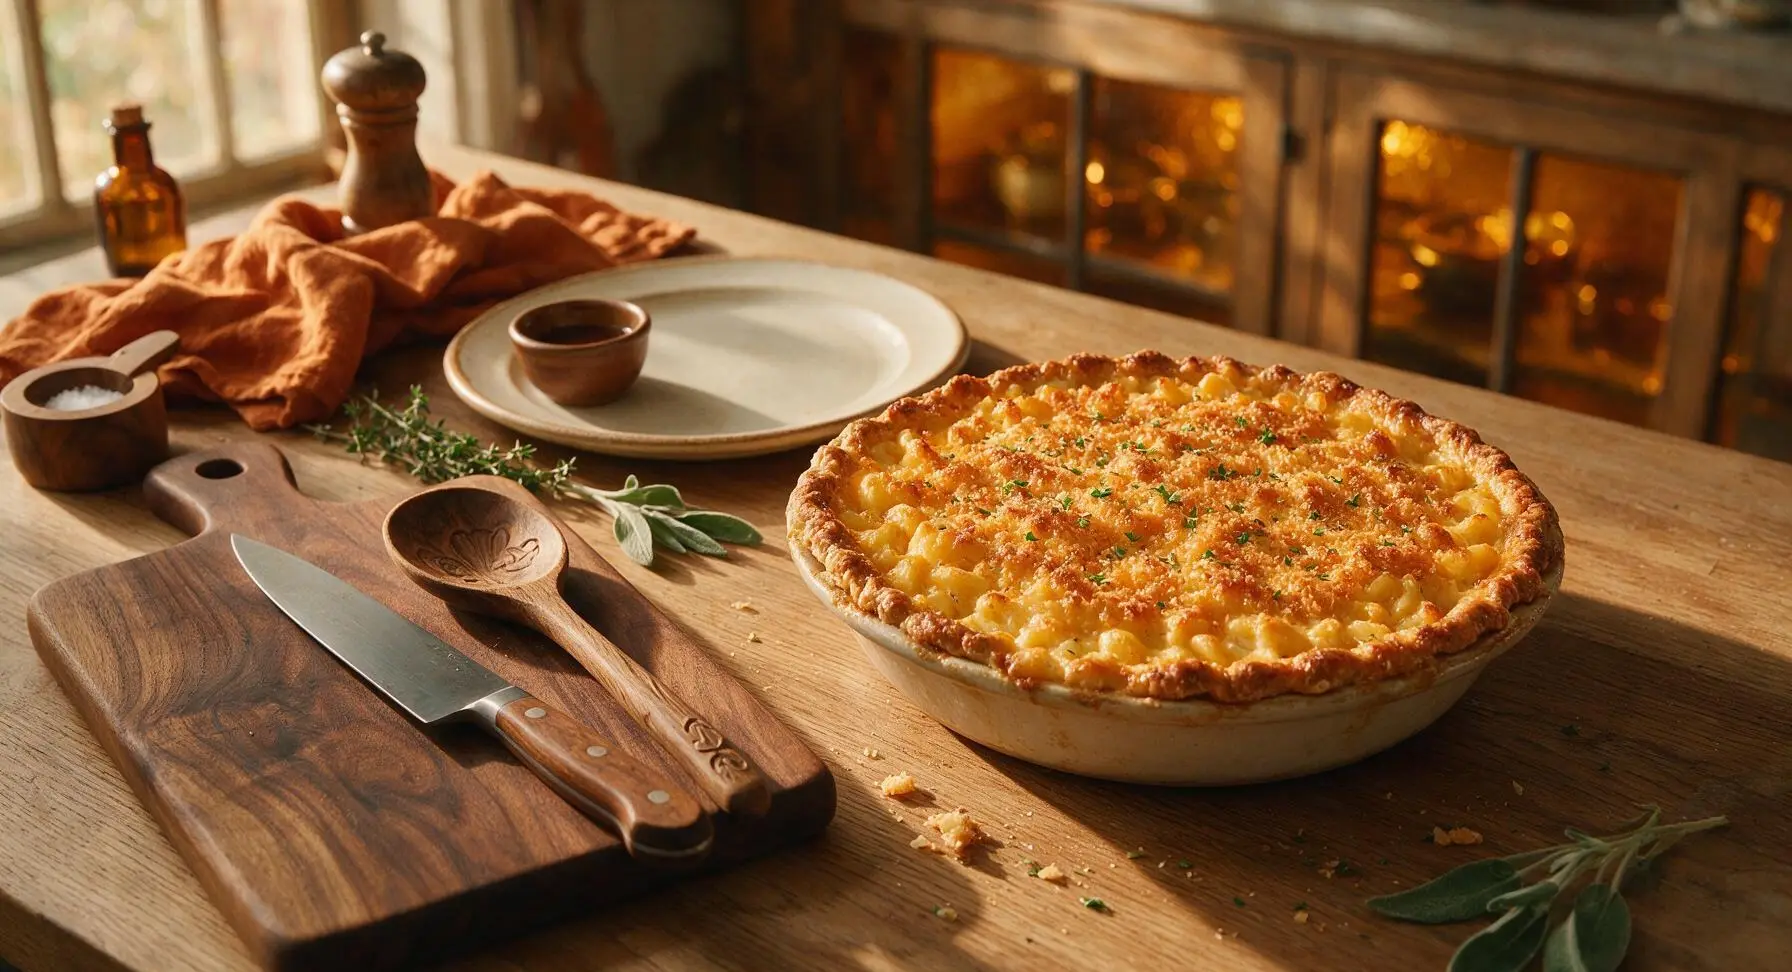
Step 7
step7:Rest and Garnish

Tips

1.Cook macaroni 2 minutes short of al dente: the noodles will continue to absorb liquid and soften as they bake in the custard, so undercooking them slightly prevents mushy, over-soft pasta in the finished pie.
2.Shred cheese from a block instead of using pre-shredded: packaged pre-shredded cheese is coated in potato starch and anti-caking agents that prevent smooth melting, leading to a grainy, uneven custard instead of a silky, creamy filling.
3.Let the pie rest the full 10 minutes after baking: cutting into it immediately causes the hot, liquid cheese custard to run out, resulting in sloppy slices; the rest time lets the custard set firmly for clean, holdable wedges.


✨ You May Also Like

Main Course
🍜 United Kingdom

A showstopping classic of tender seared beef, savory mushroom duxelles, and crisp prosciutto wrapped in flaky golden puff pastry, baked to juicy perfection.

⏱️ 2 hours 1Main Course ★ 4.7
Main Course
🍜 India

Tender charred marinated chicken simmered in a rich, spiced creamy tomato sauce, this iconic Anglo-Indian curry pairs perfectly with basmati rice or warm naan.

⏱️ 50 minuteMain Course ★ 4.6
Main Course
🍜 Thailand

Classic tangy, sweet, and savory Thai stir-fried rice noodles with shrimp, tofu, and crunchy garnishes, balancing all five core Thai flavor profiles.

⏱️ 30 minuteMain Course ★ 4.5
Main Course
🍜 United Kingdom

Crispy golden beer-battered cod and fluffy double-fried chips, served with tangy tartar sauce and malt vinegar: the timeless, beloved British pub comfort classic.

⏱️ 45 minuteMain Course ★ 4.7
Main Course
🍜 Mexico

Smoky, chile-marinated pork tacos with caramelized pineapple, fresh cilantro, and lime: a beloved classic Mexican street food perfect for casual summer gatherings.

⏱️ 1 hour 45Main Course ★ 4.8
Main Course
🍜 United States

Crunchy Fritos corn chips layered with savory beef chili and melted cheddar, topped with cool, zesty fixings for a beloved, cozy Tex-Mex comfort food.

⏱️ 35 minuteMain Course ★ 4.8

mac pie:Frequently Asked Questions

1.Can I use a homemade pie crust instead of the store-bought refrigerated deep-dish crust called for? ▾
Absolutely! Just use a 9-inch deep-dish homemade crust, and blind bake it for 10 minutes at 375°F lined with parchment and filled with pie weights or dried beans before adding filling. This prevents sogginess and keeps that signature buttery, flaky crust texture the recipe is known for.
2.Why does the recipe call for both sharp yellow cheddar and mild white cheddar? ▾
The sharp yellow cheddar brings that iconic tangy, bold Southern cheddar flavor and warm golden hue, while the mild white cheddar melts ultra-smoothly for a luxe, creamy texture. Grate cheese fresh, too—pre-shredded options have anti-caking agents that ruin that perfect silky melt.
3.How do I avoid a soggy bottom crust on my mac pie? ▾
Two simple fixes work every time: First, blind bake your crust for 10 minutes at 375°F with pie weights before adding filling to create a moisture barrier. Second, drain your cooked elbow macaroni really well, so excess starchy pasta water doesn’t seep into the crust as it bakes.
4.What can I use as a substitute for half-and-half if I don’t have it? ▾
For the closest texture and richness, mix ¾ cup whole milk with ¼ cup melted unsalted butter to replace every 1 cup of half-and-half. Skip using heavy cream alone—it makes the filling too dense—and avoid skim milk, which leads to a watery, thin filling that won’t set properly.
5.Do I have to use elbow macaroni, or can I swap in another pasta shape? ▾
Elbow macaroni is the traditional pick because its small, curved ridges grip cheese sauce perfectly and fit neatly in the pie crust, but small shapes like mini shells, ditalini, or cavatappi work great too. Skip large, bulky shapes like rigatoni that leave big, uneven gaps in the filling.
6.How do I get a crisp panko topping without burning it? ▾
Toss your panko with 1 tablespoon of melted butter first so it toasts evenly, then sprinkle it over the pie during the last 15 minutes of baking, rather than adding it at the start. If you notice it browning too quickly, tent a loose piece of aluminum foil over the top for the remaining bake time.
7.Can I make this mac pie ahead of time for a potluck or holiday meal? ▾
Absolutely! Assemble the unbaked pie (hold the panko topping), cover it tightly with plastic wrap, and store it in the fridge for up to 2 days. When you’re ready to bake, add 5 to 7 minutes to the total bake time, and add the buttered panko during the final 15 minutes for best crispness.
8.Why does my mac pie filling turn out runny instead of thick and creamy? ▾
Runny filling usually stems from over-diluting the cheese sauce, using pre-shredded cheese with anti-caking starch that breaks the emulsion, or skipping the post-bake rest. Let the pie sit 10 to 15 minutes after coming out of the oven to let the filling set cleanly for neat slices.
9.Can I add mix-ins like bacon, jalapeños, or lobster to the classic recipe? ▾
Of course—this base recipe is super customizable! Fold in up to 1 cup of cooked crumbled bacon, diced pickled jalapeños, steamed lobster, or caramelized onions to the mac and cheese mixture before adding it to the crust. Just pat wet mix-ins dry first to avoid soggy crust.
10.What’s the best way to reheat leftovers so the pie stays creamy? ▾
For best results, reheat individual slices in a 350°F oven for 10 to 12 minutes, tented loosely with foil, until the filling is warmed through. Microwaving works in a pinch for 30 to 45 second bursts, but it can make the crust chewy and make the panko topping lose its crunch.
11.Do I need to fully cook the elbow macaroni before baking it in the pie? ▾
No—cook your macaroni just to al dente, about 2 minutes less than the package directions for fully cooked pasta. It will continue to absorb the creamy half-and-half and cheese sauce as it bakes, so fully precooking it will leave you with mushy, oversoft pasta in the finished pie.
12.Can I freeze leftover baked mac pie for later meals? ▾
Yes! Let the fully baked pie cool completely, then wrap individual slices tightly in a double layer of plastic wrap and aluminum foil, and freeze for up to 3 months. Thaw slices in the fridge overnight, then reheat in a 350°F oven to bring back the creamy texture and crisp top.
13.How can I adapt this recipe for gluten-free guests? ▾
It’s an easy swap! Trade the regular refrigerated deep-dish crust for a certified gluten-free deep-dish pie crust, use gluten-free elbow macaroni, and confirm your panko and cheeses are gluten-free. The rich, cheesy filling bakes exactly the same, so most guests won’t even notice the adjustment.

Comments (12)

2 days ago

OMG y’all this baked mac pie was the absolute star of our Sunday family dinner! I tossed a little extra sharp cheddar on top because my crew is total cheese obsessed, and it came out so creamy with zero dry spots. Even my super picky 7 year old asked for thirds, which never happens! SO good.

yesterday

Wait did you stick to the evaporated milk the recipe calls for? I’ve had mac and cheese turn out grainy before when I swapped that for regular milk, wondering if that’s the secret to the creaminess here!

yesterday

So glad your family loved it! The evaporated milk is absolutely key for that super smooth, creamy texture that doesn’t break while baking – definitely don’t swap it for regular milk if you can avoid it for best results!

1 week ago

Made this for our neighborhood block party potluck last weekend and people were coming back for thirds! The crispy breadcrumb top hits so good against the rich, creamy cheese filling. I was shocked how easy it was too – total cook time really is 45 minutes, no fancy steps. Will be making this for every cookout from now on.

5 days ago

Love to hear it was a potluck hit! That crispy panko topping is one of my favorite parts too – pro tip, toss the crumbs in a little melted butter before sprinkling for extra golden, crunchy goodness!

3 days ago

As a broke college student with basically zero cooking skills, this was so easy to nail! I didn’t even have to buy any fancy ingredients, just stuff I already had in my shared dorm kitchen. Meal prepped 6 slices and they heated up perfectly all week for lunch between classes. 10/10 no notes.

2 hours ago

Quick question before I make this for my in-laws visiting this weekend – is this supposed to be firm enough to cut into actual pie slices, or the looser scoopable baked mac? I’ve had both versions of Southern mac pie and I don’t wanna mess this up!

30 minutes ago

Girl it sets up perfectly so you can cut clean slices just like a sweet pie! Just make sure you let it rest 10 minutes after you pull it out the oven though, otherwise it’ll be runny when you cut into it.

5 minutes ago

Great question! This recipe sets firm enough to hold a clean slice once rested, but still stays ultra creamy inside. Definitely follow that 10 minute rest time after baking for the best texture!

yesterday

I swapped the regular elbow mac for chickpea pasta to add a little extra protein, and it still turned out SO good! My meat-eating boyfriend didn’t even notice the difference, he just kept saying this is the best mac he’s ever had. Total game changer for quick weeknight dinners.

2 hours ago

That chickpea pasta swap is such a smart call! So glad it worked out for you both – thanks for sharing the modification, I know other readers will love trying that too for extra protein!

5 days ago

Made this after a long day hiking Camelback Mountain and it was the coziest comfort food ever. I added a pinch of smoked paprika to the cheese sauce for a little smoky kick, and chef’s kiss. No weird processed cheese slices here, the cheese blend is perfect. Will be making this on cold desert nights all winter.

2 weeks ago

Grew up on my grandma’s Southern baked mac so I’m super picky about this stuff. I was skeptical an easy online recipe could measure up, but wow – this tastes exactly like the stuff she used to make for Thanksgiving. The tiny pinch of nutmeg in the cheese sauce is such a subtle, perfect touch, I almost forgot she used to add that too.

1 week ago

That means the world, thank you! That tiny pinch of nutmeg is my grandma’s secret too, it adds such a warm depth without tasting like spice at all. So glad it brought back good memories for you!

3 days ago

Quick question – can I assemble this the night before and bake it the next day for our church potluck? I’m trying to get as much prep done ahead as possible so I’m not running around crazy Sunday morning.

2 days ago

I did that last month! Just assemble it, cover it tight in the fridge, and add 10 minutes to the bake time since it’ll be cold going in the oven. Turned out perfect, no sogginess at all!

2 days ago

Absolutely you can prep it ahead! Just like Linda said, keep it tightly covered in the fridge for up to 24 hours before baking, and add 8-10 minutes to the cook time if it’s still cold when you pop it in. Enjoy the potluck!

just now

Made this for my roommate’s birthday dinner since mac and cheese is his favorite, and he said it’s better than the fancy restaurant version we paid $18 for last month. The edges get all crispy and cheesy, the middle is gooey, literally perfect. The 45 minute cook time is no joke, I was in and out of the kitchen fast.

1 week ago

I made this for a beach picnic last weekend and even eating it cold out of the cooler it was chef’s kiss! Wait, don’t judge me, we forgot to bring the portable warmer, but it still slapped. Can’t wait to make it again when we have access to an oven to have it warm and fresh.

5 days ago

Omg cold mac pie is such an underrated snack! I make a pan every other week just to eat cold straight from the fridge when I get home from work, no shame at all.

30 minutes ago

Uh oh, I think I messed this up? My cheese sauce was super lumpy when I mixed it with the pasta. Did I add the cheese too fast? It still tasted good but the texture was off, I wanna get it right next time I make it.

5 minutes ago

I had that happen the first time I made it too! You gotta take the roux off the heat before you add the cheese, and stir it a handful at a time instead of dumping it all in at once. No more lumps after I did that!

just now

So sorry the texture was off this time! HomeCookHero is exactly right – make sure your heat is on low when adding cheese, and add it a small handful at a time, stirring constantly until fully melted before adding more. That will give you perfectly smooth sauce every time!

yesterday

I’ve been making baked mac for over 50 years and I have to say, this recipe is a total keeper! I cut the butter a tiny bit because I watch my cholesterol, and it was still rich and creamy without feeling heavy. Brought it to my retired teachers group lunch and everyone asked for the recipe.

2 hours ago

That is such high praise coming from someone with 50 years of mac and cheese experience! Thank you so much for trying the recipe and sharing it with your group, that totally makes my day.



