
make toast without toaster

title 1
make toast without toaster
⏱️ cook time 5 minutes
🍽️ servings 2
⚡ Difficulty easy

intro

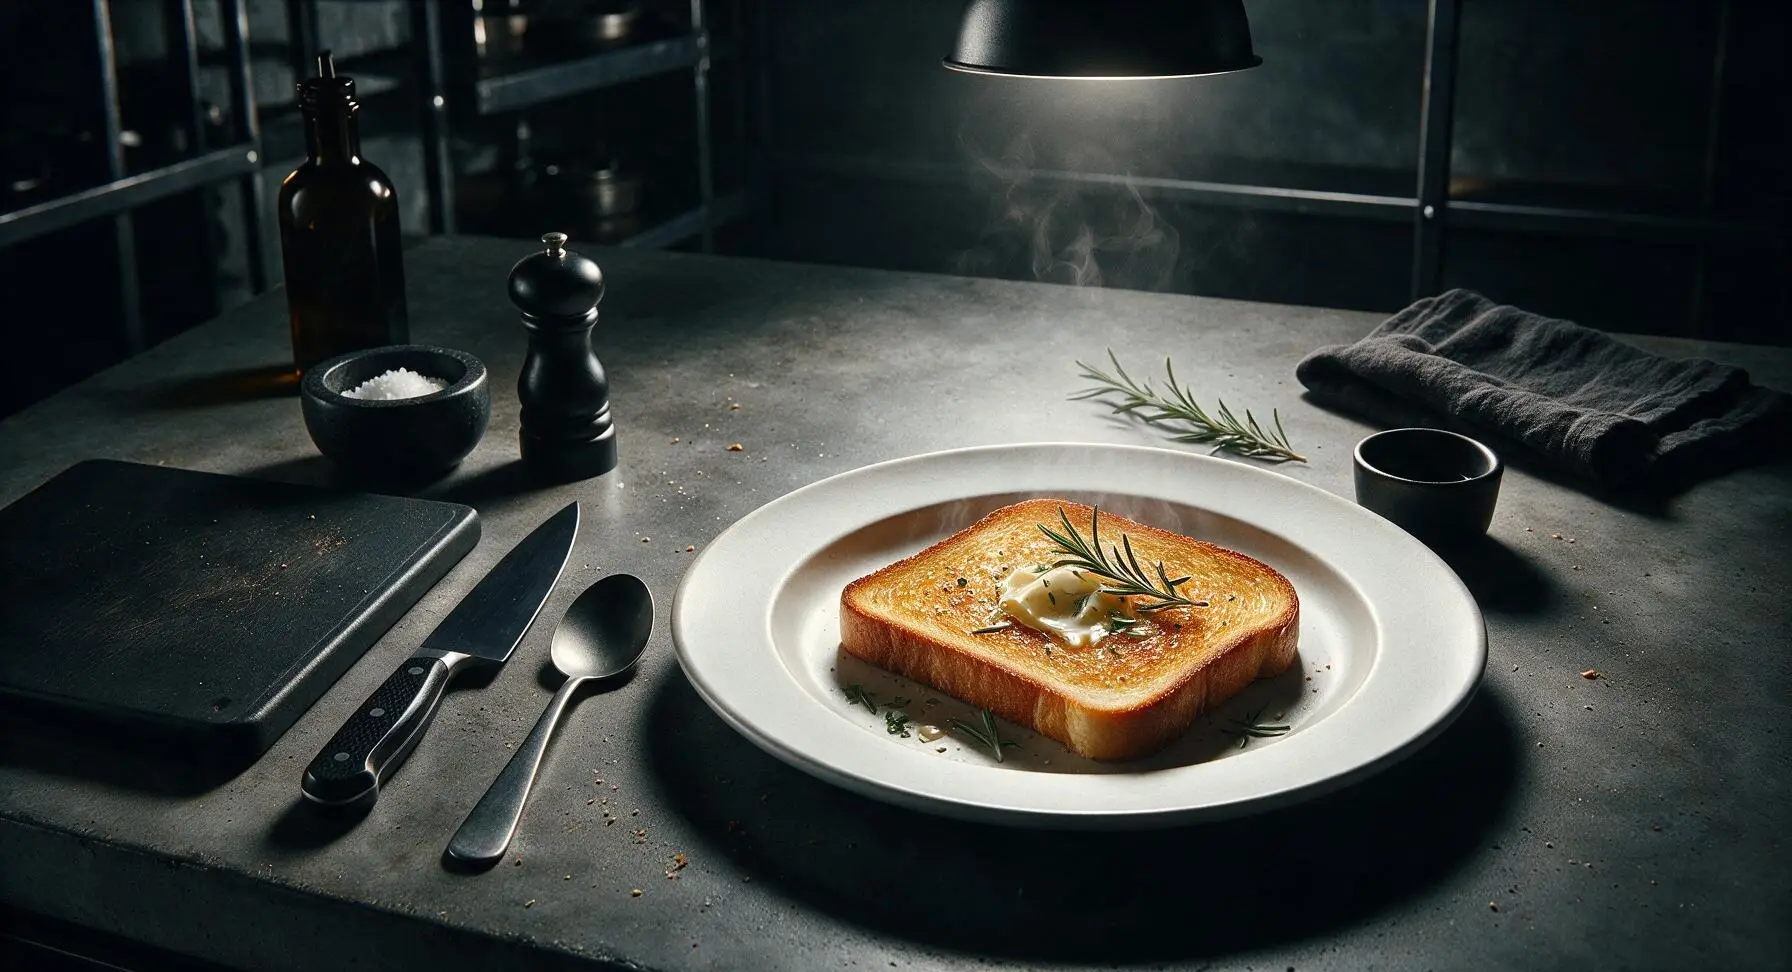
Crisp, golden, buttery stovetop toast made without a toaster—ready in minutes, with an even crunch no pop-up toaster can match, perfect for quick, cozy meals.

Ingredients
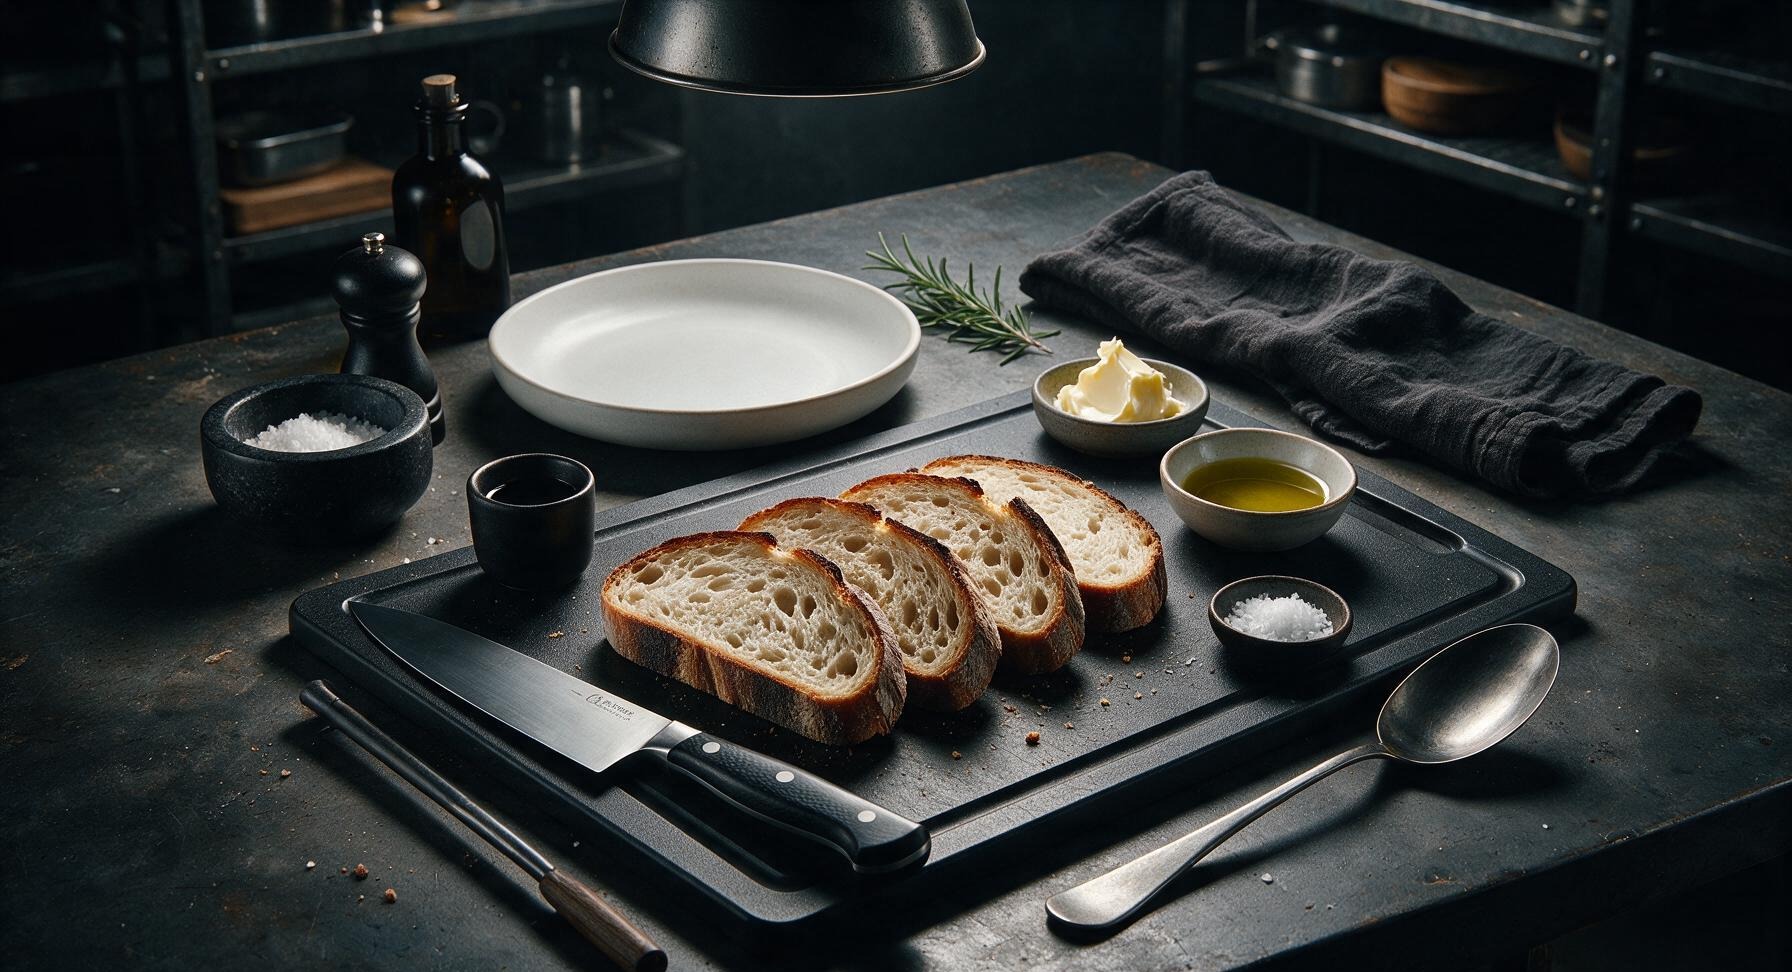
Thick-cut sourdough bread 4 slices (1.5cm thick, ~160g total)
Unsalted butter, softened 1 tbsp (14g)
Extra-virgin olive oil 1 tsp (5ml)
Flaky sea salt 1/4 tsp

Steps

1

Slice and Prep Bread

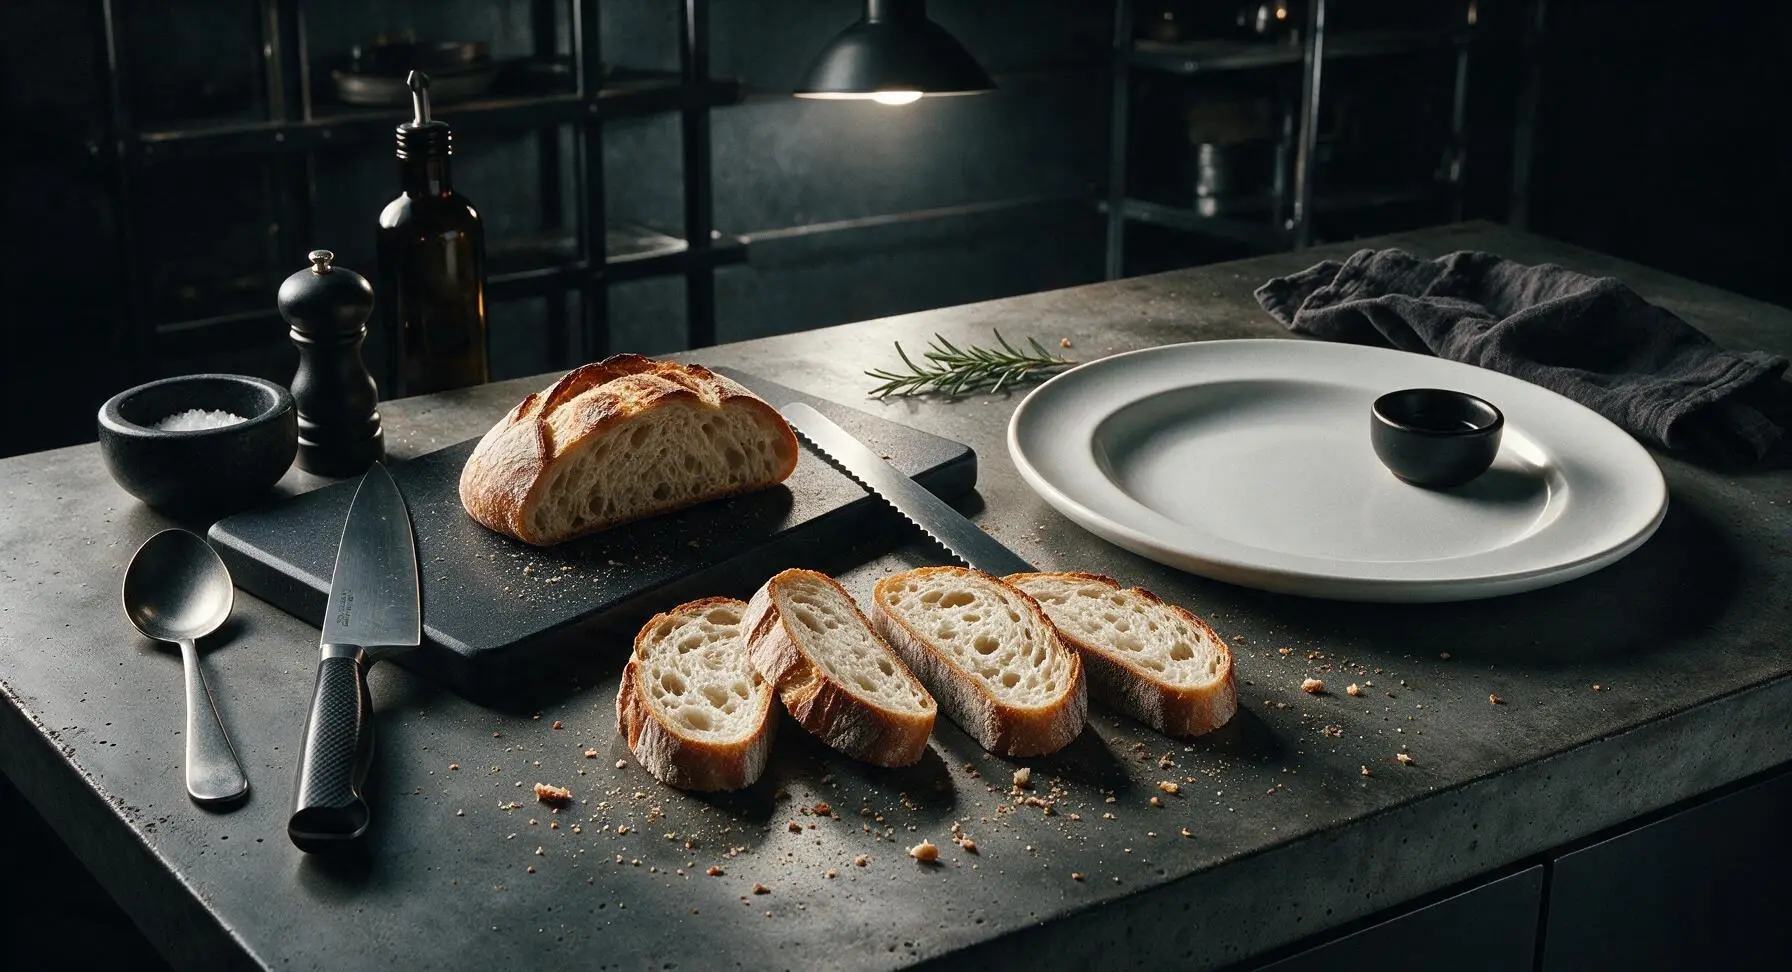
Take the serrated bread knife from the acacia magnetic strip mounted on the backsplash. Cut sourdough into 4 even slices 1.5cm (0.6in) thick; discard dry, crumbly end pieces if desired. Uniform slice thickness ensures no burnt edges or under-toasted, doughy centers. Arrange slices in a single layer on the counter next to the butter ramekin.
Step 1
step1:Slice and Prep Bread
2

Preheat Dry Skillet

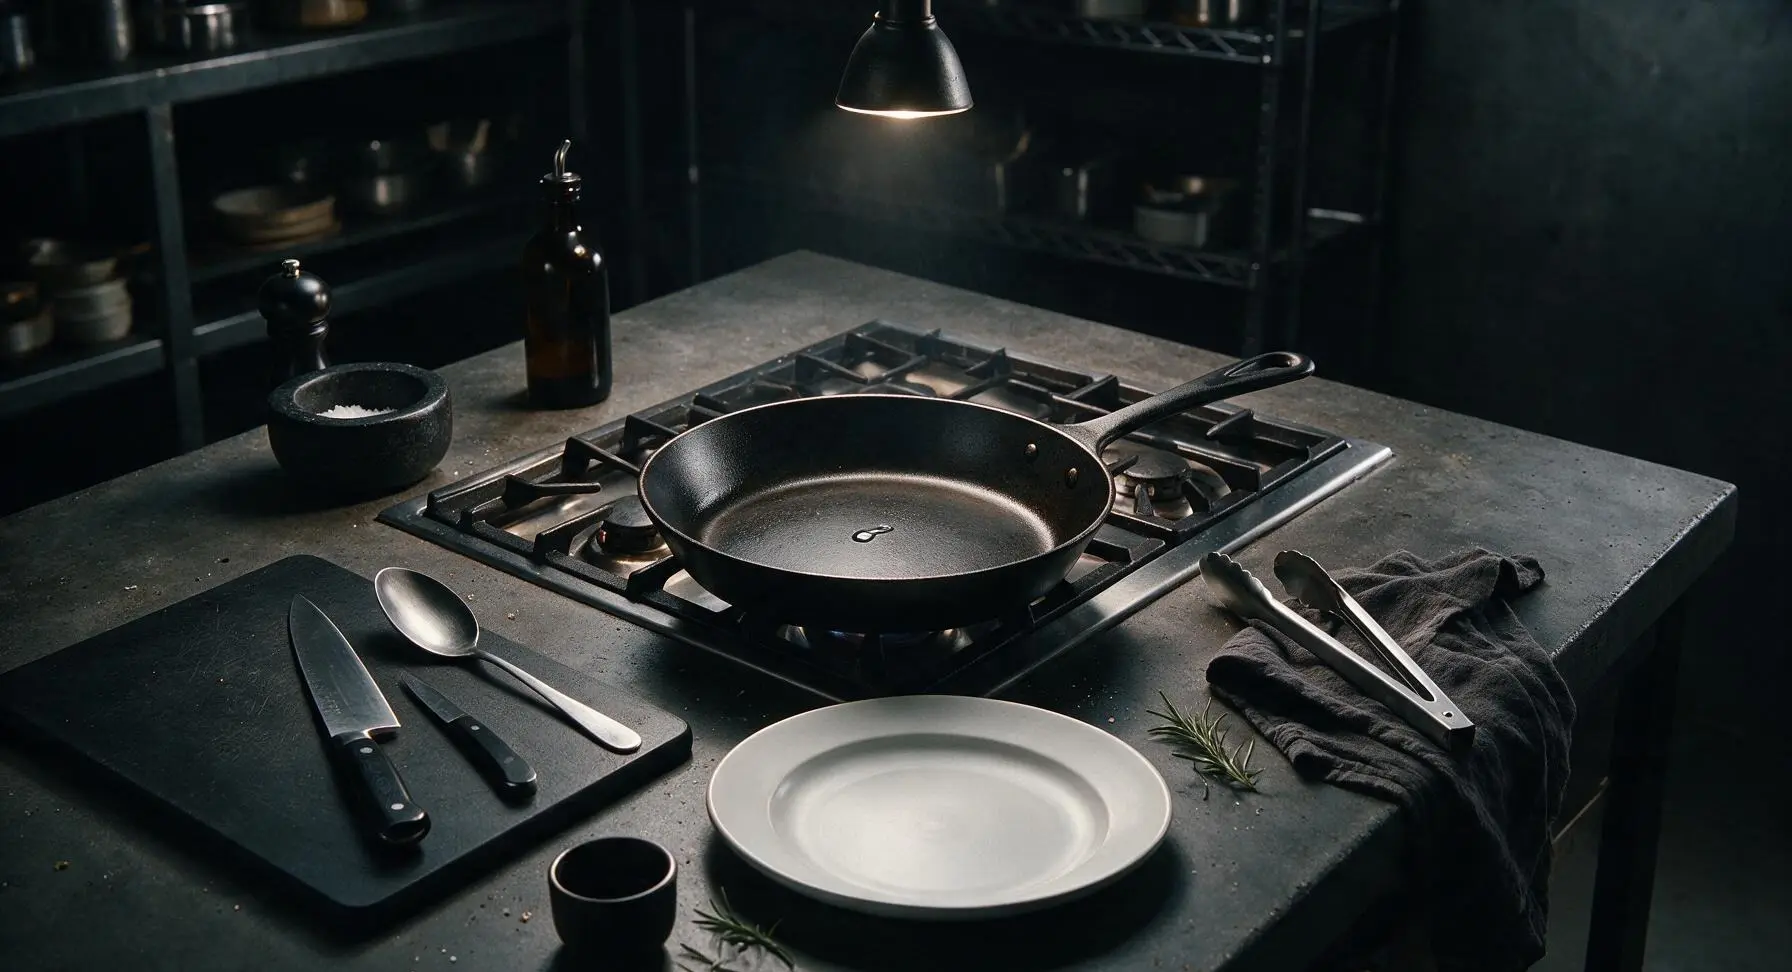
Move the 10-inch carbon steel skillet from the back left burner to the front center burner. Turn heat to medium-low (setting 3 on most standard gas stoves) and let the pan preheat dry for 2 full minutes. Do not add fat at this stage—preheating a dry pan prevents bread from sticking and builds an even, crisp crust. Test pan temperature by sprinkling one tiny drop of cold water: it should bead and skitter across the pan surface, not evaporate instantly (too hot) or sit without moving (too cold).
Step 2
step2:Preheat Dry Skillet
3

Add Butter and Oil

Add 1 teaspoon extra-virgin olive oil and 1 tablespoon softened unsalted butter to the preheated skillet. Swirl the pan gently as the butter melts, over about 30 seconds, until the fat forms a thin, even coating across the entire pan bottom. Do not let the butter turn brown or smoke—if it starts to darken, turn the heat down immediately. The combination of oil and butter raises the mixture’s smoke point, preventing bitter burnt flavor while delivering rich, nutty butter taste.
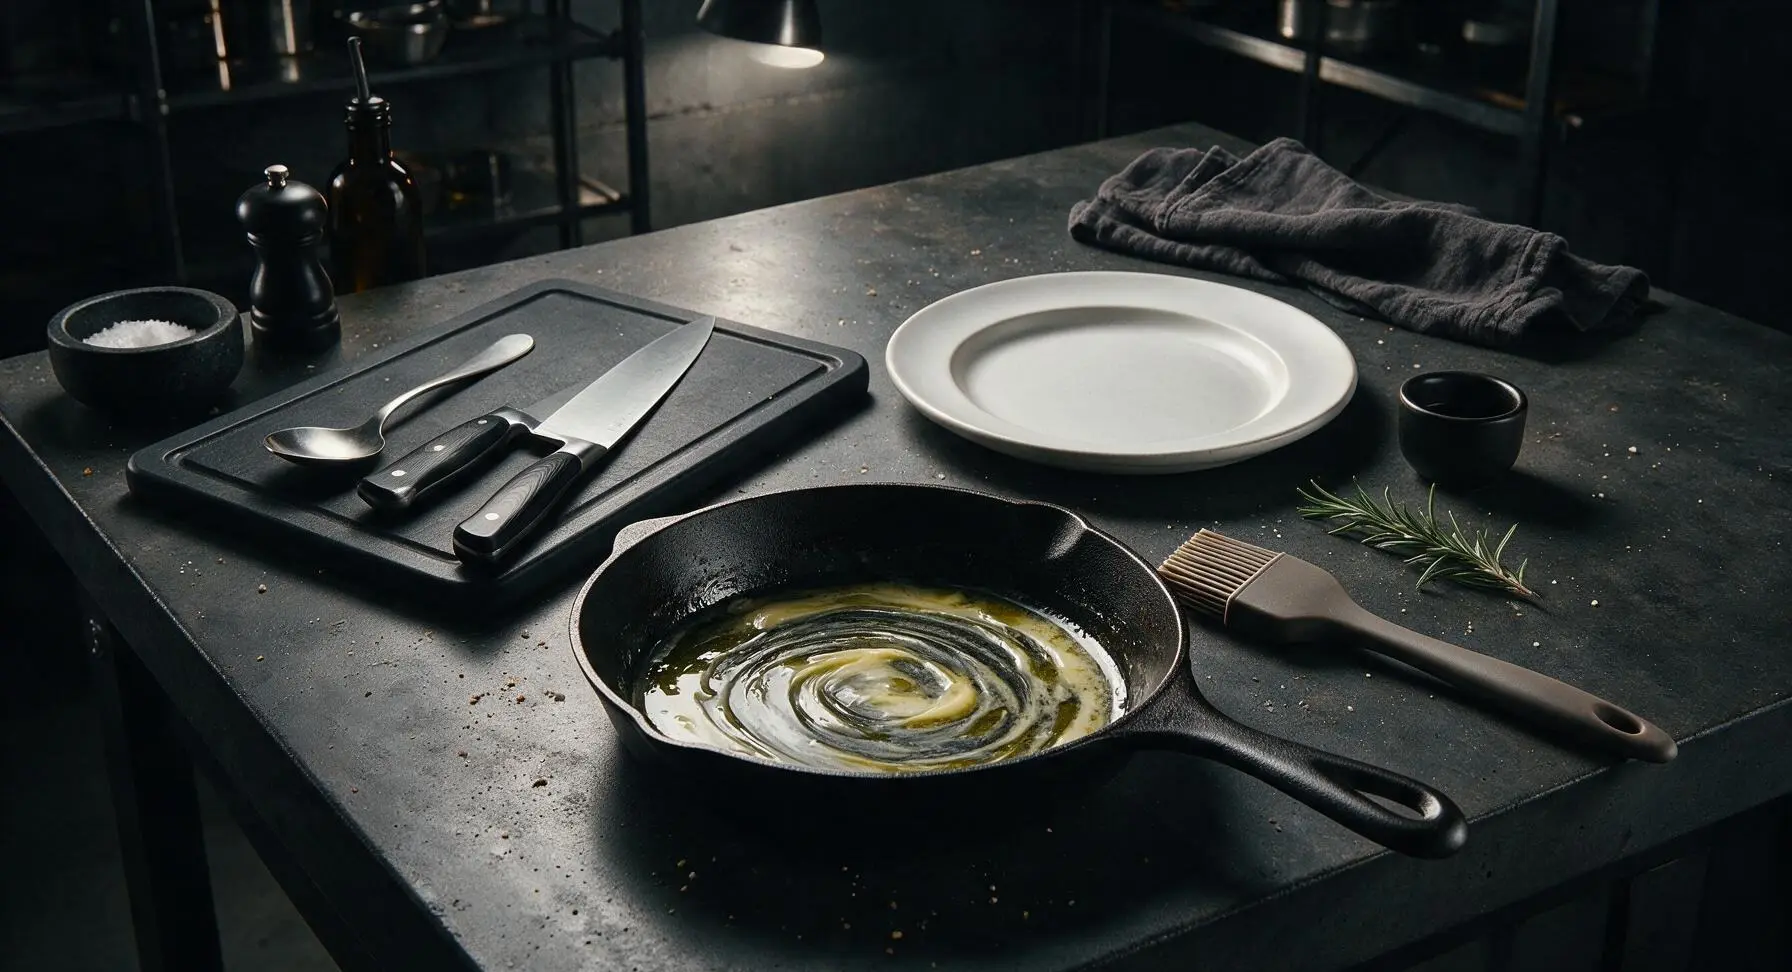
Step 3
step3:Add Butter and Oil
4

Toast First Bread Side

Lay 2 sourdough slices in the pan in a single layer, ensuring they do not overlap or touch the pan edges. Let cook undisturbed for 2 to 2.5 minutes on medium-low heat. Resist the urge to lift or peek at the slices early—undisturbed cooking creates a uniform deep golden crust instead of patchy, uneven browning. The slices are ready to flip when the underside is a consistent golden brown with slightly darker, crisp edges.
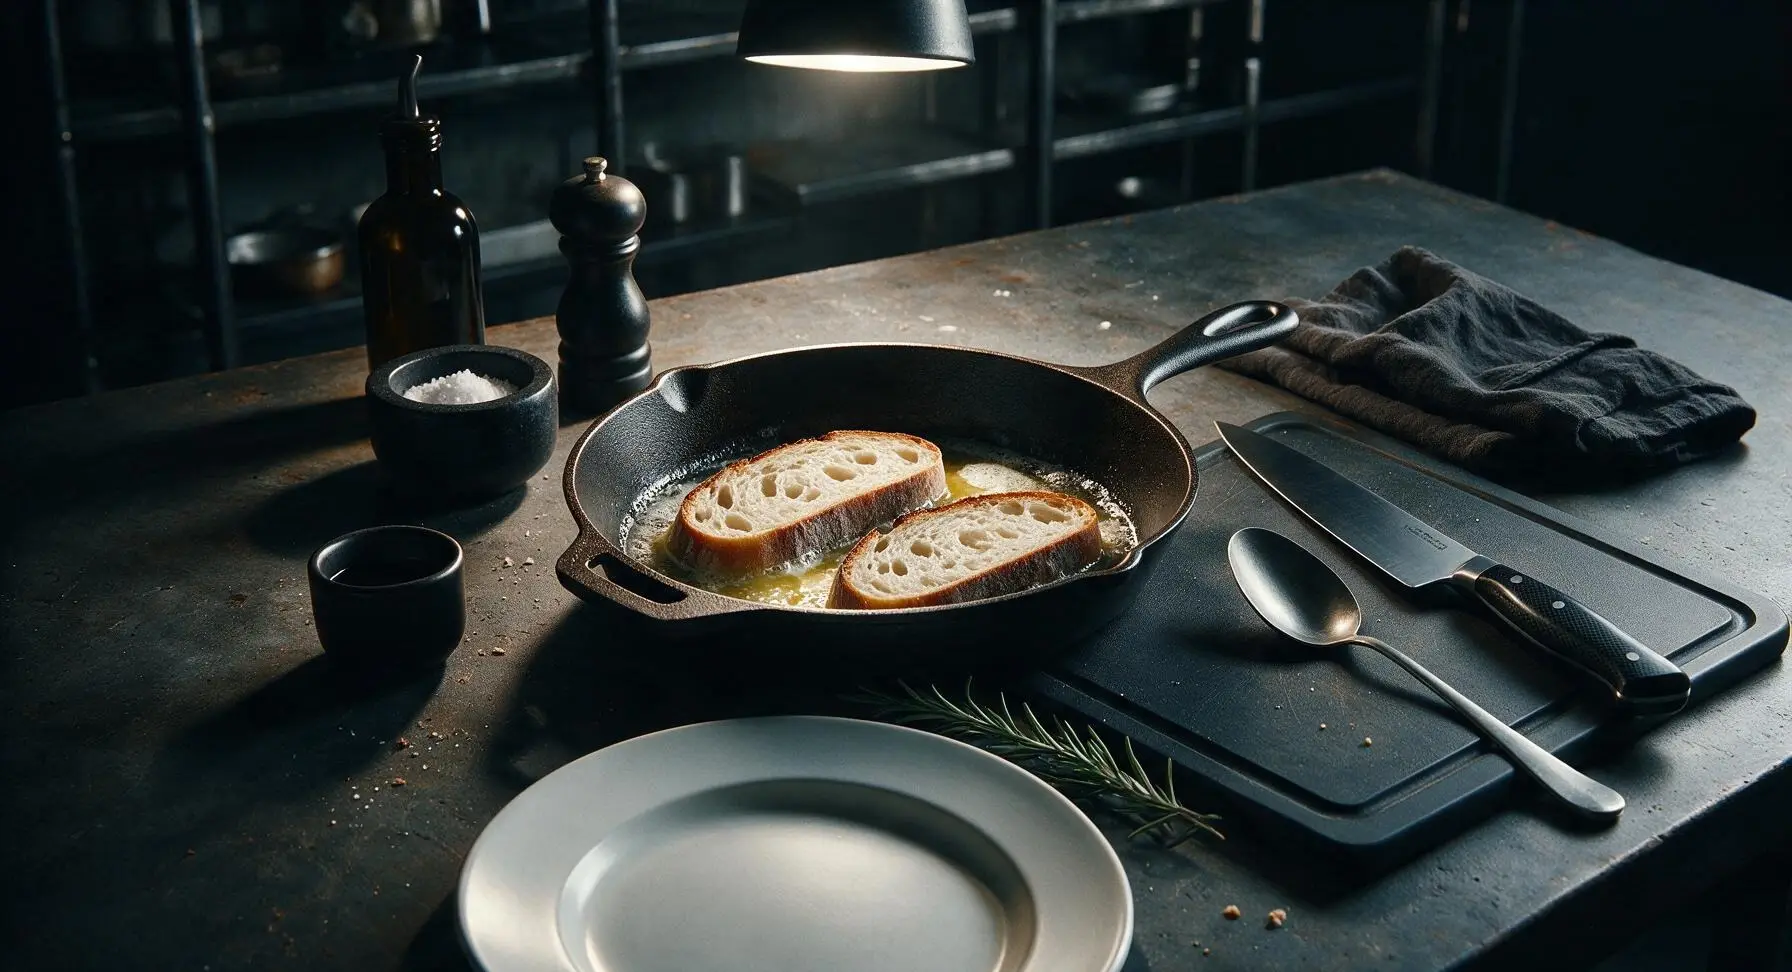
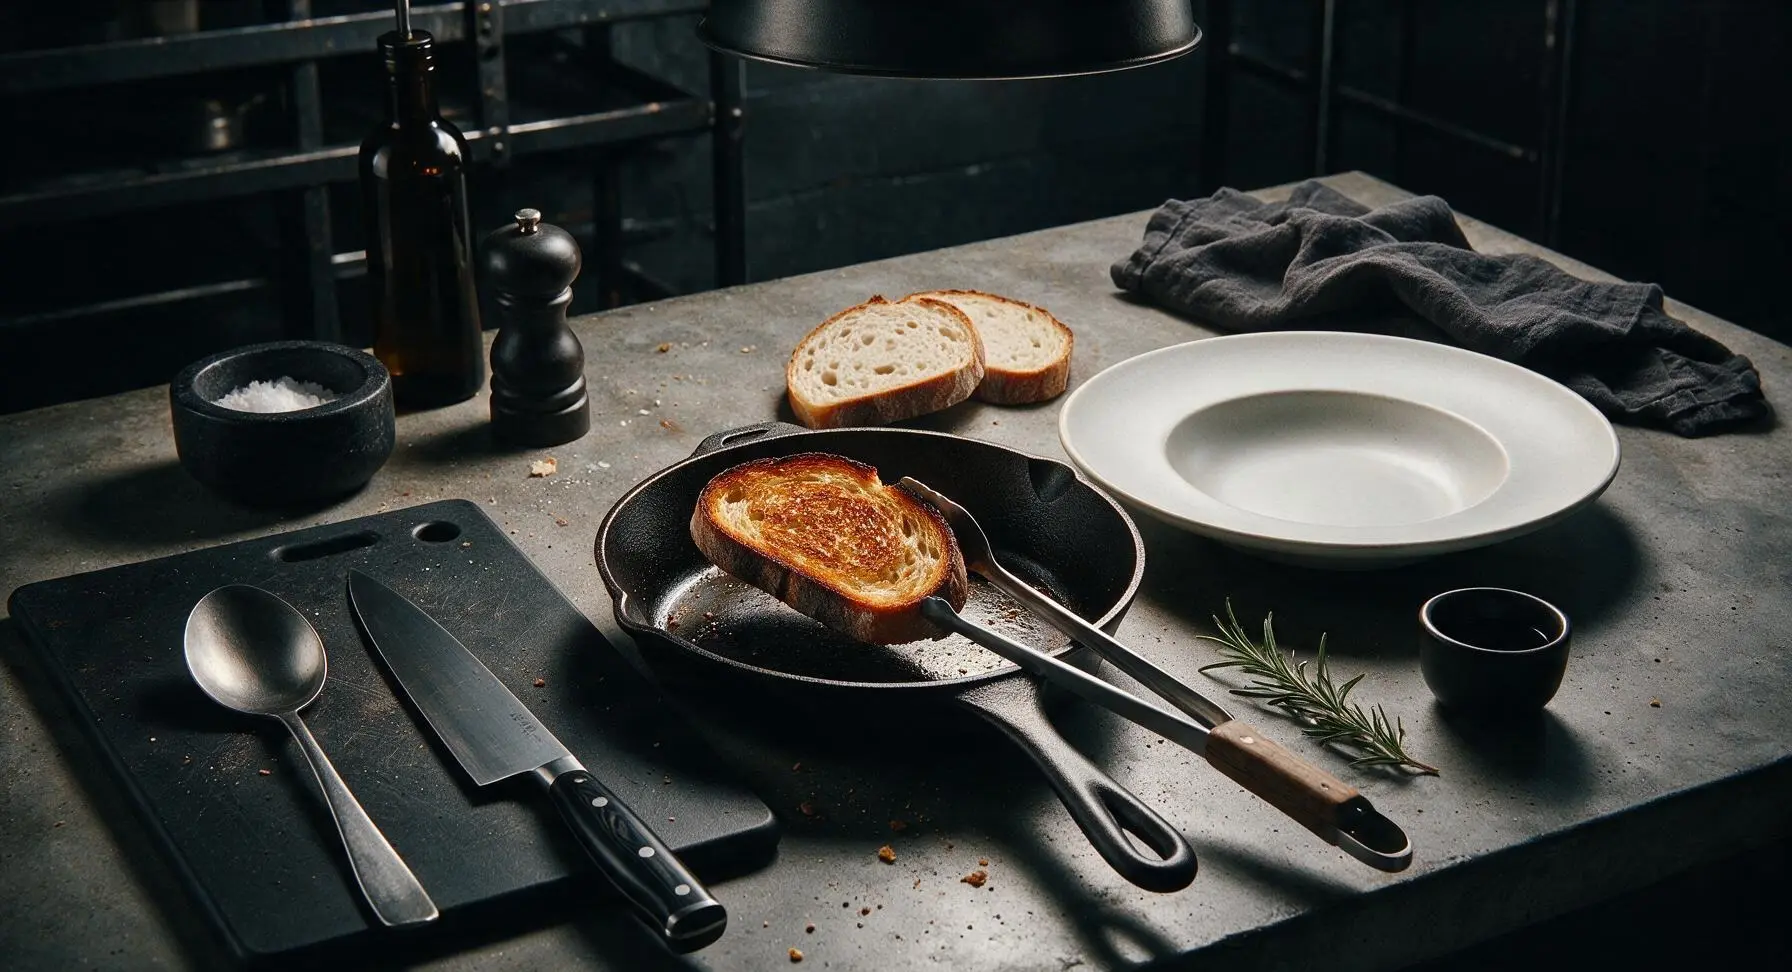
Step 4
step4:Toast First Bread Side
Step 4
step4:Toast First Bread Side
5

Flip and Toast Second Side

Use the stainless steel tongs to flip both bread slices to their uncooked second side. Cook for another 1.5 to 2 minutes, until the second side matches the first in even golden color, and the entire slice feels firm and crisp when tapped gently with the tongs, with no soft, doughy give in the center. Turn heat down to low if the bread is browning faster than 1.5 minutes, to avoid burning before the center crisps.
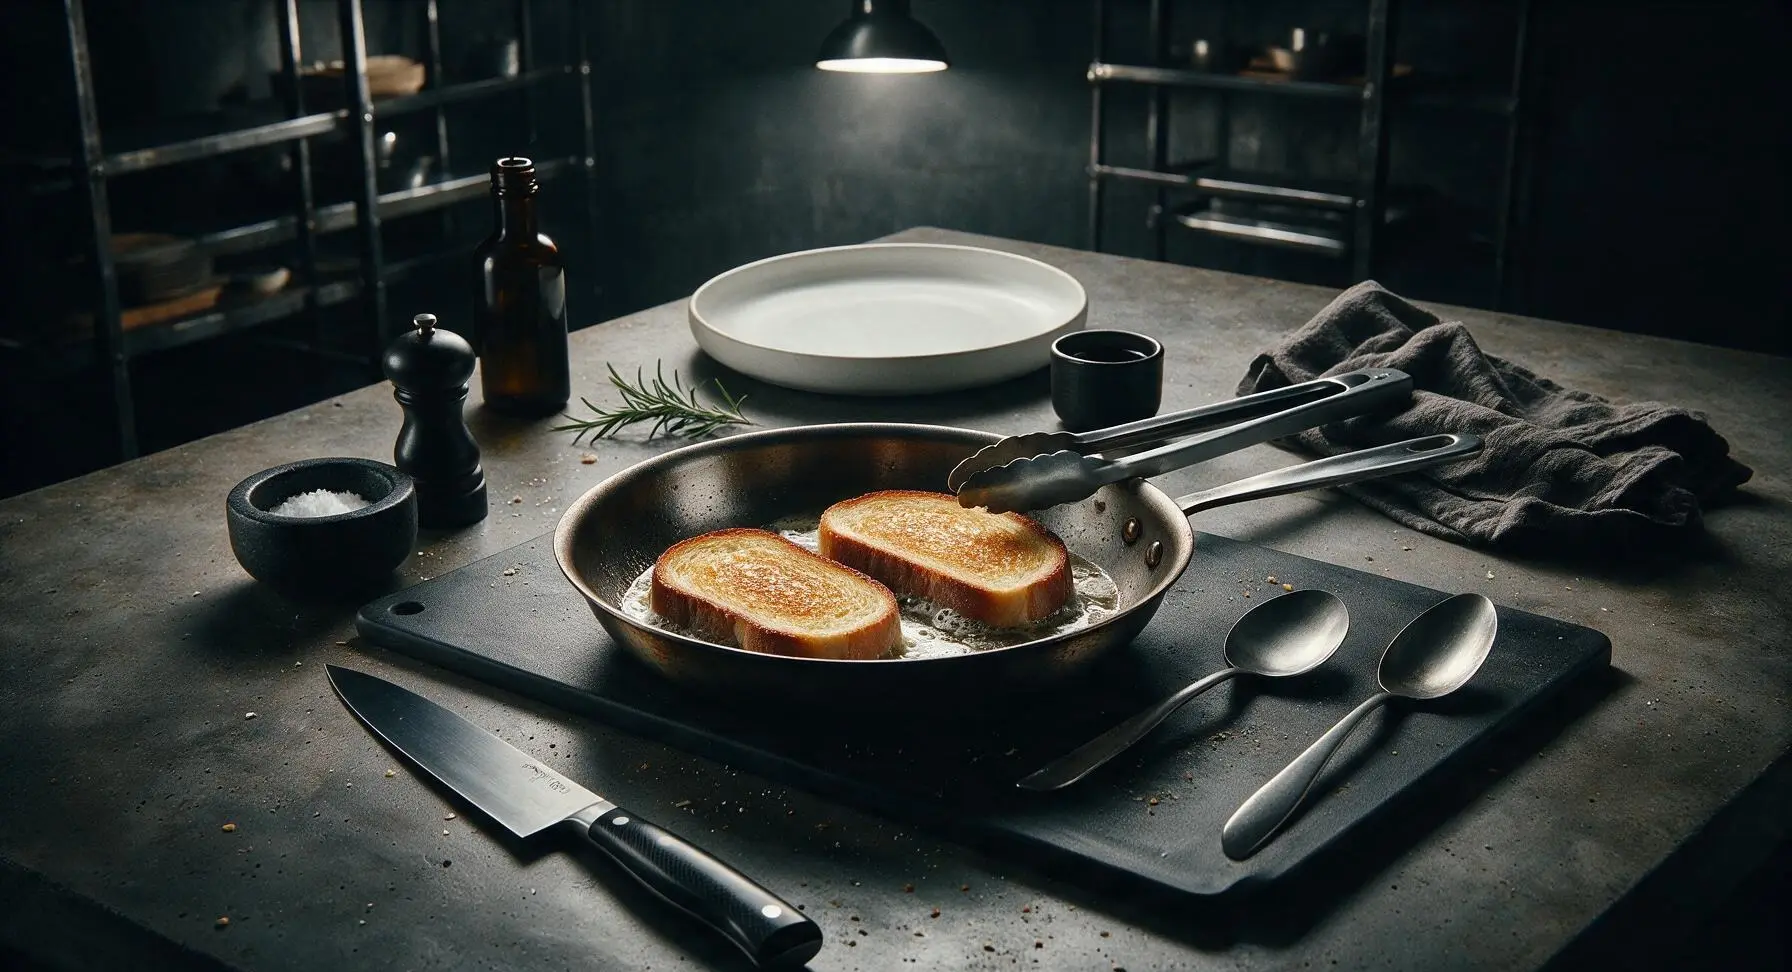
Step 5
step5:Flip and Toast Second Side
6

Season and Rest Toast

Once both sides are evenly crisp and golden, use tongs to lift the first two toast slices out of the pan and onto the matte off-white ceramic dinner plate. Immediately sprinkle a tiny pinch of flaky sea salt across the surface of the hot toast, so the salt sticks to the melted butter. Repeat the toasting process with the remaining 2 bread slices, adding a tiny 1/4 tsp pat of butter to the pan if the surface looks dry. Let finished toast rest for 30 seconds before serving to let the crust set, preventing sogginess when toppings are added.
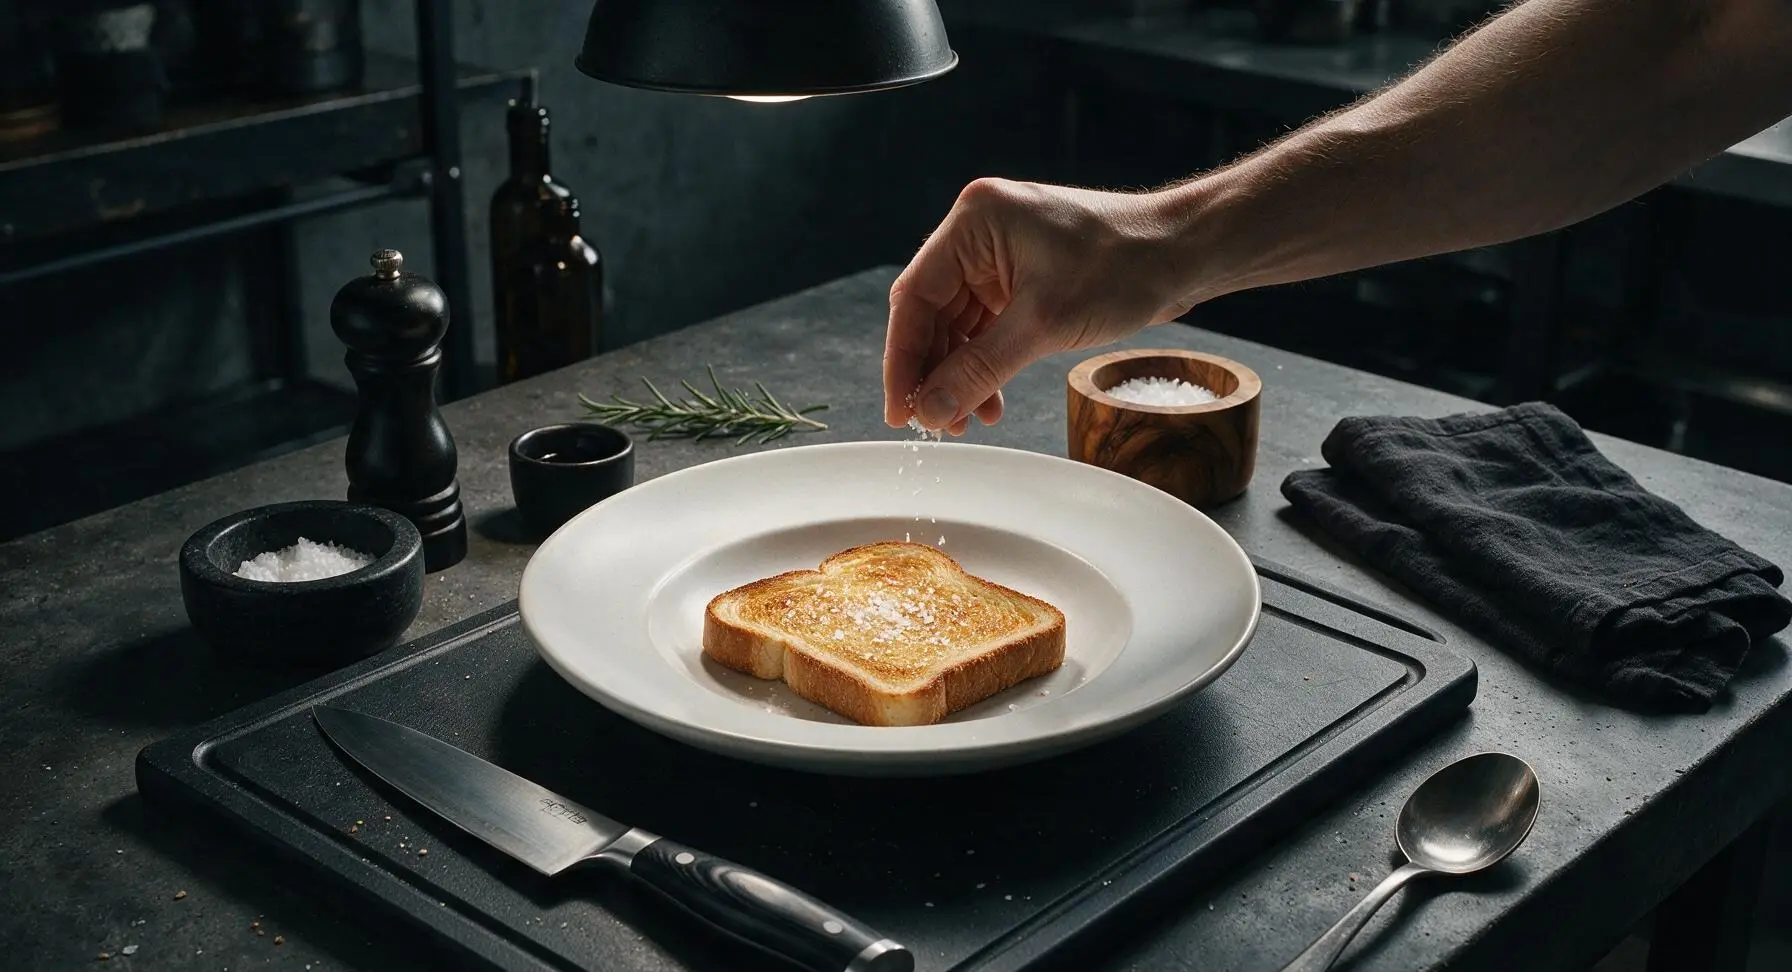
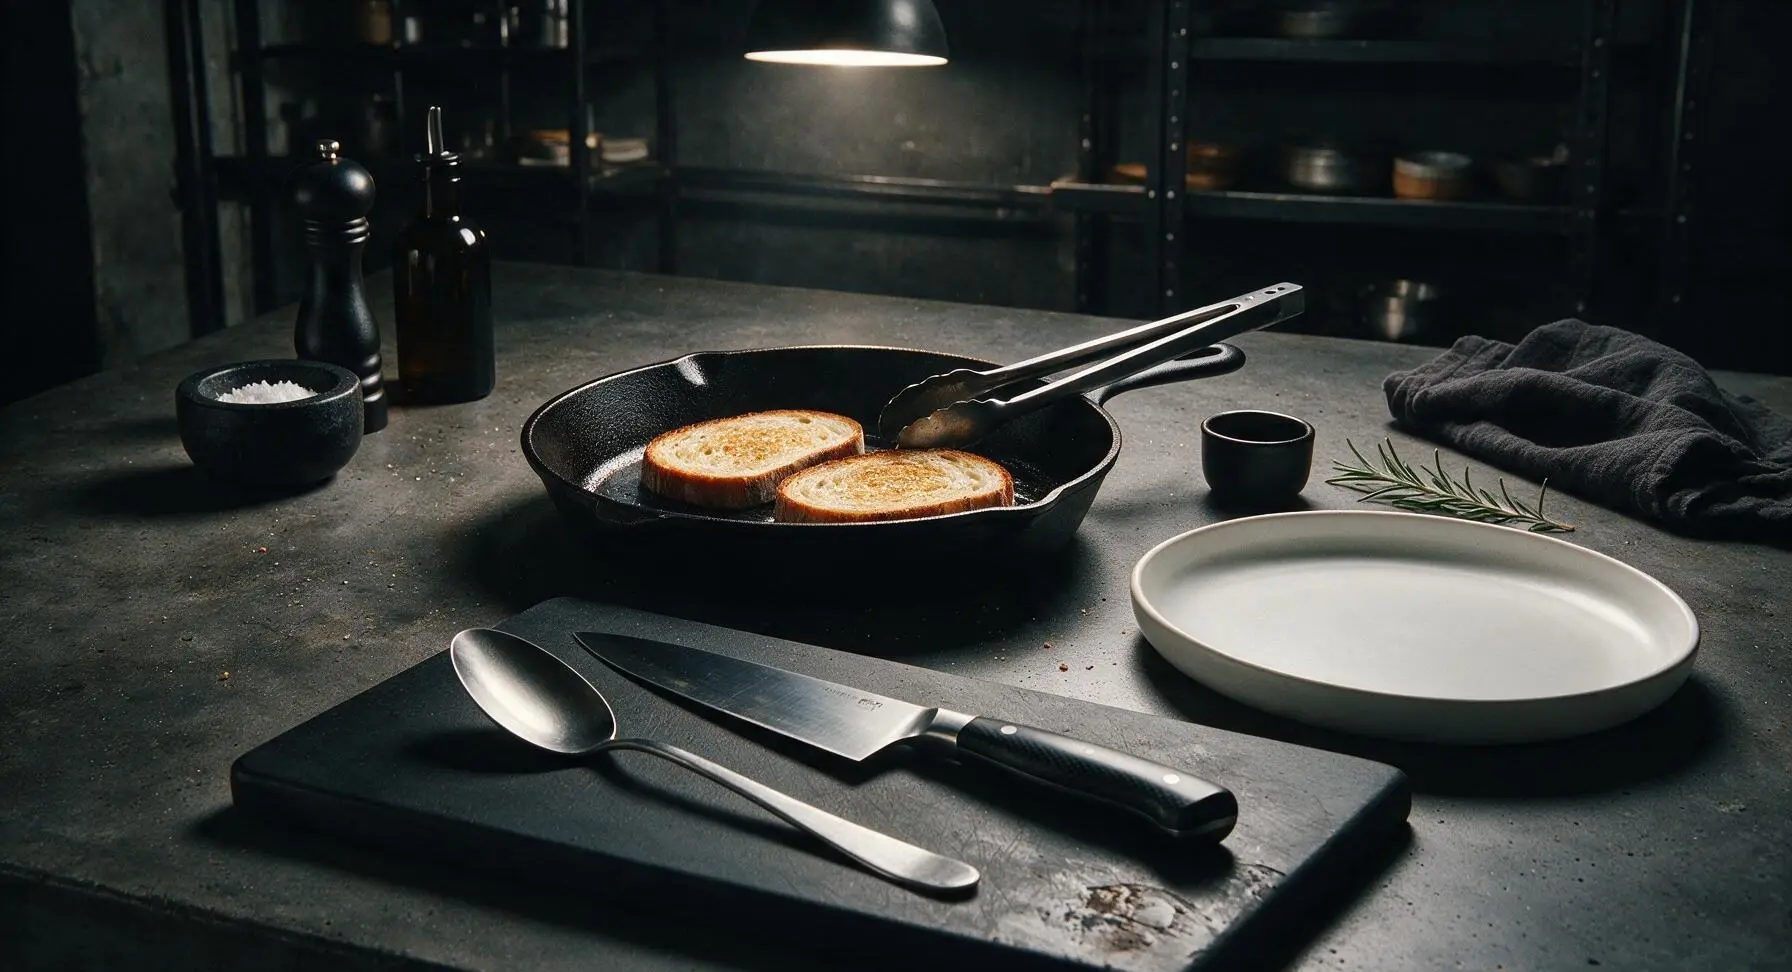
Step 6
step6:Season and Rest Toast
Step 6
step6:Season and Rest Toast
7

Plate Finished Toast

Once all four slices are fully toasted, arrange them in a slightly overlapping fan on the off-white ceramic plate. Tuck one small sprig of fresh thyme from the bunch behind the olive oil bottle as a subtle, aromatic garnish, if desired. Serve immediately while hot and crisp, paired with butter, jam, smashed avocado, fried eggs, or your favorite toast toppings.
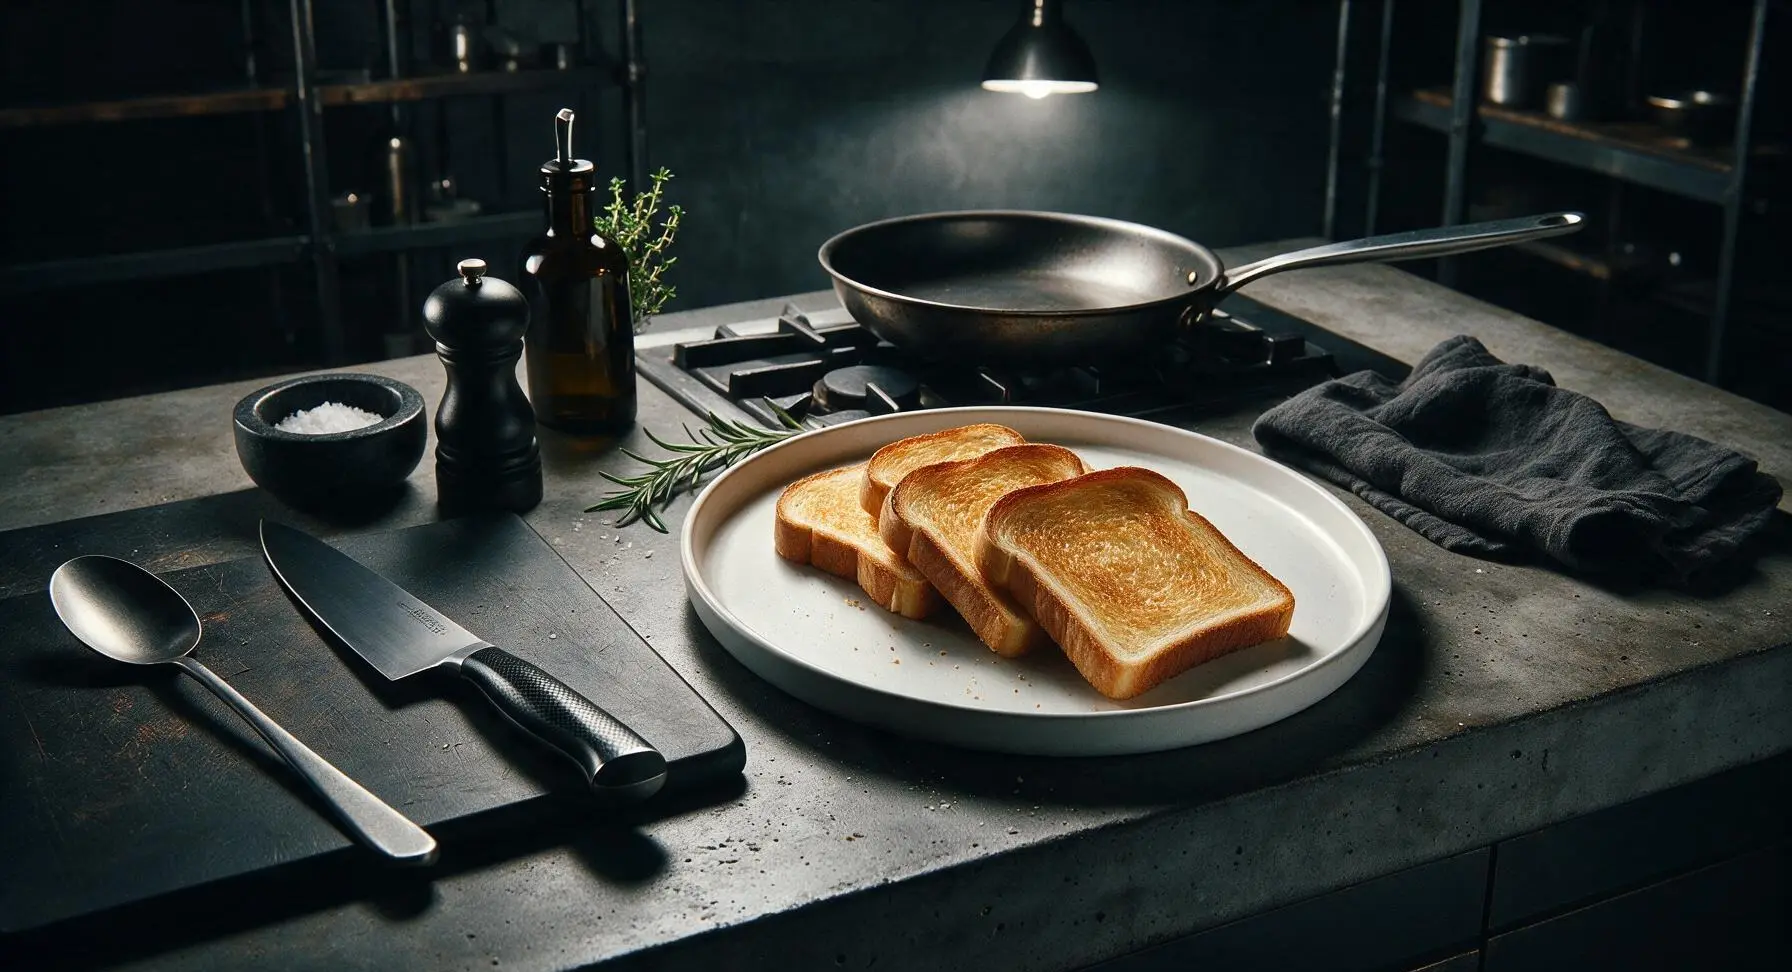
Step 7
step7:Plate Finished Toast

Tips

1.Skip high heat to speed up cooking: Bread chars in seconds at high heat, which will burn the outer edges before the interior moisture evaporates to create a crisp texture, leading to bitter, burnt crusts and soft, doughy centers. Medium-low heat delivers even, golden browning every time.
2.Use a butter-olive oil blend instead of pure butter: Butter adds rich, nutty flavor but has a low 350°F smoke point that burns easily, creating bitter off-notes. Olive oil raises the mixture’s smoke point to 400°F, preventing burning without masking the butter taste.
3.Never overcrowd the pan: Toasting a maximum of 2 slices at a time in a 10-inch skillet leaves space for hot air to circulate around the bread. Overcrowding traps steam, which makes toast soggy and limp instead of crisp. Use a smaller pan? Toast 1 slice at a time for best results.


✨ You May Also Like

Breakfast
🍜 United States

Crisp-edged, fluffy lard griddle cakes are a nostalgic homestyle staple, with rich savoriness from rendered lard, perfect topped with maple syrup or savory gravy.

⏱️ 25 minuteBreakfast ★ 4.8
Breakfast
🍜 United States

Flaky, buttery homemade buttermilk biscuits smothered in creamy, peppery pork sausage gravy: a beloved, hearty Southern American comfort food classic.

⏱️ 35 minuteBreakfast ★ 4.8
Breakfast
🍜 United States

Golden, custardy brioche stuffed with sweet cream cheese and fresh berries, pan-fried to crisp perfection. An indulgent, cozy breakfast perfect for slow weekend mornings.

⏱️ 30 minuteBreakfast ★ 4.7
Breakfast
🍜 United States

Flaky, buttery Southern-style biscuits stuffed with savory salty country ham, a portable, satisfying classic perfect for casual on-the-go meals.

⏱️ 25 minuteBreakfast ★ 4.8
Breakfast
🍜 United States

Iconic puffy baked pancake popularized in Seattle, with crisp golden edges and soft custardy center, served warm with classic sweet toppings.

⏱️ 35 minuteBreakfast ★ 4.6
Breakfast
🍜 United States

Fluffy, golden pancakes studded with juicy peak-summer mixed berries, drizzled with maple syrup for a bright, comforting, crowd-pleasing family breakfast.

⏱️ 25 minuteBreakfast ★ 4.7

make toast without toaster:Frequently Asked Questions

1.What type of bread works best for this stovetop toast method, and can I use regular thin sandwich bread instead of thick-cut sourdough? ▾
Thick-cut sourdough is my top pick because its sturdy, open crumb holds up to butter and oil without getting soggy, and develops that shatteringly crisp crust no toaster can match. You can absolutely use thin sandwich bread—just turn the heat slightly lower and cut cook time by 30 seconds per side to avoid burning before it crisps evenly.
2.Do I really need to use both unsalted butter and extra-virgin olive oil, or can I use just one? ▾
Using both gives you the best of both worlds: butter adds that rich, nutty, cozy flavor everyone loves on toast, while olive oil raises the smoke point so the butter doesn’t burn quickly over medium heat. If you only have one, use olive oil for better heat tolerance, or butter over slightly lower heat, watching closely to avoid scorching.
3.What stovetop heat setting should I use to get even golden toast without random burnt spots? ▾
Stick to medium-low to medium heat, and never crank it to high! High heat will char the outside of the bread before the center crisps up, leaving you with chewy, raw spots under blackened edges. Preheat your pan for 1 full minute first, so the bread starts crisping the second it hits the surface to avoid sogginess.
4.How long does stovetop toast take to make from start to finish? ▾
Perfect, evenly crisp stovetop toast only takes 3 to 4 minutes total, which is just as fast as a standard pop-up toaster. Cook the first side for 1.5 to 2 minutes until deep golden, then flip and cook the second side for 1 to 1.5 minutes. If you love extra-crunchy toast, add 30 seconds per side, checking frequently to avoid burning.
5.Can I use salted butter instead of unsalted butter if that’s what I already have in my fridge? ▾
Absolutely, just adjust the finishing flaky sea salt accordingly. Salted butter has varying amounts of added salt depending on the brand, so hold off on the extra salt sprinkle at first, then taste your toast right after cooking. Add a light pinch of flaky salt only if it feels like it needs a little extra savory kick to avoid over-salting.
6.What kind of pan works best for this method? Do I need a cast iron skillet? ▾
A heavy-bottomed cast iron or stainless steel skillet works best because it distributes heat super evenly, eliminating the hot spots that cause splotchy, uneven browning. Non-stick skillets work perfectly too—just use a silicone or wood spatula to flip your bread so you don’t scratch the non-stick coating. No fancy specialty gear is required.
7.Why does my stovetop toast turn out soggy instead of crisp, and how do I fix that? ▾
Soggy stovetop toast almost always traces back to two common mistakes: your pan wasn’t fully preheated, so the bread soaked up fat instead of searing, or you used too much butter and oil. You only need a thin, even coating of fat—about 1 teaspoon total per slice—and a fully preheated pan to get that immediate, crisp sear.
8.Should I spread butter directly on the bread, or melt it in the pan first? ▾
Melt your mixed butter and olive oil directly in the preheated pan first, then swirl to coat the surface evenly before adding your bread. This creates a uniform, thin fat layer that covers every spot on the bread slice, so you don’t end up with dry, unbuttered patches or soggy, over-buttered spots from spreading cold butter on raw bread.
9.Can I add extra toppings like cinnamon sugar or garlic to this toast while it cooks? ▾
Absolutely! For sweet cinnamon toast, sprinkle cinnamon sugar on the buttered side of the bread right after you set it in the pan, so the sugar melts into the crust instead of falling off. For savory garlic toast, rub a cut garlic clove over the hot toast the second it comes off the pan, then top with flaky sea salt for bright, bold flavor.

Comments (11)

30 minutes ago

OMG my toaster broke this morning right as I was rushing out for work and I thought I’d have to eat plain bread for breakfast! Tried this stovetop method and my sourdough toast came out even crispier than it does in my old toaster? Game changer, I might do this even when my toaster gets fixed lmao.

5 minutes ago

Right?! I thought I was crazy for preferring stovetop toast even after I replaced my broken toaster, it gets that perfect buttery crisp edge you just can’t get from a pop-up toaster!

just now

So glad this saved your busy morning! A tiny pat of butter on each side before toasting really does take that crisp factor to the next level, we’re right there with you on making this even after the toaster works again.

2 days ago

Tried this for camping breakfast last weekend when we forgot our camp toaster, worked like a charm! We made a whole stack for the guys on our fishing trip, everyone was raving about how evenly the bread browned. No more burnt spots from holding it over the fire with a stick, ha.

yesterday

Love that this worked for your camping trip! If you’re making a big batch, keeping the skillet on medium-low heat and giving each slice 30 seconds extra on the second side helps keep every piece consistent, no burnt edges.

yesterday

My kids loved it! I usually fight with our toaster because it either burns the frozen waffles or leaves the bread completely soggy, but this method lets me keep an eye on it the whole time. Made egg and cheese toast sandwiches for after school snacks yesterday and not a single crumb left on the plates. SO good.

3 days ago

Wait, do you need to use oil or butter for this? I’m trying to keep it low fat for my meal prep, would dry toasting on the pan work without sticking?

2 days ago

I do dry toast all the time! Just make sure your pan is well-seasoned if it’s cast iron, or use a nonstick skillet, no oil needed and it gets just as crispy. I do it for my avocado toast every morning.

2 days ago

Great question! Dry toasting absolutely works on a nonstick or well-seasoned cast iron pan over medium-low heat — just give the pan a quick wipe with a paper towel first if there’s leftover food residue from earlier cooking to prevent sticking.

1 week ago

This is exactly how my grandma used to make toast back in the 50s! She’d always melt a little cinnamon sugar on top right as it finished toasting, and it smelled like the whole house was a bakery. So happy I found this tutorial, it tastes exactly like childhood.

5 days ago

I still make mine this way at 82! People think I’m odd for not owning a toaster, but why waste the counter space when a cast iron skillet does a better job? That cinnamon sugar trick is unbeatable, by the way.

5 minutes ago

I bring a tiny portable skillet on all my backcountry hikes now just for this! Way lighter than packing a bulky camp toaster, and I can make toast to go with my trail eggs in 2 minutes flat. Total game changer for quick trail meals.

2 hours ago

Wait a second, I’ve been eating sad microwave bread at my desk for months because our office kitchen doesn’t have a toaster? I’m definitely bringing a small nonstick pan to keep in the office cabinet to make this for quick lunch toast. Will this work on those tiny electric hot plates we have?

30 minutes ago

It works perfectly on electric hot plates! Just keep the heat on medium instead of high, since those small plates tend to run hotter than full-size stovetop burners, and you’ll get perfect toast every time. Great office meal prep hack!

5 days ago

Pro tip from someone who’s made stovetop toast for 60+ years: if you like your toast extra crispy, turn the heat down just a touch and cook it for 10 seconds longer per side instead of cranking the heat up. High heat burns the outside before the inside gets that perfect crunch. You’re welcome!

3 days ago

Thank you for this tip! I kept burning my first few tries because I had the heat too high, I thought I was just bad at this. Turned it down and it came out perfect on the first go after reading this.

3 days ago

This is such a great pro tip, thank you for sharing! Low and slow really is the secret to evenly crisp toast without the bitter burnt edges — we might have to add this note to the recipe itself!

2 days ago

Made this to go with my pozole last night for a little potluck with my roommates, and everyone was asking how I got the toast so buttery and crispy! Used a little garlic salt on the slices while they cooked and it was chef’s kiss. 10/10, way better than regular toaster toast.

just now

My studio apartment is so tiny I don’t have counter space for a single extra appliance, so this recipe was made for me! I’ve been putting off buying a toaster for months because I literally have nowhere to put it, and this method works so well I don’t even need one. Total space saver.

just now

Same! My apartment kitchen is the size of a closet, I got rid of my toaster last year and haven’t missed it once since I started making stovetop toast. It frees up so much room for my coffee maker which is way more important, tbh.

2 weeks ago

Wait, has anyone tried this with thicker cut bread like brioche or Texas toast? I want to make this for French toast sticks this weekend but wasn’t sure if the stovetop method would handle the thicker slices without being raw in the middle.

1 week ago

I did Texas toast on this last week for cheeseburger night! Just keep the heat a little lower and give it an extra minute per side, comes out perfectly crispy on the outside, no raw middle at all. Held up great to my burger patties too.

1 week ago

Thicker slices work beautifully! As mentioned, lower heat and an extra 30-60 seconds per side is all you need — we love making brioche toast this way topped with jam for weekend brunch, it’s so much richer than toaster-made brioche.



