
making bacon in the oven
intro
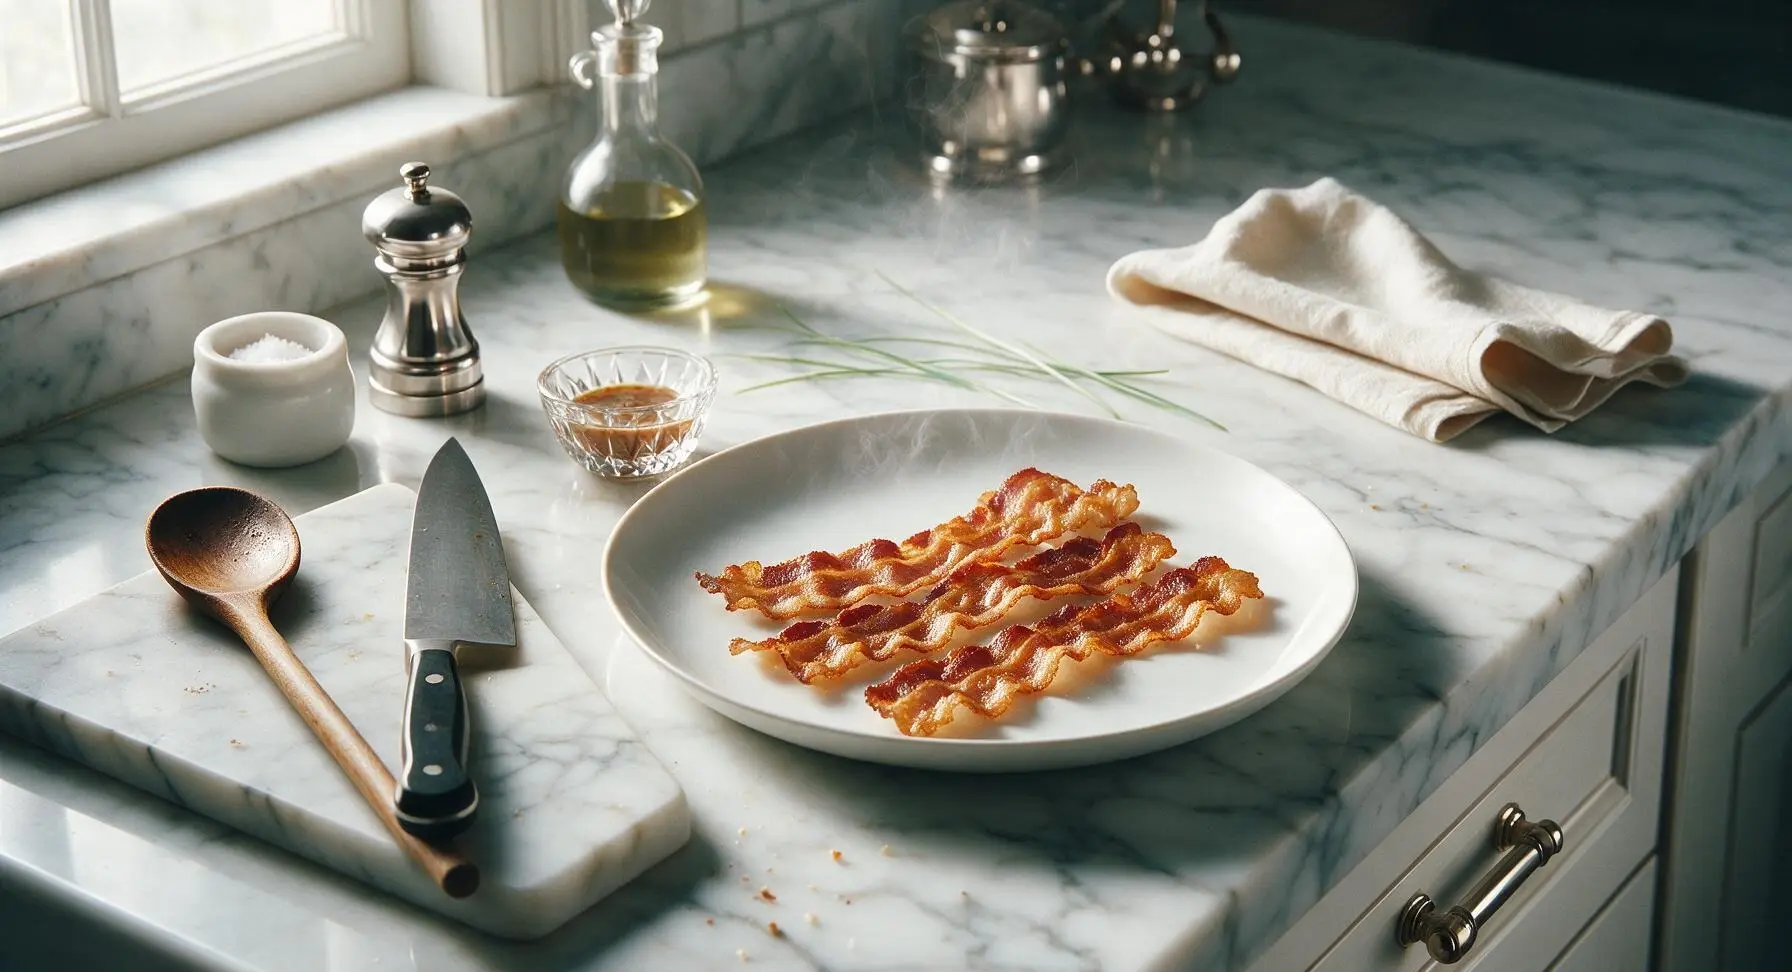
Evenly rendered, perfectly crisp oven bacon with zero stovetop splatter, no constant flipping required—ideal for breakfast, sandwiches, or quick weeknight meal toppings.
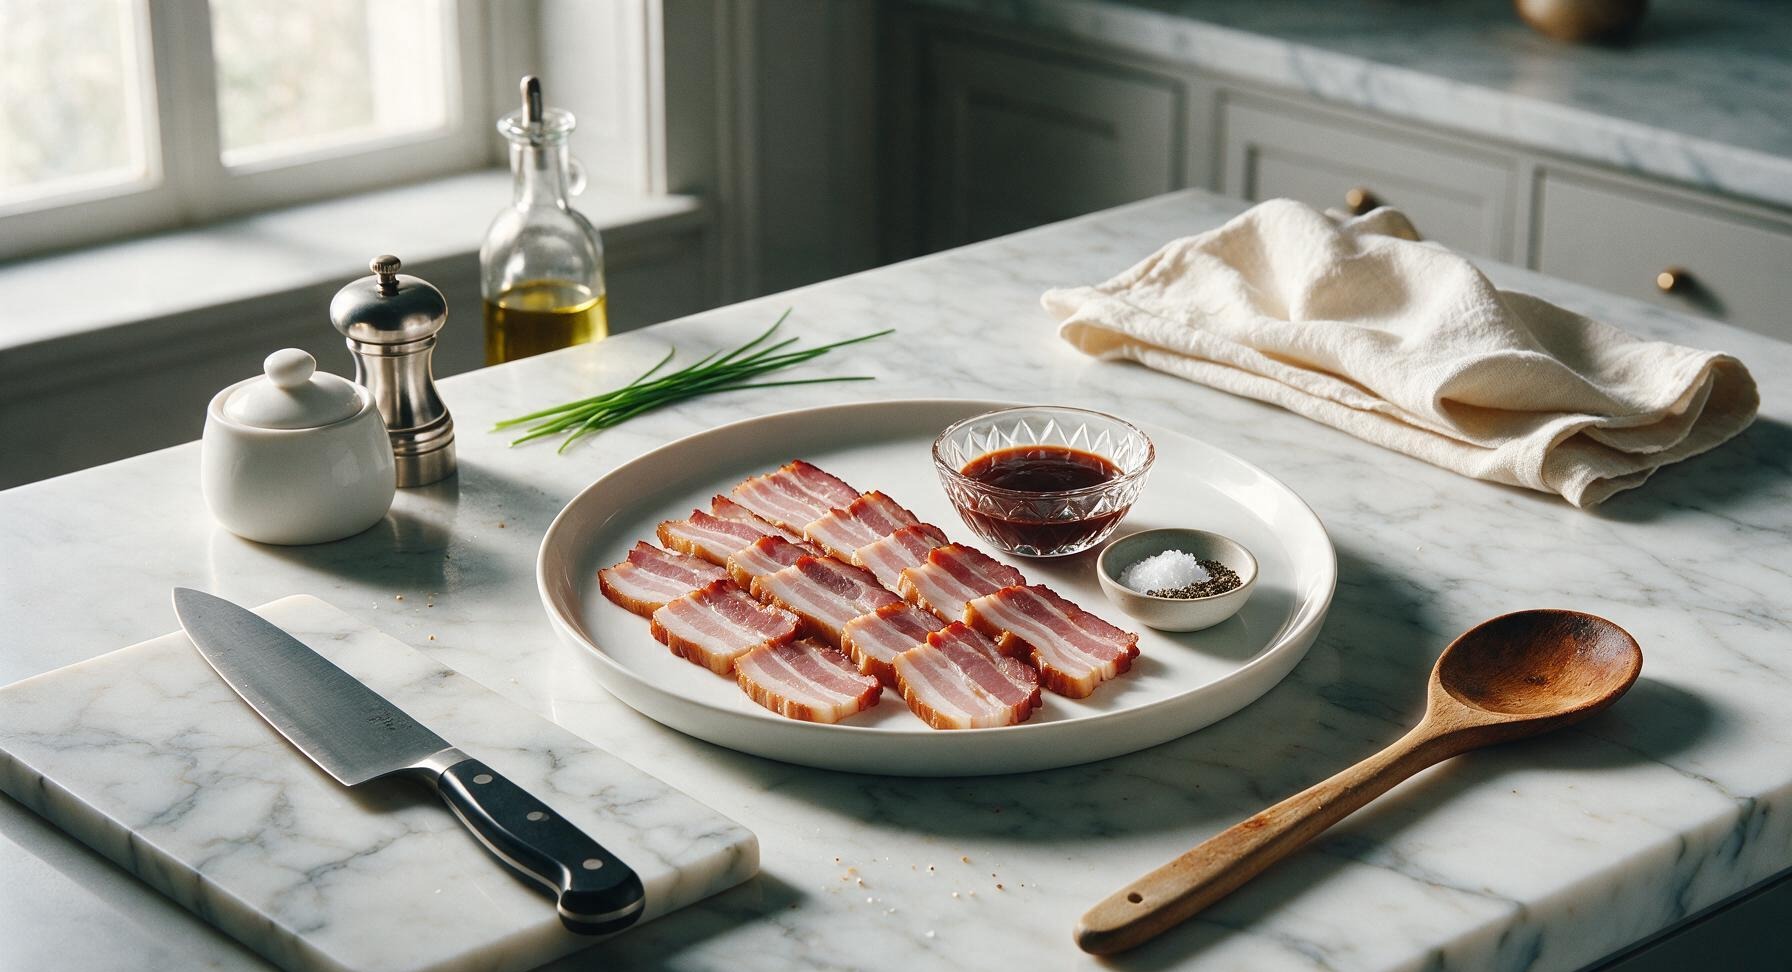
Ingredients
Steps
Prep Pan and Preheat Oven
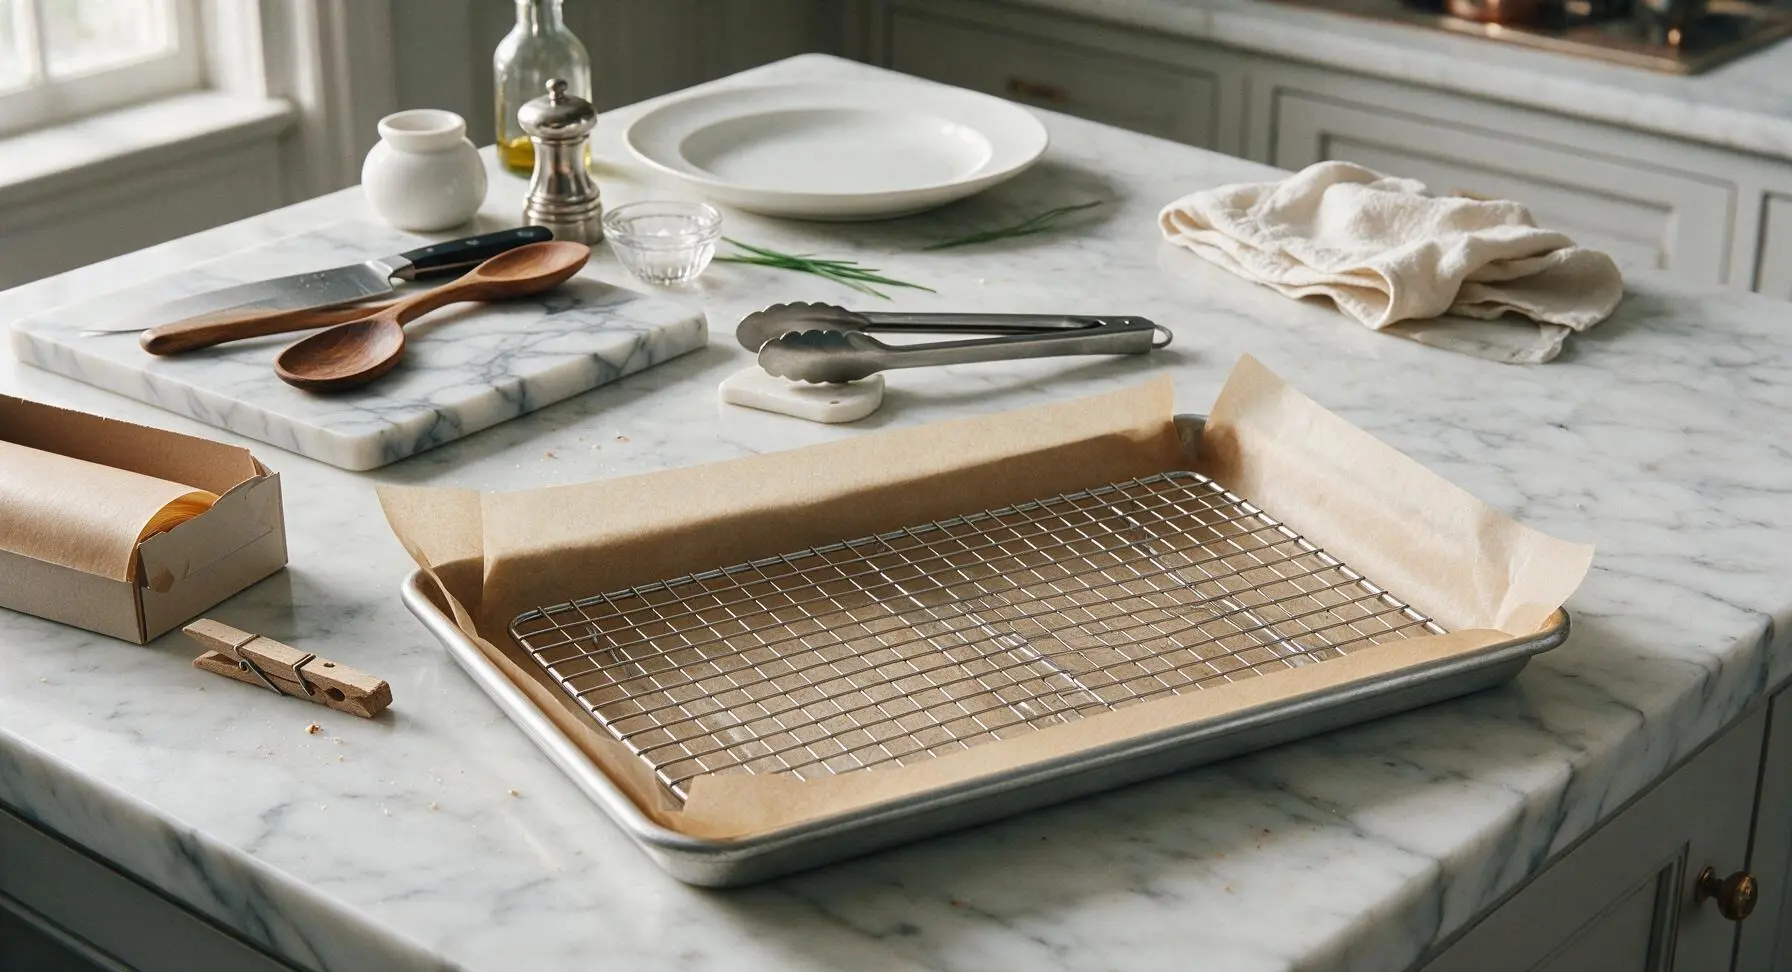
Adjust oven rack to the middle position, then preheat oven to 400°F (200°C). Line the half-sheet aluminum baking pan with a single sheet of unbleached parchment paper (or aluminum foil for even easier cleanup), leaving a 1-inch overhang on the long edges to catch rendered grease. Place the chrome wire cooling rack inside the lined pan, ensuring it sits flat with no wobbly edges. No cooking spray is required, as bacon fat will prevent sticking.
Arrange Bacon Slices
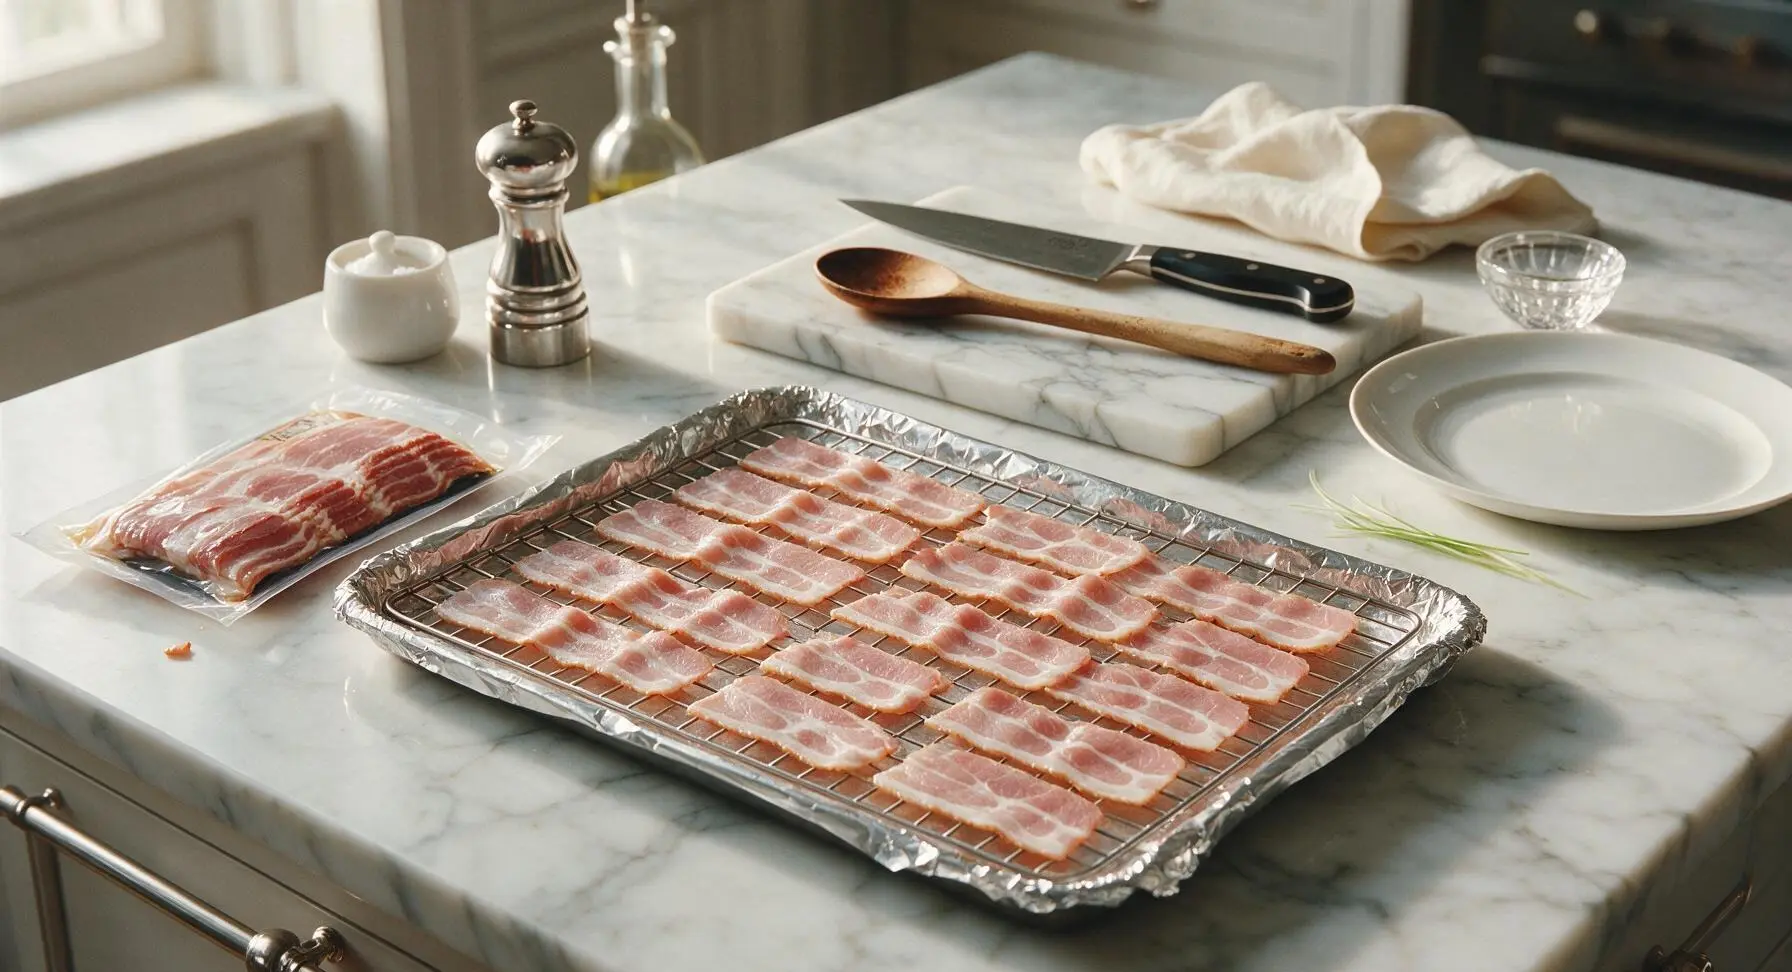
Remove bacon slices from the package, laying them in a single even layer across the wire rack on the prepared pan. Do not overlap slices, as this will cause uneven cooking and chewy, under-rendered sections. Leave a 1/4-inch gap between each slice to allow hot air to circulate fully around every piece. If using optional salt and pepper, sprinkle lightly over the top of the bacon slices now.
Bake for First 12 Minutes
Carefully transfer the prepared pan with bacon to the preheated middle oven rack. Close the oven door and bake for 12 minutes at 400°F (200°C). Do not open the oven door during this initial cooking period, as this will drop the oven temperature and slow fat rendering. The bacon will begin to turn opaque and release clear, golden fat into the bottom of the pan during this stage.
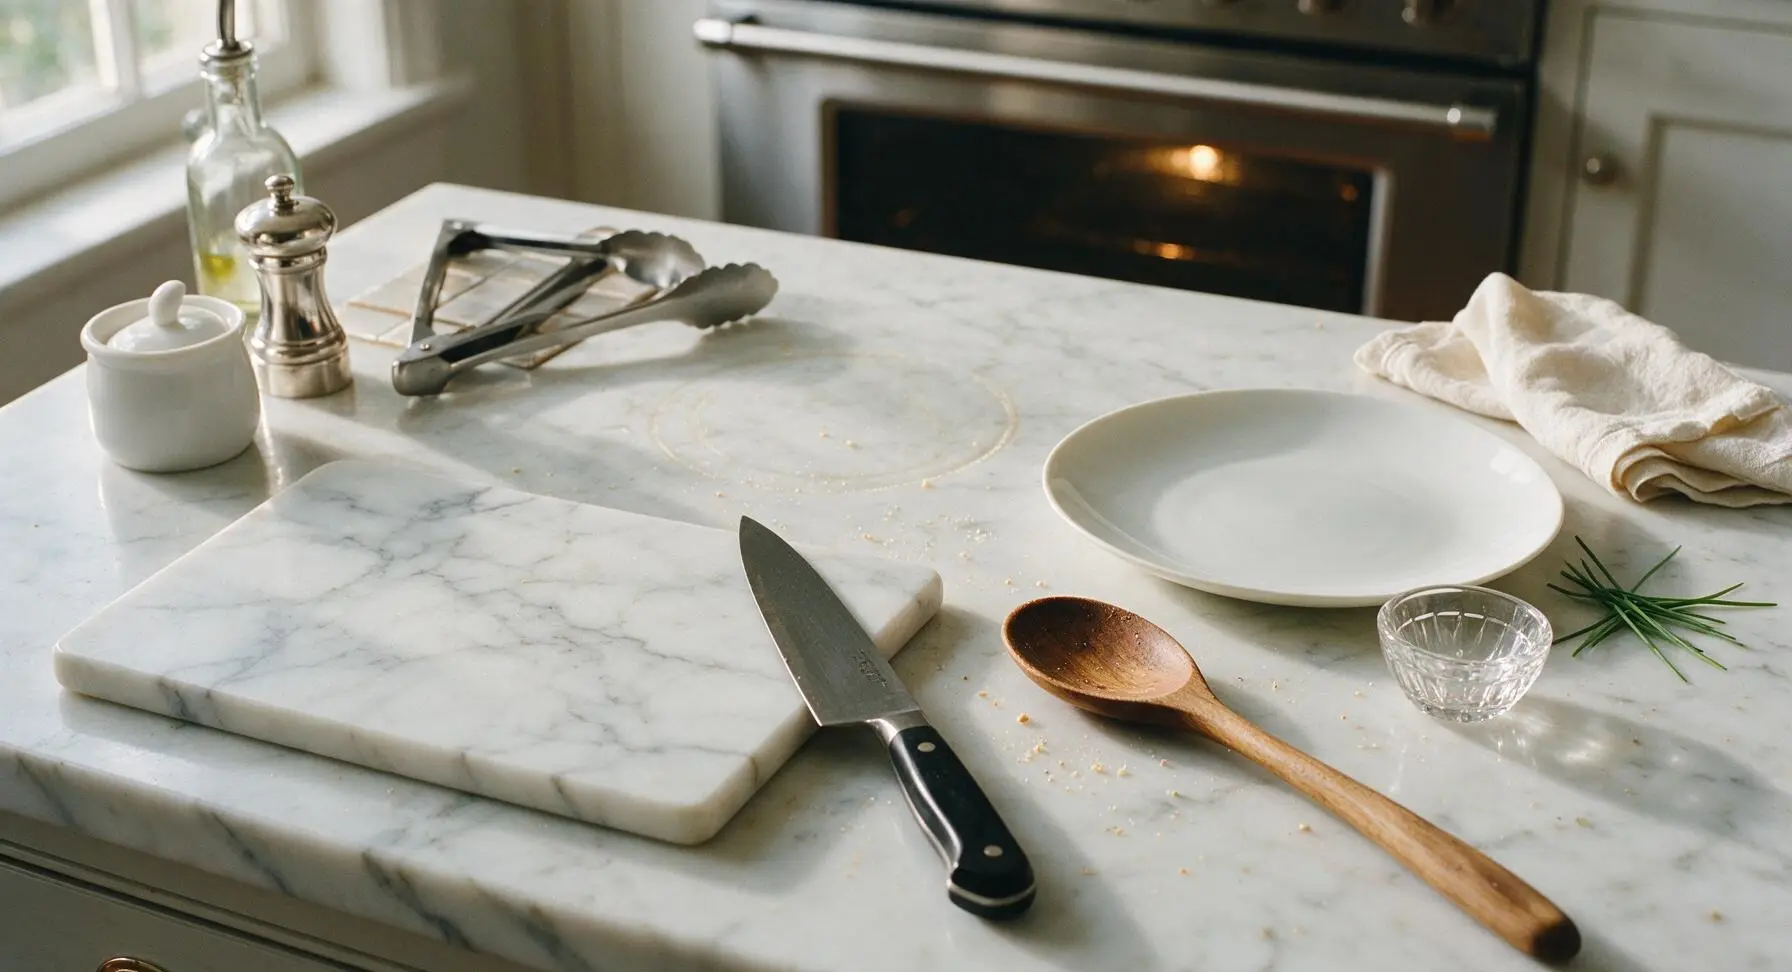
Rotate Pan for Even Cooking
After 12 minutes, open the oven door and pull the rack out slightly. Use the stainless steel tongs to gently nudge the bacon slices to check rendering; the fat will be bubbling gently, and the edges will just start to turn golden. Rotate the pan 180 degrees to account for any hot spots in your oven, which prevents some slices from burning while others stay undercooked. Do not flip the bacon at this stage.

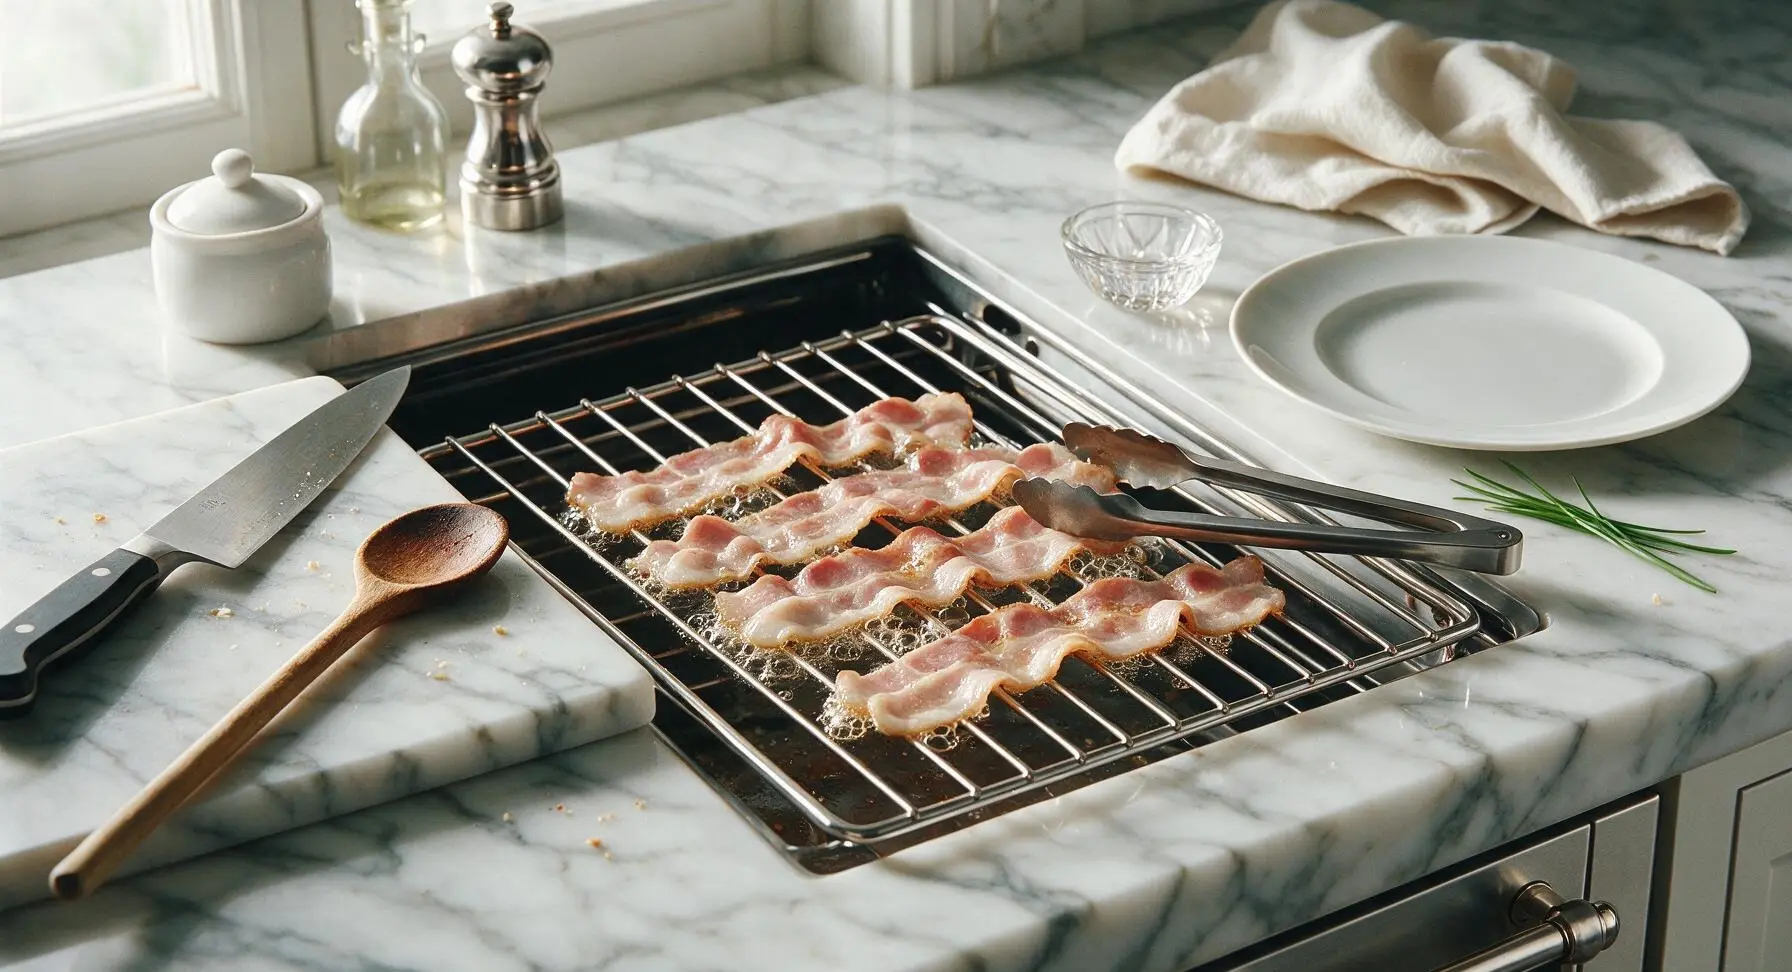
Bake to Desired Crispness
Push the pan back into the oven, close the door, and bake for an additional 4 to 8 minutes, depending on your preferred crispness: 4 minutes for chewy, tender bacon, 6 minutes for classic crisp, 8 minutes for extra-crispy, shatteringly crisp bacon. Watch closely during the final 2 minutes, as bacon can burn very quickly once fat is fully rendered. The bacon is done when it is deep golden amber across the meaty sections, with no remaining pale, soft raw fat.
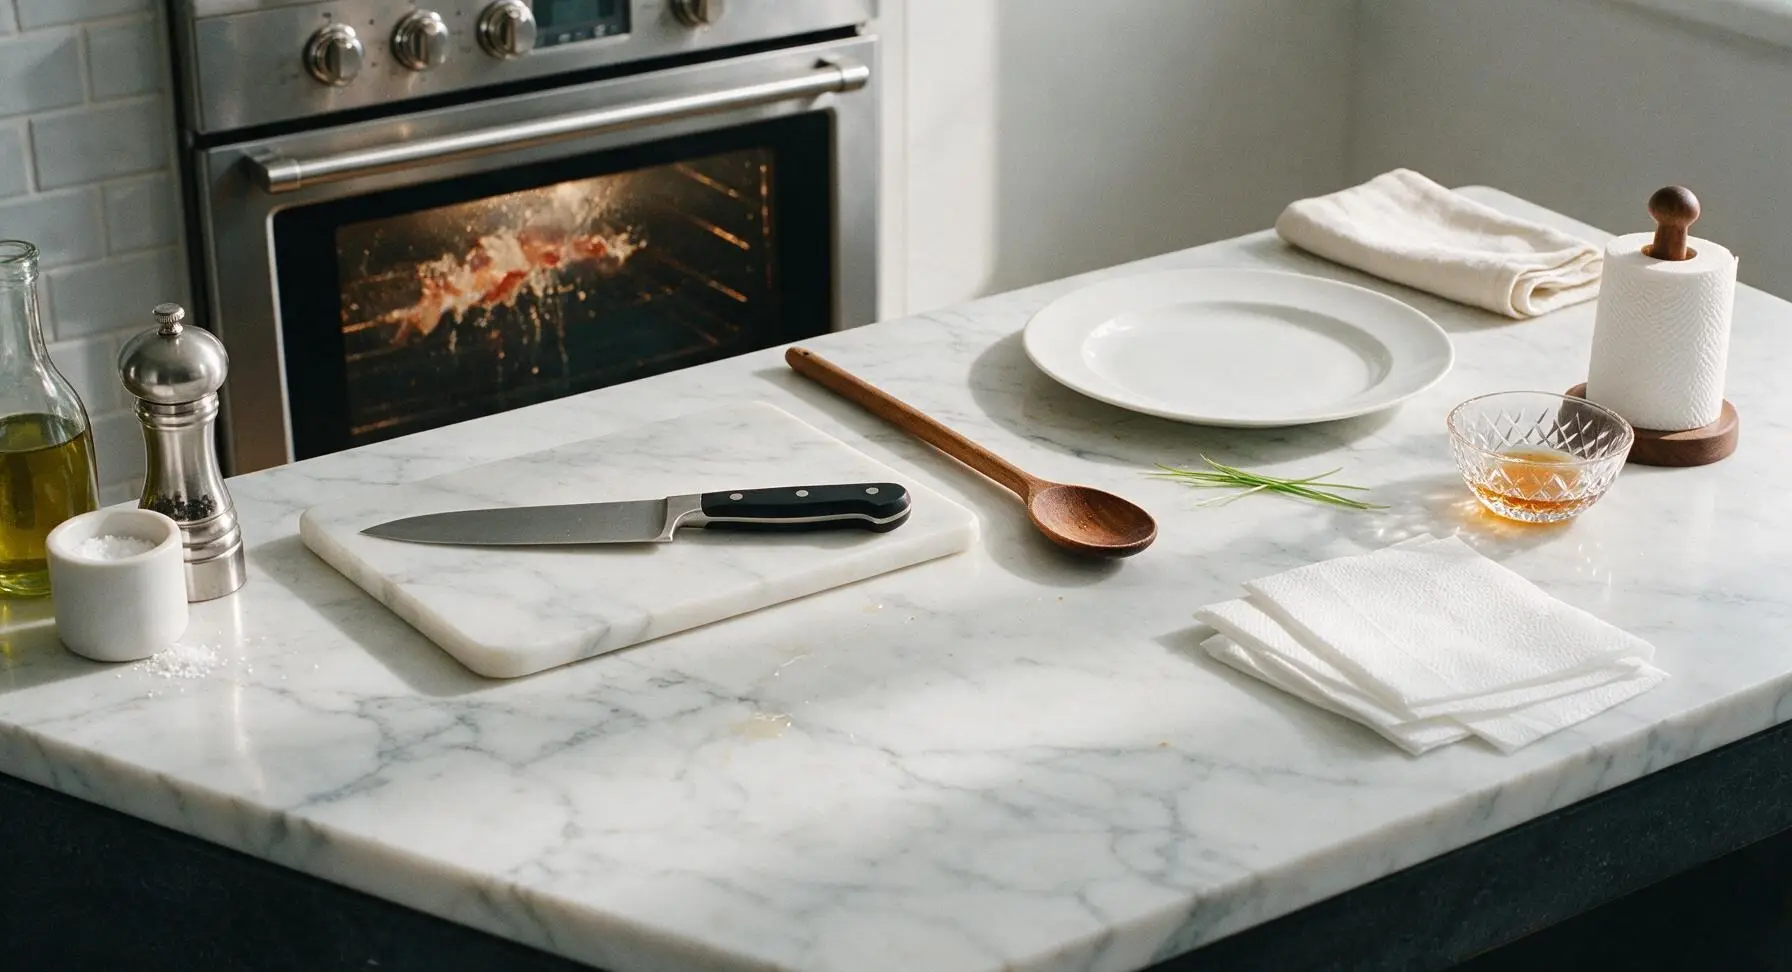
Drain Cooked Bacon
Once bacon reaches your desired crispness, use the stainless steel tongs to transfer slices immediately from the wire rack to the stack of folded paper towels. Let the bacon drain for 1 minute to blot excess surface grease, which prevents soggy bacon and cuts down on excess fat. Do not let bacon sit on the hot pan after removing it from the oven, as residual heat will continue to cook the slices and may burn them.
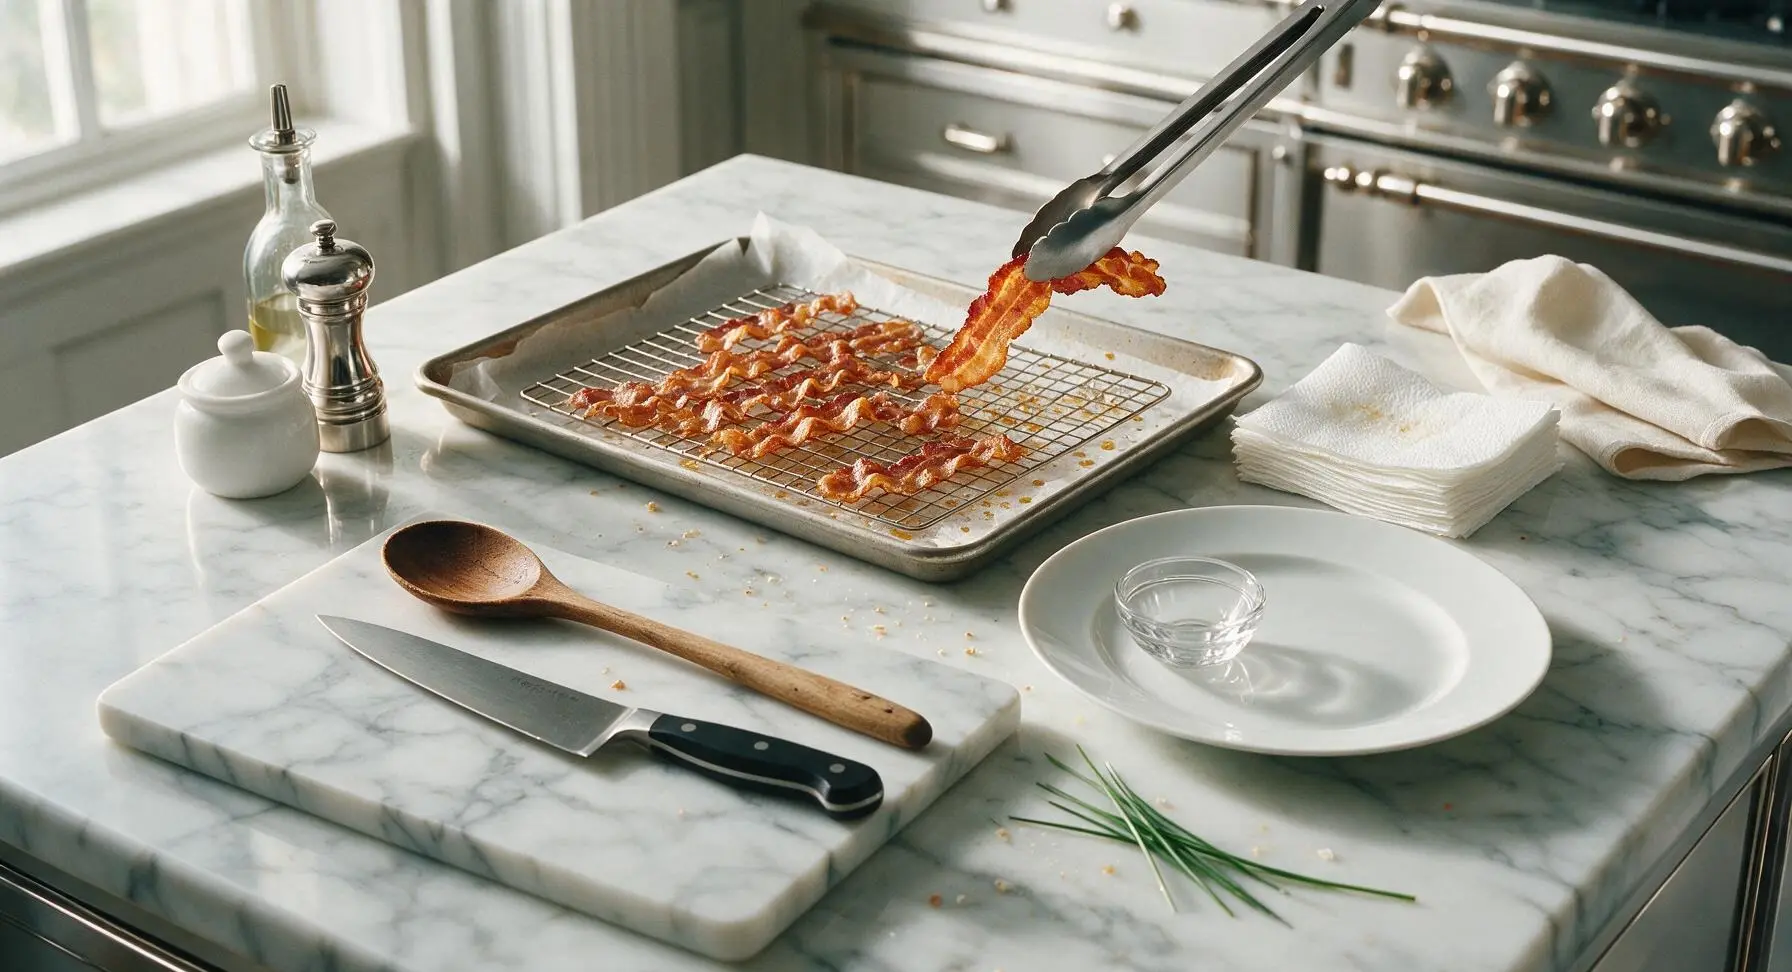
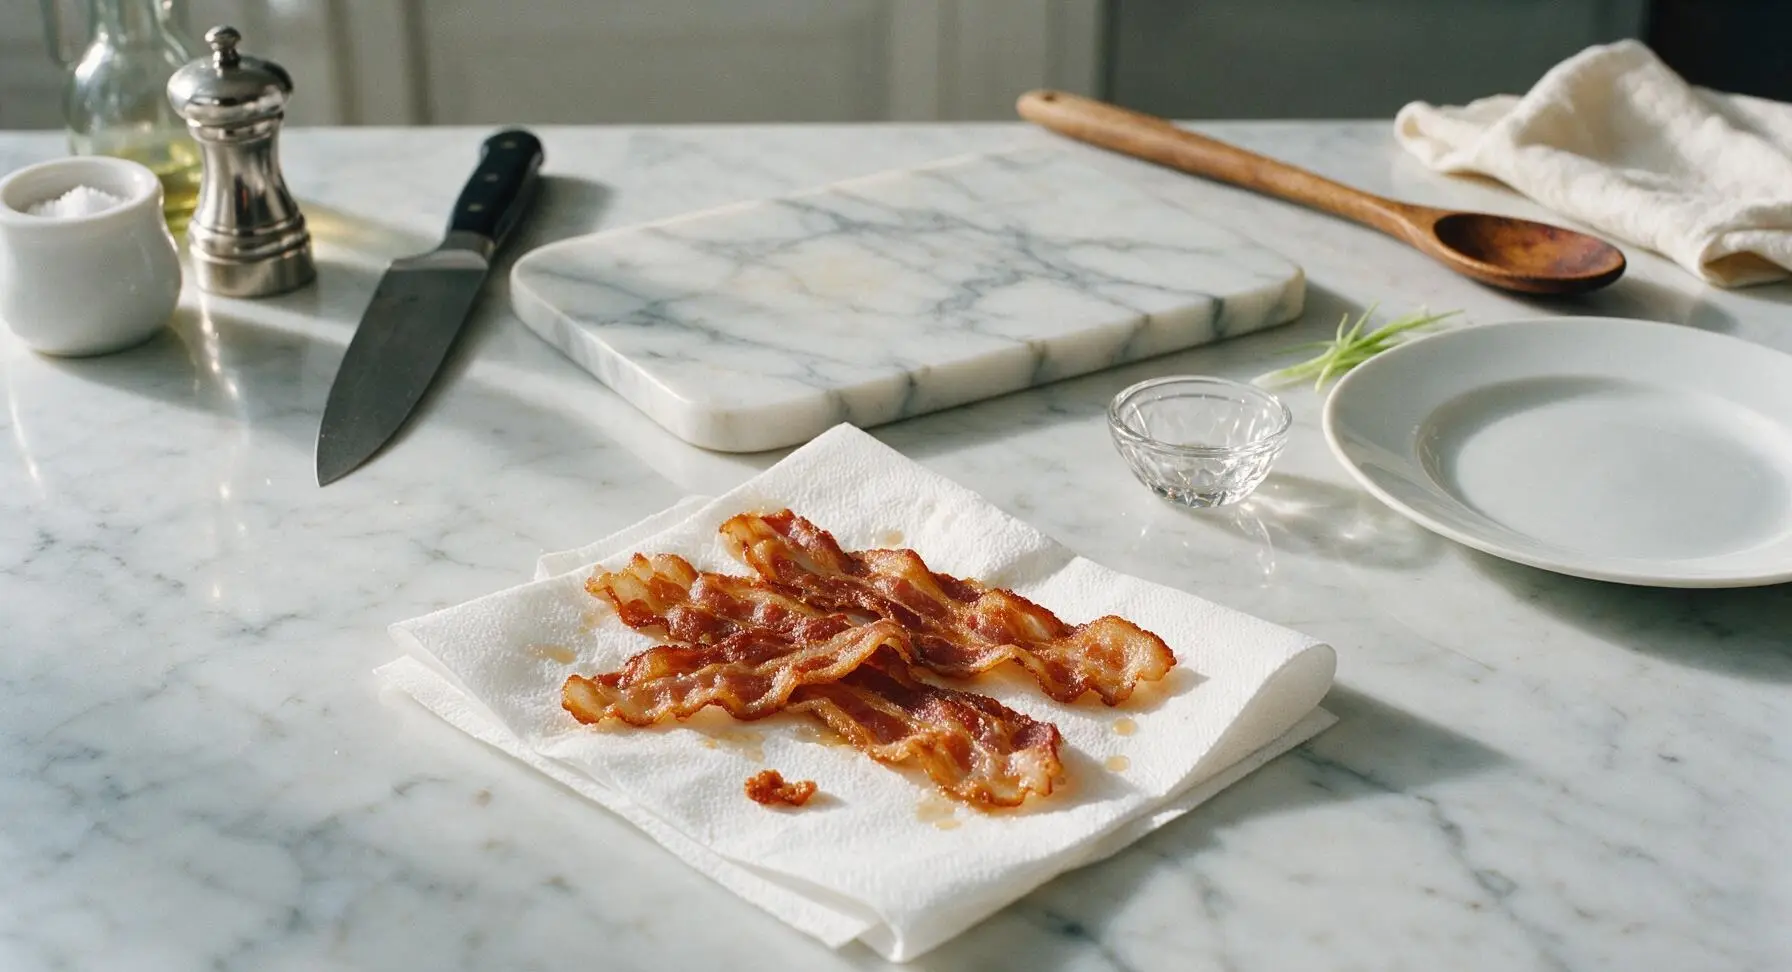
Plate and Serve Hot
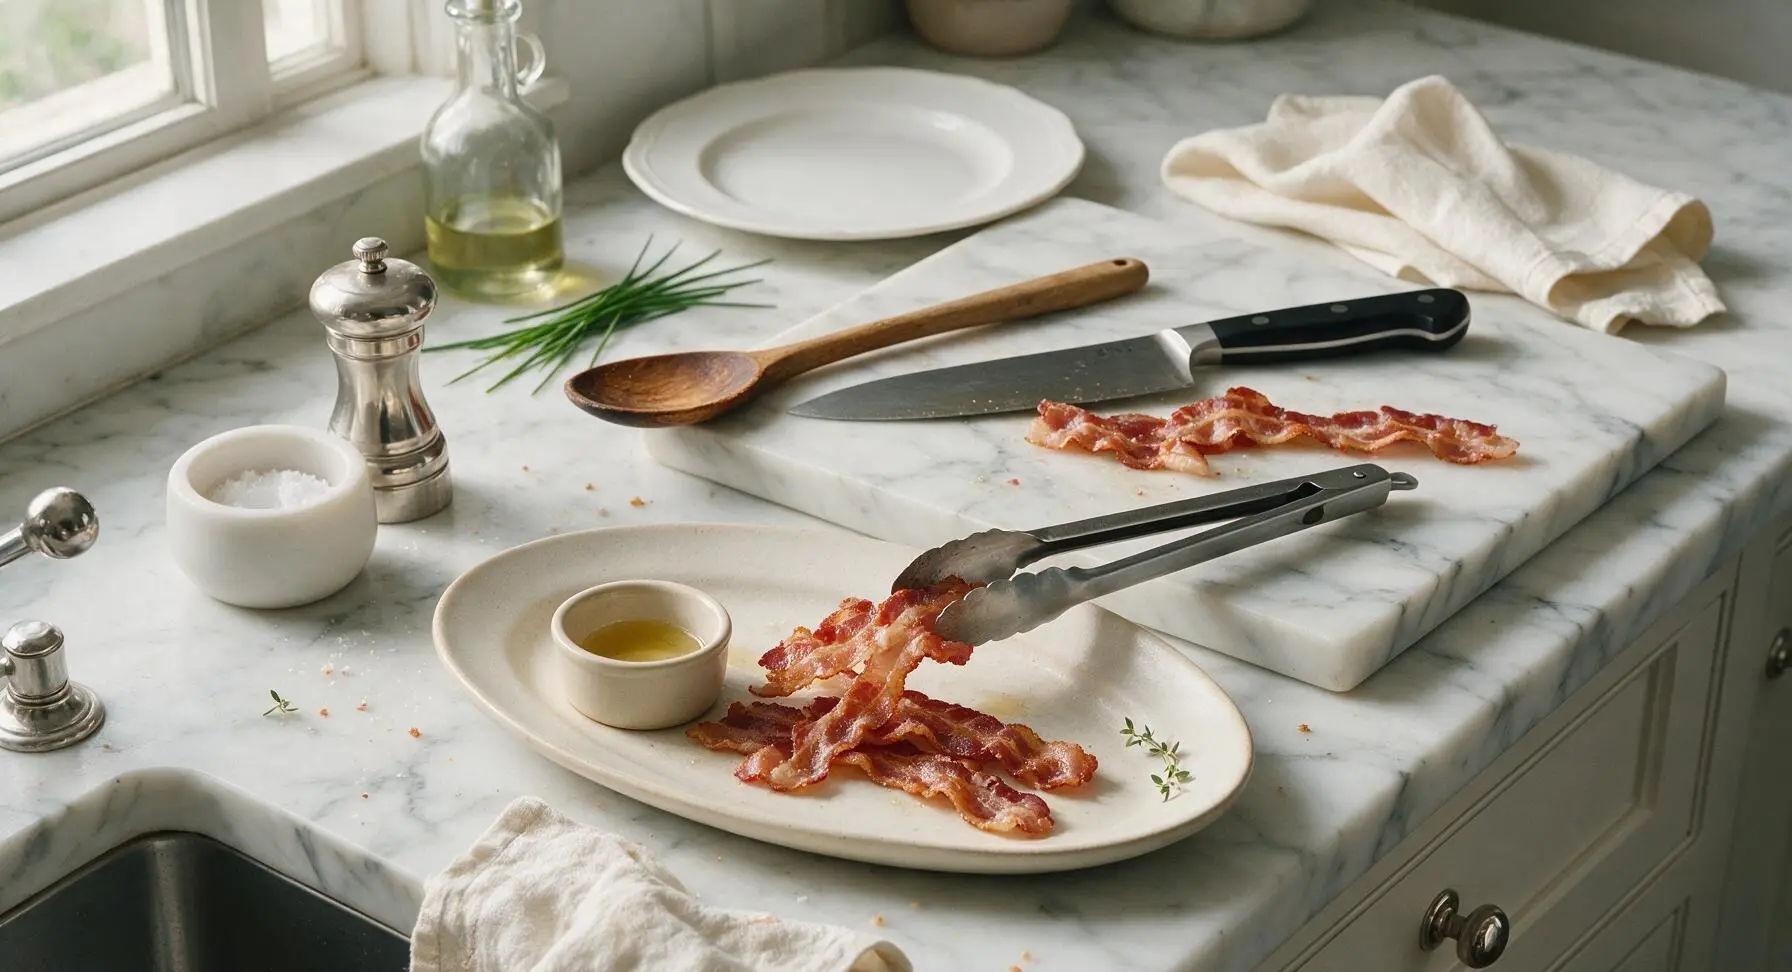
After 1 minute of draining, transfer the bacon slices to the matte off-white oval serving platter. If desired, garnish with a tiny sprig of fresh thyme plucked from the potted plant on the counter. Serve immediately while hot and crisp. Pour any collected bacon grease from the pan into the small cream ceramic ramekin to save for future cooking (it keeps for 3 months in the refrigerator).
Tips
2.Never overlap bacon slices on the rack: overlapping sections trap steam instead of allowing fat to render, leaving chewy, pale, undercooked spots where slices touch. If cooking for a crowd, use a second half-sheet pan instead of overcrowding a single rack to ensure every slice crisps evenly.
3.Avoid opening the oven door repeatedly during cooking: every door opening drops the internal oven temperature by 25–50°F, extending cook time and leading to flabby, unevenly rendered bacon. Only open the door once at the 12-minute mark to rotate the pan, then monitor doneness through the oven glass during the final 4–8 minutes to prevent burning, as bacon can go from perfectly crisp to charred in under 60 seconds.






OMG this is a total game changer! I’ve been frying bacon on the stovetop my whole adult life and always ended up with grease splatters all over my stove and half the strips burnt or undercooked. 18 minutes in the oven at the temp you recommended and every single piece was perfectly crispy, no mess! My kids loved it at breakfast this morning. 10/10
I make a big batch of this every Sunday for the week to add to breakfast sandwiches, salads, and even wrap around chicken for weeknight dinners. Comes out perfectly crisp every single time, no flipping required? Chef’s kiss. SO much easier than pan frying when you’re making a big batch for meal prep.
Tried this for our weekend brunch potluck with the neighbors and every strip was gone in 10 minutes. Multiple people asked me how I got the bacon so evenly crispy without any chewy fatty bits. Will be using this method forever now.
Wait, do you put the bacon on a wire rack or straight on the baking sheet? I tried it straight on the sheet last time and it came out a little soggy on the bottom, not sure what I did wrong. Flavor was great though!
18 minutes exactly for my oven! I was worried it would be too long because my oven runs hot, but I set a timer and it came out perfect. No burnt edges, no chewy parts, just that perfect shatteringly crisp bacon I’ve been trying to make for years.
So easy even I can’t mess this up! I’m a total beginner in the kitchen and this came out perfect first try. No fancy equipment needed, just a baking sheet and some foil, and way less cleanup than making it in a pan. Saved my breakfast for the week.
I brought this to my family dinner last Sunday to go with our pancake spread and even my super picky father-in-law said it was the best bacon he’s ever had. Usually he complains that restaurant bacon is too floppy or too burnt, so that’s a massive win in my book.
How long do you bake it if you like your bacon a little chewier instead of super crispy? I love a little bit of chew left instead of the shatter crisp stuff, but I don’t want to undercook it.
Made this for our office potluck yesterday and people were literally picking the last crumbs off the platter. I sprinkled a little brown sugar and black pepper on half the batch for a sweet-savory twist and it was chef’s kiss. So easy to make a huge batch at once!
Told my wife I finally found the secret to perfect bacon and she thought I was messing around until she tried it. Now she’s put me in charge of bacon for every Saturday morning breakfast from now on. Win for me!
Quick question – do you preheat the oven first? I forgot to preheat last time and it took almost 25 minutes to get crispy, wondering if that was my mistake.
Y’all I will never go back to pan-fried bacon ever again. I used to stand over the stove for 20 minutes dodging grease, now I just pop the pan in the oven, set a timer, and get the rest of breakfast ready. The bacon comes out perfectly even every single time, no weirdly burnt ends or raw fatty spots. SO good.
Used this method to make bacon for our tailgate last weekend and it held up perfectly even after sitting in the cooler for a couple hours. Crispy, not greasy, everyone raved. Way easier than trying to cook bacon on a tiny tailgate grill.
Does this cook time work for thick cut bacon too? I usually buy the extra thick applewood smoked stuff from the butcher and it always takes forever to cook on the stove.