1.What liquid ratio gives the creamiest stovetop Malt-o-Meal without a gummy texture?
▾
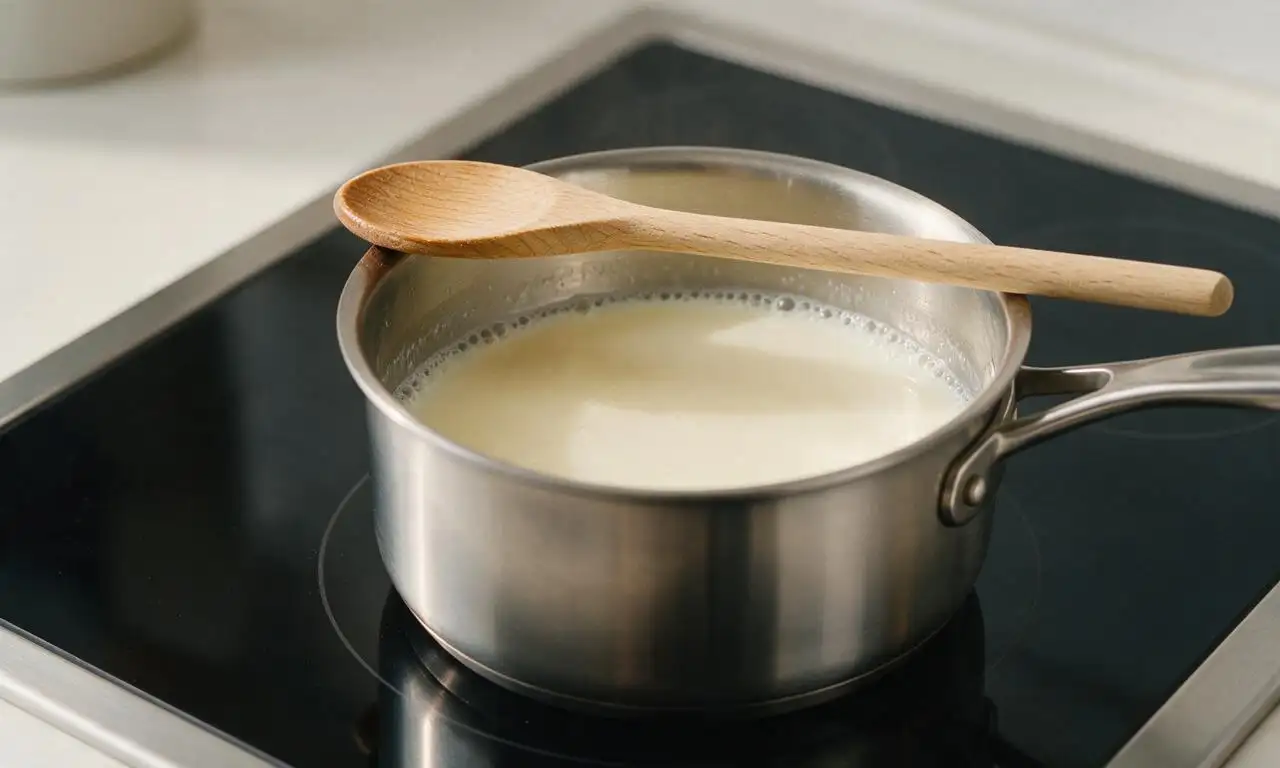
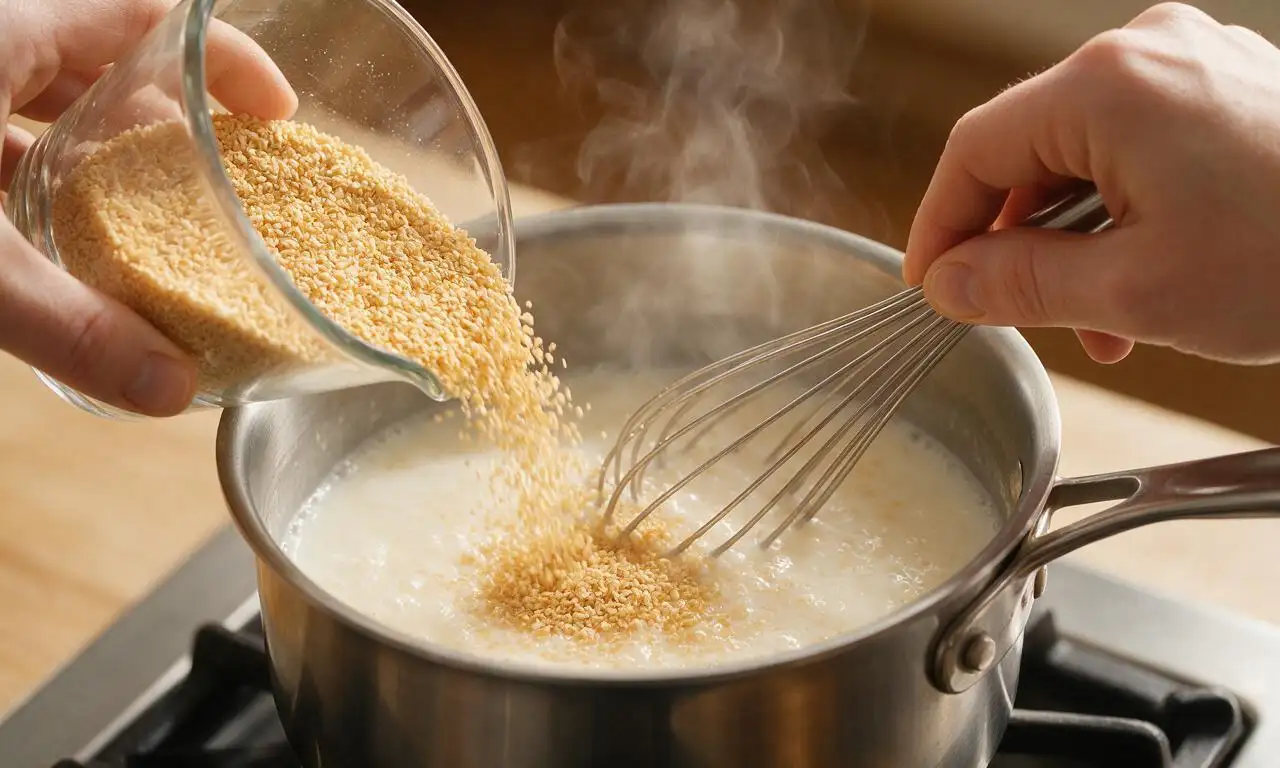
For two satisfying servings, use 1 cup water, 1.5 cups whole milk, and ¼ cup original Malt-o-Meal. Bring salted water to a boil first, whisk in the cereal and let it simmer 2-3 minutes, then stir in warm milk off heat. This split method avoids gluey overcooked texture and scalded milk for perfectly velvety results.
2.Do I have to use whole milk, or can I swap in lower-fat dairy or plant-based alternatives?
▾
Whole milk delivers the rich, luxe creaminess this recipe is designed for, but 2% milk works fine if that’s what you keep on hand. For plant-based swaps, pick unsweetened oat or barista-blend soy milk for the closest texture; skim milk or thin almond milk will leave cereal watery and less satisfying.
3.How do I prevent lumps from forming when I add Malt-o-Meal to the pot?
▾
Never dump all the dry cereal in at once! Whisk the boiling salted water steadily as you slowly, evenly stream the Malt-o-Meal into the pot. Keep whisking for the first 60 seconds of simmering, and you’ll get perfectly smooth, lump-free cereal every time with no clumps stuck to the pot bottom.
4.Why is there a small amount of salt in this breakfast cereal recipe?
▾
That tiny pinch of fine sea salt won’t make your cereal taste salty—it amplifies the warm, toasty malt flavor, balances any sweet toppings you add, and keeps the final dish from tasting flat or bland. You only need ⅛ teaspoon per two servings, so it will never overpower the cozy, mild base.
5.Can I make this recipe without butter, or do I need a substitute?
▾
The tablespoon of unsalted butter stirred in at the end adds a silky, luxe mouthfeel and rounds out the cereal’s malt notes, but it is totally optional. If you skip it or swap for vegan butter, coconut oil, or a dollop of nut butter, you’ll still get a tasty bowl—just expect slightly less rich texture.
6.How long does this stovetop recipe take to make from start to finish?
▾
From turning on the burner to serving in a bowl, this cozy cereal takes right around 10 minutes total. It takes 3-4 minutes to bring salted water to a boil, 2-3 minutes of gentle simmer time for the cereal to soften, and 2-3 minutes to rest, stir in milk and butter, and add toppings.
7.Why use a mix of water and milk instead of cooking the cereal entirely in milk?
▾
Cooking cereal fully in milk easily leads to scalding, burnt pot residue, and a tough skin on the cereal surface, while cooking only in water creates a thin, starchy, flat-tasting bowl. The split method—boil first in water, finish with milk off heat—cuts scald risk and builds perfect, even creaminess.
8.Can I meal prep this cereal ahead for quick weekday breakfasts?
▾
Absolutely! Store cooled, cooked Malt-o-Meal in an airtight container in the fridge for up to 4 days. When reheating, stir in a splash of extra milk or water to loosen the thickened cereal, then warm in the microwave or on low stovetop heat, stirring occasionally, until it reaches your preferred temperature.
9.Why does my Malt-o-Meal turn out gummy or pasty instead of creamy?
▾
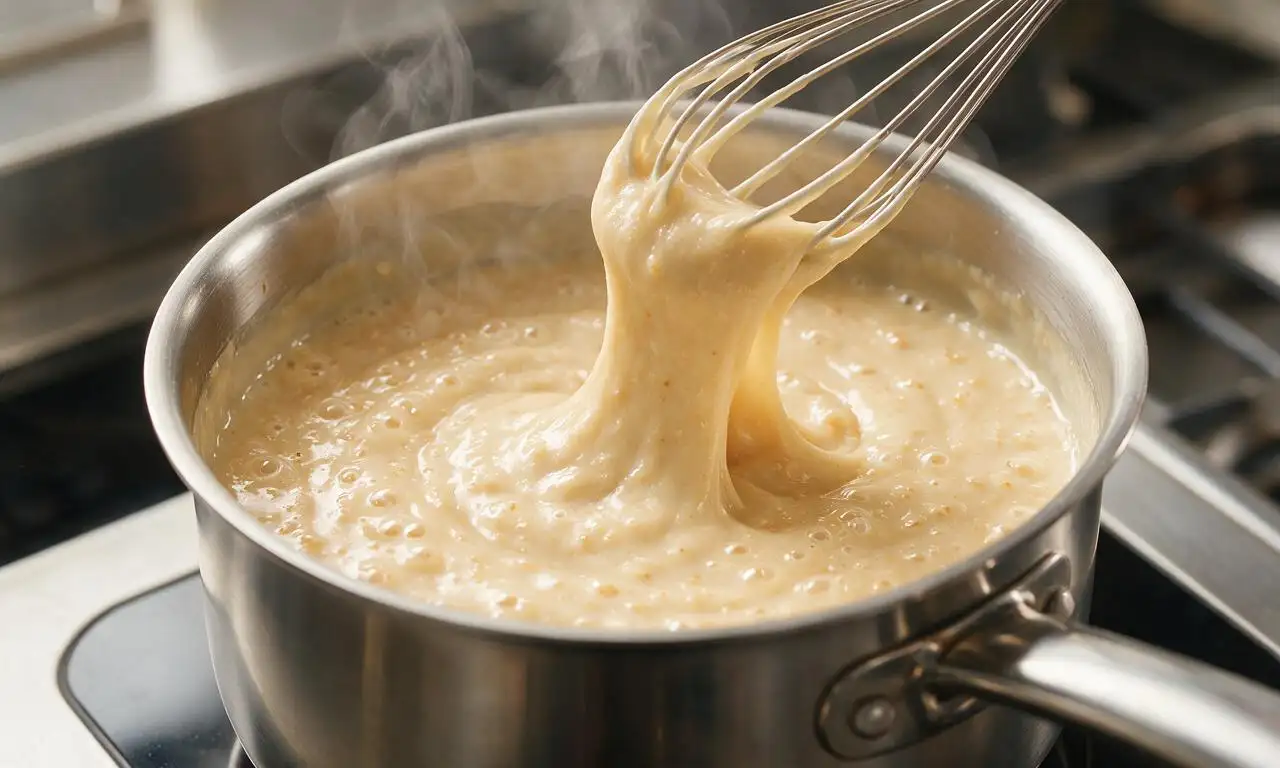
That unpleasantly gluey texture almost always comes from two common missteps: using too much dry cereal relative to your liquid, or boiling the cereal for too long over high heat after adding milk. Stick to a 4:1 liquid-to-cereal ratio, keep the simmer low, and pull the pot off heat once it thickens.
10.What are easy, tasty toppings to customize this basic cereal?
▾
This mild, malty base pairs beautifully with nearly any breakfast topping! Try a drizzle of maple syrup, fresh berries, sliced banana, a sprinkle of cinnamon, toasted walnuts or pecans, a dollop of peanut butter, a handful of mini chocolate chips, or a tiny splash of vanilla extract to match your taste preferences.
11.Can I use a flavored Malt-o-Meal variety instead of the original?
▾
You absolutely can, just adjust your add-ins accordingly! Flavored varieties like maple brown sugar or chocolate already have added sugar and built-in flavor, so hold off on extra sweet toppings until you taste the finished bowl, and you may find you don’t need as much butter to round out the flavor.
12.What heat setting should I use to avoid burning cereal on the pot bottom?
▾
Start with medium-high heat just to bring your salted water to a rolling boil, then immediately turn the heat down to medium-low once you add the dry cereal. A gentle, low simmer keeps wheat cereal from sticking and scorching; never keep the pot at a hard, rolling boil once the Malt-o-Meal is added.
13.Is this recipe suitable for people with gluten sensitivities?
▾
Traditional original Malt-o-Meal is made from wheat, so it contains gluten and is not safe for people with celiac disease or severe gluten sensitivities. If you need a gluten-free version, seek out certified gluten-free hot wheat cereal alternatives, and confirm your milk, butter, and toppings are also certified gluten-free.
14.Do I really need to let the cereal rest for a couple minutes after cooking?
▾
That 2-minute rest off the heat after stirring in milk and butter is key for perfect texture! It gives the wheat granules time to absorb liquid evenly, lets the cereal thicken to that ideal creamy consistency, and cools it just enough so it’s ready to eat without burning your tongue on the first bite.
15.Is this recipe kid-friendly, and how should I adjust it for younger eaters?
▾
This is a fantastic, filling kid-friendly breakfast! For toddlers and young kids, cook it slightly thinner with an extra splash of milk for easier eating, skip added sugar entirely, and let it cool a bit longer than you would for adults. Top with soft fruit like mashed banana for a nutrient boost without extra sugar.
16.How is stovetop Malt-o-Meal different from the microwaved version?
▾
Stovetop cooking lets you control heat and stir consistently for a smoother, creamier, evenly cooked texture with far fewer lumps than microwaved batches. Microwaved cereal often develops uneven hot spots, boils over easily, and gets gummy faster, while the stovetop method takes barely more time for a much better result.

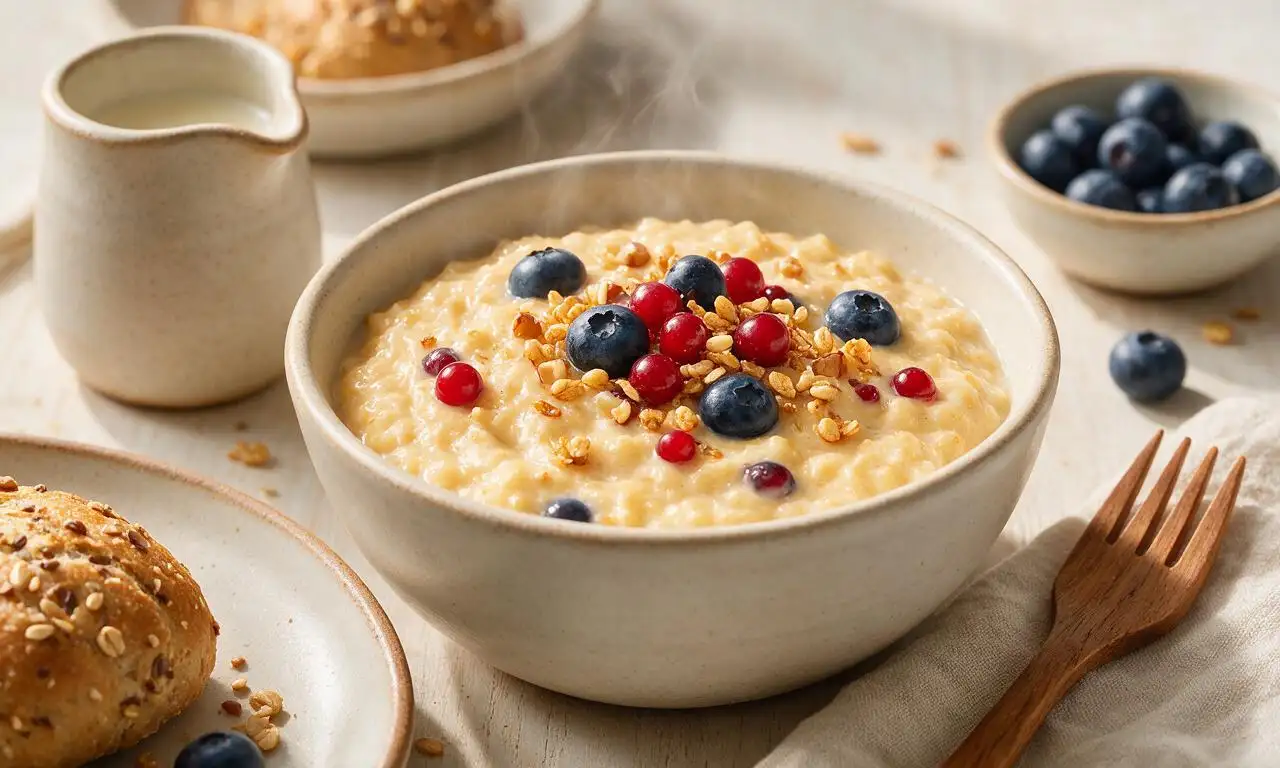
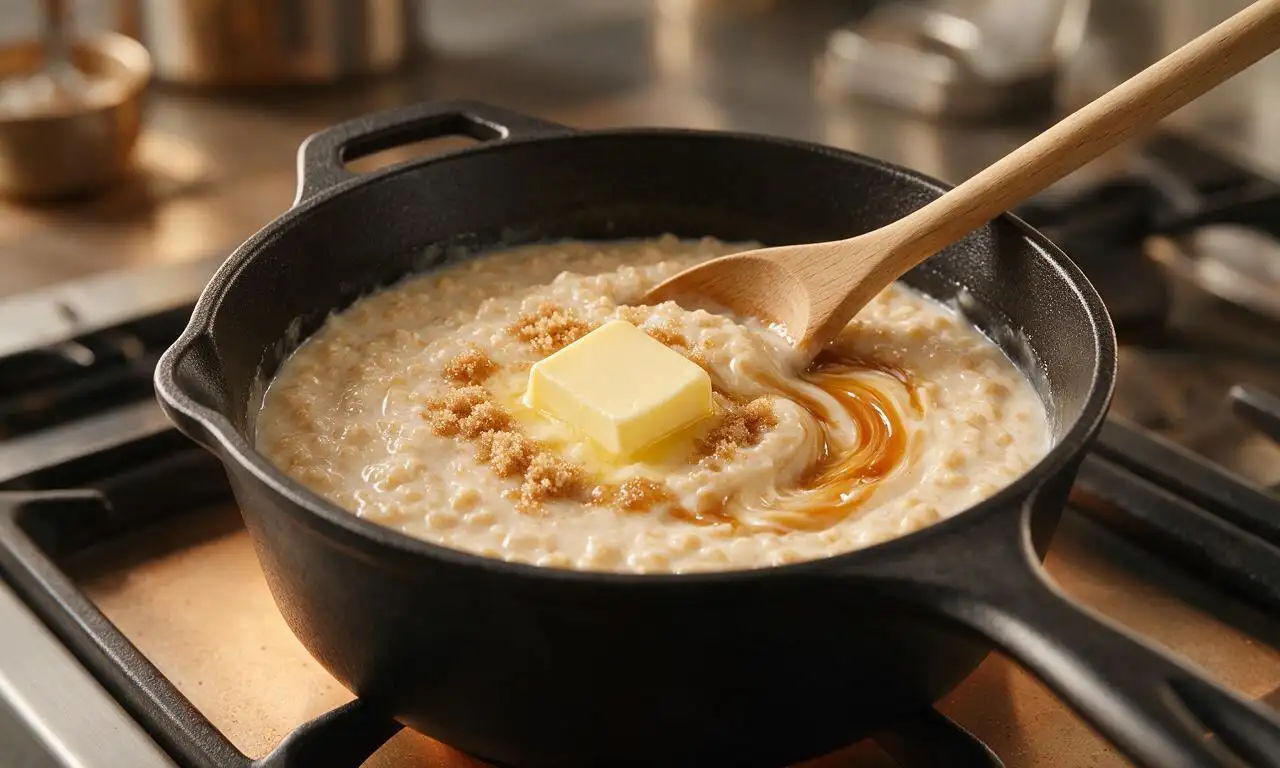
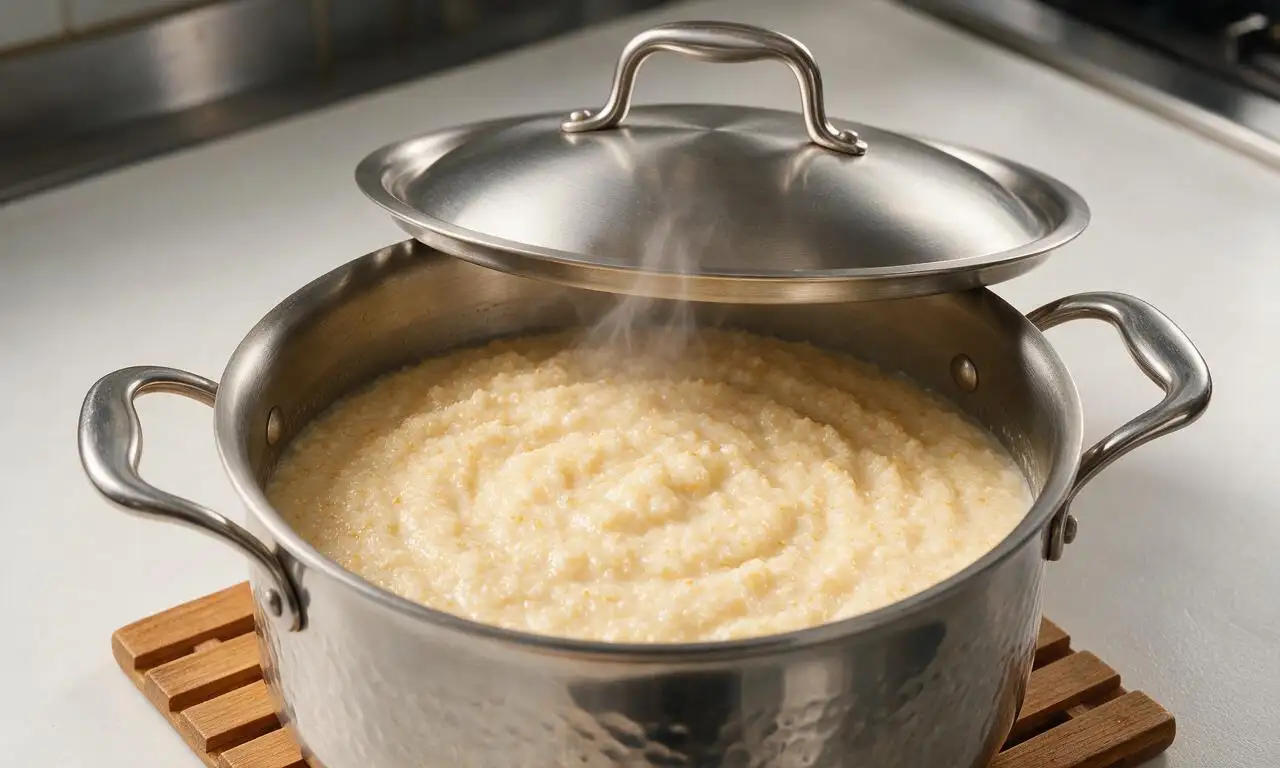
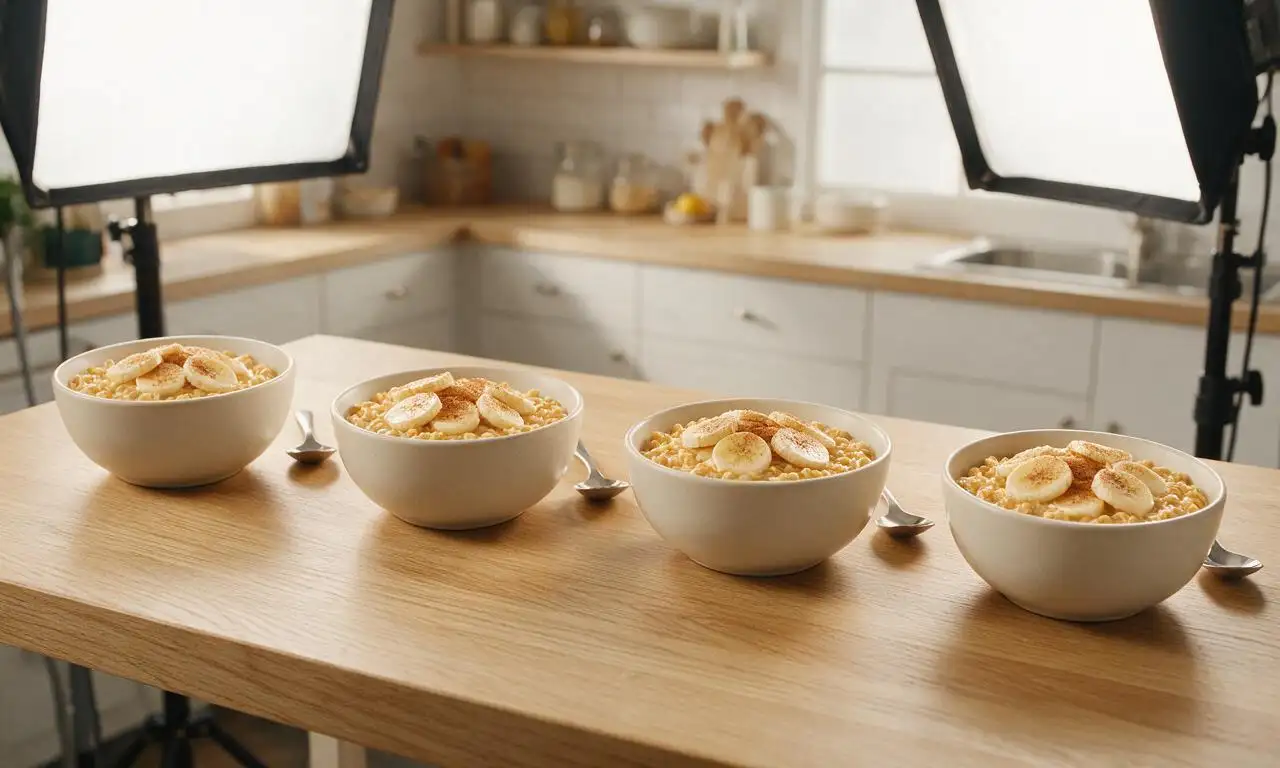






OMG this is the creamiest Malt-o-Meal I’ve ever made on the stovetop! My 4 and 6 year old gobbled up two bowls each before school this morning, I added a sprinkle of cinnamon and a few sliced bananas on top and they didn’t even ask for extra sugar. Total game changer for rushed weekday mornings!
SO good! I swapped half the water for oat milk to make it extra creamy and tossed in a handful of mini chocolate chips for a little weekday treat. 10 minutes total cook time is perfect for when I don’t feel like making a huge breakfast before logging on for work.
I’ve been making Malt-o-Meal for my family for over 40 years and this stovetop method is exactly how I learned from my mom! People always act like the microwave version is the same but it never gets that perfect rich, creamy texture the stovetop gives. 10/10, no notes.
Wait I’ve only ever made the instant packets before, this is so much cheaper and tastes way better! I didn’t have regular milk so I used almond milk and it still came out super creamy, no weird grainy texture at all. Will be making this every week for meal prep to eat between classes.
Made this before an early morning hike earlier this week and it kept all three of us full for 4 hours on the trail! I added a spoonful of peanut butter and a dash of maple syrup on top, perfect high energy breakfast without feeling heavy.
Tried this for the first time this morning and honestly? I was skeptical because I always mess up hot cereals, but the directions were so easy to follow! No lumps, perfect creaminess, I topped mine with a little brown sugar and some crushed walnuts for crunch. Will be a new staple in our house.
I grew up eating Malt-o-Meal at my grandma’s house every winter and this recipe tastes exactly like what she used to make! It’s so simple but tastes like such a cozy, warm hug on cold Ohio mornings when the wind is howling outside. I don’t know why I ever stopped making this, it’s so much better than the fancy oatmeal I’ve been buying.
Tried making this today when we had that random cold snap down in Phoenix and my whole family loved it! My husband kept saying it tasted like the hot cereal his school cafeteria used to serve but way better. I did half water half whole milk like the recipe said and it was perfectly creamy, no weird clumps at all.
Made this for a little brunch I hosted with my neighbors this morning and everyone asked for the recipe! I set out a whole topping bar with brown sugar, fresh berries, chopped nuts, chocolate chips, and even a little whipped cream so people could customize their bowls. It was such a hit, way easier than making pancakes for a crowd.
Just whipped up a batch of this for my weekly meal prep and wow, it is so creamy even after letting it cool a bit to portion out! I love that it only takes 10 minutes to make, so I don’t have to spend my whole Sunday prepping breakfasts for the work week. Already excited to top it with strawberries tomorrow morning.