
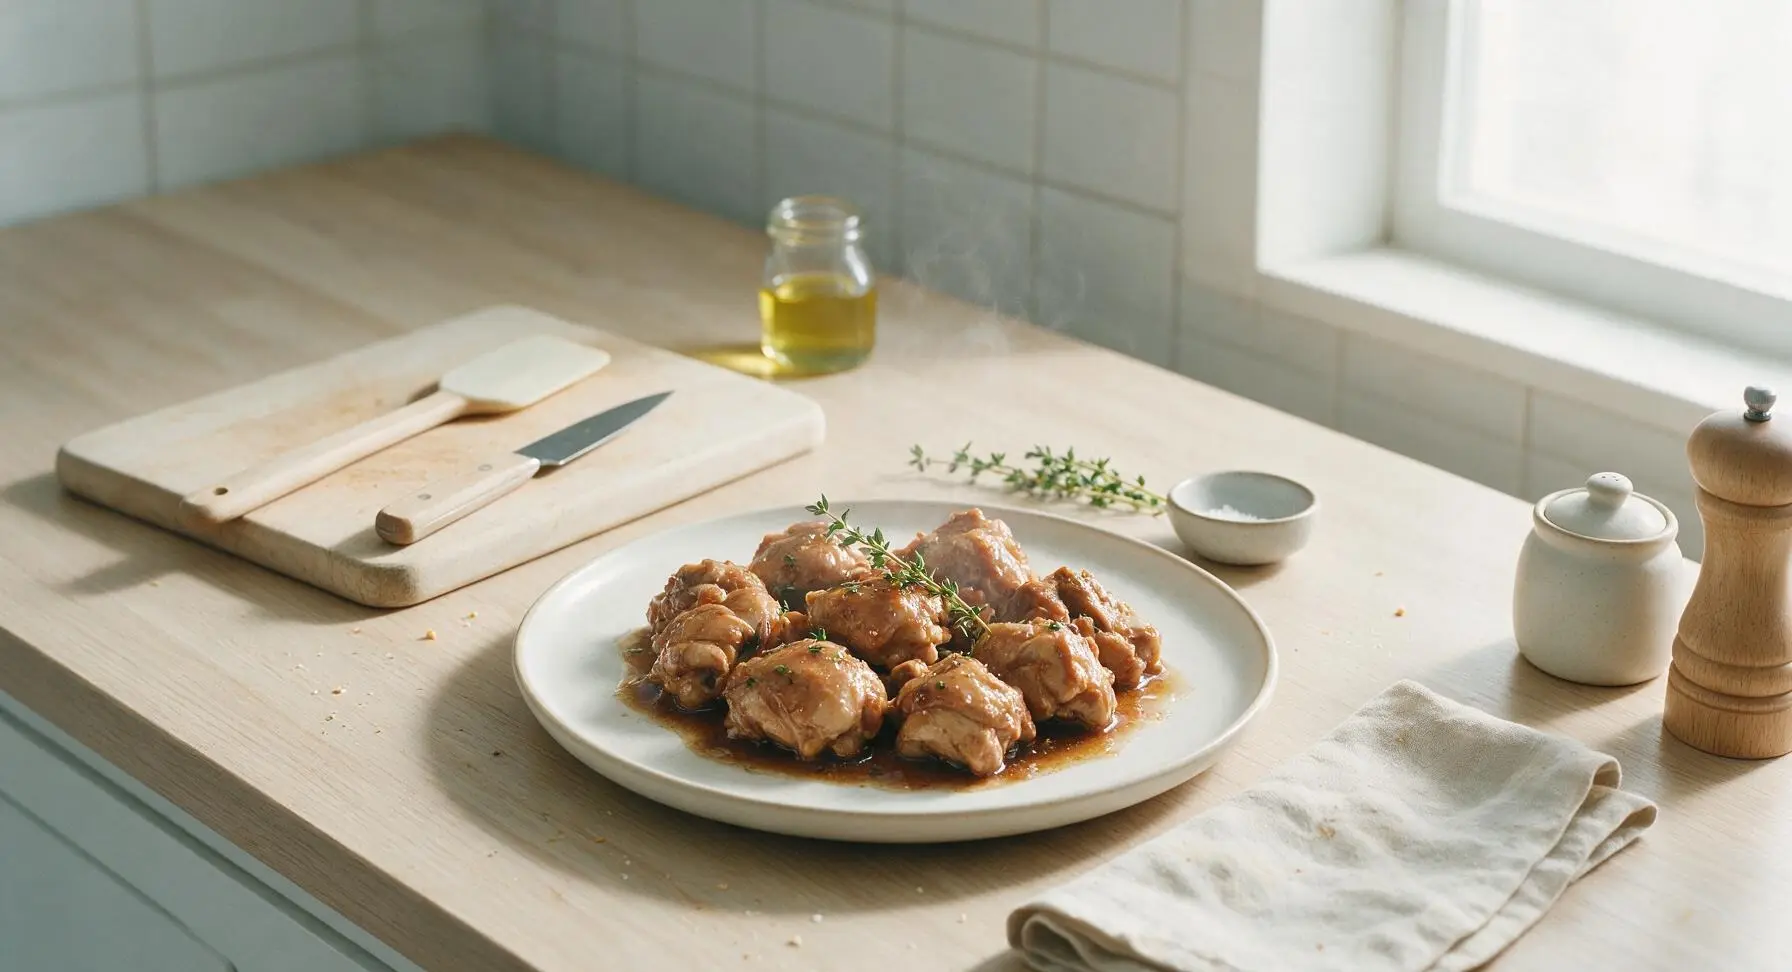
manok

title 1
manok
⏱️ cook time 45 minutes
🍽️ servings 4
⚡ Difficulty easy

intro

Tender, tangy-savory braised chicken simmered in soy, vinegar, garlic, and pepper—the iconic, cozy Filipino family meal staple, perfect for gathering around the table.

Ingredients
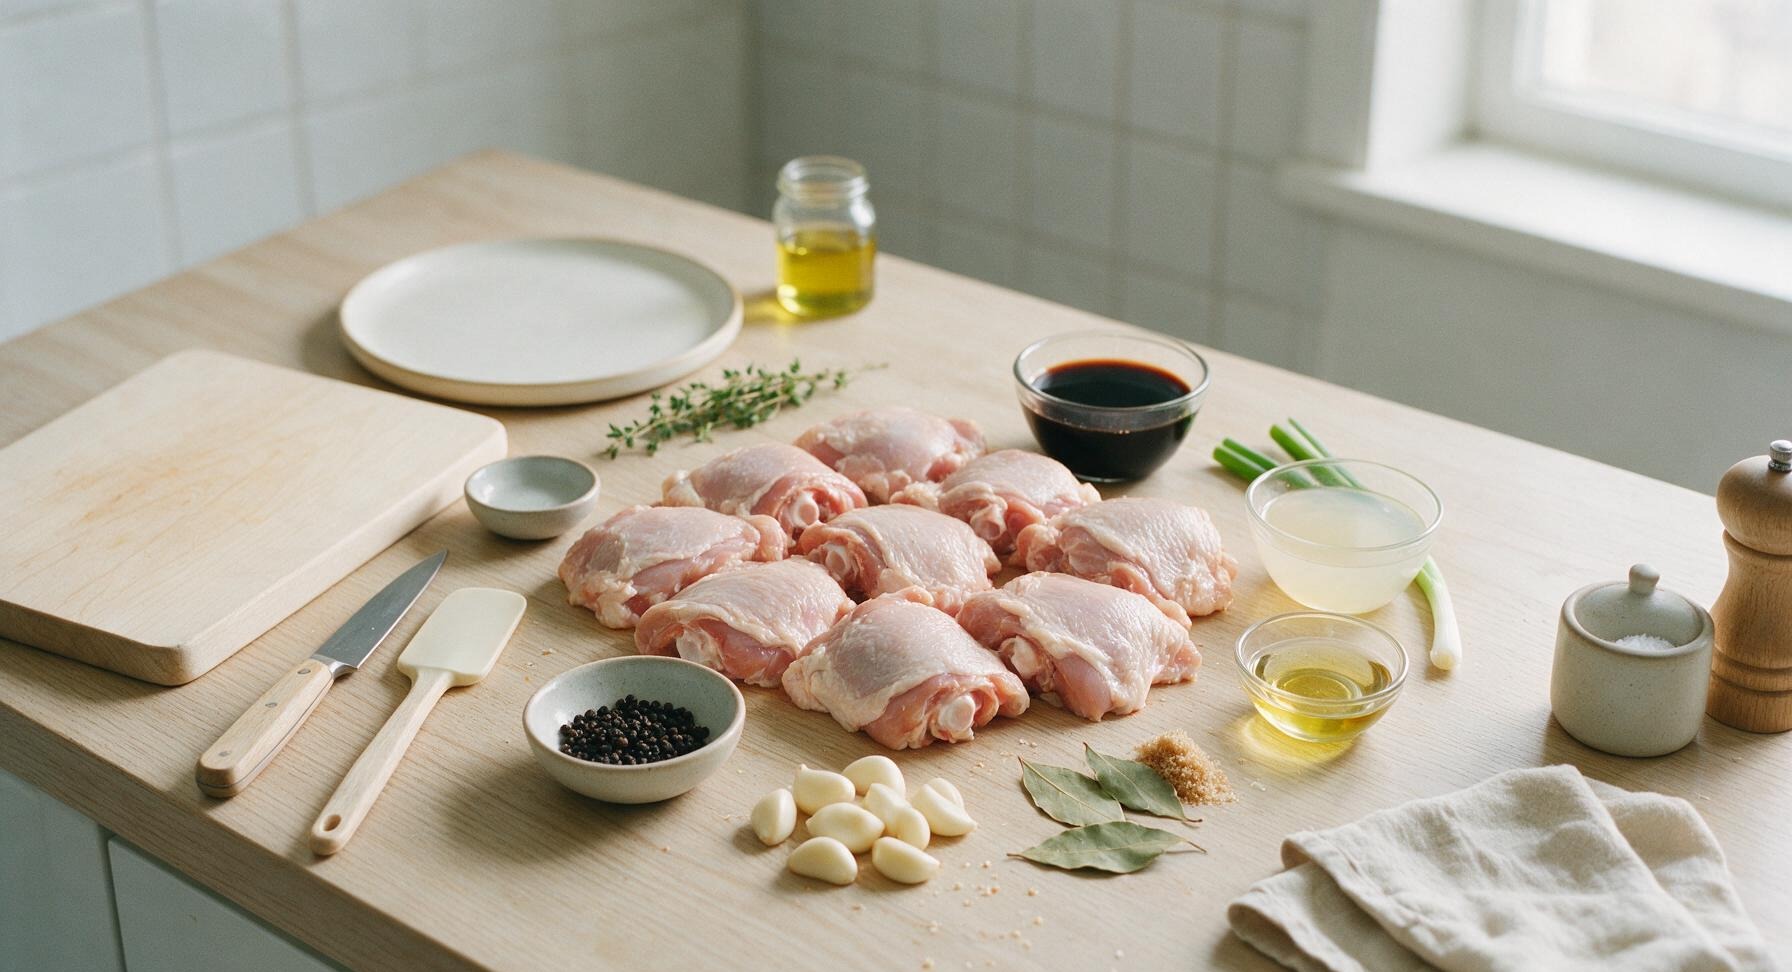
Bone-in skin-on chicken thighs 1.2kg (8 pieces)
Low-sodium soy sauce 1/2 cup
White cane vinegar 1/3 cup
Garlic cloves 12 cloves (1 whole head)
Whole black peppercorns 1 tablespoon
Dried bay leaves 3 pieces
Neutral canola oil 1 tablespoon
Light brown sugar 1 teaspoon
Scallions 2 stalks

Steps

1

Prep Chicken and Aromatics

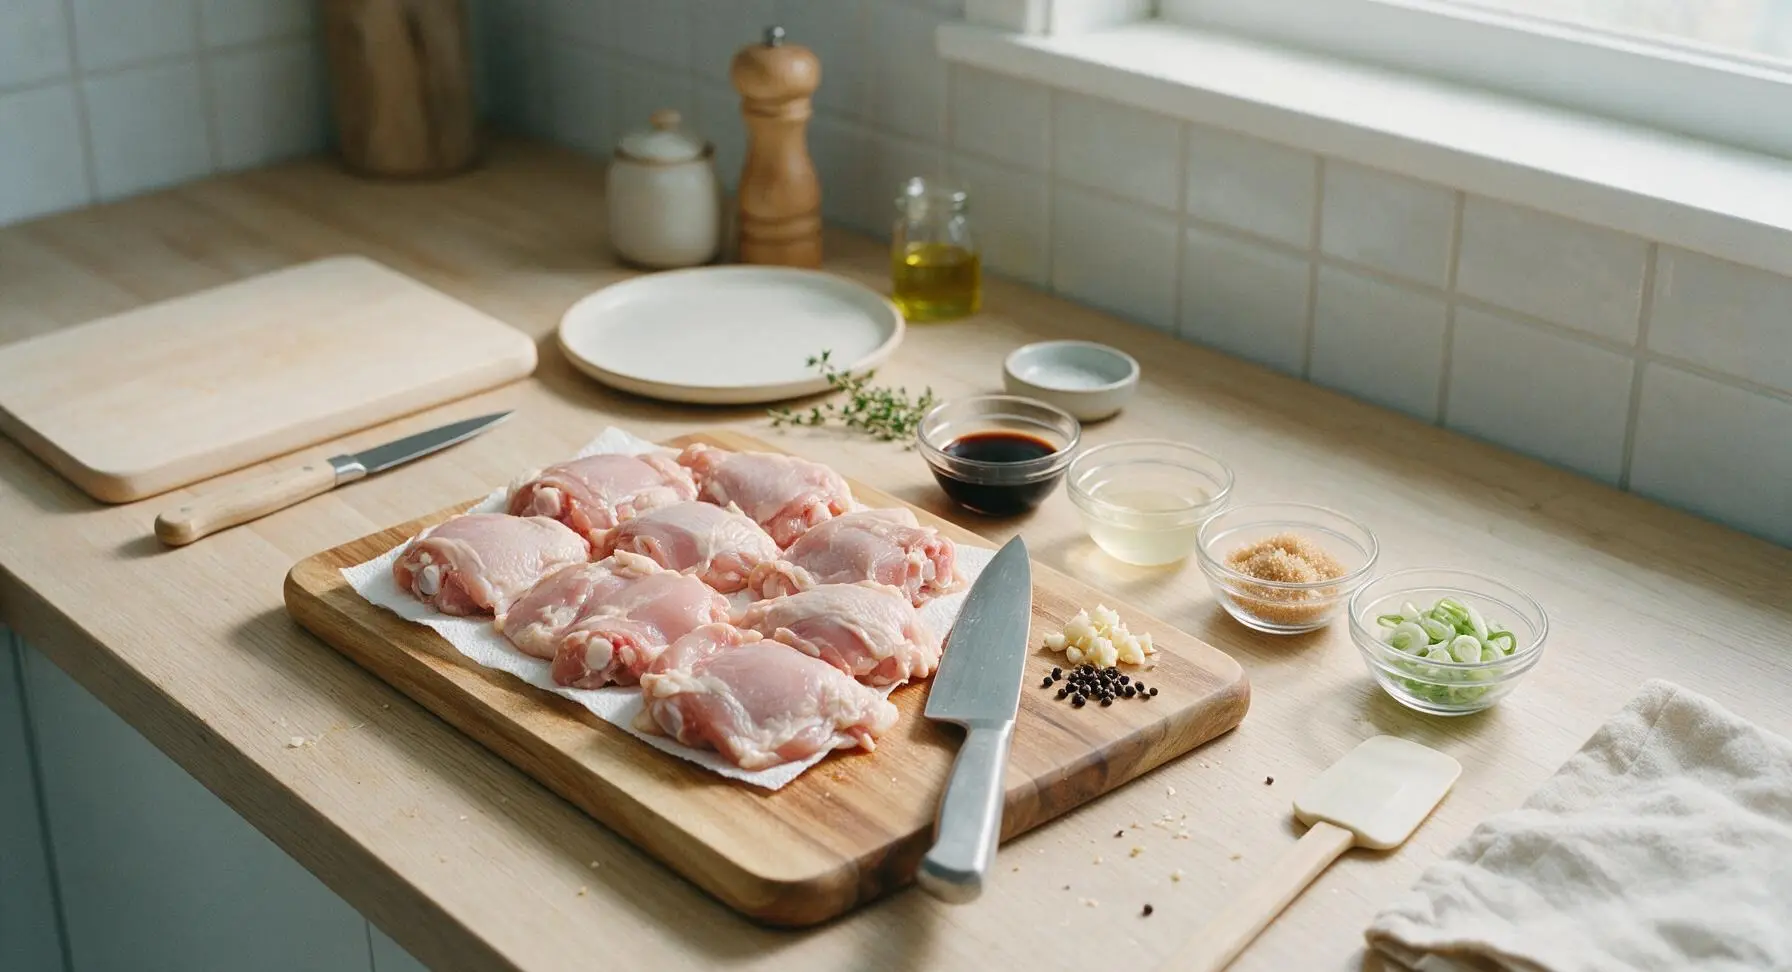
Pat 1.2kg (8 pieces) bone-in, skin-on chicken thighs completely dry with paper towels from the off-white countertop roll, set aside. Position the honey acacia cutting board on the center-left counter. Use the 8-inch stainless steel chef knife to crush and peel 12 garlic cloves, lightly crack 1 tablespoon whole black peppercorns with the flat of the knife blade, and thinly slice 2 scallions for garnish. Portion prepped aromatics and measured liquids (1/2 cup low-sodium soy sauce, 1/3 cup white cane vinegar, 1 teaspoon light brown sugar) into the small clear glass prep bowls.
Step 1
step1:Prep Chicken and Aromatics
2

Heat Oil for Searing

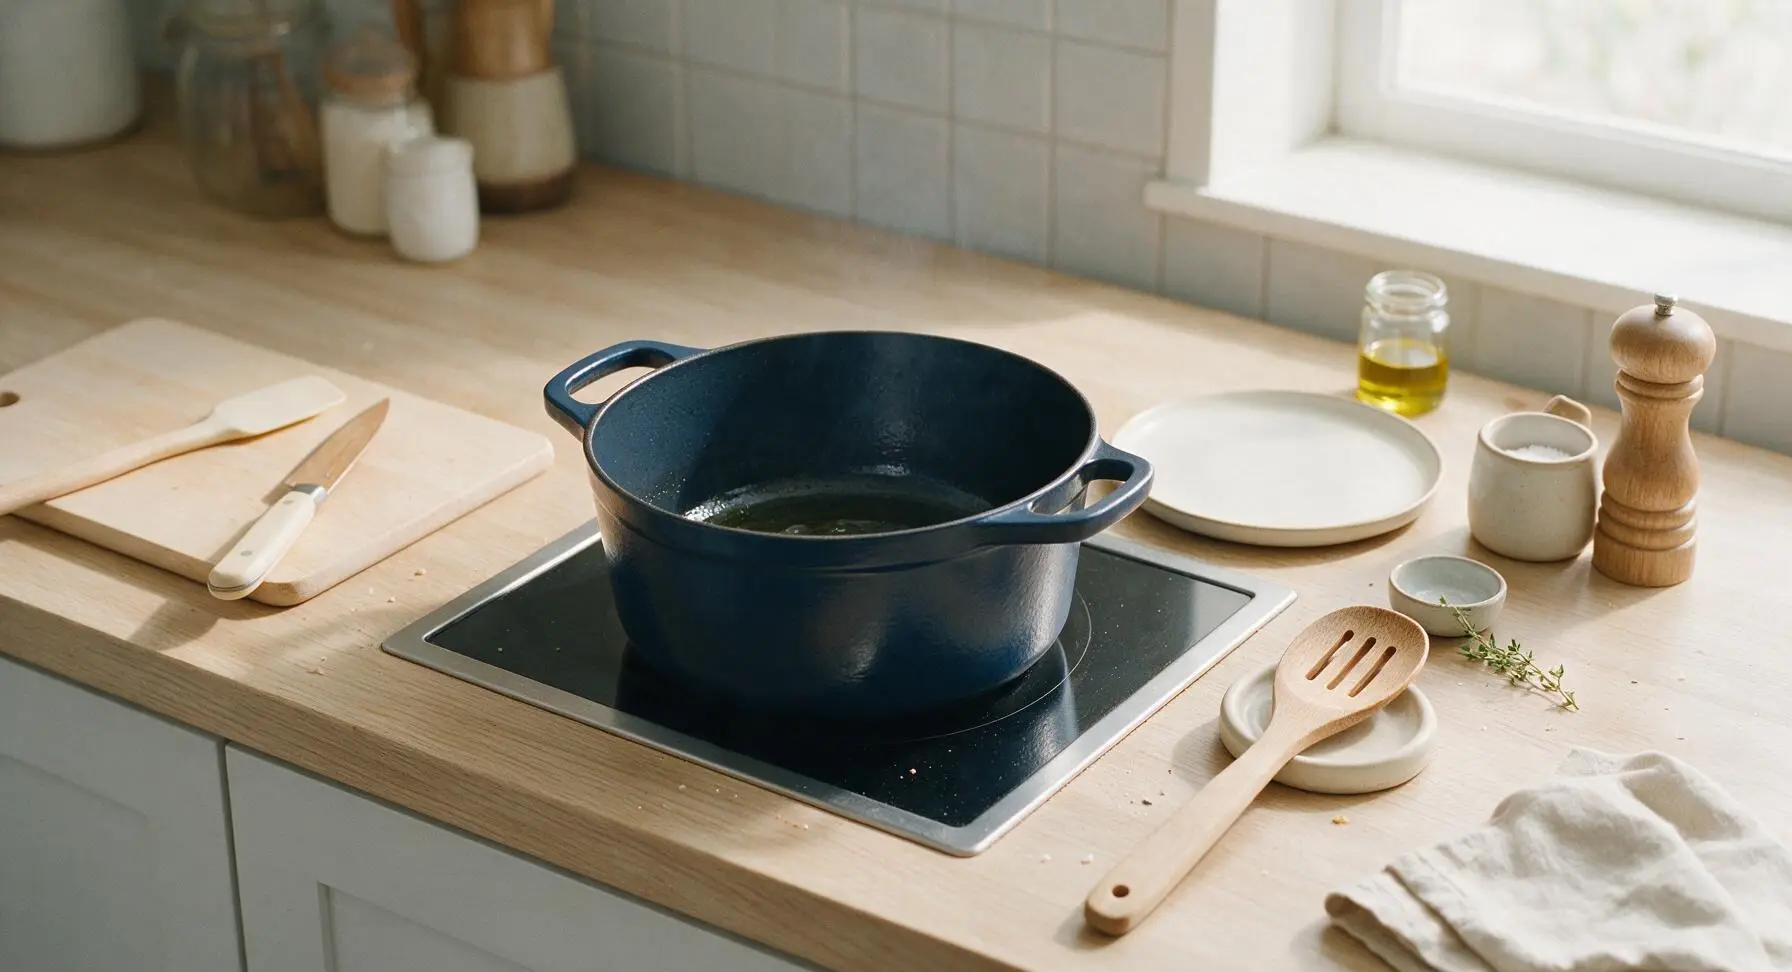
Place the 5-quart matte navy enameled cast iron Dutch oven on the stovetop cutout center of the counter, turn heat to medium-high. Add 1 tablespoon neutral canola oil, heat for 2 minutes until the oil shimmers and flows easily across the pot bottom, with no visible smoke rising.
Step 2
step2:Heat Oil for Searing
3

Sear Chicken Until Golden

Working in 2 batches to avoid crowding the pot, place chicken thighs skin-side down in the hot oil. Sear for 4-5 minutes per side, until the skin is deep golden brown and crisp, and the meat releases easily from the pot bottom without sticking. Transfer seared chicken to the empty edge of the acacia cutting board temporarily, repeat with remaining pieces.
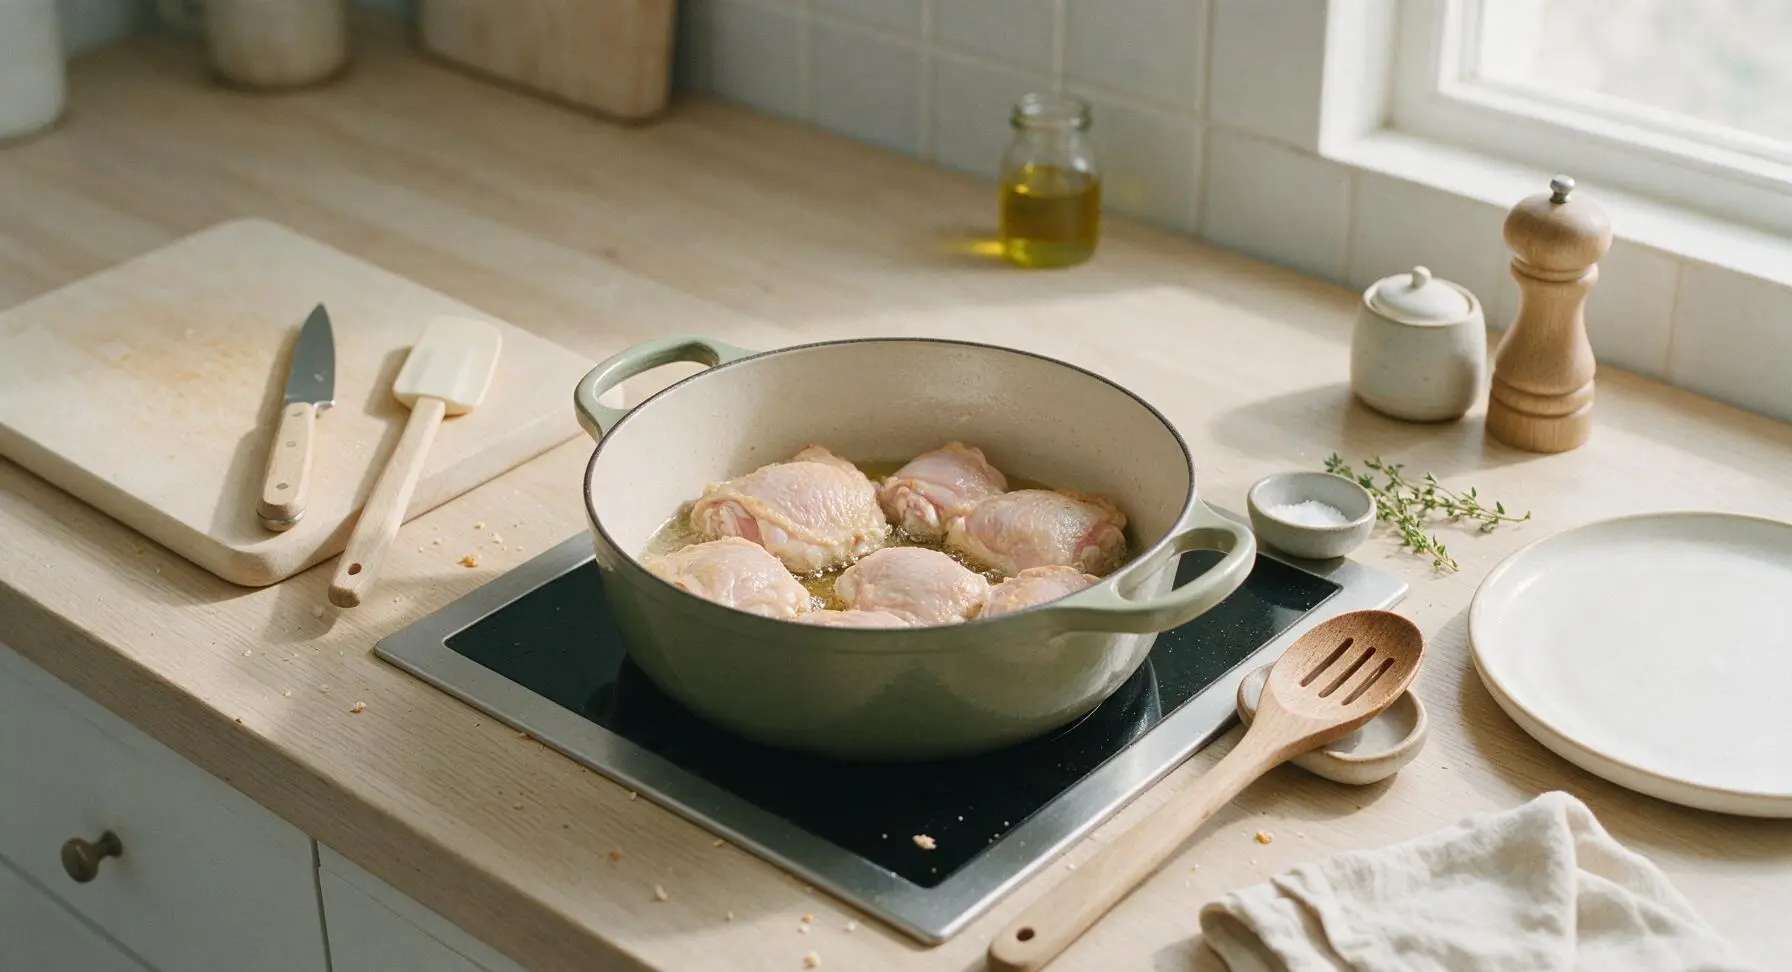

Step 3
step3:Sear Chicken Until Golden
Step 3
step3:Sear Chicken Until Golden
4

Sauté Aromatics Briefly

Reduce stovetop heat to medium, leave 1 tablespoon of rendered chicken fat in the Dutch oven, pour off any excess. Add the crushed garlic and cracked black peppercorns to the pot, sauté for 30 seconds only, stirring constantly with the beech wood slotted spoon, until fragrant but not browned (burnt garlic will create a bitter, off-flavor in the finished dish).
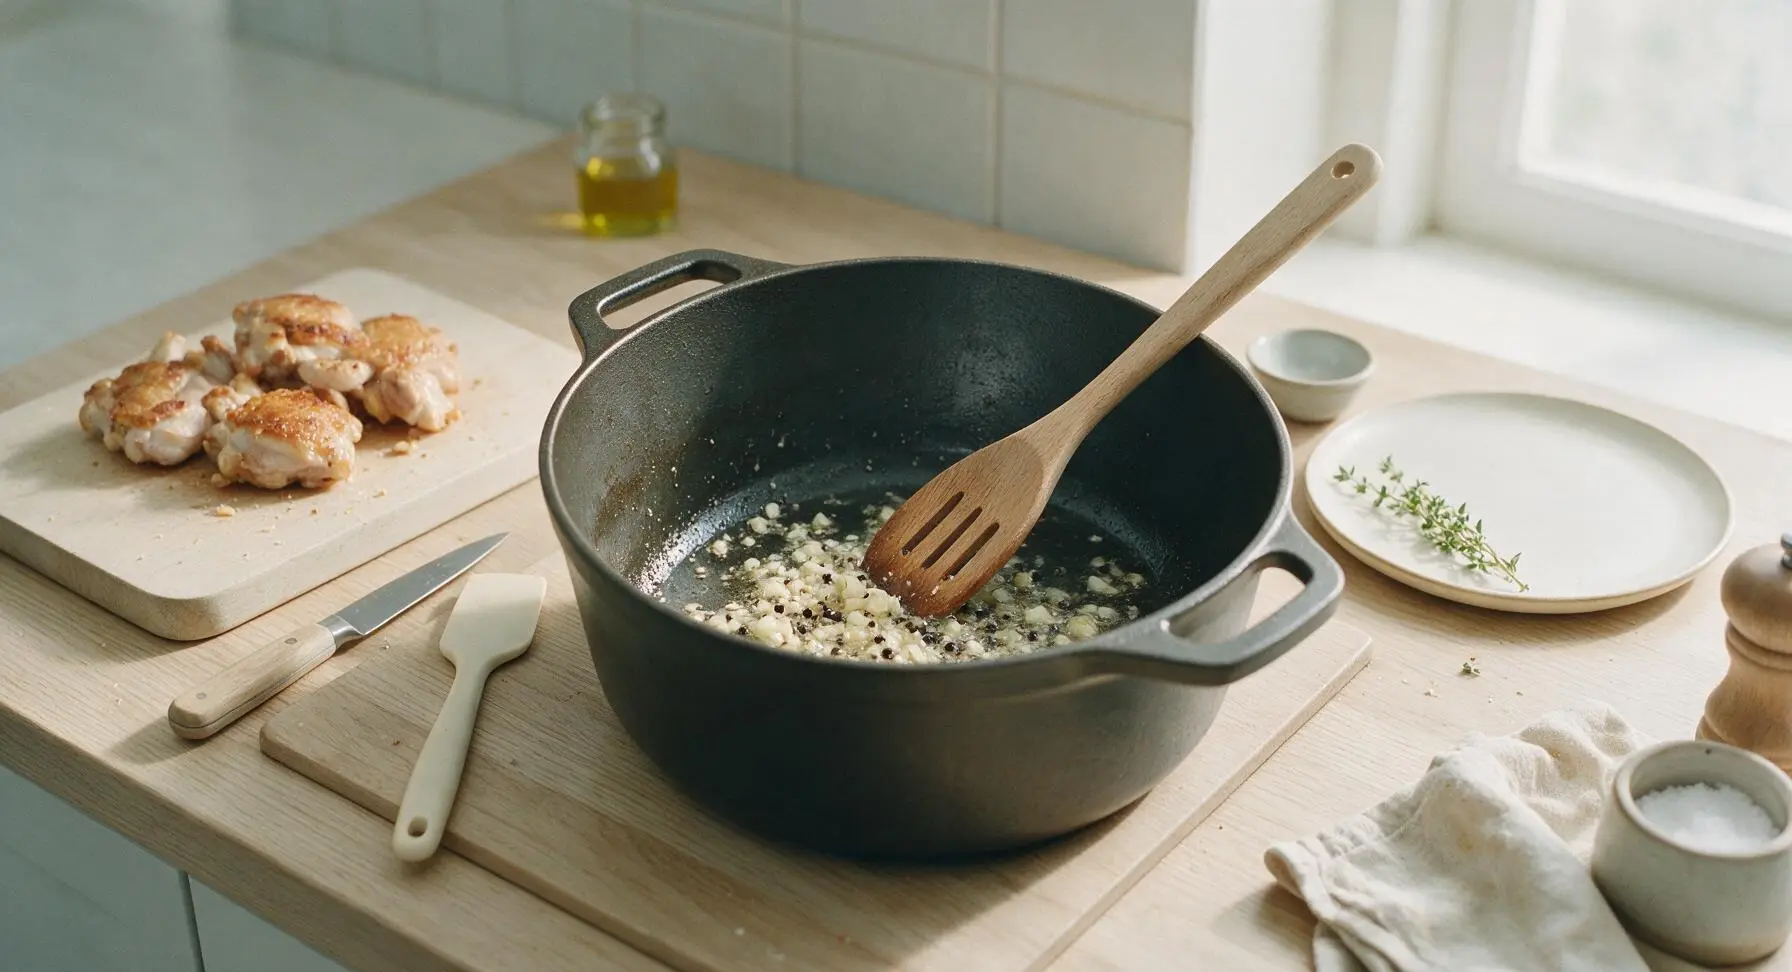
Step 4
step4:Sauté Aromatics Briefly
5

Add Braising Ingredients

Pour the measured soy sauce, white cane vinegar, and 1 teaspoon light brown sugar into the pot with the sautéed aromatics, stir once gently to combine. Add 3 dried bay leaves, then return all seared chicken thighs to the pot, turning each piece once to coat fully in the sauce. Do not stir the mixture excessively after adding the vinegar to avoid creating a harsh sour taste.
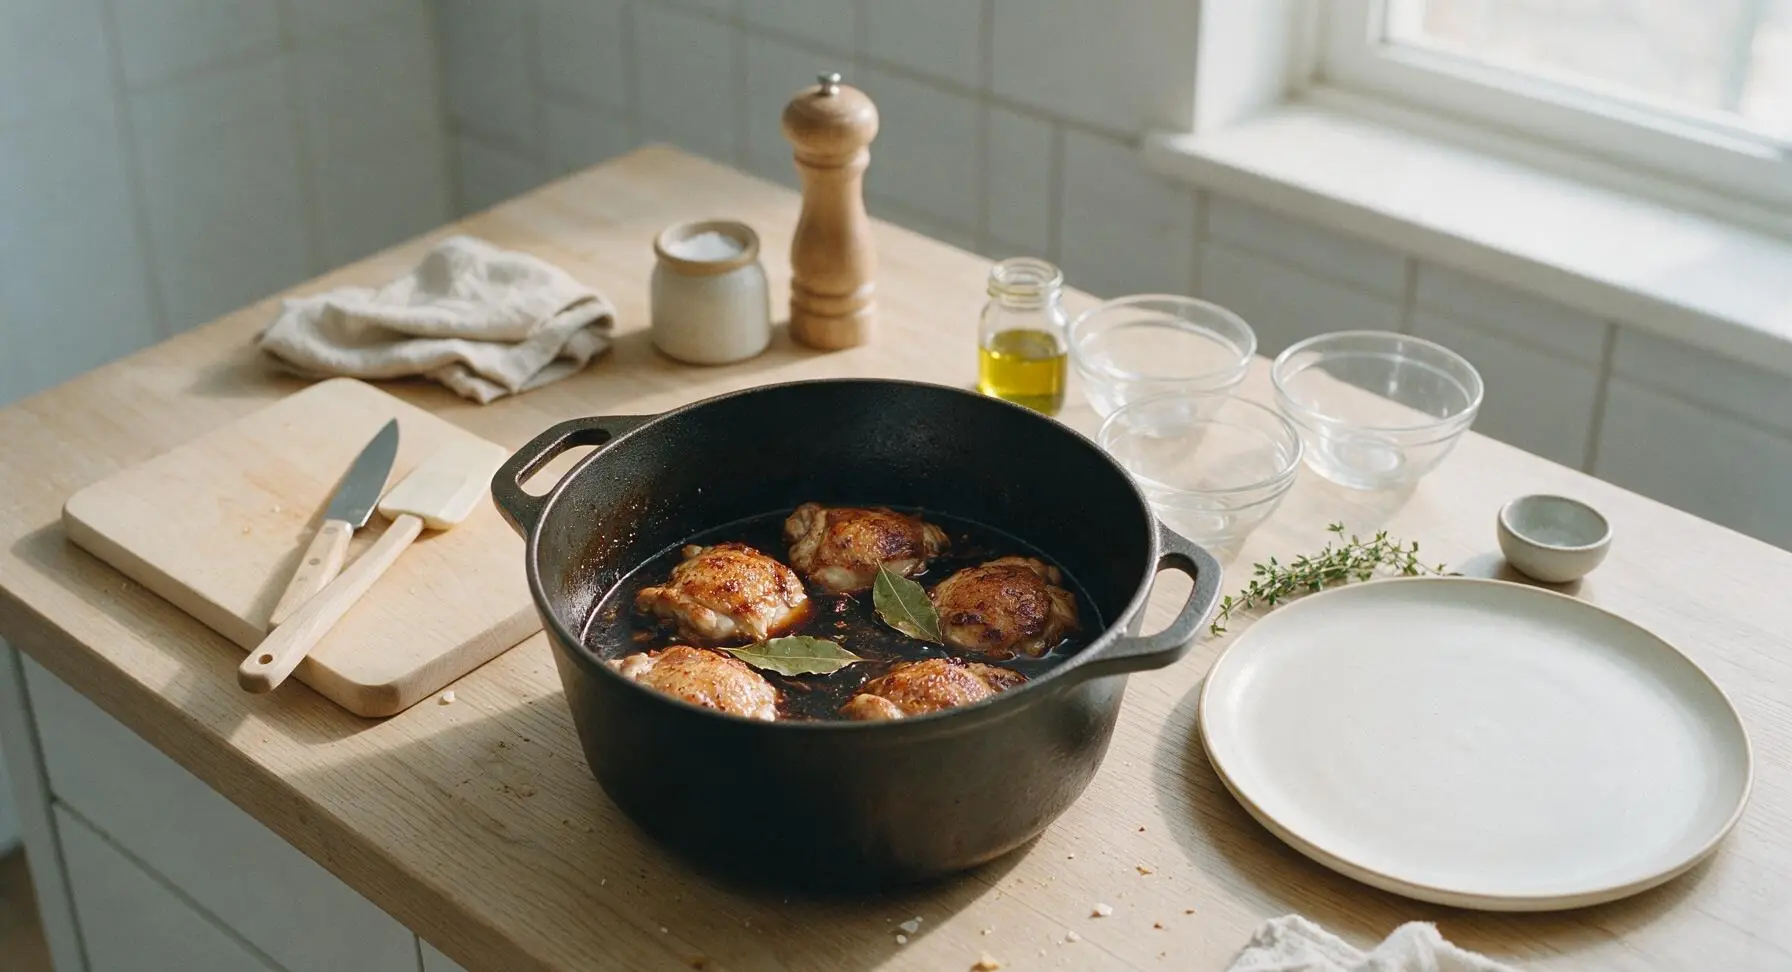
Step 5
step5:Add Braising Ingredients
6

Simmer Until Tender

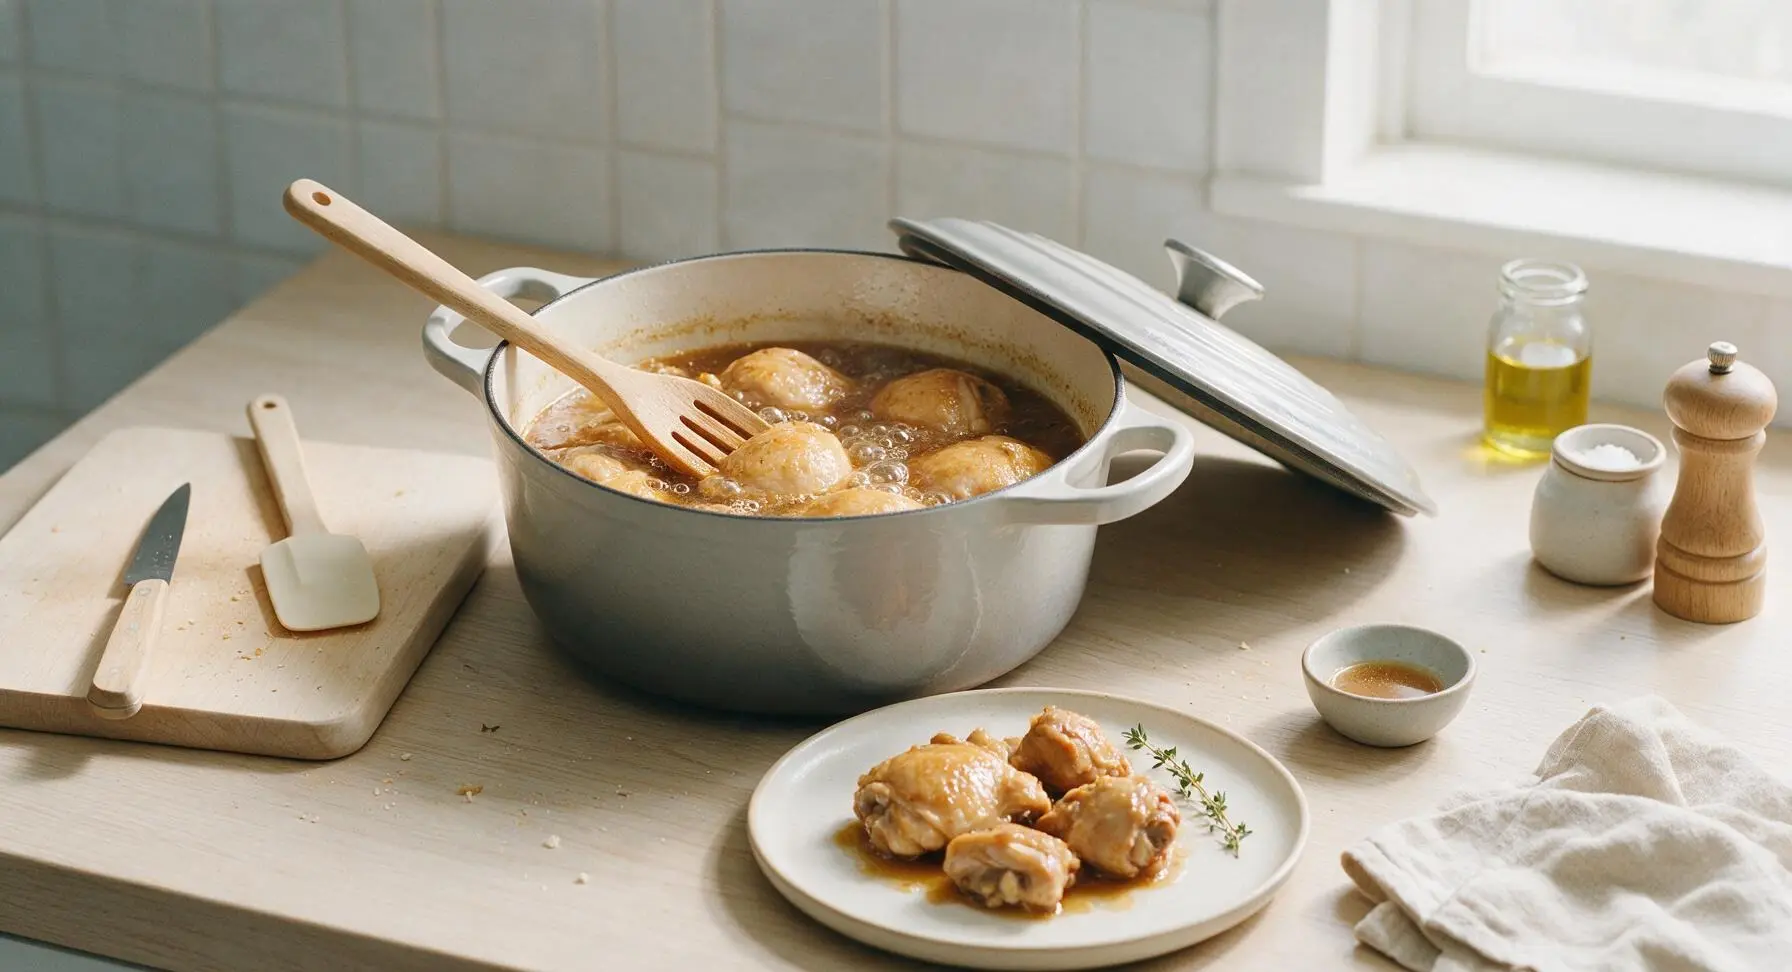
Bring the braising liquid to a gentle rolling boil, then immediately reduce heat to low, cover the Dutch oven with its fitted lid. Simmer for 25 minutes, turning the chicken pieces once halfway through cooking, until the chicken is fork-tender and pulls easily from the bone but does not fully fall apart. Avoid rapid boiling, as high heat will make the chicken meat tough and stringy.
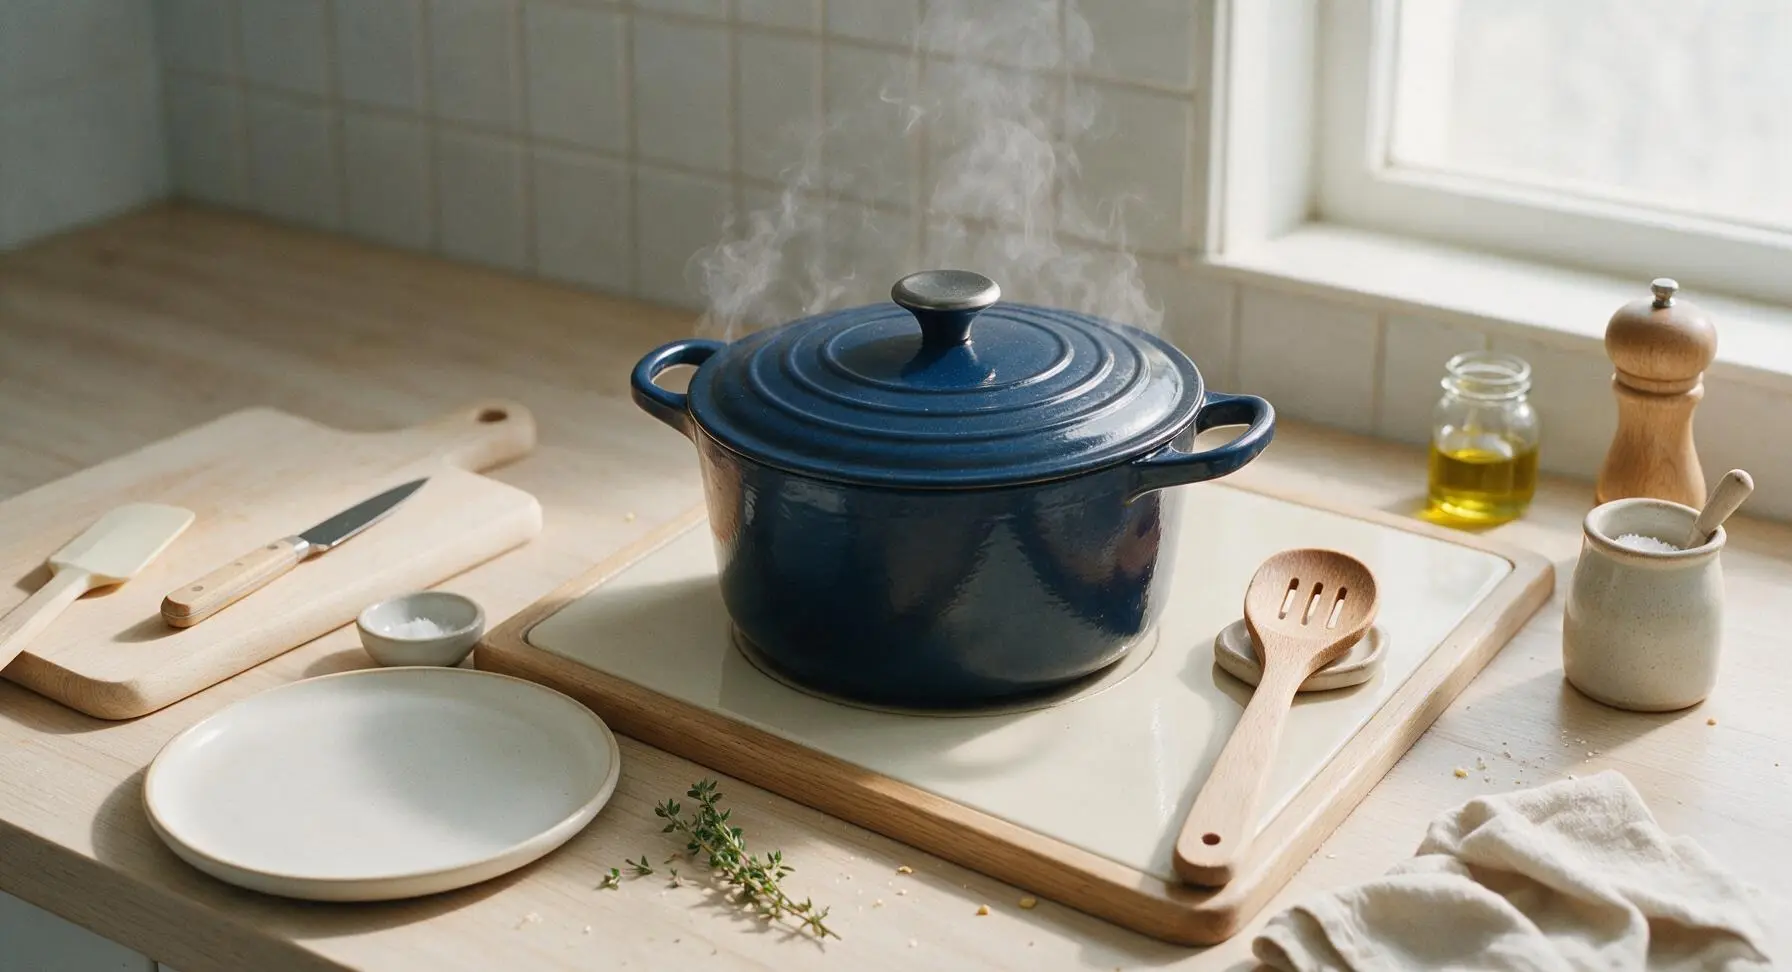
Step 6
step6:Simmer Until Tender
Step 6
step6:Simmer Until Tender
7

Reduce Sauce to Glossy

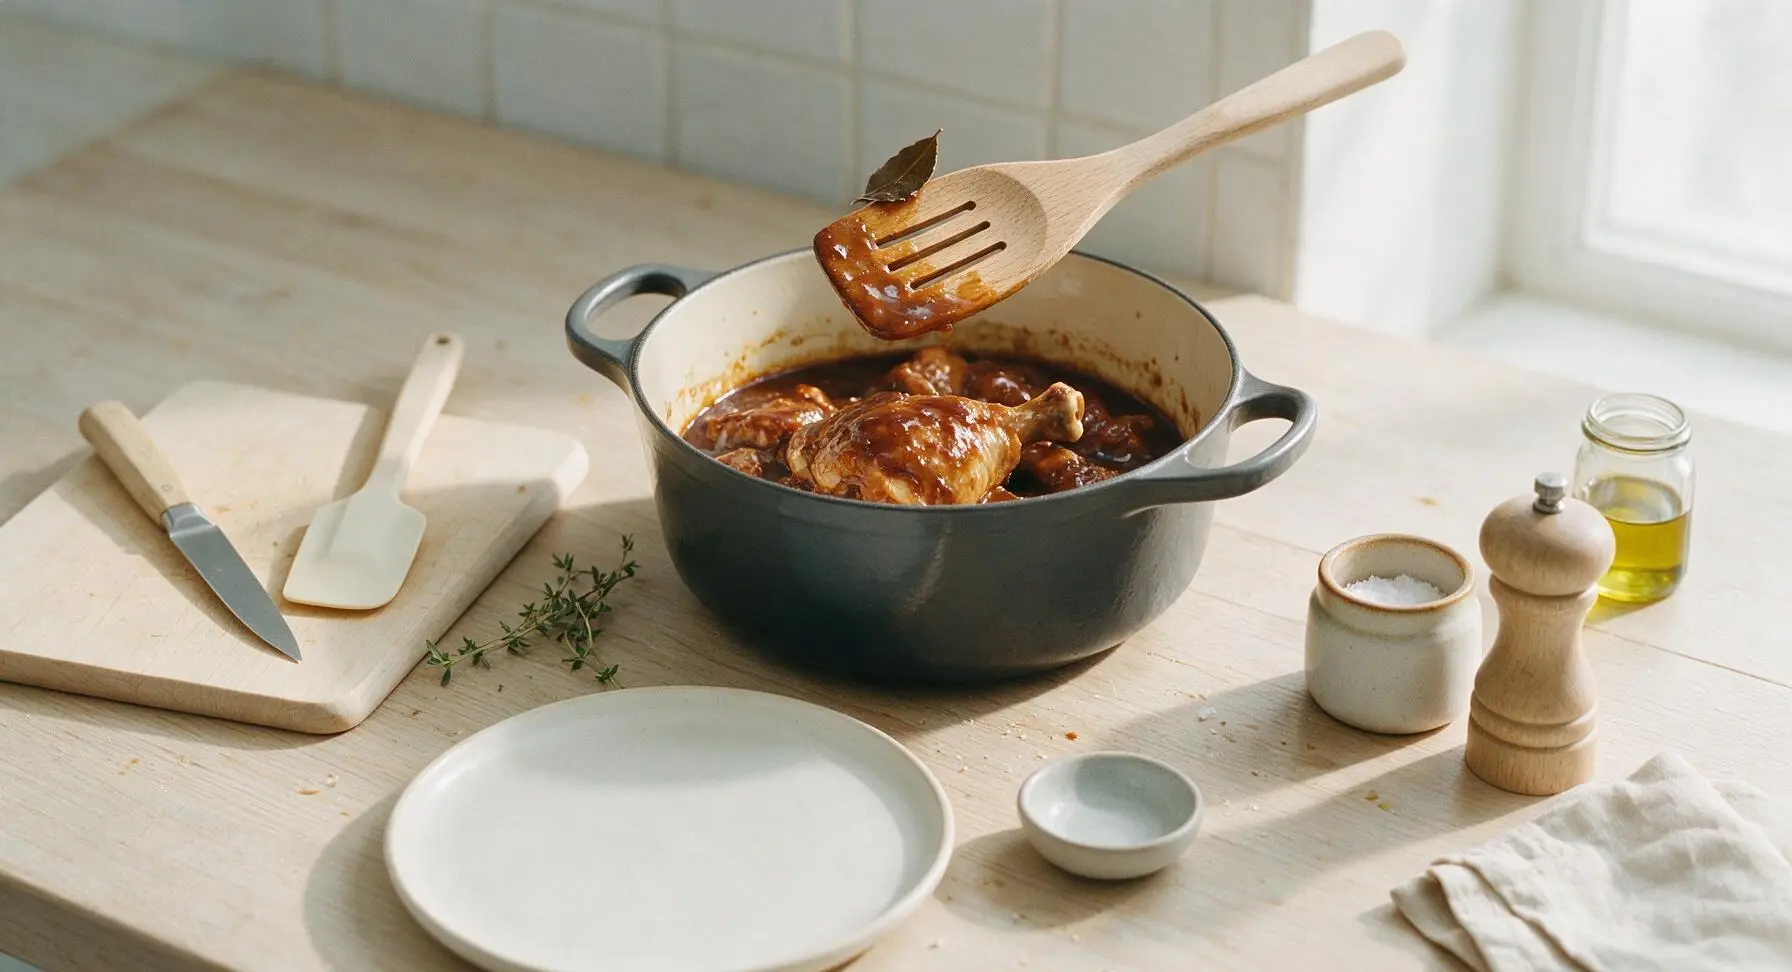
Keep the Dutch oven uncovered, turn heat up to medium-low. Simmer for 8-10 minutes, basting the chicken pieces with sauce occasionally using the slotted spoon, until the sauce reduces by roughly one third, turns thick and glossy, and coats the back of a spoon. Fish out and discard the spent bay leaves before serving.
Step 7
step7:Reduce Sauce to Glossy
8

Plate and Garnish

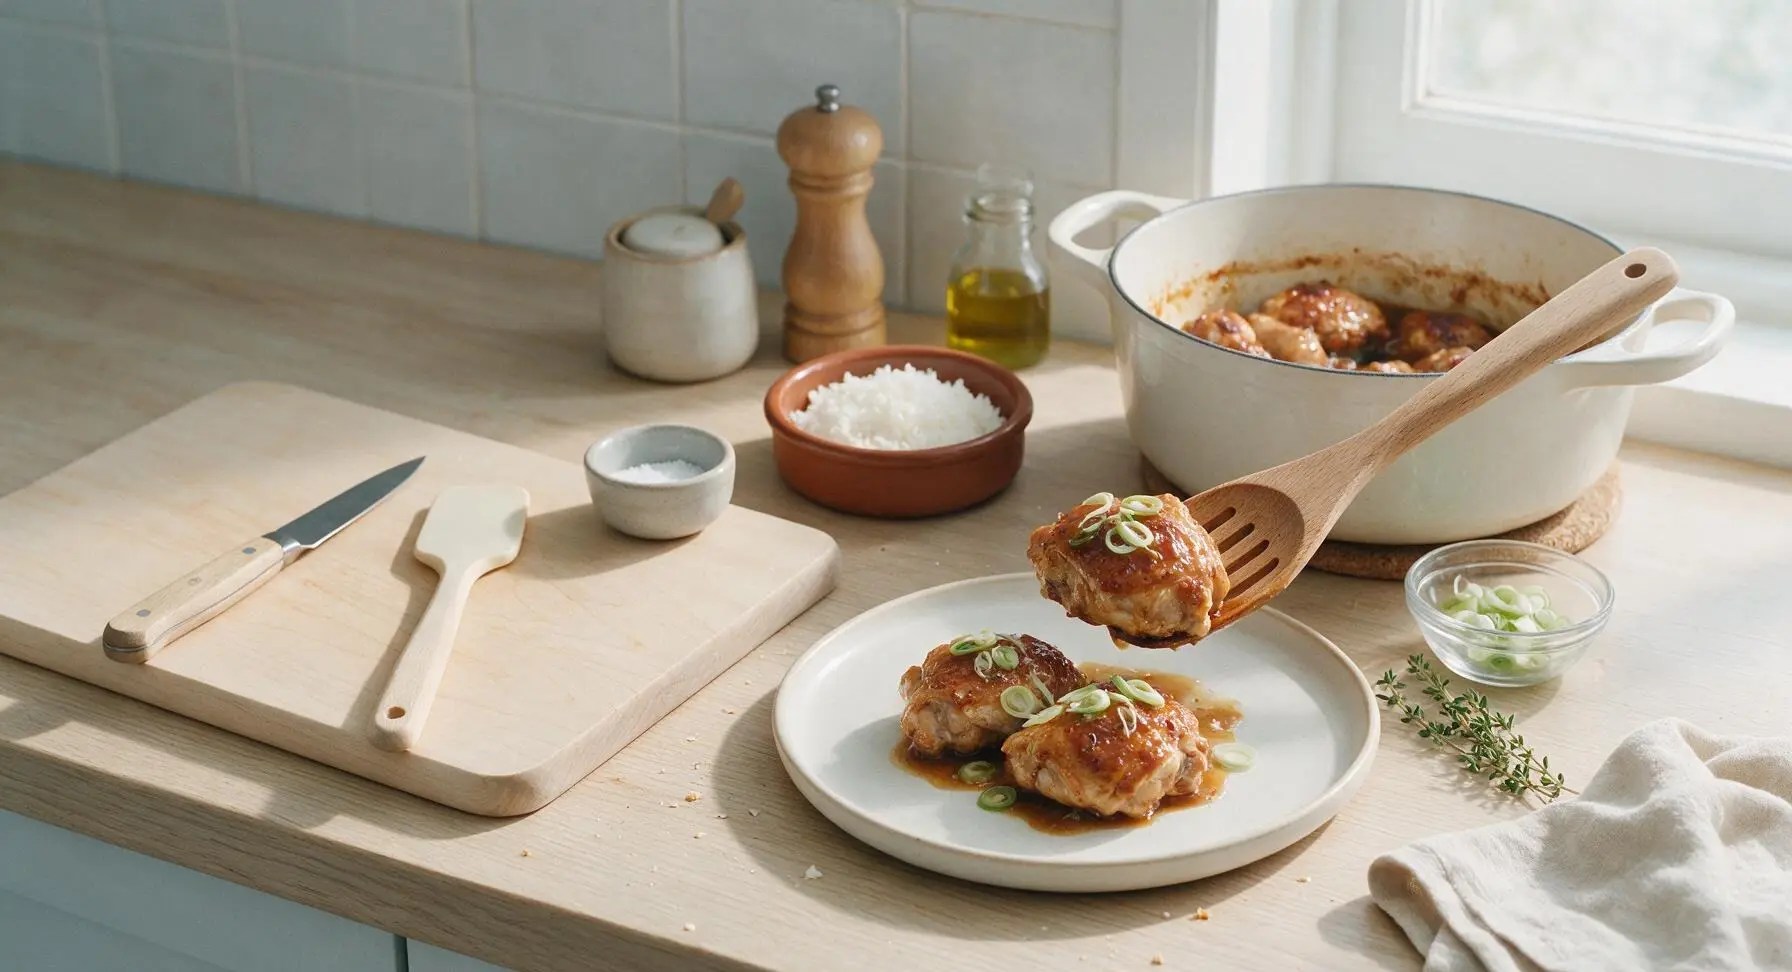
Transfer 2 pieces of chicken per serving to the matte cream white ceramic dinner plate, spoon 2 tablespoons of reduced braising sauce over each serving. Garnish evenly with the thinly sliced scallions, and serve alongside a scoop of fluffy steamed white rice in the small terracotta side dish.
Step 8
step8:Plate and Garnish

Tips

1.Always use bone-in, skin-on chicken thighs for this recipe: the higher fat and connective tissue keeps chicken juicy through braising, and rendered skin adds rich, savory depth to the sauce that lean breast meat cannot match.
2.Resist the urge to stir the braising liquid immediately after adding vinegar: letting the vinegar heat and mellow undisturbed for the first 5 minutes of simmering prevents a sharp, harsh sour taste, creating adobo’s signature balanced tangy-savory profile.
3.Pat chicken completely dry with paper towels before searing: excess surface moisture causes chicken to steam instead of forming a crisp, golden-brown crust, which adds critical texture and caramelized flavor to the finished dish.


✨ You May Also Like

Main Course
🍜 United Kingdom

A showstopping classic of tender seared beef, savory mushroom duxelles, and crisp prosciutto wrapped in flaky golden puff pastry, baked to juicy perfection.

⏱️ 2 hours 1Main Course ★ 4.7
Main Course
🍜 India

Tender charred marinated chicken simmered in a rich, spiced creamy tomato sauce, this iconic Anglo-Indian curry pairs perfectly with basmati rice or warm naan.

⏱️ 50 minuteMain Course ★ 4.6
Main Course
🍜 Thailand

Classic tangy, sweet, and savory Thai stir-fried rice noodles with shrimp, tofu, and crunchy garnishes, balancing all five core Thai flavor profiles.

⏱️ 30 minuteMain Course ★ 4.5
Main Course
🍜 United Kingdom

Crispy golden beer-battered cod and fluffy double-fried chips, served with tangy tartar sauce and malt vinegar: the timeless, beloved British pub comfort classic.

⏱️ 45 minuteMain Course ★ 4.7
Main Course
🍜 Mexico

Smoky, chile-marinated pork tacos with caramelized pineapple, fresh cilantro, and lime: a beloved classic Mexican street food perfect for casual summer gatherings.

⏱️ 1 hour 45Main Course ★ 4.8
Main Course
🍜 United States

Crunchy Fritos corn chips layered with savory beef chili and melted cheddar, topped with cool, zesty fixings for a beloved, cozy Tex-Mex comfort food.

⏱️ 35 minuteMain Course ★ 4.8

manok:Frequently Asked Questions

1.Why does this recipe call for bone-in, skin-on chicken thighs instead of lean chicken breast? ▾
Bone-in, skin-on thighs stay exceptionally juicy through the low, slow braise, unlike lean breast which easily turns dry and stringy. Rendered skin fat adds silky richness to the sauce, and the bone infuses deep, savory depth as it simmers. If you prefer white meat, add bone-in breast pieces only in the last 15 minutes of cooking to avoid toughness.
2.Can I use regular soy sauce instead of low-sodium soy sauce for this adobo? ▾
You can, but cut the total soy sauce amount by roughly one-third to avoid an overly salty final dish, since classic adobo relies on a balanced tangy-savory profile. Low-sodium soy sauce lets you control salt levels better, so bright vinegar and garlic notes don’t get overpowered by brininess. Always taste and adjust seasoning at the end of cooking.
3.Is there a good substitute for white cane vinegar if I can’t find it locally? ▾
If you can’t source white cane vinegar, unseasoned rice vinegar is your closest swap, as it has a similar mild, bright tang without harsh sharpness. Avoid apple cider vinegar or balsamic vinegar, which add fruity notes that throw off the classic flavor. If using distilled white vinegar, cut it with 1 teaspoon of water per tablespoon to mellow its bite.
4.Do I need to marinate the chicken before braising it for adobo? ▾
While you can skip marinating for a quick weeknight meal, letting chicken rest in the soy, vinegar, garlic, and peppercorn mix for 30 minutes to 2 hours in the fridge lets flavors penetrate deeper into the meat. Skip overnight marinating—too much time in acidic vinegar can break down chicken texture and leave it mushy.
5.Why does the recipe use whole black peppercorns instead of cracked or ground pepper? ▾
Whole black peppercorns release slow, warm, woody spice as they simmer in the braising liquid, instead of the sharp, hot punch you get from pre-cracked or ground pepper. They add subtle, layered heat without making every bite overly peppery, and you can fish them out before serving if you prefer a smoother sauce.
6.My adobo turned out too sour—how do I fix that without ruining the flavor? ▾
If your adobo is overly tangy, stir in a tiny pinch of brown sugar (no more than 1 teaspoon at a time) to round out the sharp acid, and add a splash of low-sodium chicken broth to dilute the vinegar slightly. Avoid adding too much sugar, as classic adobo is not a sweet dish—you just want to balance, not mask, the tang.
7.Should I sear the chicken first before adding the braising liquid? ▾
Searing chicken skin-side down for 3 to 4 minutes per side before braising adds deep, toasty flavor and creates slightly crisp skin that holds up better during simmering. It’s not strictly required for every household’s traditional adobo, but it adds wonderful texture and renders excess skin fat so your final sauce doesn’t feel greasy.
8.How long should I simmer adobo to get perfectly tender chicken? ▾
Simmer covered chicken over low heat for 35 to 40 minutes, then uncover and cook for 5 to 7 more minutes to let the sauce reduce slightly. Don’t boil it on high heat, as that will make chicken tough and cause the vinegar to taste harsh. Chicken is done when it pulls easily from the bone but doesn’t fall apart completely.
9.Can I make this adobo ahead of time, and does it reheat well? ▾
Adobo actually tastes better the day after you cook it, as the flavors meld and deepen as it rests in the fridge. Store it in an airtight container for up to 4 days, and reheat gently on the stovetop over low heat with a splash of water if the sauce thickens too much. It also freezes well for up to 3 months without texture loss.
10.What are the best sides to serve with classic adobong manok? ▾
The undisputed classic pairing is fluffy steamed white rice, which soaks up the tangy, savory sauce perfectly. You can also serve it with garlic fried rice for a heartier meal, crisp pickled green papaya (atchara) to cut through richness, or steamed bok choy for a fresh, green contrast. Skip heavy, heavily sauced sides that compete with adobo’s bold flavor.
11.Can I remove the chicken skin before cooking if I don’t eat it? ▾
You can absolutely remove the skin if you prefer, but add 1 teaspoon of neutral cooking oil (like canola or avocado oil) to the pot when you start braising to replace the rendered fat that would normally come from the skin. Without that small amount of fat, the sauce will feel thin, and chicken may stick to the pot as it simmers.
12.Why do some recipes say not to stir adobo while the vinegar is cooking? ▾
When vinegar first comes to a simmer, stirring too early can spread the raw, sharp vinegar taste throughout the dish instead of letting it mellow as it cooks. Let the liquid simmer for the first 10 minutes before giving it a gentle stir, so the acid cooks down to a smooth, rounded tang instead of tasting harsh and unbalanced.
13.Can I add extra ingredients like bay leaves or potatoes to this classic recipe? ▾
A single dried bay leaf is a common optional add-in that lends subtle earthy depth without straying from classic flavor, and cubed Yukon gold potatoes can be added in the last 20 minutes of cooking for a heartier meal. Skip heavy add-ins like oyster sauce or extra sugar, as those mask the iconic tangy-savory balance that makes the dish a staple.

Comments (16)

1 week ago

OMG, made this for last week’s potluck at work and people were begging me for the recipe! I was a little nervous cooking Filipino food for the first time but it was so easy, even for a beginner like me. The chicken got so fall-off-the-bone tender, I’m obsessed.

5 days ago

Same! I brought this to my block party last month and the whole pan was gone in 20 minutes. People thought I ordered it from a local Filipino spot lmao

3 days ago

So happy to hear this was a potluck hit! A quick pro tip: letting the chicken marinate for an extra hour before braising makes the flavor even deeper if you have the time next go-around!

2 weeks ago

Total game changer for weeknight meal prep! I made a big batch on Sunday, and it reheated perfectly all week for lunches and quick dinners. My kids loved it even though they usually complain about “new foods” — win!

2 weeks ago

Thrilled this was a hit with your boys! Adobo is such a great meal prep staple because the flavors actually get better as it sits in the fridge, so that’s perfect for weekly batch cooking.

3 days ago

I swapped the regular soy sauce for low-sodium since I’m watching my salt intake, and it still turned out incredible. The cook time was exactly 45 minutes like the recipe said, no surprises. Served it with some roasted broccoli on the side for our family dinner, and it was chef’s kiss.

2 hours ago

Came home after a 12 hour shift and threw this together with stuff I already had in the pantry. I cannot believe how much flavor it has for how little effort it takes! 10/10 will be making this on repeat on busy weeks.

30 minutes ago

Right?! I work weird construction hours and this is my new go-to when I get home late. Minimal cleanup too because it’s all one pot!

5 minutes ago

Love that this works for your busy schedule! The one-pot setup is exactly why we love this recipe for chaotic weeknights — less time doing dishes, more time eating good food.

yesterday

Wait, is it normal for the sauce to be a little tangy at first? I thought I messed up the vinegar ratio, but once it simmered down it mellowed out so nicely. Definitely adding hard boiled eggs to it next time like my tita does!

yesterday

Oh the hard boiled eggs are non-negotiable for me! I throw them in the last 10 minutes of braising so they soak up all that sauce, it’s life changing.

5 days ago

I tried this with boneless skinless thighs instead of bone-in because that’s what I had, and it was still super juicy. Might try it with tofu next time for a vegetarian version, I bet the sauce works amazing with crispy tofu.

3 days ago

My Filipino neighbor used to bring adobo over when I had my first baby, and this tastes exactly like hers! I cried a little when I took the first bite, it brought back so many nice memories. Thank you so much for sharing this recipe.

2 days ago

That makes our day to hear! Food is so tied to memory, and we love that this recipe could bring back those kind, warm moments for you. So glad it matched what your neighbor made.

30 minutes ago

Made this for my roommates last night and none of us had ever had adobo before. We all ate way too much, no leftovers at all. I added a little extra black pepper because we love spice, and it was *chef’s kiss*.

5 minutes ago

I add a couple sliced Thai chilis to mine for extra heat! It cuts the richness so well, highly recommend trying that next time.

just now

Wait I did extra pepper too! Thought I was the only one, glad to see that slaps. Gonna try the Thai chili trick next batch.

1 week ago

I was skeptical about braising chicken in vinegar and soy, but my god this is SO good. I made it on my smoker adjacent burner last weekend when I was doing ribs, and even my smoked-meat-obsessed friends were raving about the chicken more than the ribs. Wild.

5 days ago

That is the highest compliment, beating out smoked ribs! So glad you gave the flavor combo a chance — it’s a classic for a reason.

2 weeks ago

I’ve tried like 4 different adobo recipes online and this is by far the easiest and most flavorful one. No weird hard to find ingredients, everything is at my regular grocery store. Game changer for my weekly rotation!

1 week ago

Wait have you tried making this in the slow cooker? I did it on low for 6 hours last week and the chicken just shredded apart, so good.

1 week ago

So glad this made it into your rotation! The slow cooker trick works great, just hold off on adding the vinegar until the last 30 minutes to keep that bright tangy flavor from getting too muted.

5 days ago

Super high protein, minimal added junk, tastes amazing. I paired it with cauliflower rice to keep it lower carb, and it didn’t even feel like a “diet meal” at all. Will be making this regularly for post-workout dinners.

2 days ago

I accidentally used apple cider vinegar instead of white vinegar once because I grabbed the wrong bottle, and honestly? It was still delicious! Added a little extra fruity depth that I actually loved, so I do it on purpose now.

yesterday

My lola uses coconut vinegar all the time, so swapping in different vinegars is totally legit! Apple cider sounds amazing, I’m gonna try that next week.

yesterday

Cooked this for my girlfriend who’s Filipino, and she said it tasted like home! I was so nervous I’d mess it up, but the instructions were super clear and straightforward. Major boyfriend points earned, thank you!

3 days ago

Wait, do you leave the bay leaves in when serving? I forgot to take them out before bringing it to my friend’s dinner, and someone almost ate a whole one lmao. Other than that mishap, the food was a total hit!

2 days ago

I always fish them out before serving, but honestly my family just knows to push them to the side of the plate! No harm done as long as you don’t bite into one, they’re pretty woody.

2 days ago

Great question! Bay leaves are just there to add flavor during braising, so we do recommend fishing them out before serving to avoid that exact crunchy, woody bite mishap. Glad the dish was still a hit despite the close call!

1 week ago

I made this with drumsticks because they were on sale at the grocery store, and it was so cheap to make but tastes like a restaurant meal. My husband said it’s better than the adobo we get at our local Filipino spot, which is high praise because he’s obsessed with that place.

5 days ago

That is such high praise! Drumsticks work perfectly for this recipe — the dark meat stays so juicy during braising, and they’re usually super budget friendly, which is a total win for weeknight cooking.

just now

Made this while we were camping in our van last weekend! Cooked it all in one cast iron Dutch oven over the campfire, and it was the best camping meal we’ve ever made. Even the camp neighbors wandered over to ask what smelled so good. 10/10, will be a staple on all our future trips.



