1.Why do you recommend 85/15 lean ground beef instead of a leaner blend for this Manwich recipe?
▾
85/15 ground beef strikes the perfect balance—enough fat to keep the filling juicy and rich without making it greasy, so you don’t end up with a soggy bun. Leaner blends like 90/10 can come out dry and crumbly even with tomato sauce, while fattier 80/20 leaves excess grease you’ll have to drain off, which washes away some of the deep beefy flavor that pairs so well with the tangy sauce.
2.Do I have to toast the sesame seed hamburger buns, or can I use them soft right out of the package?
▾
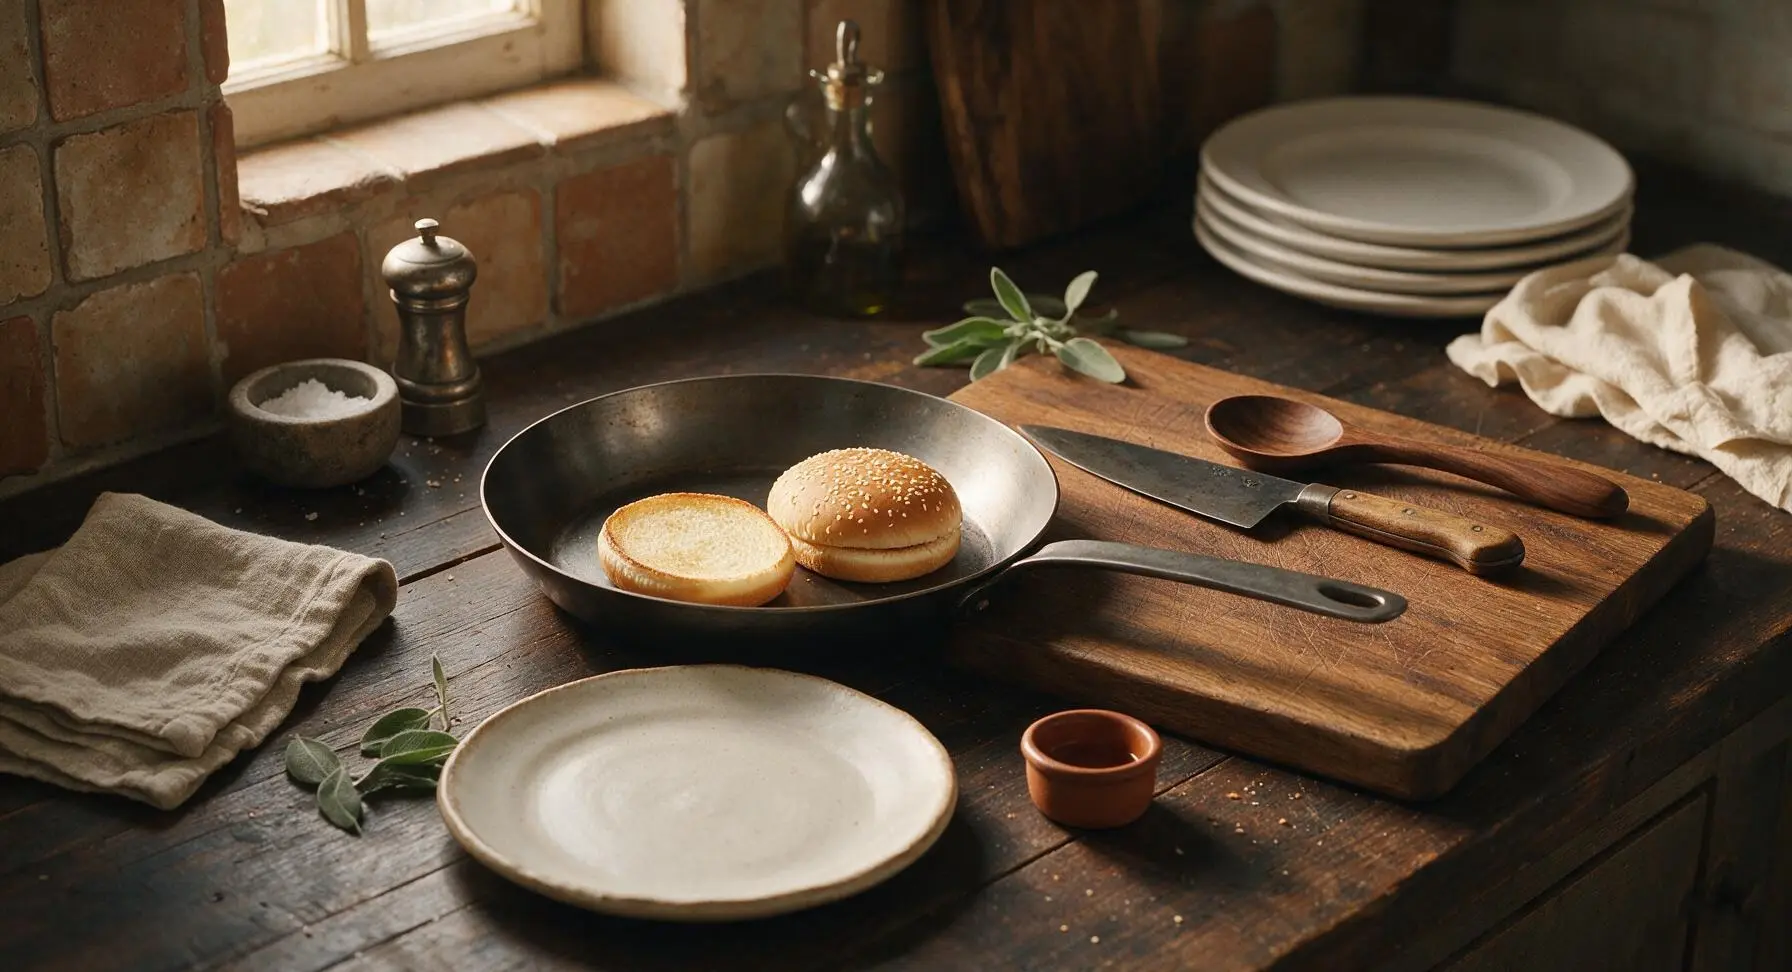
Toasting is totally optional but highly recommended! A light toast on the cut sides of the buns (either in a dry skillet or under the broiler for 30 seconds) creates a subtle crispy barrier that keeps the saucy beef filling from making the bottom bun soggy too fast. It also adds a nice toasty, nutty note from the sesame seeds that elevates the whole nostalgic sandwich experience.
3.Can I use a different type of onion if I don’t have yellow onion on hand?
▾
Yellow onion is ideal here because it has a balanced, mild sweet-savory flavor that softens beautifully as it sautés, but you can absolutely swap it if needed. Sweet white onion works as a near-identical substitute, while red onion will add a slightly sharper, brighter note. Just avoid super pungent storage onions that might overpower the tangy, sweet tomato sauce profile.
4.Why does the recipe call for no-salt-added tomato sauce instead of regular?
▾
Using no-salt-added tomato sauce gives you full control over the sodium level of the final filling, so you can adjust salt to taste instead of being locked into the often high salt content of regular canned tomato sauce. This is extra helpful if you’re serving kids, folks on low-sodium diets, or adding salty toppings like pickles or cheese, so the whole sandwich doesn’t end up overly salty.
5.What’s the point of adding tomato paste instead of just using extra tomato sauce?
▾
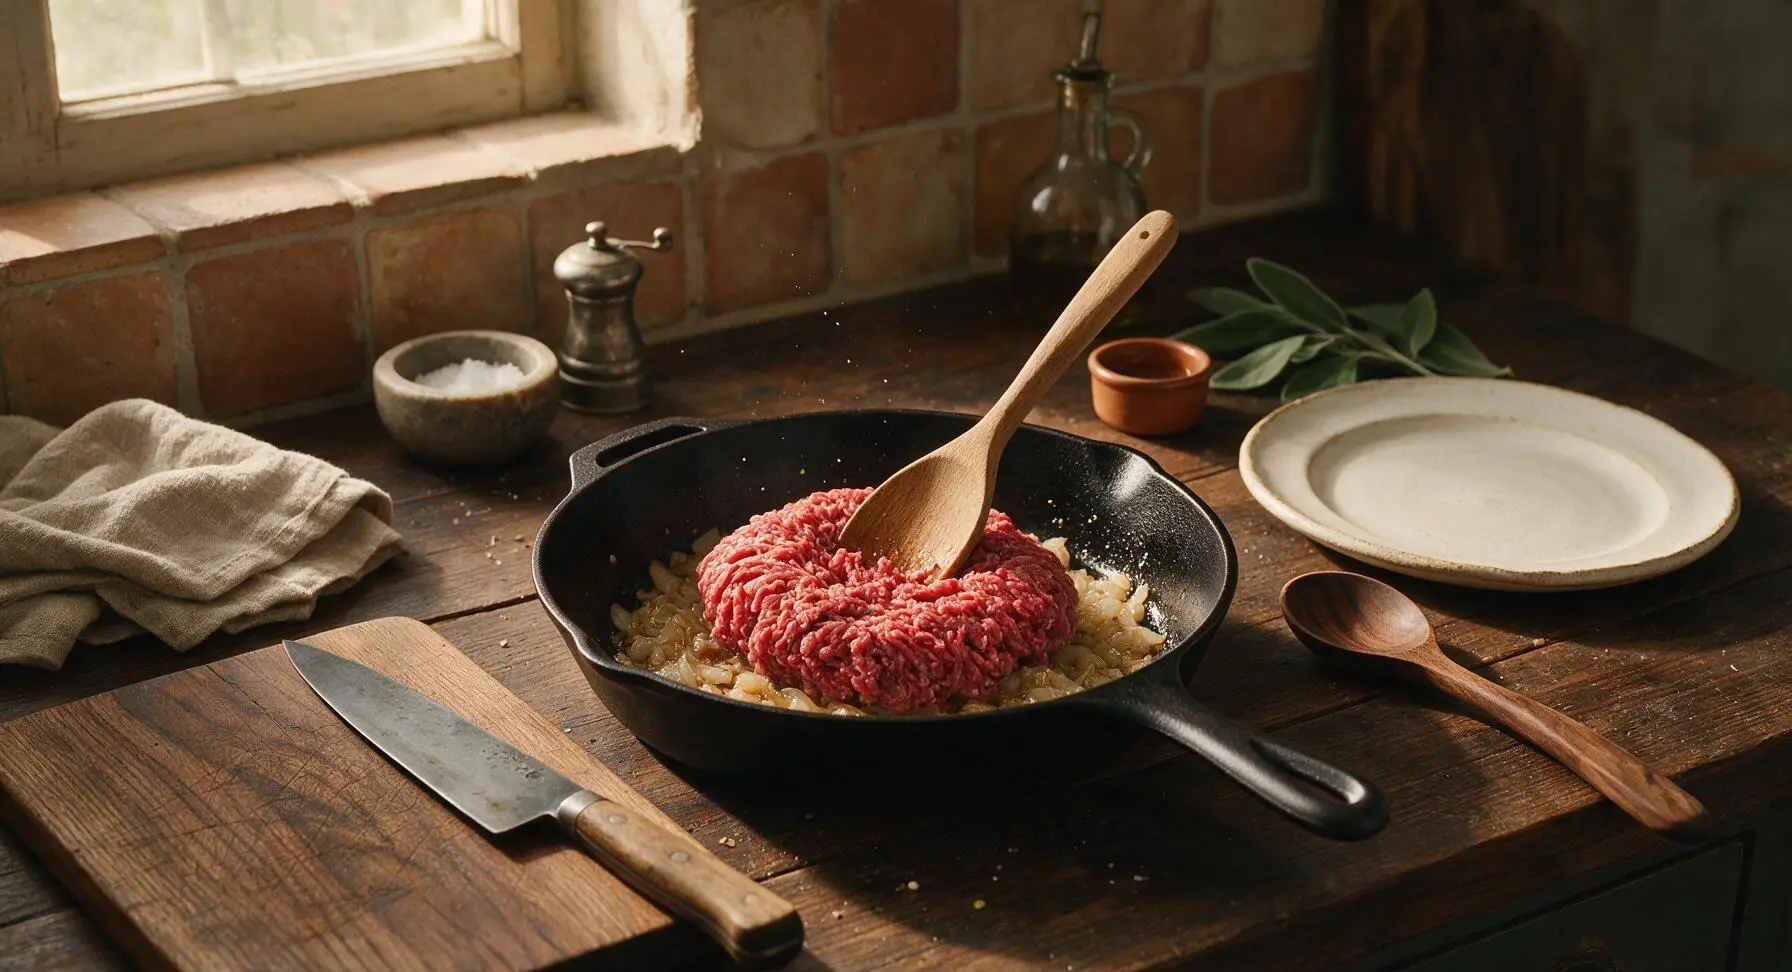
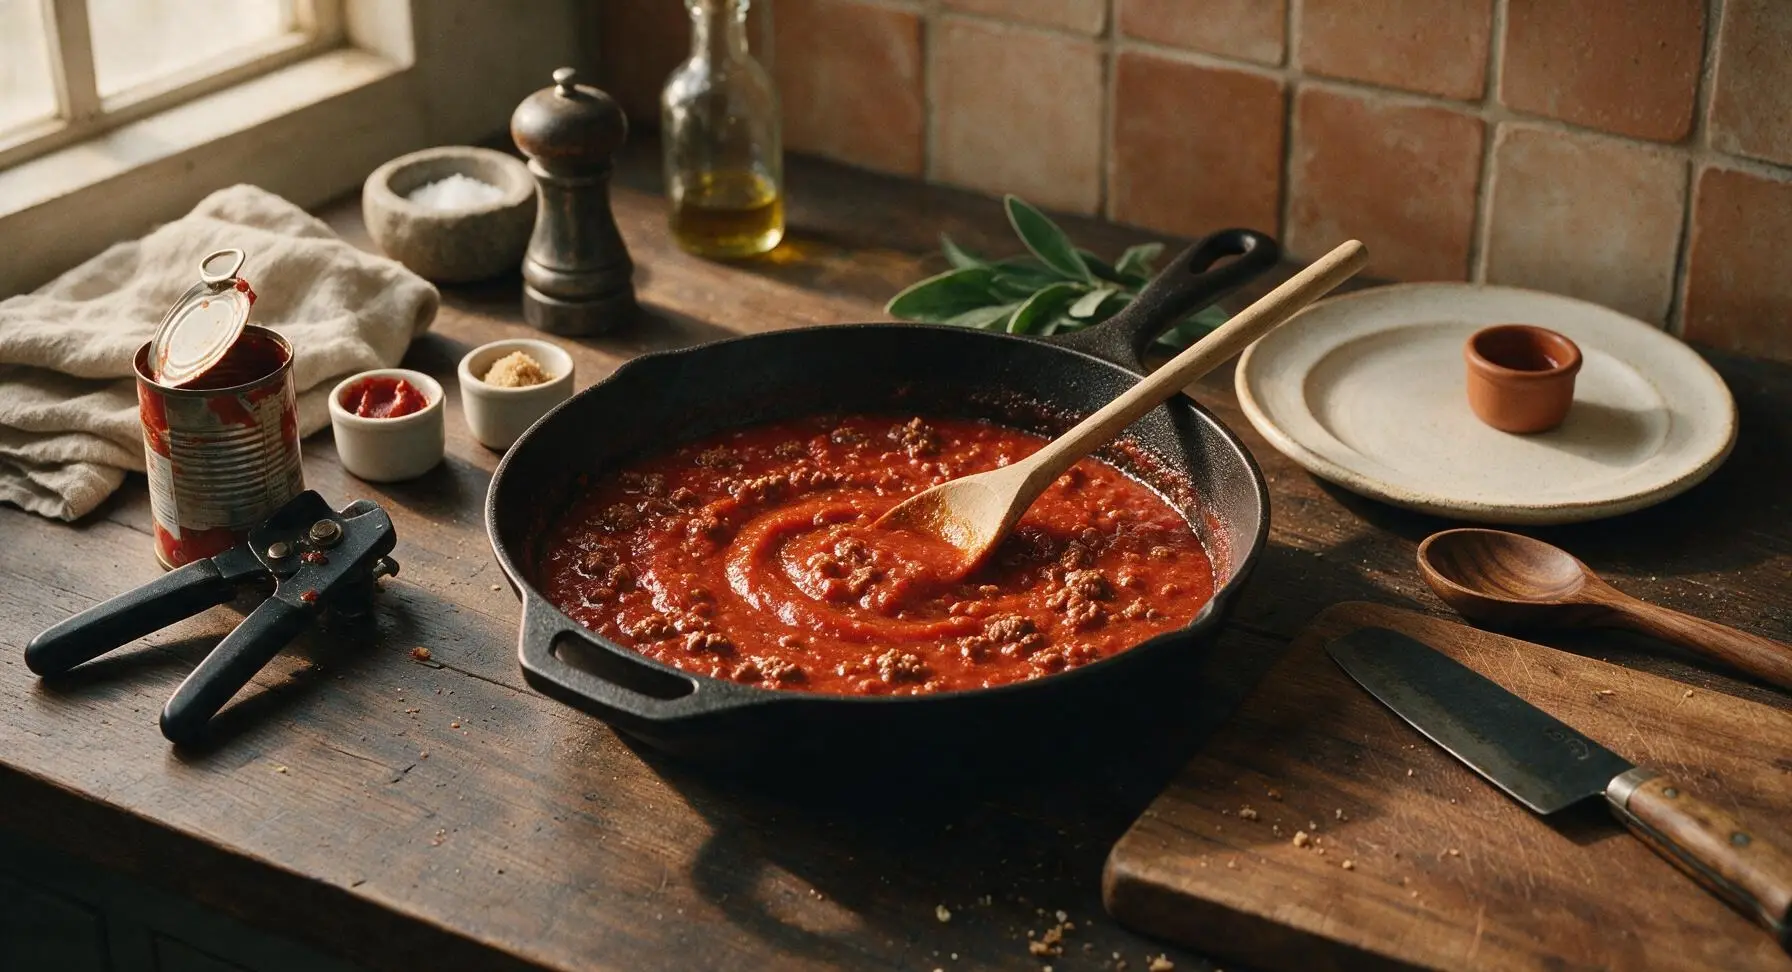
Tomato paste adds a deep, concentrated, caramelized tomato flavor that thin tomato sauce can’t match, which is key for that rich, bold Manwich taste. For the best results, cook the tomato paste in the pan with the sautéed onion and browned beef for 1 to 2 minutes before adding the tomato sauce—this toasts the paste, mutes its raw metallic taste, and helps it meld evenly with the filling.
6.How long do I need to simmer the beef filling for the best flavor and texture?
▾
Aim for a gentle 10 to 12 minute simmer after you add the tomato sauce and paste to the browned beef and onions. This gives the flavors time to meld, lets the sauce thicken just enough to cling to the beef instead of running all over your hands, and keeps the ground beef tender instead of tough. Avoid boiling it rapidly, which can break down the sauce and make the beef grainy.
7.Do I need to drain the grease from the ground beef after browning it?
▾
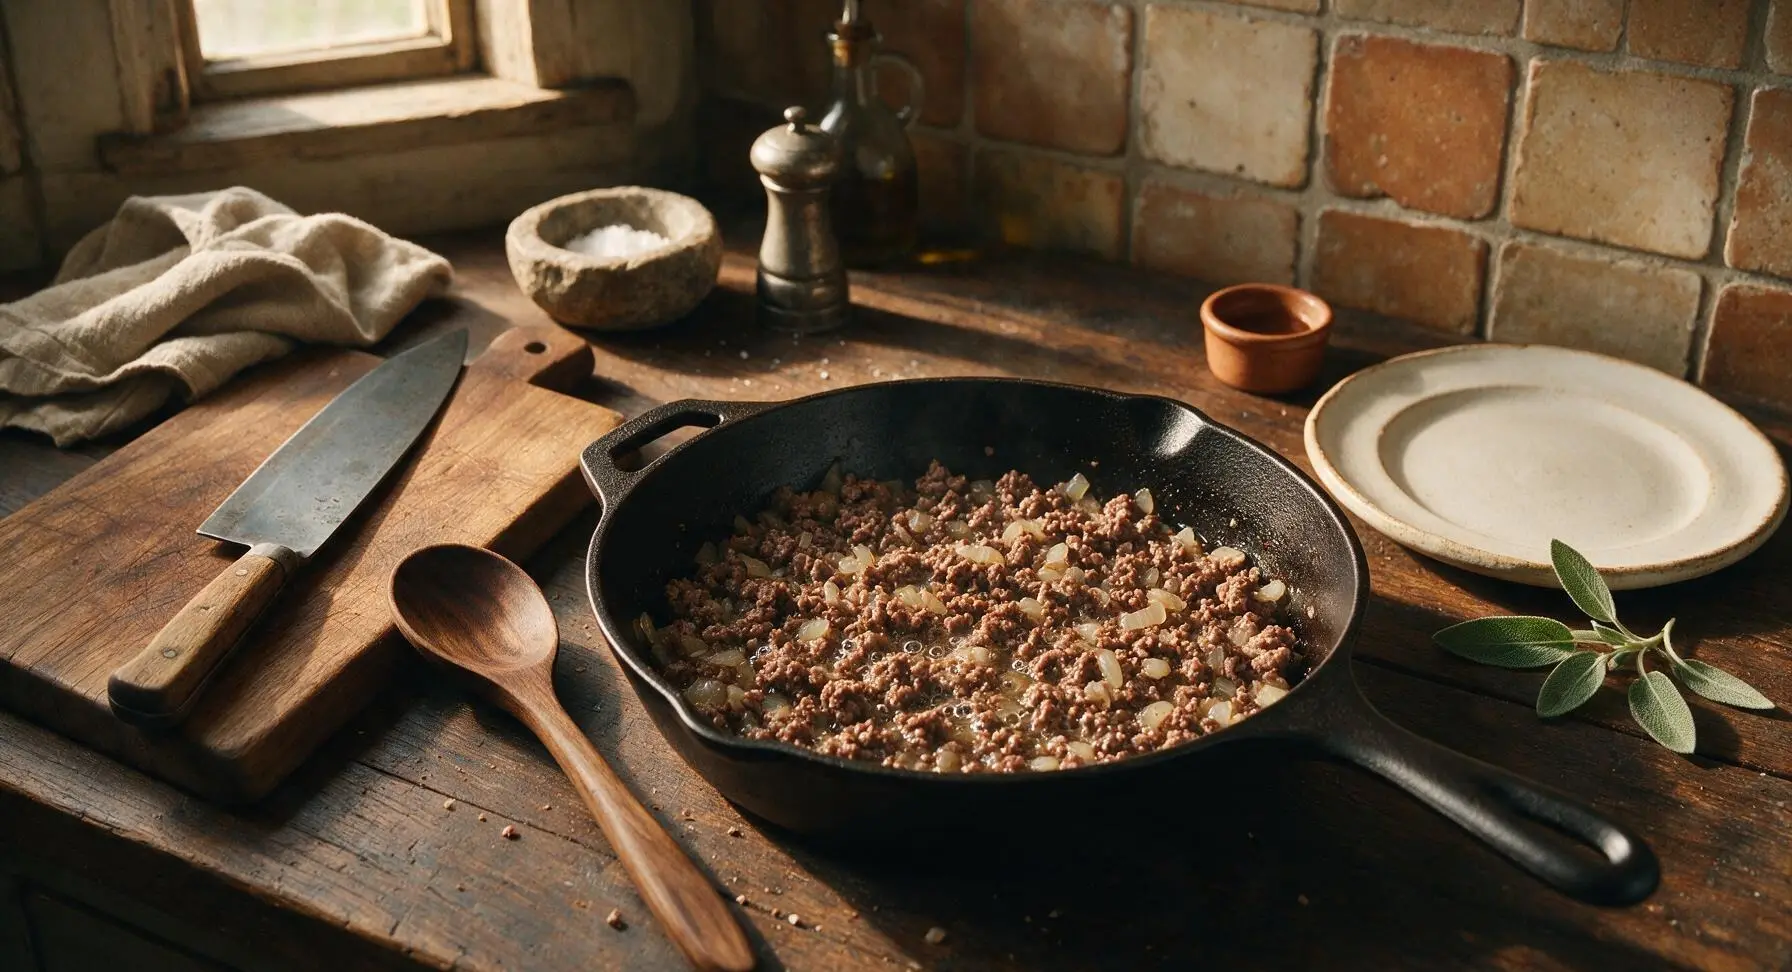
Since we’re using 85/15 ground beef, you’ll only have a small amount of rendered fat after browning—usually around 1 to 2 tablespoons. You don’t need to drain every last drop, because a little fat adds great flavor, but if you see more than that, spoon out the excess before adding your tomato products. Too much grease will make the sauce thin, greasy, and likely to soak straight through your toasted buns.
8.Can I make this Manwich filling ahead of time for meal prep or a party?
▾
Absolutely! This filling actually tastes even better the next day, because the flavors have time to meld together in the fridge. Let the cooked filling cool completely, store it in an airtight container for up to 3 days, then reheat it gently on the stovetop or in the microwave before piling it on buns. Just add a splash of water if it’s thickened up too much in the fridge.
9.What are the best classic toppings to add to a homemade Manwich?
▾
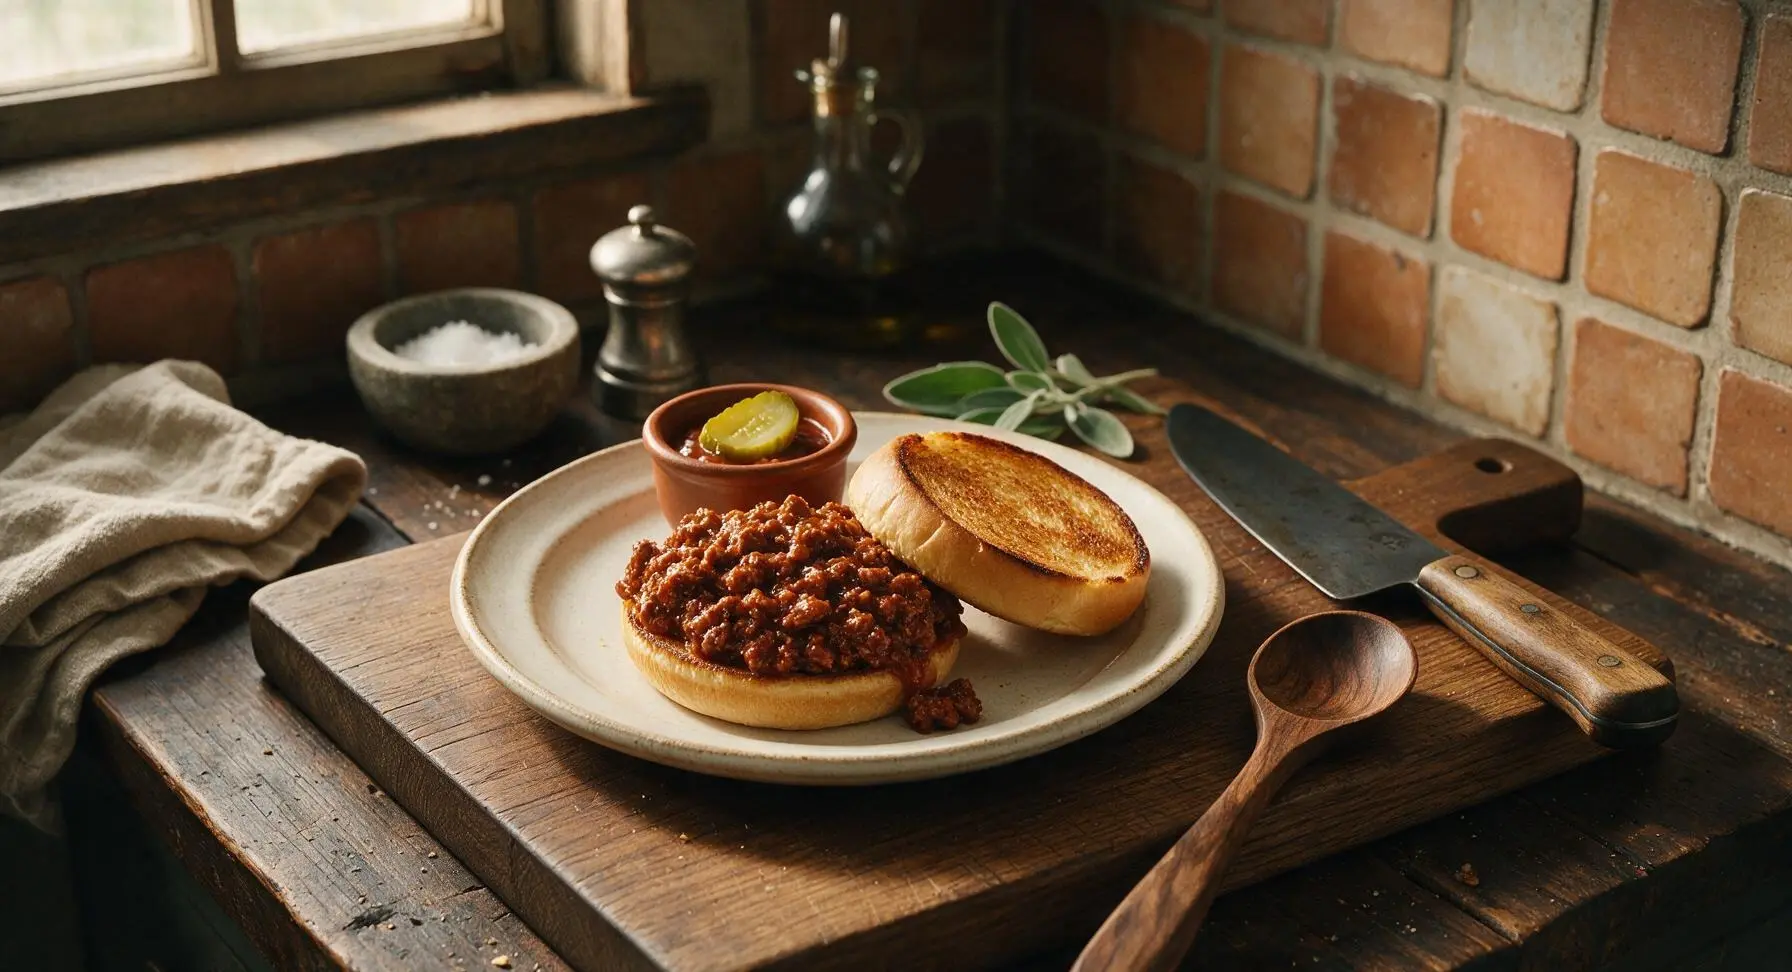
The nostalgic toppings work perfectly here: a slice of melty American cheese, dill pickle slices, a thin spread of yellow mustard, or a handful of crispy fried onions are all fan favorites. You can also add a scoop of coleslaw on top for a crunchy, creamy contrast, but keep it light—too many wet toppings will make the bun soggy and take away from that iconic tangy beef flavor.
10.Can I freeze leftover Manwich filling for later use?
▾
Yes, this filling freezes beautifully for up to 3 months. Let it cool fully, then portion it into freezer-safe airtight bags or containers, squeezing out as much excess air as possible to prevent freezer burn. Thaw it in the fridge overnight, then reheat on the stovetop over low heat, stirring occasionally, until it’s piping hot all the way through before assembling your sandwiches.
11.My sauce turned out too thin and runny—how do I fix that?
▾
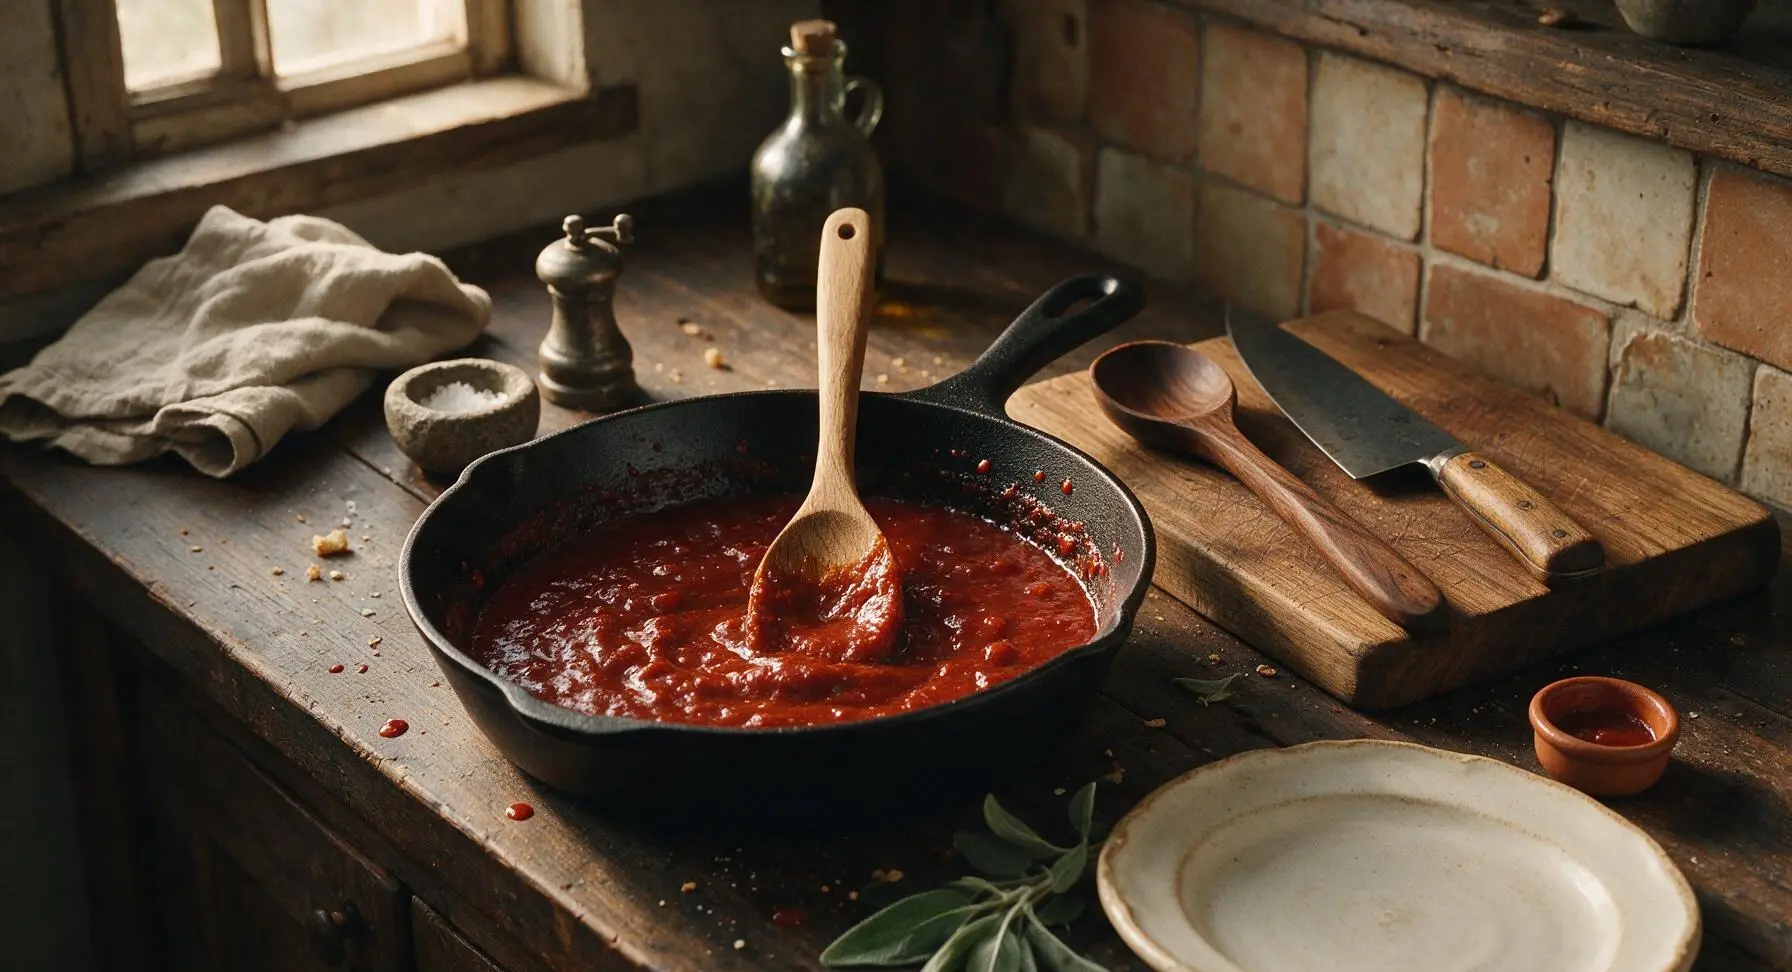
If your sauce is too runny, just let it simmer uncovered for an extra 3 to 5 minutes, stirring occasionally, to let excess water evaporate until it’s thick enough to coat the back of a spoon. Avoid adding thickeners like cornstarch unless absolutely necessary, since that can make the sauce gummy. Most of the time, a little extra simmer time is all you need to get that perfect, clingy texture.
12.Can I use a plant-based ground beef substitute to make this vegan or vegetarian?
▾
Definitely! Pick a plant-based ground beef that’s designed to crumble and brown like regular ground beef, and sauté it with the onion just like you would the 85/15 beef. Swap in vegan sesame buns if needed, and double-check that your tomato sauce and paste have no hidden animal products—most plain canned tomato products are already vegan, so this swap is super seamless.
13.How much filling should I pile on each bun to make the perfect sandwich?
▾
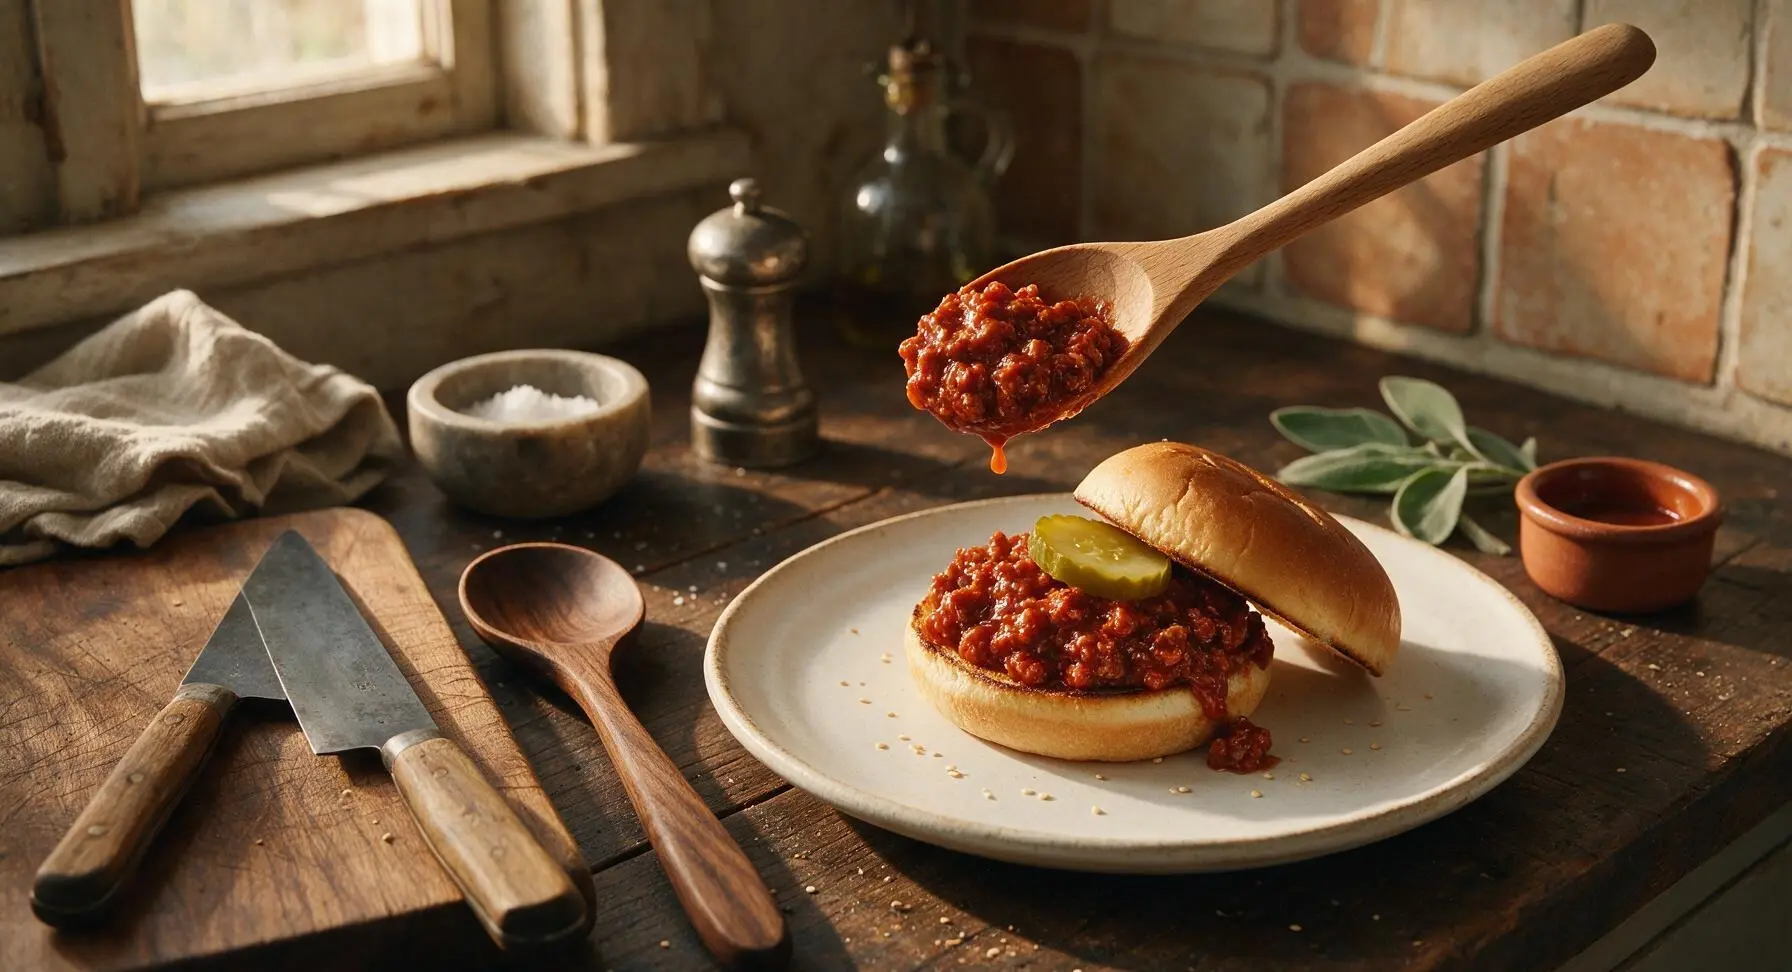
Aim for roughly ½ to ¾ of a cup of filling per standard-sized sesame hamburger bun. That’s enough to make a hearty, satisfying sandwich that has that perfect messy, nostalgic vibe, but not so much that filling spills out everywhere with every bite. If you’re using smaller slider buns, scale that down to ¼ cup per bun for easy, party-friendly servings.
14.What sides pair best with these homemade Manwich sandwiches?
▾
Classic, casual sides are the perfect match here: crispy baked French fries, tater tots, a simple side of potato chips, creamy coleslaw, or a crisp dill pickle spear all work beautifully. For a lighter option, a simple side salad with a tangy vinaigrette cuts through the rich, sweet-savory beef filling really nicely, and balances out the meal without overpowering the sandwich’s iconic flavor.
15.Can I add extra veggies to the filling to make it a little more nutrient-dense?
▾
Absolutely! Finely diced bell pepper, shredded carrot, or minced celery sautéed right along with the yellow onion blend seamlessly into the sauce without changing that classic Manwich taste. Just make sure to dice the veggies very small so they cook down fully and don’t leave big, chunky bits that throw off the familiar texture of the saucy ground beef filling. Stick to ½ cup of added veggies per pound of beef to keep flavors balanced.
16.Why is my ground beef tough and grainy in the filling?
▾
That usually happens if you cook the beef over too high heat, which makes it seize up and turn dry and crumbly, or if you simmer the filling for too long after adding the sauce. Cook the beef over medium heat, breaking it up gently with a wooden spoon as it browns into small pea-sized pieces, and stick to the 10 to 12 minute simmer time to keep the beef tender and soft, not tough or grainy.
17.Is there a way to make this recipe less sweet if I prefer a tangier, less sweet Manwich?
▾
Definitely! The classic profile balances sweet and tangy from the slow-cooked tomatoes and onion, but you can easily dial back sweet notes by skipping any optional added sweeteners and stirring in a teaspoon of apple cider vinegar or a squeeze of fresh lemon juice at the end of simmering. That extra bright acid amplifies the tangy tomato flavor for a sharper, less sweet take on the classic.
18.Can I make this recipe in a slow cooker instead of on the stovetop?
▾
Yes, it works great in a slow cooker for low-effort meals! First, brown the ground beef and sauté the onion on the stovetop, drain any excess grease, then add the beef, onion, tomato sauce, and tomato paste to the slow cooker. Cook on low for 2 to 3 hours, stirring occasionally, until the sauce is thick and flavorful. Avoid cooking longer than that, or the beef may turn dry and the sauce overly thick.
19.How do I keep the sandwiches from getting too soggy when serving them at a party or potluck?
▾
A few easy tricks prevent soggy buns: First, toast the cut sides of the sesame buns really well to create a crisp moisture barrier. Second, serve the warm beef filling in a small slow cooker or chafing dish on the side, and let guests assemble their own sandwiches right before eating. If you pre-assemble, add a thin layer of mustard or cheese slice to the bottom bun to block moisture from soaking into the bread.

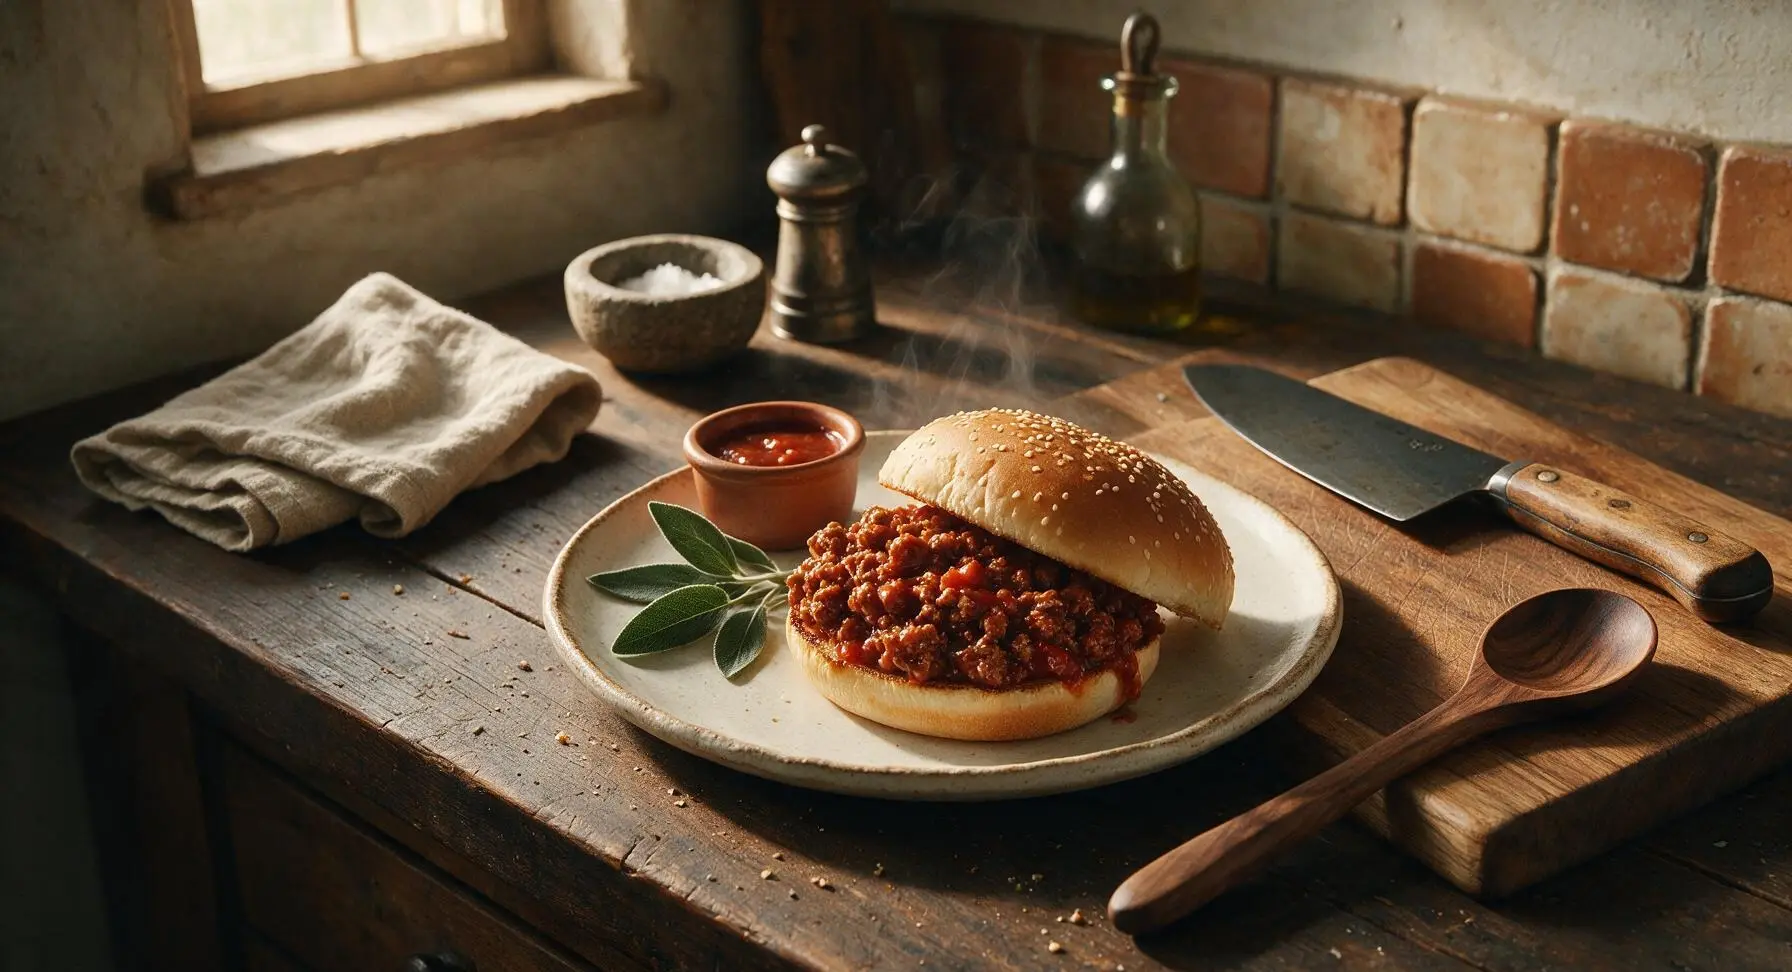
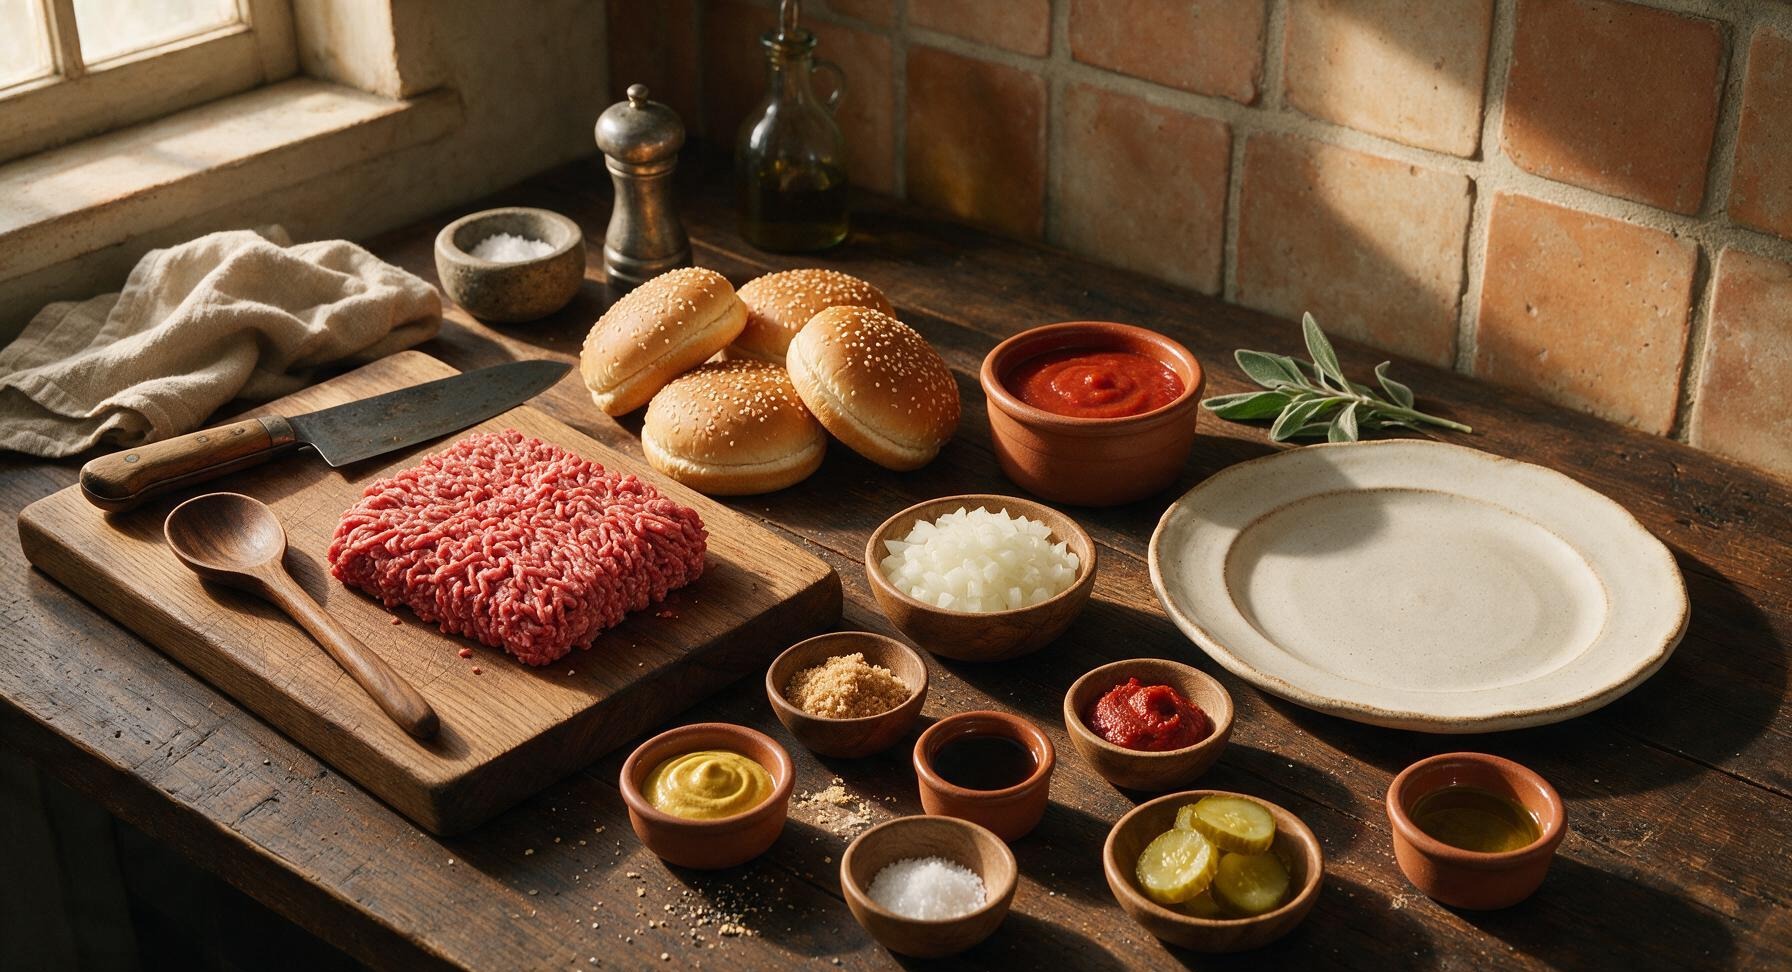
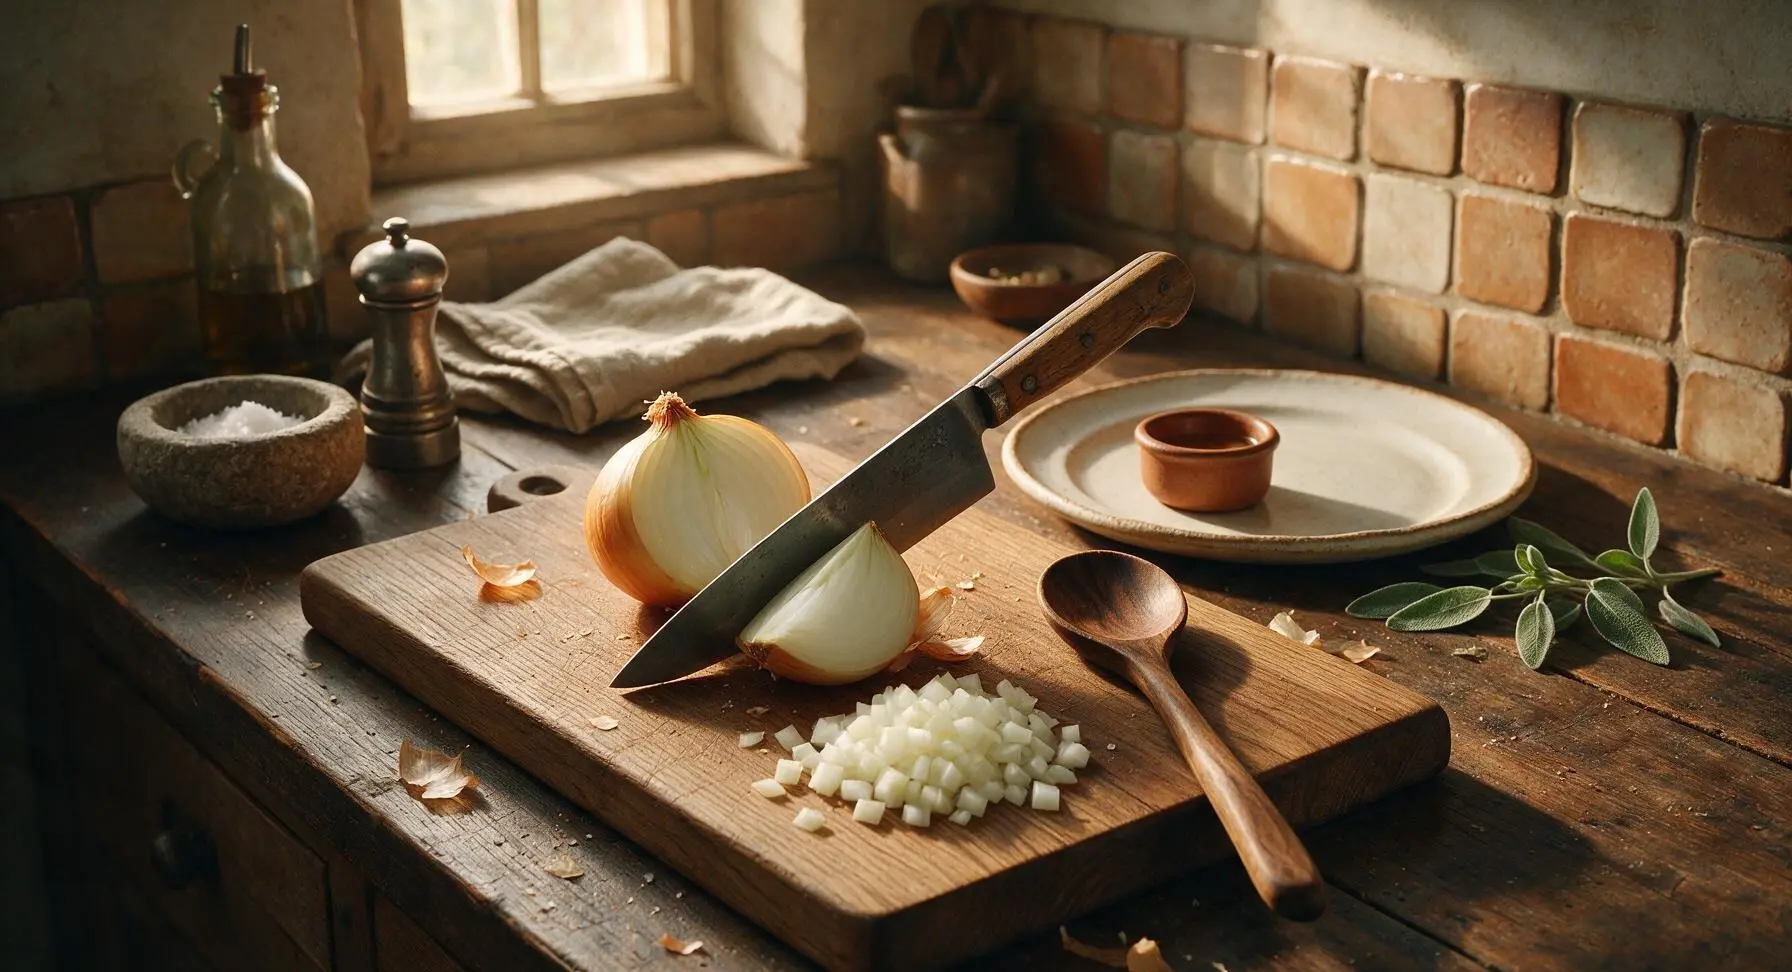
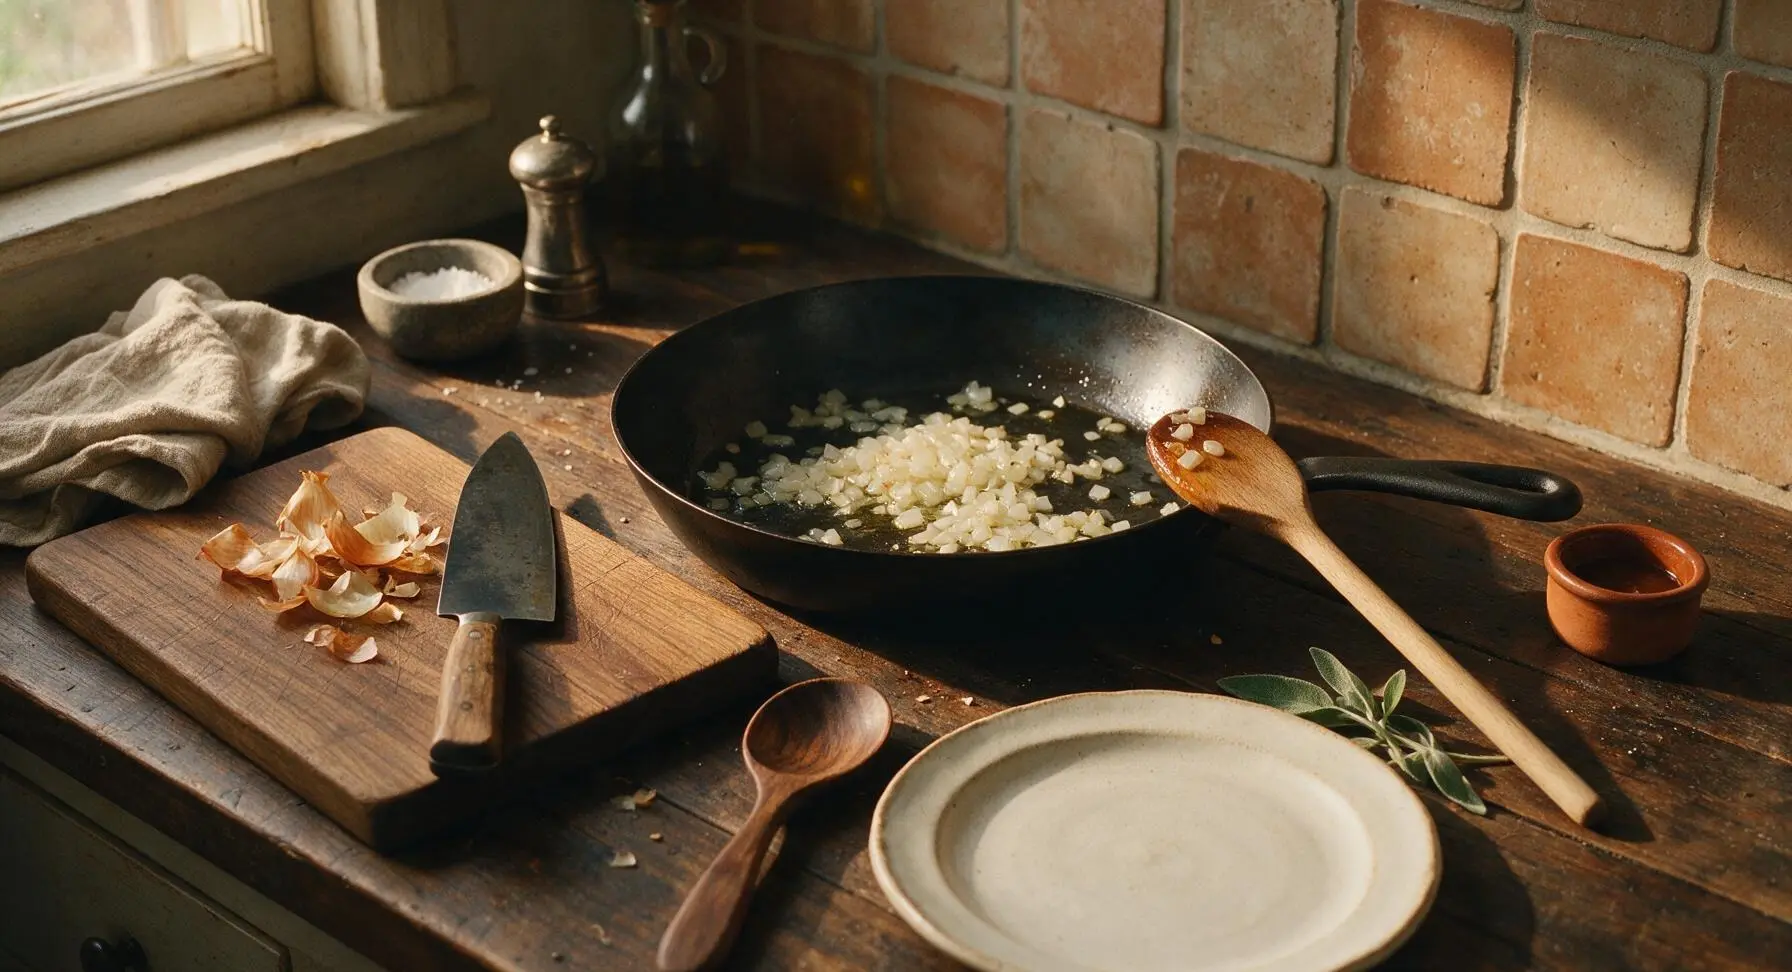






OMG this was so much better than the canned Manwich I grew up on! Threw this together on a Tuesday night after soccer practice and all three of my kids cleaned their plates, no complaints at all. Total weeknight win, will be adding this to our regular rotation.
Made this for our neighborhood block party last weekend and people were coming back for thirds! I doubled the recipe and it fed a crowd no problem. Only tweak I made was adding a tiny splash of apple cider vinegar for a little extra tang, chef's kiss.
Super easy to make in my dorm room with just a cheap skillet and ground turkey I grabbed from the campus grocery store. Way cheaper than ordering takeout and tastes way better too. 10/10 for broke college students meal prepping for the week.
I was worried I wouldn't be able to enjoy sloppy joes anymore after going gluten free, but this homemade version uses totally GF ingredients if you skip the regular bun and use a GF one! No weird hidden fillers like the canned stuff. So happy I found this.
Wait, is it weird that I ate the leftover meat straight out of the container cold last night? It's just THAT good. I skipped the green peppers because I hate them and it still turned out great, only knocking a star because I wish there was a note about adding extra hot sauce for people who like a kick.
I've been making sloppy joes for my grandkids for 40 years, and I have to say this recipe is right up there with my old handwritten one! The balance of sweet and tangy is perfect, no need to buy that canned junk ever again.
Cooked up a big batch on Sunday and portioned it out for lunches all week. It reheats like a dream! I served mine over toasted brioche buns the first night, then used the leftovers on top of baked potatoes for an easy work lunch. So versatile.
My 7 year old turns his nose up at literally everything I cook, but he asked for seconds of these! I think the secret is not overcomplicating the sauce, it tastes exactly like the Manwich we remember from school lunches but fresher. SO good.
I used a pound of lentils instead of ground beef to make this plant-based for my vegetarian daughter, and even my meat-loving husband didn't complain! The sauce is so flavorful you don't even miss the meat, honestly.
Made these for our tailgate before the college football game last Saturday and they were gone in 10 minutes. Kept the meat warm in a slow cooker and set out buns and toppings so people could serve themselves. Zero cleanup, maximum flavor.
I've never cooked anything more complicated than microwave mac and cheese before, and even I didn't mess this up! The steps are so straightforward and the 20 minute cook time is no joke, I had dinner on the table faster than delivery would've showed up.
This was pretty good, but a little too sweet for my personal taste. Next time I'll cut the brown sugar in half and add a little more mustard to balance it out. Still way better than canned, though.
Game changer! I made a double batch and froze half of it in freezer bags, and it tasted just as good when I thawed it for dinner last night. This is going to be my go-to for busy weeks when I don't have time to cook from scratch.
Pro tip: Toast the buns and melt a slice of cheddar on the bottom bun before piling the meat on! It keeps the bun from getting soggy and adds the perfect cheesy kick. Trust me on this.
20 minutes, minimal dishes, tastes incredible. What more could you ask for on a busy weeknight? My whole family devoured these, will be making them bi-weekly for sure.
This tastes exactly like the Manwich my mom used to make when I was a kid, but without all the weird preservatives in the can. I added a handful of diced pickles on top and it was chef's kiss, pure nostalgia in every bite.