
Maple Stout
intro
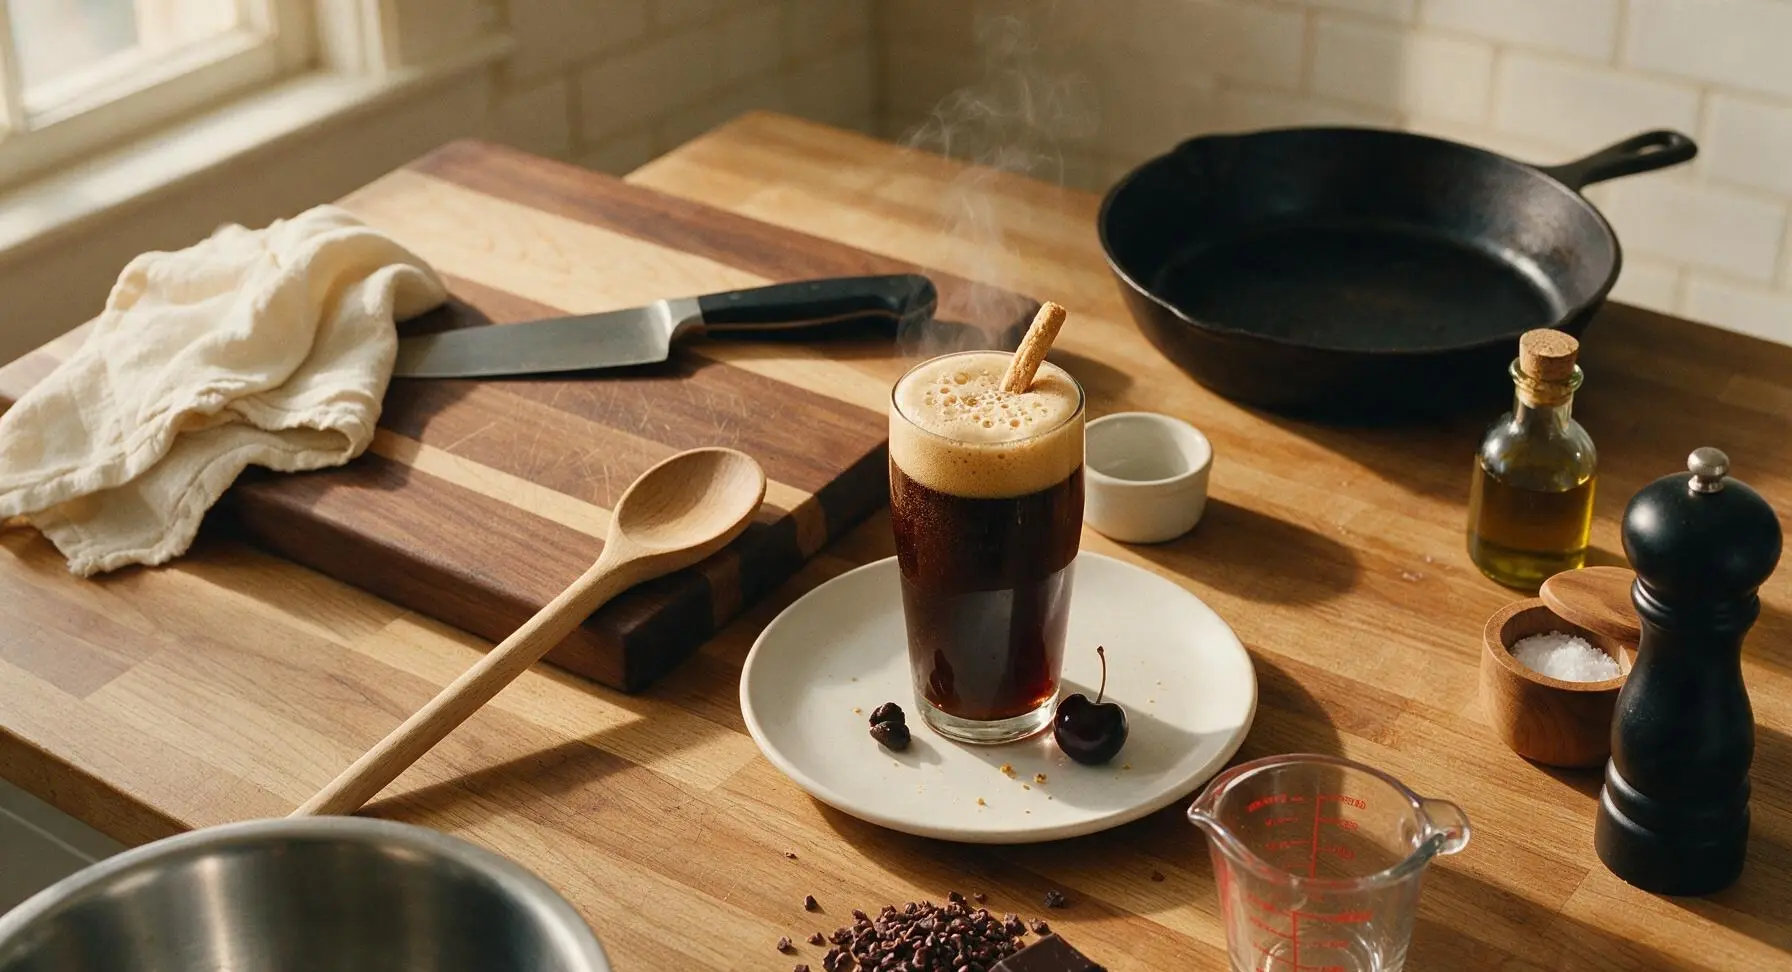
Rich, roasty homemade stout layered with warm dark maple sweetness, smooth malt depth, and subtle hop balance, perfect for cool autumn sipping with friends.
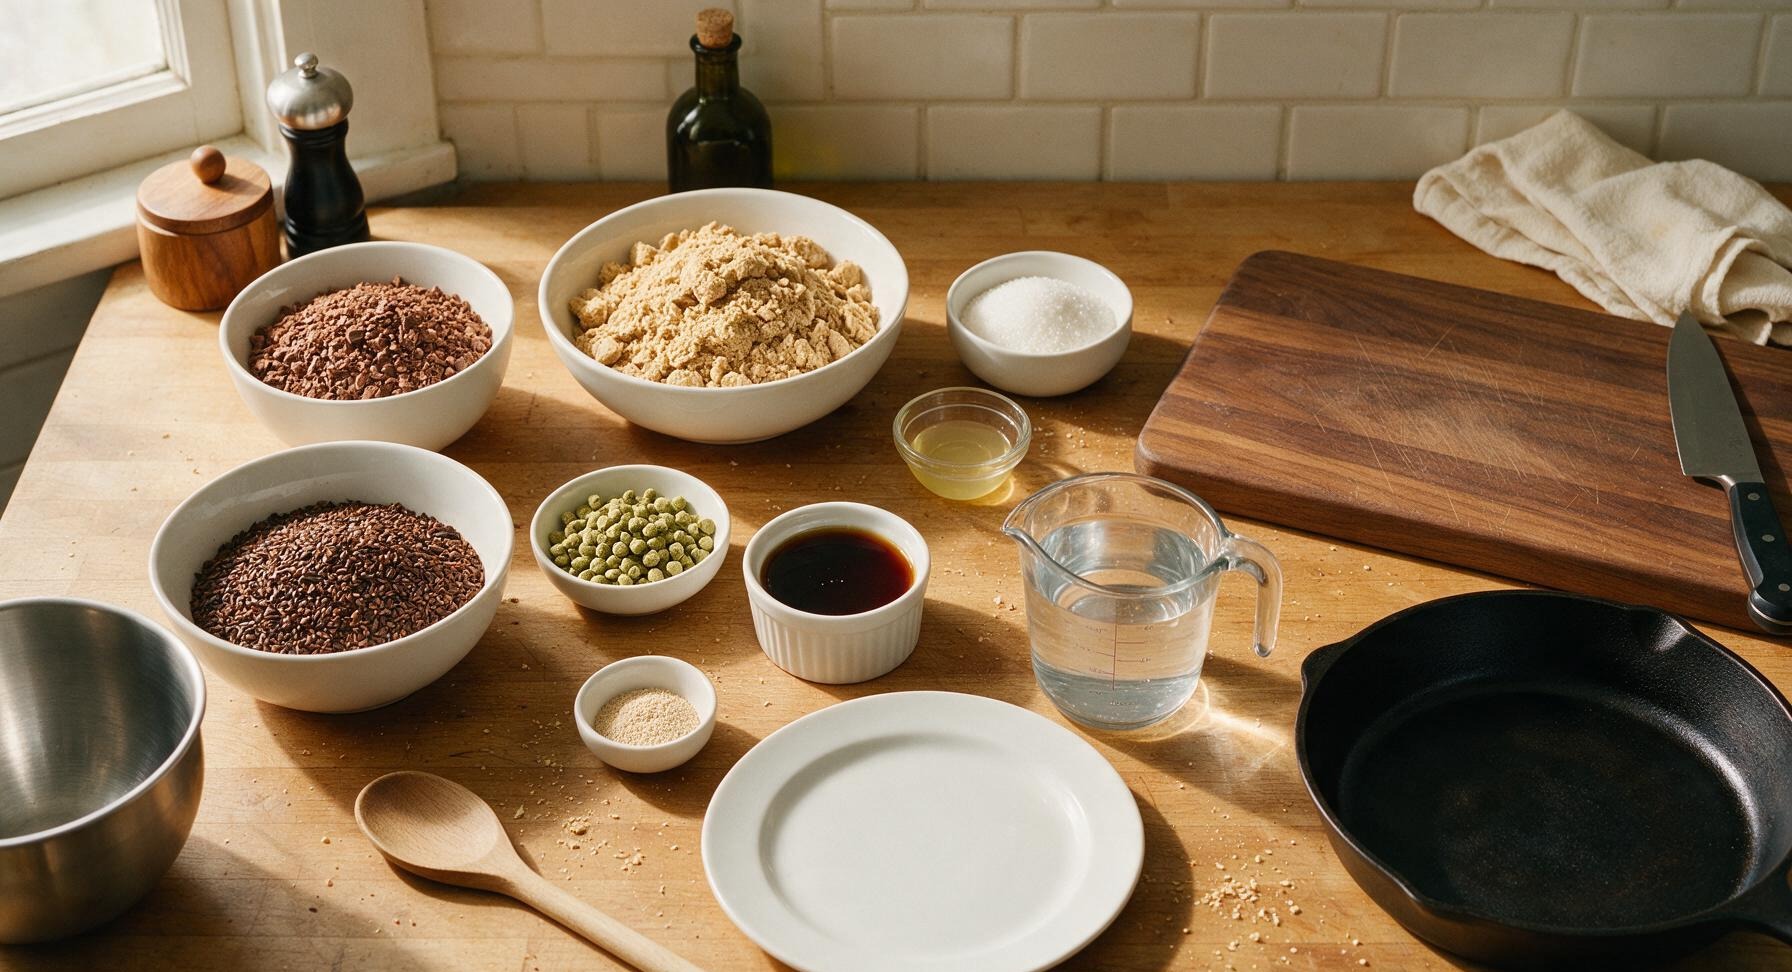
Ingredients
Steps
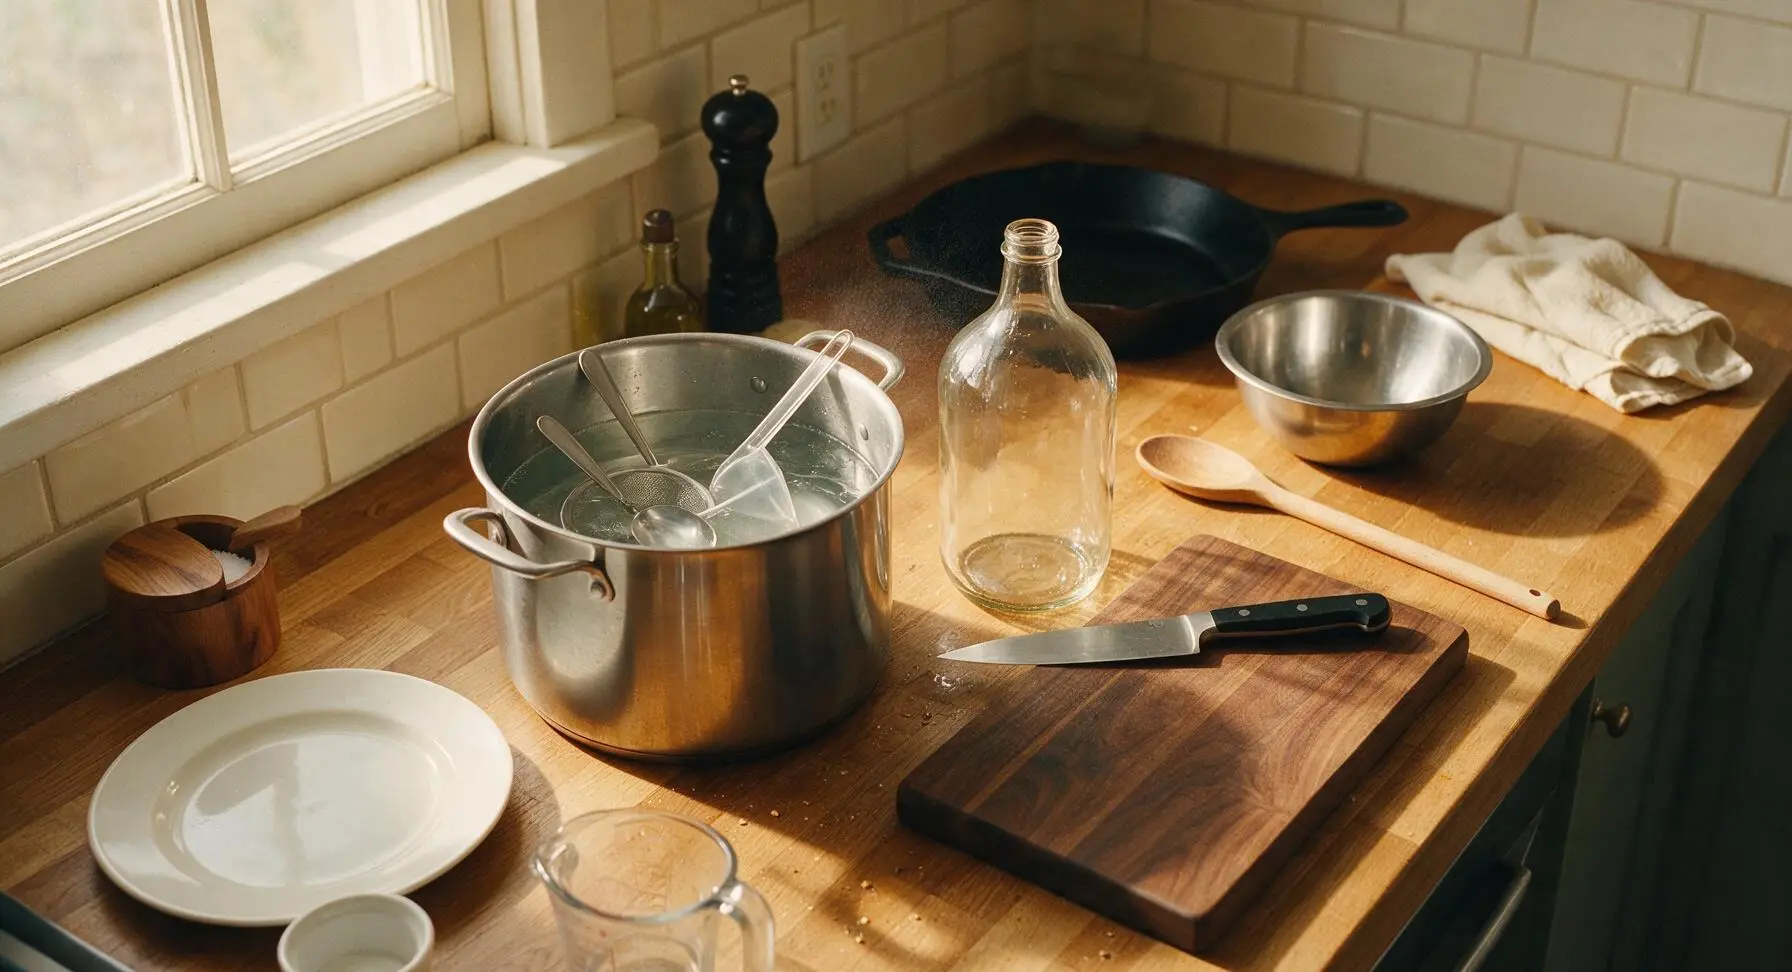
Sanitize Brewing Equipment
First, mix 15ml no-rinse brewing sanitizer with 4L cool water in the stainless steel brew pot. Submerge the stirring spoon, strainer, funnel, fermentation jug airlock, and rubber stopper for 1 minute, then spray all exposed equipment and counter surfaces with sanitizer solution. Allow to air dry completely; any leftover bacteria can ruin your batch. No rinsing is required.
Steep Roasted Grains
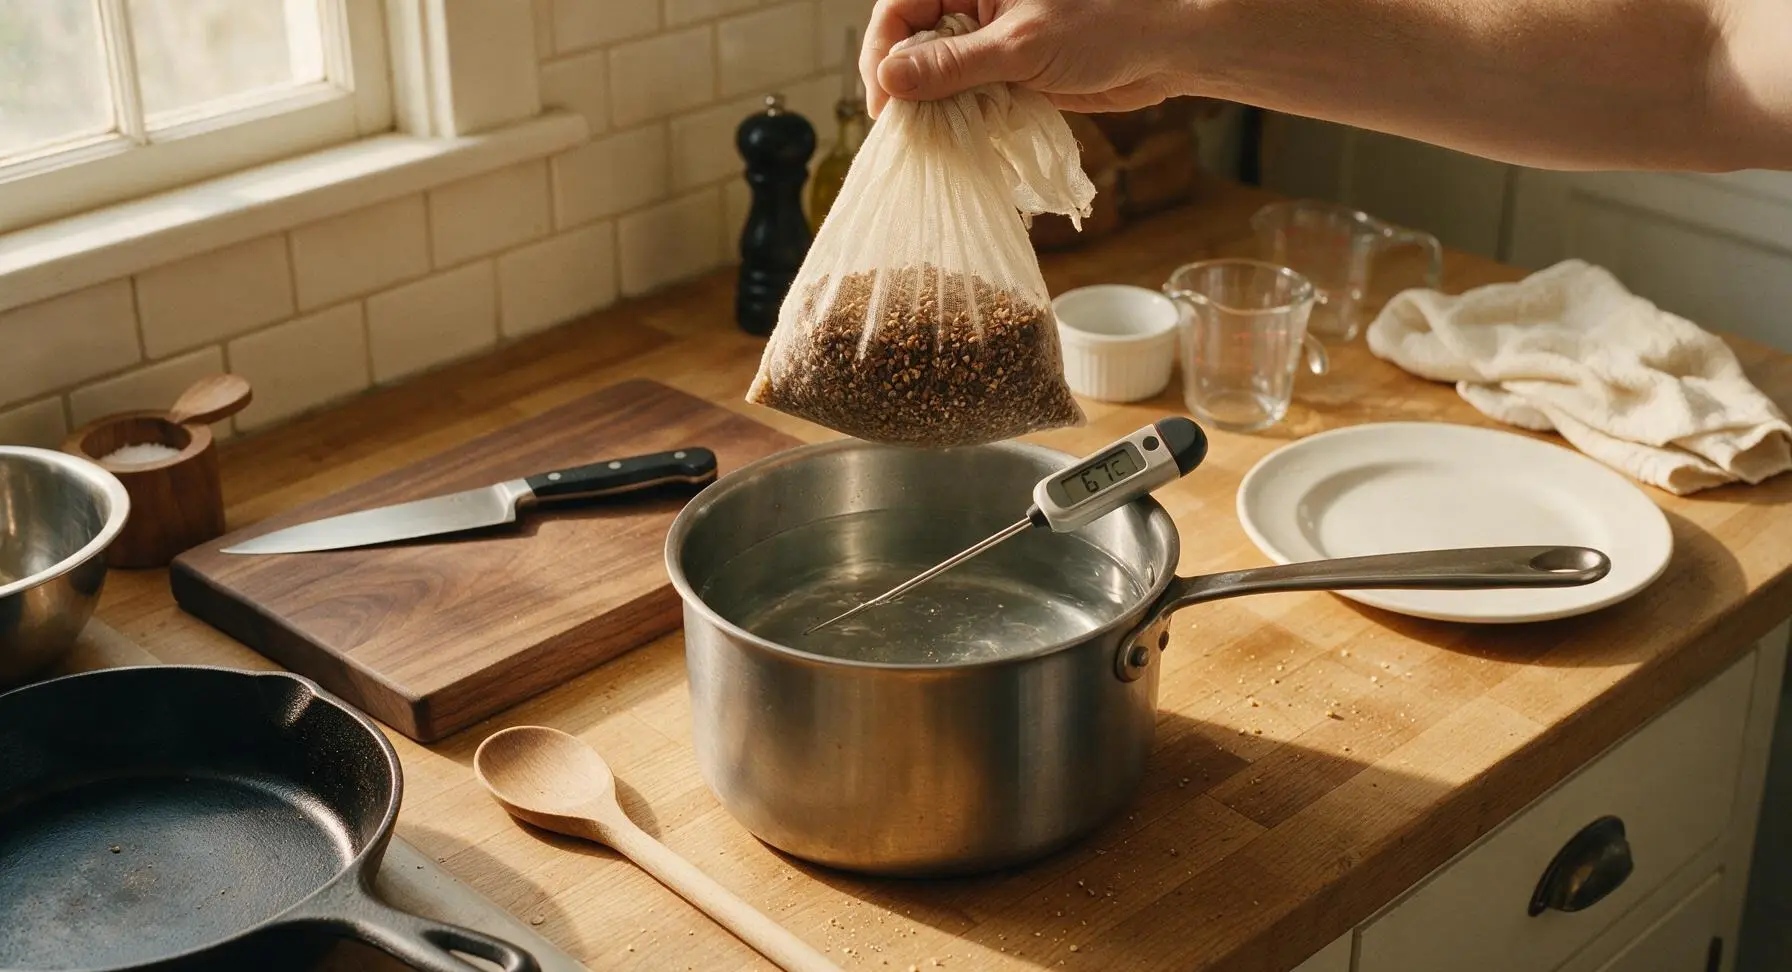
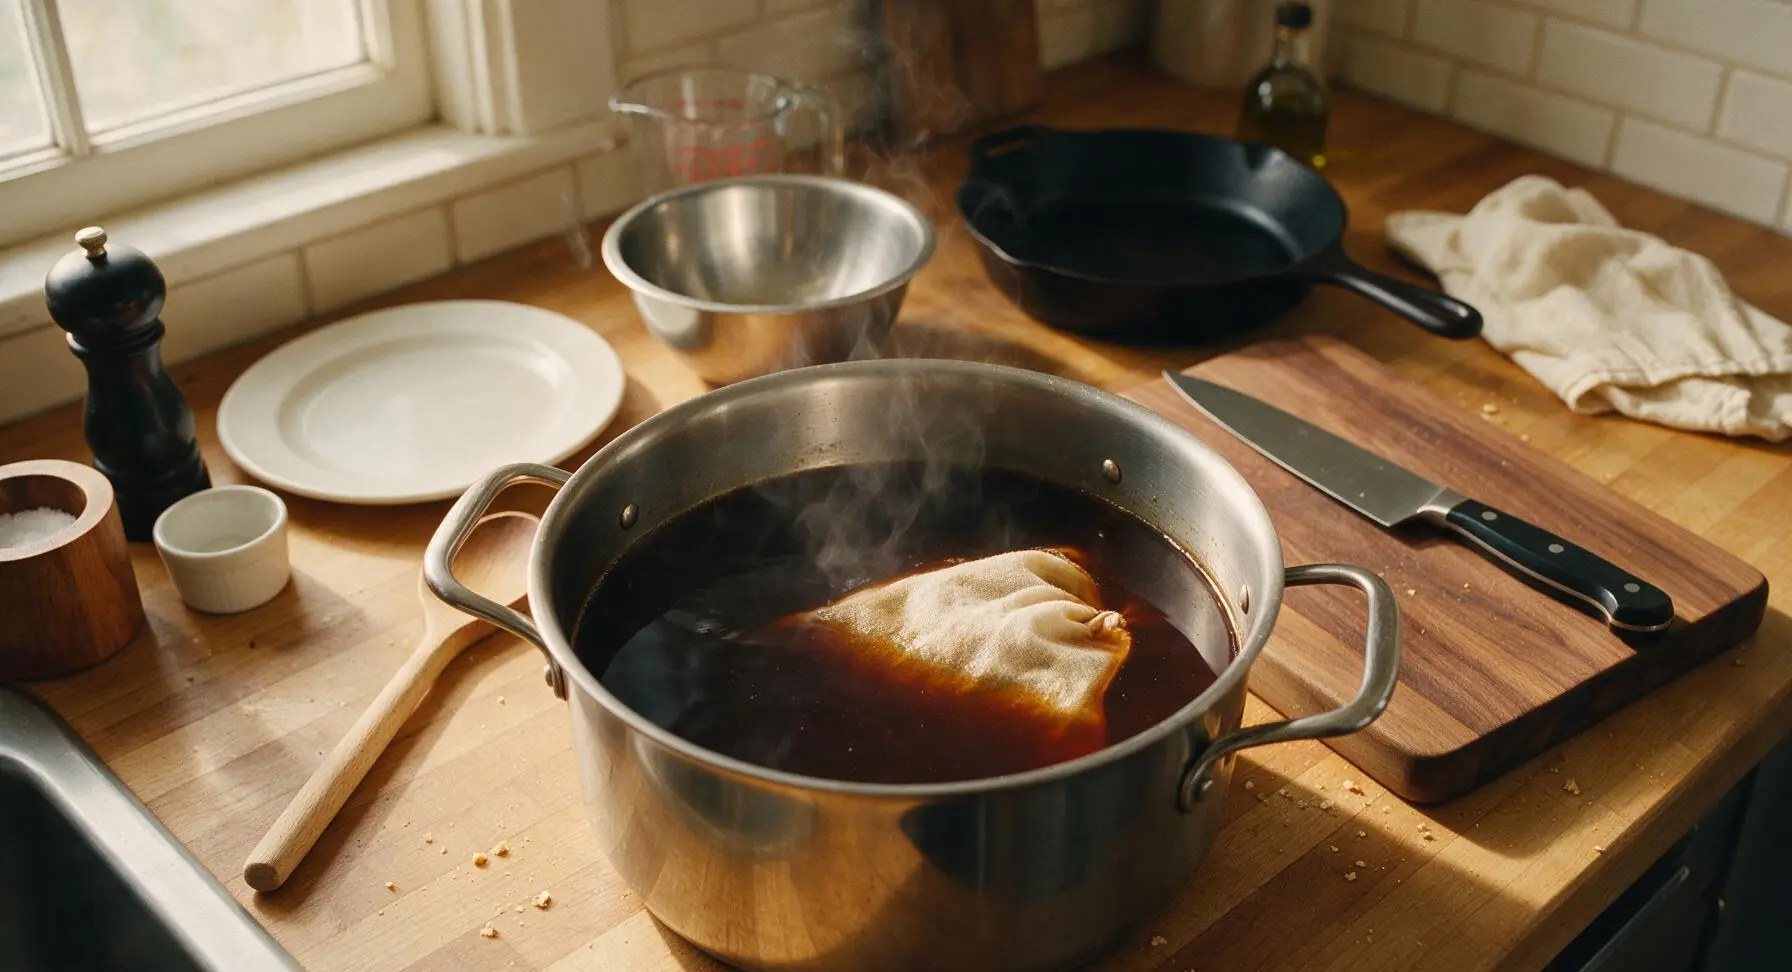
Pour 4L fresh cool filtered water into the sanitized brew pot, place over medium heat to reach 68C (155F). Place crushed chocolate malt and roasted barley into the muslin grain bag, tie loosely, and submerge in the heated water. Hold the temperature steady at 65-70C for 20 minutes, do not boil. The water will turn a deep dark brown color, smelling of roasted coffee and dark rye bread.
Boil the Wort
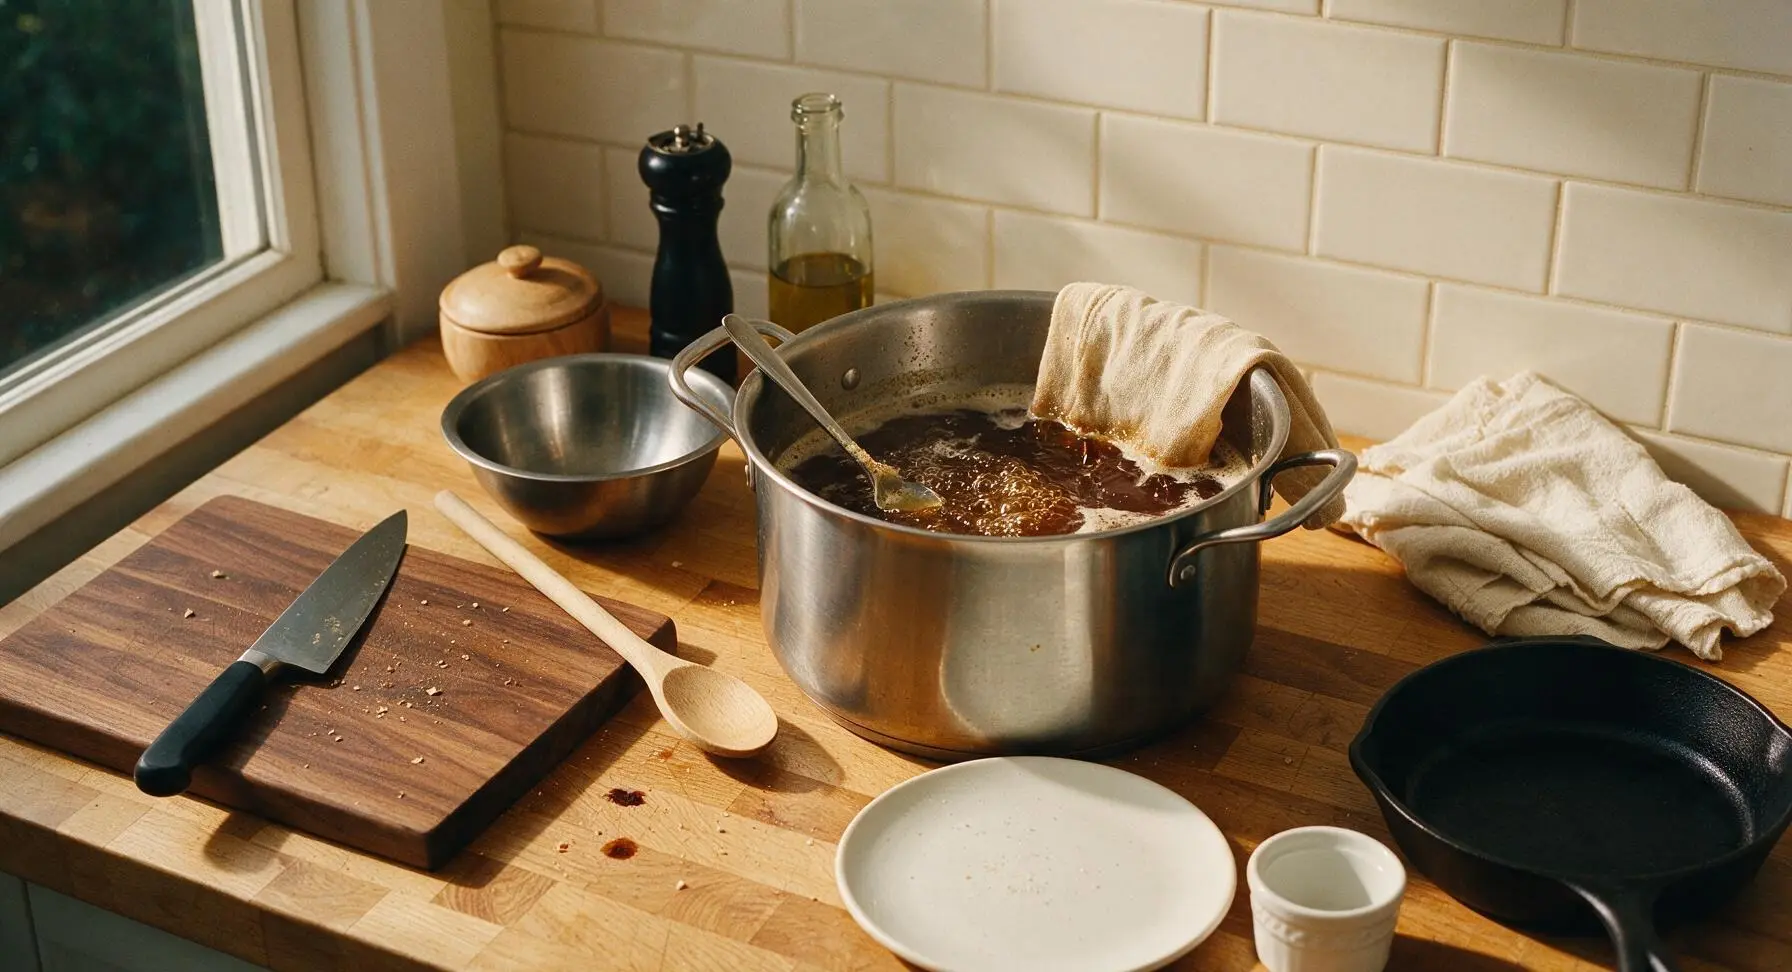
Remove the grain bag from the pot, allow to drain fully over the pot (do not squeeze, which adds harsh bitter tannins). Increase heat to bring the liquid (now called wort) to a gentle, rolling boil. Once boiling, slowly stir in the light dry malt extract with the stainless steel stirring spoon until fully dissolved, no clumps remaining. Maintain a steady rolling boil for 60 minutes, adjusting heat to avoid boilovers.
Add Hops and Maple
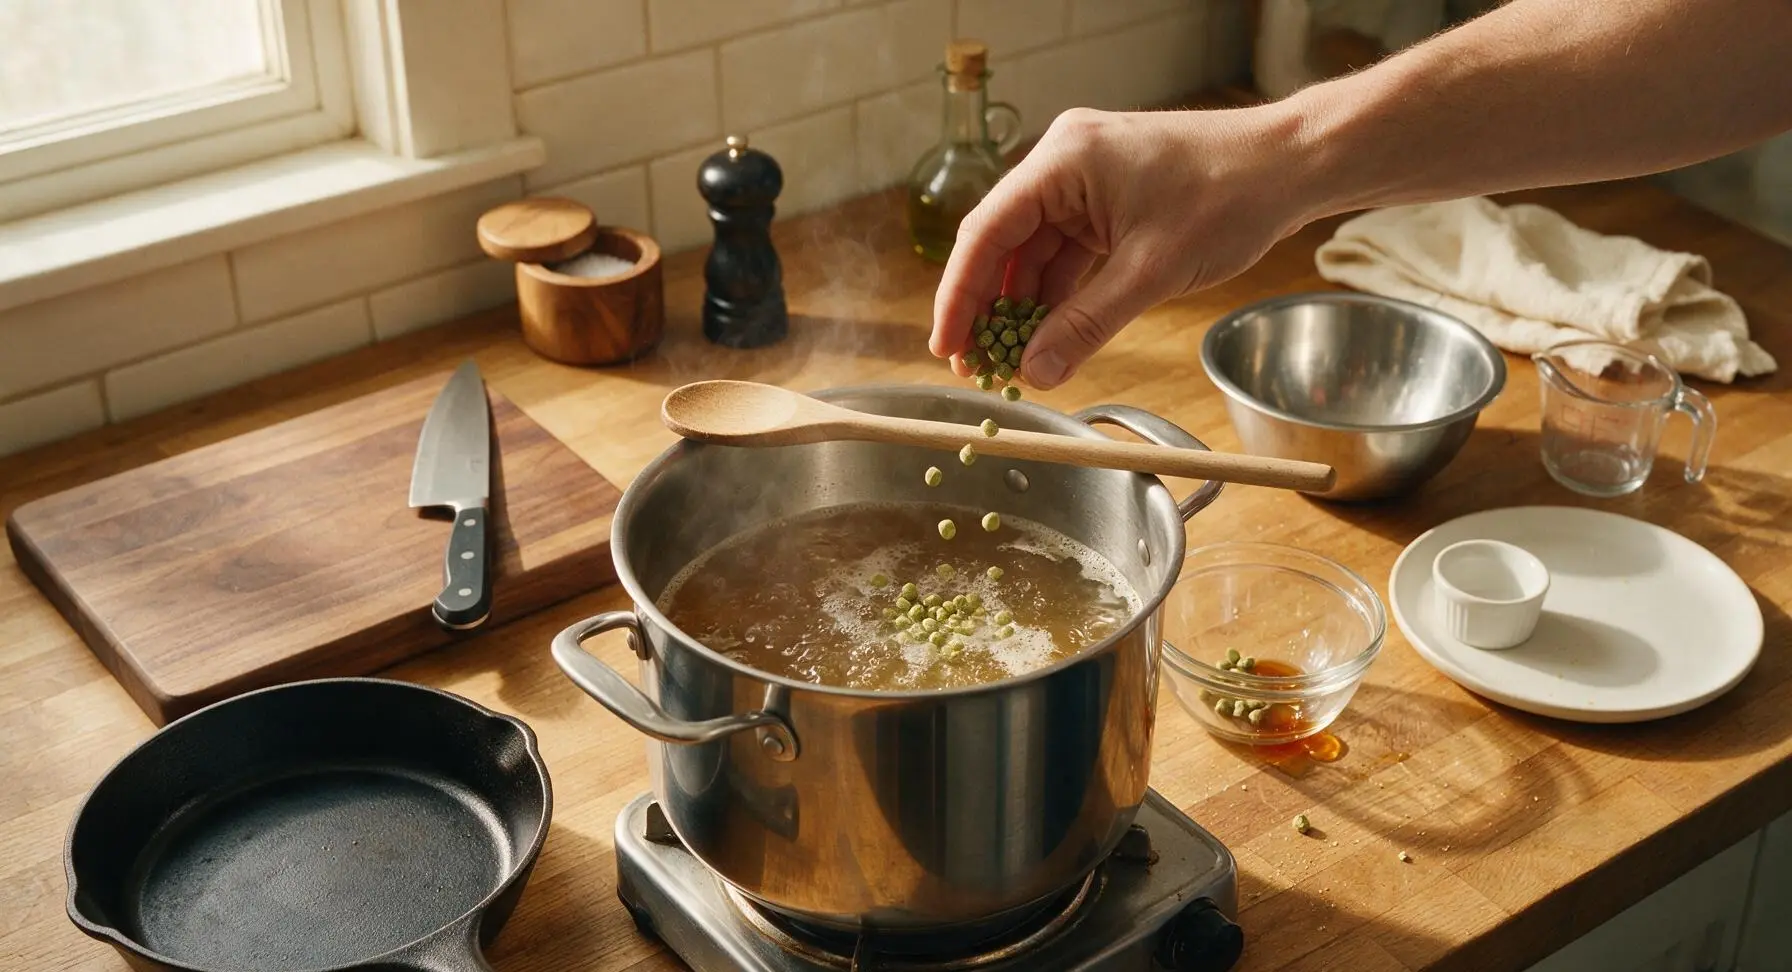
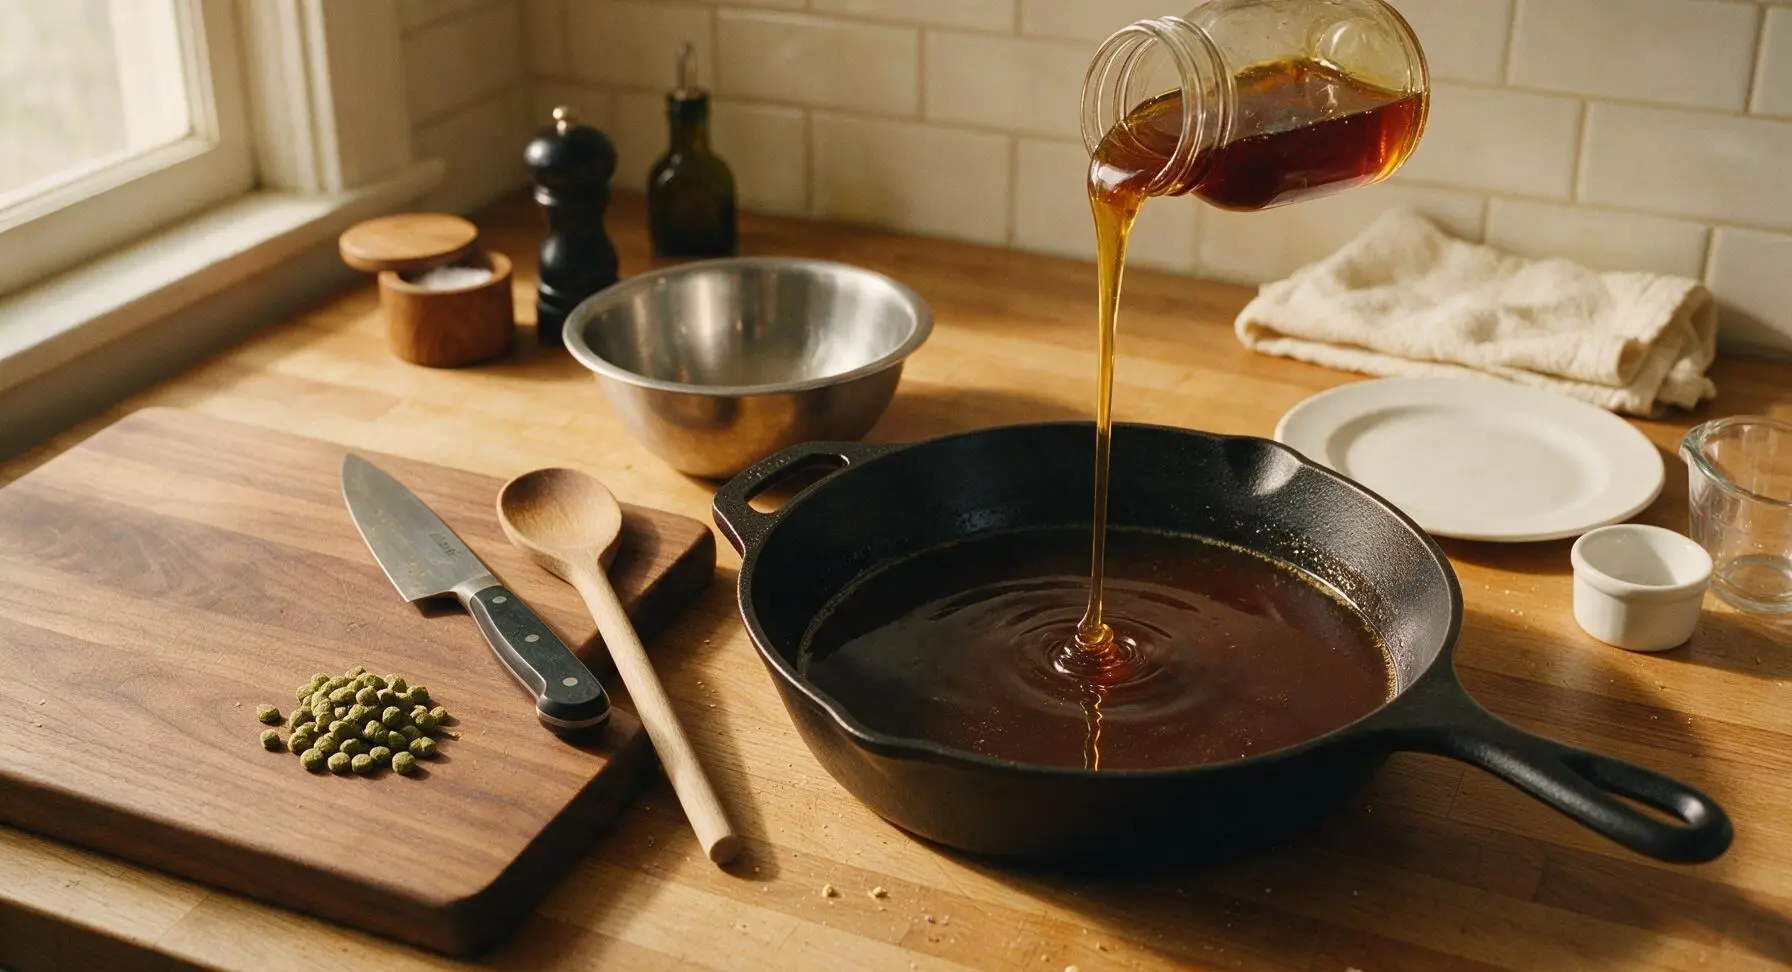
Add 10g of Cascade hop pellets to the boiling wort at the 45-minute mark of the boil for balanced bitterness. At the final 5 minutes of the boil, stir in all 120ml dark Grade B maple syrup, mixing fully to incorporate. Add the remaining 5g of Cascade hops at the very end of the boil for bright, aromatic hop flavor. Turn off heat immediately after the 60-minute boil is complete.
Cool and Transfer Wort
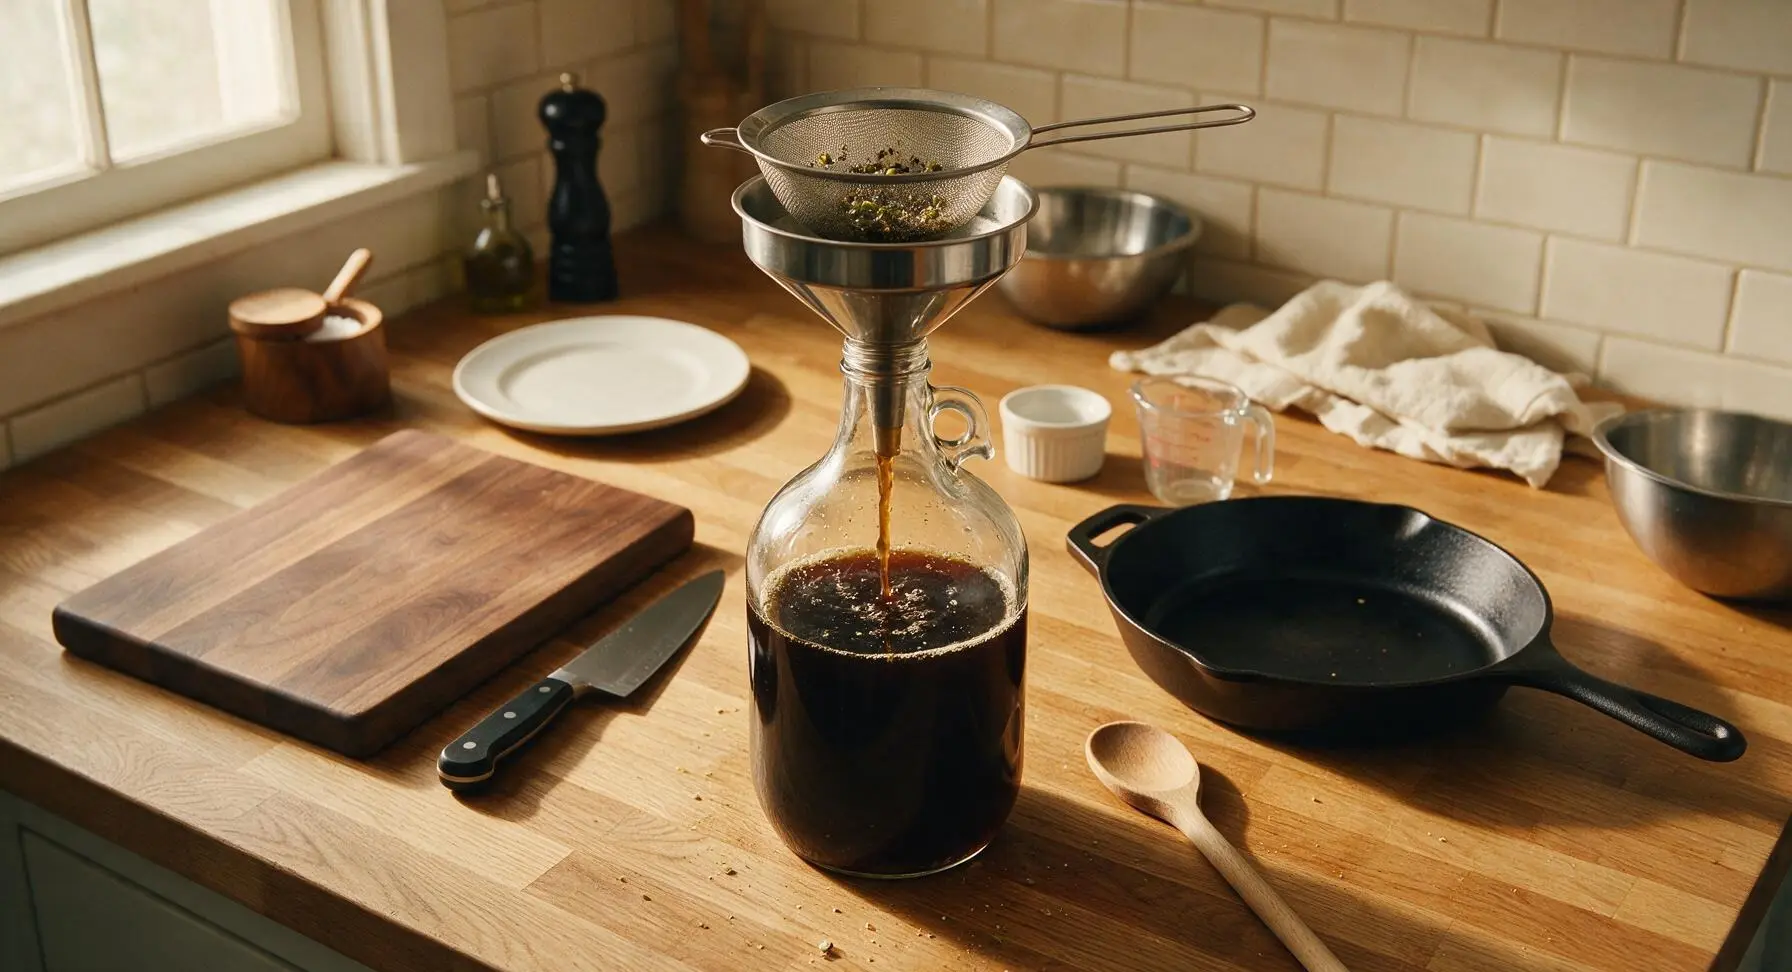
Place the covered brew pot into an ice bath to cool the wort quickly to 21C (70F), roughly 15 minutes. Once cooled, place the stainless steel funnel in the mouth of the sanitized 1-gallon glass fermentation jug, pour the wort through the fine-mesh strainer to catch hop particles and grain sediment. Top the jug up with cool sanitized water to reach the 1-gallon volume mark if needed.
Pitch the Yeast
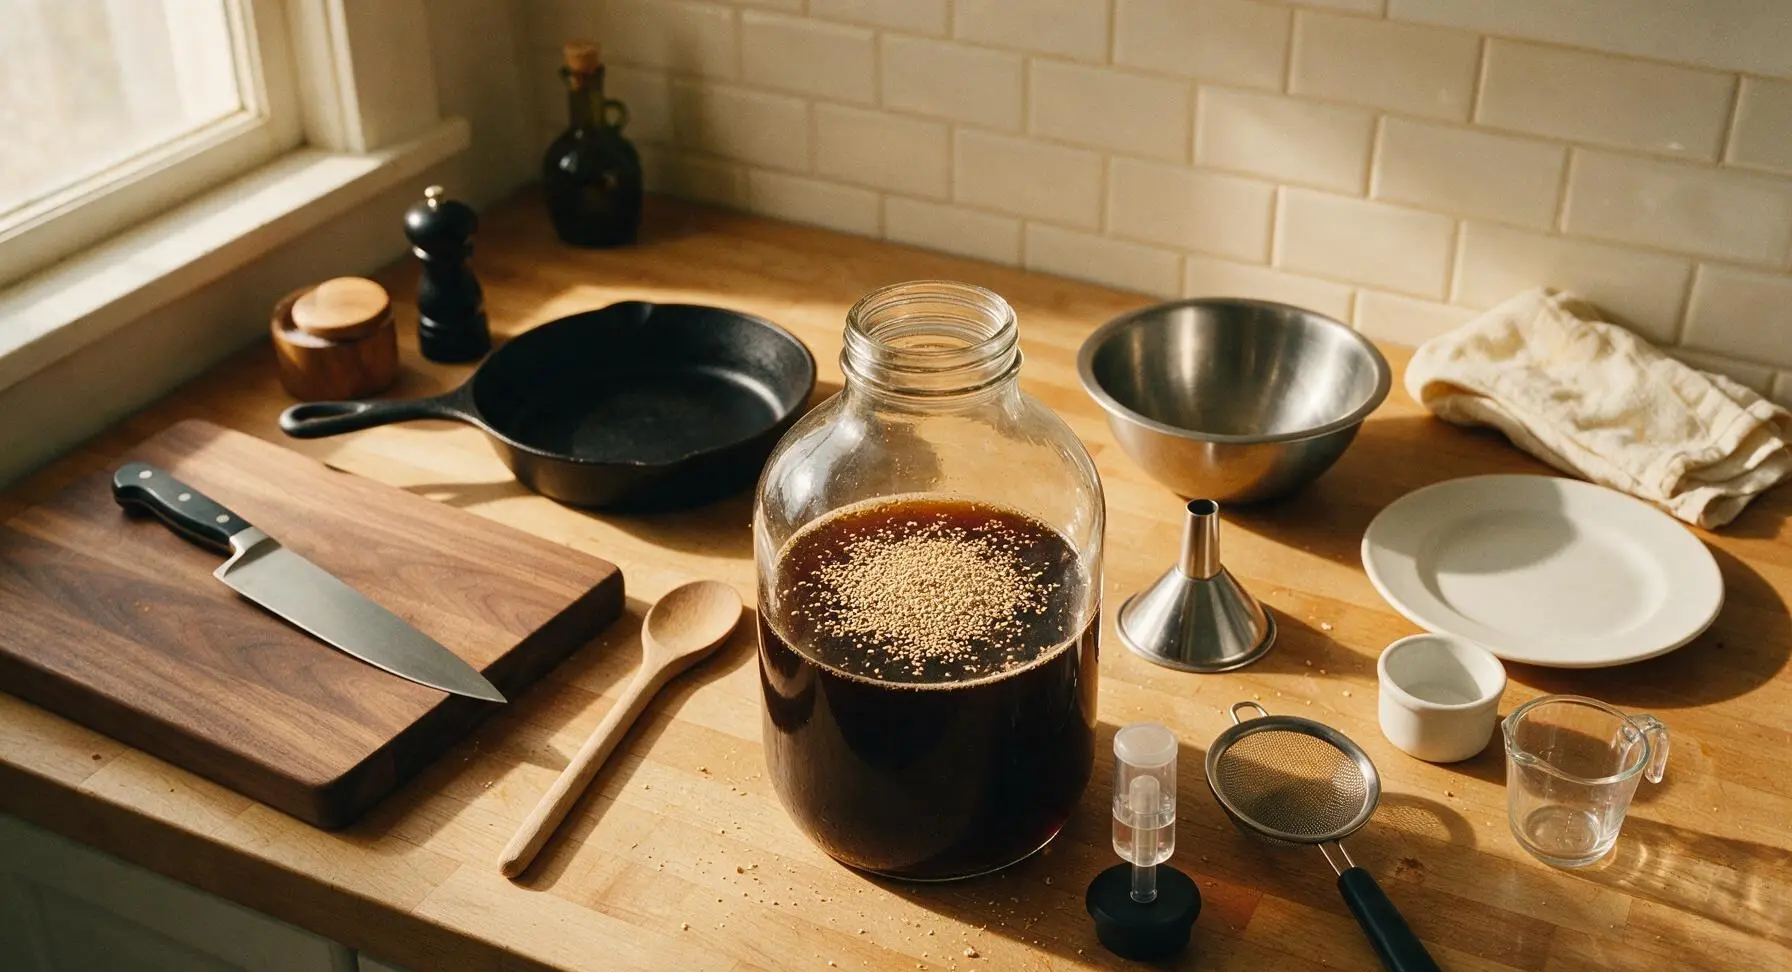
Sprinkle the full packet of dry English ale yeast evenly across the surface of the cooled wort in the fermentation jug. Do not stir. Firmly insert the sanitized rubber stopper fitted with the water-filled airlock into the jug mouth, ensuring an airtight seal.
Ferment the Stout
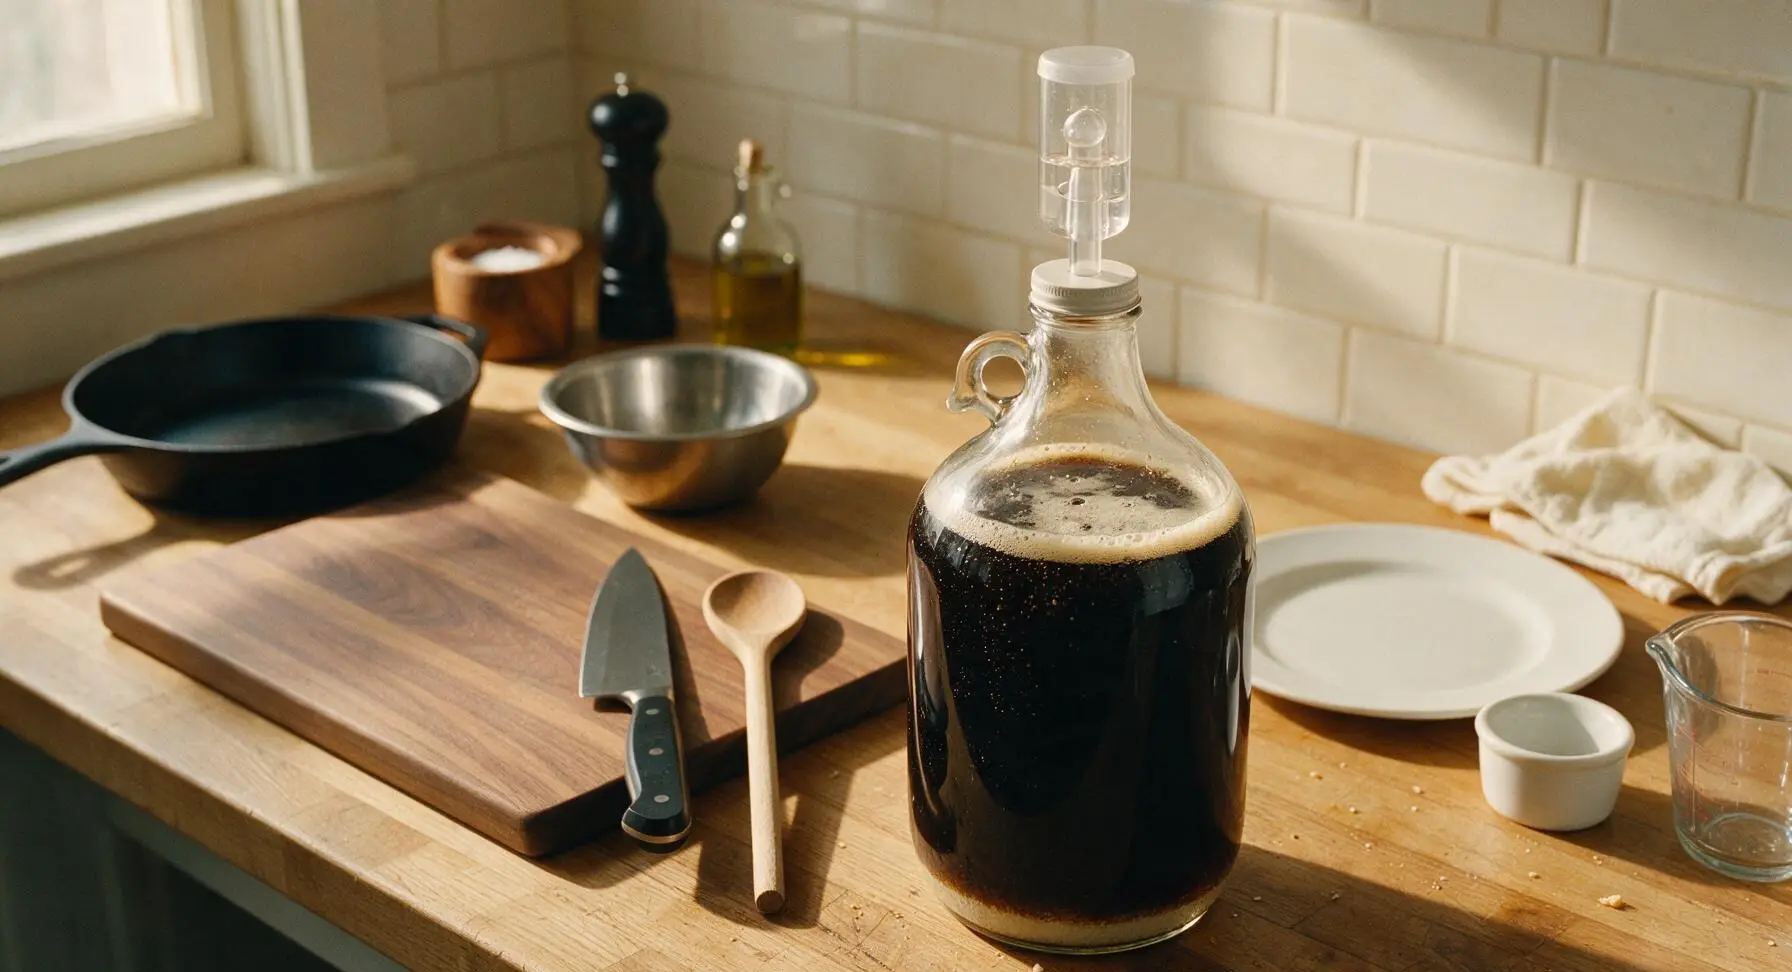
Move the sealed jug to a dark, consistently cool spot (18-21C / 65-70F) out of direct sunlight. Allow the stout to ferment undisturbed for 14 full days. You will see bubbles rising through the airlock for the first 3-7 days as active fermentation occurs; bubbling will slow and stop once fermentation is complete. Do not open the jug during this time to avoid contamination. The liquid will clarify slightly, with a layer of pale tan yeast sediment settled at the bottom of the jug.
Bottle and Carbonate
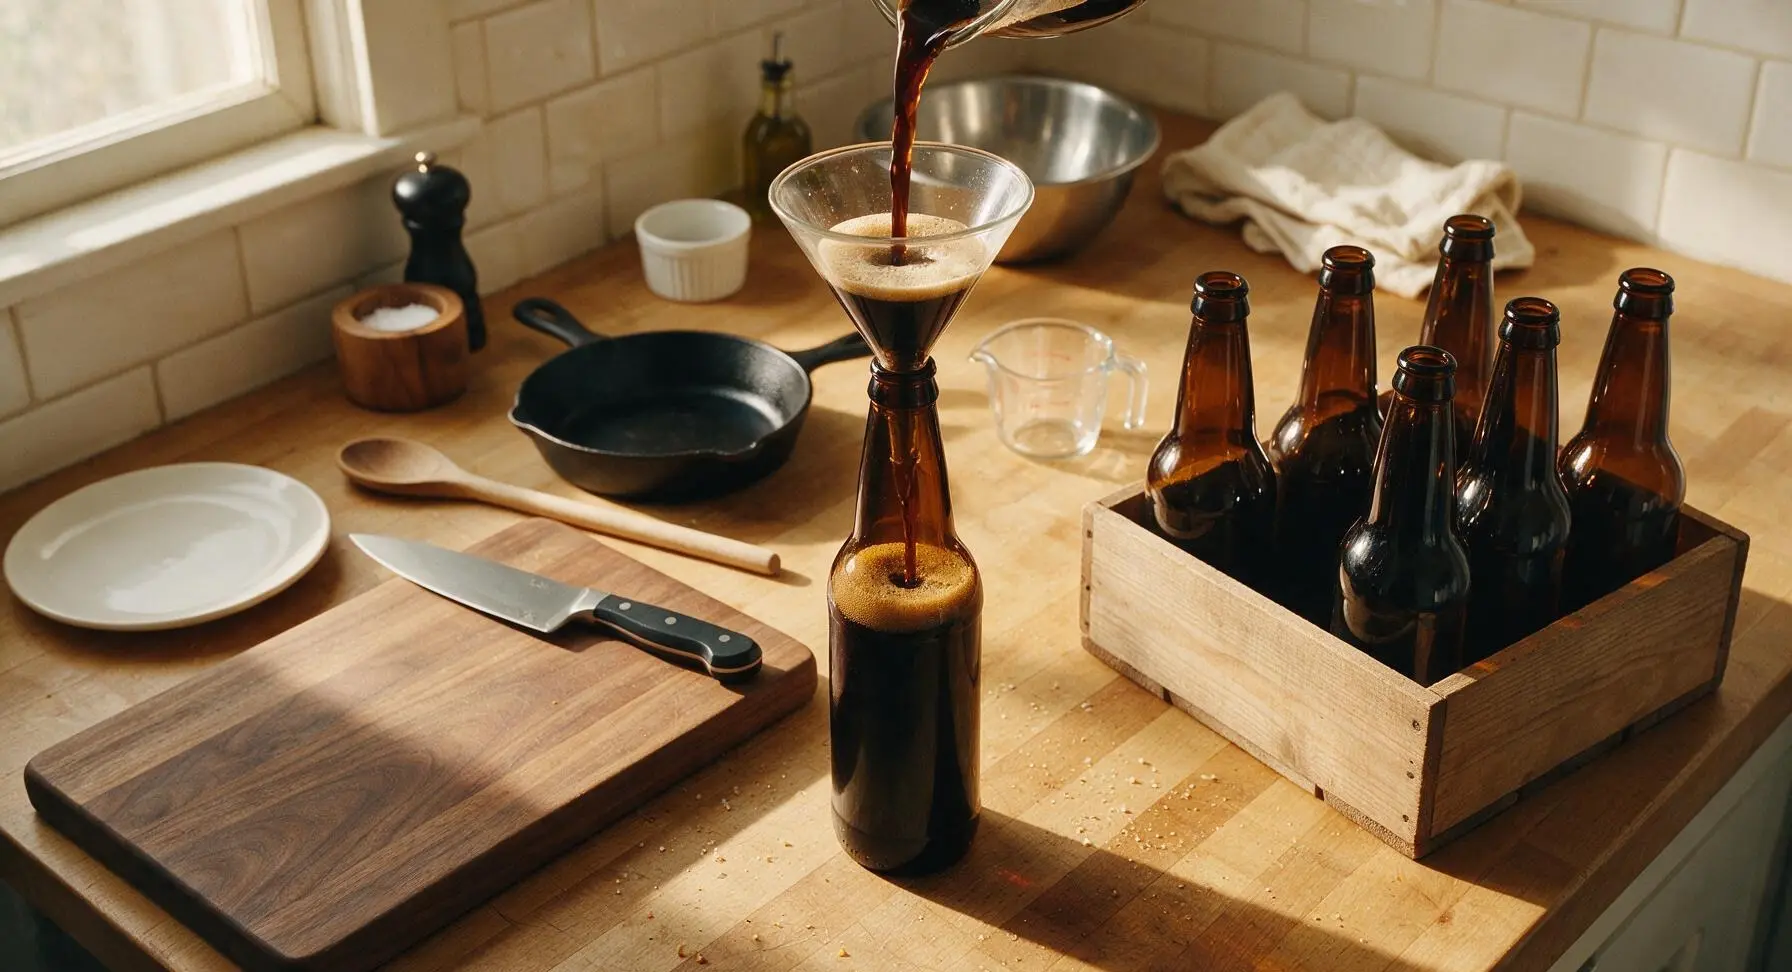
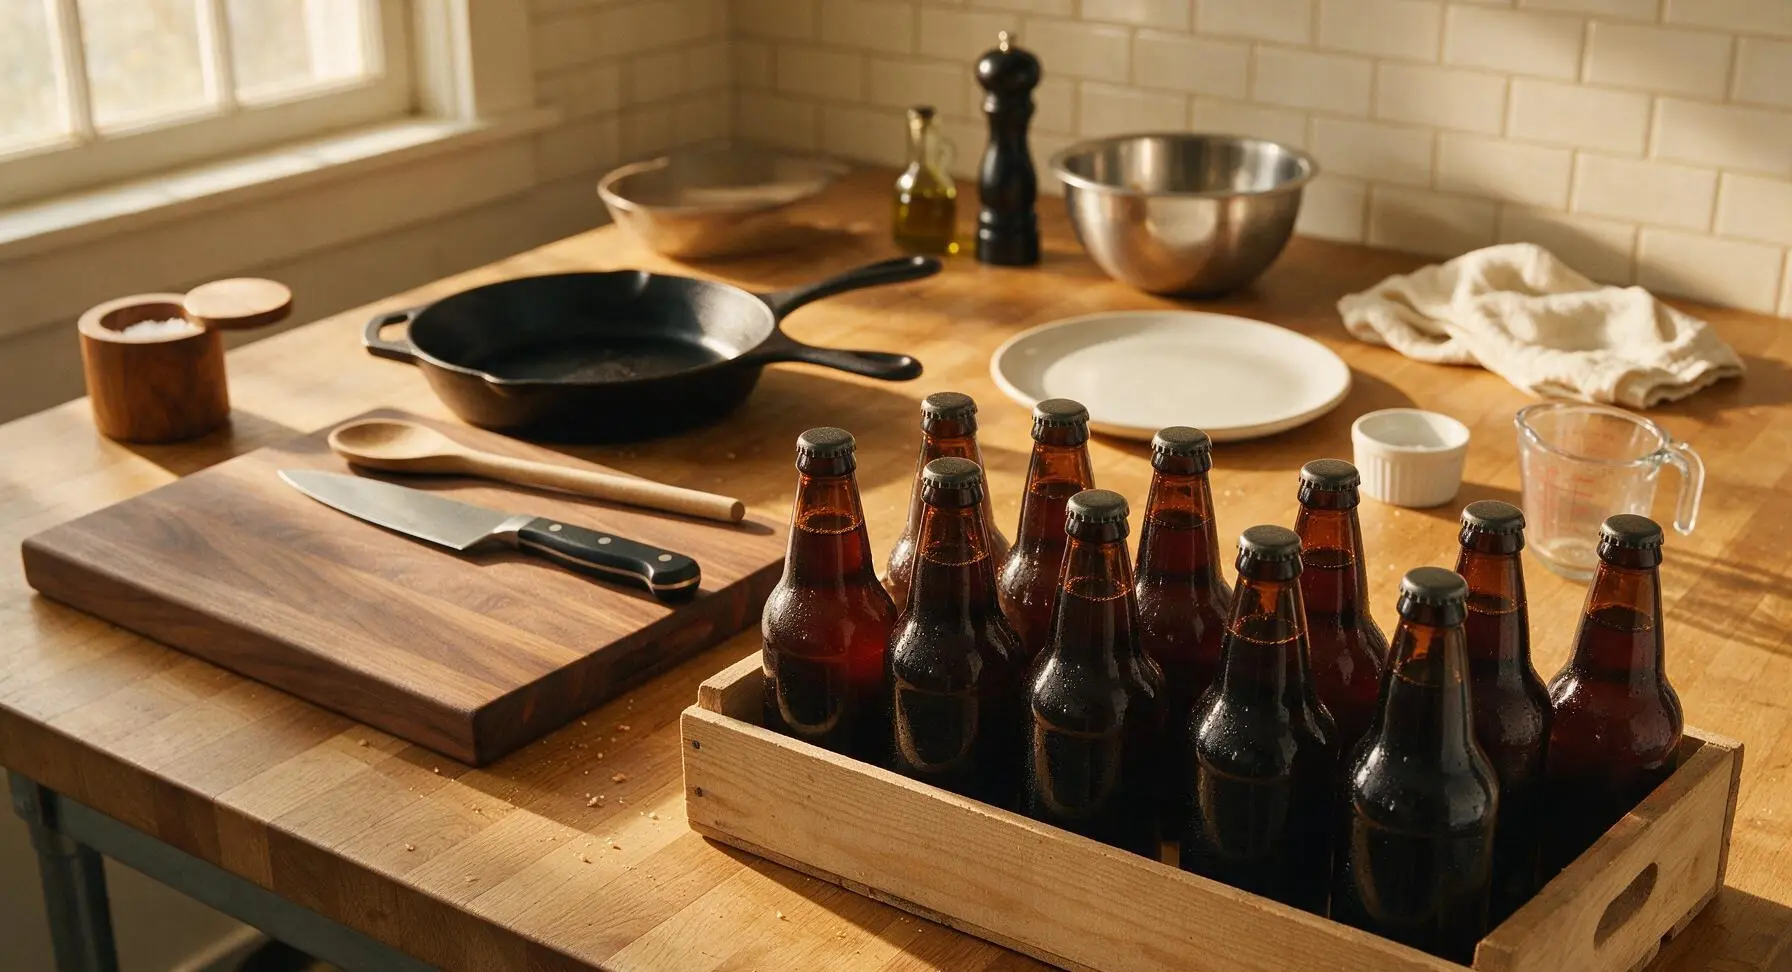
After 2 weeks of fermentation, boil 30g corn sugar in 60ml water for 5 minutes, cool, and add to the bottom of a sanitized vessel. Carefully siphon or pour the clear stout off the top yeast sediment into sanitized 12oz amber glass bottles, leaving 2cm of headspace at the top of each bottle. Cap tightly, and store in the same cool dark spot for 7 more days to allow natural carbonation to develop. Chill before serving.
Tips
2.Never squeeze the muslin grain bag after steeping: pressing the wet grains releases harsh, astringent tannins that will leave your stout with an unpleasant dry, bitter aftertaste similar to over-steeped black tea.
3.Keep fermentation temperature consistent between 18-21C (65-70F): temperatures too warm create fruity, solvent-like off-flavors, while temperatures too cold will stall yeast activity and prevent proper fermentation.






OMG this homemade maple stout is a total game changer! I brought a growler of my first batch to our neighborhood fall potluck last weekend and every person there was hounding me for the recipe. The maple notes are so smooth, not cloyingly sweet at all, and it pairs perfectly with the smoked brisket my neighbor made. I was stressed I messed up the fermentation temperature the first week when our basement dropped a couple degrees, but it turned out incredible anyway. 10/10, already planning to brew a double batch for our annual bonfire next month!
As someone who’s only done a couple super basic extract brews before, I was pretty intimidated by the medium difficulty rating, but the step-by-step instructions were so straightforward even I couldn’t mess it up! My whole family got in on the fun of bottling day, and after that 3 week wait, even my wife who swears she hates dark beers said this was smooth enough to sip through our whole Sunday pasta dinner. Quick heads up for new brewers: SANITIZE EVERYTHING. I almost forgot to sanitize my airlock before popping it on the carboy and caught myself 2 minutes before I would’ve ruined the whole batch. SO good, this is gonna be a regular brew in our rotation from now on.
Made this for my boyfriend’s birthday last month and he absolutely lost his mind! He’s a total stout snob who collects craft brews from every local brewery within an hour of us, and he said this homemade maple stout was better than 90% of the ones he’s bought. Full transparency, the 3 week fermentation and carbonation wait was pure agony—I kept peeking at the carboy in our closet every single day like a kid waiting for Christmas morning—but the payoff was so worth it. I already picked up extra roasted malt and a big bottle of maple syrup to brew another batch for our group camping trip next month!