
martha stewart waffle
intro
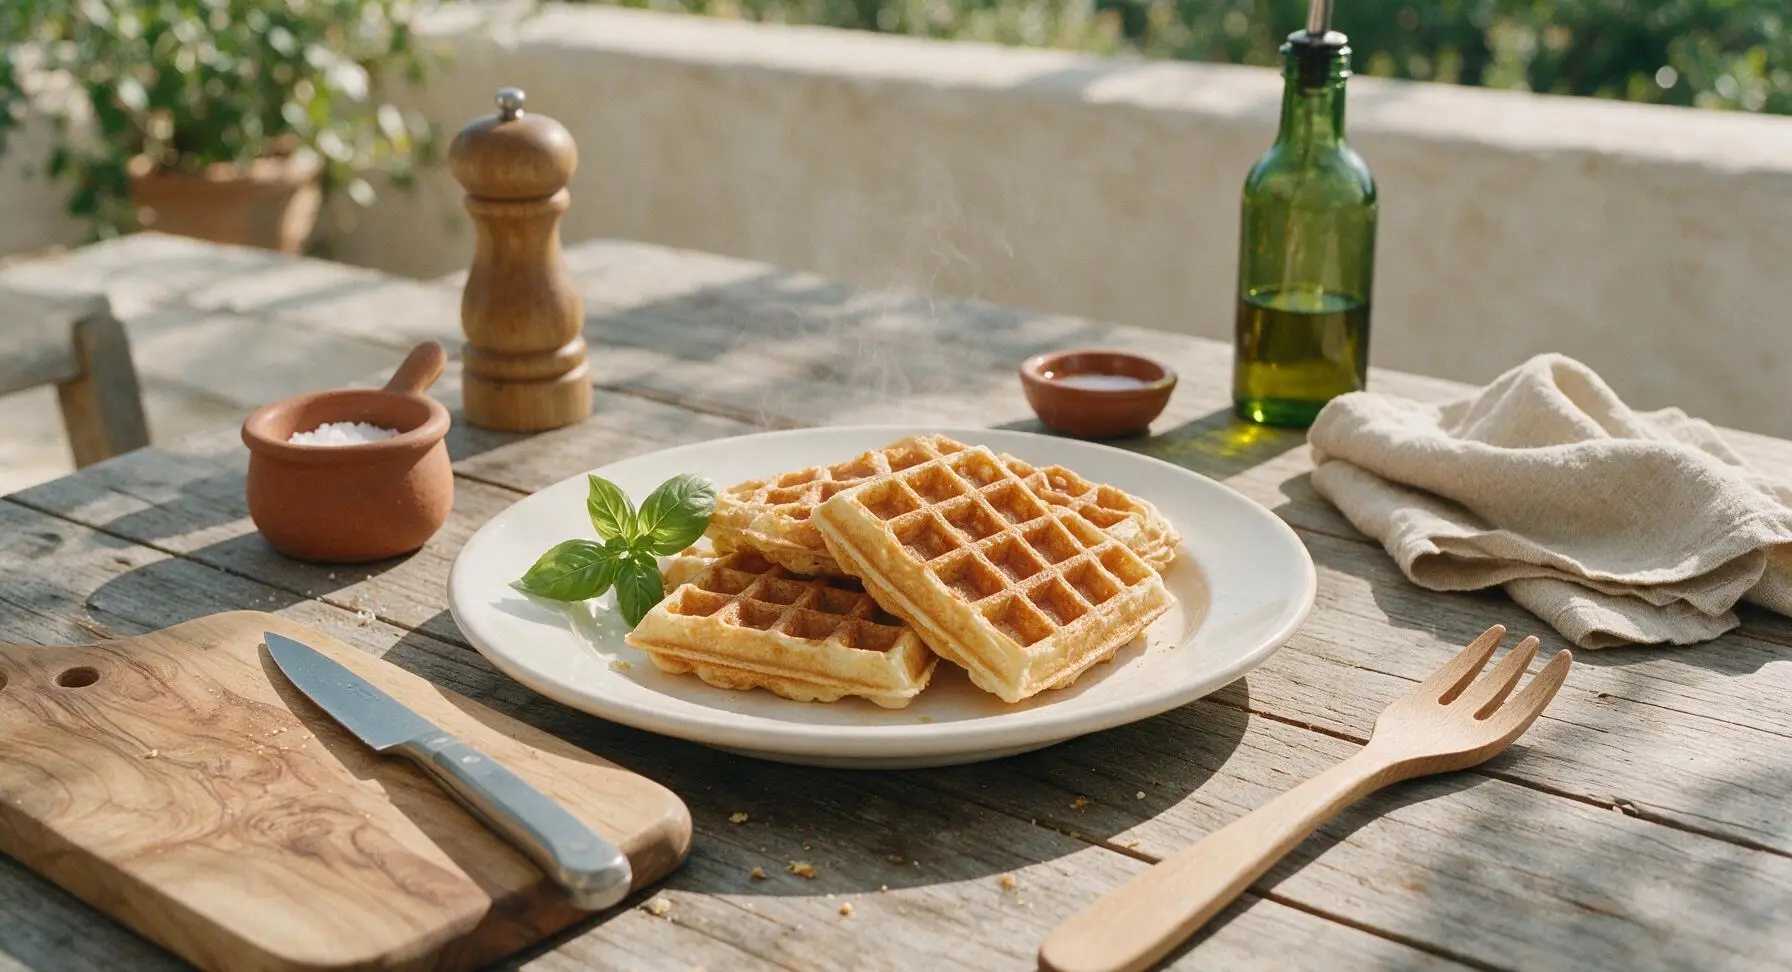
Crisp at the edges, light and fluffy inside, Martha Stewart’s iconic buttermilk waffles are the gold standard for cozy, nostalgic family meals.
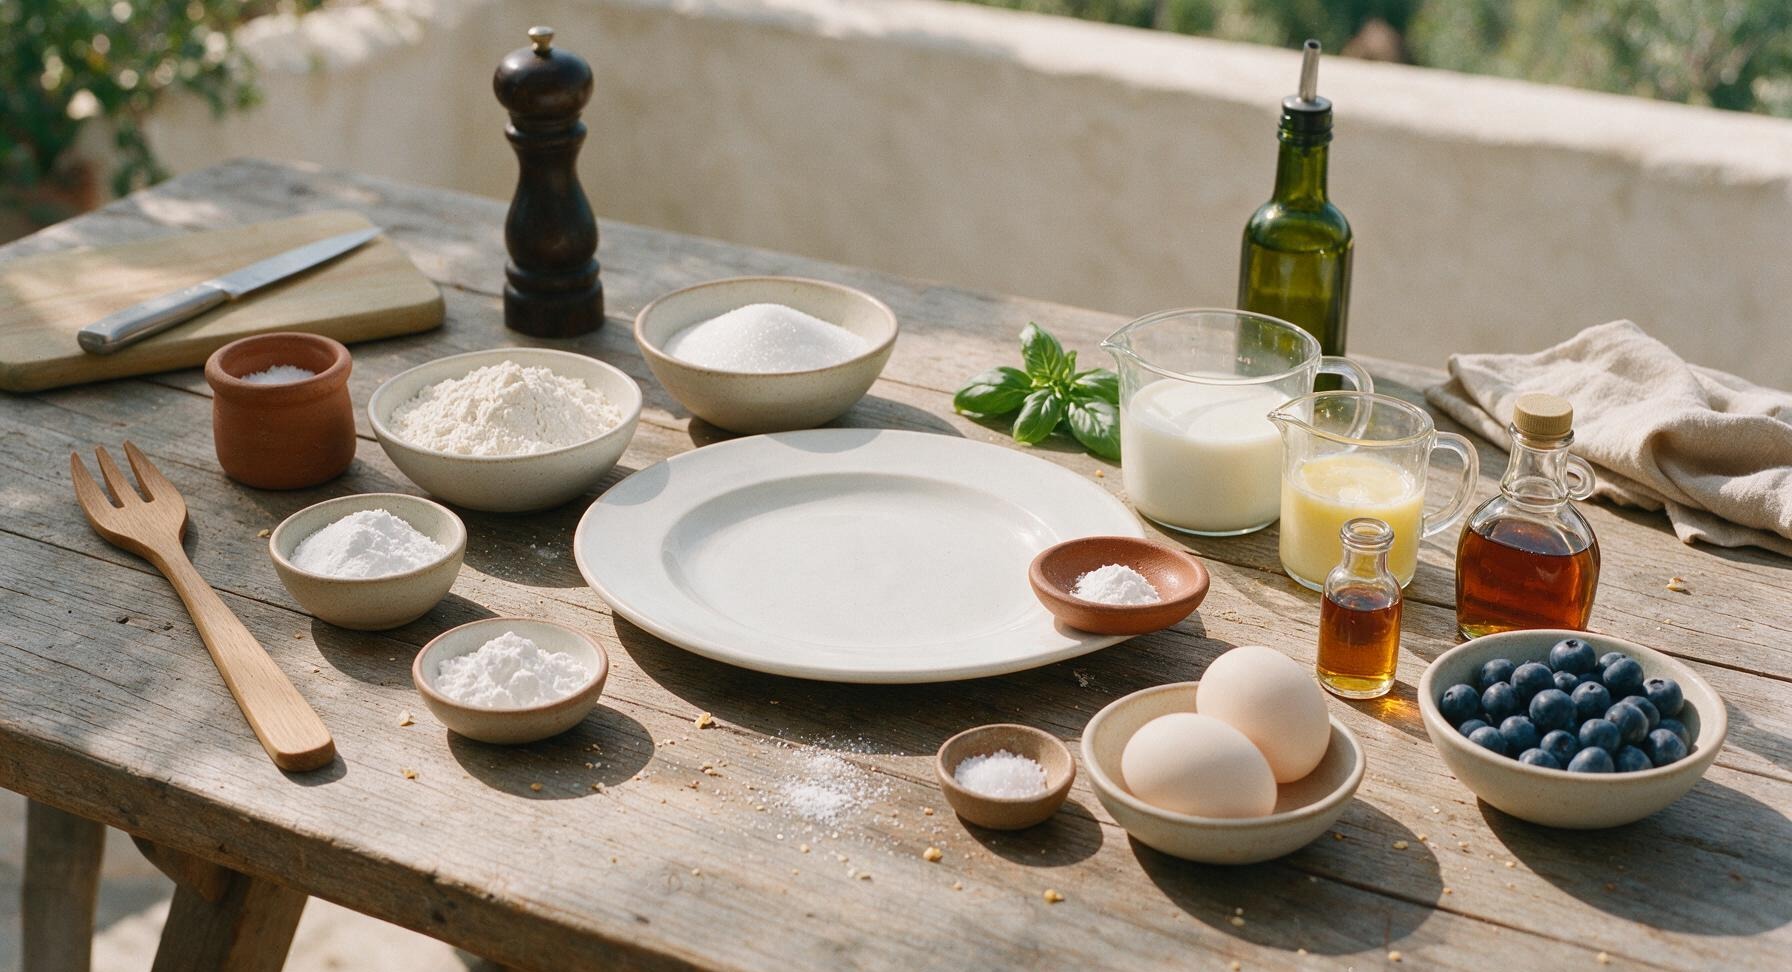
Ingredients
Steps
Preheat and Whisk Dry
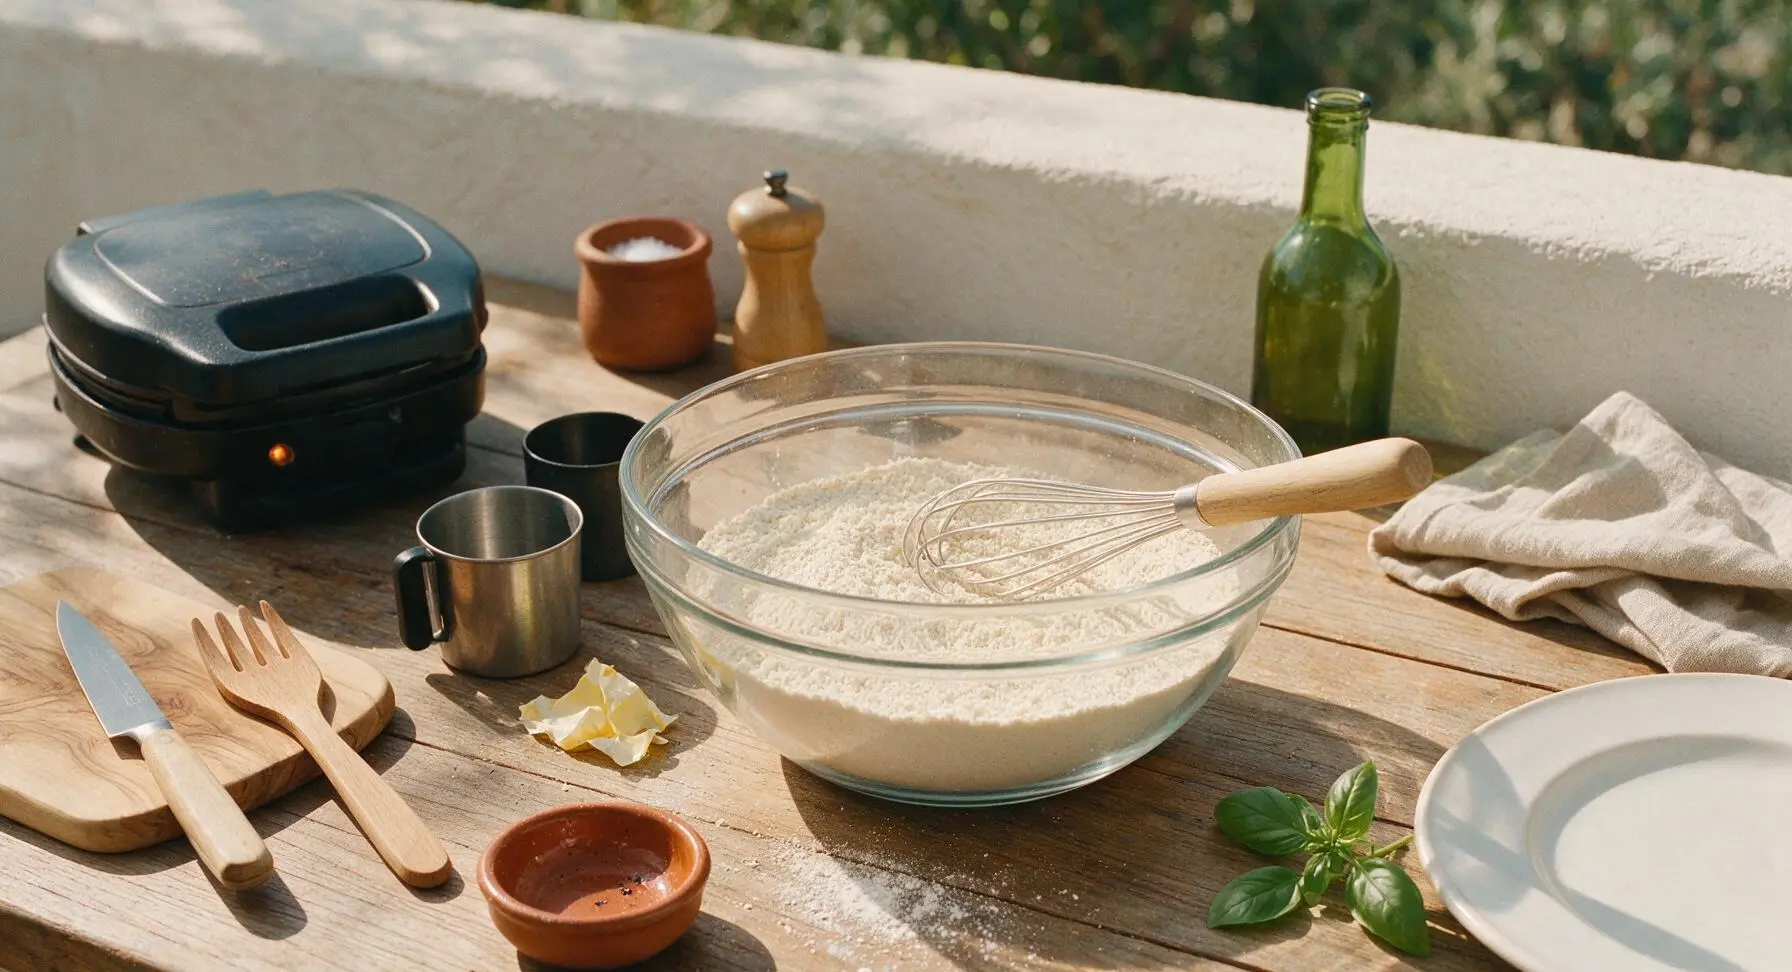
First, preheat your matte black waffle iron to medium-high (375°F/190°C) so it is fully hot when the batter is ready. In the first large clear glass mixing bowl, combine 2 cups (240g) all-purpose flour, 2 tbsp (25g) granulated sugar, 2 tsp baking powder, 1 tsp baking soda, and 1 tsp fine sea salt. Use the stainless steel wire whisk to blend the dry mix for 30 seconds, until evenly combined with no visible clumps of leavening.
Mix Wet Ingredients
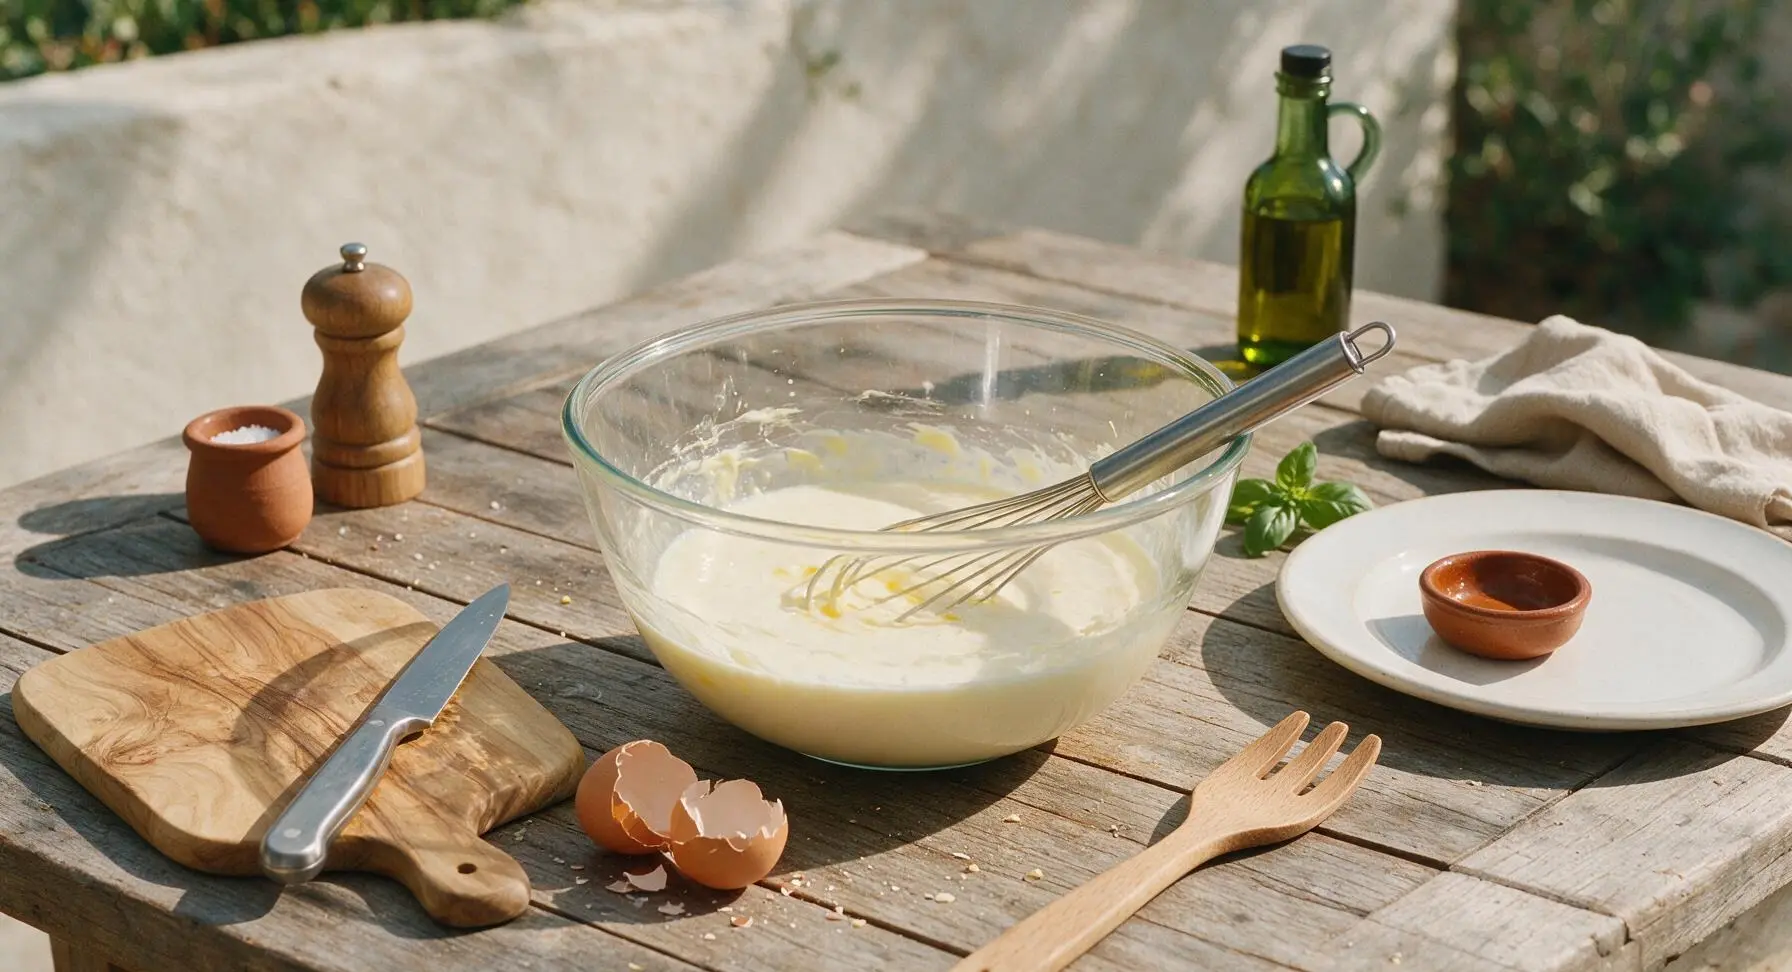
In the second large clear glass mixing bowl, whisk together 2 cups (480ml) cold whole buttermilk, 2 large lightly beaten eggs, 6 tbsp (85g) melted and cooled unsalted butter, and 1 tsp pure vanilla extract. Whisk for 20 seconds until the mixture is smooth, with the egg fully incorporated and no streaks of yellow egg yolk visible on the surface.
Fold Batter Gently
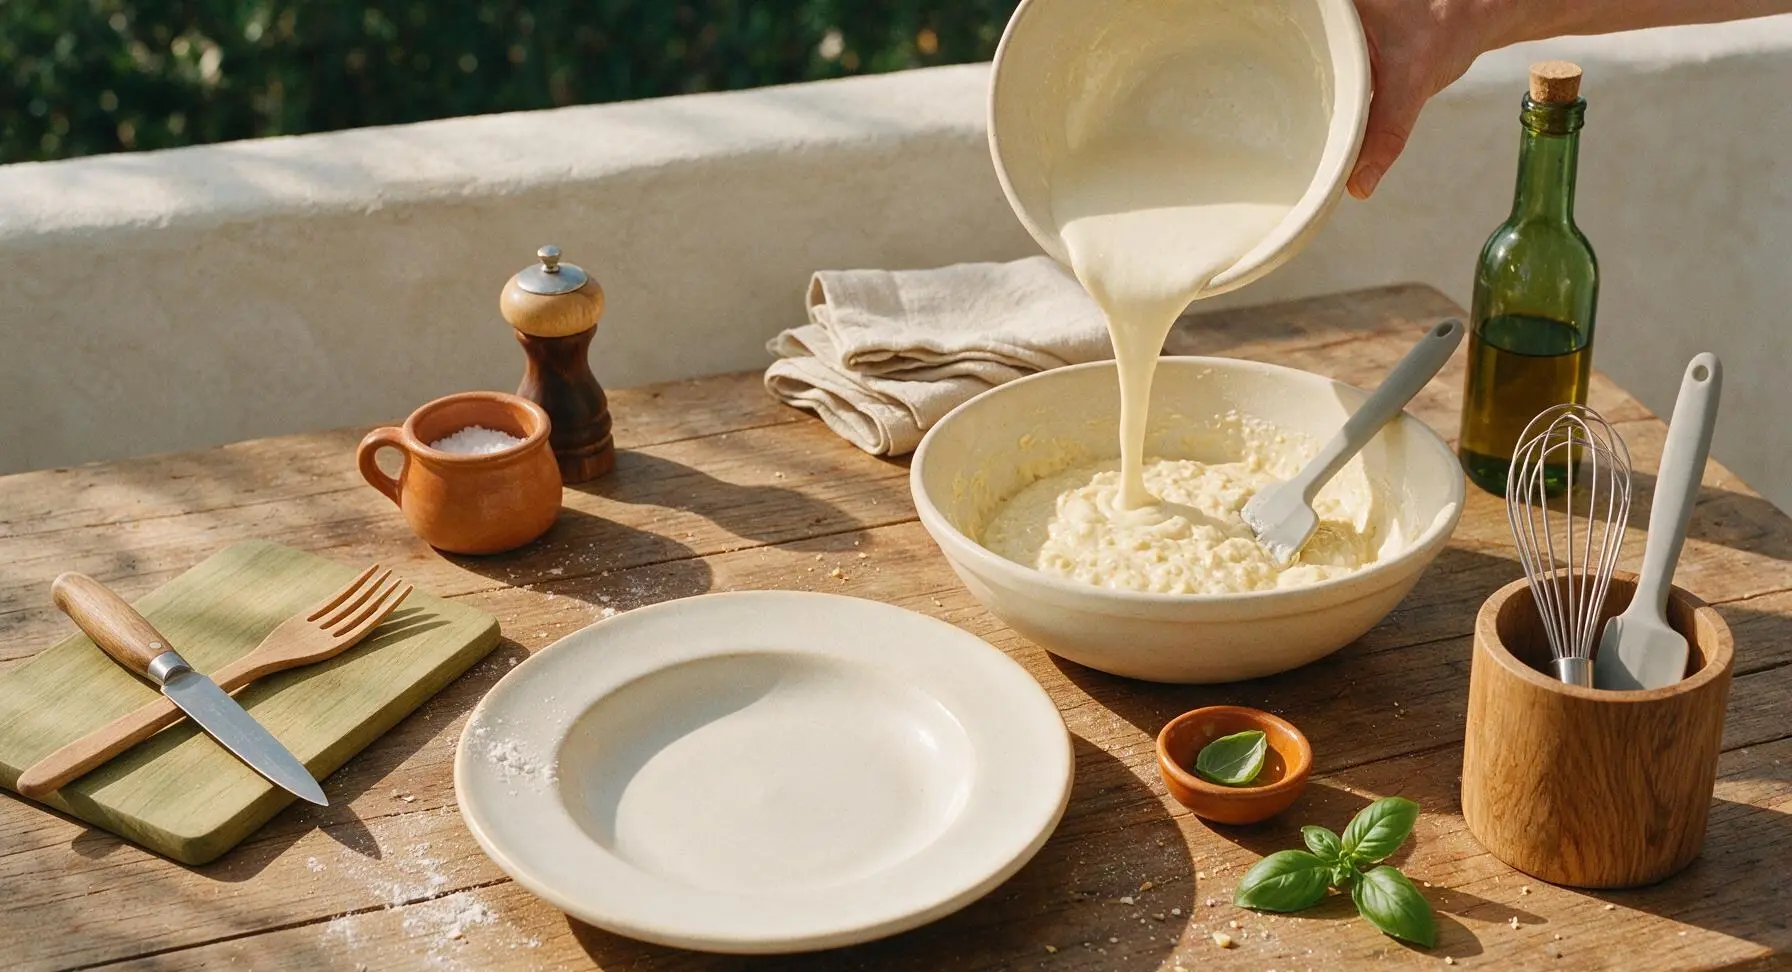
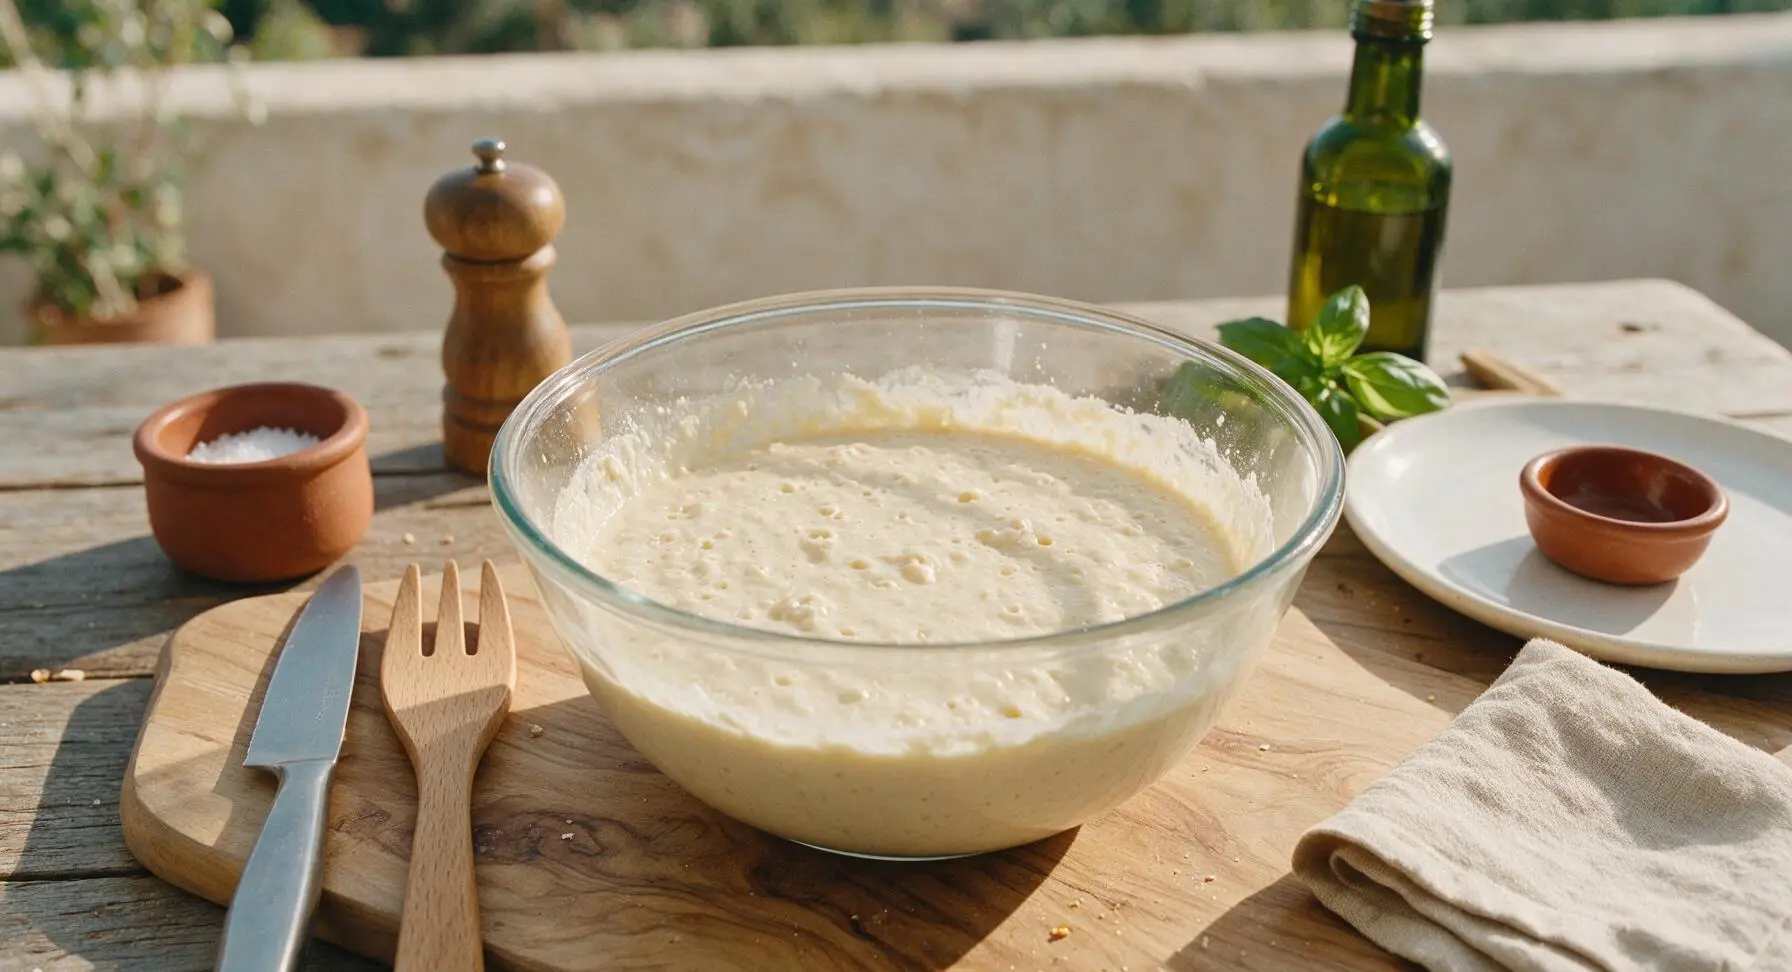
Pour the wet ingredient mixture into the bowl with the dry ingredients. Use the pale gray silicone spatula to fold the batter together in slow, broad strokes, stopping as soon as no large pockets of dry flour remain. The batter will be thick and slightly lumpy—do NOT overmix, as overmixing develops gluten and leads to tough, dense waffles. Let the batter rest for 5 minutes at room temperature to allow the leavening to activate; you will see small bubbles start to form on the surface.
Grease Waffle Grids
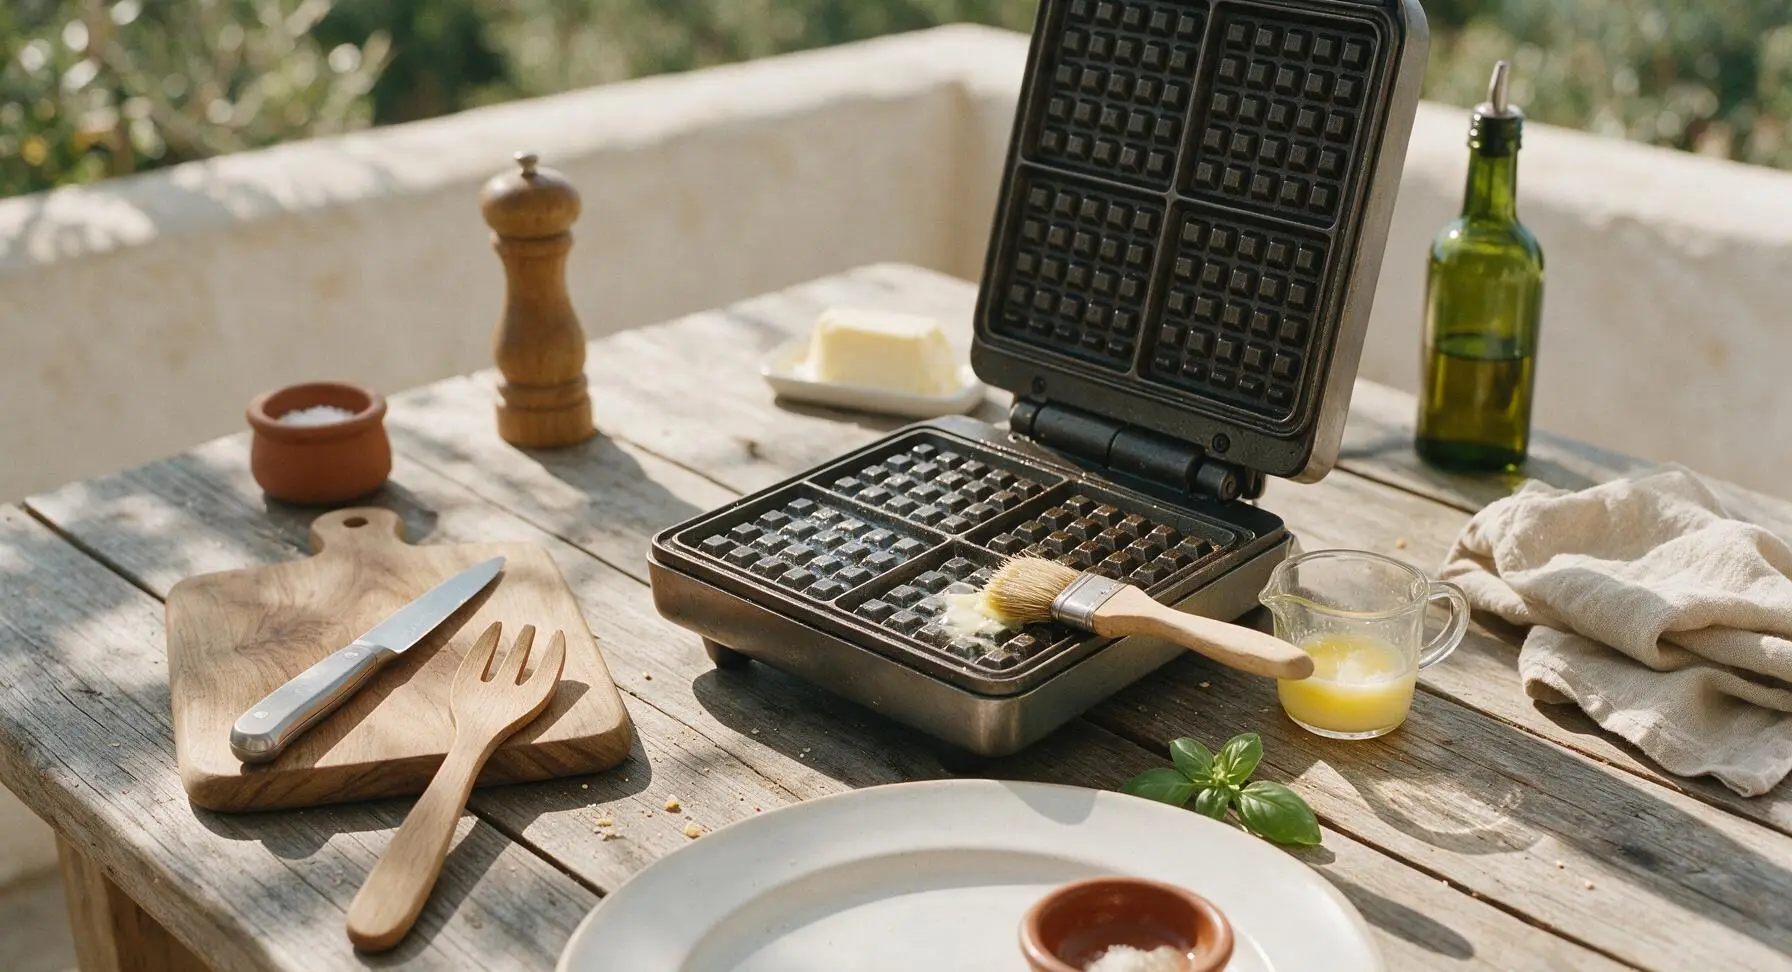
Once the waffle iron is fully preheated (it will stop emitting faint preheat steam when ready, or its indicator light will show it is at temperature), use the boar bristle pastry brush to lightly coat both top and bottom grid plates with a thin layer of melted butter, taking care not to leave excess butter that will burn. Do not use cooking spray, as it leaves a sticky residue on the waffle iron over time.
Cook Waffles Until Crisp
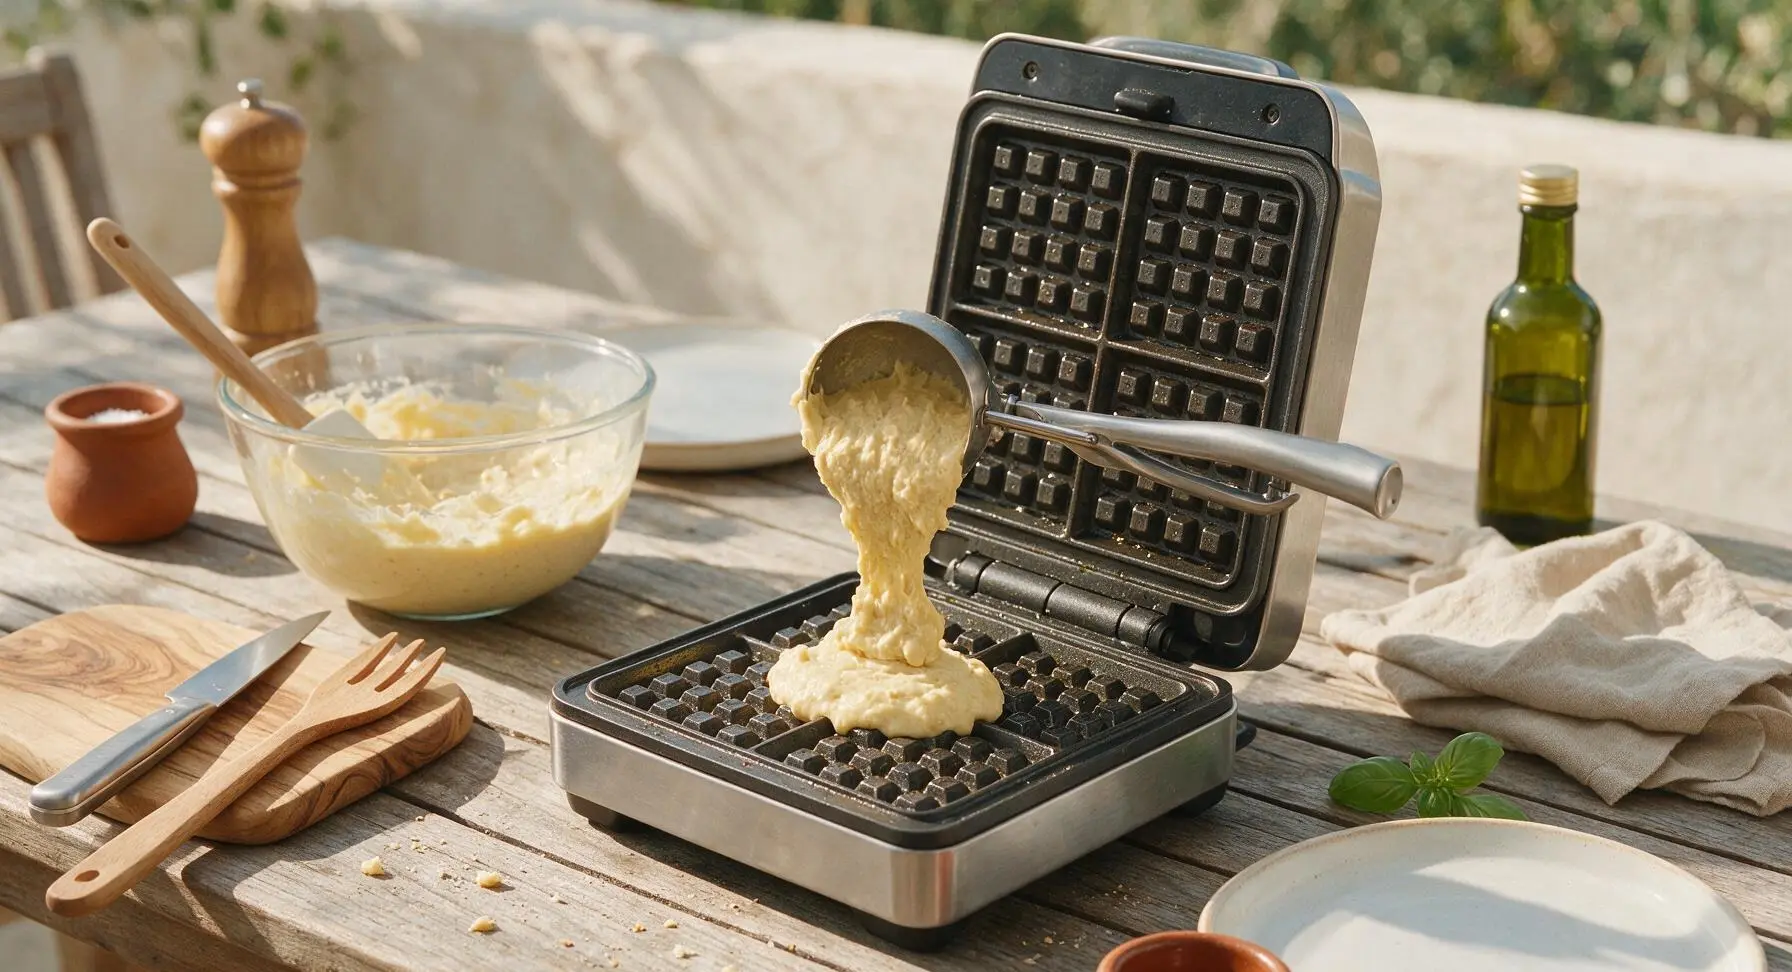
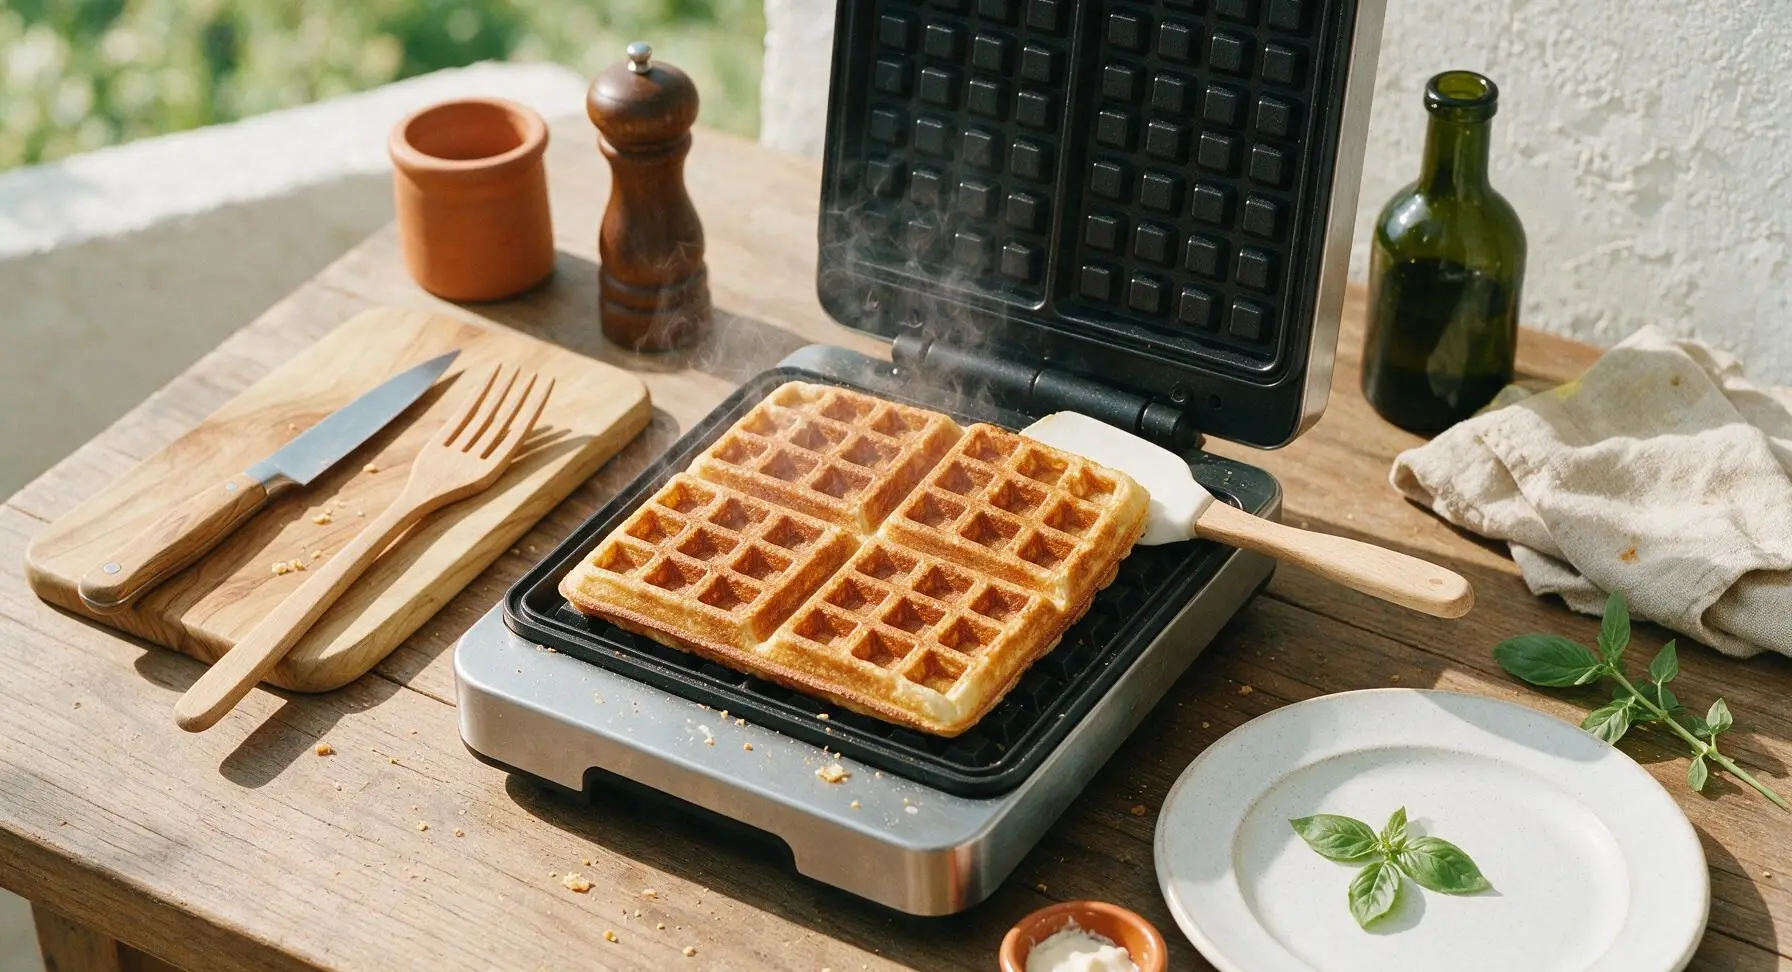
Use the 4-tablespoon stainless steel ice cream scoop to portion 1 level scoop of batter directly onto the center of the greased waffle iron grid. Close the lid and cook for 3 to 4 minutes, until the waffle is deep golden brown, crisp on the edges, and no more steam escapes from the sides of the iron. Do not lift the lid for the first 2 minutes of cooking, as this will cause the waffle to split and stick.
Keep Waffles Crisp
As each waffle finishes cooking, use the silicone spatula to lift it from the iron and transfer it to the chrome wire cooling rack, placing waffles in a single layer with no overlapping. Keep the rack of waffles in a 200°F (95°C) oven while you cook the remaining batter, to keep them crisp and warm until serving. Do not stack waffles directly on a plate while cooking, as trapped steam will make the edges turn soft and soggy.

Plate and Serve Hot
Once all waffles are cooked, cut each square waffle into 4 triangular quarters. Stack 3 quarters slightly offset on the off-white stoneware dinner plate. Top with a 1-tablespoon pat of softened salted butter, a light drizzle of pure maple syrup, a scattering of fresh blueberries, and a tiny dusting of powdered sugar. Serve immediately while hot and crisp.

Tips
2.Never stack hot waffles directly on a plate while cooking batches: Trapped steam from freshly cooked waffles will quickly turn crisp, crunchy edges soft and soggy. Instead, arrange waffles in a single layer on the wire cooling rack set in a 200°F (95°C) oven to keep them crisp and warm for up to 20 minutes.
3.Wait for your waffle iron to fully preheat before adding batter: A too-cool iron will cause batter to stick, cook unevenly, and fail to develop that signature deep golden, crisp crust. Do not open the lid for the first 2 minutes of cooking, as premature peeking can split the waffle and ruin its rise.






OMG these buttermilk waffles are a total game changer for our Saturday breakfasts! My kids go absolutely nuts when I pull out the waffle iron now, they even ask for seconds before they finish their first plate. Super easy to throw together too, I didn’t even have to run to the store for random fancy ingredients. 10/10 will be making these every weekend from now on, SO good!
I made a double batch of these on Sunday for meal prep and they held up perfectly in the freezer all week! Just pop ‘em in the toaster for 2 minutes on busy weekday mornings and they taste just as fresh as the day I made them. Way better than the frozen store-bought waffles we used to buy, no weird preservatives at all. Only note: I found I needed to spray my waffle iron a little extra between batches to prevent sticking, otherwise zero issues!
Brought these to our neighborhood block party potluck last weekend and they were gone in 10 minutes flat! People kept coming up to ask for the recipe, I felt like a total rockstar. Topped them with a little whipped cream and fresh strawberry compote and everyone was raving. Can’t believe how easy they were for how fancy they taste, total classic Martha recipe if you ask me! I’ll definitely be busting this recipe out for every brunch gathering from now on.
Tried making these last night when I realized I only had regular milk instead of buttermilk, so I did the milk + white vinegar trick to make a substitute and they still turned out amazing! So fluffy, crispy on the outside exactly like a good waffle should be. Only question for y’all—has anyone tried making these with whole wheat flour for a little extra fiber?