
meals made with ground beef

title 1
meals made with ground beef
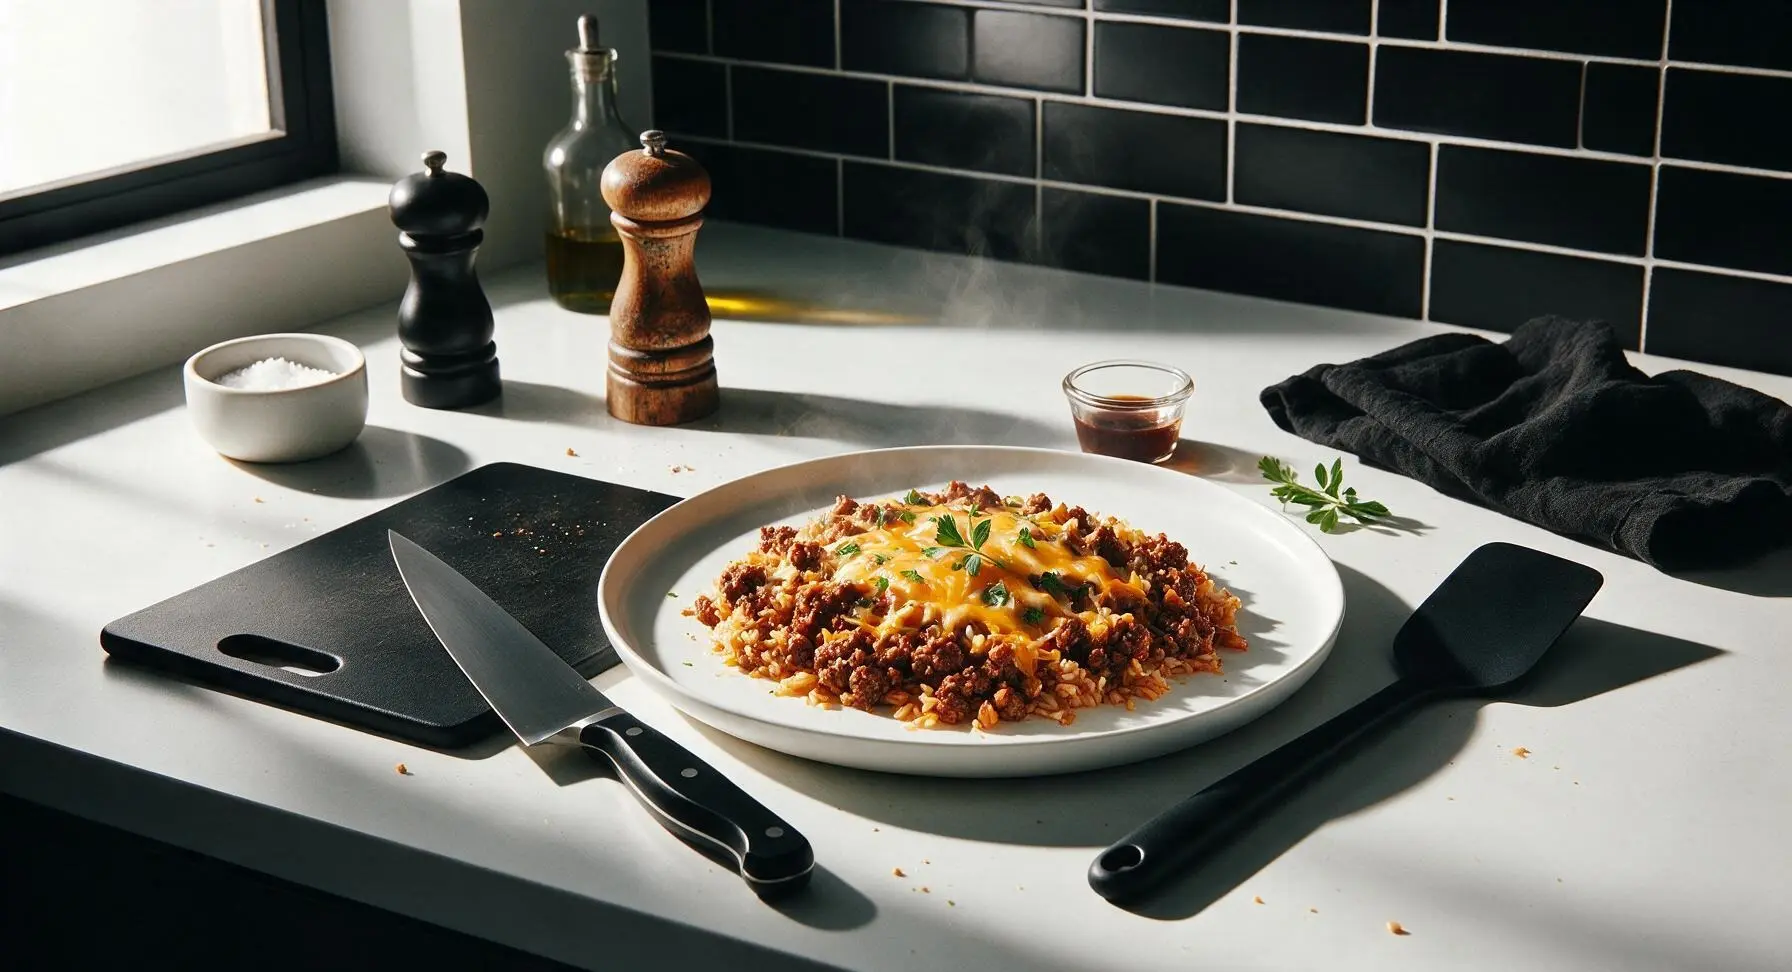
⏱️ cook time 25 minutes
🍽️ servings 4
⚡ Difficulty easy

intro

Juicy seasoned ground beef, tender rice, and melty cheddar come together in one pan for bright, cozy Tex-Mex flavor, with minimal cleanup for busy weeknights.

Ingredients
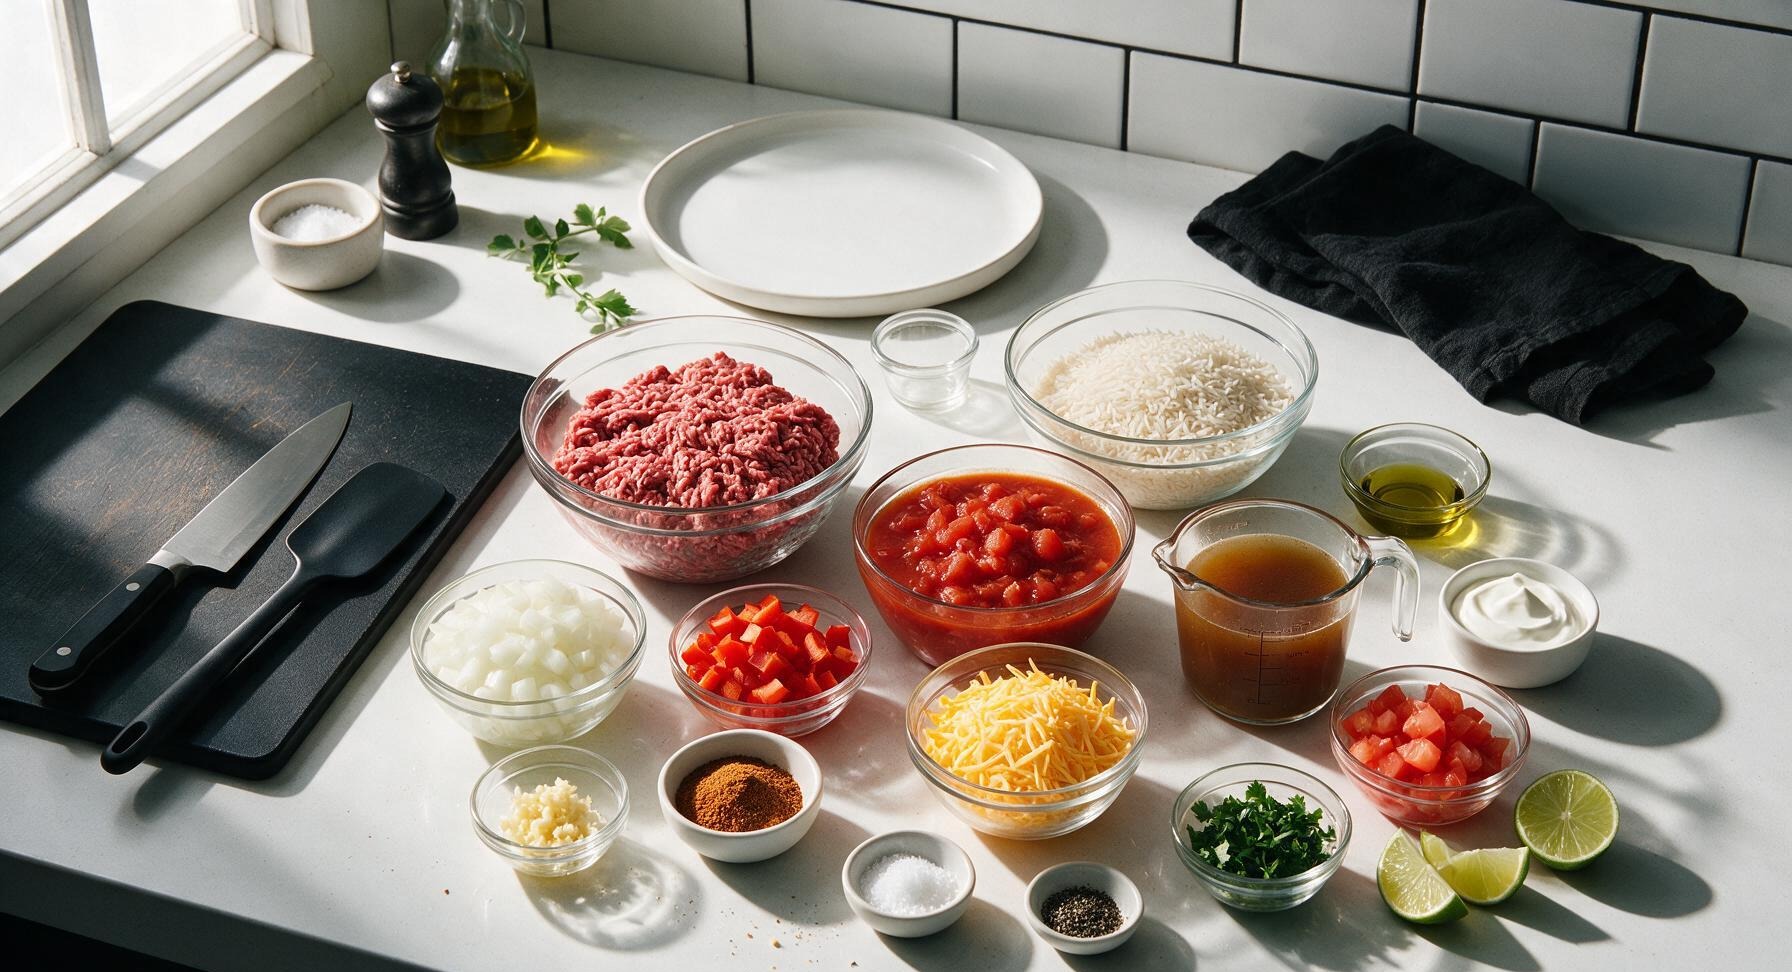
80/20 ground beef 500g
Long-grain white rice (uncooked) 1 cup (185g)
Yellow onion 1 medium (150g)
Red bell pepper 1 small (100g)
Garlic cloves 3 (10g)
Taco seasoning blend 2 tablespoons (15g)
Canned diced tomatoes (undrained) 1 can (400g)
Low-sodium beef broth 1.5 cups (360ml)
Shredded sharp cheddar cheese 1 cup (115g)
Kosher salt 1 teaspoon (5g)
Freshly ground black pepper 1/2 teaspoon (2g)
Olive oil 1 tablespoon (15ml)
Sour cream (for garnish) 1/4 cup (60g)
Fresh cilantro (for garnish) 2 tablespoons (5g)
Fresh tomato (diced, for garnish) 1/2 cup (75g)
Lime (cut into wedges, for garnish) 1 medium (60g)

Steps

1

Prep Aromatic Veggies

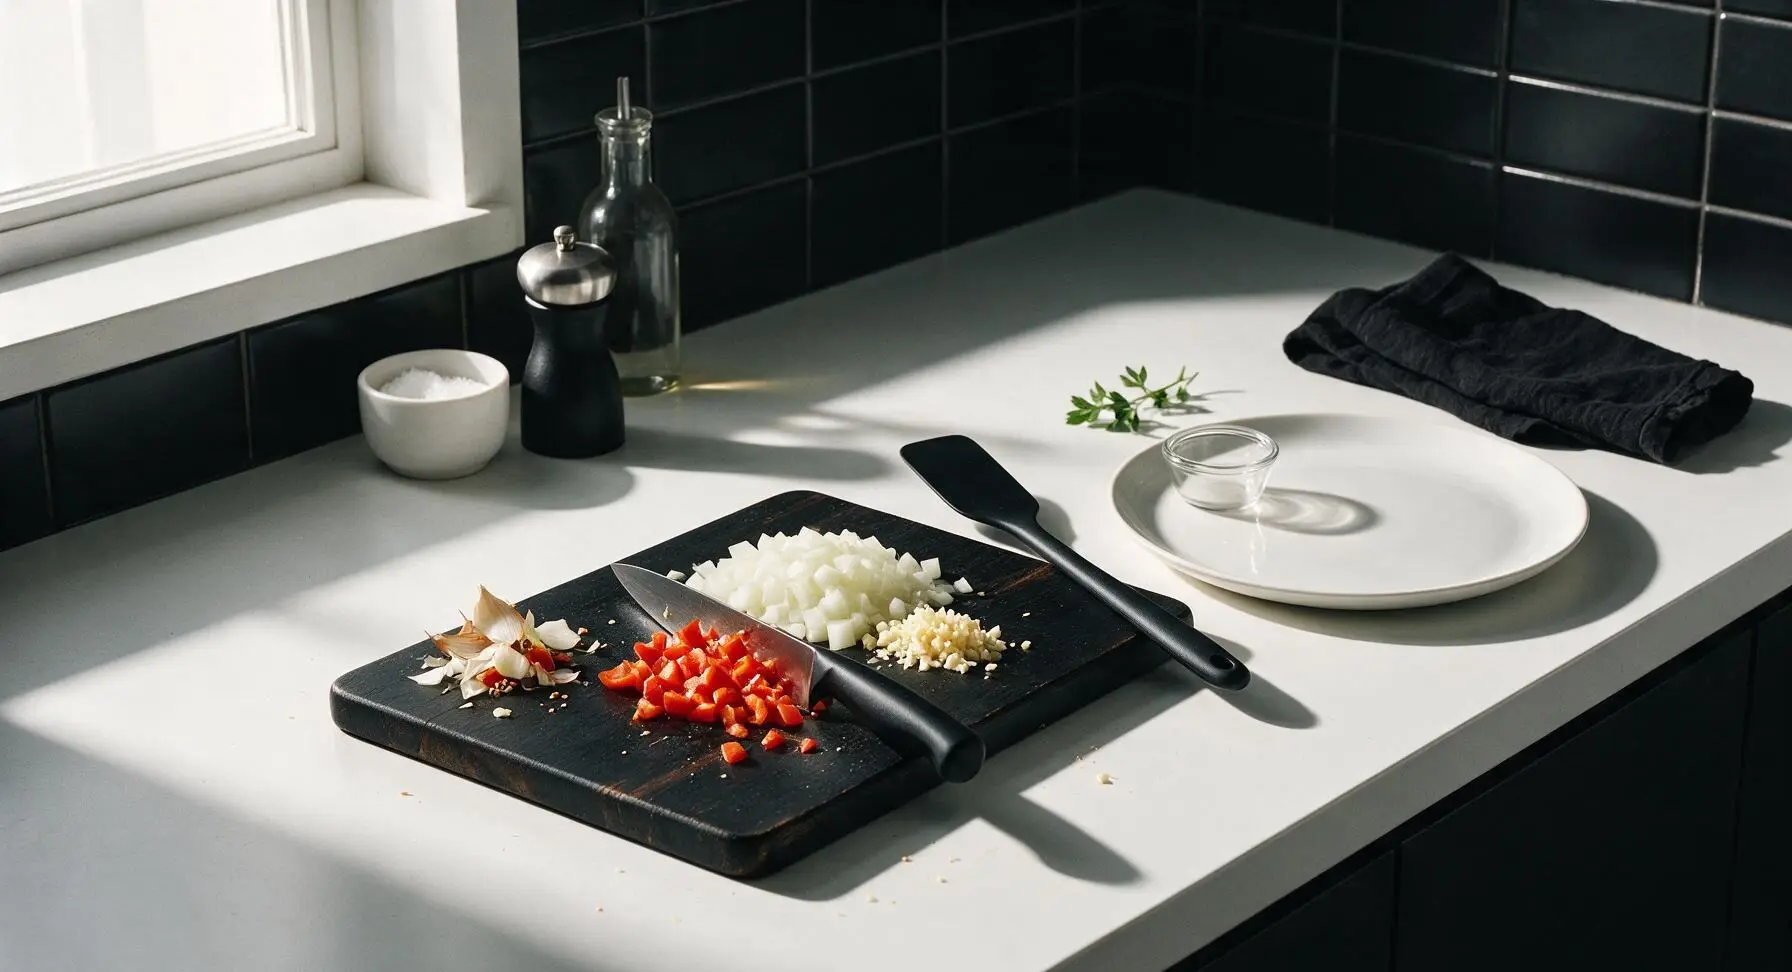
Place the yellow onion, red bell pepper, and garlic on the acacia wood cutting board. Using the 8-inch walnut-handle chef knife, dice the onion and bell pepper into uniform 1cm pieces, then mince the garlic finely. Pile prepped vegetables on the edge of the cutting board, and collect onion peels, pepper seeds, and garlic skins in a small scrap pile at the board’s far corner. Discard scraps once prep is complete.
Step 1
step1:Prep Aromatic Veggies
2

Brown Ground Beef

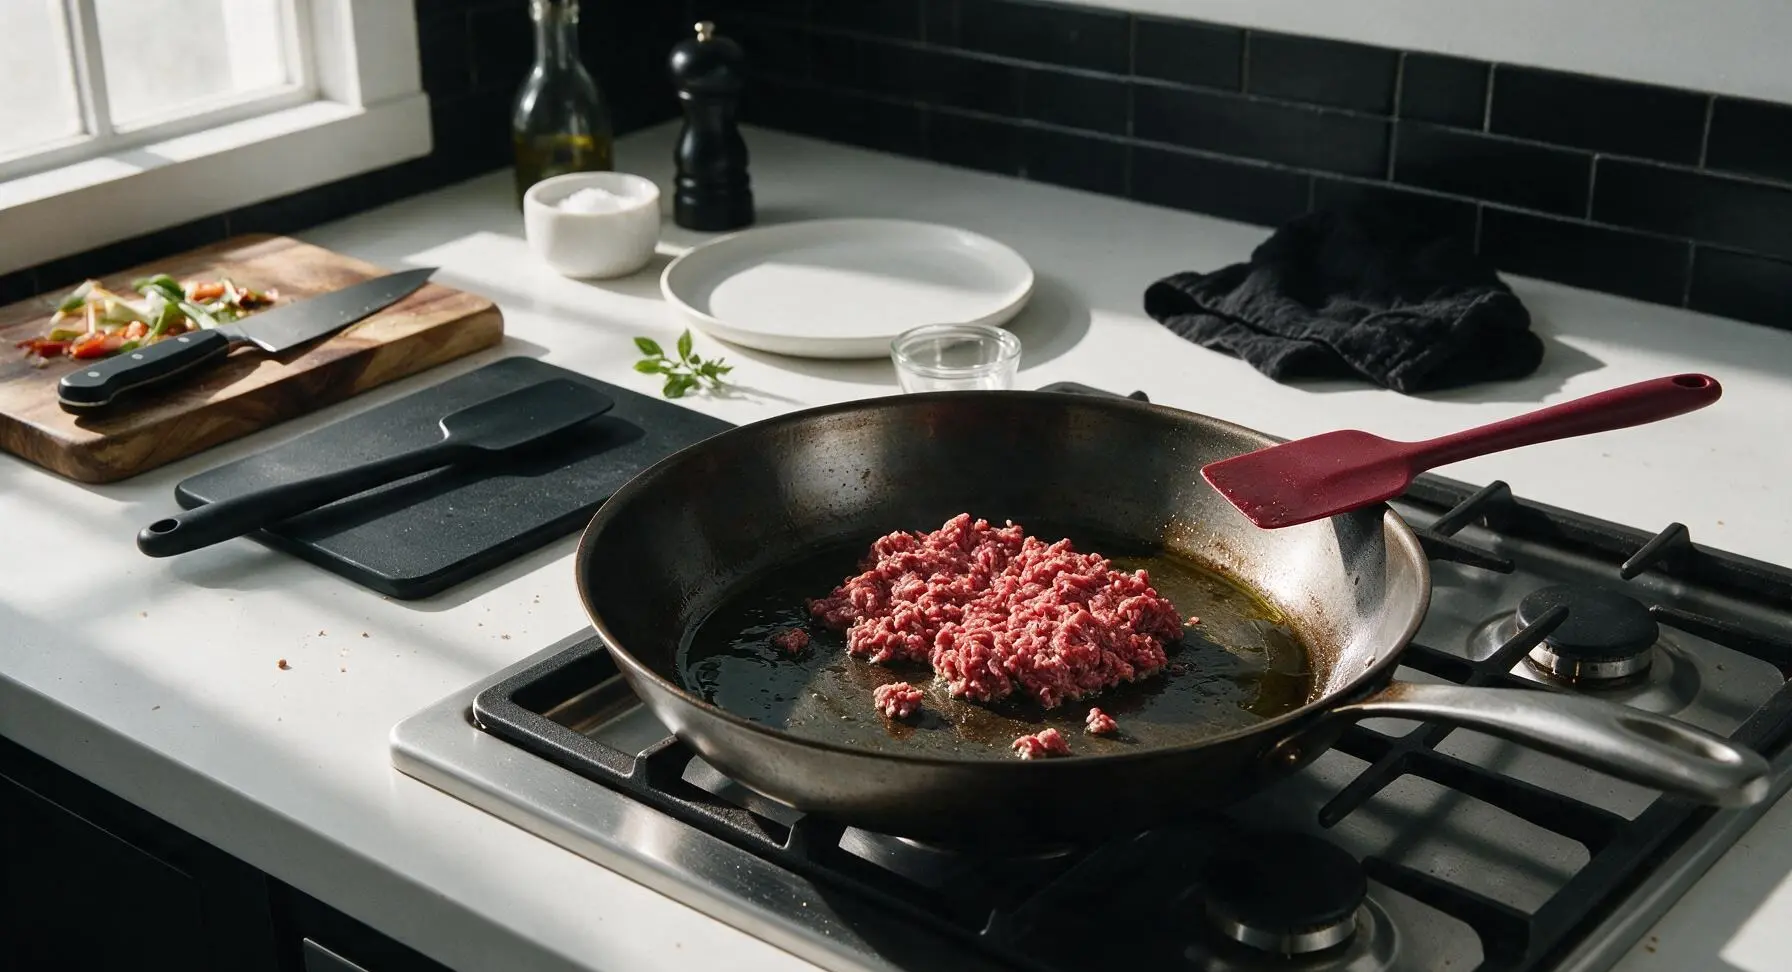
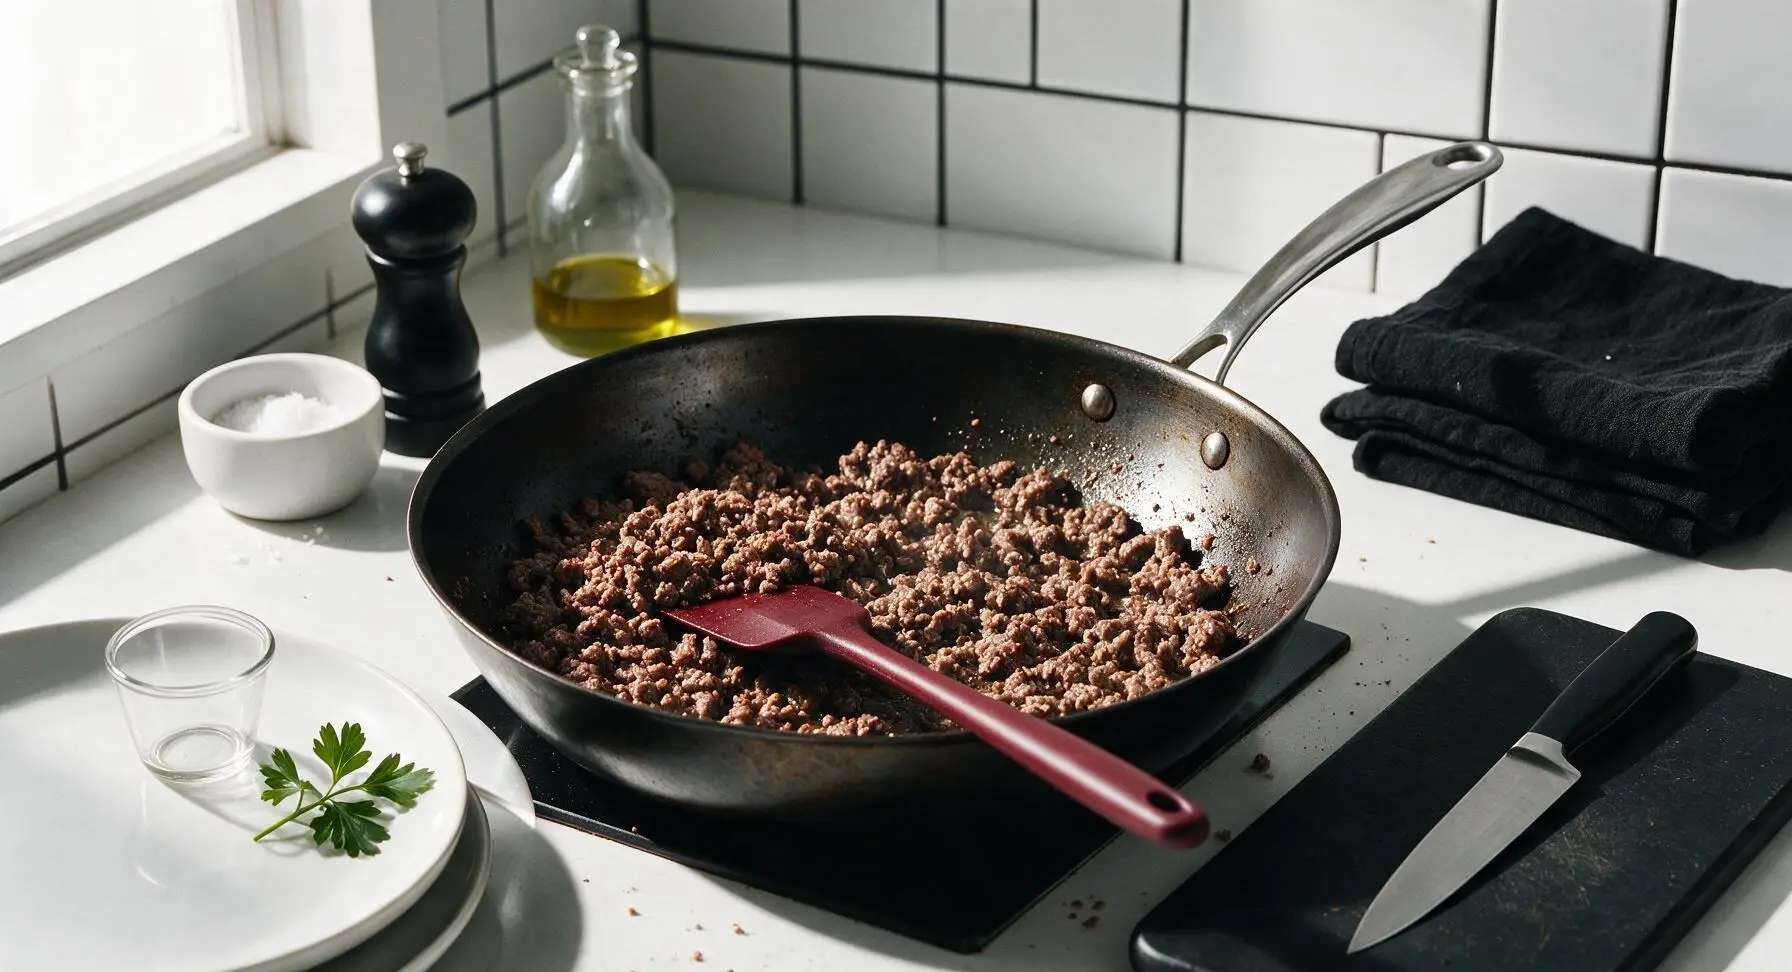
Place the 12-inch seasoned carbon steel skillet on the stovetop over medium heat, add 1 tablespoon olive oil. Once the oil shimmers (about 1 minute of heating), add the 500g ground beef to the pan. Use the deep red silicone spatula to break the beef into small, uneven crumbles as it cooks for 5-6 minutes, until no pink remains and the edges of the crumbles turn slightly crisp. Drain excess grease if more than 1 tablespoon remains in the pan.
Step 2
step2:Brown Ground Beef
Step 2
step2:Brown Ground Beef
3

Sauté Aromatic Veggies

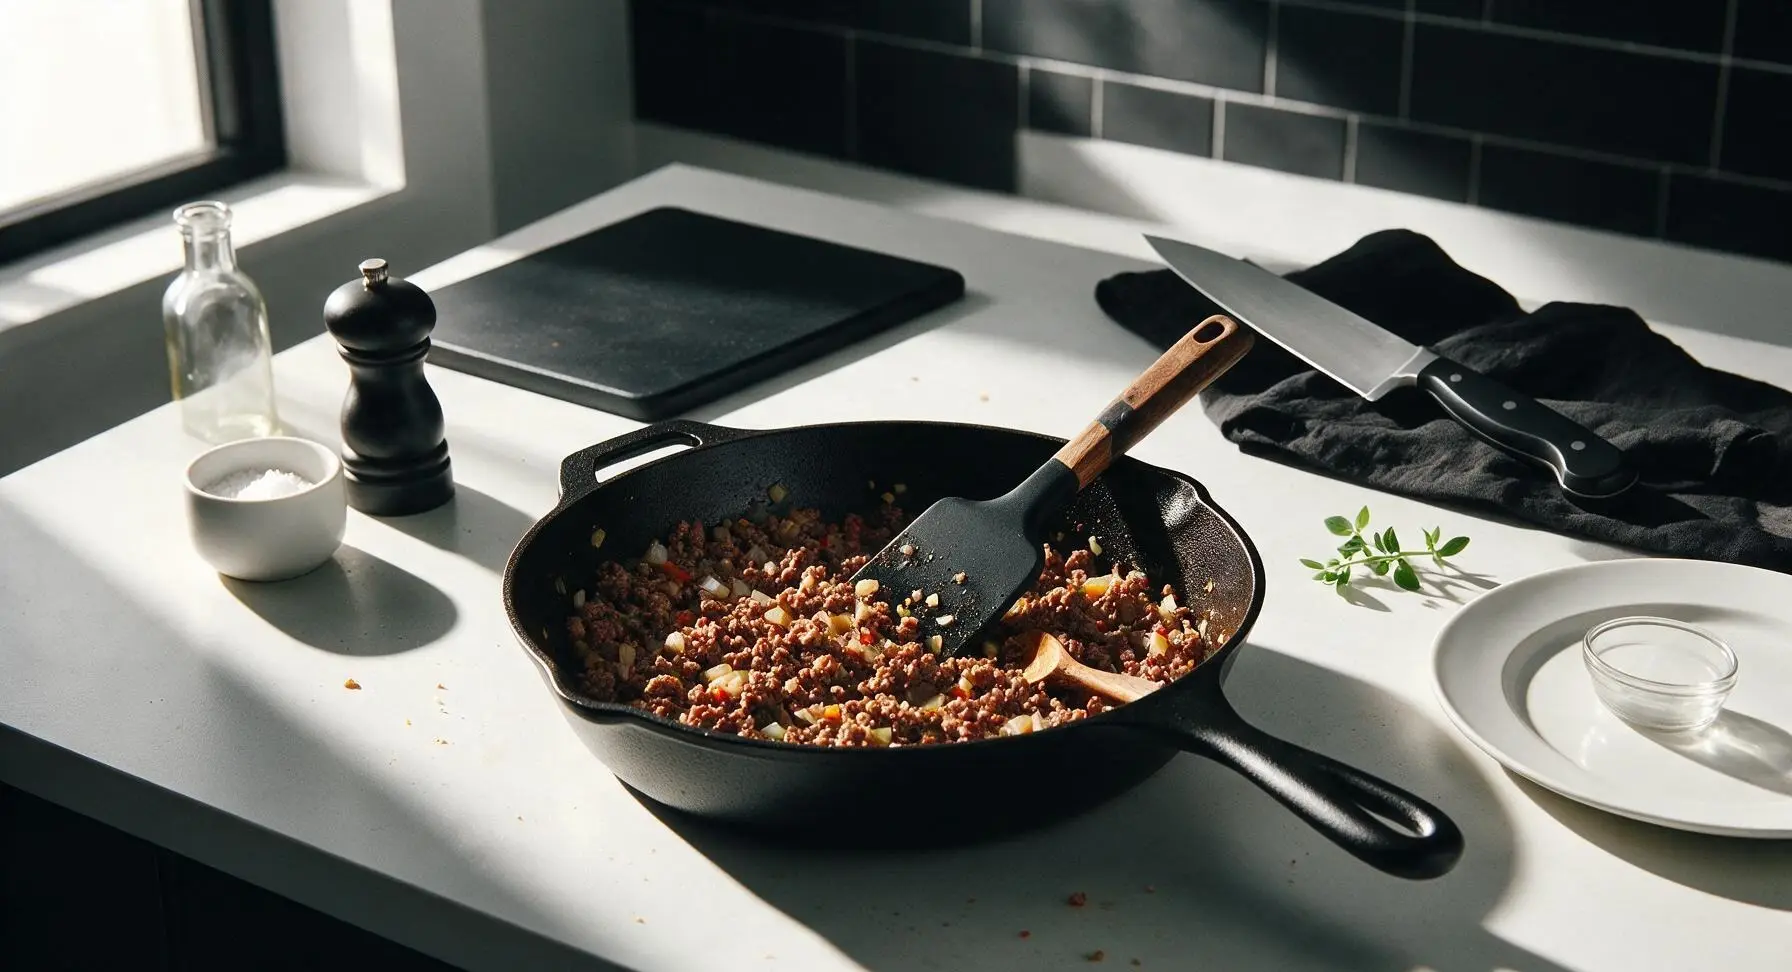
Add the diced onion, bell pepper, and minced garlic from the cutting board to the skillet with the browned beef. Stir with the silicone spatula to combine evenly, cooking for 3 minutes over medium heat, until the onion turns translucent and soft, and the garlic releases a warm, fragrant aroma. Watch closely to avoid burning the garlic, which will turn bitter quickly.
Step 3
step3:Sauté Aromatic Veggies
4

Add Spices and Rice

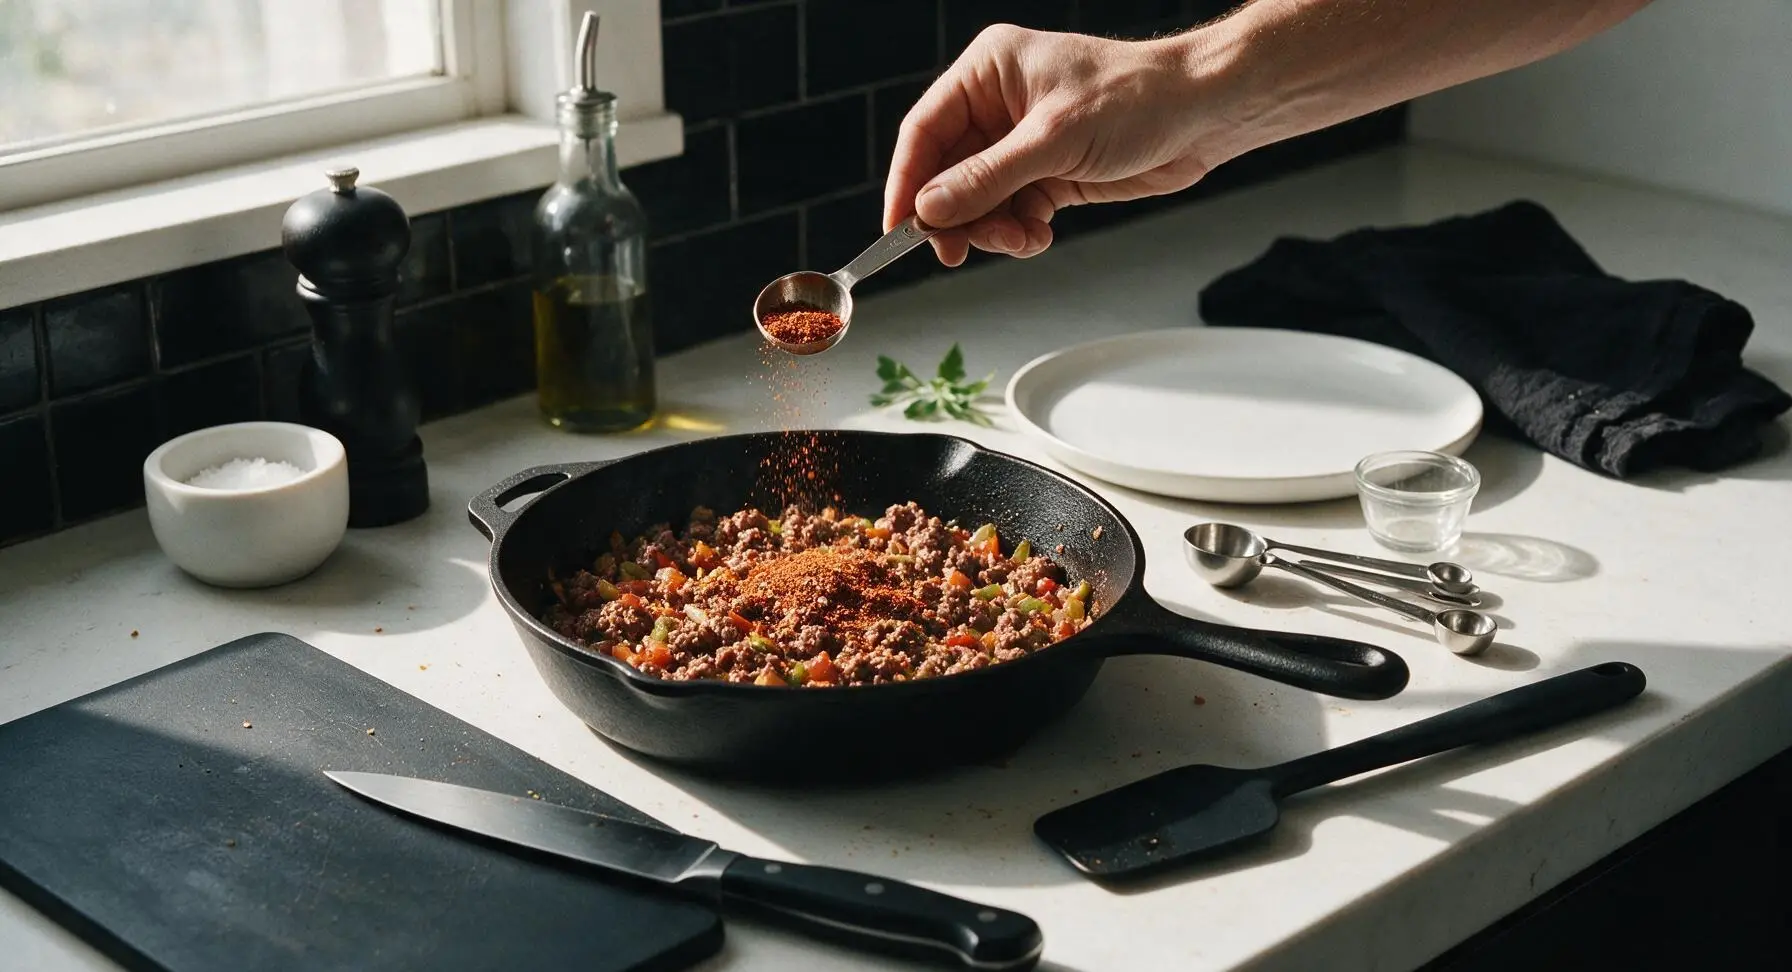
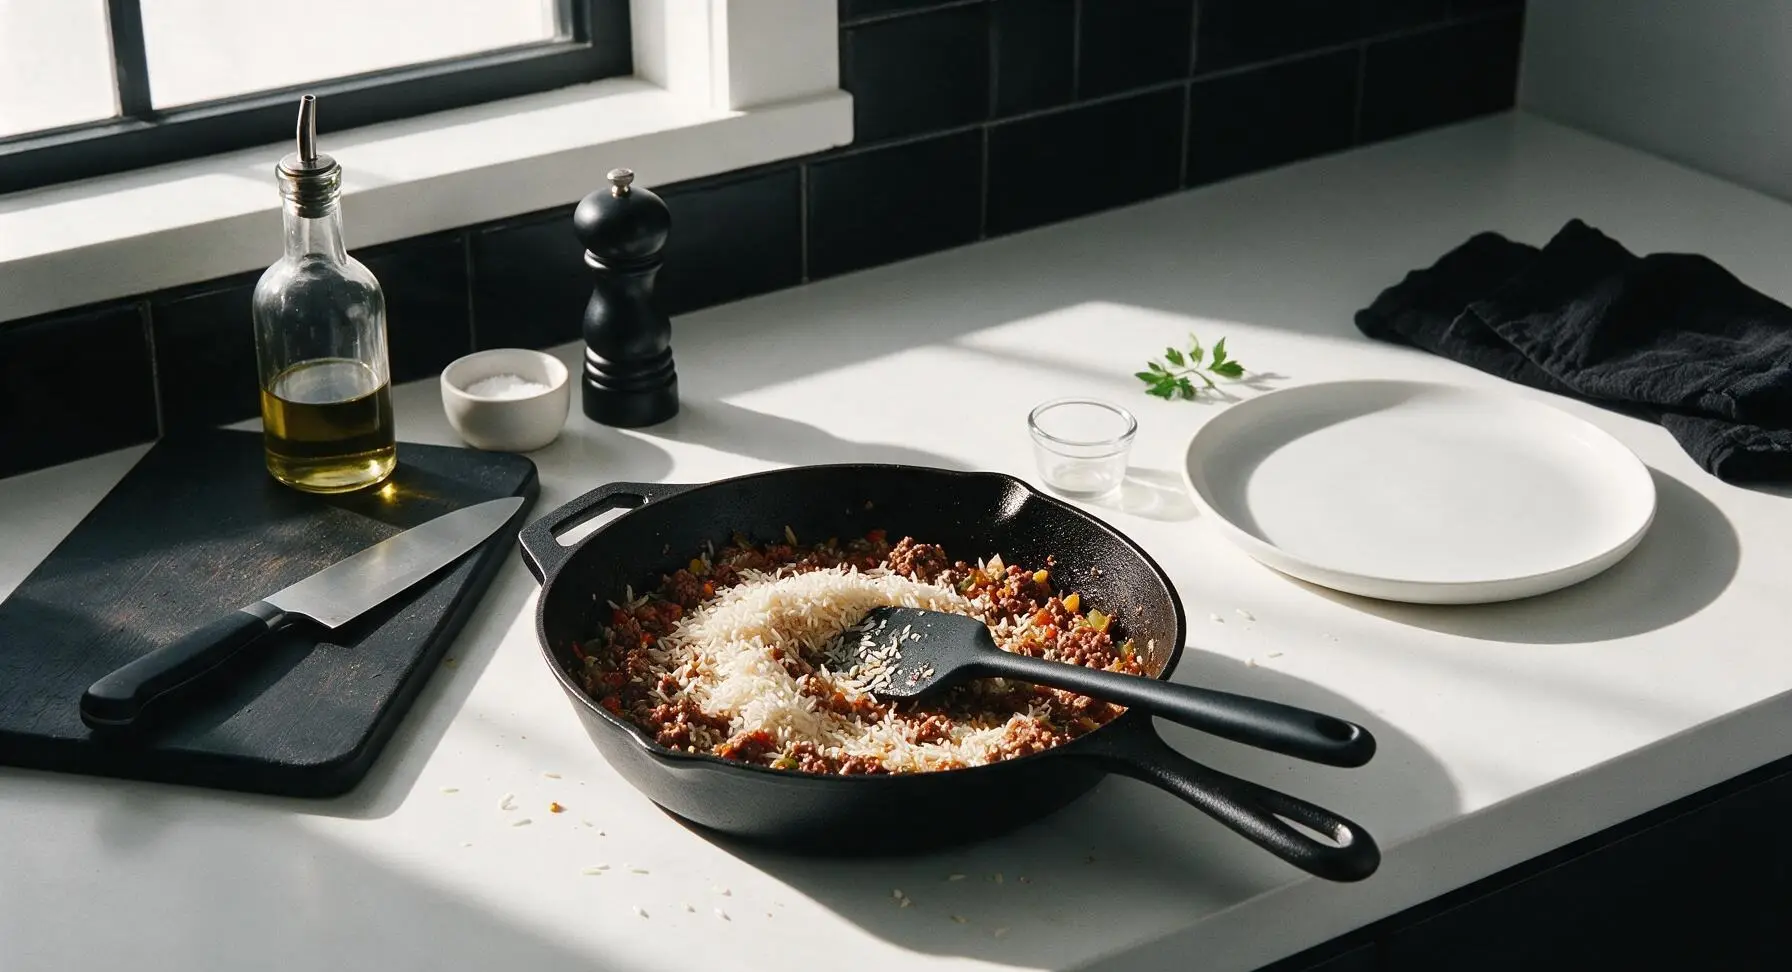
Use the stainless steel measuring spoons to sprinkle 2 tablespoons taco seasoning, 1 teaspoon kosher salt, and 1/2 teaspoon black pepper over the beef and vegetable mixture. Stir to coat everything evenly for 30 seconds, until the spices release a rich, toasted aroma. Add 1 cup uncooked long-grain white rice to the skillet, stirring constantly to toast the rice slightly for 1 minute, until the edges of the rice grains turn faintly translucent.
Step 4
step4:Add Spices and Rice
Step 4
step4:Add Spices and Rice
5

Simmer Rice Mixture

Pour the 400g undrained canned diced tomatoes and 1.5 cups low-sodium beef broth into the skillet, stirring with the spatula to scrape up any browned, flavorful bits from the bottom of the pan. Bring the mixture to a gentle rolling boil, then reduce heat to low, cover the skillet with its tight-fitting lid, and simmer for 15 minutes. Do not lift the lid during simmering to keep steam trapped inside.
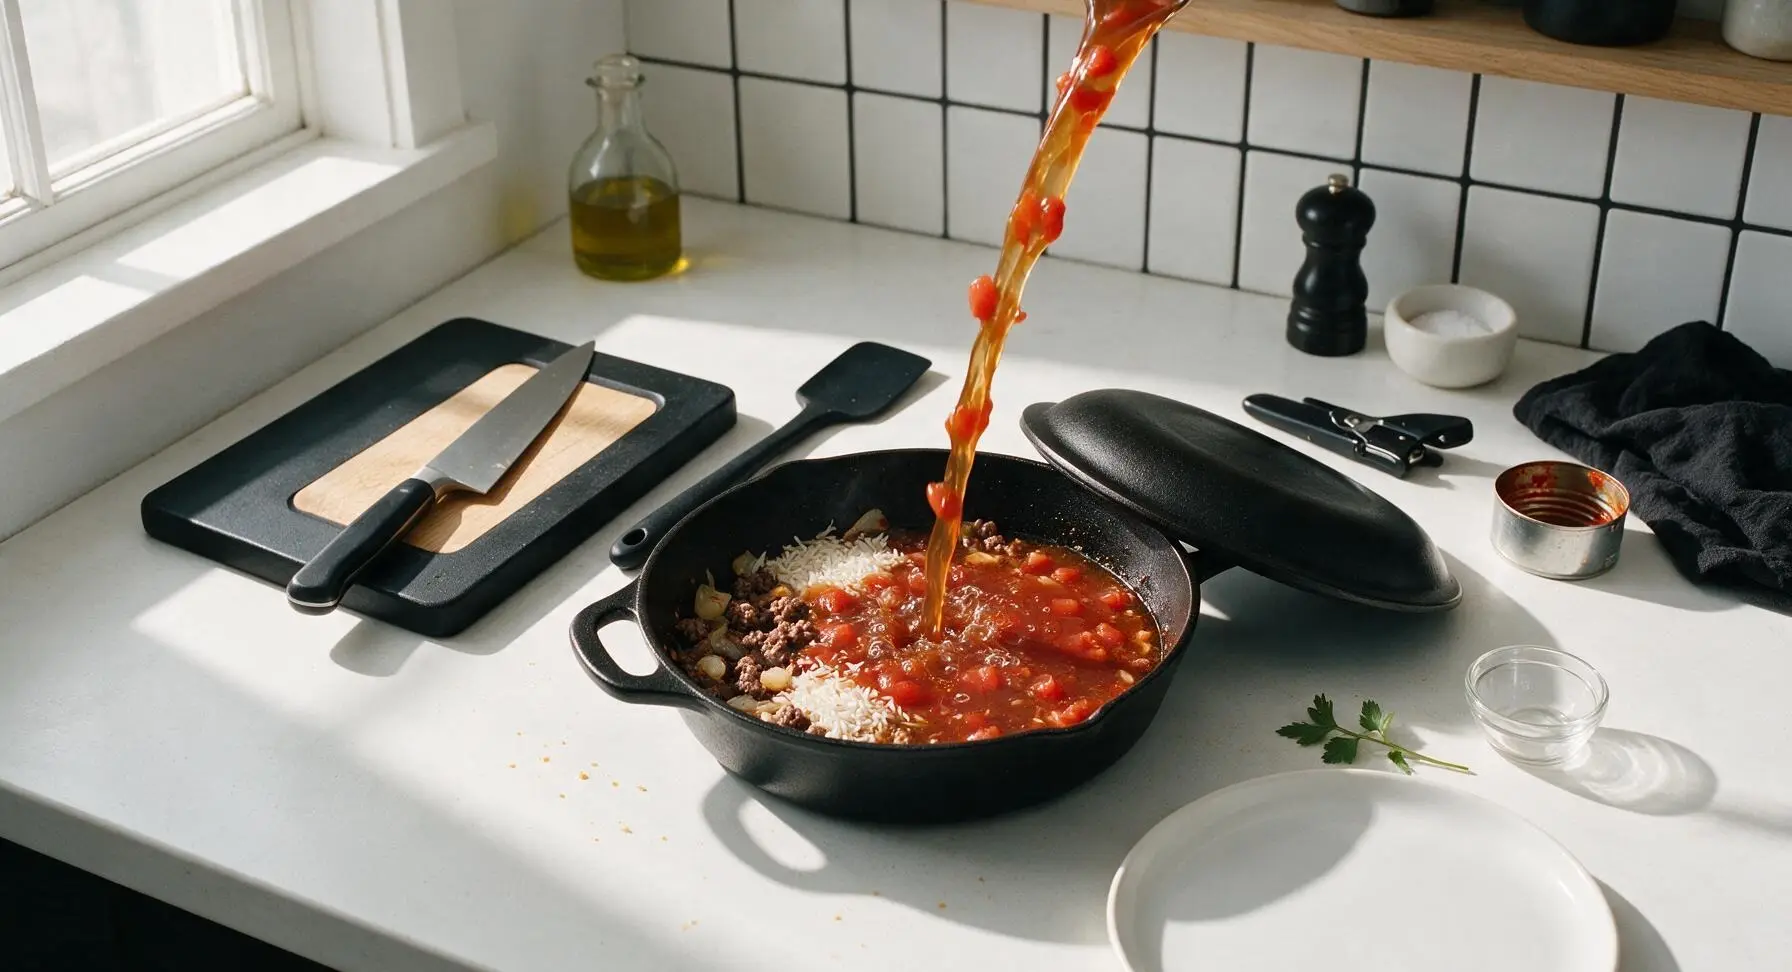
Step 5
step5:Simmer Rice Mixture
6

Check Rice Doneness

After 15 minutes of simmering, turn off the heat. Tilt the skillet lid away from your face to avoid steam burns as you lift it, then fluff the rice gently with the silicone spatula. The rice should be tender with separate grains, no liquid pooling at the bottom of the pan, and the mixture light and fluffy rather than mushy. If any liquid remains, replace the lid and let sit 2 minutes off heat to absorb.
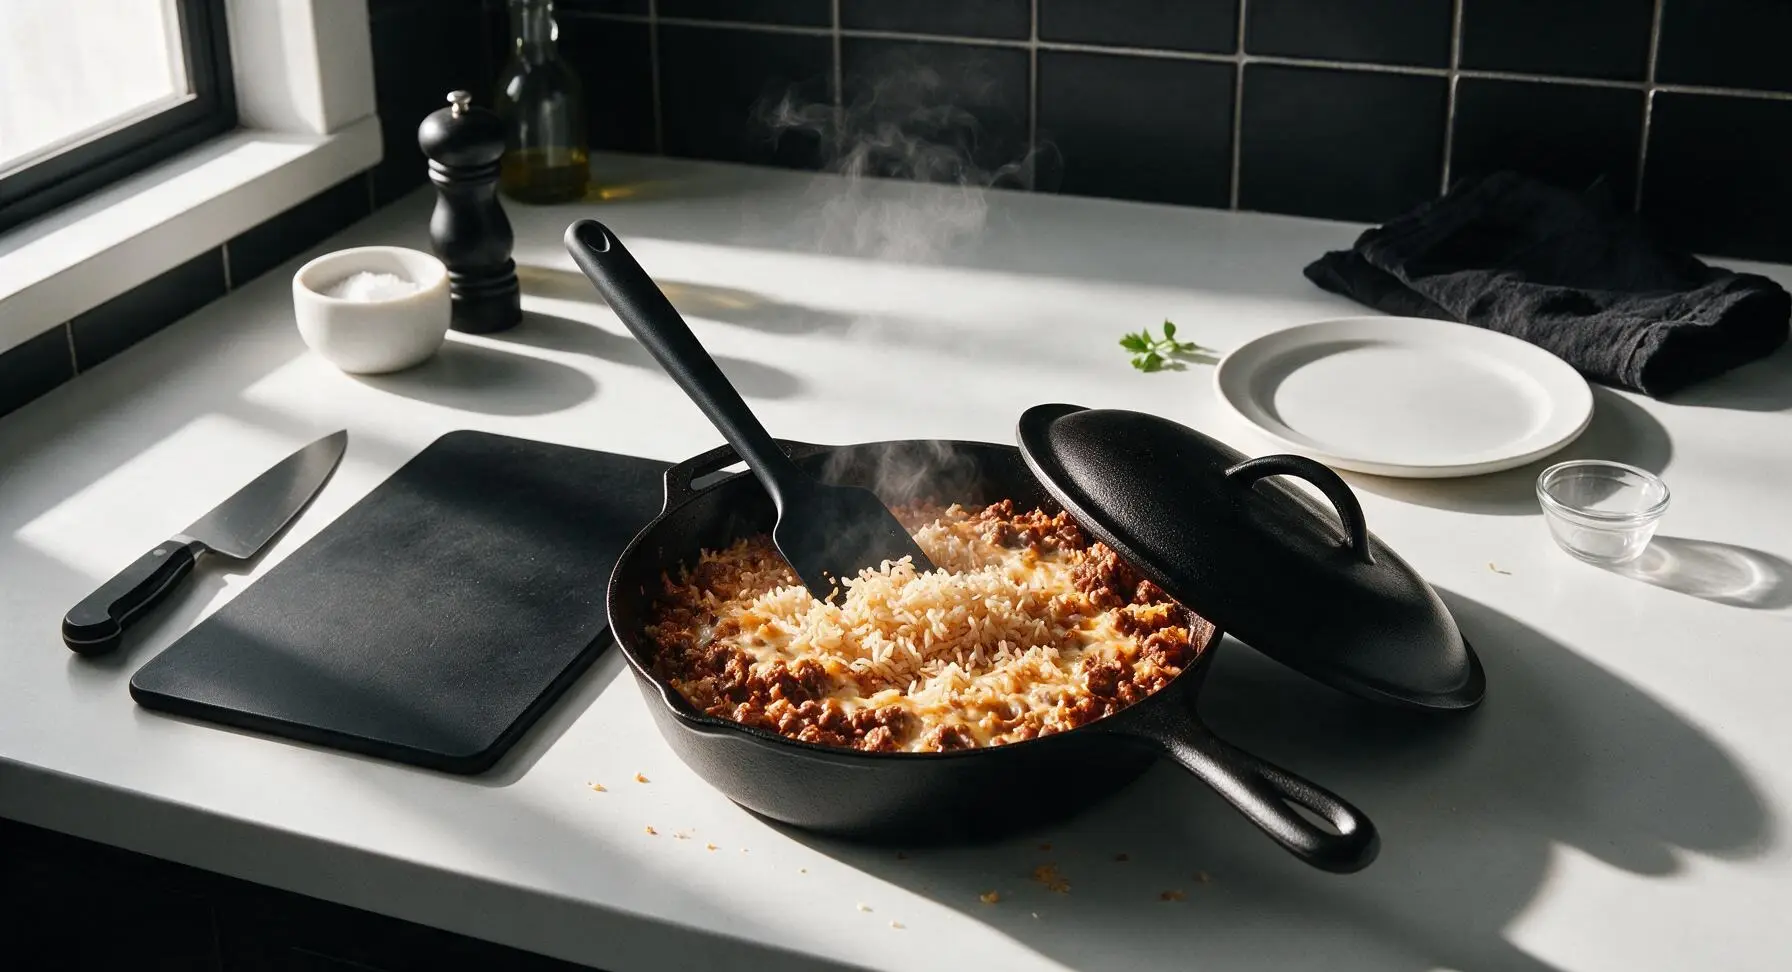
Step 6
step6:Check Rice Doneness
7

Top with Melted Cheese

Sprinkle 1 cup shredded sharp cheddar cheese evenly over the top of the warm rice and beef mixture. Replace the skillet lid and let sit for 2 minutes off heat, allowing residual pan heat to melt the cheese completely into a smooth, golden layer across the top.
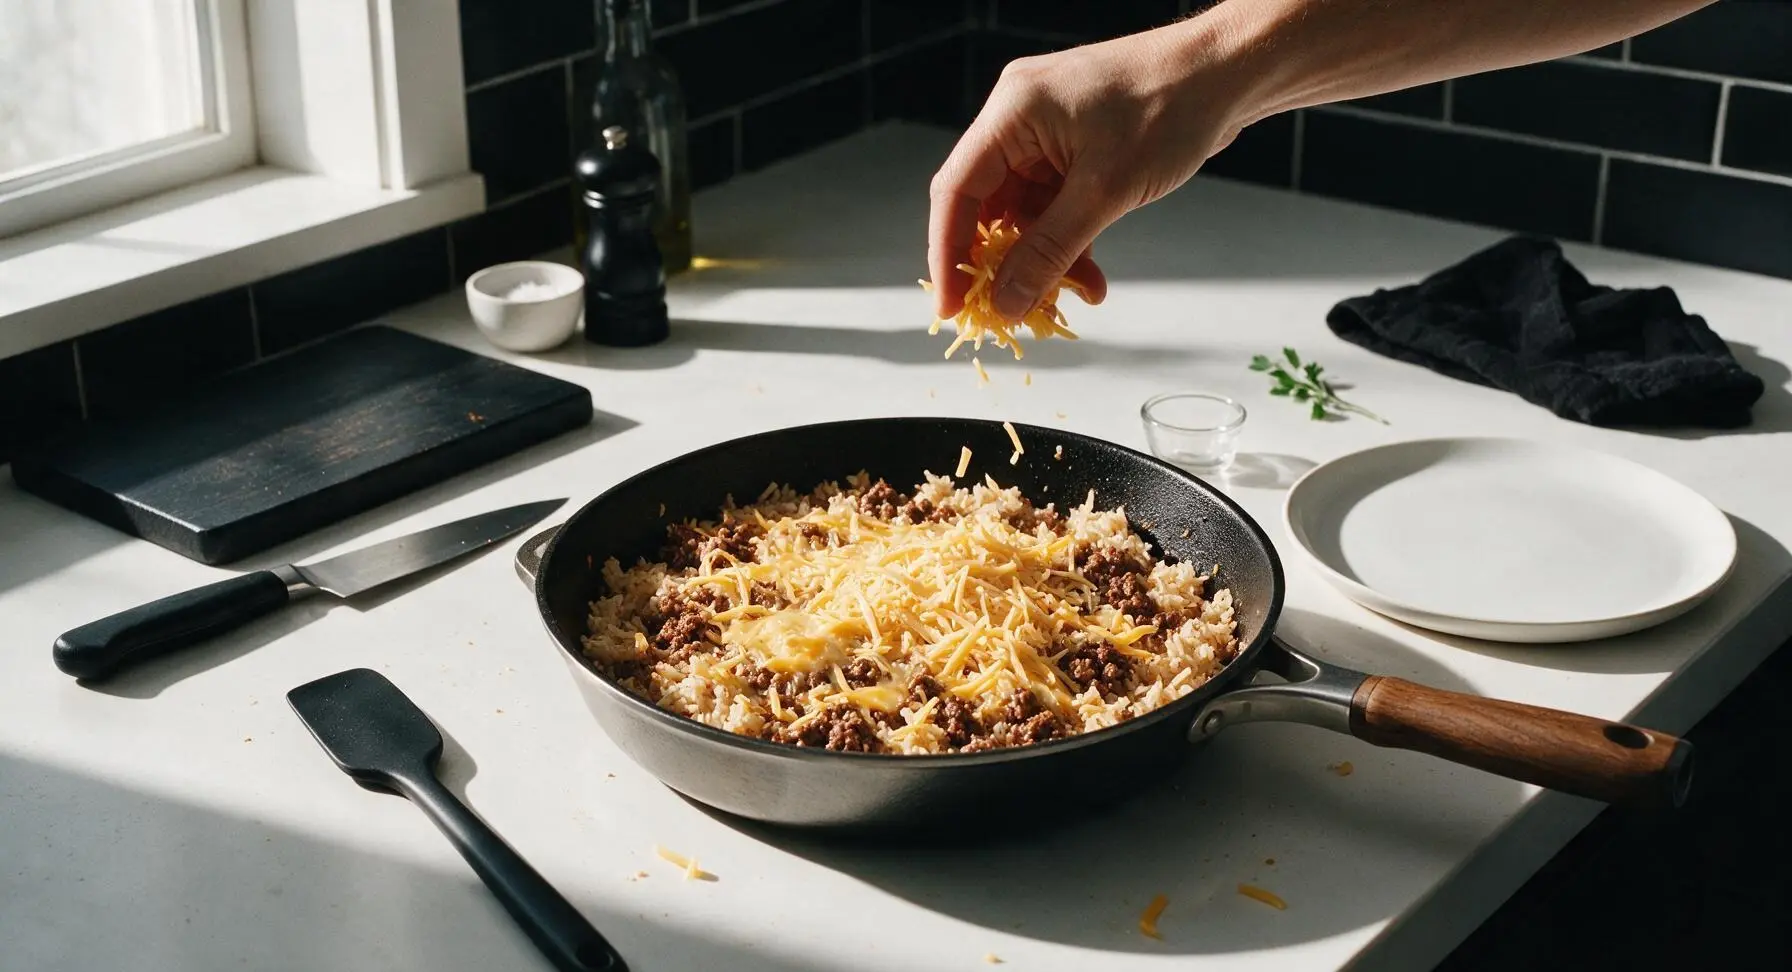
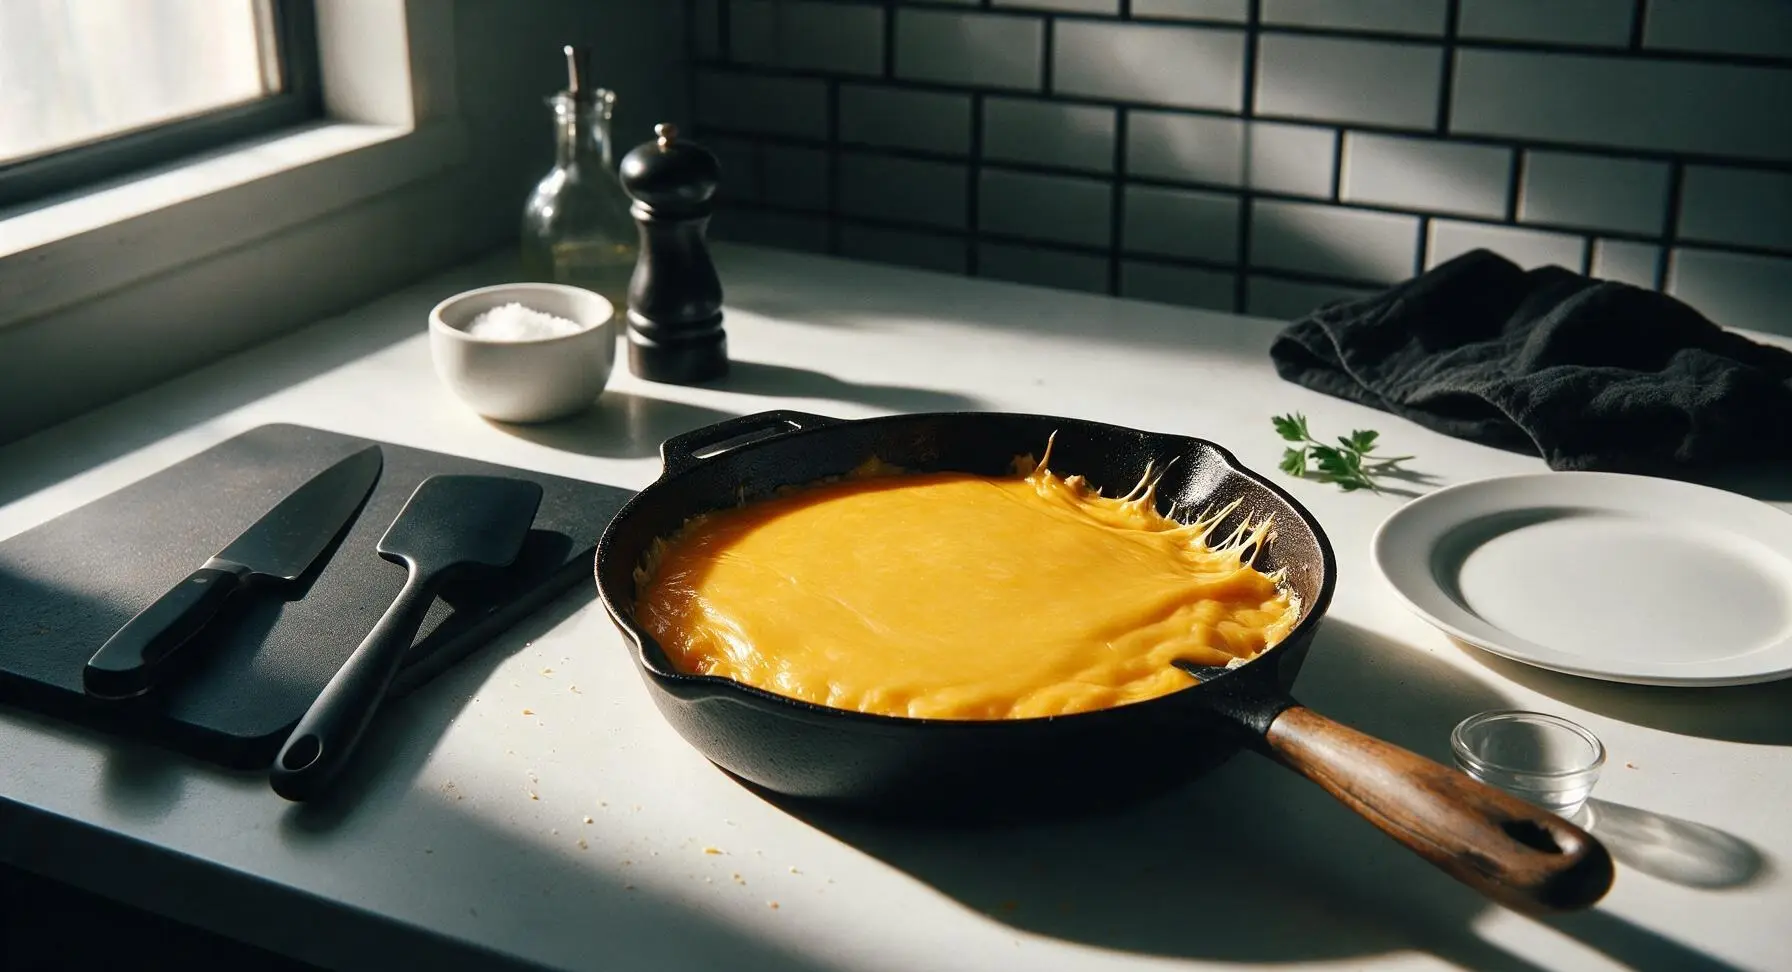
Step 7
step7:Top with Melted Cheese
Step 7
step7:Top with Melted Cheese
8

Plate and Garnish

Scoop a generous 1.5 cup portion of the cheesy beef and rice mixture onto the matte terracotta dinner plate. Top with 1 tablespoon diced fresh tomato, a light sprinkle of chopped fresh cilantro, a small dollop of sour cream, and place a lime wedge on the plate rim. Serve immediately while warm.
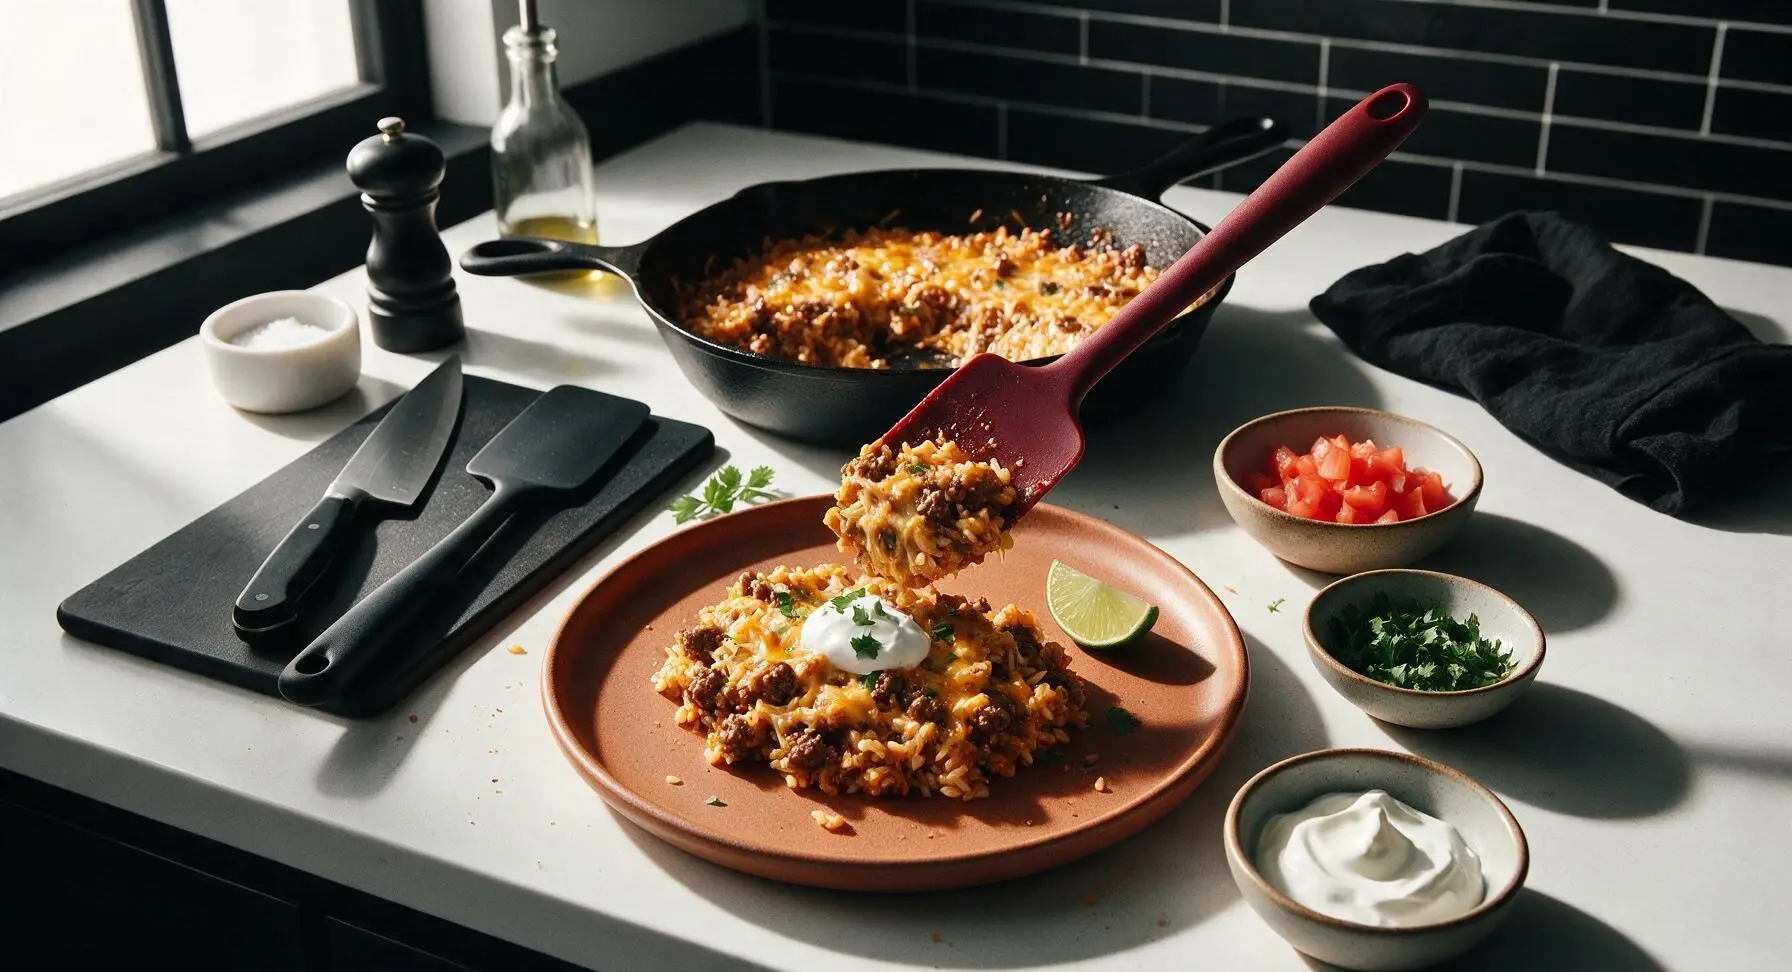
Step 8
step8:Plate and Garnish

Tips

1.Choose 80/20 lean-to-fat ground beef for the best results: the moderate fat content renders as the beef cooks to create rich, deeply flavored crumbles, and you will rarely need to drain excess grease, preventing dry, bland meat that comes from extra-lean ground beef.
2.Resist lifting the skillet lid while the rice simmers: trapped steam builds the consistent low heat needed to cook rice evenly, and lifting the lid drops the pan temperature rapidly, leading to undercooked, crunchy grains on top or mushy, overcooked rice at the bottom.
3.Melt the cheese off heat with the lid on: direct high heat makes cheddar turn rubbery and greasy, but 2 minutes of trapped residual heat melts the cheese smoothly into that perfect gooey, stretchy texture everyone loves.


✨ You May Also Like

Main Course
🍜 United Kingdom

A showstopping classic of tender seared beef, savory mushroom duxelles, and crisp prosciutto wrapped in flaky golden puff pastry, baked to juicy perfection.

⏱️ 2 hours 1Main Course ★ 4.7
Main Course
🍜 India

Tender charred marinated chicken simmered in a rich, spiced creamy tomato sauce, this iconic Anglo-Indian curry pairs perfectly with basmati rice or warm naan.

⏱️ 50 minuteMain Course ★ 4.6
Main Course
🍜 Thailand

Classic tangy, sweet, and savory Thai stir-fried rice noodles with shrimp, tofu, and crunchy garnishes, balancing all five core Thai flavor profiles.

⏱️ 30 minuteMain Course ★ 4.5
Main Course
🍜 United Kingdom

Crispy golden beer-battered cod and fluffy double-fried chips, served with tangy tartar sauce and malt vinegar: the timeless, beloved British pub comfort classic.

⏱️ 45 minuteMain Course ★ 4.7
Main Course
🍜 Mexico

Smoky, chile-marinated pork tacos with caramelized pineapple, fresh cilantro, and lime: a beloved classic Mexican street food perfect for casual summer gatherings.

⏱️ 1 hour 45Main Course ★ 4.8
Main Course
🍜 United States

Crunchy Fritos corn chips layered with savory beef chili and melted cheddar, topped with cool, zesty fixings for a beloved, cozy Tex-Mex comfort food.

⏱️ 35 minuteMain Course ★ 4.8

meals made with ground beef:Frequently Asked Questions

1.Can I use leaner ground beef instead of the recommended 80/20 blend? ▾
You absolutely can, but 80/20 delivers the juiciest, most savory result since its rendered fat cooks the veggies and toasts the rice without added oil. If you use 90/10 or leaner, add 1 tablespoon of olive oil when browning to avoid dryness and ensure the rice toasts properly for deep, nutty, well-seasoned flavor.
2.Do I really need to use uncooked long-grain white rice, or can I use pre-cooked leftover rice? ▾
Uncooked long-grain white rice is formulated to cook perfectly in the skillet liquid for tender, separate grains. If you use pre-cooked leftover rice, add it during the last 5 minutes of cooking instead of toasting it with veggies, and cut added cooking liquid by ⅔ to avoid mushy, clumpy, soggy rice.
3.What size pan works best for this one-pan recipe? ▾
Reach for a 12-inch deep-sided, heavy-bottomed skillet—cast iron or oven-safe stainless steel works perfectly. A pan that’s too small will cause rice to cook unevenly and bubble over, while a too-shallow pan won’t hold enough liquid to fully cook rice without excessive evaporation mid-simmer.
4.Can I swap the yellow onion for a different onion variety? ▾
Definitely! Sweet yellow onion is mild and caramelizes beautifully, but you can use white onion for a sharper, more classic taco bite, or thinly sliced red onion for brighter, slightly tangy flavor. Just avoid extra-thick onion chunks so they cook fully in the same time as the other veggies.
5.I don’t have red bell pepper—what’s a good substitute? ▾
Orange or yellow bell pepper works as a 1:1 swap with a similar sweet, crisp texture. If you only have green bell pepper, note it has a slightly more bitter, earthy bite, so add a tiny pinch of sugar to balance it. You can also use a drained 4-ounce can of diced green chiles for extra zing.
6.How do I keep the rice from turning out crunchy or undercooked? ▾
First, stick to the ratio of 2 cups of liquid (broth or water) for every 1 cup of uncooked long-grain rice, and bring liquid to a full rolling boil before covering the pan to simmer. Keep the lid tightly sealed the entire 18-minute simmer time—peeking lets steam escape, which drops the temperature and leaves rice undercooked.
7.Can I make this recipe spicier for people who love heat? ▾
Absolutely! Stir in 1 diced jalapeño (seeds and membranes left in for extra heat) when you sauté the onion and bell pepper, add a pinch of cayenne to your taco seasoning, or top the finished skillet with pickled jalapeños, hot sauce, or spicy chipotle sour cream right before serving for a customizable kick.
8.What’s the best way to get that perfectly melty cheese top without burning it? ▾
Turn off the heat once the rice is fully cooked, sprinkle your shredded cheddar evenly across the top, then put the lid back on the pan and let it rest for 3 to 4 minutes. The trapped residual heat will melt the cheese smooth and gooey without turning it rubbery or burning the bottom layer of the skillet.
9.Can I add extra veggies to this skillet without messing up the cook time? ▾
Yes, just stick to quick-cooking, diced veggies that match the existing cook time: corn, drained rinsed black beans, diced zucchini, or halved cherry tomatoes work great. Add heartier veggies like sweet potato or diced carrot in with the onion so they have extra time to soften before you add rice and liquid.
10.How long do leftovers last in the fridge, and how do I reheat them? ▾
Leftovers will stay fresh in an airtight container in the fridge for up to 4 days. To reheat, add a splash of chicken broth or water to a microwave-safe bowl, cover loosely, and heat in 1-minute increments, stirring between each, until warmed through. You can also reheat portions in a small skillet over medium-low heat for 5 minutes.
11.Can I freeze this taco skillet for future quick meals? ▾
Yes! Let the fully cooked skillet cool completely, then transfer portions to freezer-safe airtight bags or containers, and freeze for up to 3 months. Thaw overnight in the fridge before reheating, and note the rice may be slightly softer after freezing, but the flavor will stay bright and savory for easy weeknight meals.
12.I don’t have pre-made taco seasoning—how do I make a quick homemade blend for this recipe? ▾
Mix 1 tablespoon chili powder, 1 teaspoon ground cumin, ½ teaspoon garlic powder, ½ teaspoon paprika, ¼ teaspoon dried oregano, ¼ teaspoon onion powder, and a pinch of salt and black pepper for a perfectly balanced blend that matches store-bought taco seasoning flavor without added fillers or preservatives.
13.Why do I need to toast the uncooked rice before adding liquid? ▾
Toasting the dry rice in the rendered beef fat and veggie drippings for 2 to 3 minutes before adding liquid gives grains a nutty, deep flavor and helps keep them separate instead of turning mushy as they cook. It also helps rice absorb the savory taco seasoning more evenly for a flavorful bite in every spoonful.
14.Can I make this recipe dairy-free? ▾
Absolutely! Swap the regular cheddar for your favorite dairy-free shredded cheddar-style blend—look for one that melts well, usually made with a coconut or cashew base. Double check that your taco seasoning doesn’t contain hidden dairy ingredients, and you’ll get the same cozy, savory taco flavor without any milk products.
15.What are the best toppings to serve with this skillet? ▾
Classic Tex-Mex toppings work perfectly here: diced fresh tomato, sliced avocado, a dollop of sour cream, chopped cilantro, a squeeze of fresh lime juice, sliced black olives, pickled red onions, or crumbled tortilla chips for crunch. You can set up a small topping bar so everyone can customize their own bowl to their taste.
16.Can I use brown rice instead of long-grain white rice? ▾
You can, but you’ll need to adjust the cook time and liquid ratio. Long-grain brown rice requires about 2.5 cups of liquid per 1 cup of rice, and needs 40 to 45 minutes of covered simmer time instead of 18, so brown the beef and set it aside temporarily to avoid overcooking it while the rice softens.
17.My rice turned out mushy—what did I do wrong? ▾
Mushy rice usually comes from one of three issues: you used too much cooking liquid, you lifted the lid too often causing uneven cooking, or you used a short-grain rice that releases more starch than long-grain white rice. Next time, stick to the 2:1 liquid to rice ratio, keep the lid sealed while simmering, and use standard long-grain white rice.
18.Can I prep ingredients for this recipe ahead of time to cut down on weeknight cook time? ▾
Definitely! You can dice the onion, bell pepper, and mince the garlic up to 3 days ahead and store them in sealed containers in the fridge. You can also pre-mix your homemade taco seasoning a few weeks ahead, so all you have to do on cook night is brown the beef, toss in prepped ingredients, and let the skillet do the work.
19.Should I drain the rendered fat from the ground beef before adding other ingredients? ▾
If you’re using the recommended 80/20 ground beef, you only need to drain excess fat if there’s more than about 1 tablespoon left in the pan after browning. That small amount of fat is packed with beefy flavor that toasts the rice and cooks veggies perfectly; draining all of it will leave the dish less flavorful and may cause rice to stick as it simmers.

Comments (11)

2 days ago

OMG this is a total weeknight game changer! I have 3 picky kids under 7 and they all cleaned their plates without complaining (if you know, you know). Only one pan to wash? Sign me up forever. I tossed in a handful of frozen corn I had in the freezer and it was perfect. 10/10 will be on our weekly rotation for sure.

1 day ago

Same! My two boys fought over the last cheesy bite, I couldn’t believe it. I skipped the corn because my oldest hates it and added a dollop of sour cream on top, chef’s kiss.

1 day ago

Love that you added frozen corn, that’s such a great quick veggie add-in! So happy your kids enjoyed it, that’s the biggest win for busy weeknights.

yesterday

Made this for our weekly taco night last night instead of our usual spread of shells and toppings and wow, SO good. The melted cheese gets all crispy on the edges of the pan? *Chef’s kiss* I did add a little extra taco seasoning because I like things a bit spicier, and it was perfect. Will make again.

2 hours ago

Extra taco seasoning is always a great call for folks who love a bolder kick! The crispy cheese edges are my favorite part too, so glad you enjoyed it.

1 week ago

I made a big batch of this on Sunday for my weekday meal prep and it held up perfectly all week! Portioned it out with a little side of tortilla chips and it was way better than sad office takeout. Super easy, minimal cleanup, packed with flavor. 10/10 for meal prep folks.

3 days ago

Wait this is so perfect for my tiny dorm kitchen? I only have one skillet and a microwave, so I’ve been living off ramen for months. I grabbed cheap ground beef, a taco seasoning packet, shredded cheese from the dollar store, and it turned out insane. No fancy ingredients, no mess, I’m obsessed.

2 days ago

Dollar store cheese hack is elite, I do that too! I added a can of drained rotel when I made it for extra zing, you should try it next time if your dorm has a can opener lol.

1 day ago

So glad this works for small kitchen setups! You really don’t need fancy equipment or ingredients to make a tasty meal, that’s what this recipe is all about. The rotel add-in Sam mentioned is a great call too!

5 days ago

Brought this to our neighborhood potluck over the weekend and people were asking me for the recipe before I even set the dish down! I topped it with a little shredded lettuce and diced tomato right before serving so it felt fresh, and the whole pan was gone in 15 minutes. Absolute crowd pleaser.

3 days ago

Wait is this naturally gluten free? I need to bring something to my office potluck next week that works for a couple gluten free coworkers, this sounds perfect!

2 weeks ago

I was skeptical that a 25 minute one-pan meal would actually have enough flavor, but wow, I was wrong. The cheese melts into the beef so well, and the taco seasoning coats everything perfectly. I served it over a little rice for my wife who loves extra carbs, and she said it’s one of the best quick dinners I’ve ever made. Only reason it’s not 5 stars is I wish there were a few more veggies in the base recipe, but it was easy to toss in some diced bell peppers while the beef cooked so no big deal.

1 week ago

My 4 year old is going through a super picky ‘I only eat chicken nuggets’ phase so I was fully prepared for him to turn his nose up at this. Nope! He ate two whole servings and asked if we could have ‘taco cheesy beef’ for breakfast tomorrow. Are you kidding? That’s the best review I could ever get.

5 days ago

Ugh the picky phase is so real! My youngest went through that last year, I can’t believe how much he loves this recipe too. Kids really go crazy for the cheesy beef, who knew?

3 days ago

There’s no better compliment than a picky kid asking for seconds (or breakfast servings!) That absolutely made our day to hear. So happy your little one loved it.

2 hours ago

I did not feel like cooking at all today after running errands all day, and this popped up on my feed right as I was about to order takeout. I had all the ingredients already in my fridge/pantry, threw it together in 20 minutes, and it tasted better than the taco place down the street. Saved me $30 on takeout too, win win.

30 minutes ago

Nothing beats a recipe that saves you from expensive takeout on tired days! So glad we could help make your Sunday a little easier.

5 days ago

I’ve made this three times in the last two weeks, no joke. I add a diced jalapeño and a can of fire-roasted tomatoes every time, and I top it with a little hot sauce and avocado. It’s so customizable, you can literally throw in whatever taco toppings you have lying around and it works. Obsessed.

2 weeks ago

I made this when we had friends over for game night last minute, and everyone was raving. I didn’t have any homemade taco seasoning so I just used a store-bought packet, and it still turned out amazing. We scooped it up with tortilla chips like queso, it was the perfect game day snack too, not just a dinner.

1 week ago

Oh the tortilla chip scoop idea is genius! I’m making this for our Super Bowl watch party next year for sure, that’s way easier than setting up a whole taco bar.

30 minutes ago

I had this at my friend’s house last week and it was SO good, but wait has anyone tried making this with dairy free cheese? I’m lactose intolerant so I need to swap it out when I make it at home. I usually use Violife shreds for tacos, does that melt okay in this recipe?

5 minutes ago

I made it with dairy free cheddar last week because my son is lactose intolerant! It melted totally fine, I just stirred it in a little longer than the recipe says to make sure it got all gooey. Tasted exactly like the regular version!

just now

Great question! Dairy free shreds work perfectly here, just like Gina said – you might just need to give them an extra minute or two to melt fully. Hope you love it if you give it a try!



