
Milk Stout (Sweet Stout) Craft Beer

title 1
Milk Stout (Sweet Stout) Craft Beer
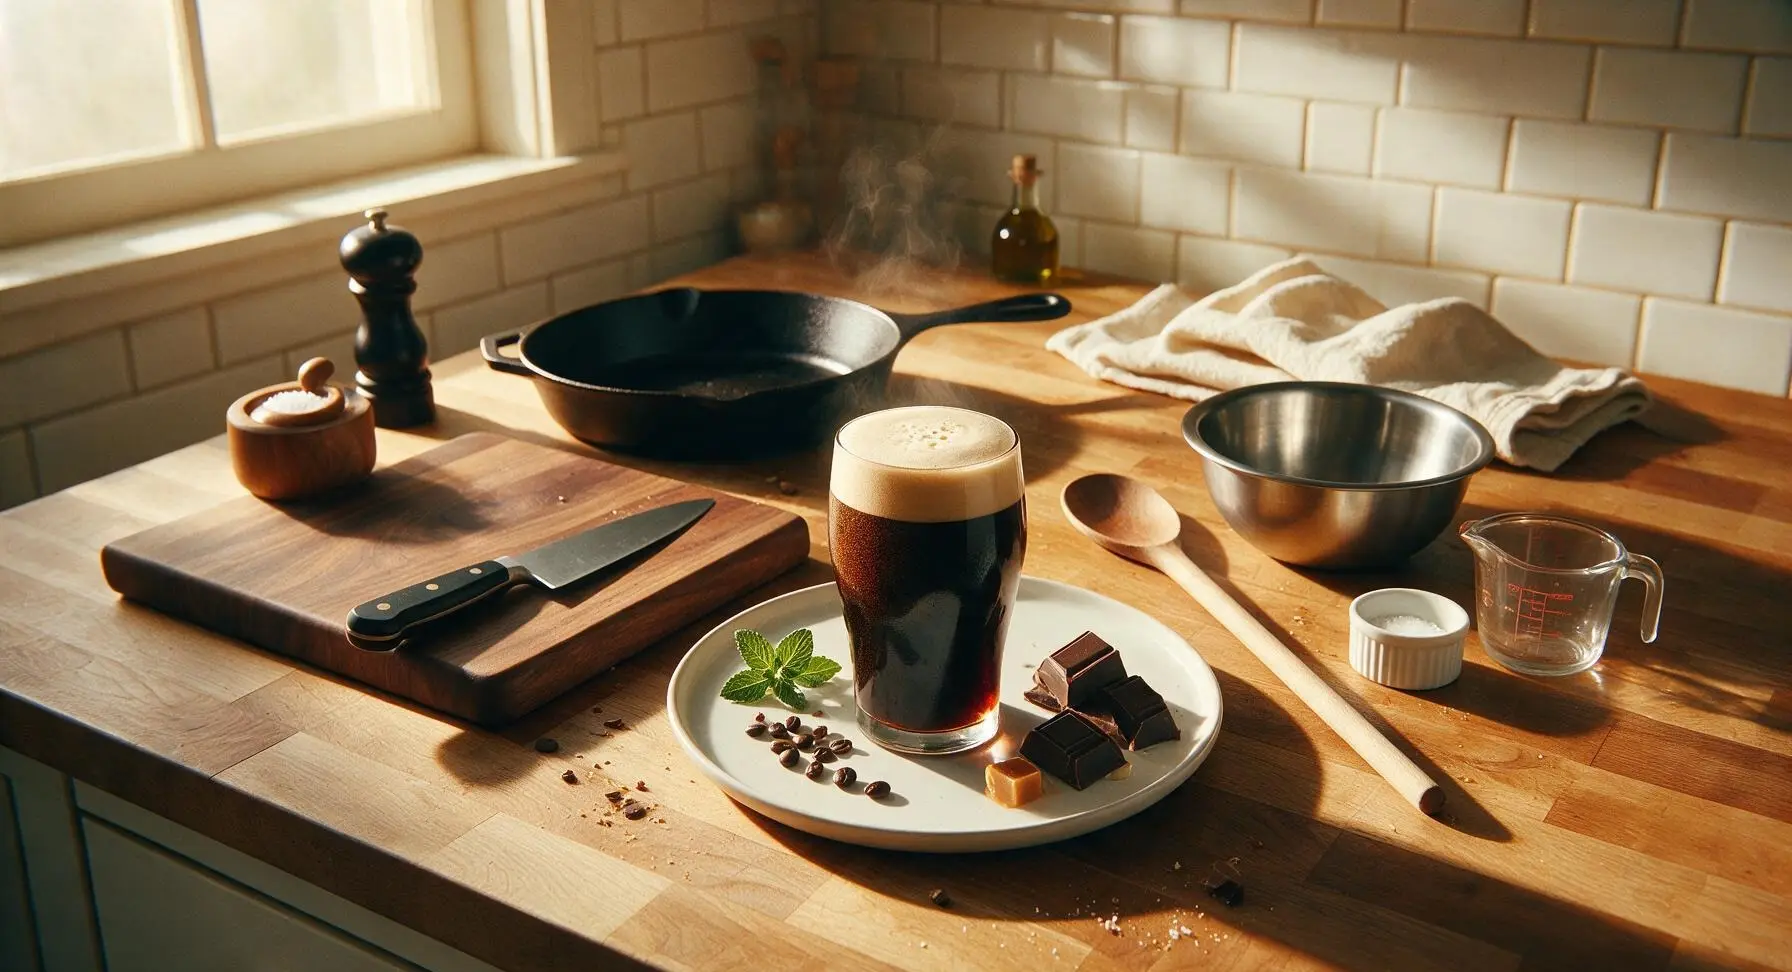
⏱️ cook time 1 hour 40 minutes
🍽️ servings 16
⚡ Difficulty medium

intro

Smooth, creamy, lightly sweet milk stout with roasted coffee, dark chocolate, and soft caramel notes, with lower bitterness than dry stouts, ideal for slow, cozy sipping.

Ingredients
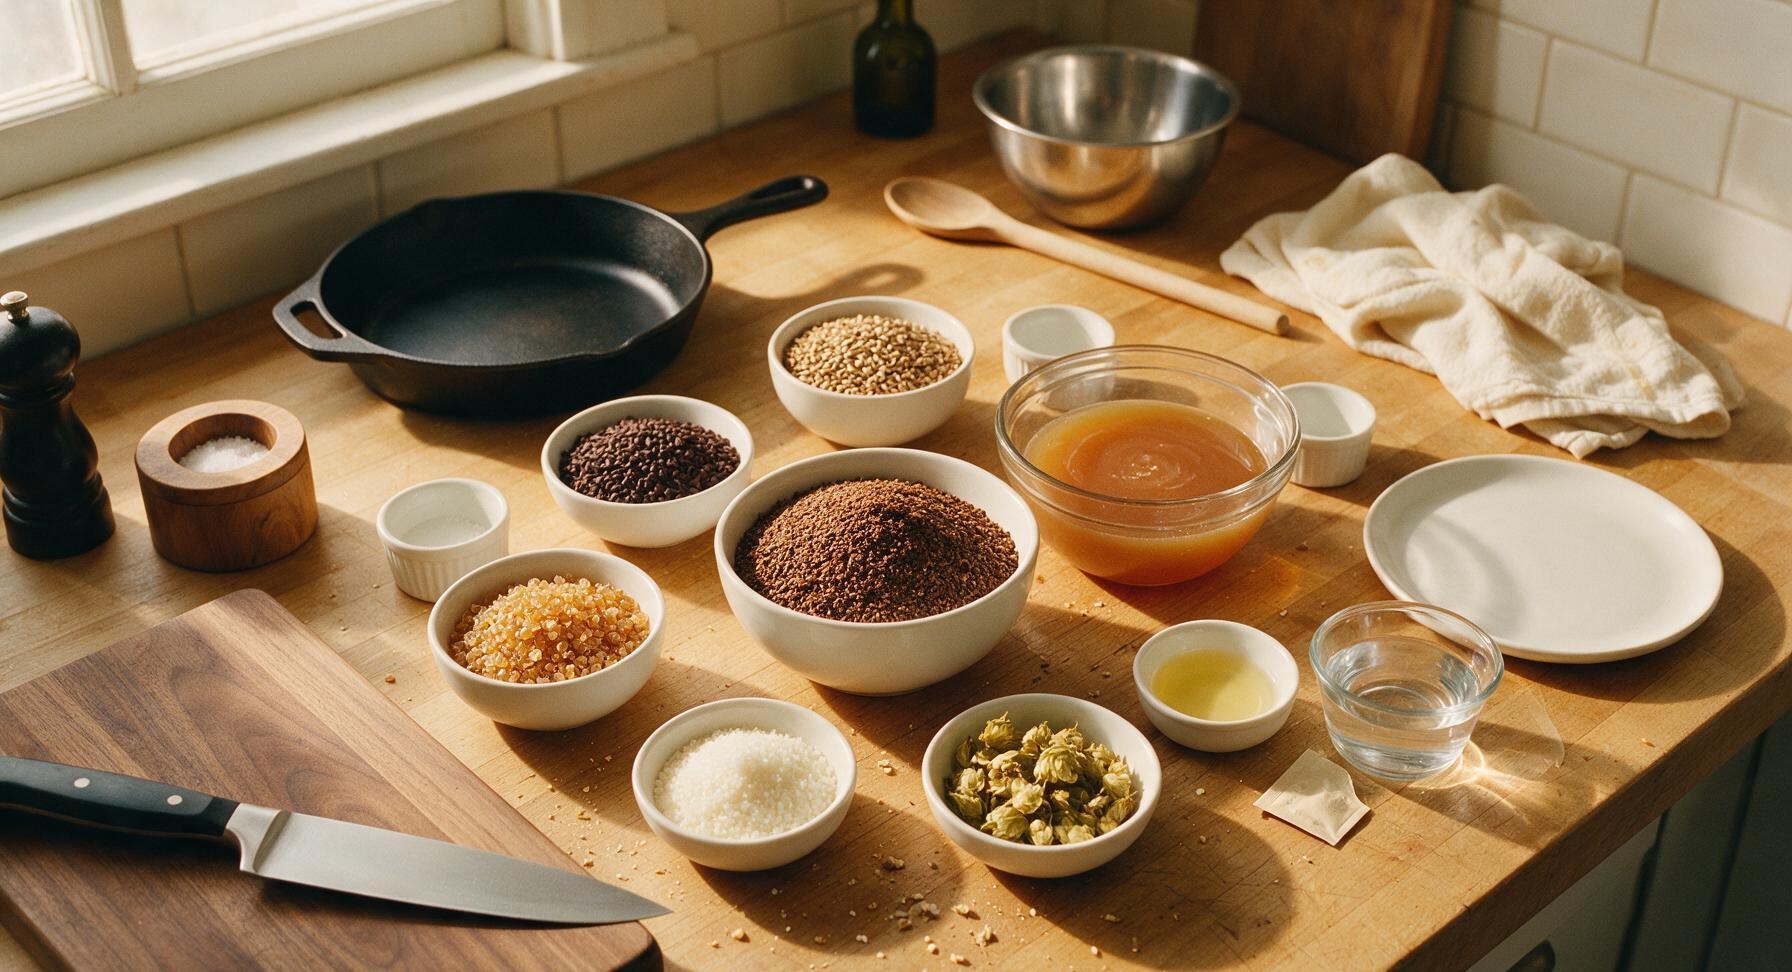
Pale liquid malt extract 1.8kg
Roasted barley 110g
Chocolate malt 85g
Crystal malt 60L 55g
Lactose (milk sugar) 170g
East Kent Goldings hops 28g
Pure vanilla extract 5ml
English ale yeast (London ESB strain) 11g packet
Cold filtered water 7.5L

Steps

1

Sanitize Brewing Equipment

Mix no-rinse brewer's sanitizer per package directions in the stainless steel brew kettle. Submerge the stirring spoon, thermometer, straining bag, funnel, airlock, and rubber stopper for 2 full minutes, then remove and air-dry on the clean counter. Every surface that will touch cooled wort must be fully sanitized to prevent off-flavors or bacterial contamination. Equipment will be glistening and residue-free when ready.
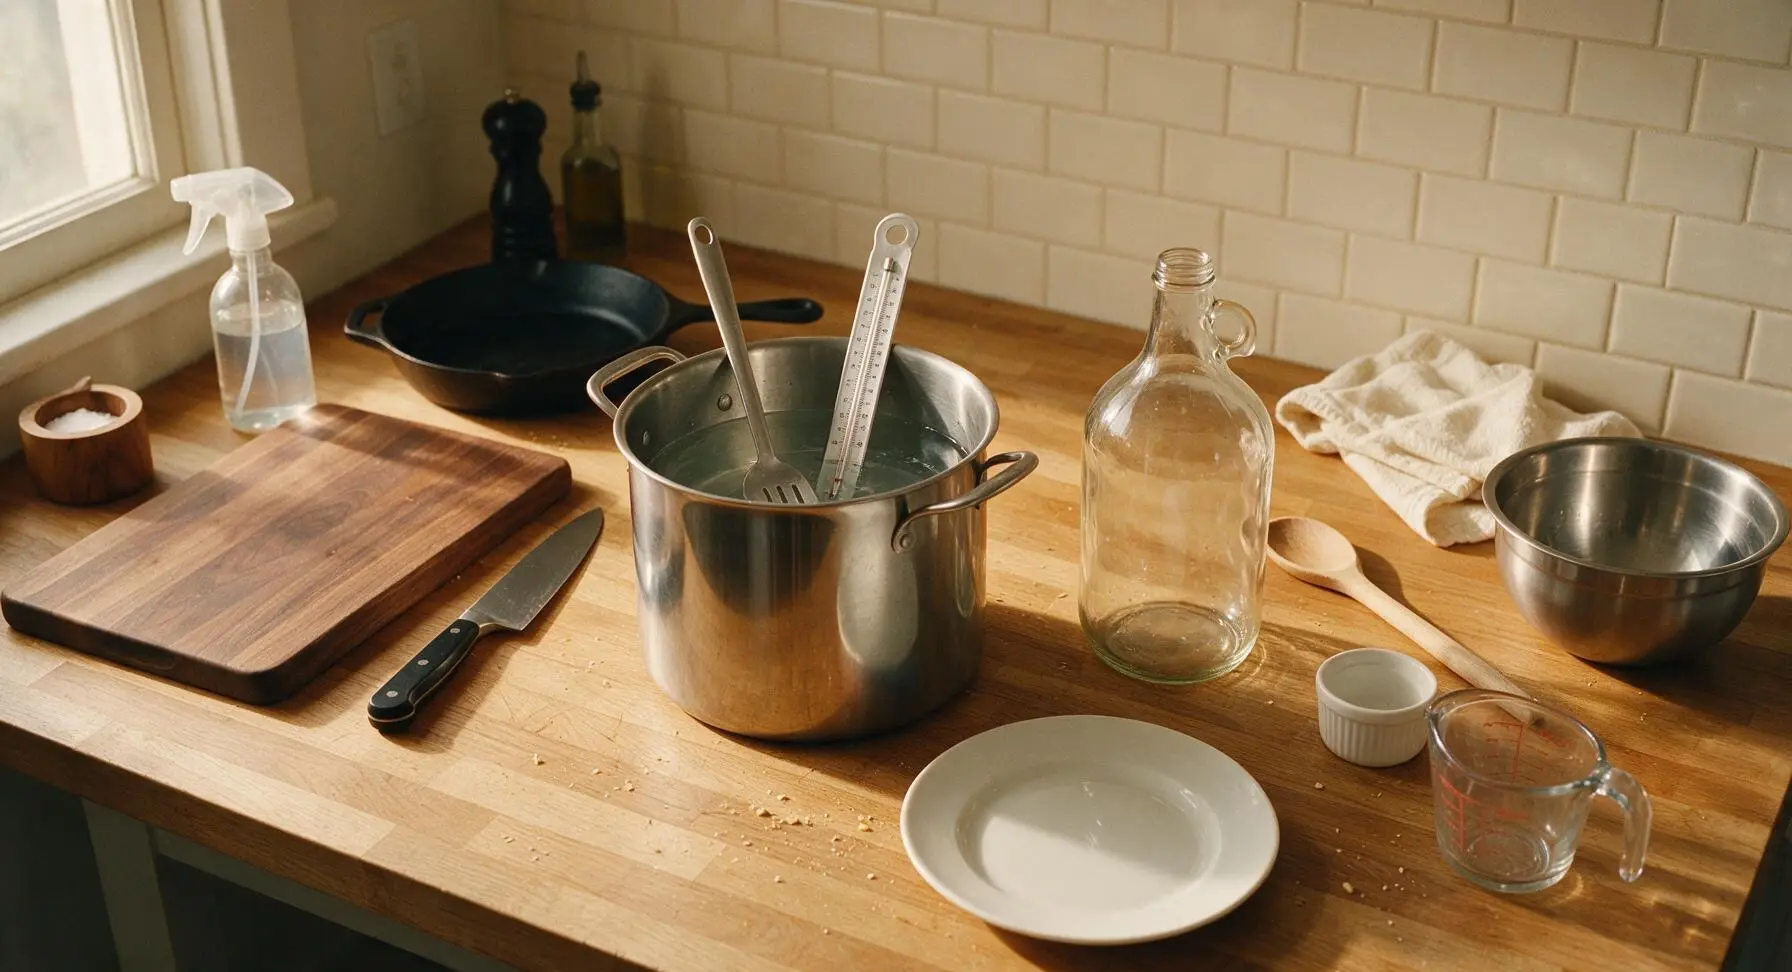
Step 1
step1:Sanitize Brewing Equipment
2

Steep Crushed Grains

Add 3L of cold filtered water to the sanitized brew kettle, place the kettle on the center hot plate, and heat to 67C (153F). Place crushed roasted barley, chocolate malt, and crystal malt into the fine-mesh straining bag, tie the drawstring closed, then turn off the heat and submerge the grain bag fully. Cover the kettle and steep for 20 minutes, holding a steady temperature between 65-68C, until the water turns a deep dark brown similar to strong black coffee. Do not let the temperature exceed 70C, as this will extract harsh, astringent tannins from grain husks.
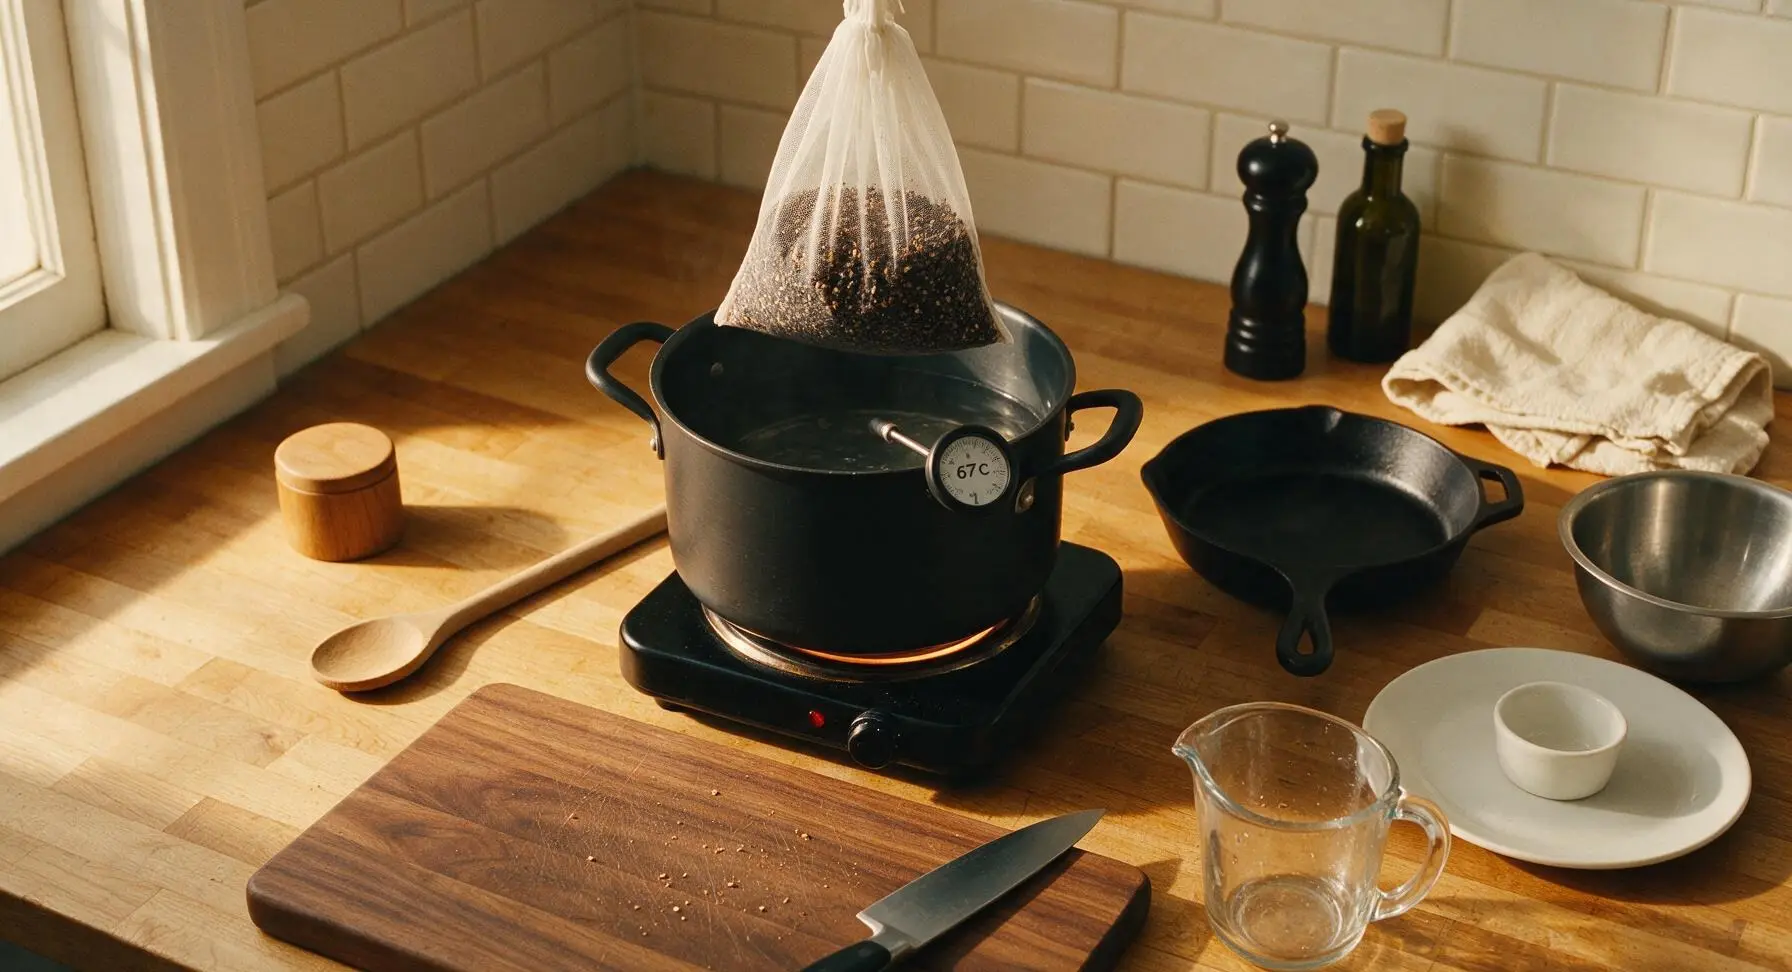
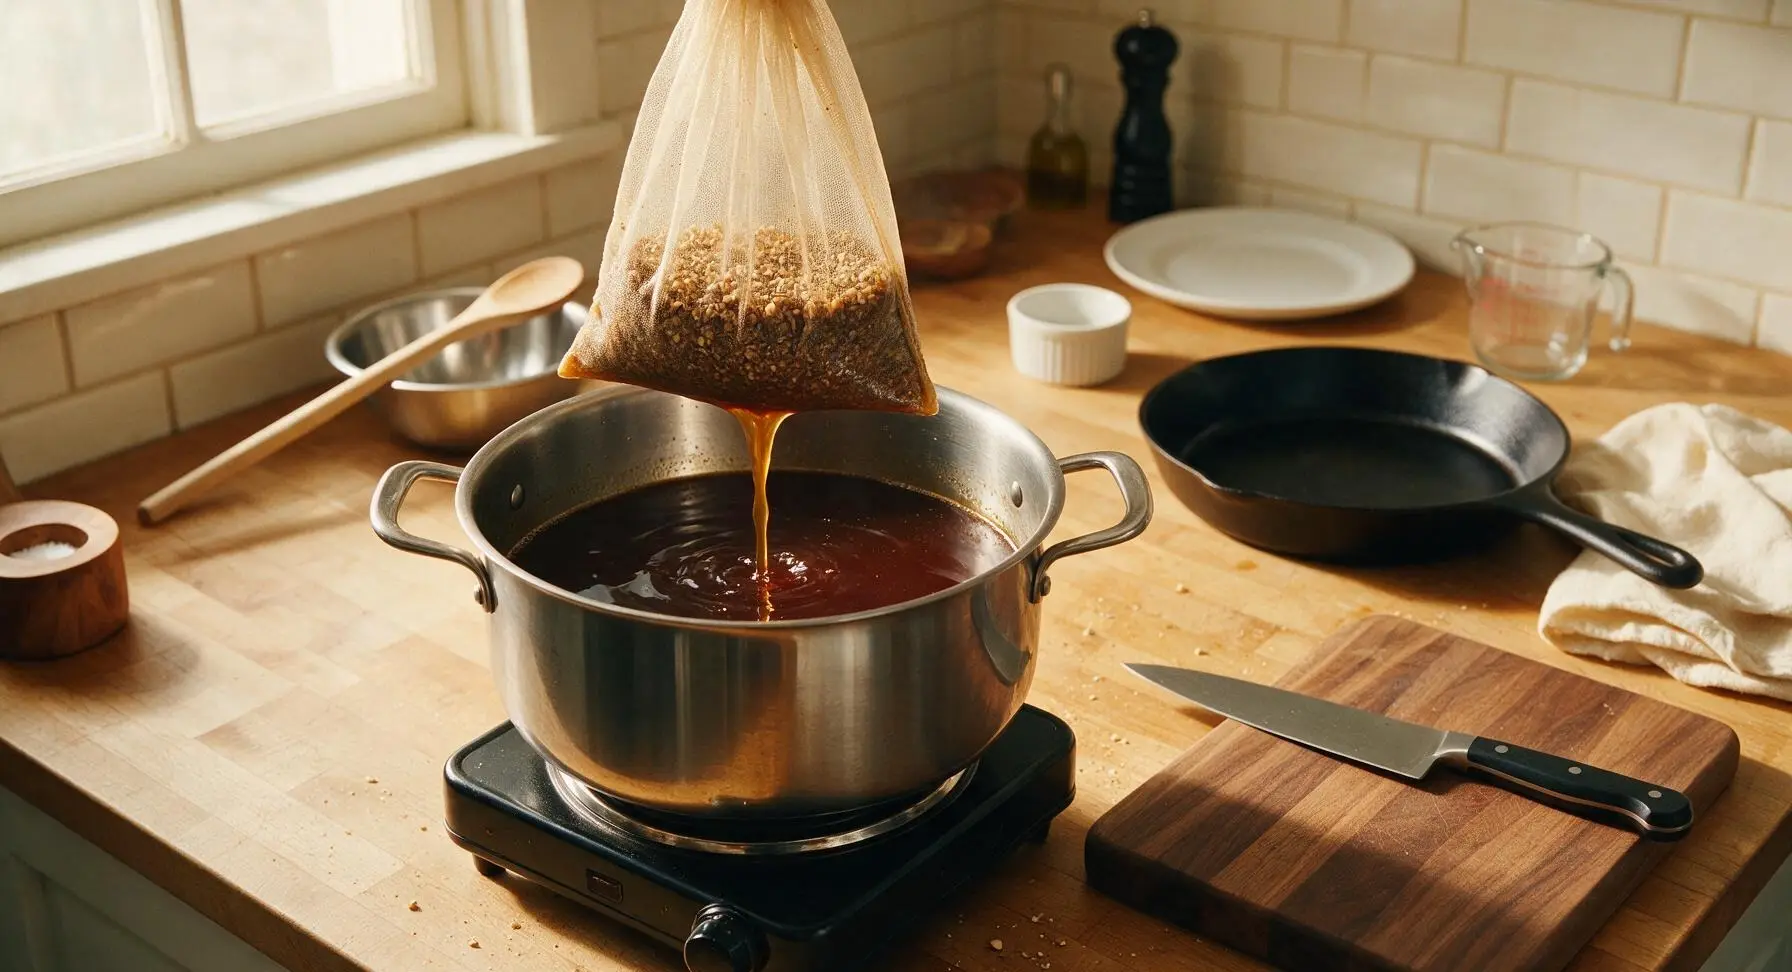
Step 2
step2:Steep Crushed Grains
Step 2
step2:Steep Crushed Grains
3

Bring Wort to Boil

Lift the grain bag out of the kettle and let it drain naturally over the wort for 2 minutes (do not squeeze the bag). Discard the spent grains, then add the remaining 4.5L of filtered water and all of the pale liquid malt extract to the kettle. Stir continuously with the long stainless steel spoon until the extract is fully dissolved, with no thick clumps stuck to the kettle bottom. Turn the heat to high and bring the wort to a gentle rolling boil (100C/212F), watching closely to avoid boilovers as light foam forms on the surface.
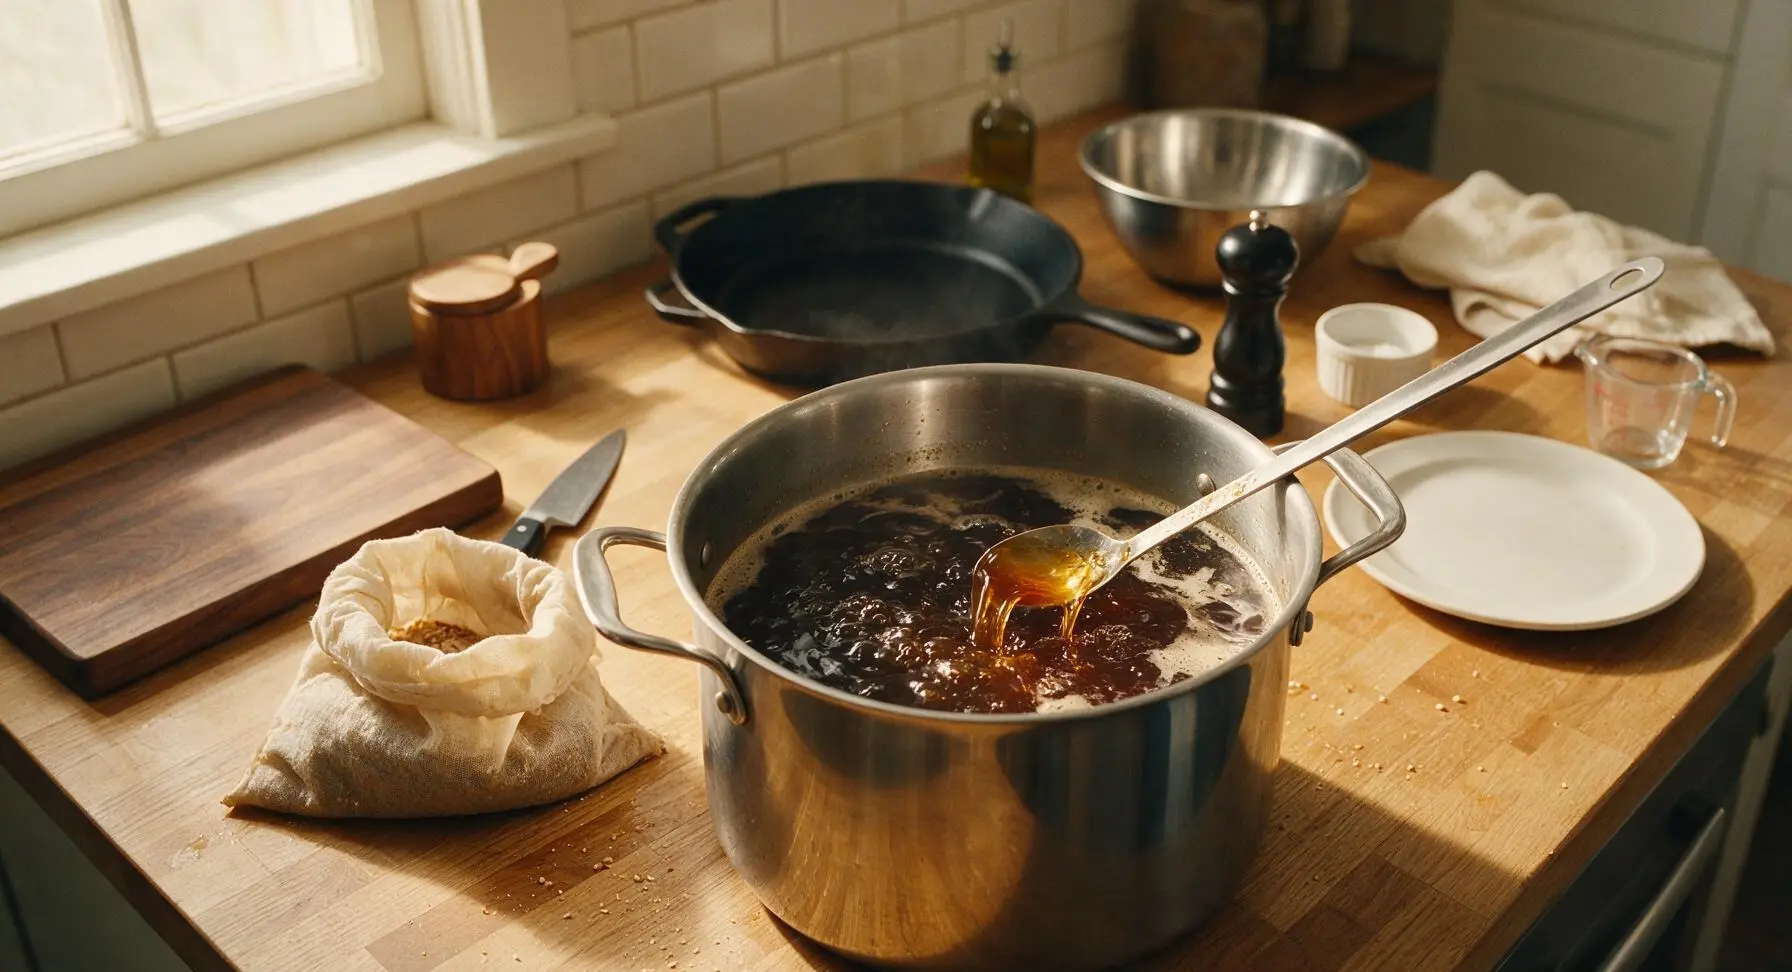
Step 3
step3:Bring Wort to Boil
4

Add Hops and Lactose

Once the wort reaches a steady rolling boil, set a timer for 60 minutes. Add 20g of East Kent Goldings hops at the start of the boil for mild, balanced earthy bitterness. With 10 minutes remaining on the boil timer, stir in all 170g of lactose until fully dissolved to add the signature smooth, unfermentable sweetness of milk stout. With 2 minutes remaining on the timer, add the remaining 8g of East Kent Goldings hops for bright, subtle aroma. Adjust heat as needed to maintain a steady gentle boil without boilovers.
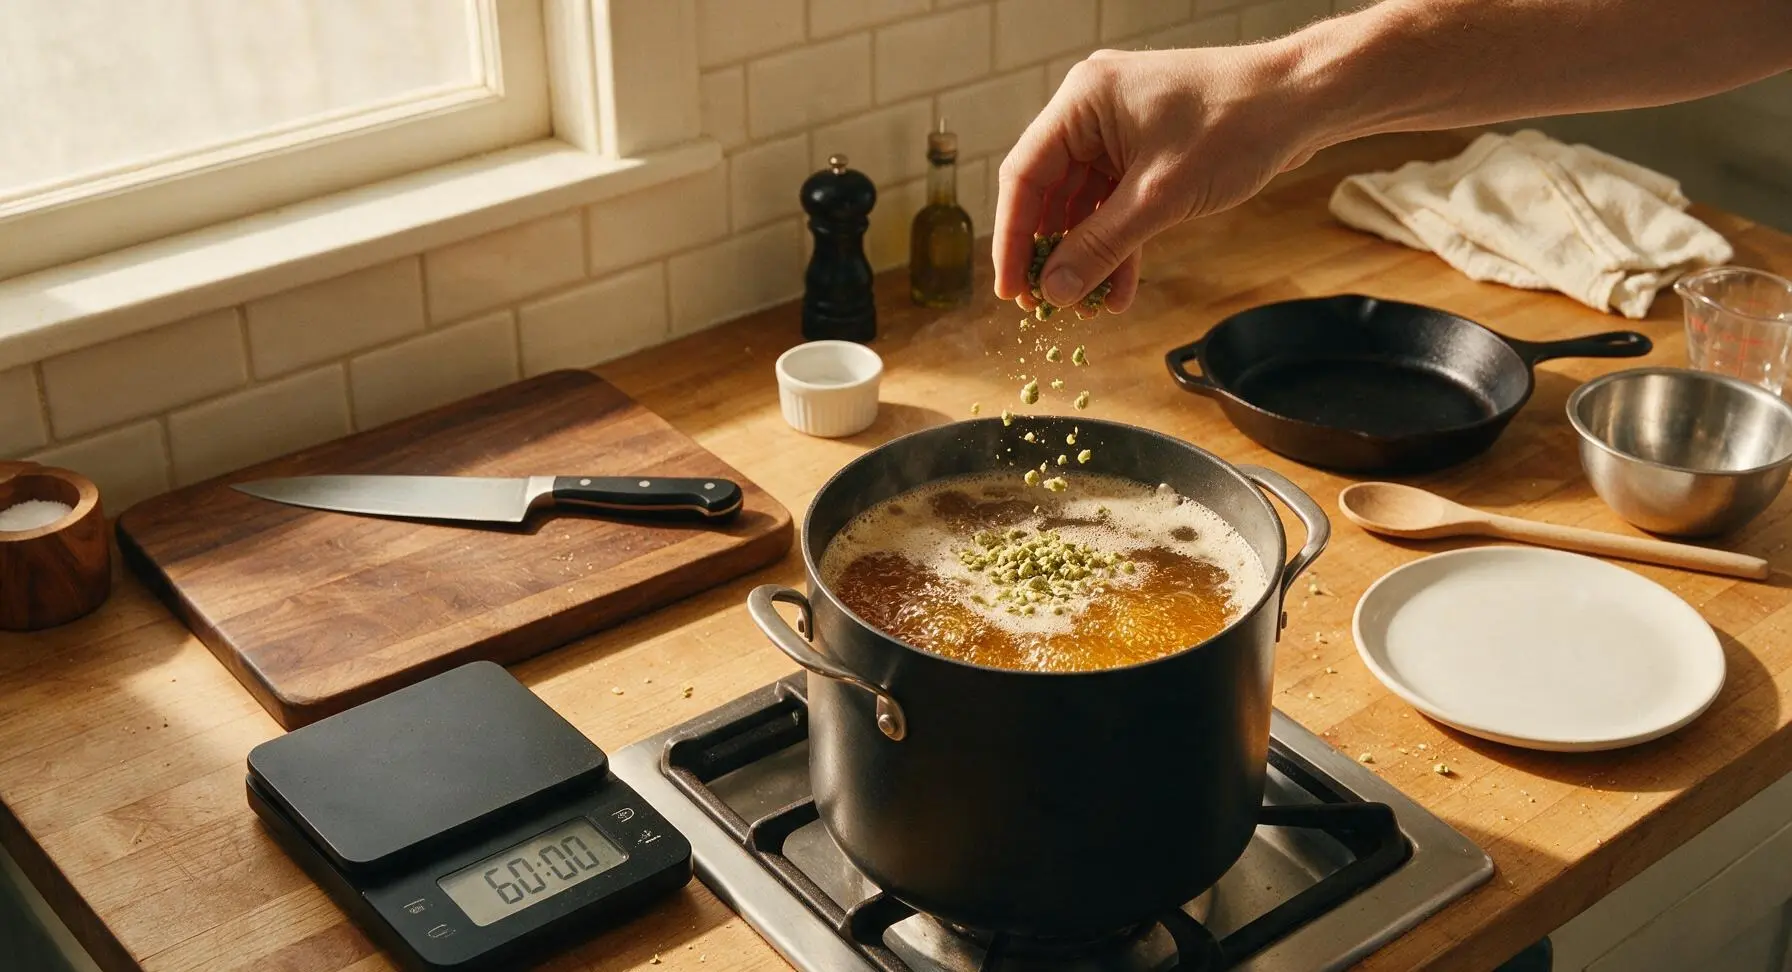
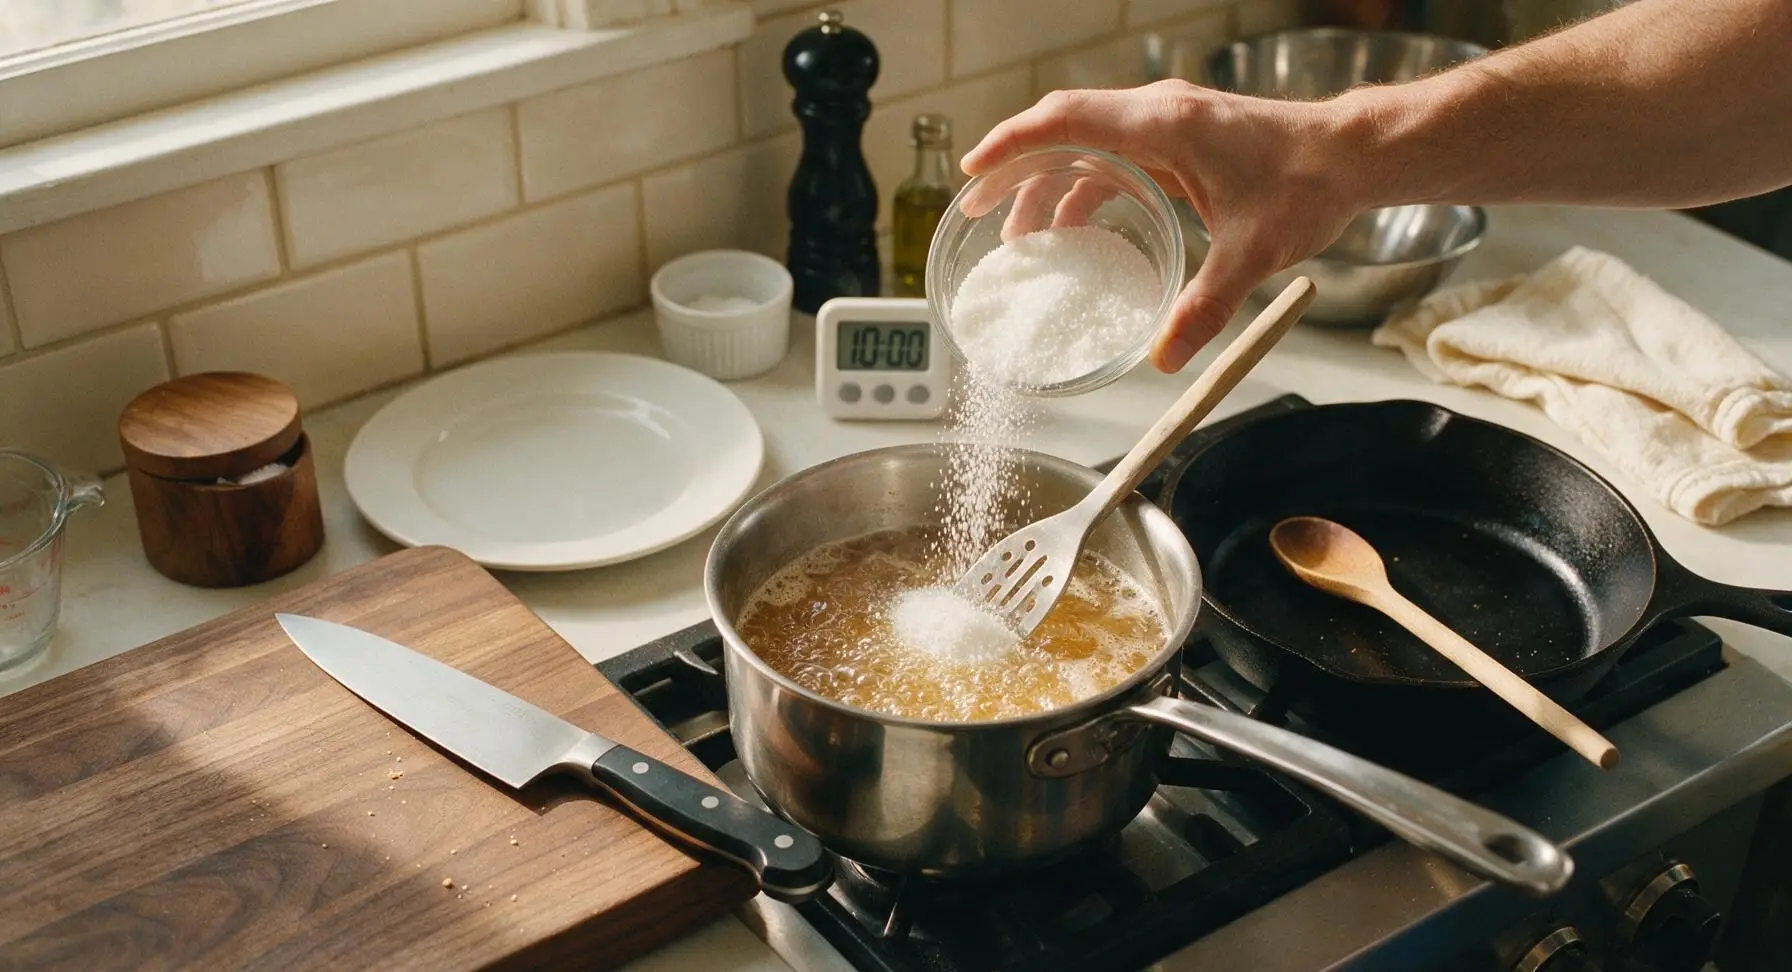
Step 4
step4:Add Hops and Lactose
Step 4
step4:Add Hops and Lactose
5

Cool Wort Quickly

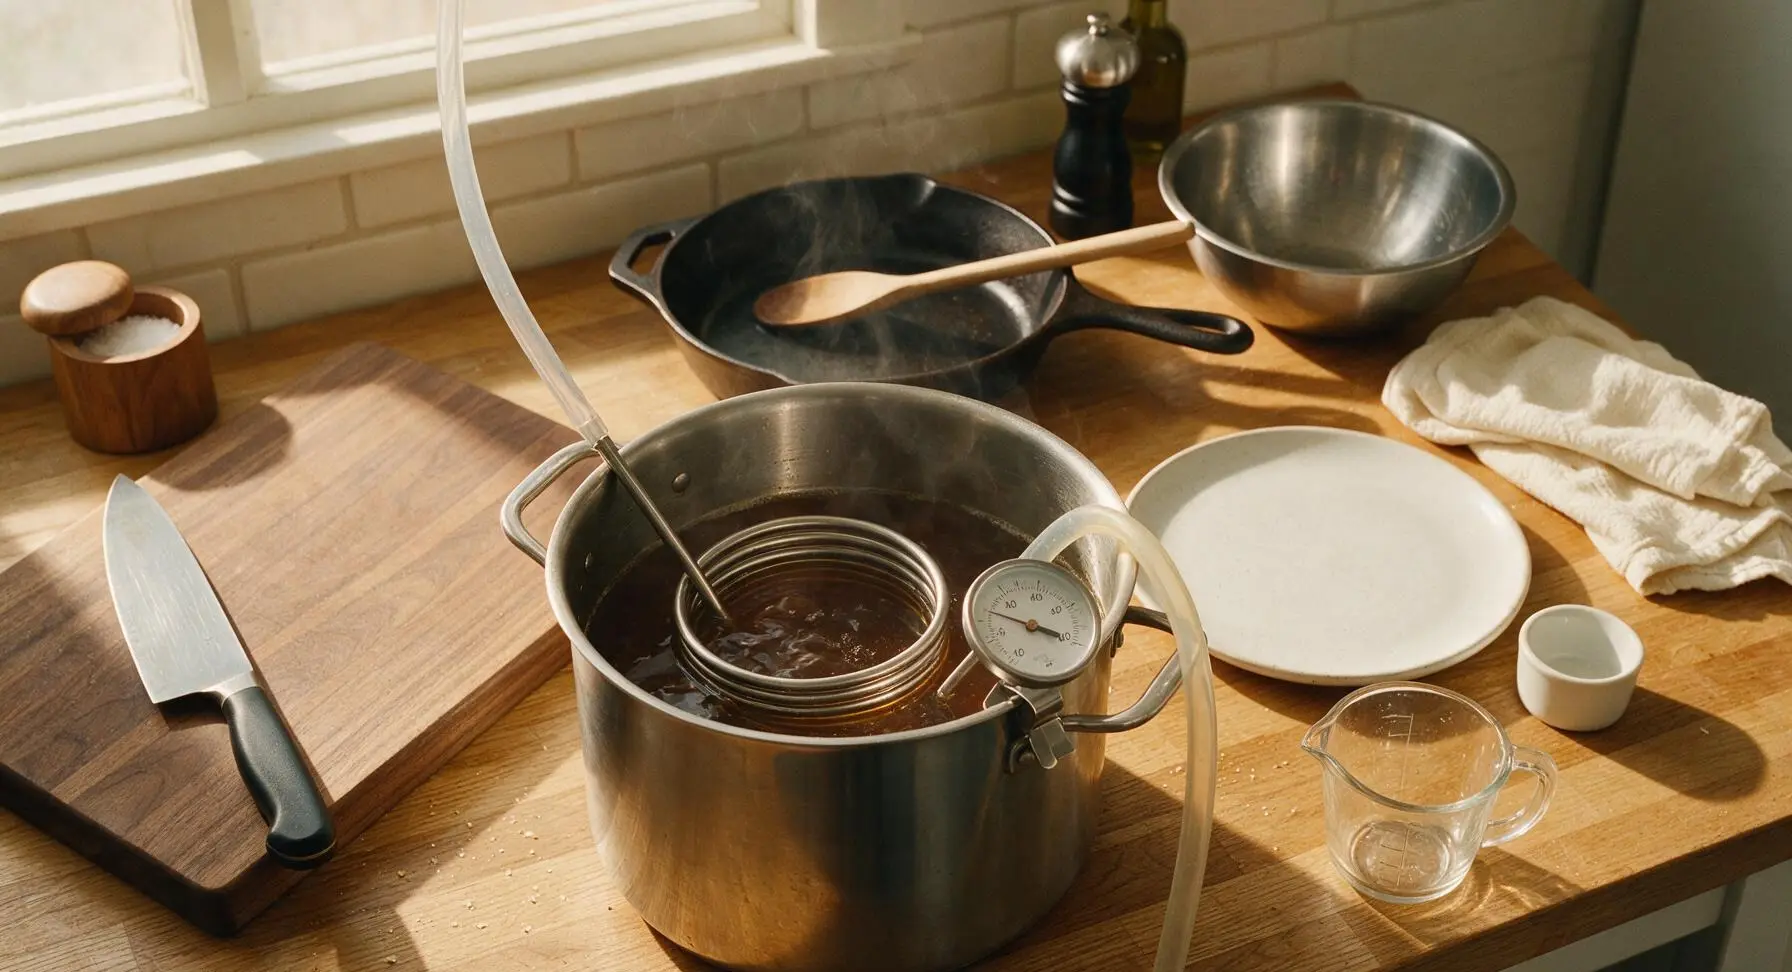
When the 60-minute boil finishes, turn off the heat immediately. Place the coiled stainless steel wort chiller into the wort, connect the chiller tubing to a cold water tap, and run cold water continuously through the coil. Stir the wort gently around the coil to speed cooling, until the wort temperature drops to 21C (70F) — this takes roughly 15 minutes. Rapid cooling prevents off-flavors and reduces contamination risk before adding yeast.
Step 5
step5:Cool Wort Quickly
6

Transfer to Fermenter

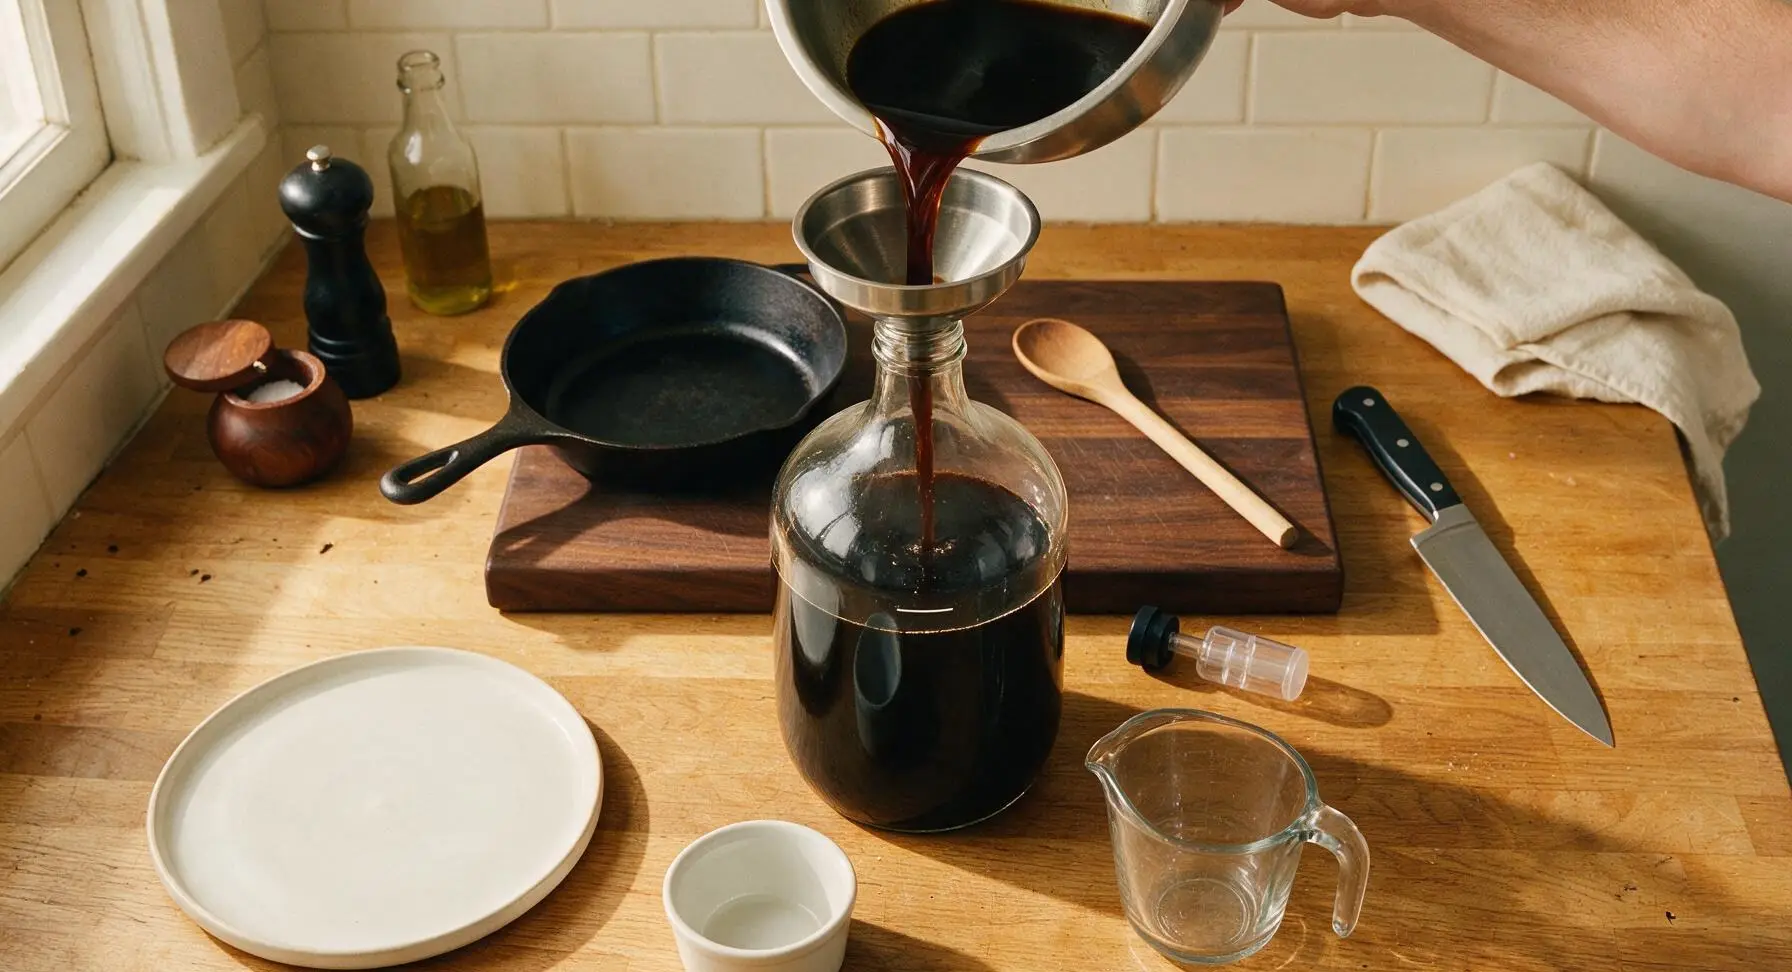
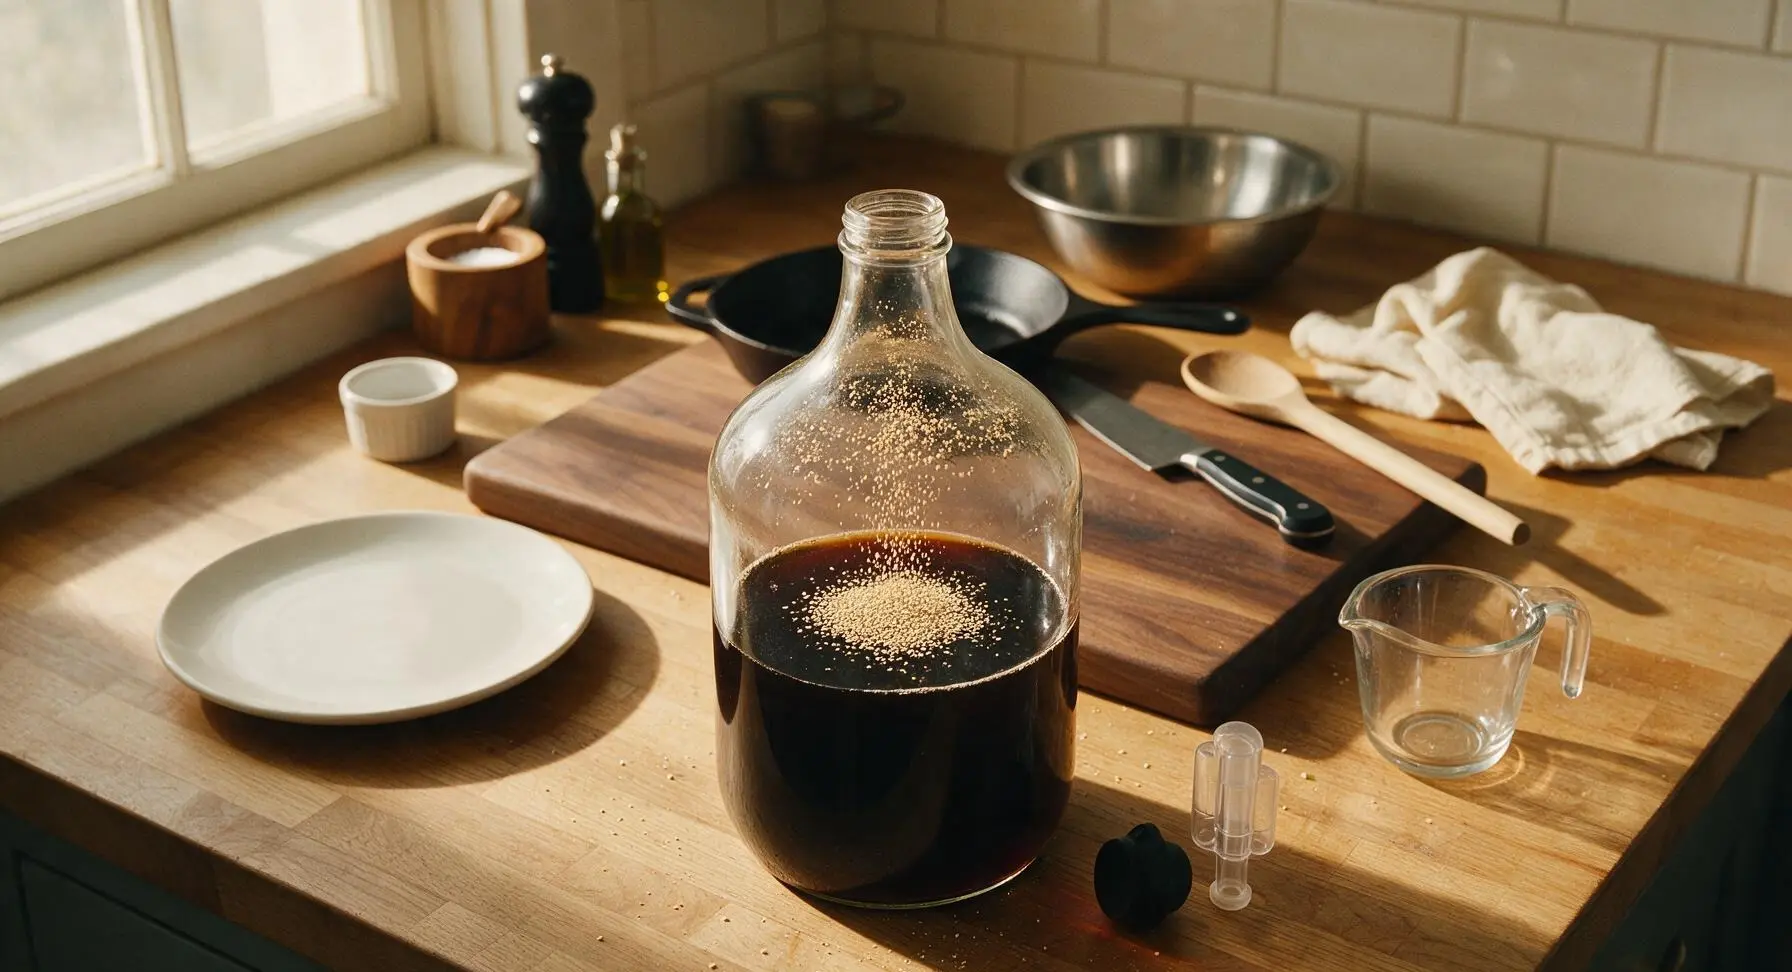
Once the wort cools to exactly 21C, place the sanitized stainless steel funnel in the mouth of the glass carboy, and pour the wort carefully into the carboy, leaving any heavy sediment (trub) at the bottom of the kettle. Sprinkle the full 11g packet of English ale yeast directly onto the wort surface, then seal the carboy with the sanitized rubber stopper, and fill the attached three-piece airlock halfway with sanitizer solution. Give the carboy a gentle swirl to evenly distribute the yeast, avoiding aggressive splashing.
Step 6
step6:Transfer to Fermenter
Step 6
step6:Transfer to Fermenter
7

Ferment and Condition

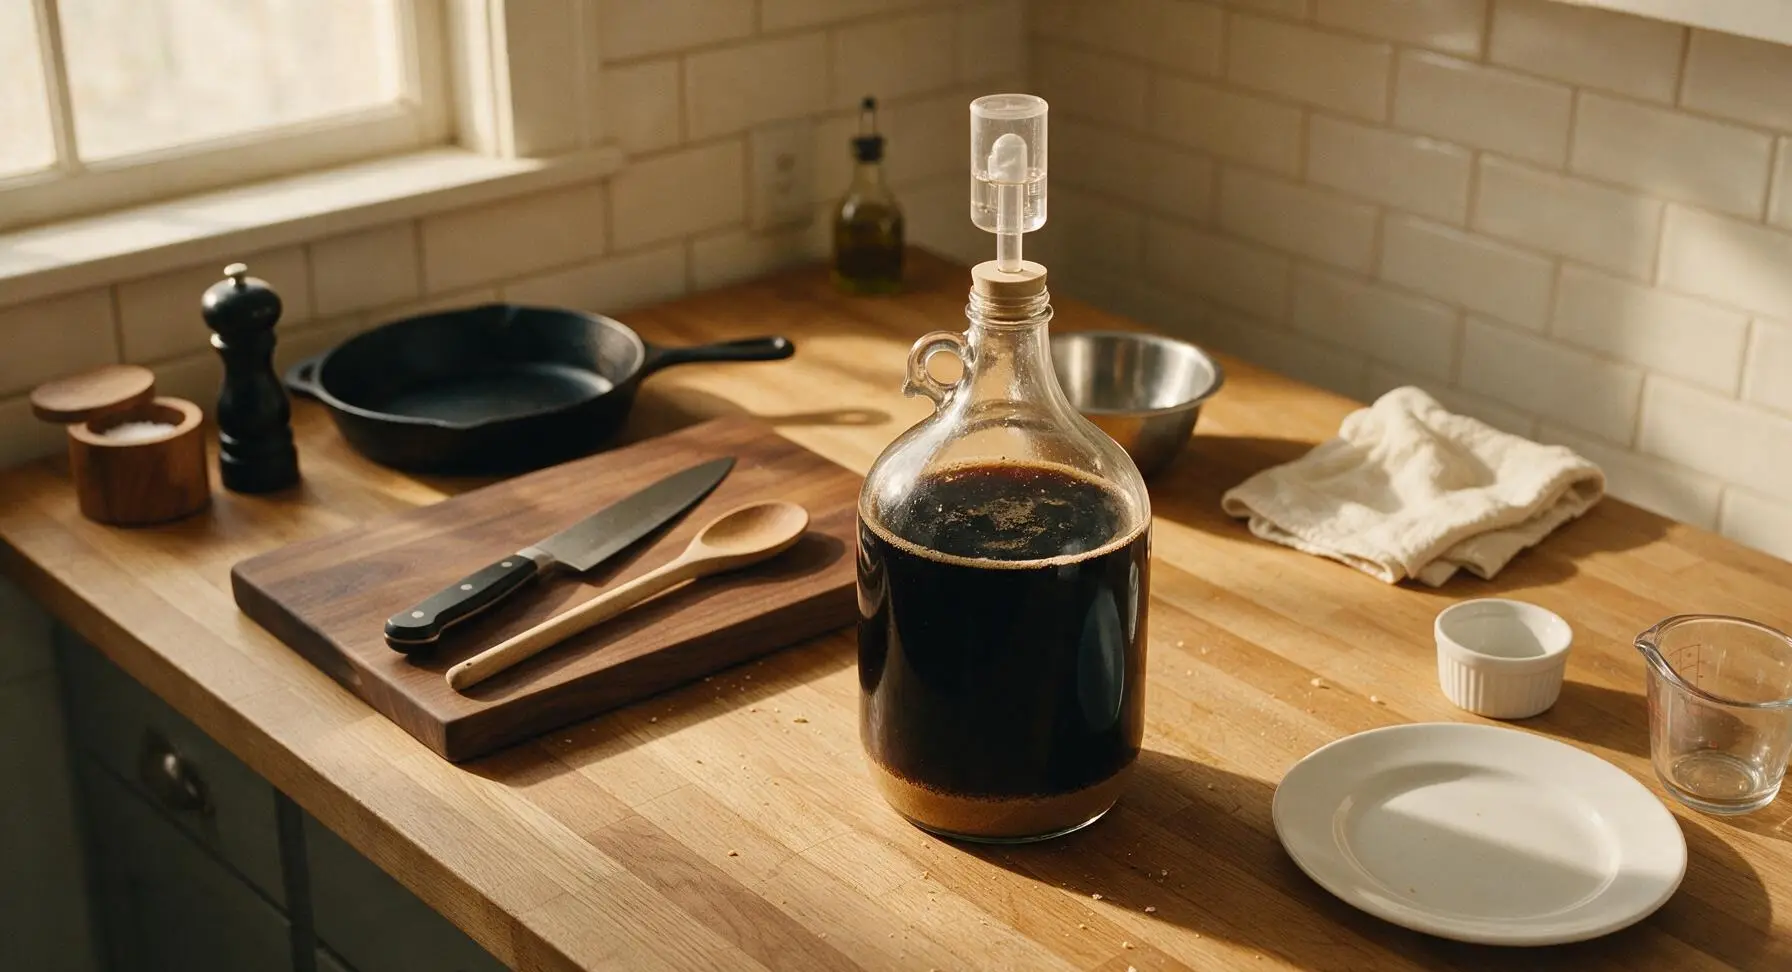
Move the sealed carboy to a dark, temperature-stable space held at 18-20C (65-68F) for 14 days of primary fermentation. Consistent bubbles will rise through the airlock every few seconds for the first 5-7 days as yeast converts sugar to alcohol; bubbling will slow to 1 bubble every 2-3 minutes when primary fermentation finishes. After 14 days, add 5ml of pure vanilla extract to the carboy, re-seal, and condition for an additional 7 days at the same temperature, until the beer is fully clear with no visible haze.
Step 7
step7:Ferment and Condition
8

Bottle and Carbonate

Sanitize 16 12oz amber beer bottles and metal bottle caps. Use the auto-siphon to transfer the clear, conditioned beer from the carboy into the bottles, taking care not to disturb the yeast sediment layer at the bottom of the carboy. Add 2.5g of corn priming sugar to each bottle to create natural carbonation, then crimp caps tightly. Store bottles in the same dark, 18-20C space for 10 days to carbonate fully, then chill for 48 hours before serving.
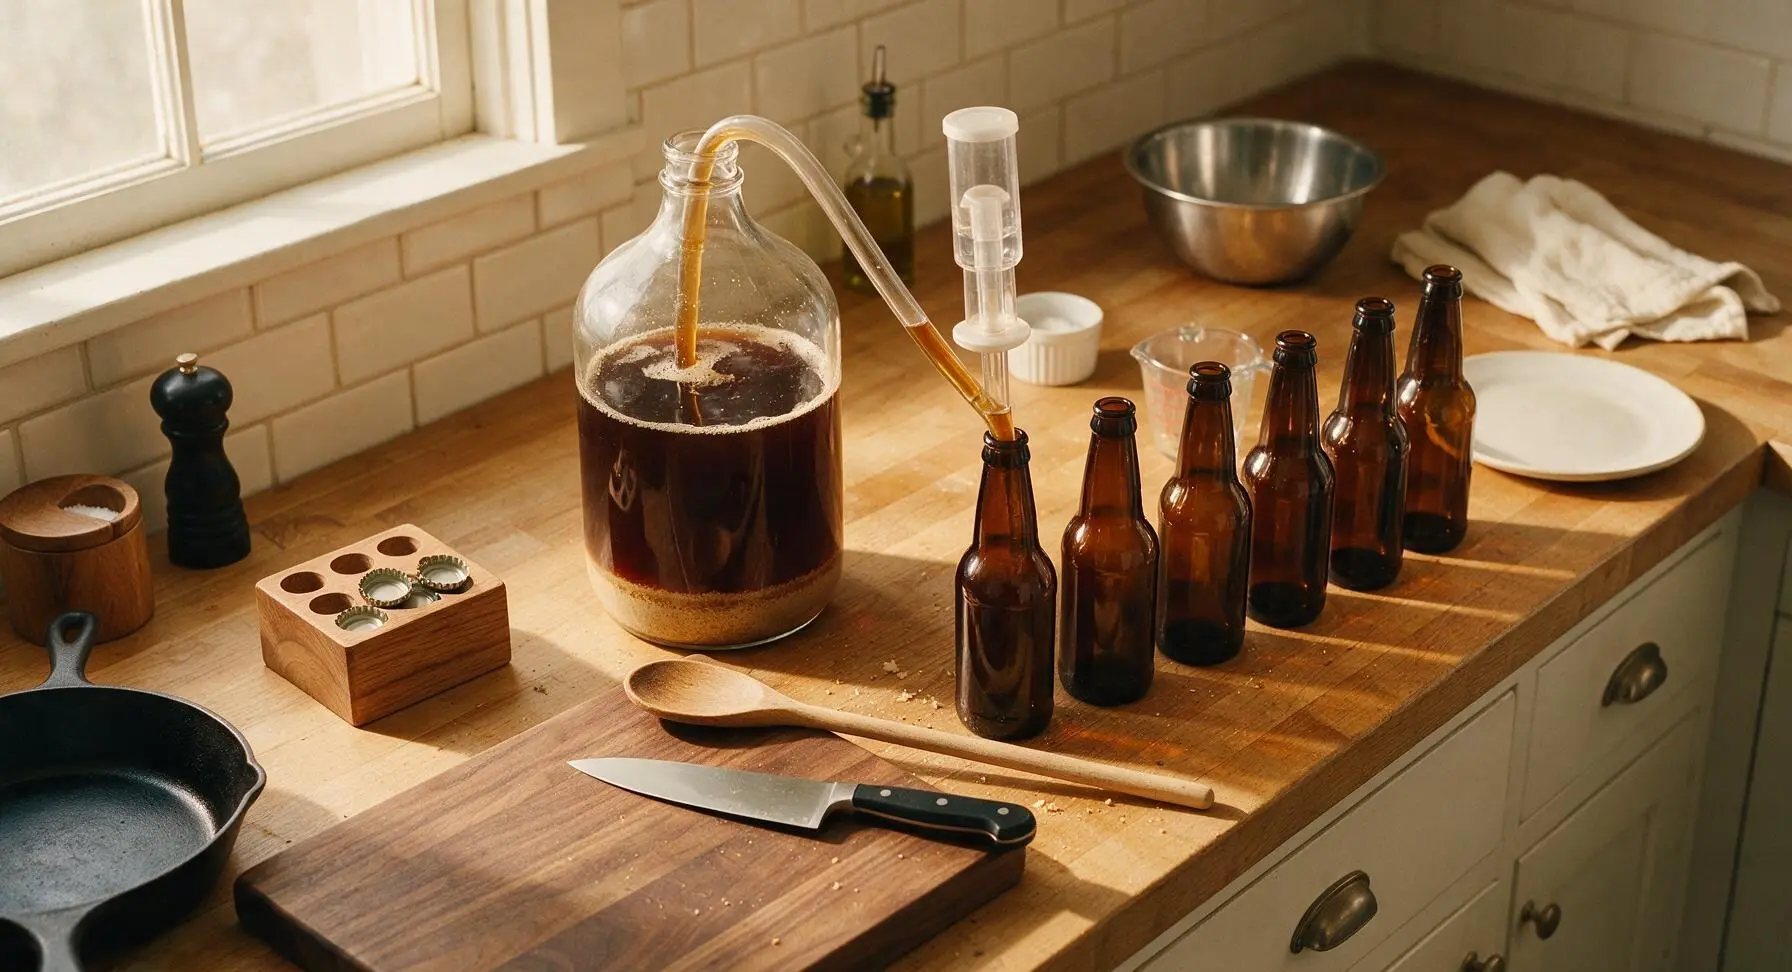
Step 8
step8:Bottle and Carbonate

Tips

1.Never squeeze the grain bag after steeping: Pressing the bag forces harsh, astringent tannins from grain husks into the wort, creating an unpleasant dry, puckering aftertaste that masks the stout’s smooth chocolate and caramel notes. Let the bag drain naturally over the kettle for 2 minutes instead.
2.Avoid temperature swings during fermentation: Yeast is extremely sensitive to temperature changes; swings above 22C create fruity, solvent-like off-flavors, while temperatures below 16C cause yeast to go dormant and stop fermenting. A cool, dark closet works perfectly for stable fermentation temperatures.
3.Chill bottles for a full 48 hours before opening: Warm, newly carbonated beer will foam excessively when opened, wasting beer and creating a flat pour. Chilling allows carbonation to fully dissolve into the beer, creating that signature thick, creamy head when poured.


✨ You May Also Like

Drinks & Beverages
🍜 Mexico

A bright, balanced tequila-based cocktail with zesty fresh lime, smooth orange liqueur, and a signature salt rim, perfect for warm summer sipping.

⏱️ 5 minutesDrinks & Beverages ★ 4.9
Drinks & Beverages
🍜 United States

Thick, creamy, nostalgic classic vanilla milkshake with a rich, smooth texture, topped with whipped cream and a cherry for cool, sweet refreshment.

⏱️ 5 minutesDrinks & Beverages ★ 4.7
Drinks & Beverages
🍜 United States

A bright, golden strong ale with fruity banana-clove notes, subtle hop spice, and soft carbonation, brewed in classic Trappist Tripel tradition.

⏱️ 2 hours aDrinks & Beverages ★ 4.5
Drinks & Beverages
🍜 United States

A frothy, nostalgic American soda fountain treat pairing bubbly cold root beer with creamy vanilla ice cream, perfect for cooling down at warm weather gatherings.

⏱️ 20 minuteDrinks & Beverages ★ 4.8
Drinks & Beverages
🍜 United States

Tart, funky, effervescent American Wild Ale is a complex fruity craft beer brewed with wild yeast, delivering bright, zesty notes perfect for warm-weather sipping.

⏱️ 2 hours aDrinks & Beverages ★ 4.4
Drinks & Beverages
🍜 United States

Bright, bubbly copycat of the iconic American caramel cola, balanced with citrus and warm spice, perfect for sipping ice-cold on hot days.

⏱️ 15 minuteDrinks & Beverages ★ 4.8

Milk Stout (Sweet Stout) Craft Beer:Frequently Asked Questions

1.Why is this beer called milk stout, and is it safe for people with dairy allergies? ▾
It gets its name from lactose, the cow’s milk-derived sugar listed as a key ingredient. Lactose is unfermentable by standard brewing yeast, so it creates that signature soft, light sweetness. It is not safe for people with dairy allergies or intolerances, and it is not vegan-friendly, even though it contains no actual liquid milk.
2.What role does lactose play in this recipe, and can I skip it if I don’t have it on hand? ▾
Lactose is non-negotiable for that classic sweet stout profile—it adds smooth, rounded sweetness without cloying, and boosts the creamy mouthfeel that sets milk stouts apart from dry stouts. If you skip it, you’ll end up with a thinner, drier, more bitter roasted stout that doesn’t land as the intended cozy, sippable milk stout.
3.How bitter is this finished milk stout compared to a standard dry stout? ▾
This recipe clocks in at roughly 20-25 IBUs, which is 30-40% lower than a typical dry Irish stout like Guinness. The roasted barley and chocolate malt add deep, roasty flavor without harsh astringency, and residual lactose sweetness softens perceived bitterness so it never tastes sharp or biting on the finish.
4.Can I substitute pale liquid malt extract with dry malt extract if that’s what I have available? ▾
Absolutely, you can swap pale liquid malt extract for pale dry malt extract at a 1:0.84 ratio, meaning use 0.84 pounds of dry extract for every 1 pound of liquid called for. Dry extract creates a very similar clean, neutral malt base; just fully dissolve it in hot (not boiling) water to avoid clumping and scorching.
5.Why use roasted barley, chocolate malt, and Crystal 60L malt instead of just dark malt extract? ▾
Those three specialty malts build distinct, layered flavor you can’t get from pre-mixed dark extract: roasted barley adds soft coffee notes, chocolate malt brings rich dark cocoa depth, and Crystal 60L contributes smooth caramel sweetness and extra mouthfeel. Steep them at 150-155°F for 20-30 minutes to avoid pulling harsh tannins.
6.What temperature should I ferment this milk stout at for the best, cleanest flavor? ▾
For a smooth profile without odd fruity off-flavors, ferment this stout with standard ale yeast at a steady 65-68°F for the first 7-10 days of primary fermentation. Avoid letting temperatures climb above 72°F, as that can produce solvent-like or overly estery notes that clash with the beer’s rich, roasty, chocolate-forward profile.
7.How do I prevent my stout from tasting harsh, astringent, or overly burnt? ▾
Astringency almost always comes from over-steeping dark specialty malts or steeping them at too high a temperature. Keep your steep temp below 160°F, don’t steep longer than 30 minutes, and never squeeze your grain bag when removing it from wort—squeezing presses out bitter tannins that leave that dry, puckering aftertaste.
8.When should I add the lactose during the brew process to get consistent sweetness? ▾
Add your measured lactose during the last 10 minutes of the wort boil, stirring thoroughly to ensure it fully dissolves. Adding it at this point sanitizes the sugar without breaking it down, so it stays unfermentable in the finished beer, delivering that soft, consistent sweetness instead of being consumed by yeast during fermentation.
9.How carbonated should this milk stout be when it’s ready to drink? ▾
This stout shines with moderate, soft carbonation, around 1.8-2.2 volumes of CO2, which is lower than levels used for crisp IPAs or wheat beers. Lower carbonation keeps the mouthfeel smooth and creamy, lets chocolate, coffee, and caramel notes come through clearly, and avoids a prickly bite that would overpower its cozy, sippable profile.
10.How long do I need to age this milk stout before it tastes its best? ▾
After primary fermentation and bottling or kegging, let it condition for a minimum of 2 weeks at 60-65°F cellar temperature to let carbonation set and harsh young roasty notes mellow. For even smoother, more integrated flavor, you can age it an extra 2-4 weeks, though it won’t benefit from aging longer than 3 months total.
11.Can I add extra coffee or chocolate to this recipe to amp up those flavor notes? ▾
Definitely! For an extra coffee kick, add 4-6 ounces of cold-brewed, coarsely ground coffee to the secondary fermenter 2-3 days before bottling. For richer chocolate notes, stir in 2-3 ounces of unsweetened cocoa powder (dissolved in sanitized hot water) at the same time to avoid unwanted texture issues.
12.What kind of yeast works best for this milk stout recipe? ▾
Reach for a clean, neutral American ale yeast, like US-05 or Wyeast 1056, for the most true-to-style result. These yeasts ferment reliably, don’t add strong fruity or spicy notes that compete with roasted malt and caramel flavors, and flocculate well to leave a clear, smooth finished beer without excess haze.
13.Will this stout be too heavy or high in alcohol for casual, slow sipping? ▾
This recipe lands at a very approachable 4.5-5.5% ABV, similar to many standard craft ales, so it’s perfect for slow sipping without feeling heavy or overly boozy. The lactose and crystal malt add a rich, full mouthfeel without making the beer feel thick, syrupy, or filling like a high-alcohol imperial stout.
14.What’s the best way to serve this milk stout to get the most robust flavor? ▾
Serve it in a tulip glass or stout snifter at 50-55°F, which is a bit warmer than standard fridge temperature. Serving it too cold will mute the soft chocolate, coffee, and caramel notes, while the glass’s wide bowl traps rich, roasty aromas so you get the full, smooth flavor experience with every sip.
15.How long will bottles of this milk stout stay fresh once they’re fully conditioned? ▾
Stored in a cool, dark place away from direct sunlight and temperature swings, properly sealed bottles will stay fresh and flavorful for 4-6 months after bottling. Over time, bright coffee and chocolate notes will fade, and the beer will taste drier and more muted, so drink it within that window for the creamiest, best flavor.
16.My first batch came out thinner than I expected—what went wrong, and how do I fix it? ▾
Thin mouthfeel usually comes from one of two common missteps: either you didn’t add the full measured amount of lactose, or you steeped your grains at too low a temperature, which produced extra fermentable sugars that left little residual body. Next batch, double-check lactose amounts and keep steep temps right at 150-155°F for that signature creaminess.
17.Is there a way to make a vegan version of this milk stout that matches the original’s creamy sweetness? ▾
For a dairy-free vegan swap, replace the lactose with a 50/50 blend of maltodextrin and erythritol, measured to match the original lactose weight. Maltodextrin adds that same smooth, full mouthfeel without cloying sweetness, while erythritol contributes soft, non-fermentable sweet notes that mimic lactose for a nearly identical profile.

Comments (9)

2 weeks ago

OMG, this milk stout recipe is a total game changer! I’ve been dabbling in homebrewing for a year and always struggled to get that smooth, creamy sweetness without making it taste cloying. Followed the steps exactly, boil time was right on the 1 hour 40 minute mark, and the final beer came out so rich, with that perfect hint of roasted malt and chocolate. Brought a growler to my buddy’s football watch party last weekend and everyone was begging for the recipe! 10/10, will brew this again for sure.

1 week ago

Wait, did you use lactose at the end of the boil like the recipe says? I tried a different milk stout a few months back and added it too early, it came out totally thin and weird, wanna make sure I nail this for my fall potluck!

1 week ago

So stoked you loved the recipe! To answer Meg’s question too: yes, add the lactose during the last 15 minutes of the boil to get that perfect creamy mouthfeel without breaking down the milk sugars. Make sure to give it a good stir when you add it so it dissolves fully!

5 days ago

Super nervous to try this since I’m pretty new to homebrewing—medium difficulty had me sweating a little, honestly. The instructions were really clear though! Only thing I messed up was my temperature control during fermentation, so it came out a little less sweet than I expected, but still SO good. My roommate and I killed the first 6 pack in 2 nights, oops.

3 days ago

Great job on your first batch, Jake! Temperature swings during fermentation can definitely make the yeast chew through more of the residual sweetness than intended. Next time, try to hold your fermentation temp steady around 65-68°F and you’ll get that perfect silky sweet profile you’re looking for!

3 days ago

Brewed this for my annual neighborhood block party and it was the hit of the whole spread! Even my friends who say they ‘hate dark beer’ were coming back for seconds. It’s smooth enough for people who usually drink light lagers, but has enough depth for the craft beer snobs in the group too. Already got three people asking me to teach them how to brew it next month.

2 days ago

Made this last month and it was chef’s kiss, that creamy chocolate note is unreal! Has anyone tried swapping the recommended hops for Cascade? I’ve got a ton leftover from my last IPA brew day and wanna do a small variant batch, but don’t wanna mess up that perfect smooth sweetness if it’s gonna make it too piney or citrusy.

yesterday

I did that exact swap last batch! Used half Cascade half the recommended East Kent Goldings, it added a tiny little citrus zing that cut the sweetness really nicely, didn’t overpower it at all. Just don’t go too heavy on the dry hop if you go that route!

2 hours ago

Great question! Rick’s tip is spot on—Cascade works great as a partial swap here, just keep your bittering additions the same to maintain the right IBU balance so it doesn’t end up too sweet. Skip the heavy dry hop and you’ll get a delicious little citrus twist on the classic recipe!

30 minutes ago

Just bottled my batch yesterday! The wort tasted amazing during the boil, smelled like coffee and dark chocolate the whole time my house smelled like a brewery (my wife was less thrilled about that part, lmao). Can’t wait for it to carbonate for two weeks, I already know it’s gonna slap. Gonna save a few bottles to bring to my family’s Thanksgiving dinner next month.

5 minutes ago

Oh you’re gonna love it! I bottled mine three weeks ago and cracked the first one last night, the carbonation was perfect after two weeks at room temp. It pairs so good with pecan pie, your Thanksgiving crew is gonna lose their minds!

2 hours ago

I added a tiny splash of cold brew coffee to the secondary fermentation on my batch and it took this over the top! The roasty coffee notes pair so perfectly with the sweet, creamy lactose, it tastes like a boozy iced latte. My kids loved saying the house smelled like a fancy coffee shop while it was brewing. Will definitely keep that tweak for every future batch.

yesterday

How easy is this to scale up to a 5 gallon batch? The recipe says it’s for 1 gallon, right? I usually do 5 gallon batches for my homebrew club meetups, wanna make sure I adjust the grain and hop amounts correctly without messing up the balance. Don’t wanna show up to the meetup with a bad batch, those guys roast you hard for that.

2 hours ago

Great question! This scales perfectly to 5 gallons—just multiply all the grain, hop, and lactose amounts by 5, and keep your boil time the same 1 hour 40 minutes to get the right wort concentration. I’d recommend doing a quick gravity check before fermentation to make sure you hit your target OG, and you’ll be good to go. Your brew club is gonna love it!

1 week ago

Game. Changer. I’ve tried so many store-bought milk stouts that are way too sweet or taste artificial, but this homemade version is perfectly balanced. I followed the tip from another comment to add a vanilla bean in secondary and oh my gosh, it tastes like a chocolate vanilla cookie in beer form. My partner said it’s better than the $12 a four pack stout we get at the liquor store, which is high praise!

5 days ago

Wait how much vanilla bean did you add? I’ve been wanting to try a vanilla variant but I’m scared of making it taste like vanilla extract, y’know? Last time I added too much to a porter it was like drinking a candle, lmao.

3 days ago

Love the vanilla addition! For anyone trying that tweak, 1 whole vanilla bean (split and scraped) added to secondary for 7-10 days gives that perfect warm vanilla note without getting overpowering. So glad you and your partner enjoyed the recipe, Jess!

just now

Just wrapped up the boil for my first batch of this! Timing was spot on at 1 hour 40 minutes, which made the whole process way less stressful than I expected. The little wort sip I took before pitching yeast was so rich and chocolatey, I already know this is gonna be a new go-to. Gonna save a few bottles to bring to my annual camping trip next month, perfect for cool nights around the fire!



