
Milkshake IPA
intro
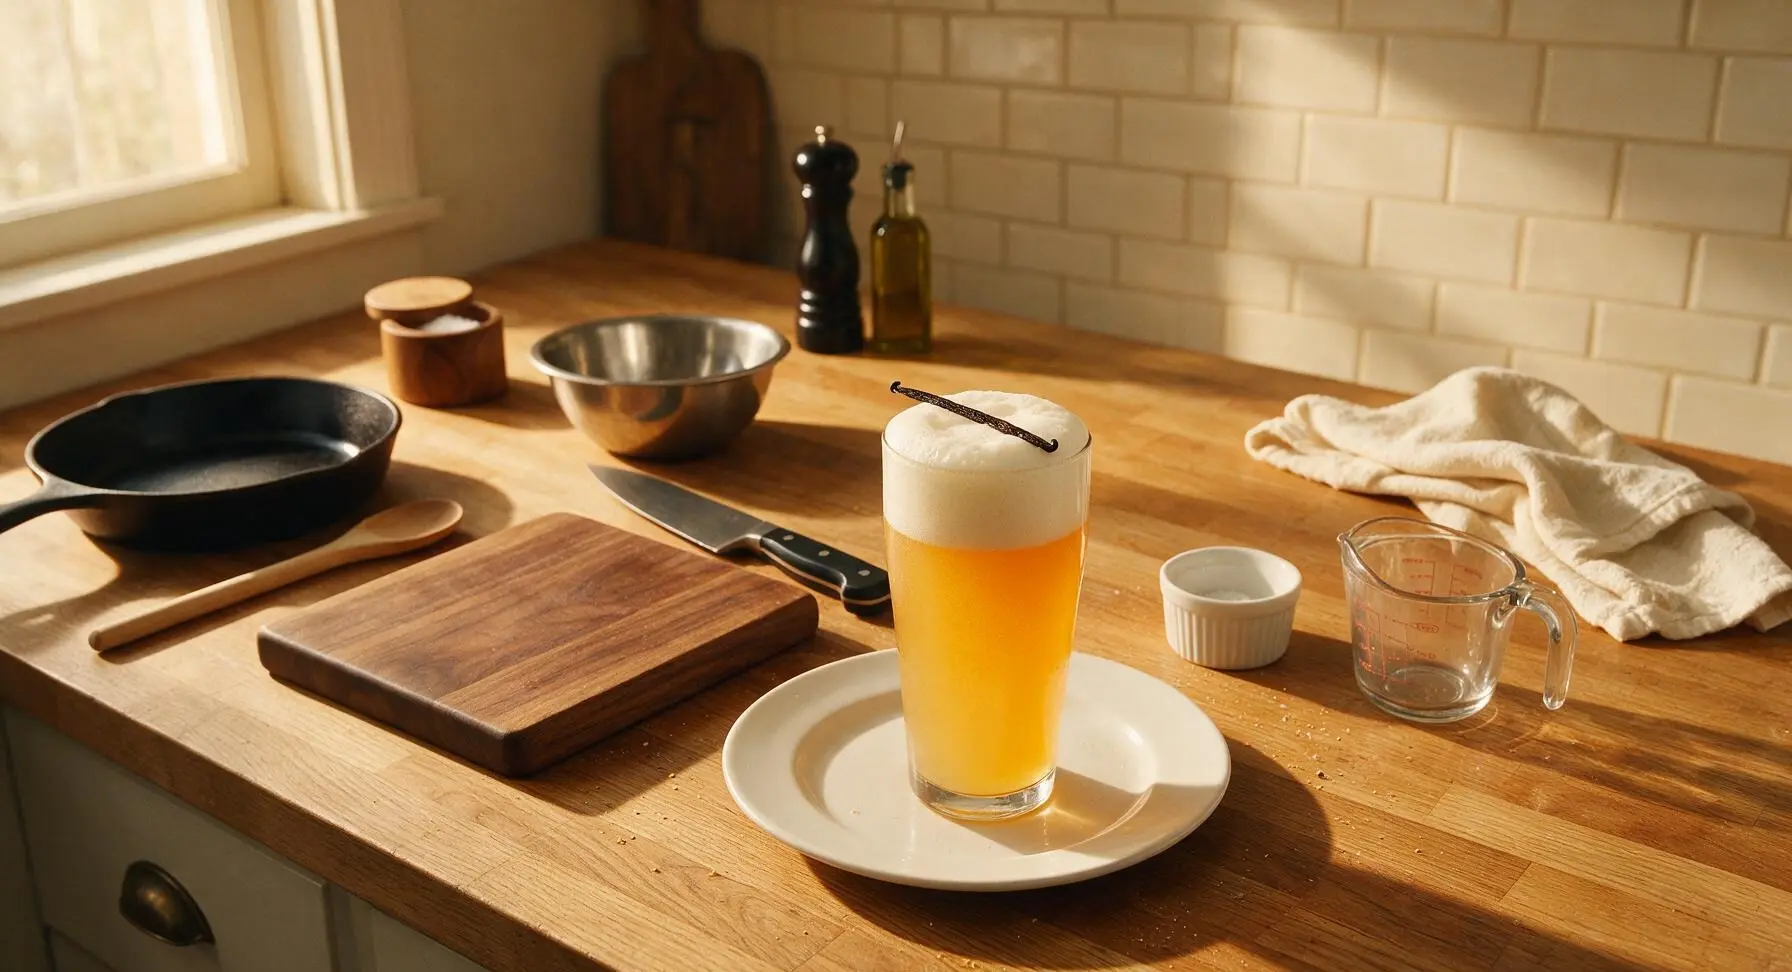
Creamy, hazy, fruit-forward Milkshake IPA with soft vanilla notes, low bitterness, and a thick, smoothie-like mouthfeel—perfect for sipping cold at summer backyard BBQs.
Ingredients
Steps
Sanitize Brewing Equipment
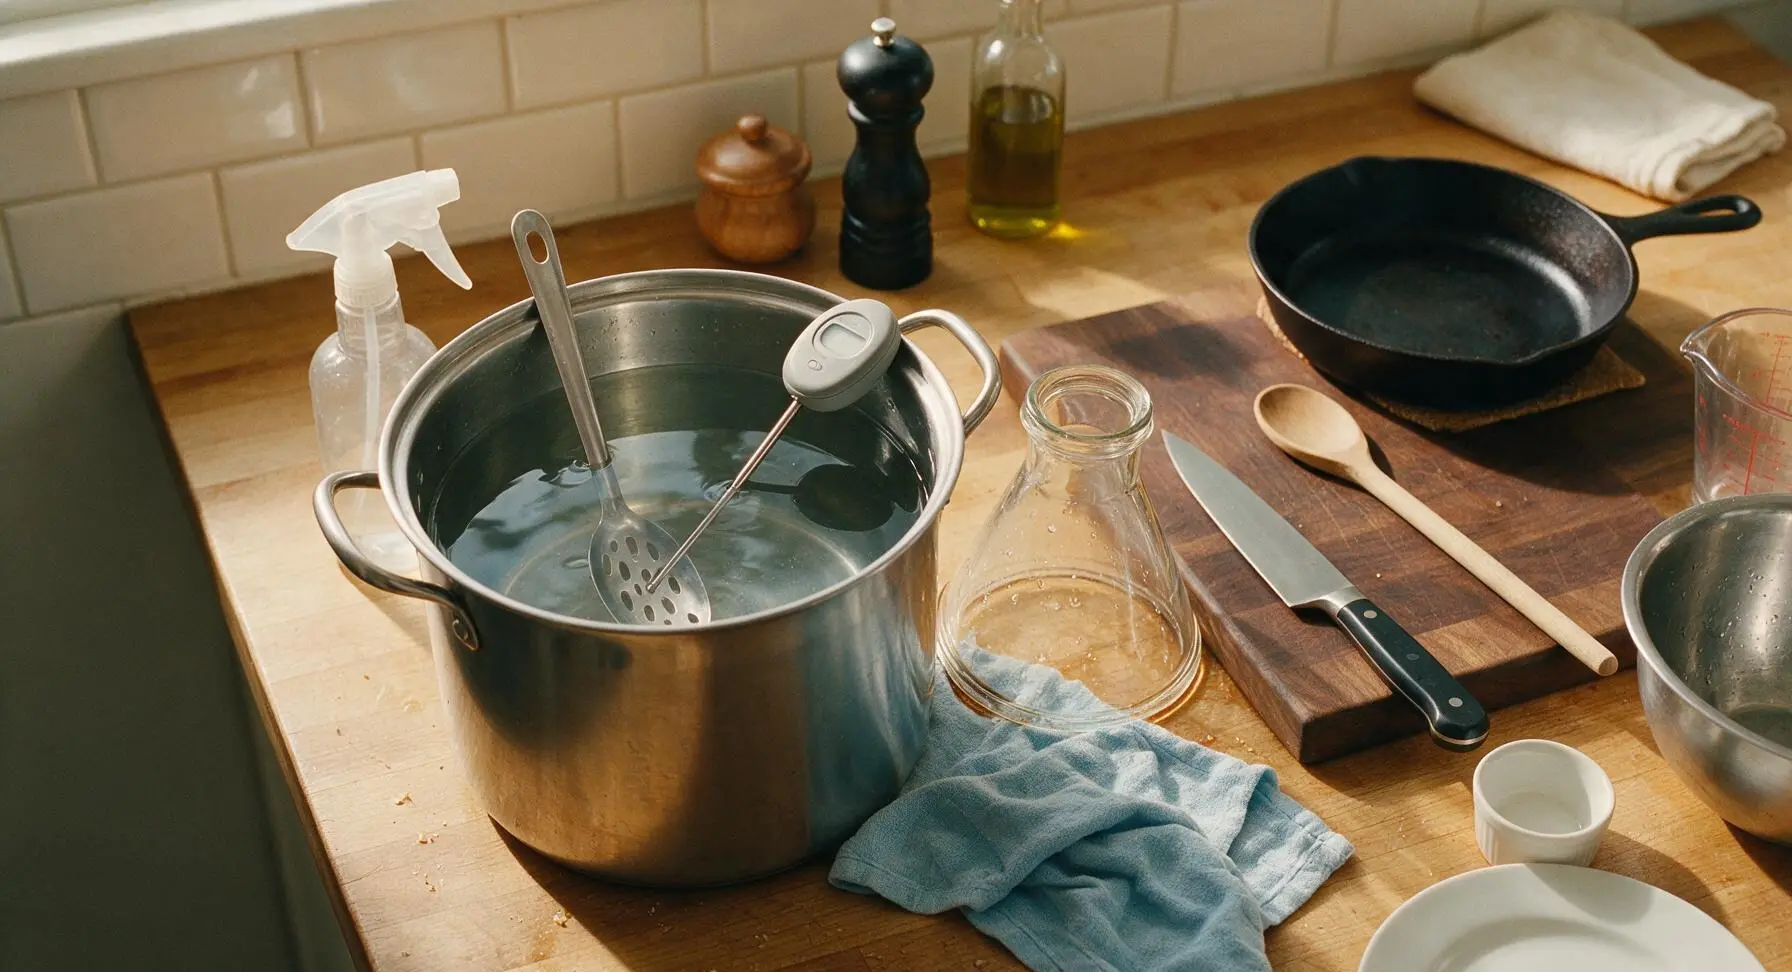
Mix 15ml no-rinse sanitizer with 4L cool water in the 2-gallon brew pot. Submerge the stirring spoon, thermometer, strainer, fermenter, airlock, siphon, bottles, and bottle caps for 2 minutes. Spray all work surfaces with sanitizer solution, then wipe down with the blue cotton towel. All equipment that touches cooled wort must be fully sanitized to prevent off-flavors or infection.
Boil the Wort Base
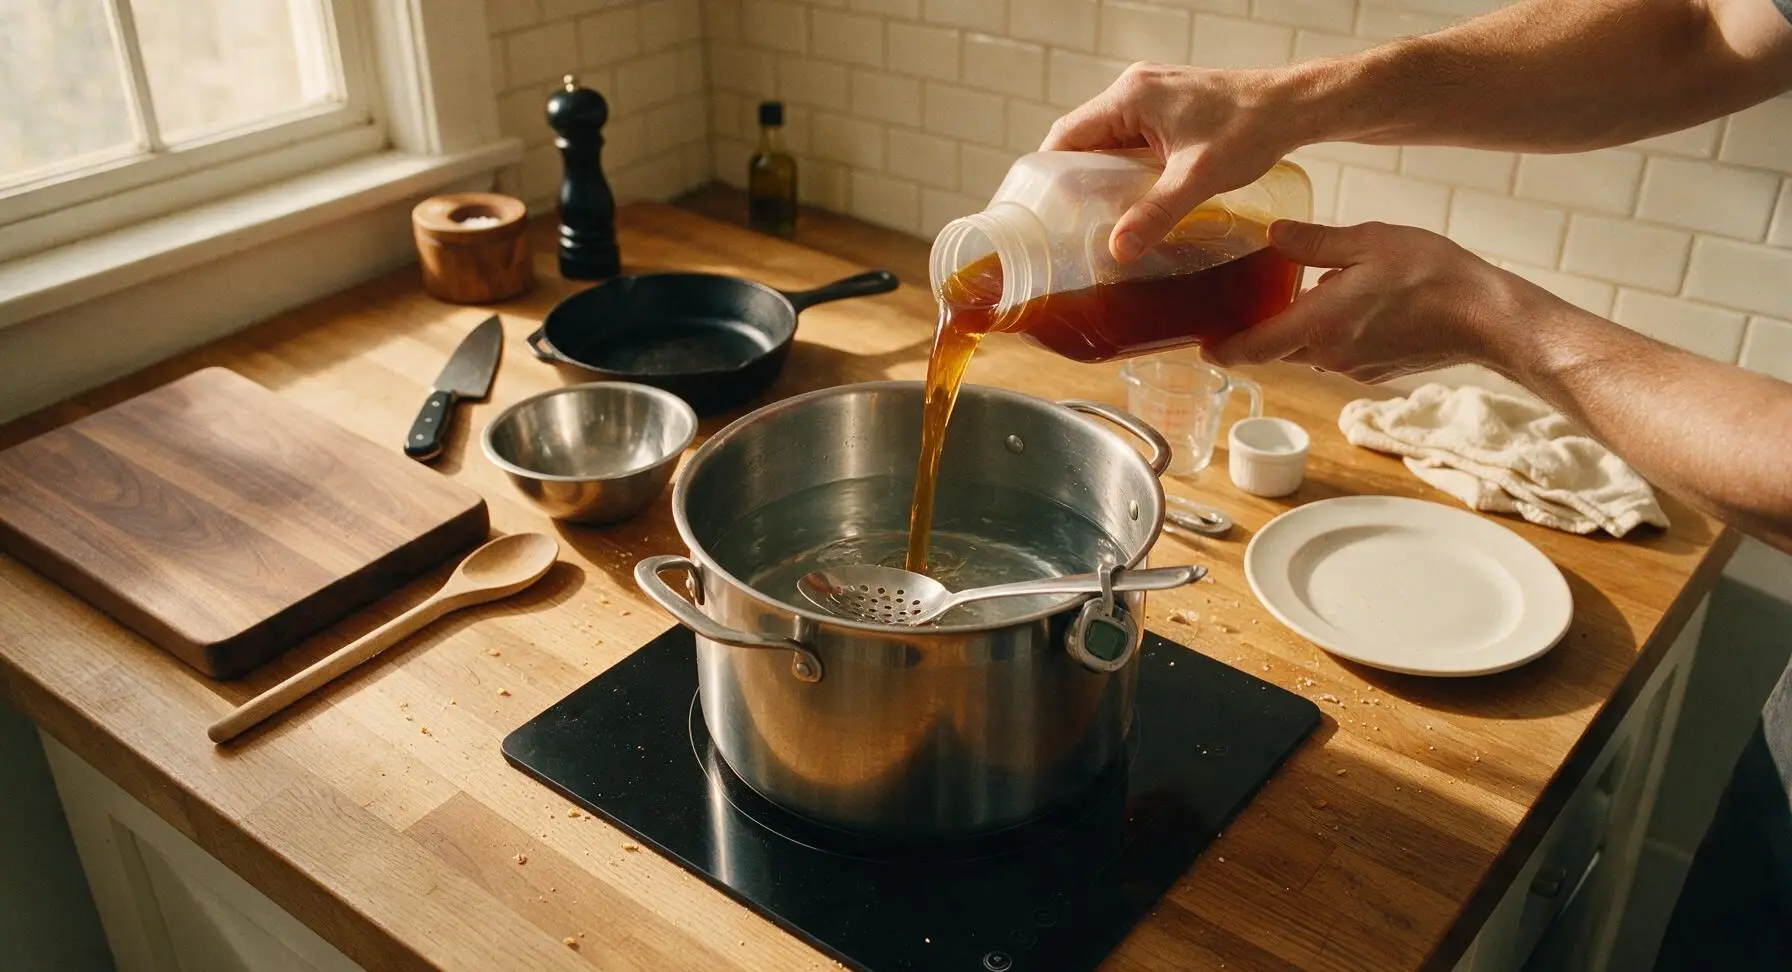
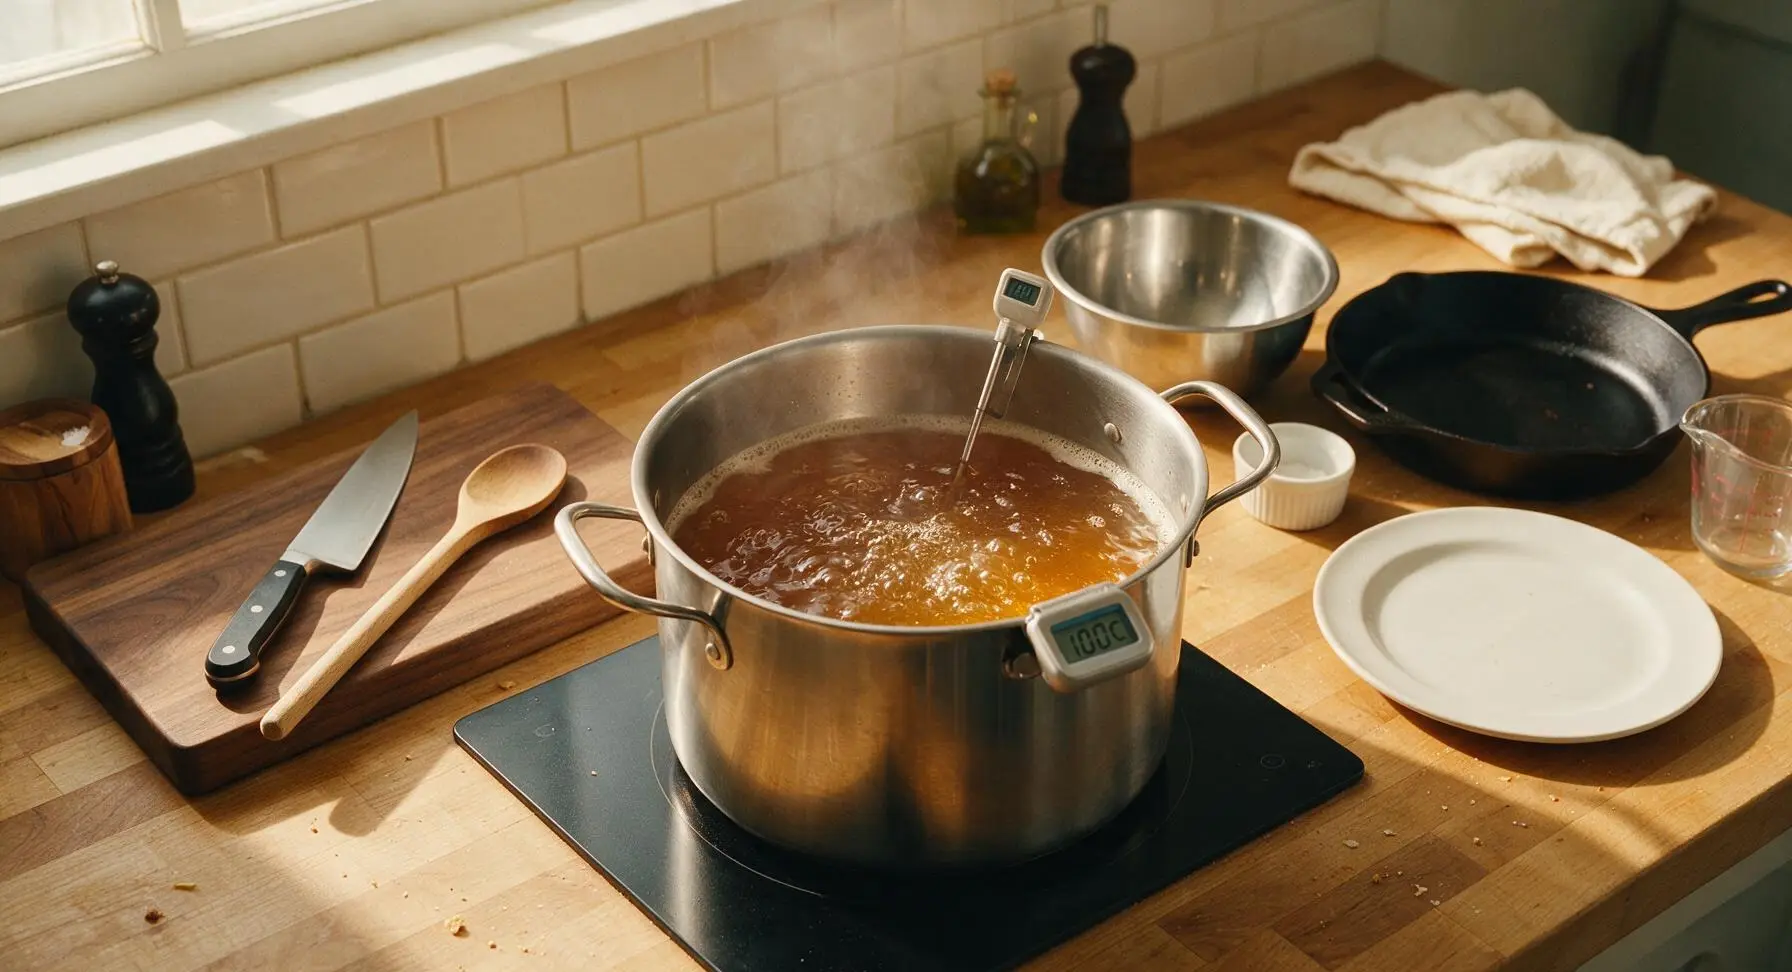
Add 3L of filtered water to the sanitized 2-gallon brew pot, set the pot on the central matte black induction burner over medium heat, and stir in the full 1kg of pale liquid malt extract until fully dissolved with no sticky clumps remaining. Bring the sweet malt mixture (called wort) to a gentle rolling boil, hold at a steady boil for 45 minutes, adjusting heat as needed to avoid sticky boilovers. Clip the digital thermometer to the pot edge to monitor temperature, maintaining a steady 100C (212F) boil throughout.
Add Hops and Lactose
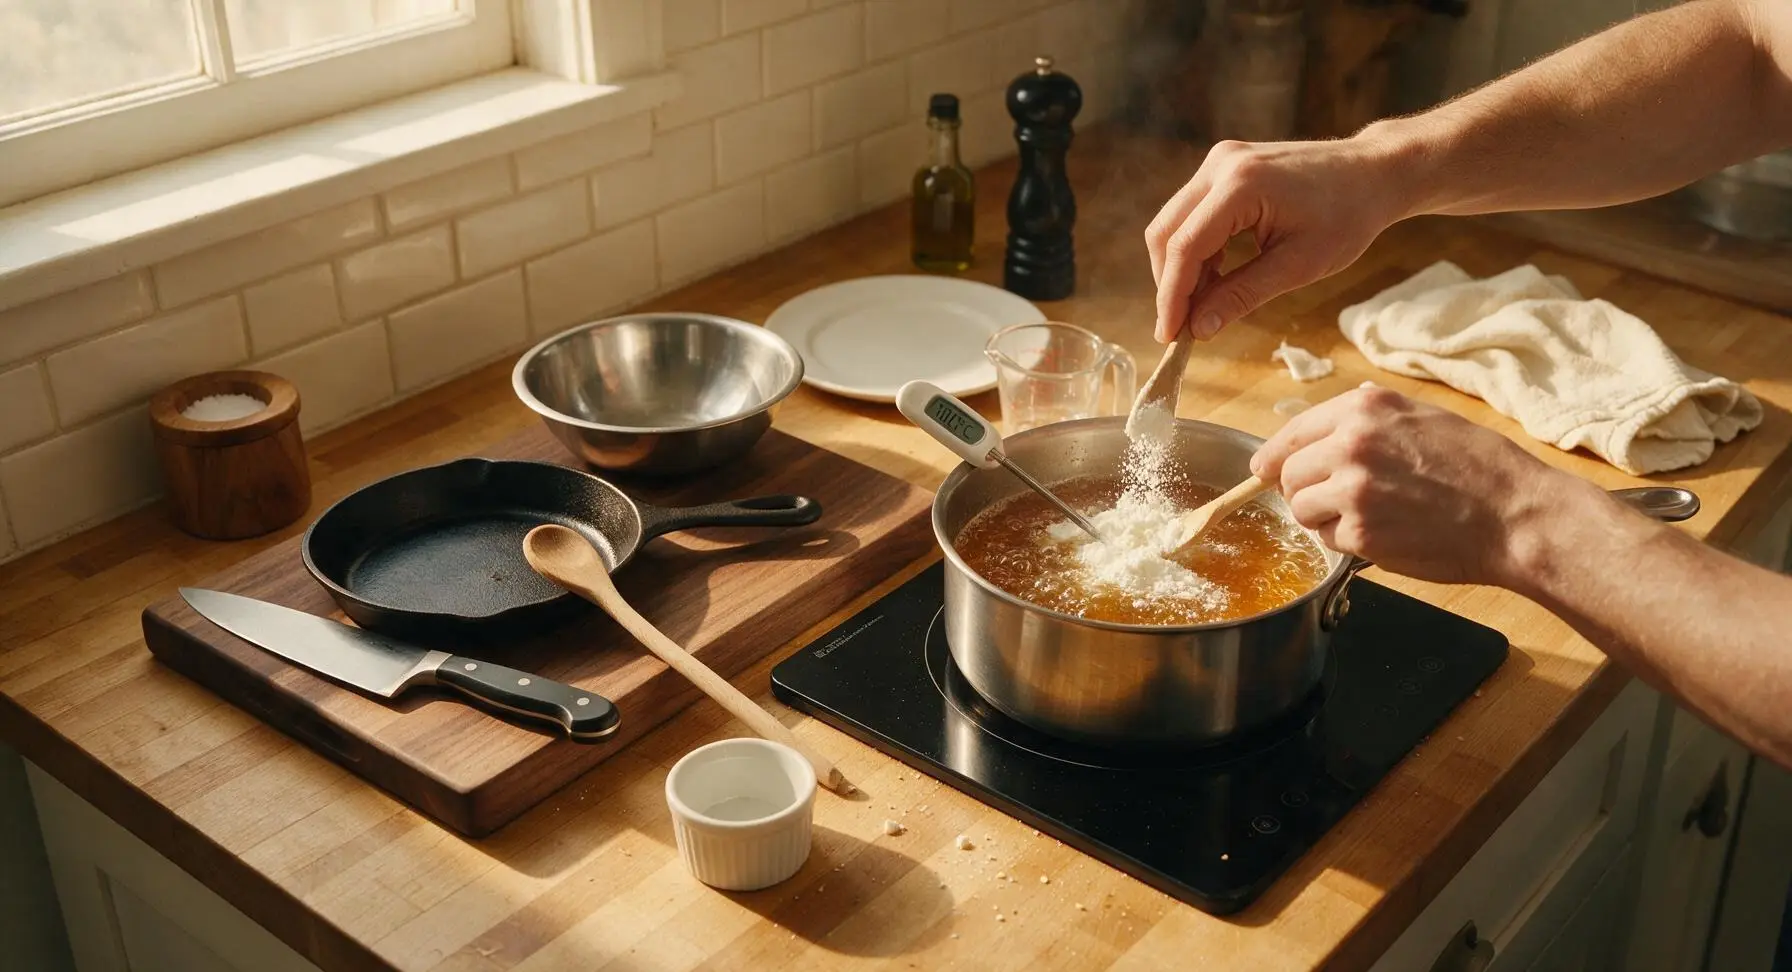
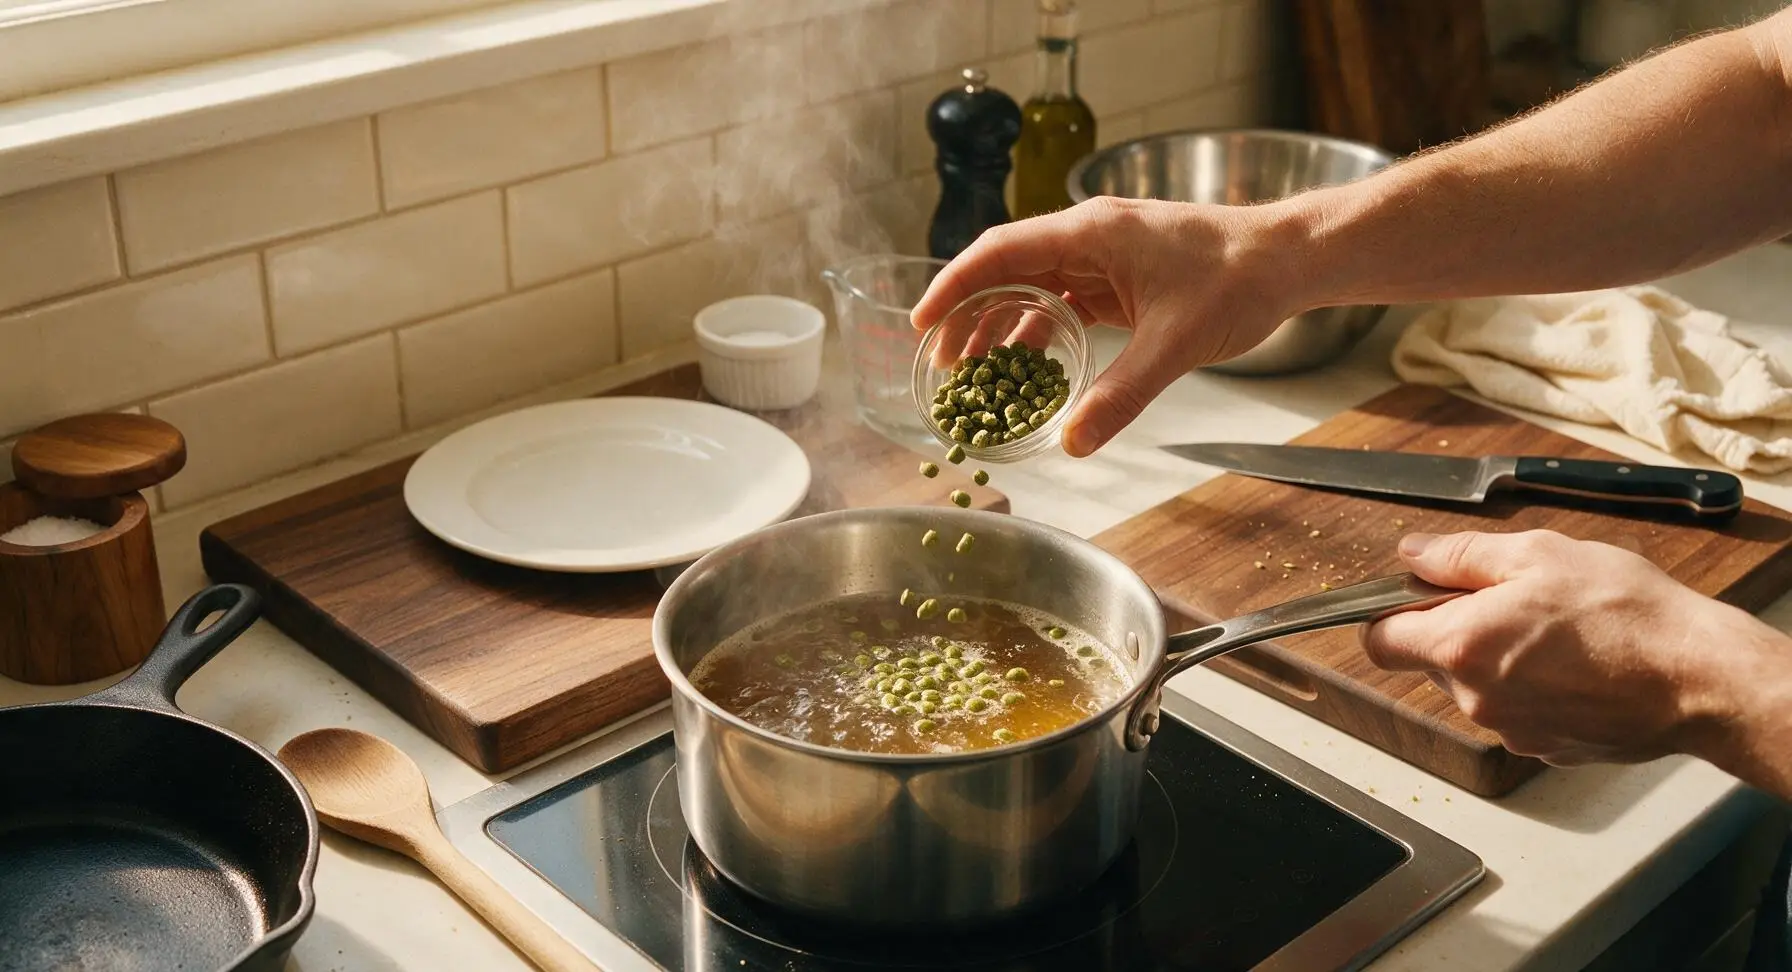
With 15 minutes remaining in the 45-minute boil, stir in all 150g of lactose powder until fully dissolved, no white powder visible on the wort surface. When the 45-minute boil is complete, turn off the induction burner (flameout), add 10g of Citra hop pellets and all 10g of Mosaic hop pellets to the hot wort, then stir once gently to submerge the hops. Do not add hops earlier in the boil, as this will create harsh, lingering bitterness that clashes with the creamy milkshake profile.
Cool Wort and Pitch Yeast
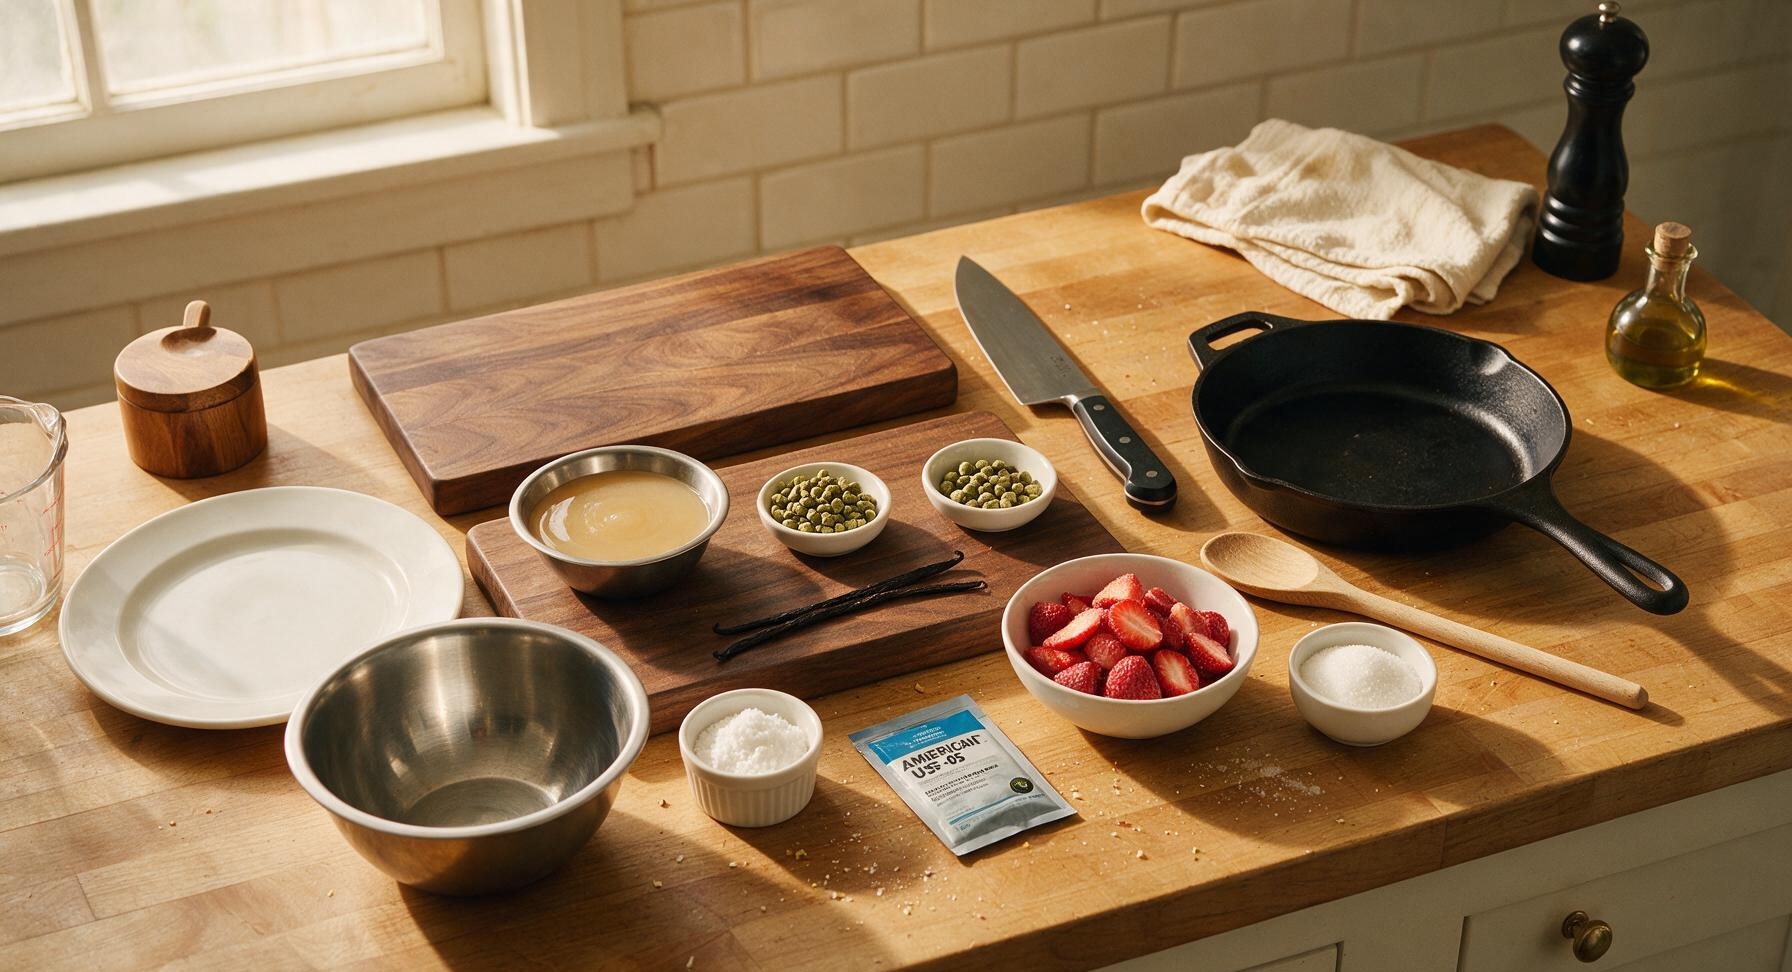
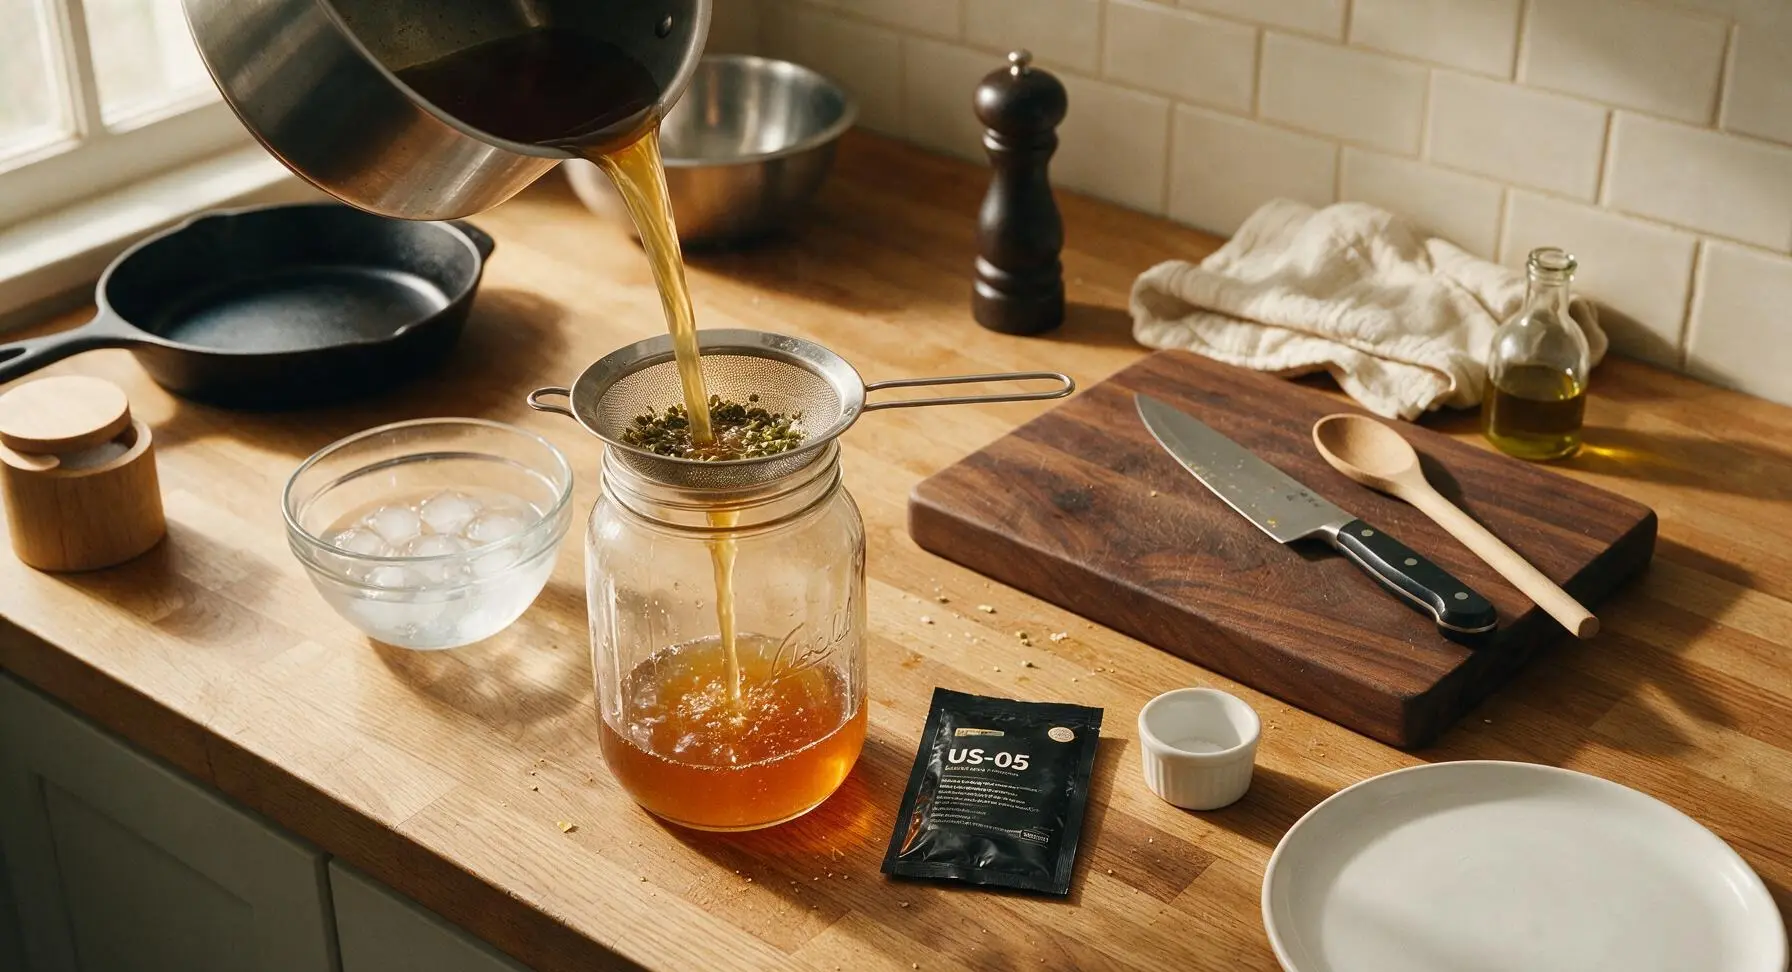
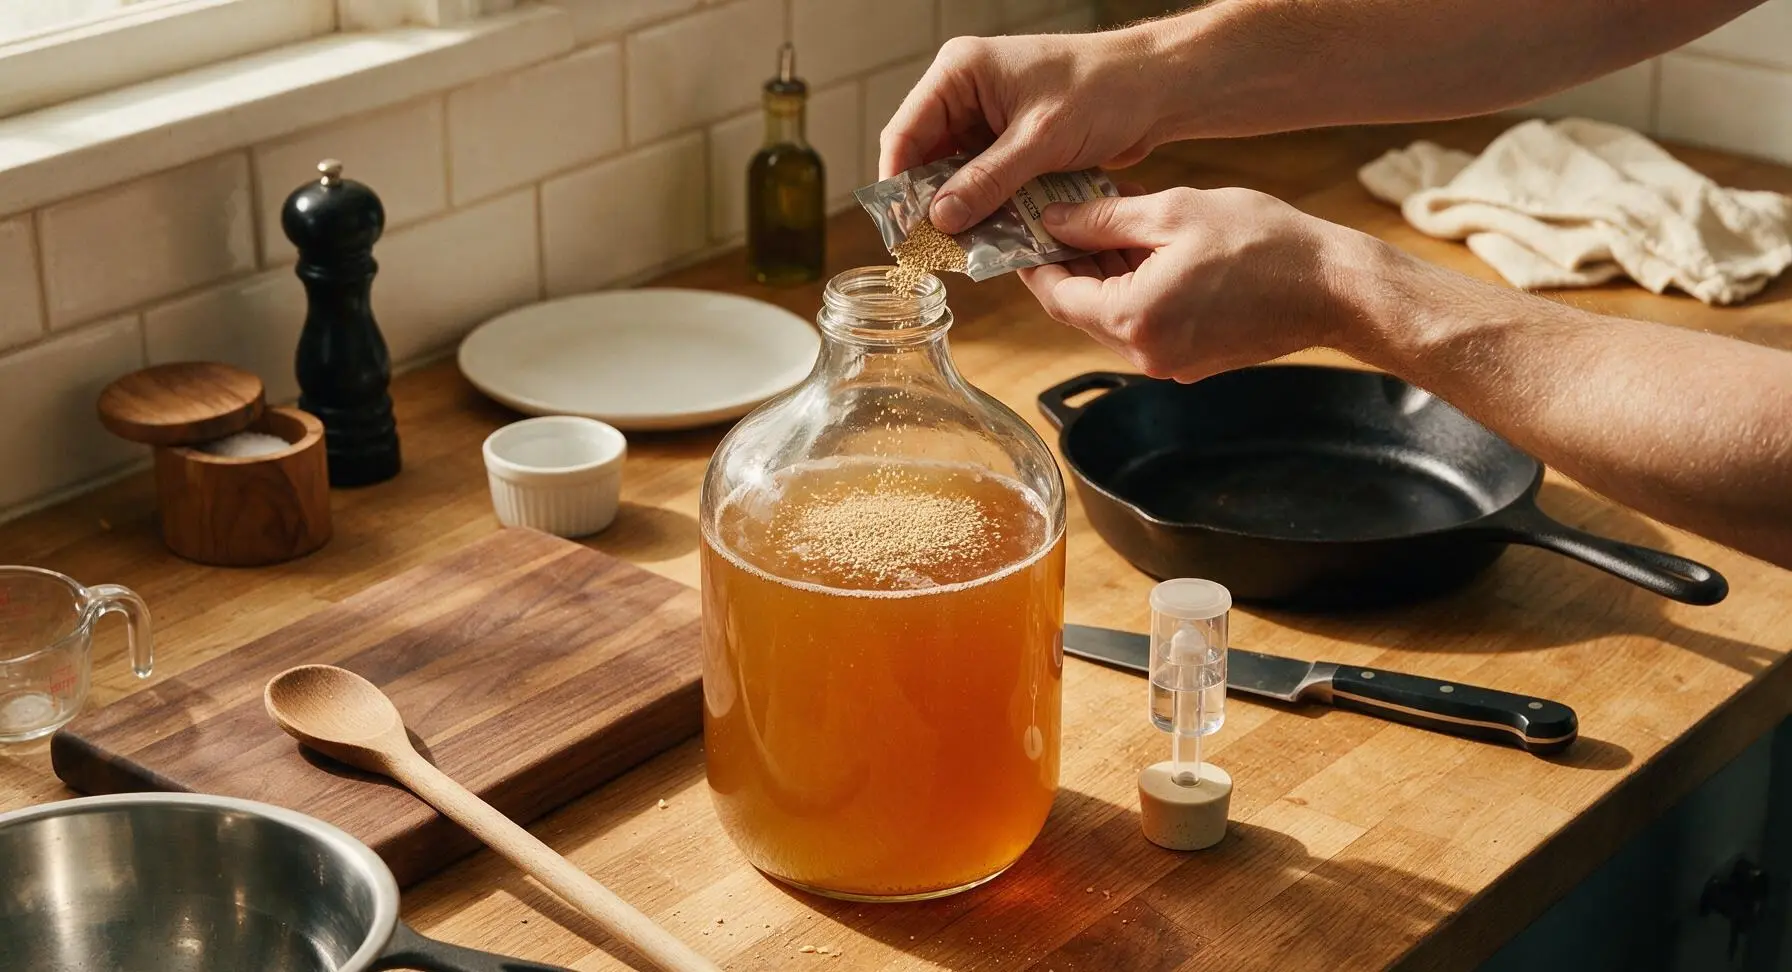
Place the lid on the brew pot and set it in a sink of ice water to cool the wort quickly to 21C (70F), approximately 20 minutes. Once cooled, pour the wort through the fine-mesh stainless steel strainer into the sanitized 1-gallon glass fermenter, top up with cool filtered water to reach the 1-gallon volume mark, then sprinkle the entire packet of US-05 ale yeast evenly over the wort surface. Seal the fermenter with the drilled rubber stopper and water-filled airlock, then move it to a dark, temperature-stable 20C (68F) space for 7 days of primary fermentation, until active bubbling slows.
Add Fruit and Vanilla
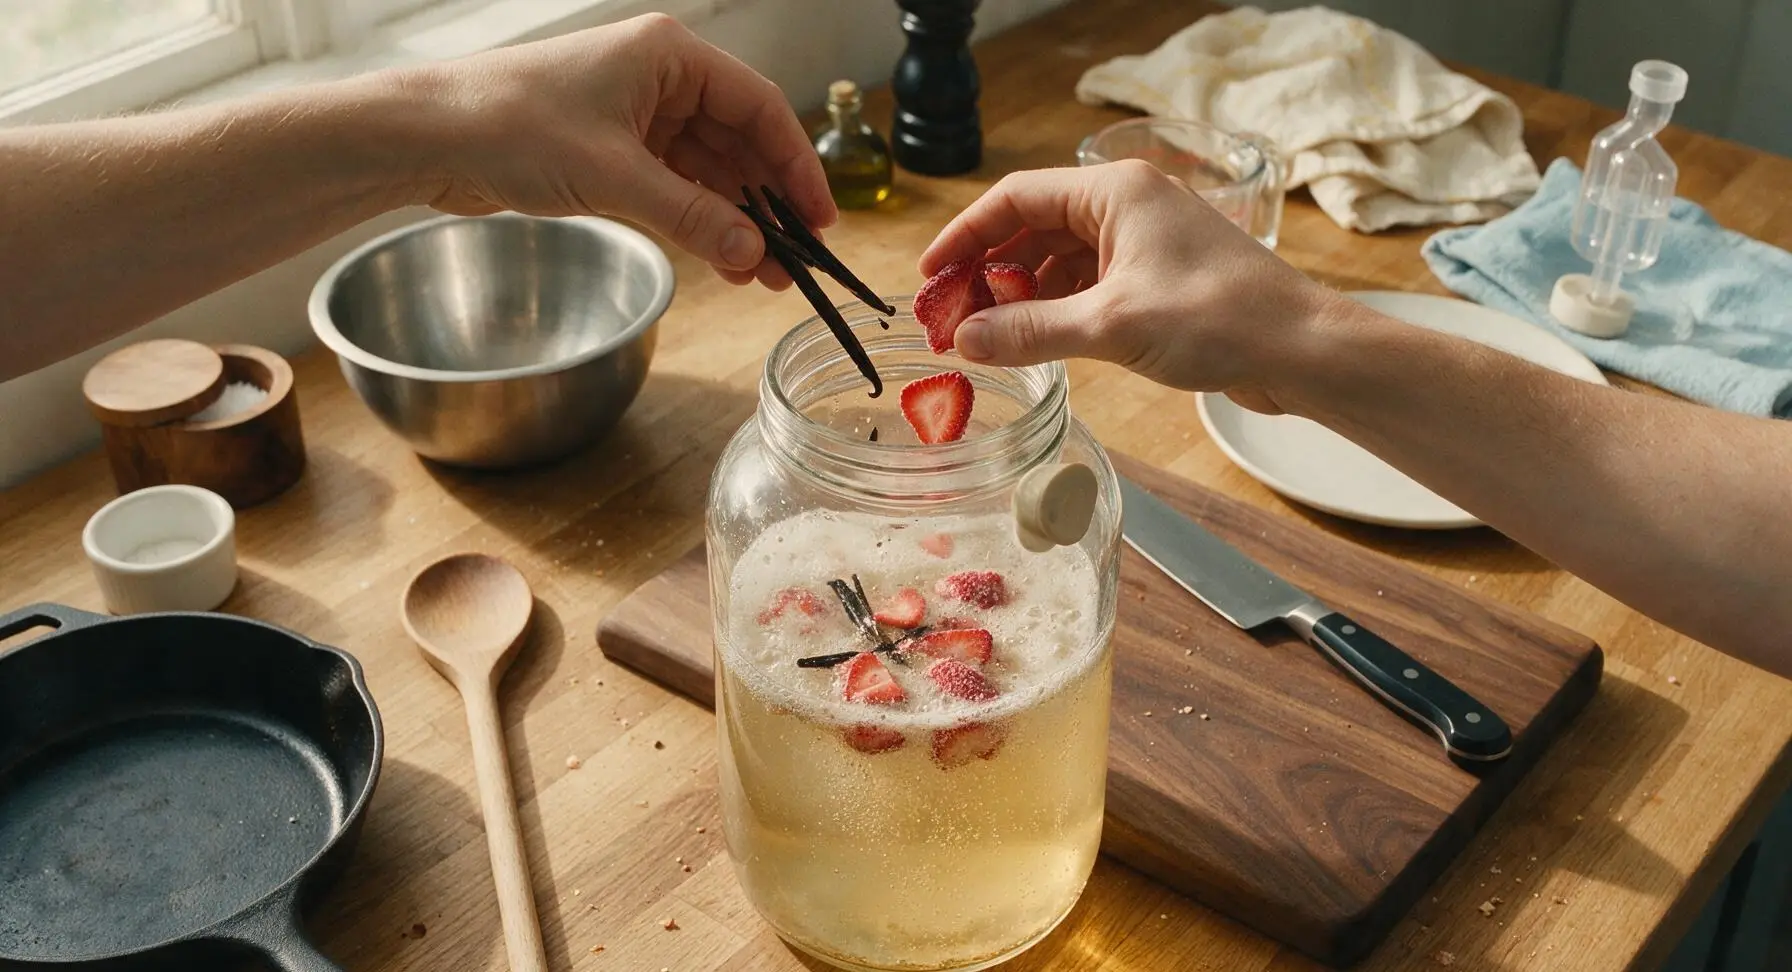
After 7 days of primary fermentation, when airlock bubbling slows to 1 bubble every 30 seconds, sanitize the fermenter opening. Split the whole vanilla bean lengthwise, scrape out the sticky seed caviar, and add both the seeds and empty bean pod to the fermenter, along with all 200g of frozen sliced strawberries (no thawing needed). Reseal the fermenter with the airlock and let it condition for 3 more days at 20C, allowing fruit and vanilla flavors to infuse into the beer.
Siphon and Bottle Beer
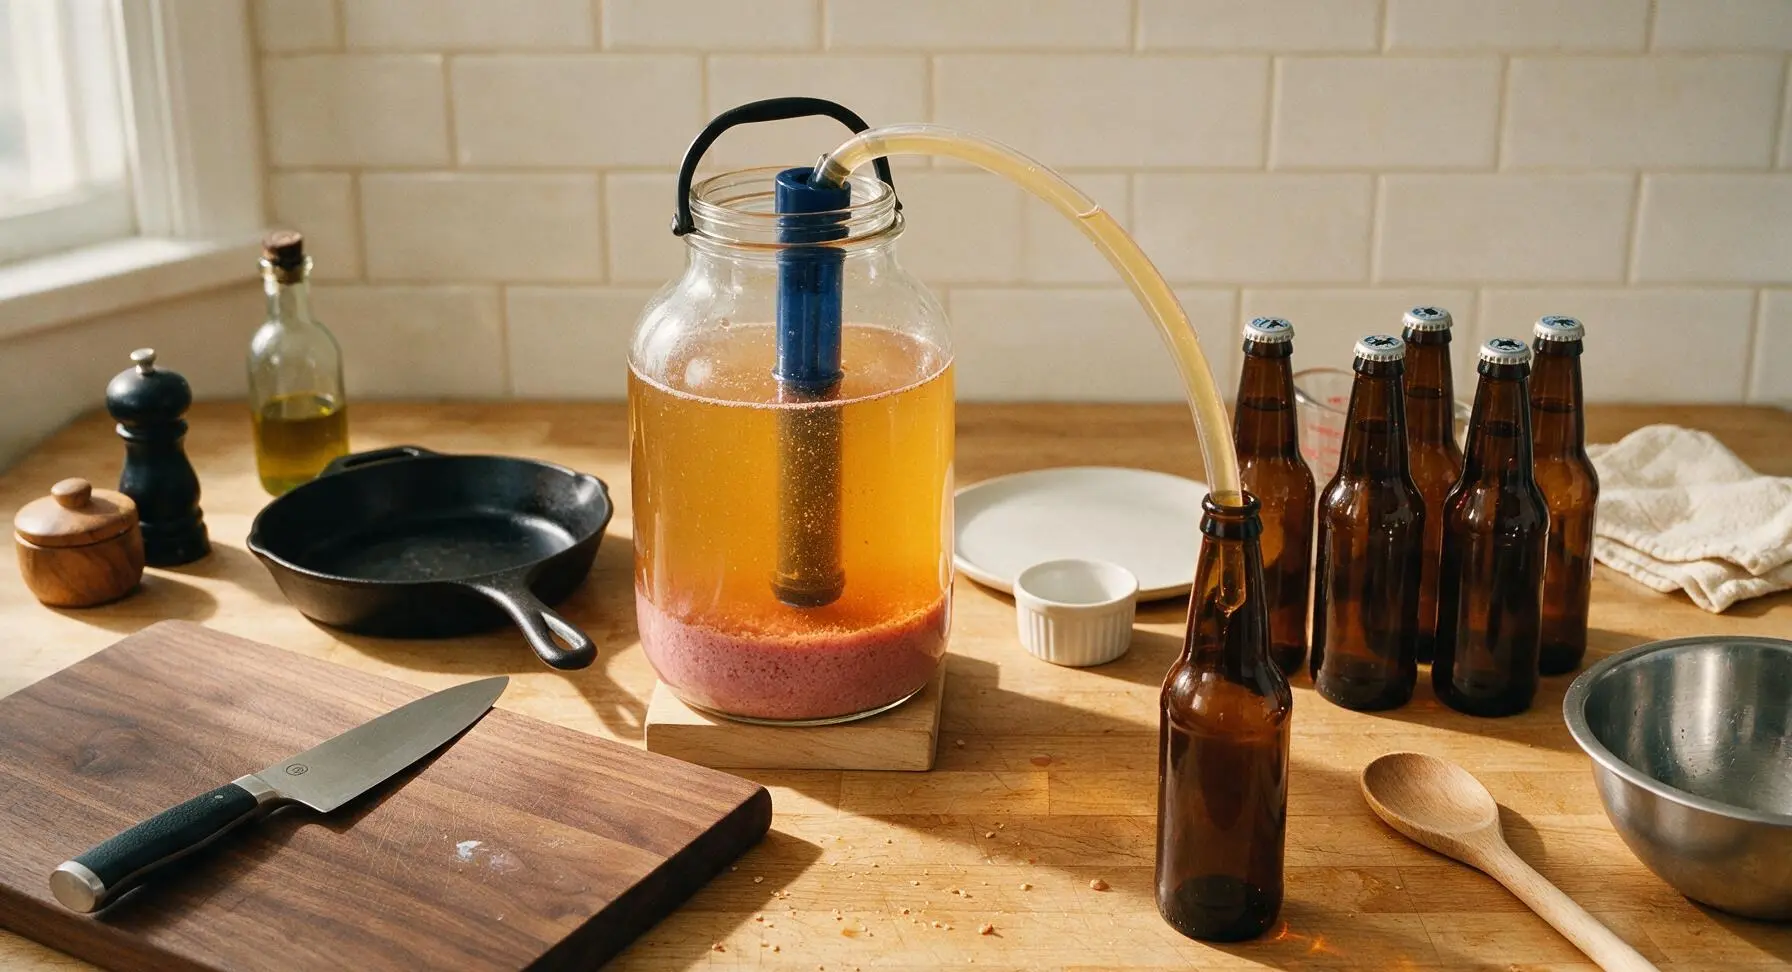
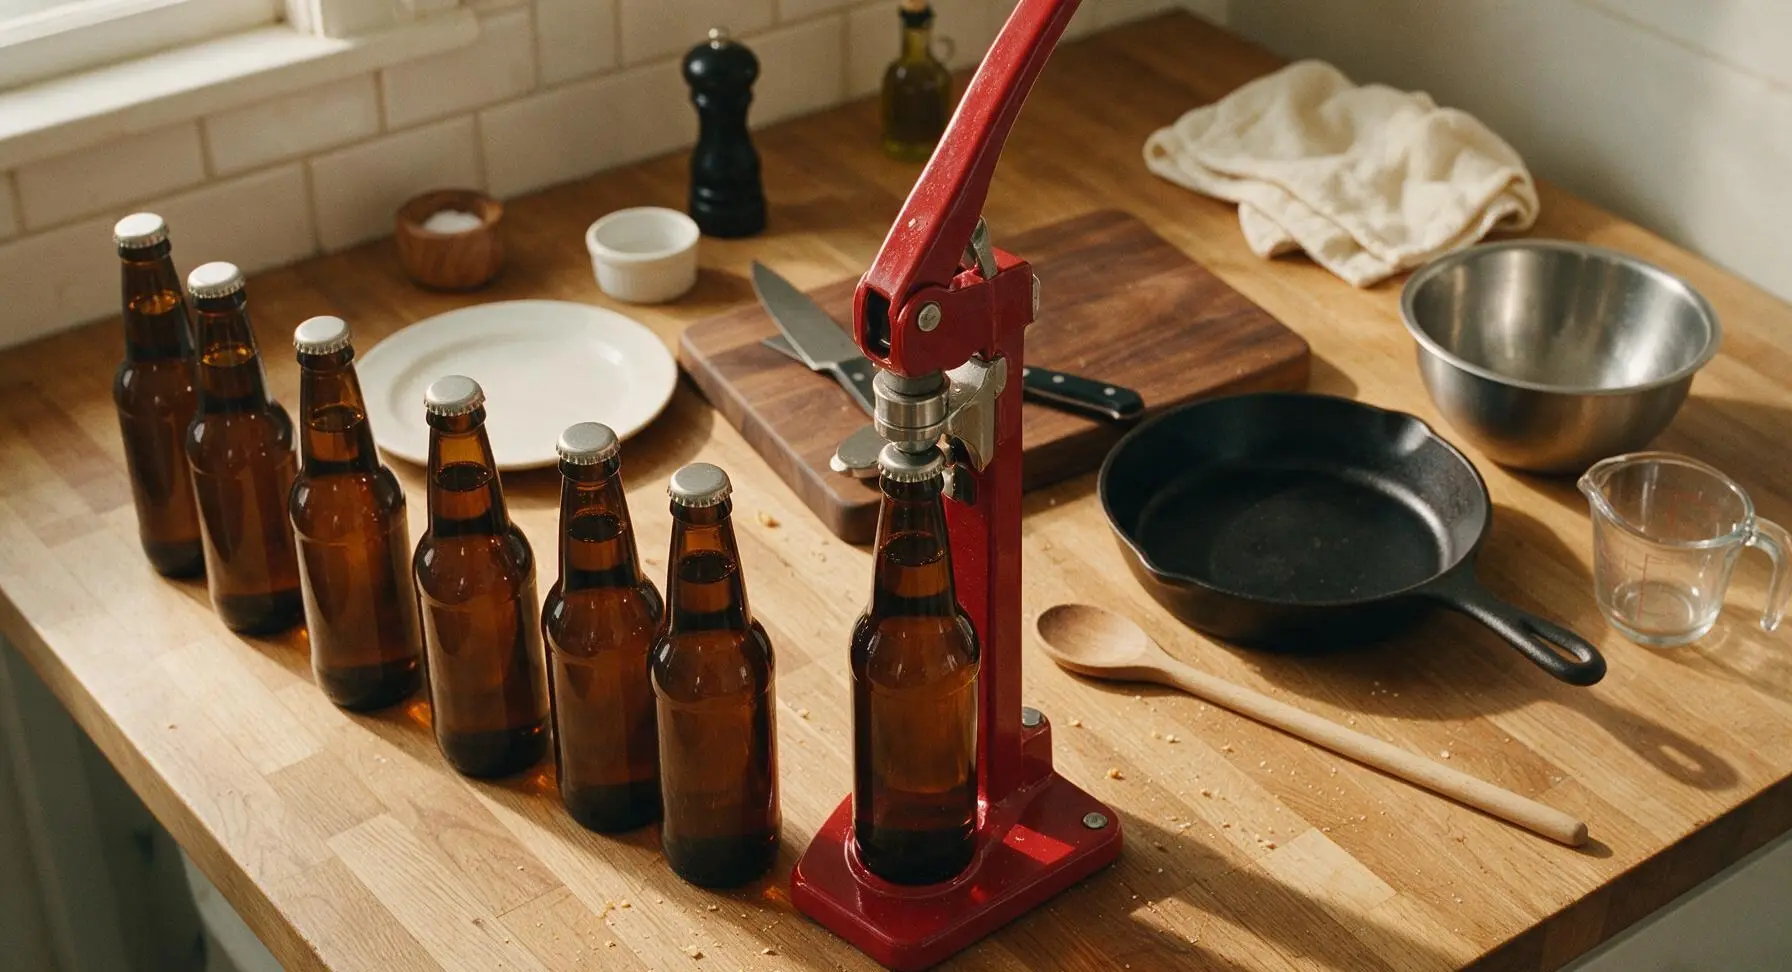
After 3 days of conditioning on fruit and vanilla, re-sanitize the auto-siphon, vinyl tubing, amber bottles, and crown caps. Dissolve 25g of corn sugar in 50ml of boiling water, cool completely, and divide evenly between the 8 sanitized bottles to create natural carbonation. Use the auto-siphon to gently transfer finished beer off the pink fruit and yeast sediment at the bottom of the fermenter into each bottle, leaving 2cm of headspace at the top of every bottle. Use the red metal bench capper to crimp a crown cap tightly onto each bottle.
Condition and Chill
Store sealed bottles in a dark, 20C space for 10 days to allow natural carbonation to develop. After carbonation is complete, move bottles to the refrigerator to chill for at least 24 hours before serving. Pour gently into a glass, leaving the small amount of yeast sediment at the bottom of the bottle for the clearest, creamiest pour.
Tips
2.Use frozen fruit for secondary fermentation: Freezing breaks down fruit cell walls to release brighter, more intense fruit flavor, and the cold temperature of frozen fruit reduces the risk of introducing unwanted bacteria that can cause off-flavors or spoil the batch, compared to using fresh unwashed fruit.
3.Resist the urge to add extra bottling sugar: The 25g of corn sugar for a 1-gallon batch creates a soft, creamy carbonation (2.4 volumes CO2) that matches the thick milkshake mouthfeel. Adding more sugar will cause over-carbonation, leading to gushing beer when opened and a thin, overly bubbly texture that ruins the smooth experience.






OMG, this milkshake IPA recipe is a total game changer! I’ve been trying to nail that creamy, fruity, hazy vibe from my favorite local brewery for months and this hit every single note. Brought a growler to my buddy’s potluck last weekend and everyone was begging for the recipe. Didn’t even mess up the lactose addition, which I was super nervous about! SO good.
I was so intimidated to try homebrewing for the first time because I thought all beer recipes were super high difficulty, but this medium difficulty breakdown was so easy to follow! My husband is obsessed with milkshake IPAs and I made this for our anniversary dinner, he said it tasted better than the ones we get on our date nights to the brewpub. Even my teen snuck a sip (don’t tell anyone) and said it was ‘actually fire’ lmao.
Really solid recipe! The only tweak I made was adding a little extra mango puree during dry hop because I love that super fruity, smoothie-like kick. Cook time was pretty spot on too, took me right around an hour 45 from start to finish (not counting fermentation wait time obviously, I know that’s separate!). Will definitely make this again for our next camping trip pregame.
Wait a second, I was convinced milkshake IPAs needed all that fancy commercial brewing equipment to get that thick, silky mouthfeel? This recipe proved me so wrong. Used my basic homebrew setup and it turned out perfect. I did a test pour last night for our weekly game night with the neighbors and every single person went back for seconds. 10/10, don’t sleep on this one.
Game. Changer. I’ve wasted so much money on overpriced 4-packs of milkshake IPA from the liquor store, I can’t believe how much better this homemade version is. Added a scoop of vanilla ice cream to a pint last night when I had my buddy over to watch the game and we both agreed it’s the best beer I’ve ever made. Who needs to go to a bar when you can make this at home?!
Really great base recipe! I knocked a star off only because I messed up the temperature on the mash on my first go, but that was 100% my bad, not the recipe’s fault. Second attempt came out perfectly creamy, just the right amount of hop bite without being bitter. I brought a batch to my office potluck last week and even the people who say they hate IPAs liked it. Will be keeping this in my regular rotation.
Just finished pouring my first glass of this and OMG it is SO good. That vanilla and lactose combo is chef’s kiss, it’s so smooth I could drink three of these in a sitting no problem. Perfect for sipping on the back porch after a long day working on the boat. My partner already asked when I’m making the next batch, lmao.
I was worried the 1 hour 45 minute cook time would be too much to fit in after work on a Friday, but it was actually so straightforward I knocked it out without even feeling rushed. I added a little strawberry puree because I had some leftover from making jam last week, and it gave it that perfect sweet, fruity edge that tastes like summer in a glass. My roommates are already begging me to teach them how to make their own.
I’ve made a lot of homebrew recipes over the last 5 years and this is easily top 3 for me. The instructions are clear enough that even if you’re relatively new to brewing you won’t get lost, and the end result is that perfectly creamy, hazy, fruity milkshake IPA that usually costs $20 a four pack at the store. Brought a jug to my family dinner last Sunday and even my dad who only drinks light lager had two glasses. 10/10, will make again and again.