
mini griddle maker
intro
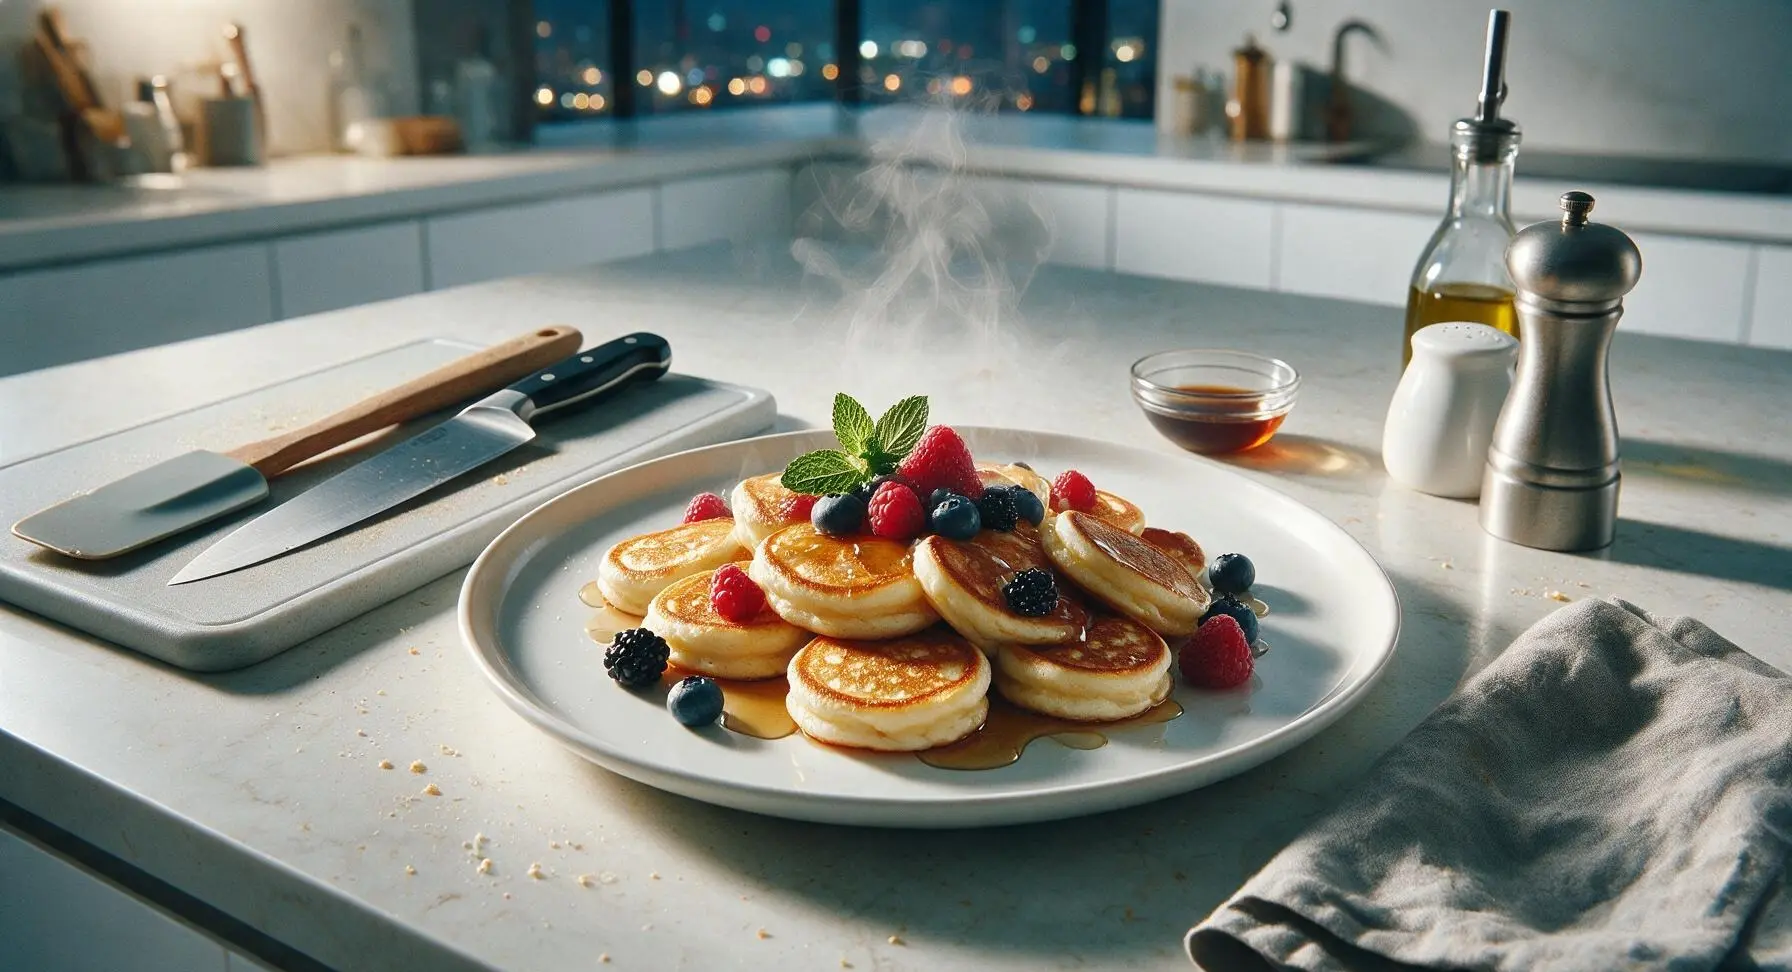
Light, fluffy bite-sized buttermilk griddle cakes made fast in a countertop mini griddle, with crisp golden edges, perfect for topping with maple syrup and fresh spring berries.
Ingredients
Steps
Whisk Dry Ingredients
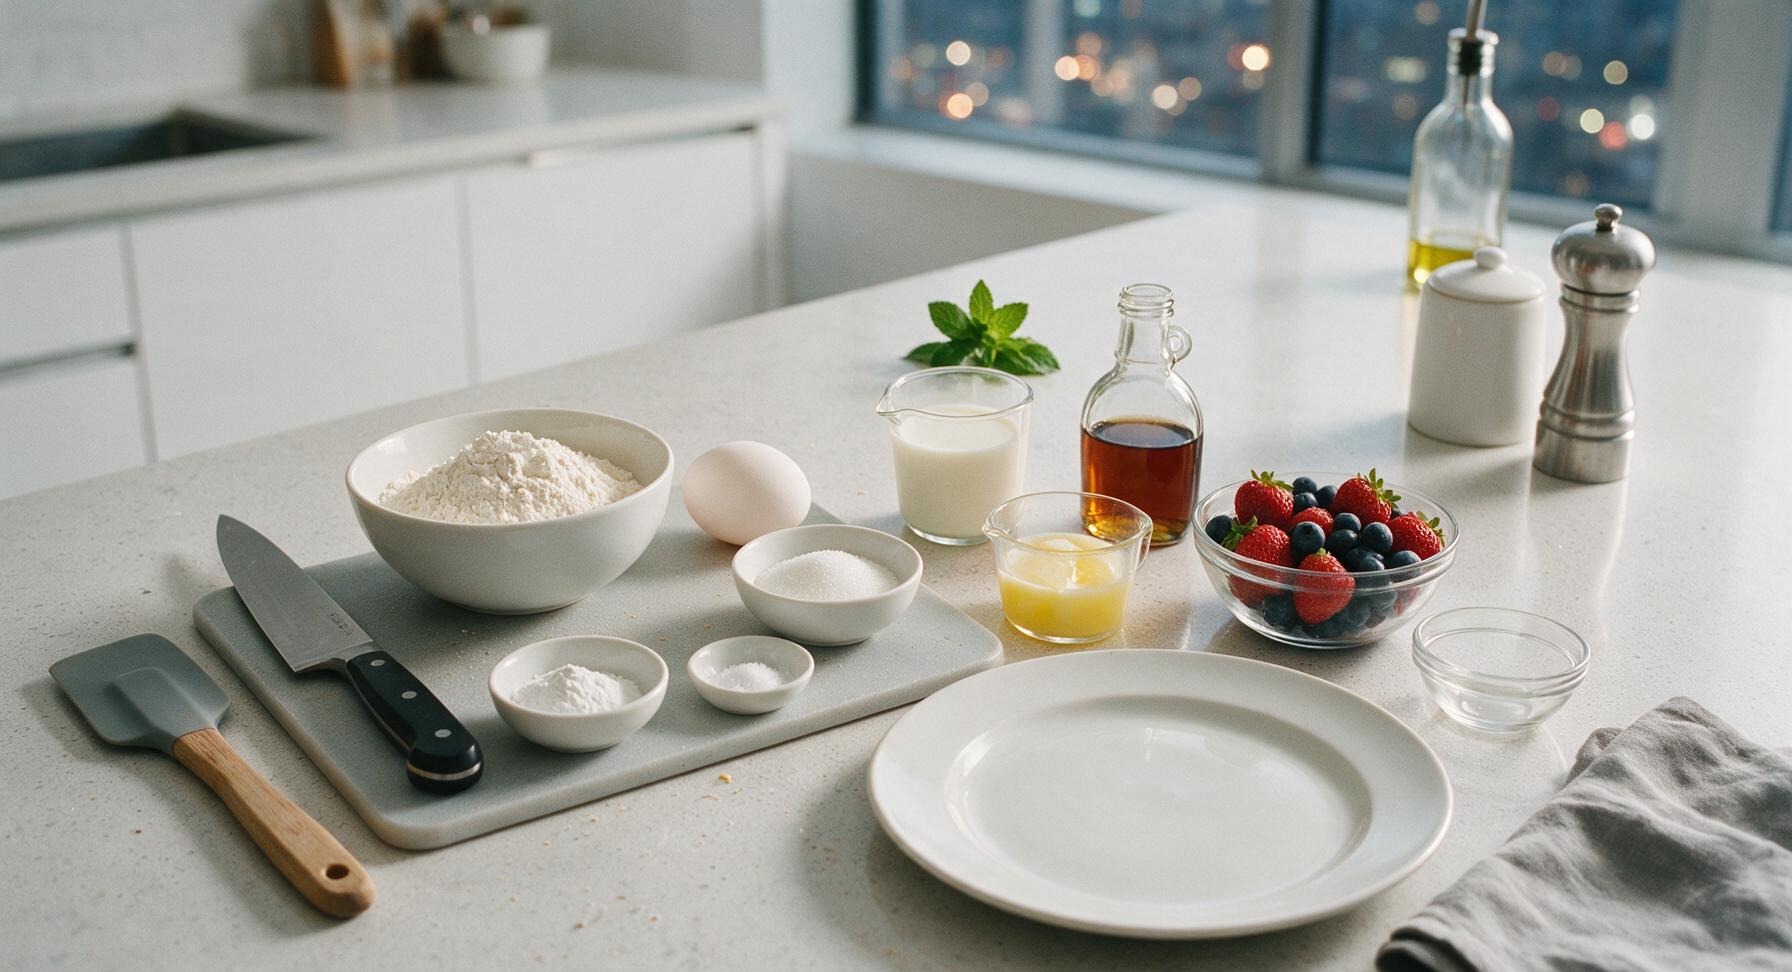
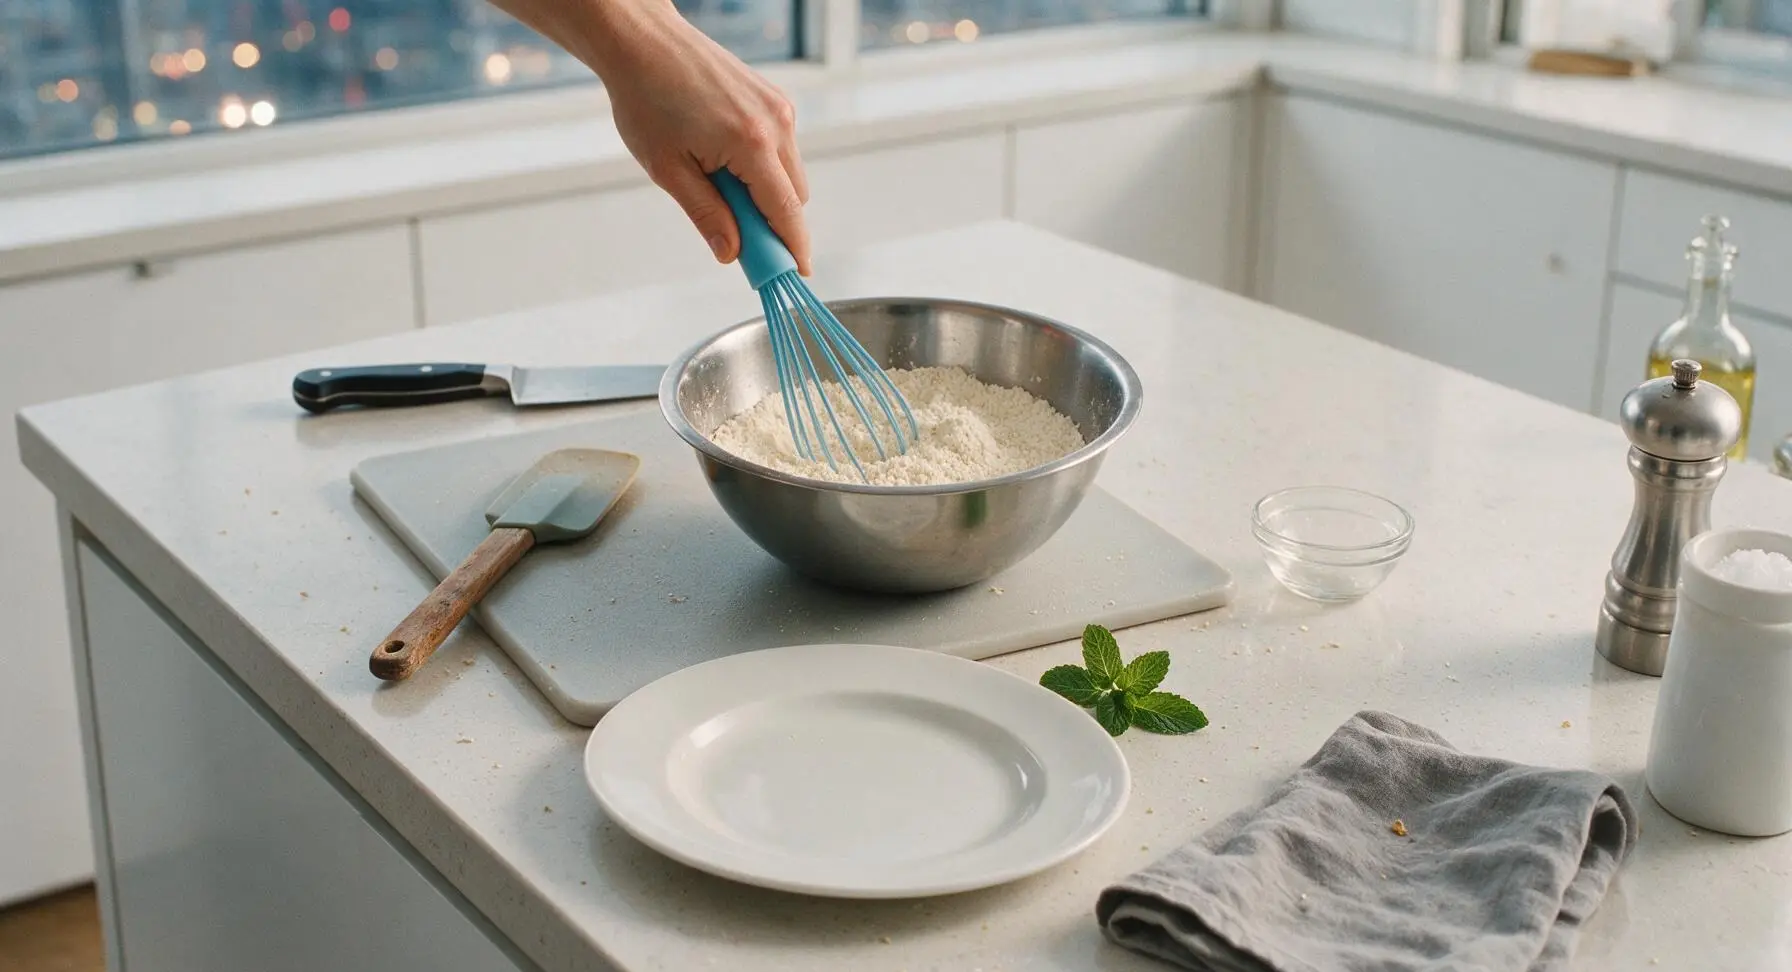
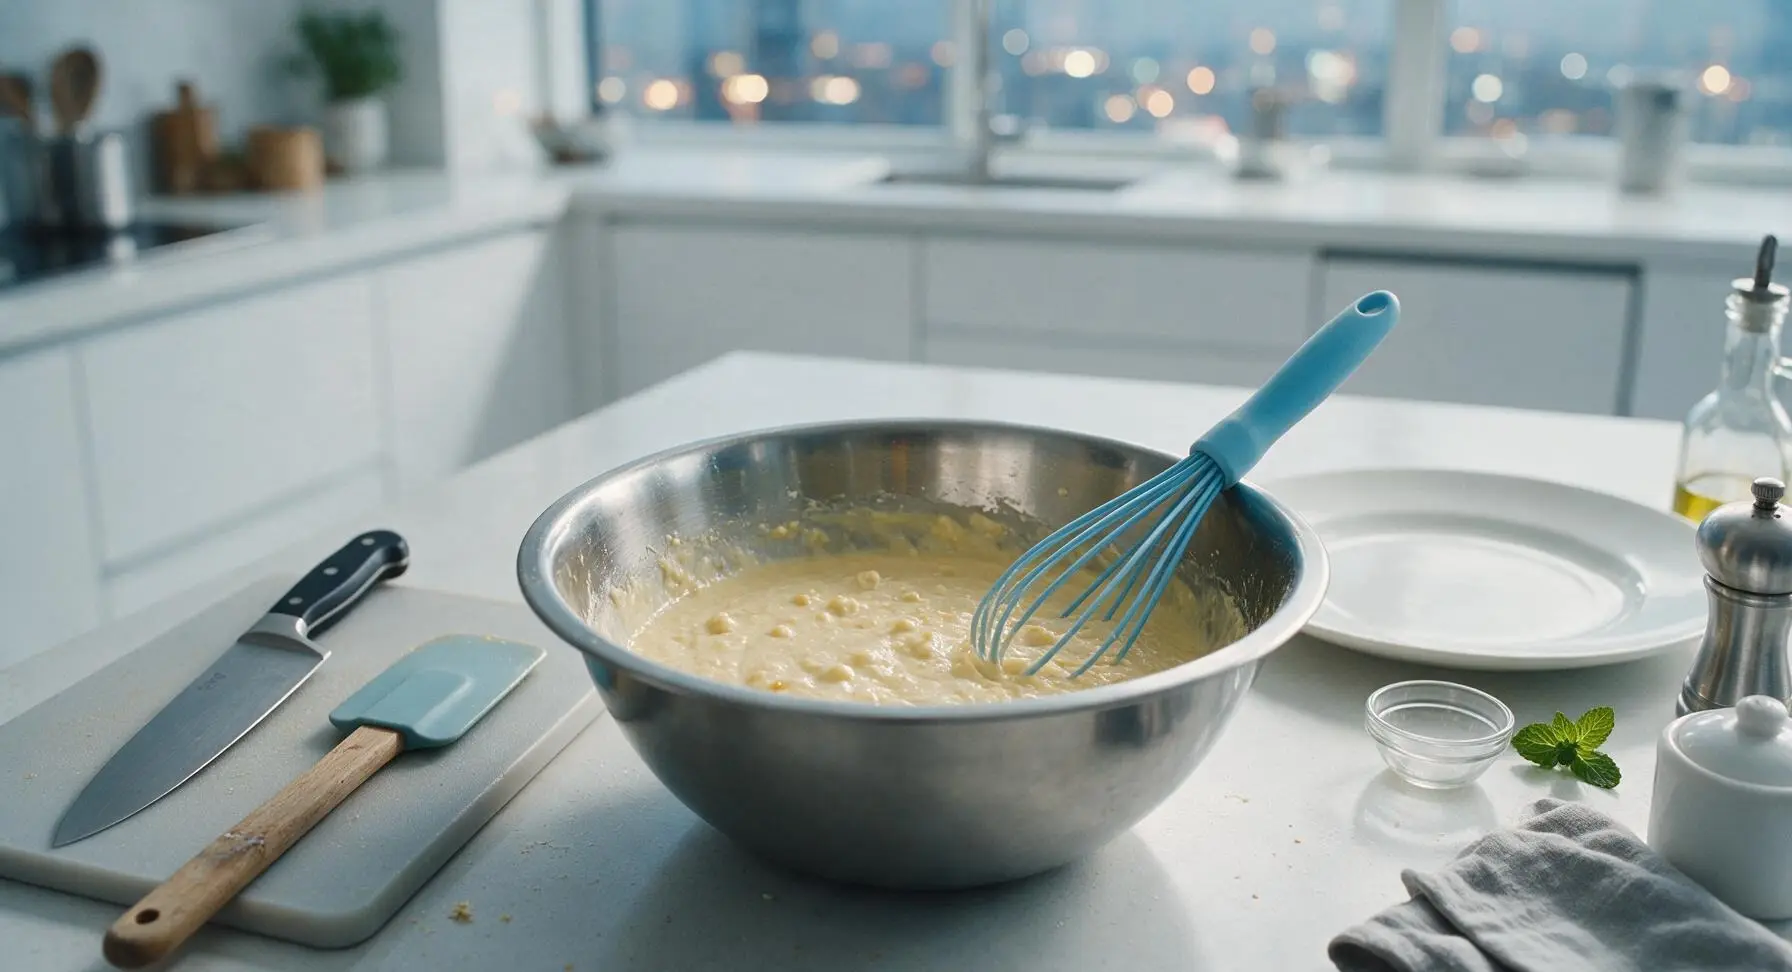
Add 1 cup all-purpose flour, 1 tbsp granulated sugar, 1 tsp baking powder, ¼ tsp baking soda, and ¼ tsp kosher salt to the stainless steel mixing bowl on the maple cutting board. Use the sky-blue silicone whisk to stir for 30 seconds until all dry ingredients are fully combined, with no clumps of baking soda or baking powder visible. The mixture should be a uniform pale off-white color.
Combine Wet Ingredients
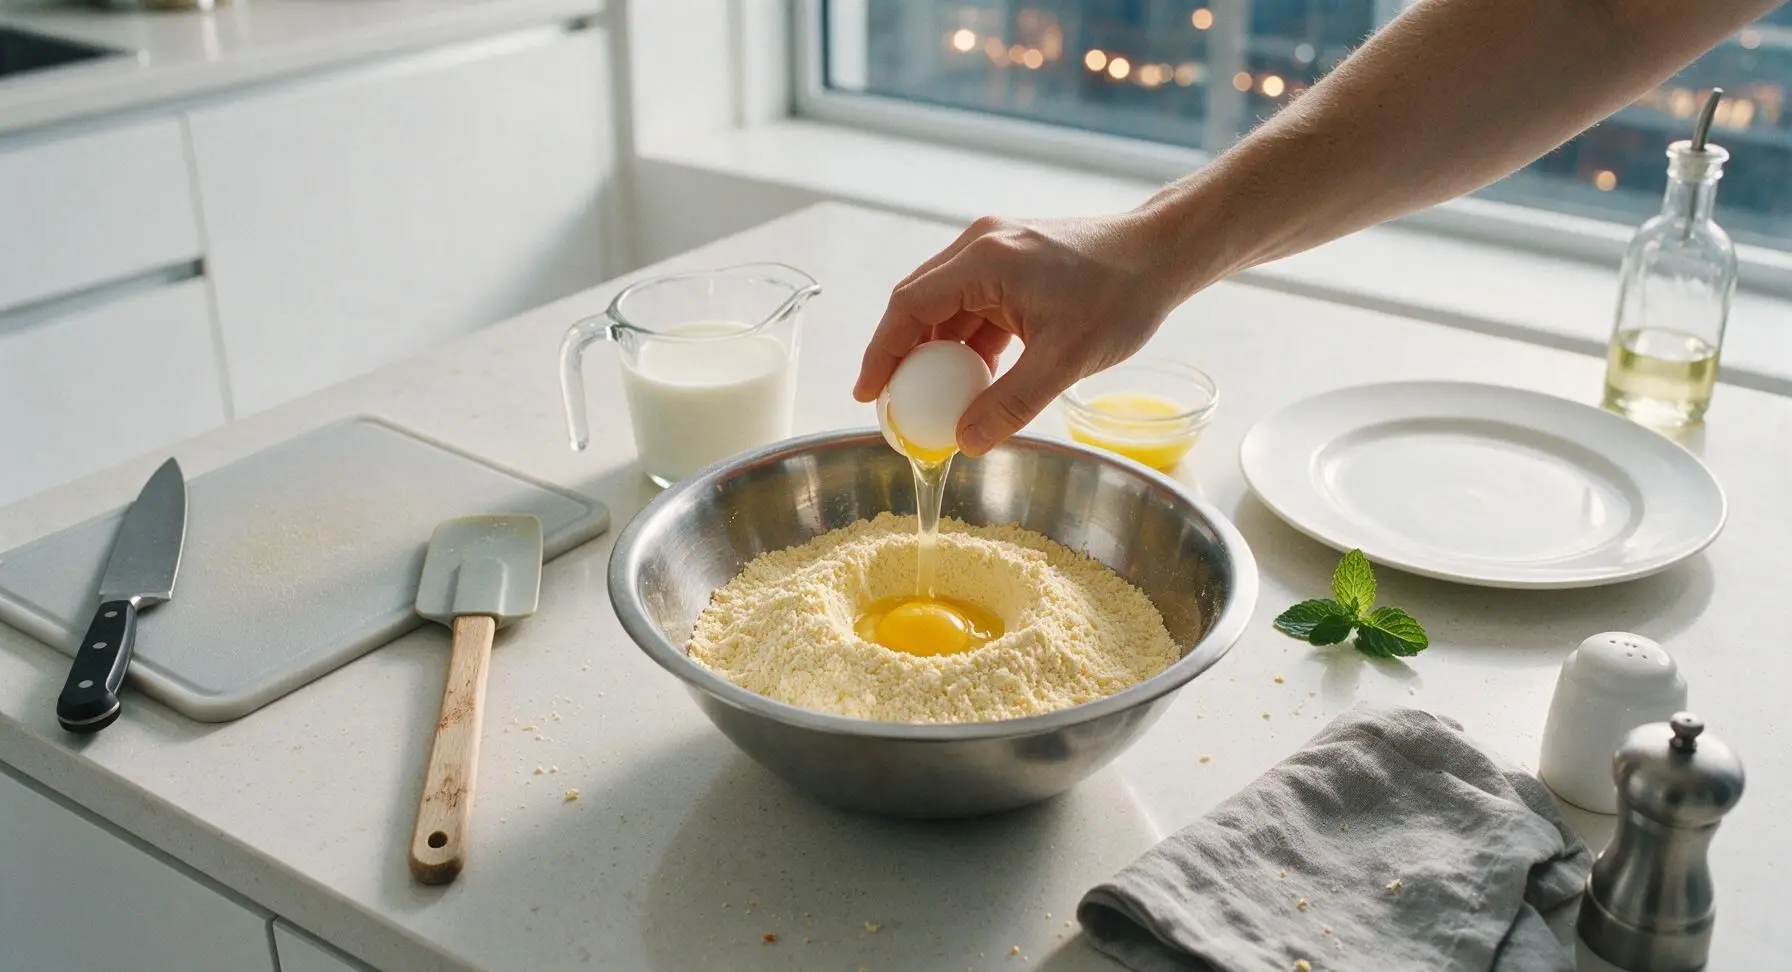
Crack the large egg into a small well in the center of the dry ingredient mix, then pour in 1 cup buttermilk and 1 tbsp cooled melted butter. Whisk slowly at first to avoid splashing, then increase speed slightly, mixing just until no large dry flour streaks remain. Stop as soon as the batter comes together—small lumps are normal and desirable, as overmixing will develop gluten and make tough griddle cakes. The batter will be thick but pourable, similar to the consistency of heavy cream.
Preheat Mini Griddle
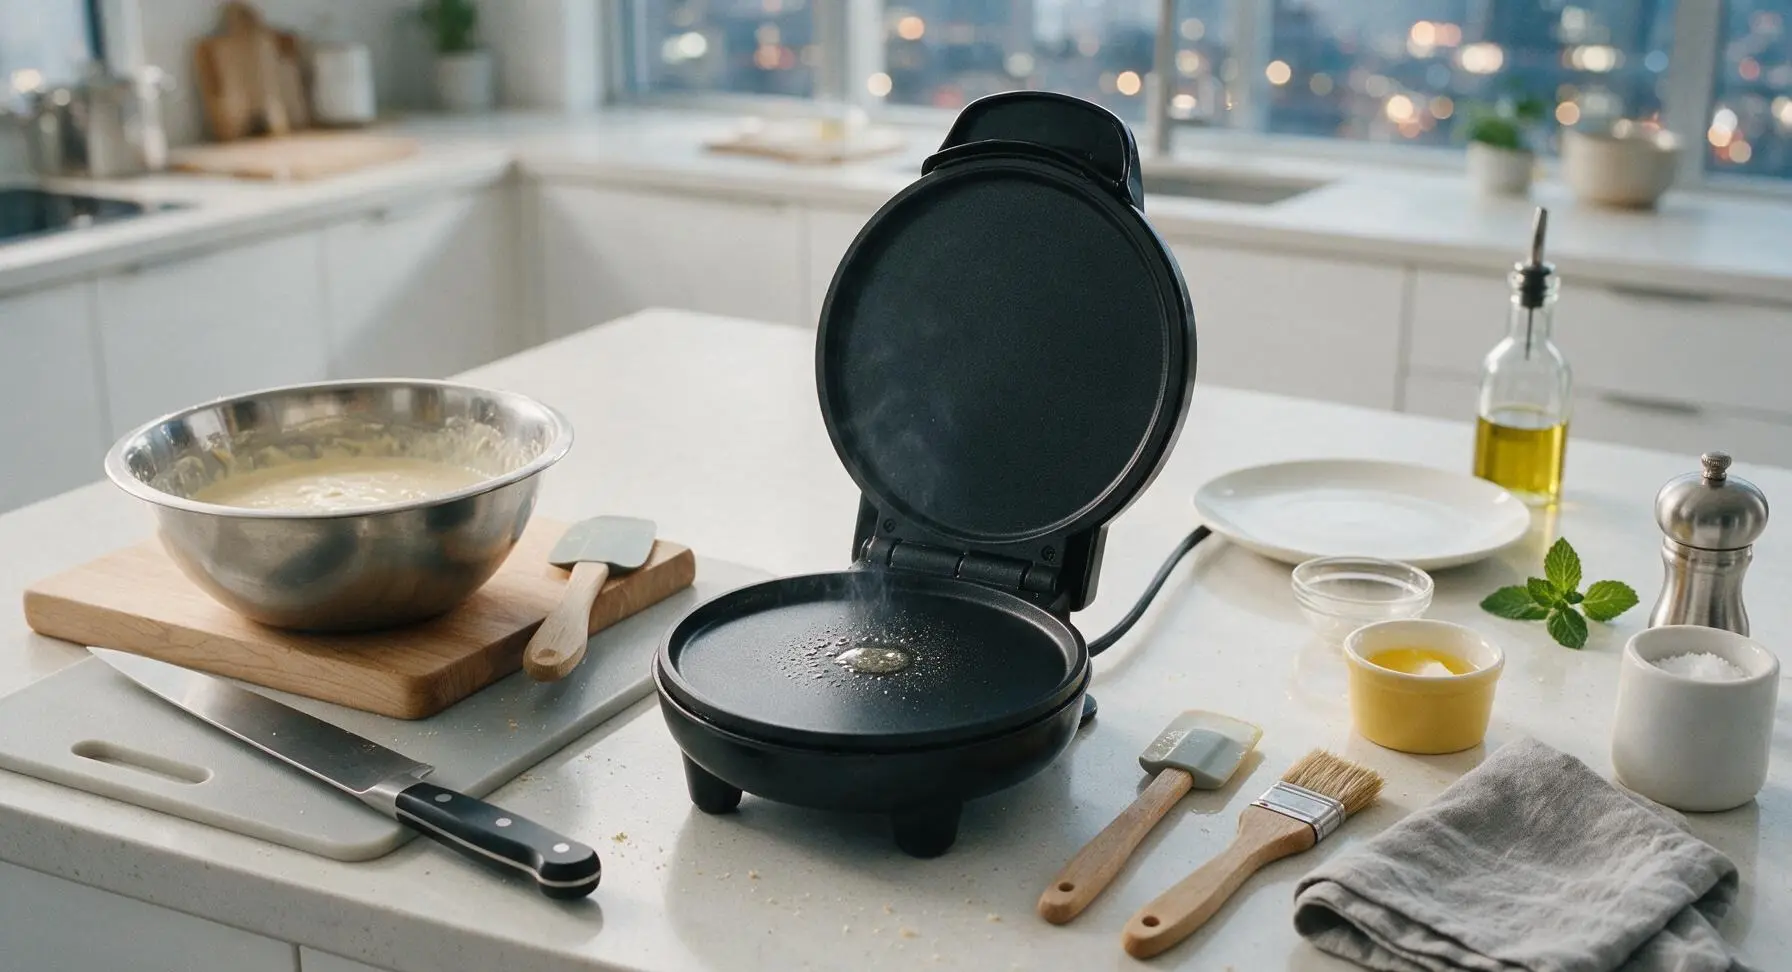
Place the matte black mini griddle maker in its fixed center counter position, plug it in, and close the lid to preheat for 3 minutes, until the non-stick surface reaches 375°F (190°C). Test the temperature by sprinkling a single drop of water on the surface: it should dance and sizzle immediately, evaporating in 2-3 seconds. Use the pastry brush to lightly coat both the top and bottom cooking surfaces with a thin layer of extra melted butter, wiping off any excess with a corner of the linen towel to avoid greasy cakes.
Portion Batter Onto Griddle
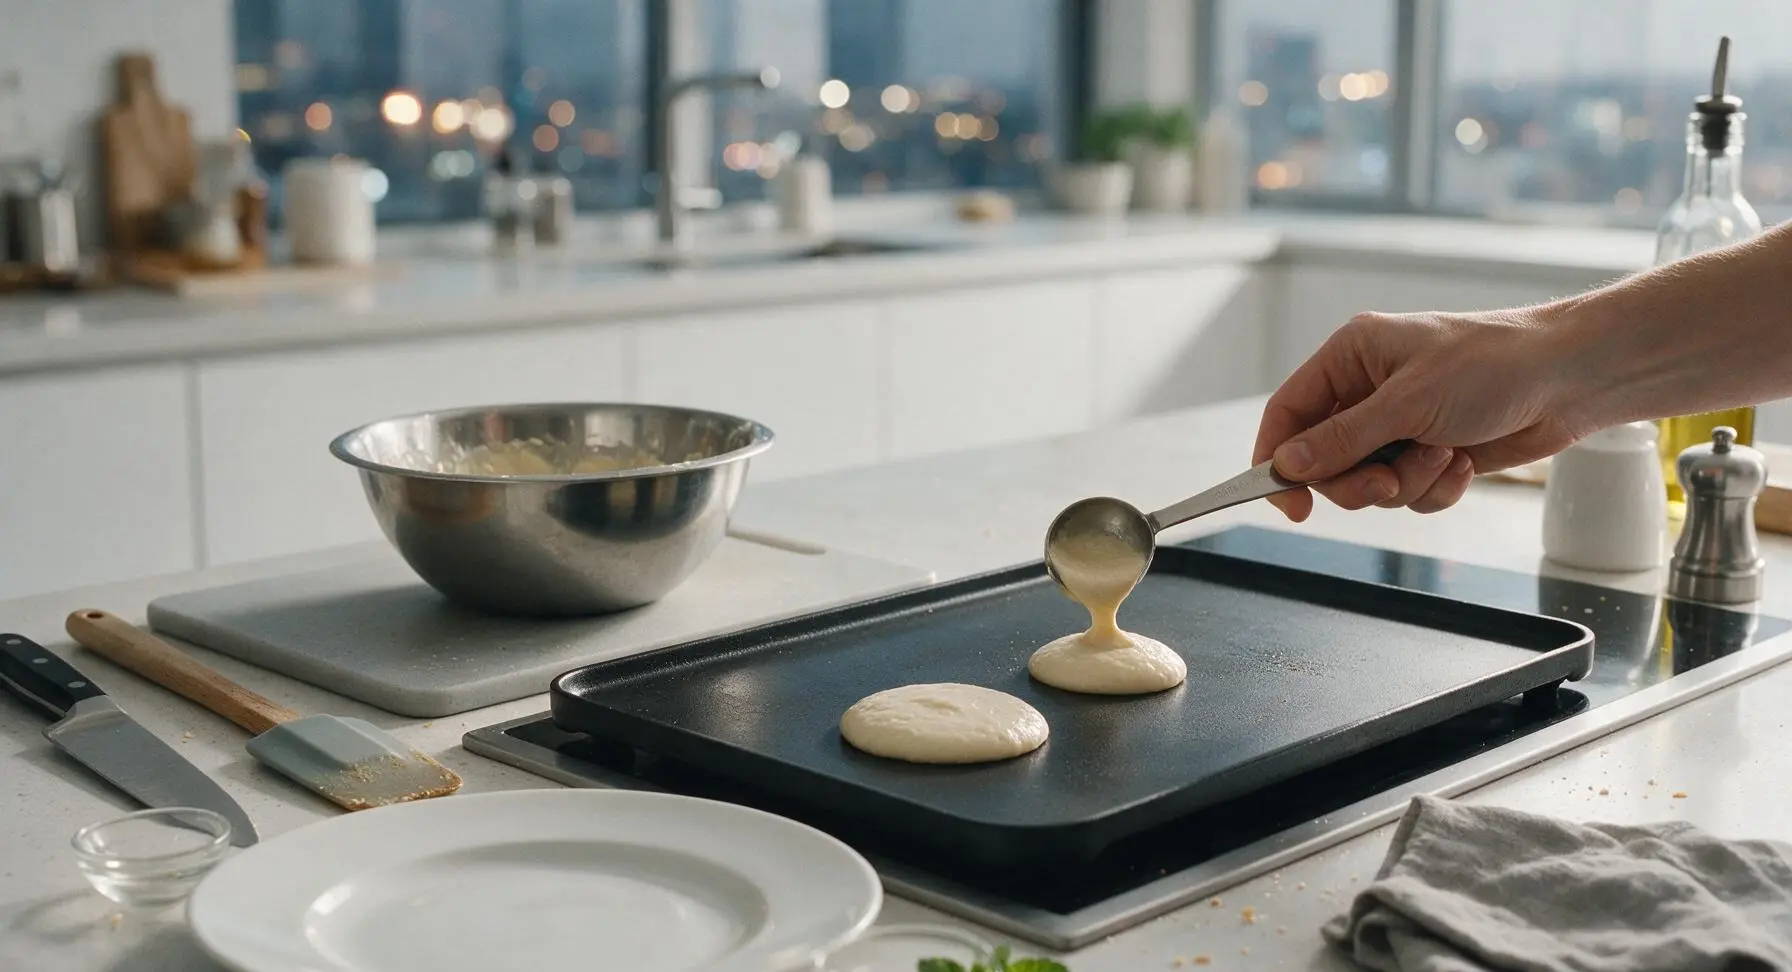
Use a 1-tablespoon measure to drop 2 separate 1-tbsp mounds of batter onto the preheated, buttered bottom griddle surface, spacing them 2cm apart to allow for slight spreading. Do not press down on the batter mounds once placed, as this will deflate the air bubbles that create light, fluffy texture. Close the griddle lid immediately after adding the batter to trap heat and cook both sides evenly.
Cook Until Golden
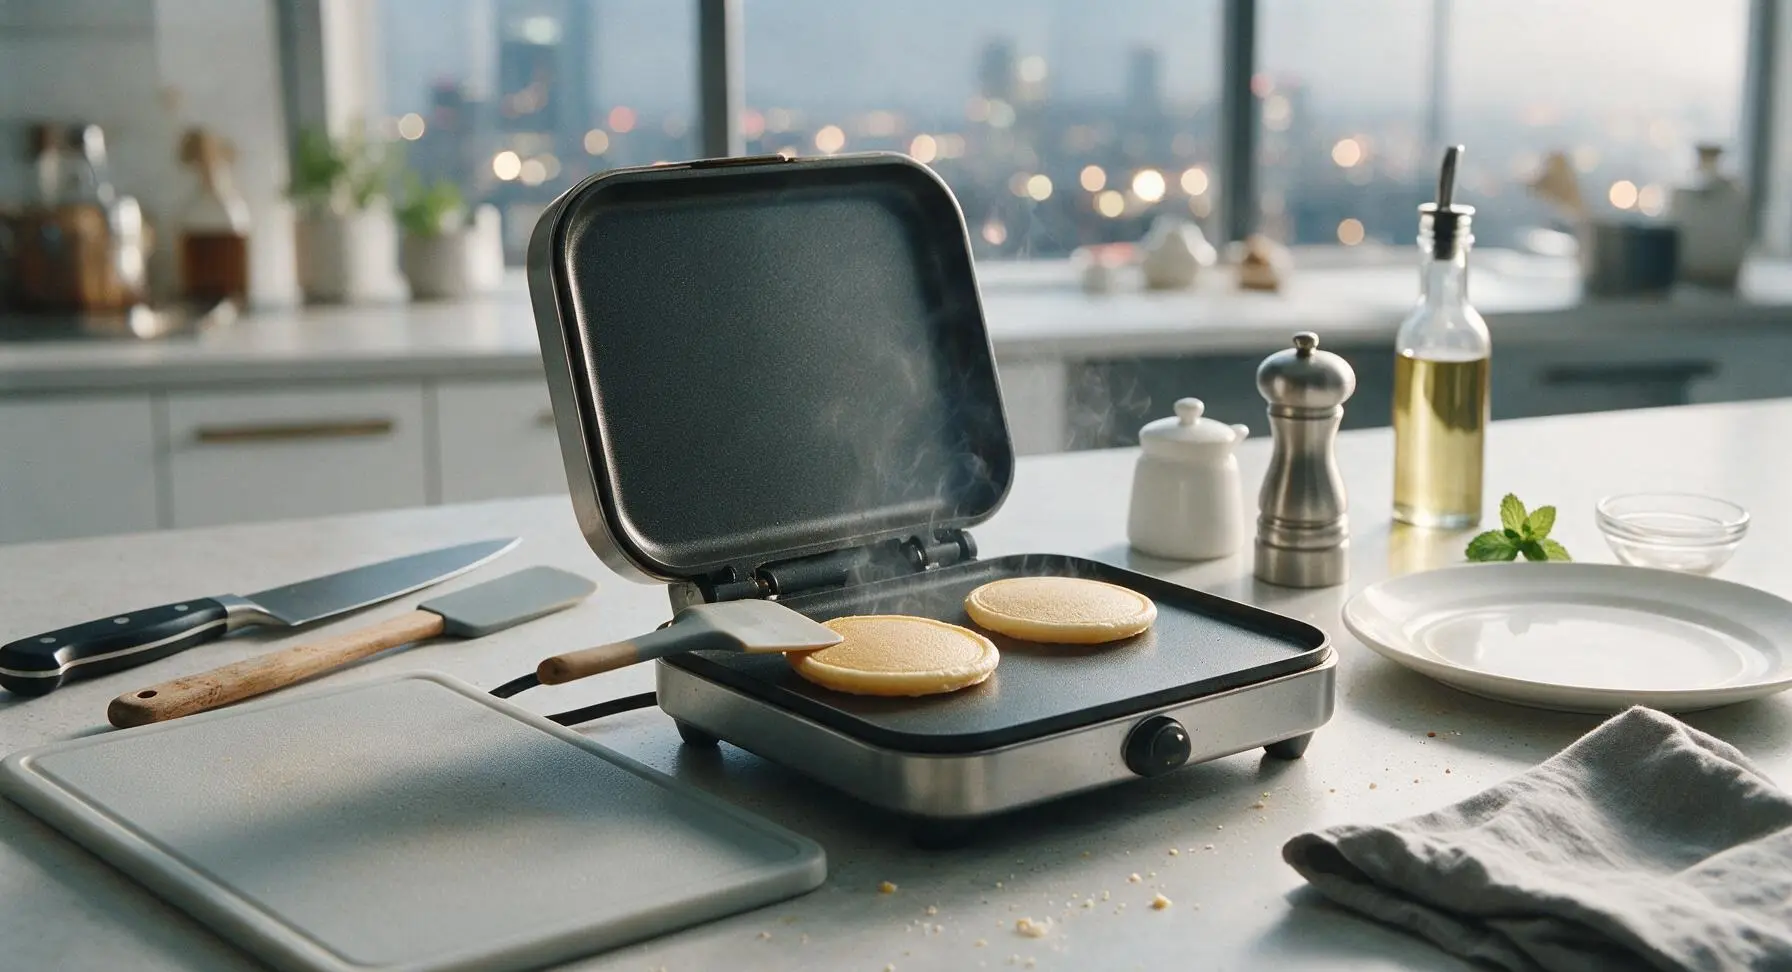
Cook the mini griddle cakes for 1 ½ to 2 minutes with the lid closed, until steam stops escaping from the edges of the griddle and the edges of the cakes are set. Open the lid: the top surface of the cakes should be matte and fully set, cooked to a pale golden finish from the top heated plate, so no flipping is required. Use the silicone-tipped spatula to gently lift one cake to check the bottom surface, which should be an even deep golden brown with no dark burnt spots. The cakes are done when the center springs back when lightly pressed with the spatula, with no wet batter oozing out.
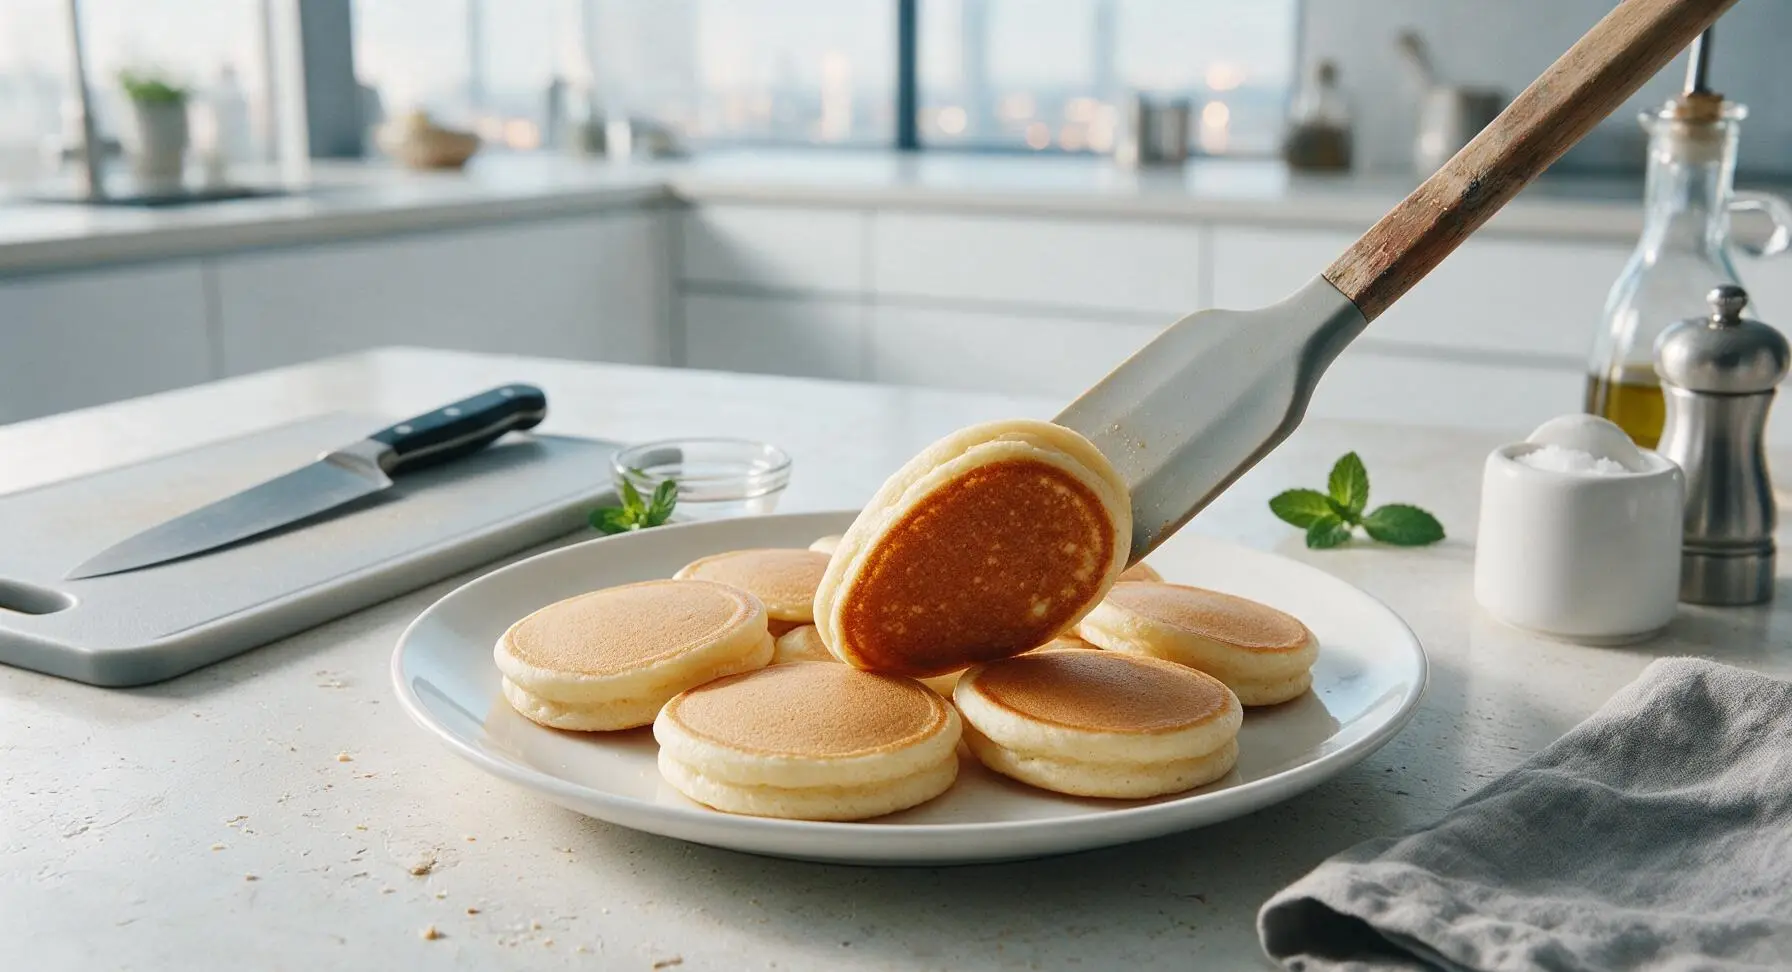
Keep Cakes Warm
Transfer the cooked mini griddle cakes to the parchment-lined wicker basket at the back right of the counter, and cover loosely with a small corner of the linen tea towel to hold in heat while you cook the remaining batches. Repeat the portioning and cooking process with the remaining batter, re-buttering the griddle surfaces lightly only if cakes start to stick (usually only needed after 4 batches). You will yield approximately 16 mini griddle cakes total across 8 batches, 4 cakes per serving.
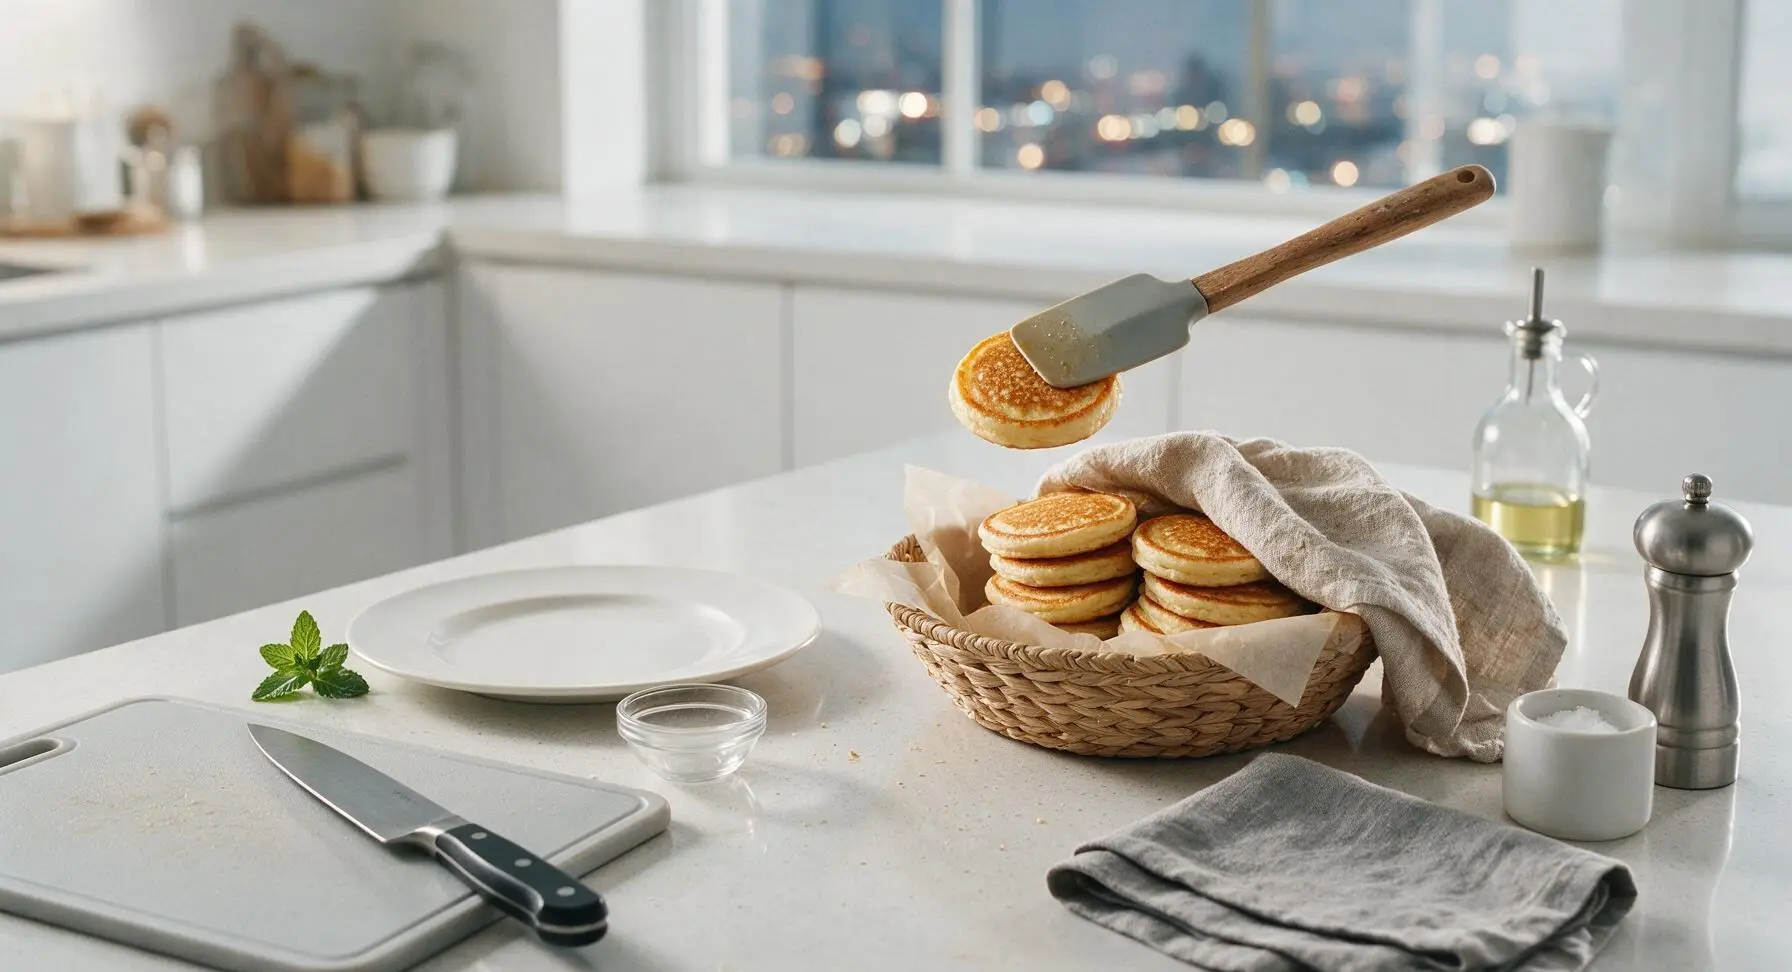
Plate Finished Cakes
Once all batter is cooked, stack 4 warm mini griddle cakes slightly off-center on the matte off-white ceramic dinner plate. Top the stack with a 1-tsp pat of cold salted butter, letting it melt slightly from the residual heat of the cakes.
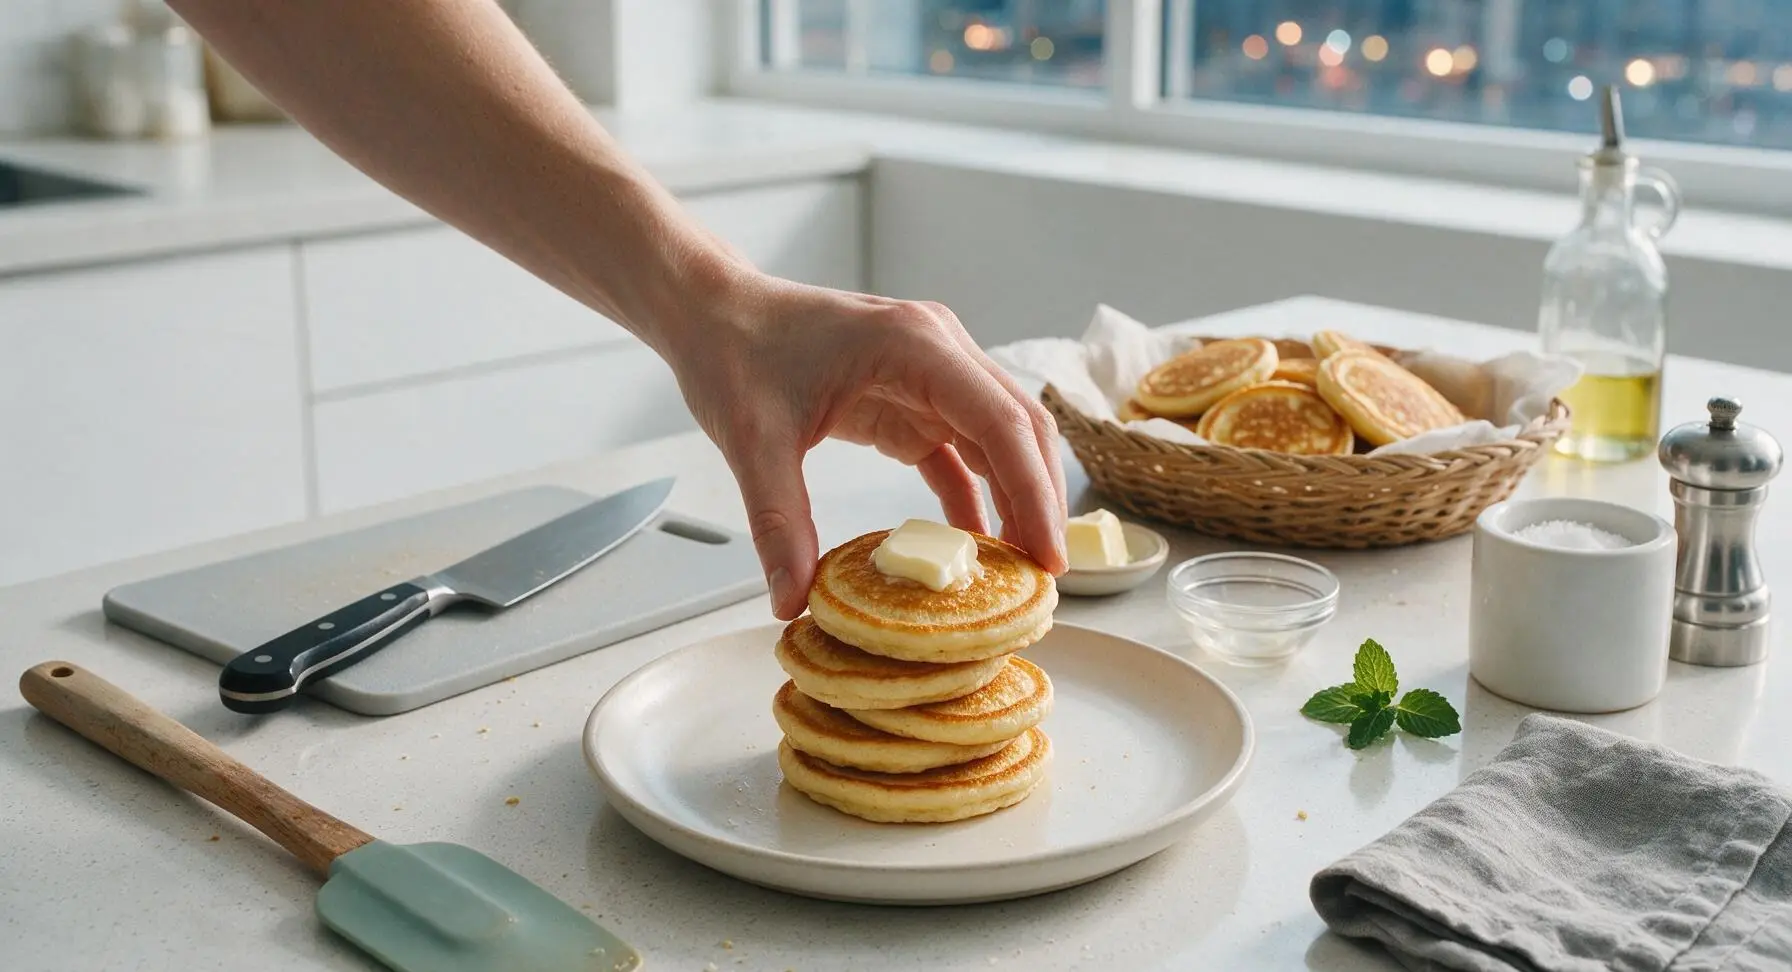
Add Garnishes And Serve
Drizzle 1 tbsp of maple syrup over the top of the stack, letting it drip down the sides slightly. Scatter 3 sliced strawberry halves and 4 whole blueberries next to the stack on the plate, tucking a single small mint leaf next to the fruit for bright color. Fill the two small matching dipping bowls: one with remaining maple syrup, one with extra fresh berries, and serve immediately while the cakes are warm.
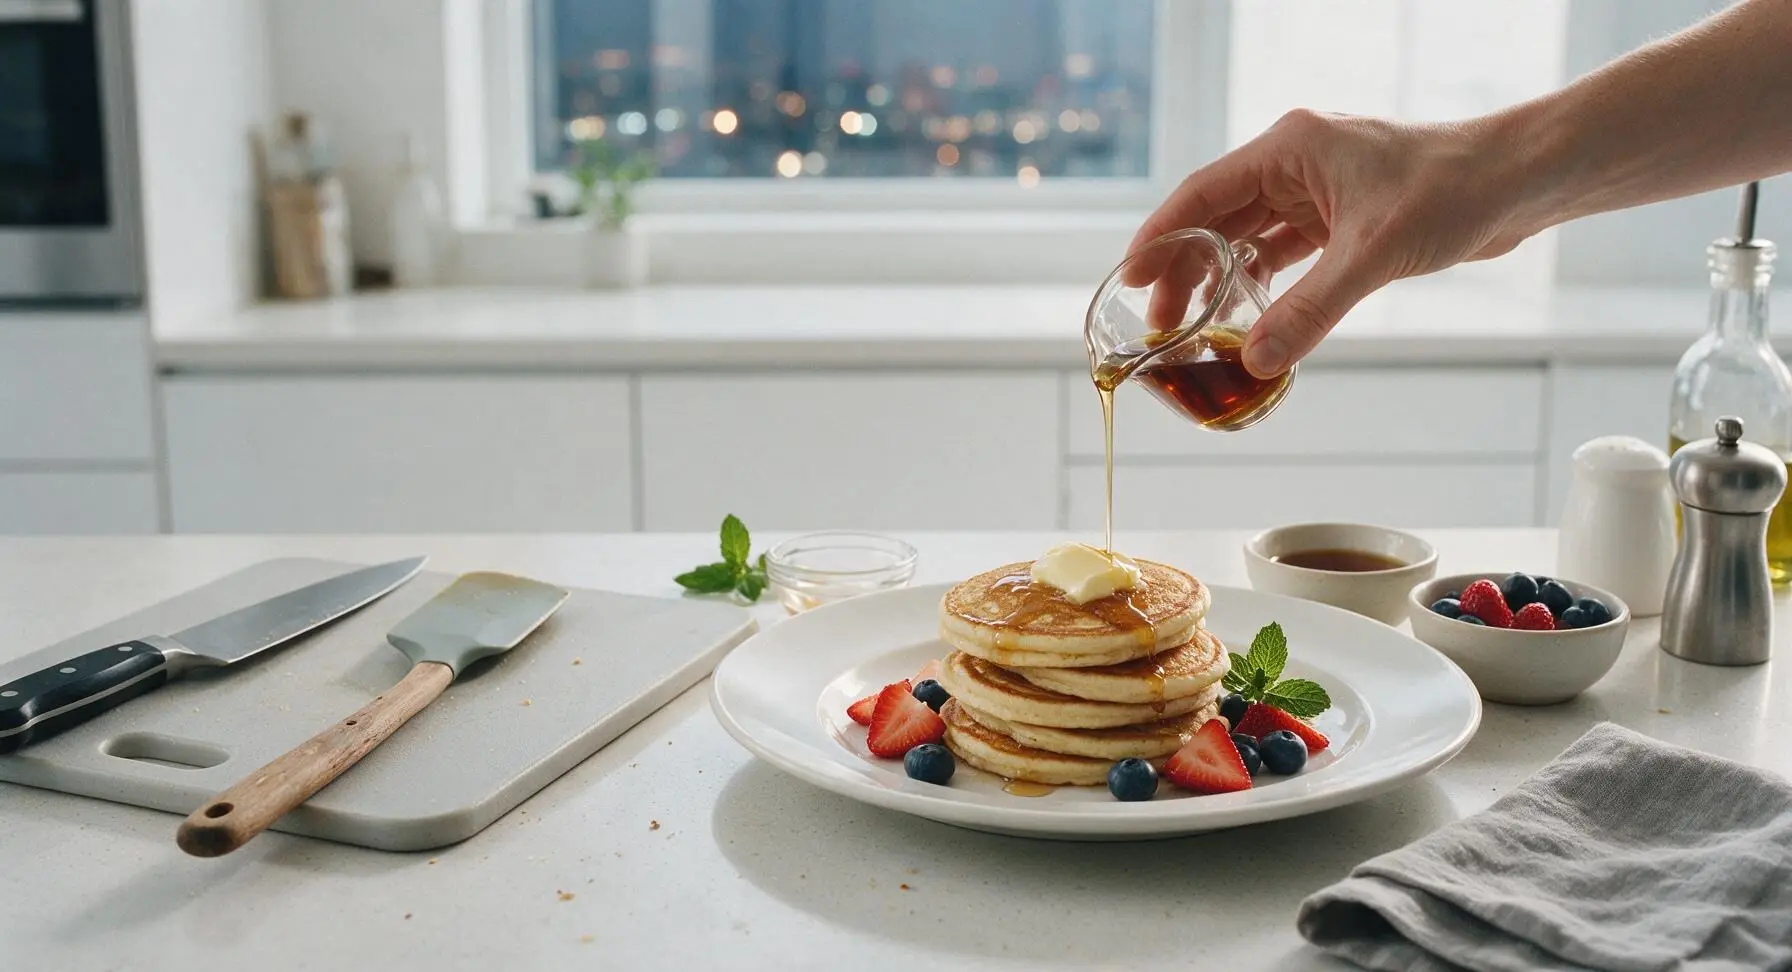
Tips
2.Resist the urge to open the griddle lid early: opening the lid before the 1.5 minute mark releases trapped heat and can cause the cakes to deflate, leading to flat, dense results. Wait until you see steady steam escaping from the lid edges before peeking.
3.Skip greasing the griddle between every batch: too much butter will fry the cakes instead of gently griddling them, leading to greasy, heavy results with overly dark edges. Only add a tiny brush of butter if you notice the first cake in a batch sticking to the non-stick surface.






OMG these are SO good! I made them for Saturday breakfast for my 4 and 6 year old and they both asked for seconds before they even finished their first stack. I added a handful of mini chocolate chips to half the batch for the kids and they were obsessed. So fluffy, exactly the texture I was craving! 10/10 will be in our weekly rotation.
Game changer for quick weekend breakfasts! I was worried they’d be too thin or dense because I’ve messed up buttermilk pancakes a million times, but these came out light and fluffy every single batch. Cook time was spot on too, I had a whole platter done in under 20 minutes for my whole crew before our soccer game run.
I made a big batch of these on Sunday for weekday breakfasts for my partner and I, they reheat perfectly in the toaster! I don’t even need to add extra syrup, a little smear of peanut butter on top and I’m out the door in 2 minutes. So easy, minimal cleanup, absolutely worth making.
Brought these to our neighborhood block party potluck last weekend and they were gone in 10 minutes! People kept asking where I got the recipe, I had to send the link to like 8 neighbors. I served them with little bowls of syrup, fresh berries, and whipped cream for dipping and it was the perfect easy finger food.
Wait, quick question — I don’t have any buttermilk on hand right now, can I use that milk + vinegar trick as a substitute? I really want to make these for my roommate’s birthday breakfast tomorrow!
These are perfect for trail snacks! I made a batch last weekend before our day hike in the Rockies, wrapped them individually in foil, and they were the perfect mid-hike pick me up. Not too messy, not too sweet, held up great in my pack even when it was warm out. Will absolutely make again for trips.
These are exactly what I’ve been looking for to go with my morning lattes! Not too heavy, perfectly sweet, I love that they’re mini so I don’t feel like I’m overdoing it first thing in the morning. I topped mine with a little drizzle of maple syrup and some cinnamon, chef’s kiss.
I made these with a 1:1 gluten free all purpose flour blend and they turned out incredible! I was worried the texture would be off, but they were just as fluffy as the regular version I tested last week. My gluten intolerant sister was over for brunch and she couldn’t tell the difference.
Guys, I made these on my tiny dorm griddle and they worked perfectly! I don’t have a fancy kitchen or anything, just a little $20 countertop griddle, and these came out way better than the frozen pancakes I’ve been eating all semester. Super cheap to make too, lasted me 3 days of breakfasts.
Made these for my monthly brunch with friends and everyone raved. I set up a little topping bar with Nutella, banana slices, sprinkles, crushed pecans, and different syrups so people could customize their own. It was so low effort compared to making full sized pancakes, because I could cook 8 at a time on my griddle. 10/10
Ugh I messed up my first batch because I had the griddle way too hot, they burned on the outside before the middle was cooked! Turned the heat down to medium like the recipe said and the next two batches were perfect. Don’t be like me and crank the heat trying to go faster, low and slow is key!
My toddler is going through a super picky eating phase where she refuses anything that’s not bite sized, and these are a total lifesaver. She ate 5 of them for dinner last night without throwing any on the floor — that’s a miracle in my book! Even my husband snuck a few after she went to bed.