
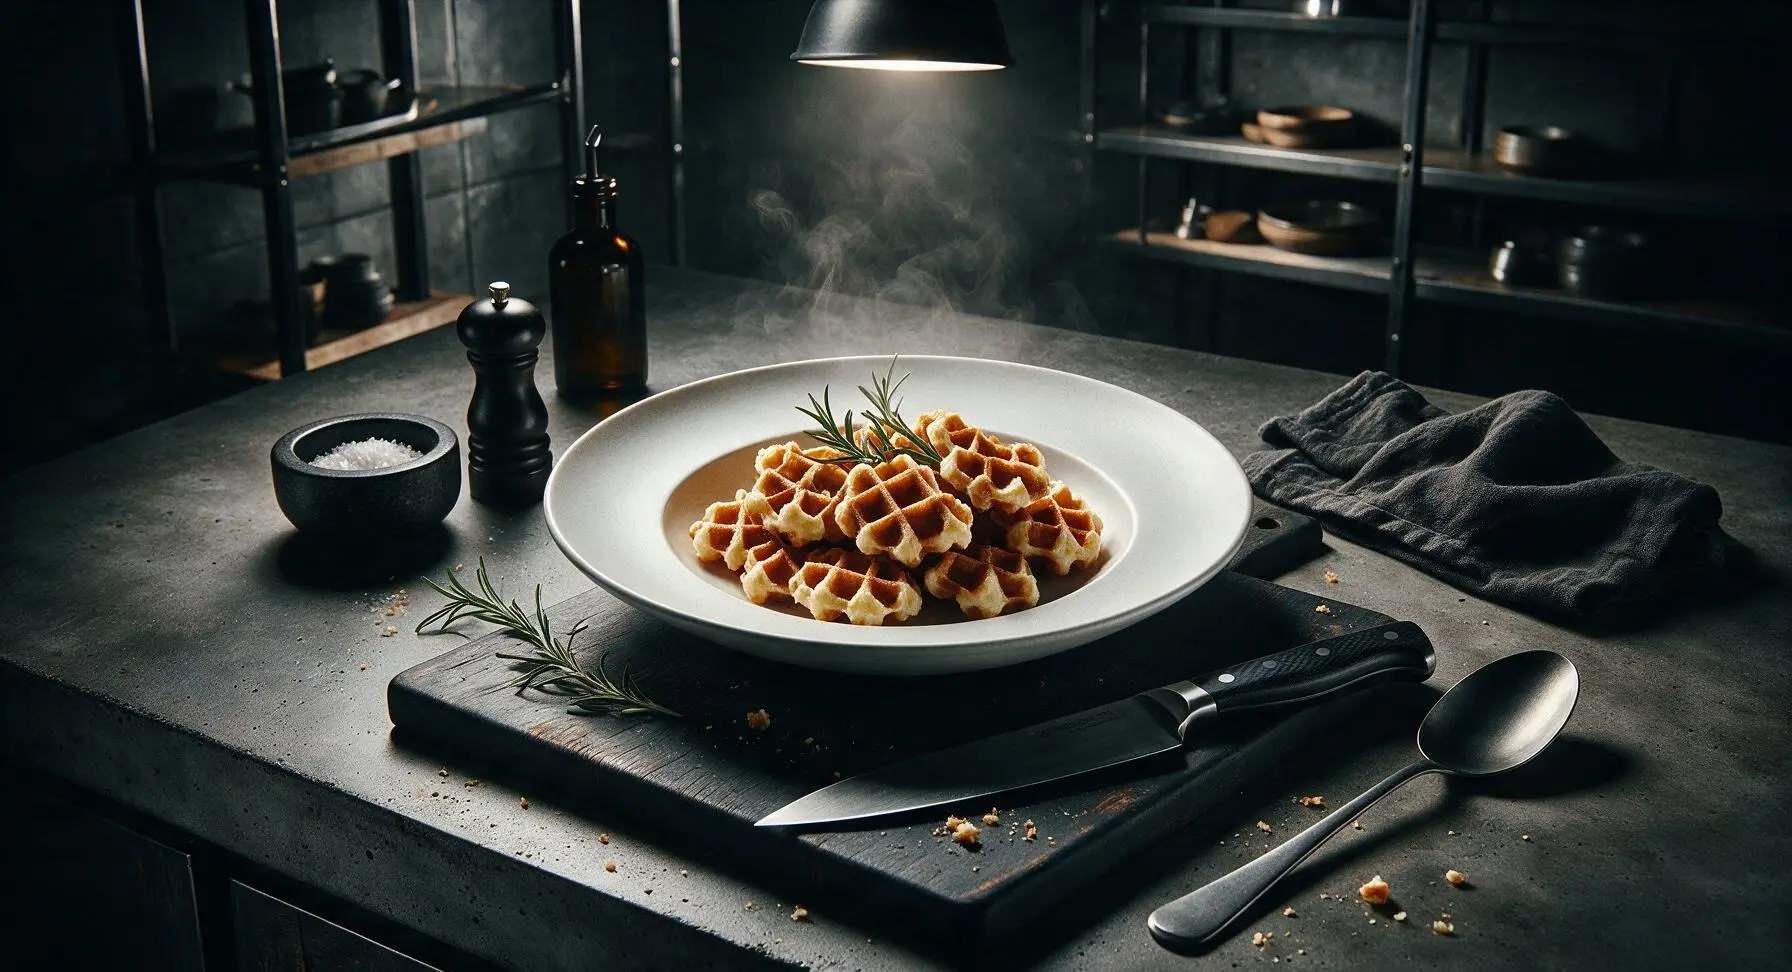
mini waffle

title 1
mini waffle
⏱️ cook time 12 minutes
🍽️ servings 4
⚡ Difficulty easy

intro

Crisp, golden-edged, and fluffy at the center, these bite-sized mini waffles come together in minutes, are endlessly customizable, and make a cozy, satisfying meal for busy weeknights or lazy mornings.

Ingredients
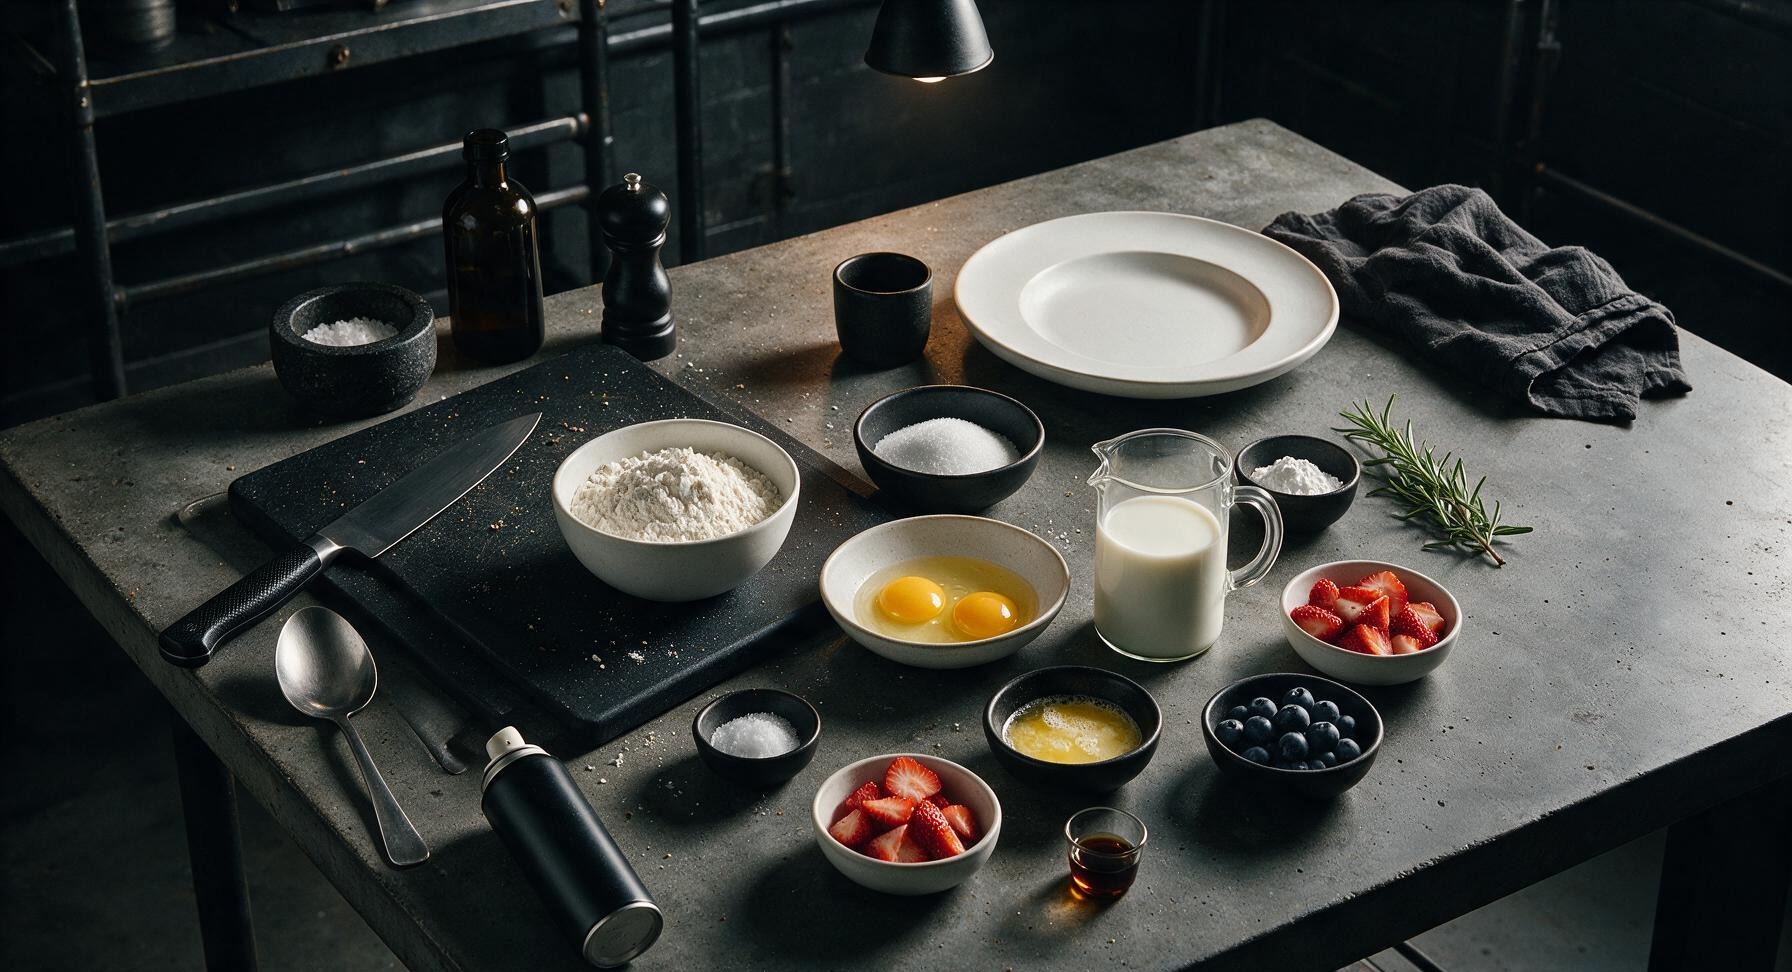
All-purpose flour 2 cups (240g)
Granulated sugar 2 tablespoons
Baking powder 2 teaspoons
Fine sea salt 1/2 teaspoon
Large eggs 2
Whole milk 1.5 cups (360ml)
Unsalted butter (melted, cooled) 3 tablespoons
Pure vanilla extract 1 teaspoon
Non-stick cooking spray As needed (1-second spray per batch)
Fresh strawberries (sliced, for garnish) 1/2 cup
Fresh blueberries (for garnish) 1/4 cup
Powdered sugar (for dusting) 1 teaspoon

Steps

1

Preheat Waffle Maker

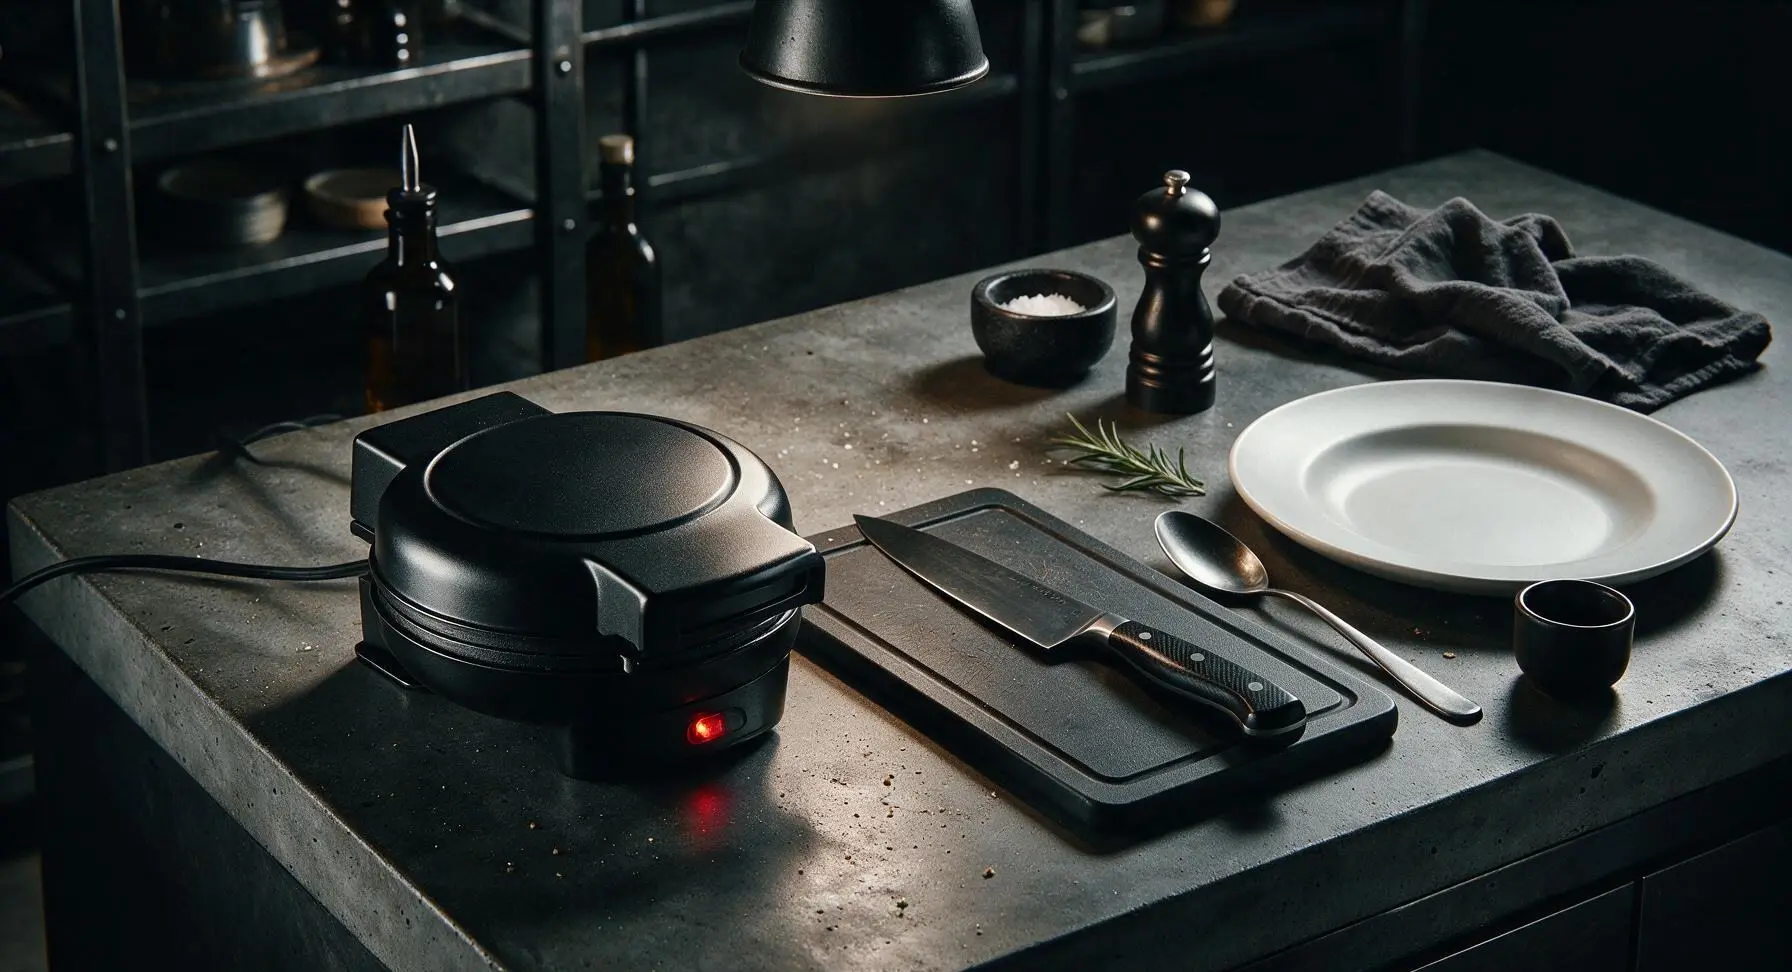
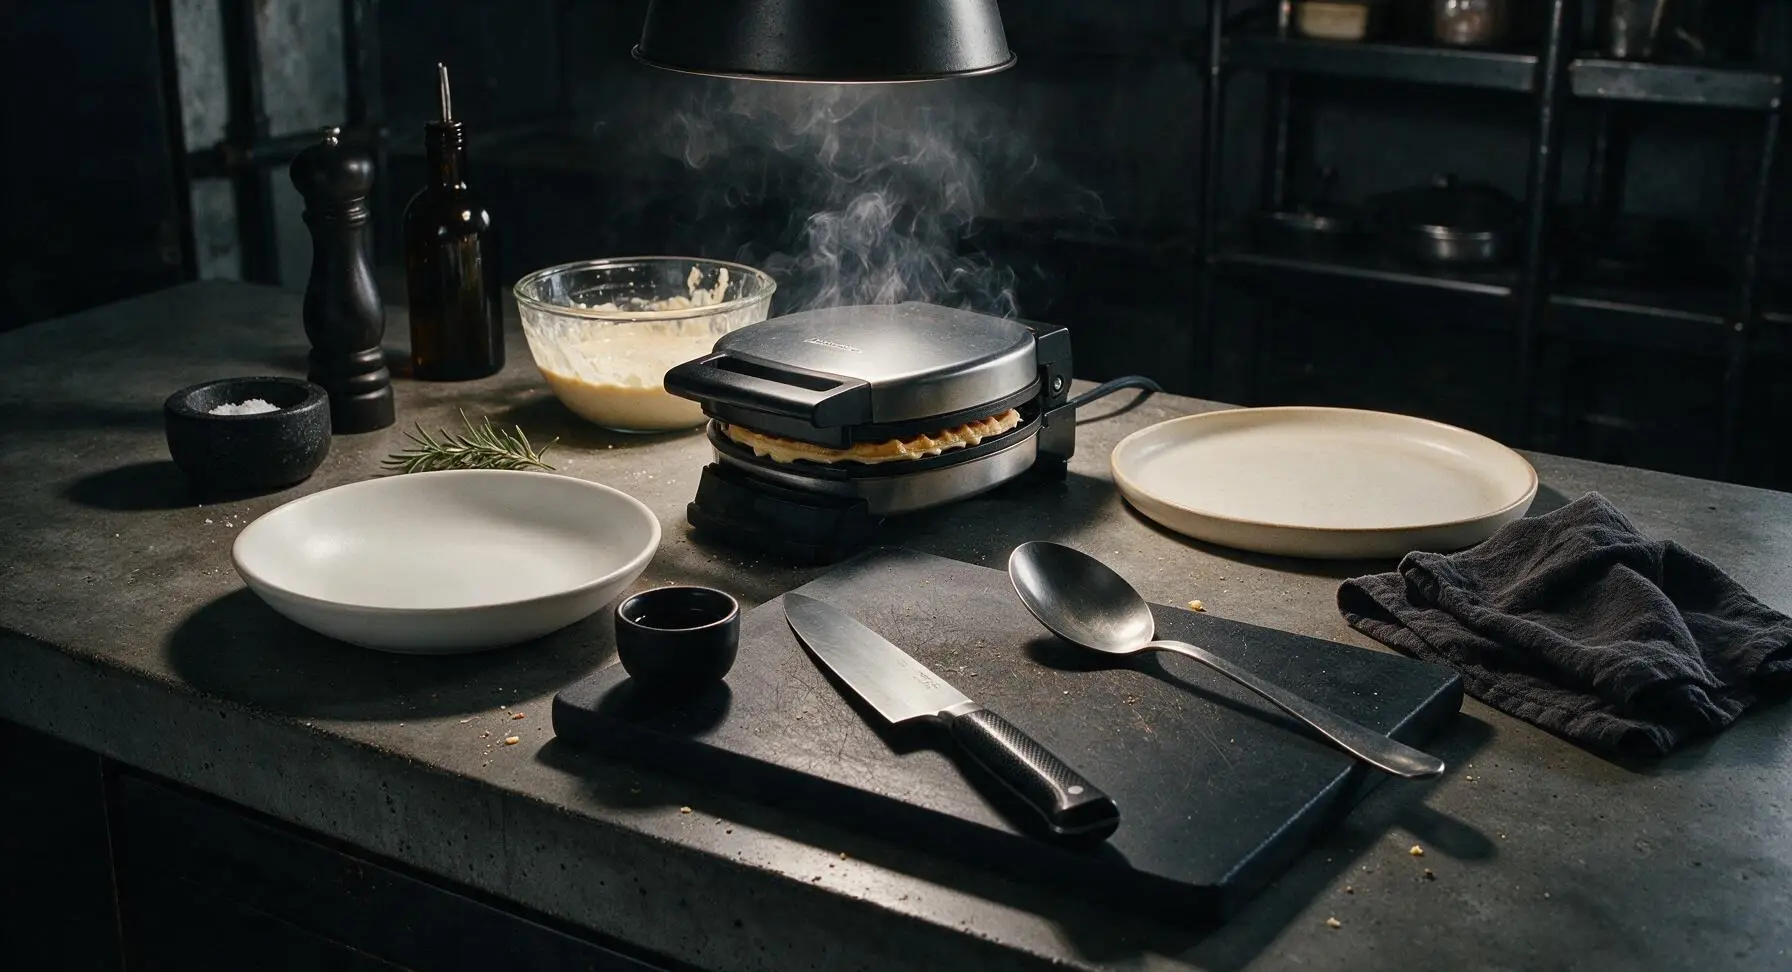
Set the matte black non-stick mini waffle maker in its designated position 6 inches from the left counter edge, plug it in, and close the lid to preheat for 5 minutes until it reaches 375°F (190°C), indicated by the green ready light. Lightly coat the top and bottom cooking grids with non-stick cooking spray once preheated, taking care not to spray directly onto the heating element to avoid smoking.
Step 1
step1:Preheat Waffle Maker
2

Whisk Dry Ingredients

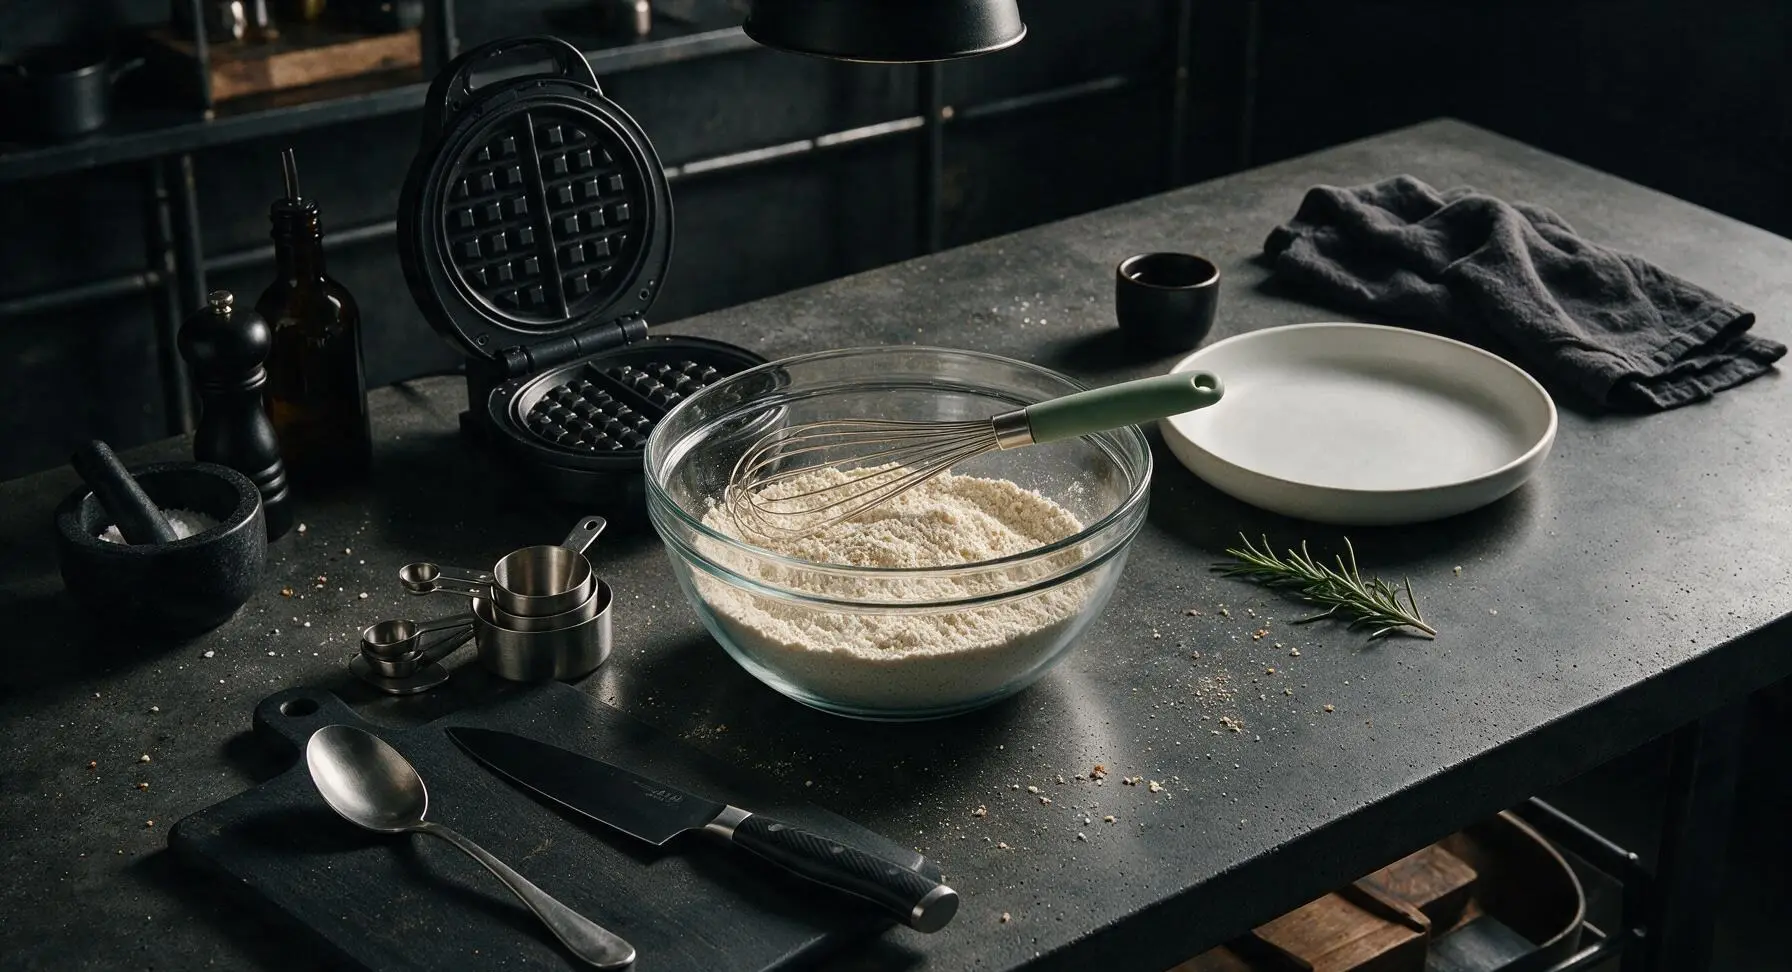
Place the 2-quart clear glass mixing bowl in the center of the work zone. Add 2 cups all-purpose flour, 2 tablespoons granulated sugar, 2 teaspoons baking powder, and 1/2 teaspoon fine sea salt to the bowl. Use the stainless steel whisk with sage green handle to whisk the dry ingredients for 30 seconds, until fully combined with no clumps of baking powder remaining.
Step 2
step2:Whisk Dry Ingredients
3

Add Wet Ingredients

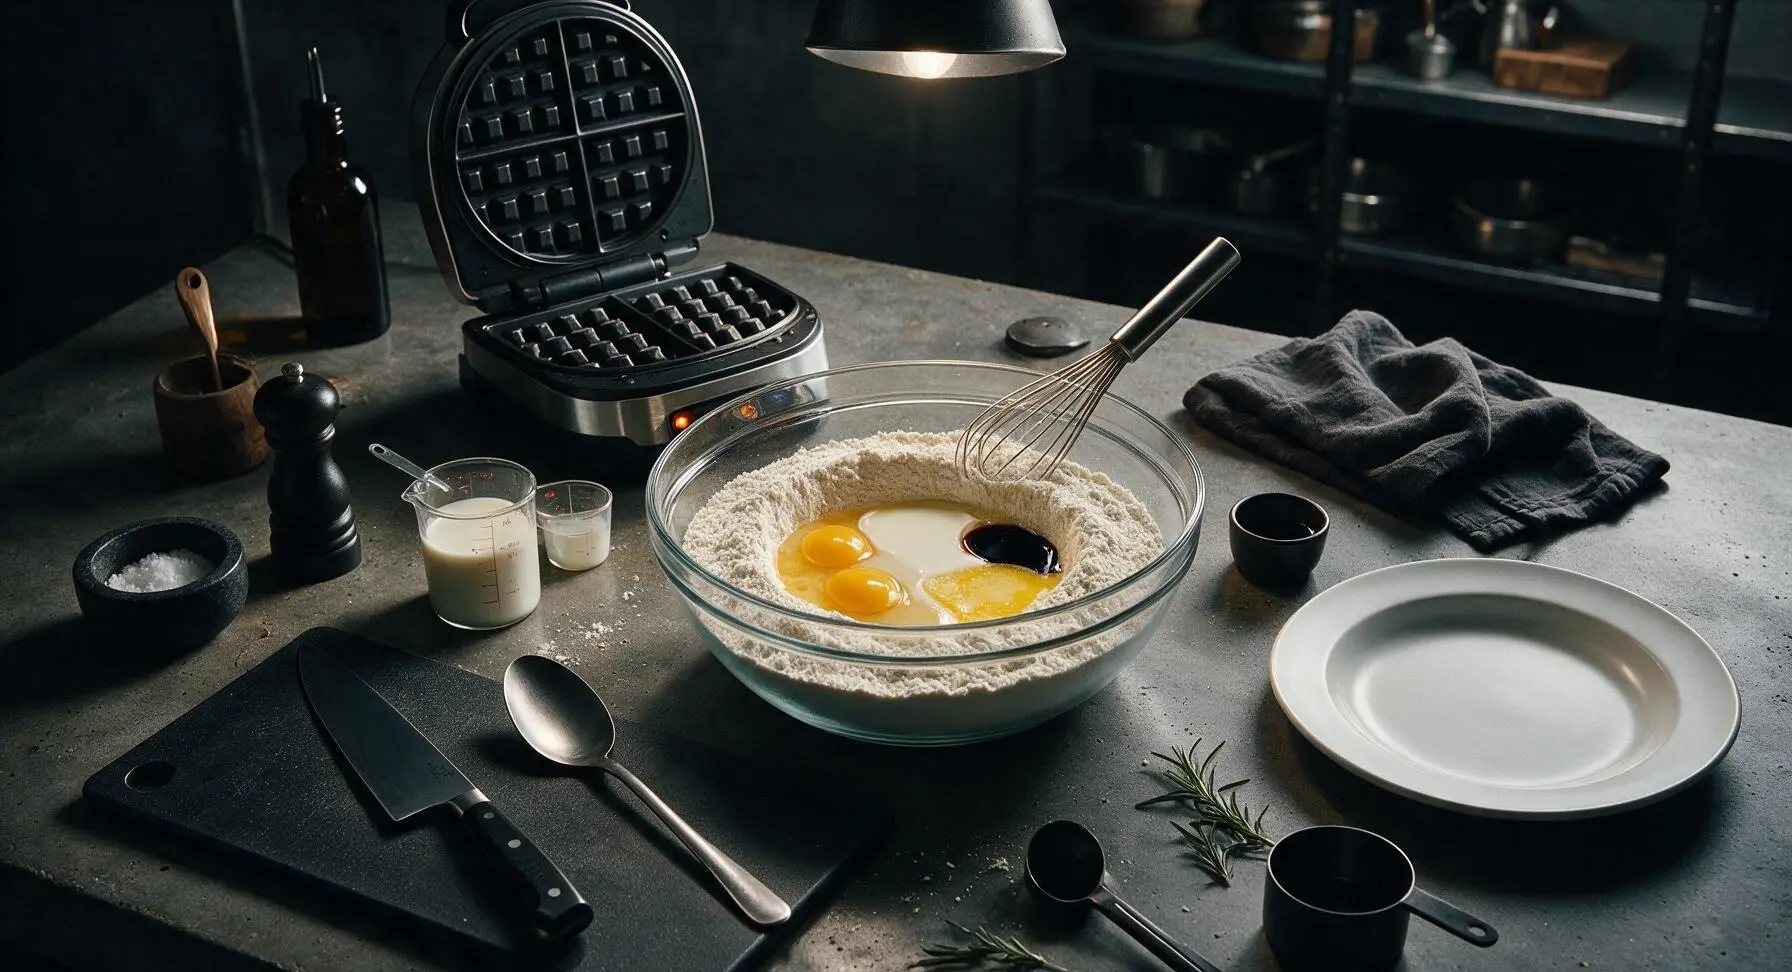
Create a shallow 3-inch wide well in the center of the dry flour mixture. Crack 2 large eggs into the well, then pour in 1.5 cups whole milk, 3 tablespoons cooled melted unsalted butter, and 1 teaspoon pure vanilla extract. Do not stir yet to prevent dry flour from puffing out of the bowl.
Step 3
step3:Add Wet Ingredients
4

Mix Resting Batter

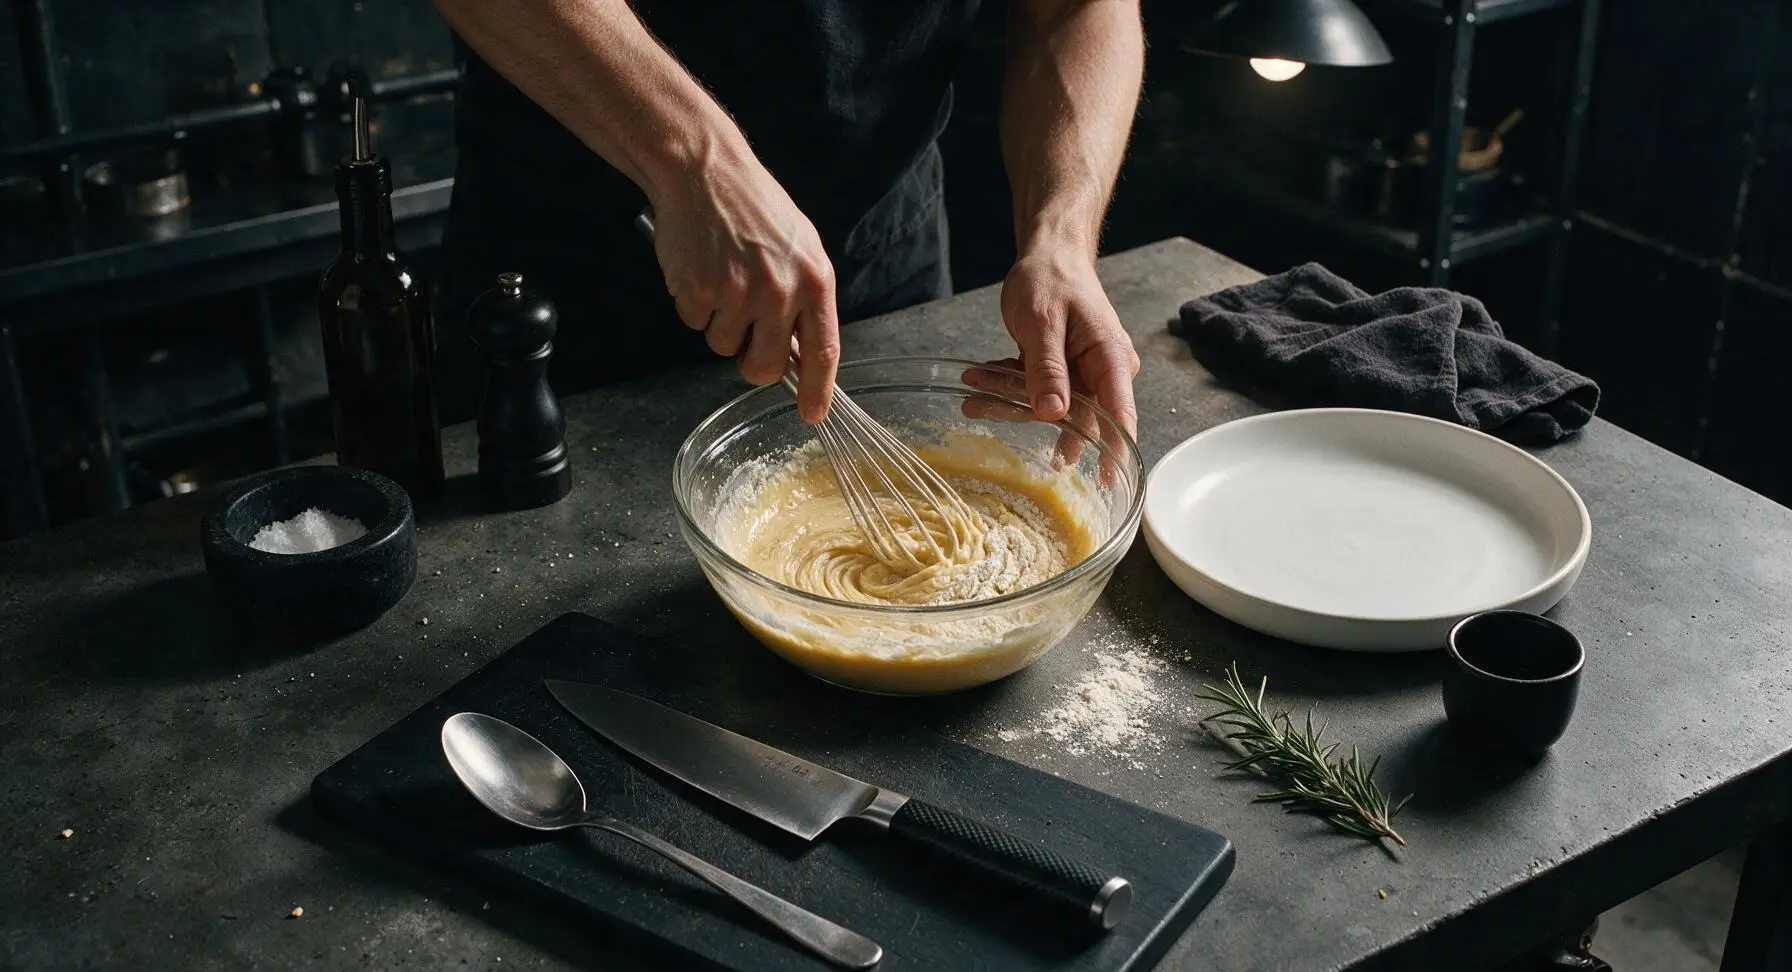
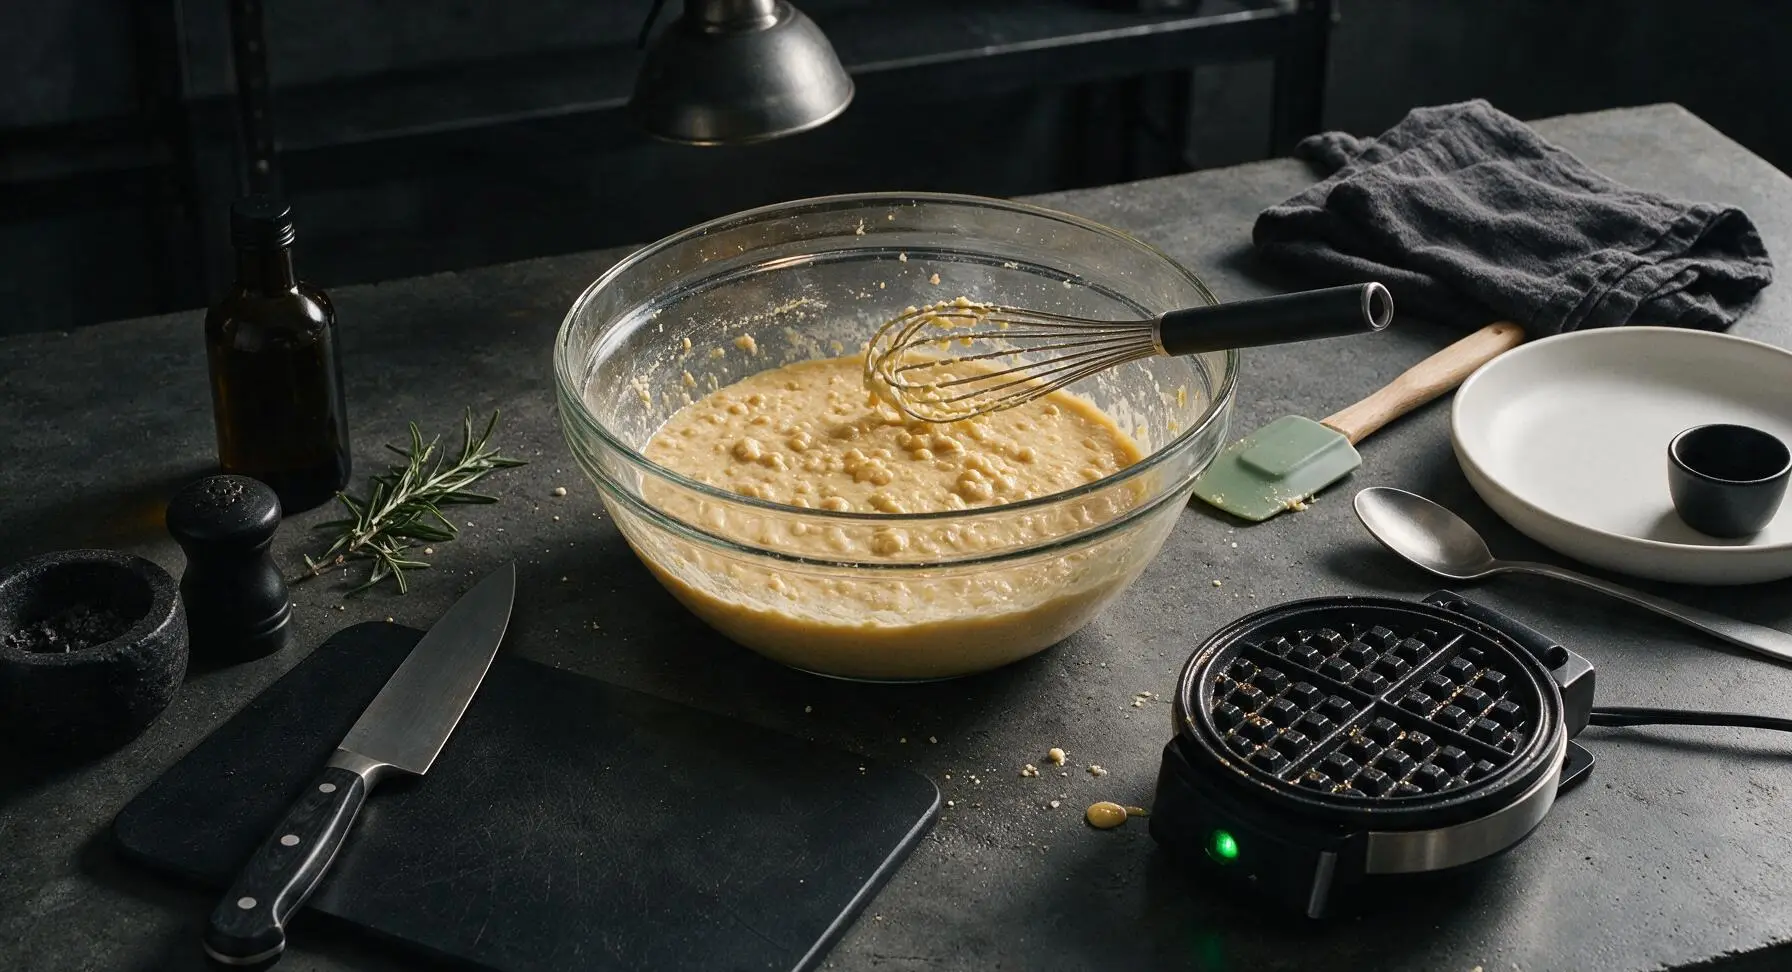
Use the whisk to gently stir the wet ingredients into the dry flour, starting in the center of the well and working outward in slow circles. Mix only until no dry flour streaks remain — small pea-sized lumps in the batter are normal and desirable, as overmixing will create tough waffles. The finished batter will be thick but slowly pourable, similar to heavy cream. Let the batter rest for 3 minutes to allow the leavening to activate.
Step 4
step4:Mix Resting Batter
Step 4
step4:Mix Resting Batter
5

Portion Batter Onto Grids

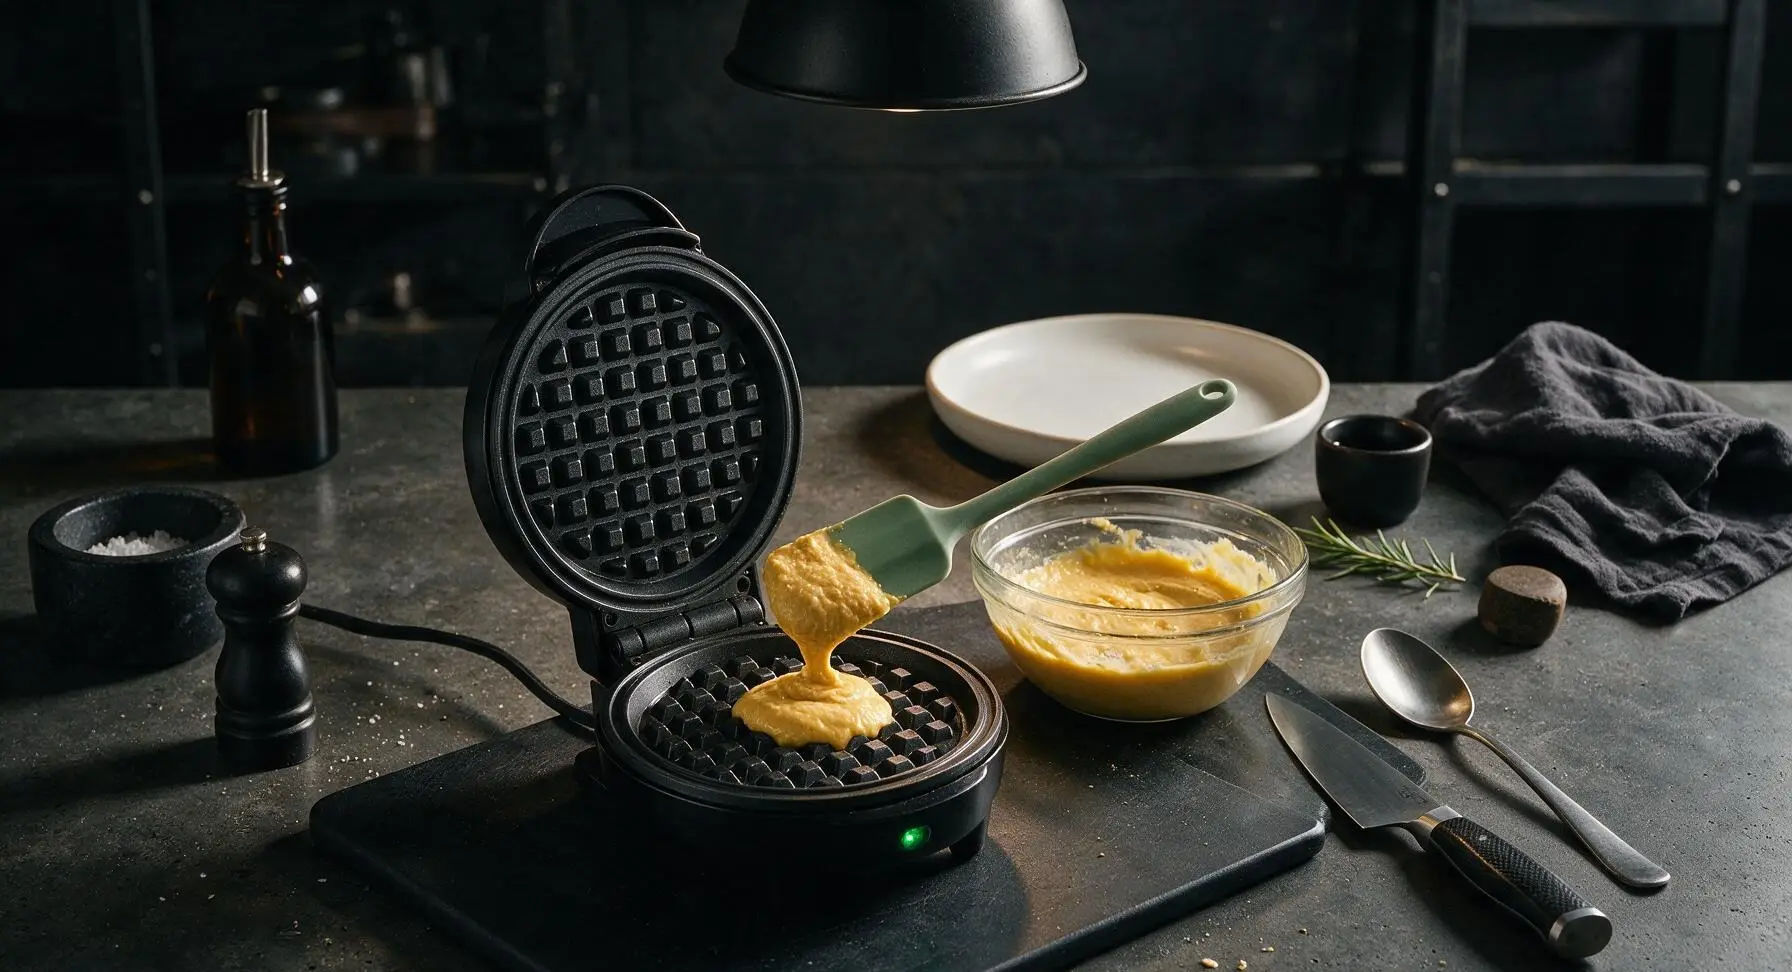
Once the waffle maker shows the green ready light, open the lid. Use the sage green silicone spatula to scoop exactly 2 tablespoons of batter per waffle, pouring it directly into the center of the lower cooking grid. Do not add more batter, as it will spread when the lid closes and leak out the sides if overfilled.
Step 5
step5:Portion Batter Onto Grids
6

Cook Waffles In Batches

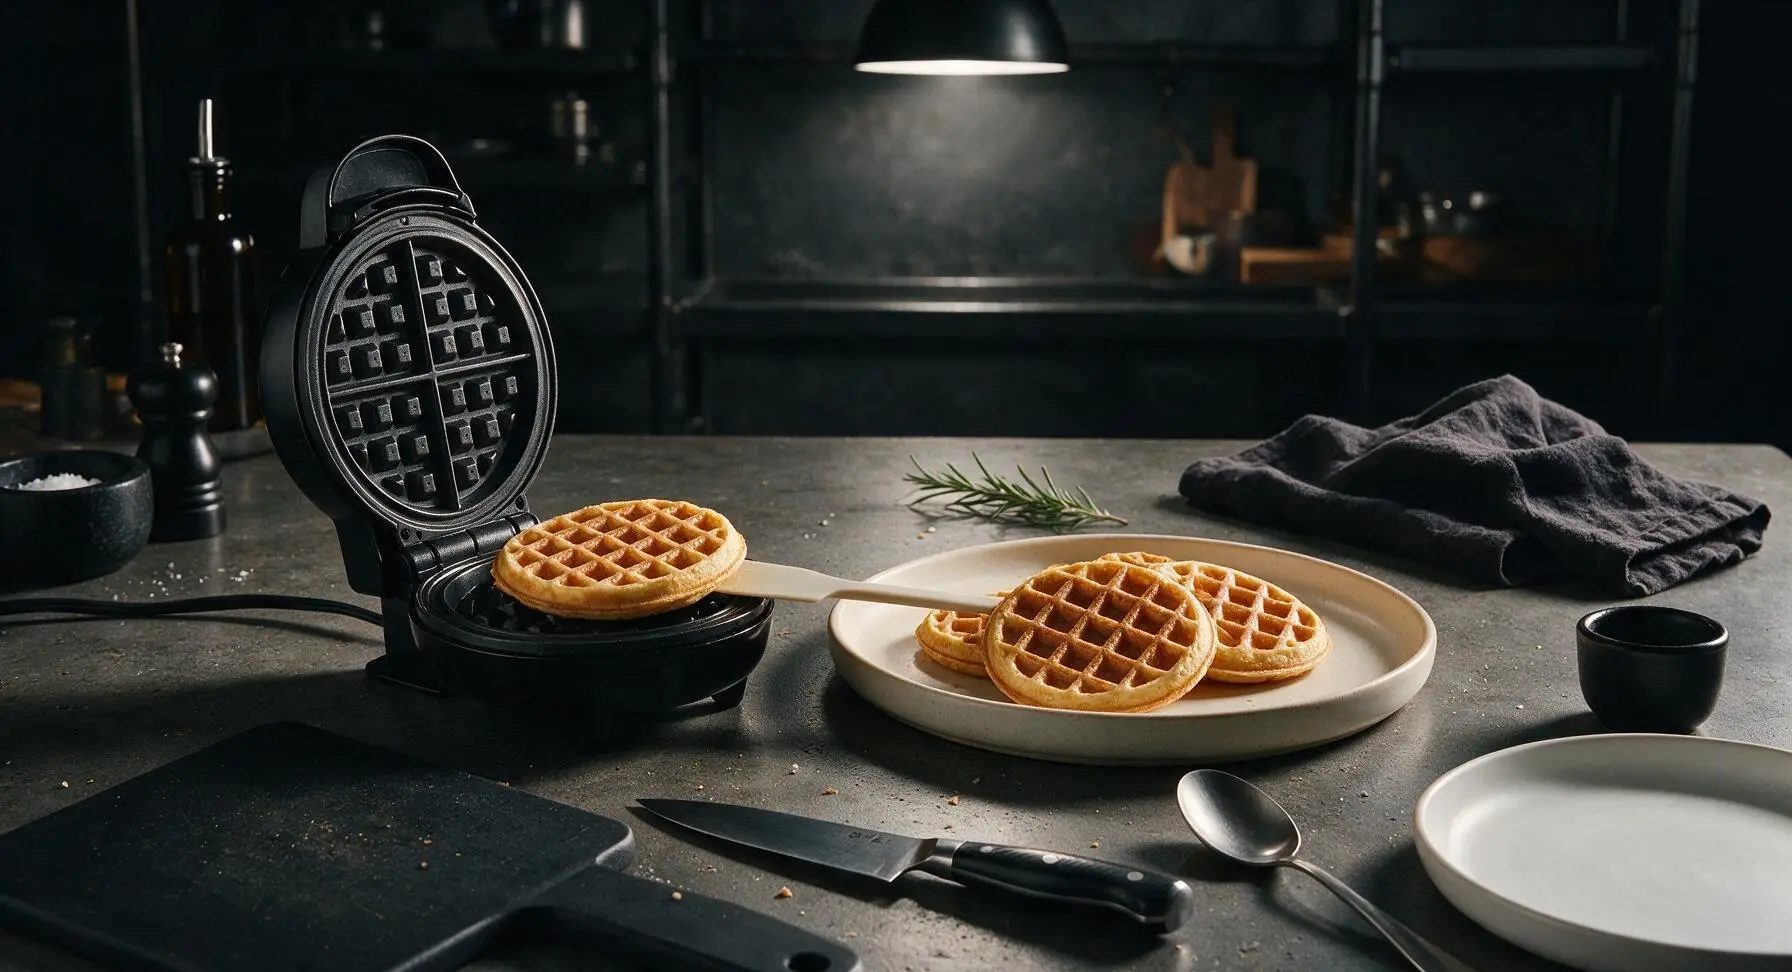
Close the waffle maker lid and cook for 2 to 2.5 minutes, until thin streams of steam stop escaping from the edges of the appliance and waffles are deep golden brown with crisp edges. Do not open the lid before the 2-minute mark, as this will tear the delicate waffle. Use the silicone spatula to gently lift the finished waffle out, transferring it to the 12-inch matte cream ceramic serving platter positioned center-right of the work zone. Repeat with remaining batter, lightly respraying the grids with cooking spray every 2 batches.
Step 6
step6:Cook Waffles In Batches
Step 6
step6:Cook Waffles In Batches
7

Stack Waffles Loosely

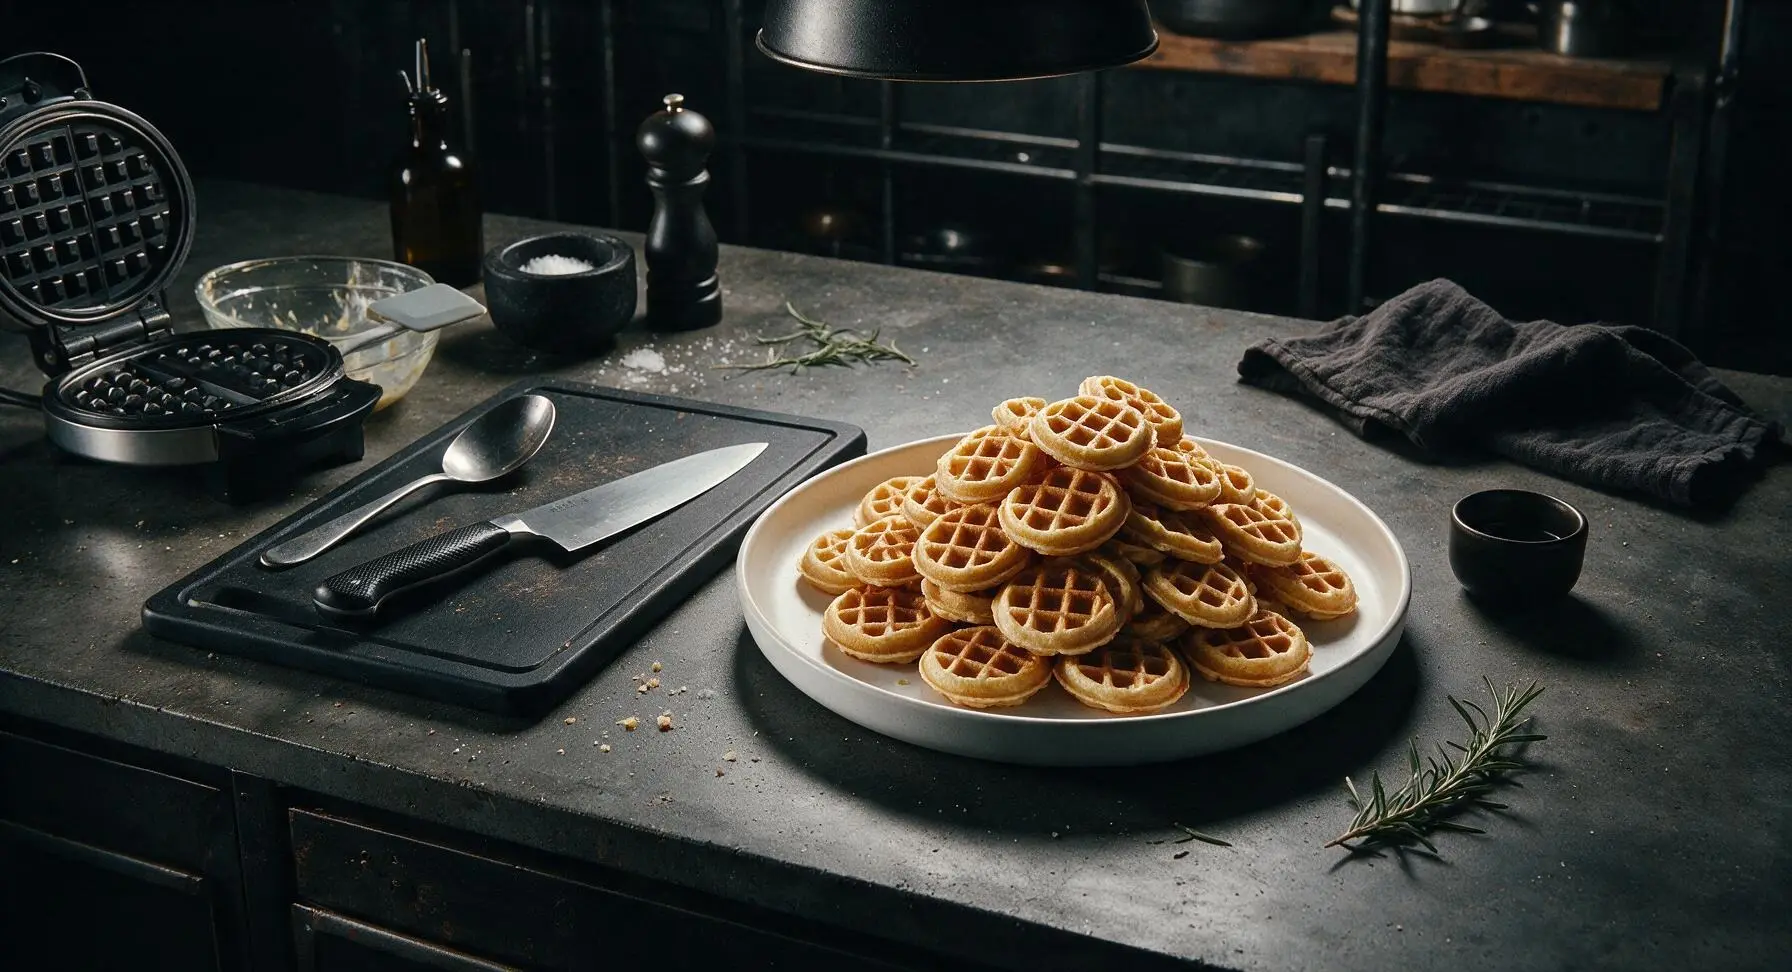
As each batch finishes, transfer waffles to the serving platter, stacking them in a loose, uneven pile rather than pressing them flat. Tight stacking traps steam, which softens crisp edges and makes waffles soggy. Once all batter is used, you will have approximately 24 mini waffles total.
Step 7
step7:Stack Waffles Loosely
8

Garnish And Serve

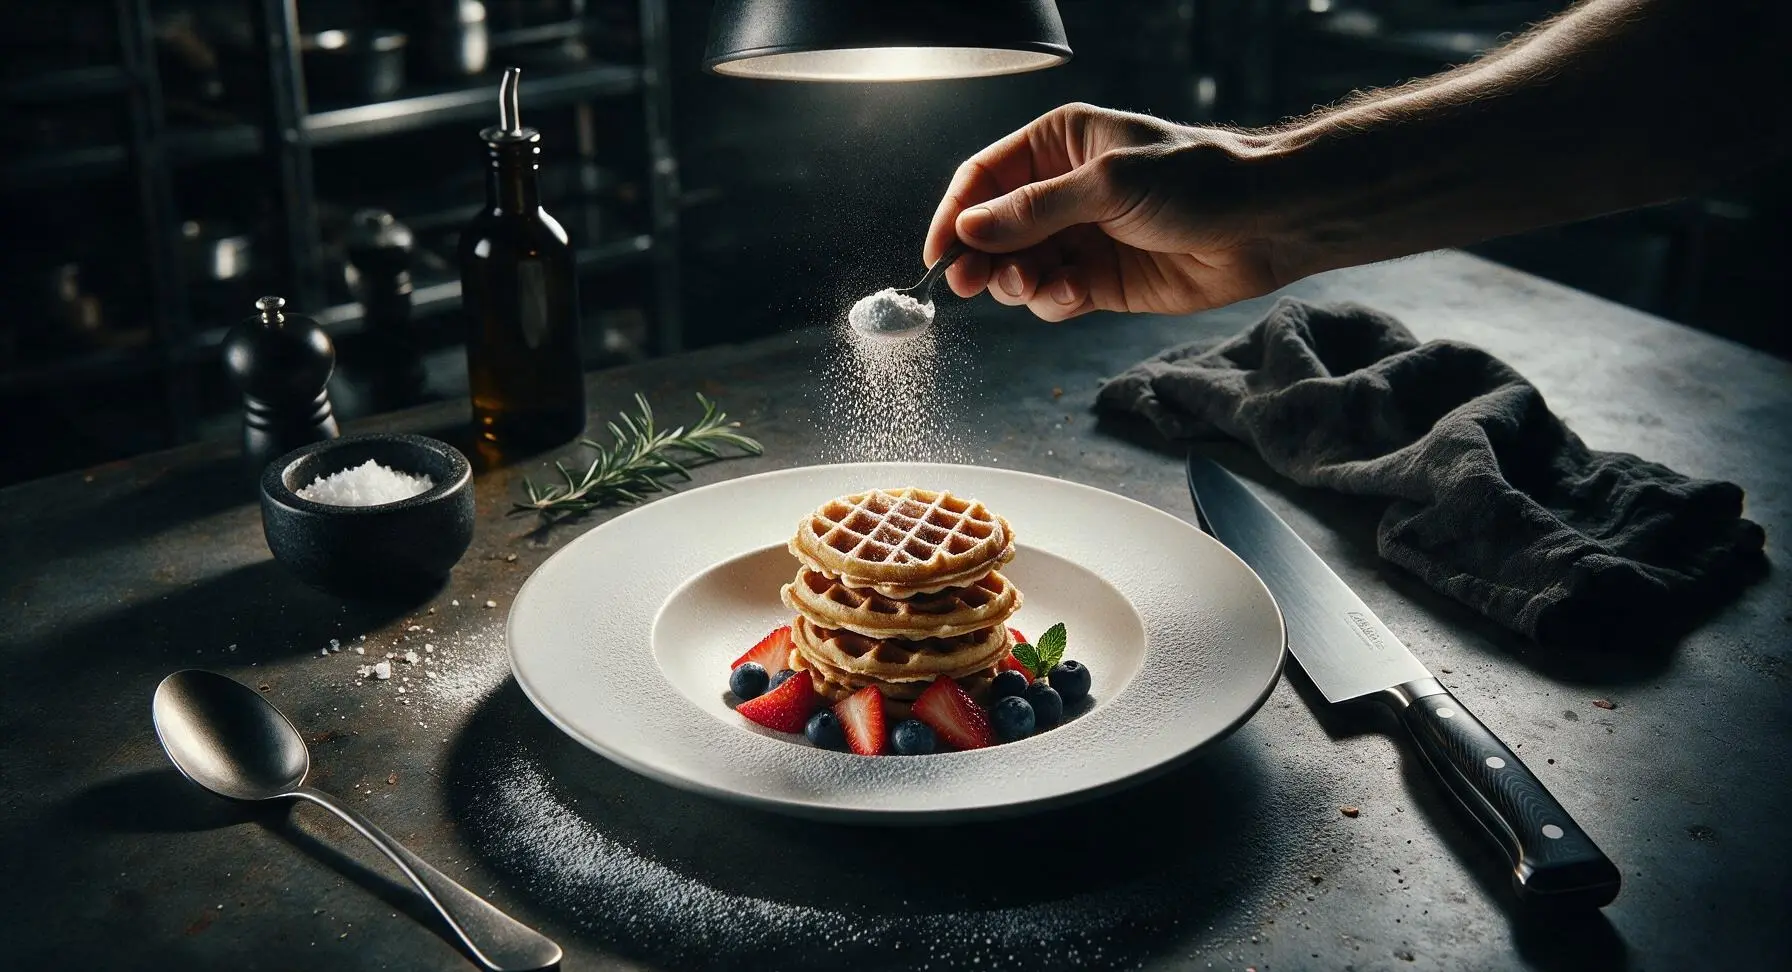
Lightly dust the top of the waffle stack with 1 teaspoon powdered sugar, tuck sliced fresh strawberries and blueberries against the side of the stack, and add a small mint sprig for bright color. Serve immediately with maple syrup and softened butter from the counter props on the side.
Step 8
step8:Garnish And Serve

Tips

1.Avoid overmixing the batter: Over-stirring develops gluten in the all-purpose flour, which results in tough, chewy waffles instead of light, tender, fluffy centers. Small pea-sized lumps will dissolve completely during cooking, so stop mixing as soon as no dry flour streaks are visible.
2.Let the batter rest for 3 minutes before cooking: This short rest allows the baking powder to activate and the flour particles to absorb moisture, leading to taller, evenly risen waffles with soft interiors, instead of flat, dense, unevenly cooked ones.
3.Keep waffles crisp for large batches: If cooking for a crowd, arrange finished waffles in a single layer on a wire rack set over a baking sheet in a 200°F (95°C) oven, rather than stacking them on a plate. Stacking traps hot steam, which softens the signature crisp waffle edges within 2 to 3 minutes.


✨ You May Also Like

Breakfast
🍜 United States

Crisp-edged, fluffy lard griddle cakes are a nostalgic homestyle staple, with rich savoriness from rendered lard, perfect topped with maple syrup or savory gravy.

⏱️ 25 minuteBreakfast ★ 4.8
Breakfast
🍜 United States

Flaky, buttery homemade buttermilk biscuits smothered in creamy, peppery pork sausage gravy: a beloved, hearty Southern American comfort food classic.

⏱️ 35 minuteBreakfast ★ 4.8
Breakfast
🍜 United States

Golden, custardy brioche stuffed with sweet cream cheese and fresh berries, pan-fried to crisp perfection. An indulgent, cozy breakfast perfect for slow weekend mornings.

⏱️ 30 minuteBreakfast ★ 4.7
Breakfast
🍜 United States

Flaky, buttery Southern-style biscuits stuffed with savory salty country ham, a portable, satisfying classic perfect for casual on-the-go meals.

⏱️ 25 minuteBreakfast ★ 4.8
Breakfast
🍜 United States

Iconic puffy baked pancake popularized in Seattle, with crisp golden edges and soft custardy center, served warm with classic sweet toppings.

⏱️ 35 minuteBreakfast ★ 4.6
Breakfast
🍜 United States

Fluffy, golden pancakes studded with juicy peak-summer mixed berries, drizzled with maple syrup for a bright, comforting, crowd-pleasing family breakfast.

⏱️ 25 minuteBreakfast ★ 4.7

mini waffle:Frequently Asked Questions

1.Why don’t my mini waffles turn out crispy even when I follow the recipe? ▾
First, confirm your waffle iron is fully preheated before pouring batter—if it’s too cool, waffles will steam instead of developing that signature crisp crust. Don’t overmix the batter; a few small lumps are fine, as overmixing develops gluten that leads to chewy, dense results. Avoid opening the iron too early, as escaping heat prevents proper crisping.
2.Can I prep the waffle batter ahead of time for busy weekday mornings? ▾
Yes! Mix the dry ingredients (all-purpose flour, granulated sugar, baking powder, fine sea salt) in an airtight container and store it in the pantry for up to 1 month for ultra-fast prep. If you mix full batter with the large eggs, store it covered in the fridge for up to 24 hours, giving it a gentle stir before use, since baking powder loses slight potency when chilled.
3.What portion of batter works best for evenly sized mini waffles? ▾
A 1-tablespoon cookie scoop is ideal for standard mini waffle irons, giving you consistent bite-sized waffles that won’t overflow the grids as they rise. If you don’t have a scoop, use a measuring spoon to pour 1 slightly heaped tablespoon of batter per waffle, placing it right in the center of each grid for even cooking.
4.Can I swap the all-purpose flour for a gluten-free alternative? ▾
Absolutely. Replace the all-purpose flour with a 1:1 gluten-free all-purpose baking blend that contains xanthan gum for the closest texture match. If your blend doesn’t include xanthan gum, add ¼ teaspoon per cup of flour to help waffles hold their fluffy center and crisp edge without crumbling when lifted from the iron.
5.How do I keep waffles crispy while I cook an entire batch? ▾
Never stack cooked waffles directly on a plate, as trapped steam will turn crisp edges soft in minutes. Instead, arrange cooked waffles in a single layer on a wire rack set over a baking sheet, and hold them in a 200°F oven while you cook the rest. Circulating air keeps every waffle crisp until you’re ready to serve.
6.Do I need to grease my waffle iron even if it has a non-stick coating? ▾
A light coating is still recommended, even on non-stick models, to boost that golden, crisp edge and prevent rare sticking. Use a pastry brush to dab a tiny bit of melted butter or neutral canola oil on the top and bottom grids before your first batch, and reapply lightly every 2 to 3 batches if waffles start to tug when you open the iron.
7.Can I freeze these mini waffles for long-term meal prep? ▾
Definitely. Let cooked waffles cool fully to room temperature first, then arrange them in a single layer on a baking sheet and freeze for 1 hour until solid. Transfer them to a labeled freezer bag, squeezing out excess air, and store for up to 3 months. Reheat straight from frozen in a toaster for 1 to 2 minutes to restore crispness.

Comments (4)

2 hours ago

OMG these crispy mini waffles are a total game changer for my busy weekday mornings! I whipped them up in no time (12 minutes is no joke!) and my 3 kids devoured every single bite before school. I tossed in a handful of mini chocolate chips to half the batch and even my picky toddler asked for seconds. SO good, will be adding these to our weekly meal prep rotation for sure!

30 minutes ago

Wait did you use regular all-purpose flour or a gluten free blend? I have a gluten sensitivity and have been hunting for a crispy waffle recipe that doesn’t turn soggy!

5 minutes ago

So glad your family loved them! For a gluten free swap, use a 1:1 gluten free all-purpose flour blend and add an extra 1/2 teaspoon of xanthan gum if your blend doesn’t already include it — it’ll keep that perfect crispy texture every time!

yesterday

Made these for my weekend potluck with friends and they were a massive hit! The mini size is perfect for passing around, and they stayed crispy even when I kept them in a warm oven for 20 minutes while everyone finished mimosas. Only thing I changed was a dash of cinnamon in the batter, chef’s kiss. Super easy too, even for someone who burns toast half the time lmao

2 hours ago

Love the cinnamon addition — that’s such a cozy, delicious twist! The trick to keeping them crispy in the oven is setting it to 200F and laying them in a single layer on a wire rack instead of a plate, so glad that worked out for your potluck!

3 days ago

These are perfect for my Sunday meal prep! I make a big batch, pop them in the freezer, and toast them for 30 seconds in the morning for a quick breakfast. They get even crispier when you reheat them in the toaster, which I was NOT expecting. Way better than the frozen store-bought mini waffles that taste like cardboard. 10/10

5 days ago

I’m so excited to make these! Quick question though — can I make these in a regular full size waffle maker if I don’t have a mini one? I’m in a dorm and only have the hand-me-down waffle iron my mom sent with me, don’t wanna buy a whole new appliance just for this recipe lol. Already giving 5 stars because every recipe I’ve tried from this site slaps

3 days ago

I did that last week! Just pour smaller amounts of batter so they’re palm-sized, cook them for maybe 30 seconds longer than the recipe says for minis and they turn out exactly the same. No need for a fancy mini waffle maker!



