1.How long do these waffles actually take to make from start to finish?
▾
These waffles come together in just 25 minutes total, as advertised. That includes 5 minutes to whisk the simple batter, 15-18 minutes of total cook time across batches, and a couple minutes to prep your waffle iron. There’s no required batter resting time, so you can get a cozy breakfast on the table fast even on busy weekday mornings.
2.Can I use a different plant milk if I don’t have unsweetened plain oat milk?
▾
Absolutely! Plain unsweetened soy milk works as a near-perfect swap, since it has a similar neutral flavor and creaminess to oat milk. Avoid strongly flavored milks like sweetened vanilla almond or canned coconut milk, as they’ll throw off the sweetness balance. If using thinner milk like plain almond, add 1 extra teaspoon of flour to reduce sogginess.
3.Why did my waffles turn out soggy instead of crisp on the edges?
▾
Soggy waffles usually stem from two common missteps: opening the waffle iron too early, or over-mixing the batter. Wait until your iron is fully preheated before pouring batter, and don’t lift the lid for at least 3 minutes into cook time. Also, resist over-stirring—small lumps in the batter are totally fine, as over-mixing develops gluten that leads to dense, soggy results.
4.Do I need a fancy high-end waffle iron to make these turn out well?
▾
Not at all! Any standard home waffle iron, whether it’s a deep Belgian model or a thinner classic American waffle maker, works perfectly for this recipe. Just give it a full 3-5 minute preheat before adding batter, and give the grids a light spritz of non-stick spray if your iron doesn’t have a reliable non-stick coating to prevent sticking.
5.Can I make this batter ahead of time for weekly meal prep?
▾
This batter works best made fresh right before cooking, since baking powder activates as soon as it mixes with wet ingredients. If you want to prep ahead, mix all the dry ingredients in an airtight container up to 1 week in advance, then stir in the wet ingredients the morning you cook to keep the waffles light, fluffy, and well-risen.
6.Can I make these waffles gluten-free with a simple flour swap?
▾
They turn out great gluten-free! Swap regular all-purpose flour for a 1:1 gluten-free all-purpose baking blend that contains xanthan gum for the closest texture match. Avoid using single gluten-free flours like almond or coconut flour on their own, as they won’t deliver the same fluffy crumb and crisp edge without extra recipe adjustments.
7.How do I keep waffles crisp while I cook multiple batches for a group?
▾
The easiest trick is to set your oven to 200°F and place cooked waffles directly on the oven rack (not stacked on a plate!) as you finish each batch. Stacking waffles traps steam that softens crisp edges, so keeping them in a single layer lets air circulate, holding that perfect crisp texture until you’re ready to serve everyone.
8.The recipe notes 7 total ingredients, but only 5 are listed as key—what are the other two?
▾
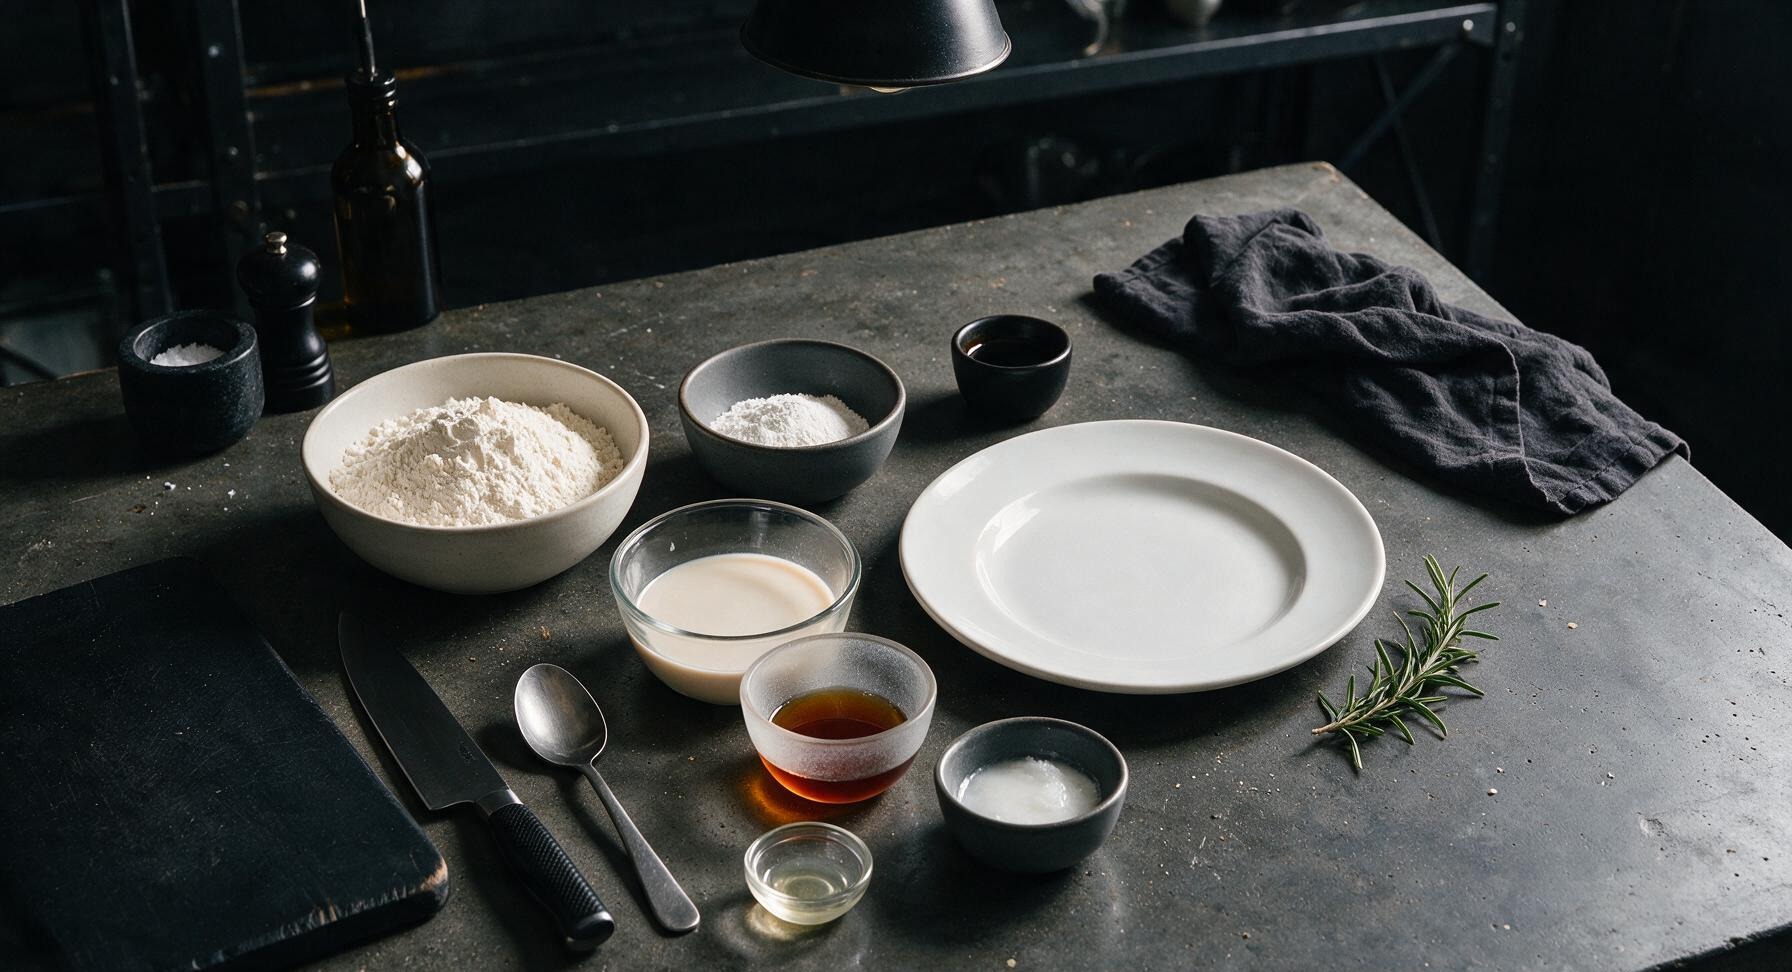
The full 7-ingredient lineup uses only basic pantry staples, no fancy specialty vegan buys required. The two additional ingredients are neutral cooking oil (like canola or avocado oil) to add moisture and crisp the edges, and a tiny splash of vanilla extract to boost warm, cozy flavor without overpowering the classic waffle taste.
9.Can I freeze these waffles for quick grab-and-go weekday breakfasts?
▾
Absolutely! Let cooked waffles cool completely to room temperature first, then stack them between small squares of parchment paper to prevent sticking, and store in a sealed freezer-safe bag for up to 3 months. Reheat straight from frozen in a toaster or toaster oven on medium to bring back that perfect crisp edge, no thawing needed.
10.How sweet are these waffles, since they use maple syrup in the batter?
▾
The recipe uses just a small amount of pure maple syrup in the batter to add subtle, warm sweetness without making the waffles taste cloying. They’re lightly sweet enough to eat plain, but designed to pair perfectly with extra maple syrup, fresh fruit, nut butter, or other toppings without feeling overly sweet once you add your favorites.
11.Can I add mix-ins like blueberries or chocolate chips to the batter?
▾
Definitely! Fold up to ½ cup of your favorite mix-ins into the batter right before cooking, after you’ve finished stirring to avoid over-mixing. Great options include fresh blueberries, mini vegan chocolate chips, chopped pecans, or a sprinkle of cinnamon. Skip very wet mix-ins like syrupy canned fruit, which can make batter runny and lead to soggy waffles.
12.Why did my waffles stick to my non-stick waffle iron when I cooked them?
▾
Sticking usually happens if your iron isn’t fully preheated, or if you try to lift the waffle too early in the cook cycle. Give your iron 3-5 minutes to come up to full temperature before pouring batter, and wait until steam stops billowing from the iron sides before checking for doneness. For older, worn irons, a light non-stick spritz before each batch eliminates sticking entirely.
13.Can I use this same batter to make pancakes instead of waffles?
▾
You can, with one small adjustment! Waffle batter is designed to be a touch thicker to crisp up in waffle iron grids, so add an extra 2-3 tablespoons of oat milk to thin the batter slightly for pancakes. Cook on a preheated non-stick griddle over medium heat, 2-3 minutes per side, for fluffy, tender vegan pancakes with the same great simple flavor.
14.Do I need to sift the flour for this recipe to get light, fluffy waffles?
▾
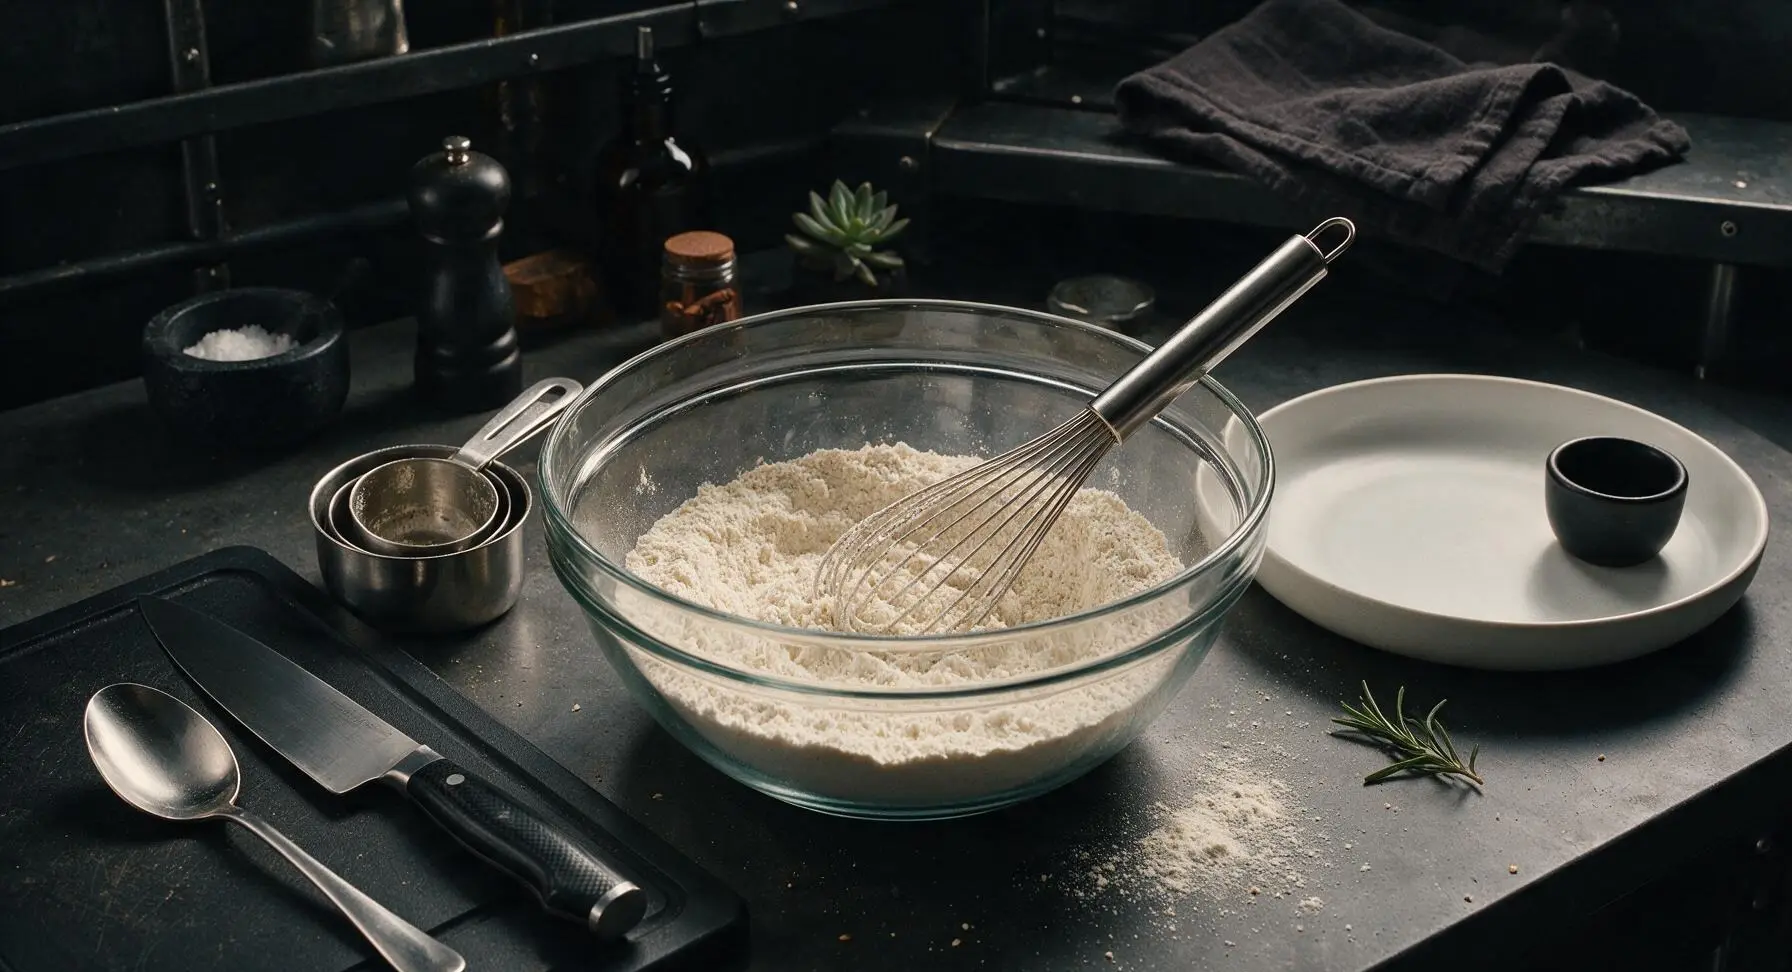
No sifting is required for this low-fuss recipe! Just give your dry ingredients a quick whisk in the mixing bowl to evenly distribute the baking powder and salt before adding wet ingredients, and that’s enough to break up any large flour clumps. Over-processing flour by sifting or over-stirring will actually lead to denser, chewier waffles instead of light, fluffy ones.
15.What are the best toppings to serve with these waffles for a weekend brunch?
▾
Keep it simple to let the waffles’ crisp, fluffy texture shine! Set out a small spread of toppings so guests can customize: extra pure maple syrup, fresh berry compote, sliced bananas, crunchy peanut butter, a dollop of coconut whipped cream, and a sprinkle of cinnamon. The lightly sweet waffles also pair great with savory sides like vegan breakfast sausage.
16.My baking powder is a couple years old—will that make my waffles turn out flat?
▾
It very well might! Baking powder loses its leavening power over time, which means it won’t create the air bubbles that give these waffles their fluffy, tender center. To test it fast, drop ½ teaspoon of baking powder into a cup of hot water—if it fizzes vigorously, it’s good to use. If it barely bubbles, grab a fresh can for tall, light waffles.
17.Is there a way to make these waffles oil-free for a lower-fat version?
▾
You can swap the neutral oil for unsweetened applesauce at a 1:1 ratio for an oil-free take, though note the edges will be slightly less crisp than the original recipe. If you go this route, make sure your waffle iron is very well preheated, and give the grids a light non-stick spritz to prevent sticking, since the oil in the original recipe also helps release waffles cleanly.
18.How thick should the batter be before I pour it into the waffle iron?
▾
The batter should be thick but pourable, similar to the consistency of thick cake batter, not runny like pancake syrup. If it’s so thick it won’t pour off a spoon, stir in 1 extra tablespoon of oat milk at a time until it reaches the right texture. If it’s thin and runny, stir in 1 extra tablespoon of all-purpose flour to thicken it and prevent sogginess.
19.The intro mentions minimal cleanup—how many dishes do I actually need to make these?
▾
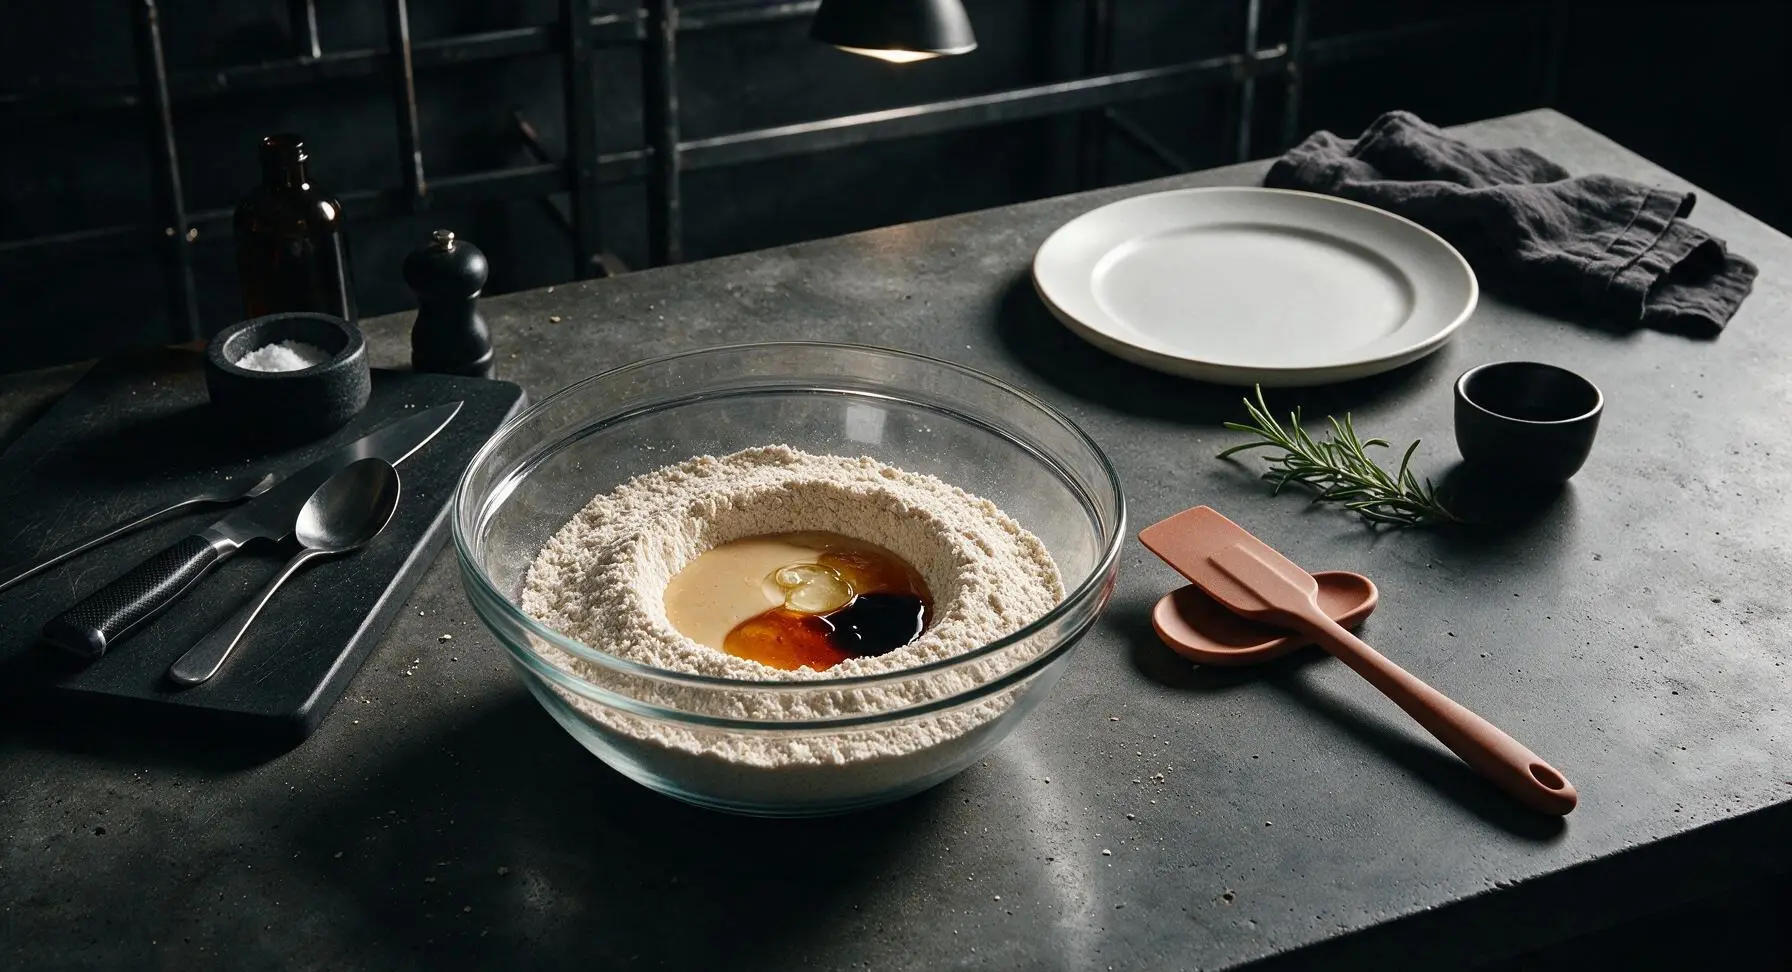
This recipe is built for super low-fuss cleanup, so you’ll only need one medium mixing bowl, a whisk, measuring cups and spoons, and your waffle iron. There’s no separate mixing required for wet and dry ingredients—you can mix dry ingredients right in the bowl first, then pour in wet ingredients and stir, cutting down on extra dishes entirely.

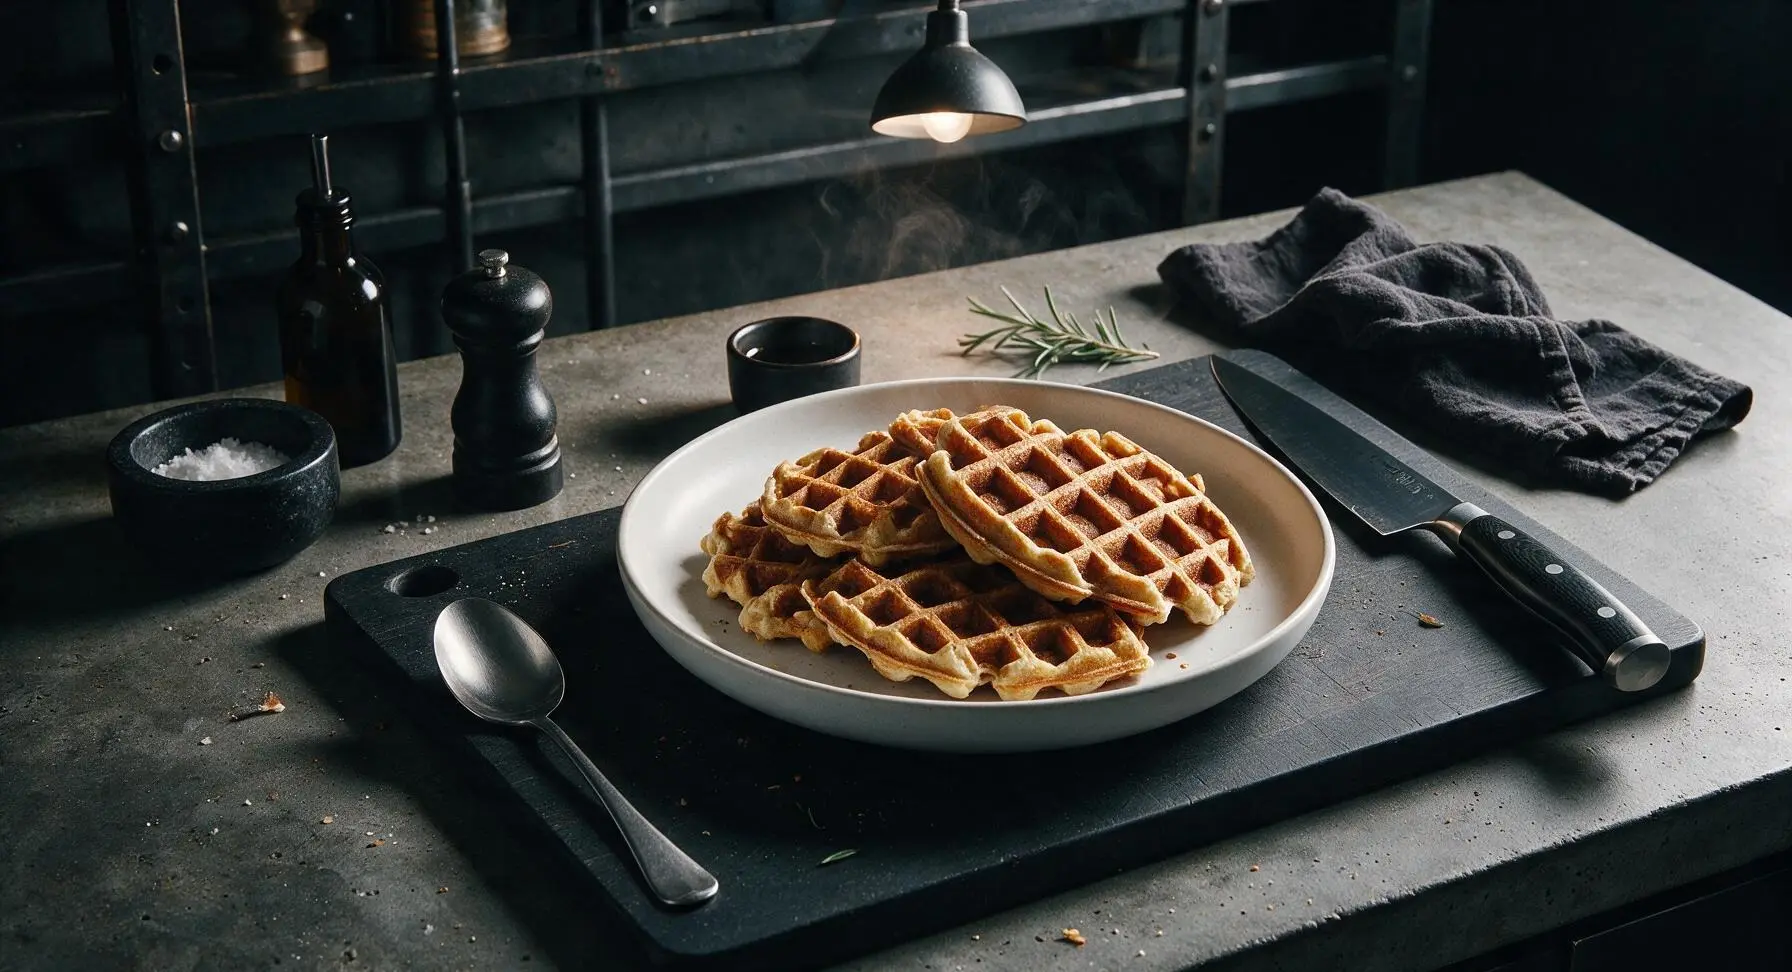
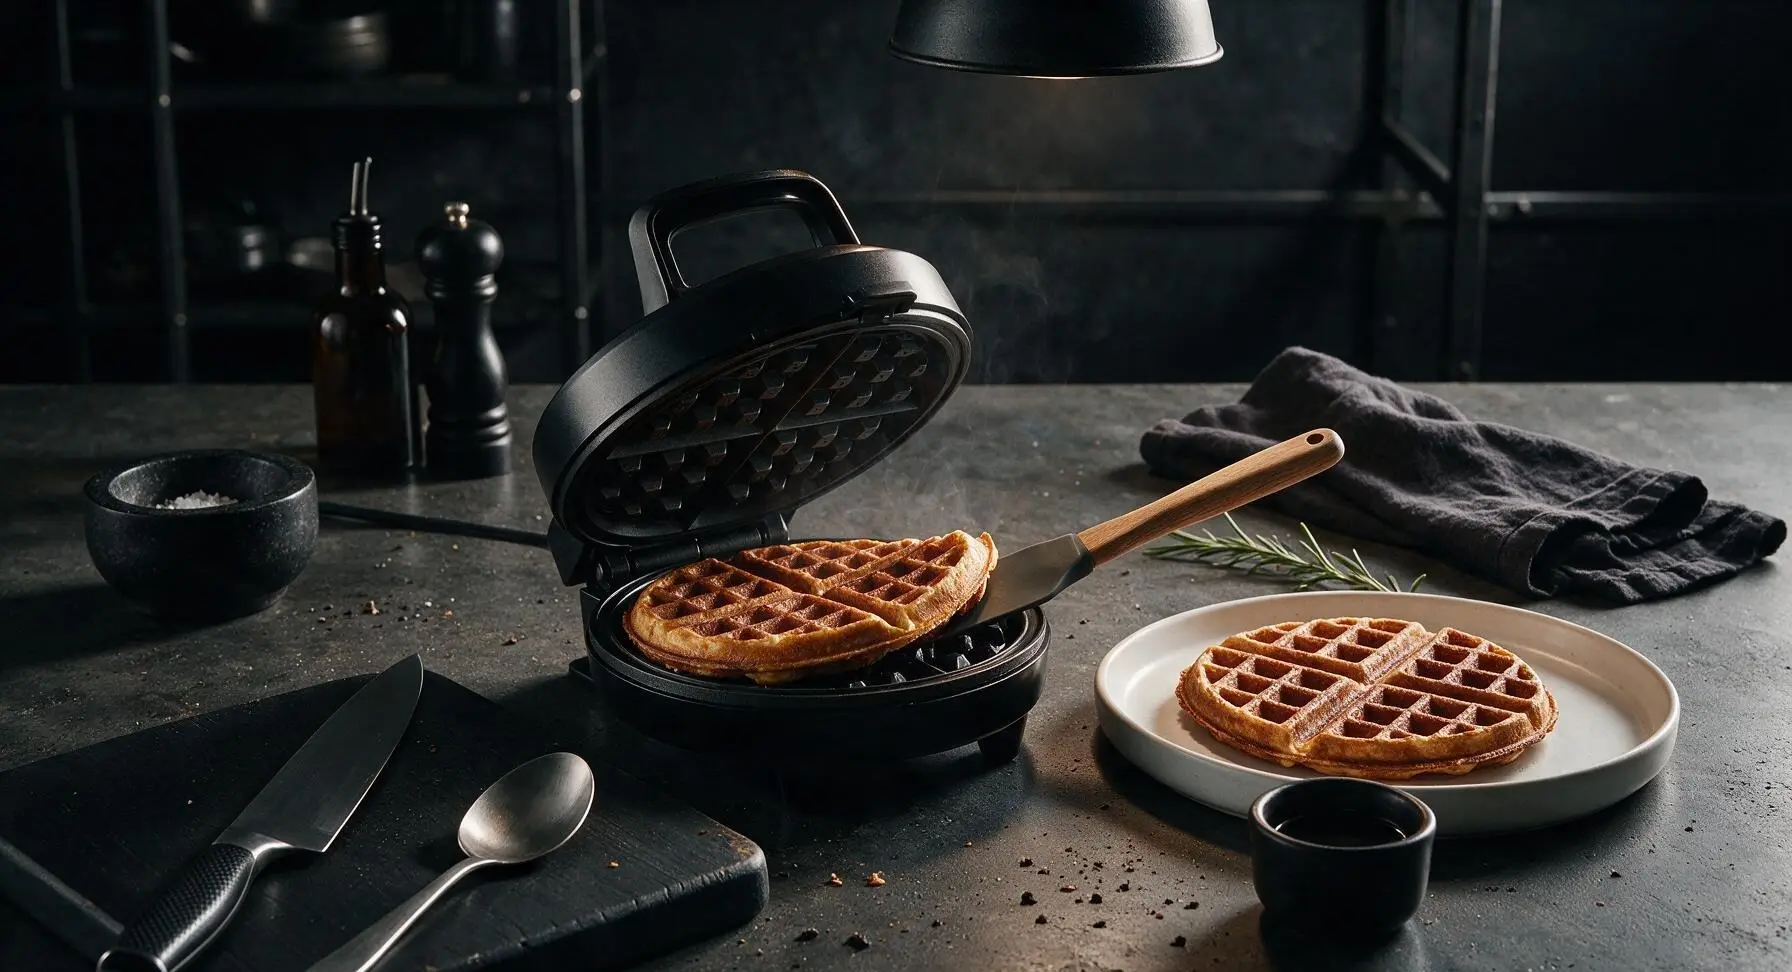
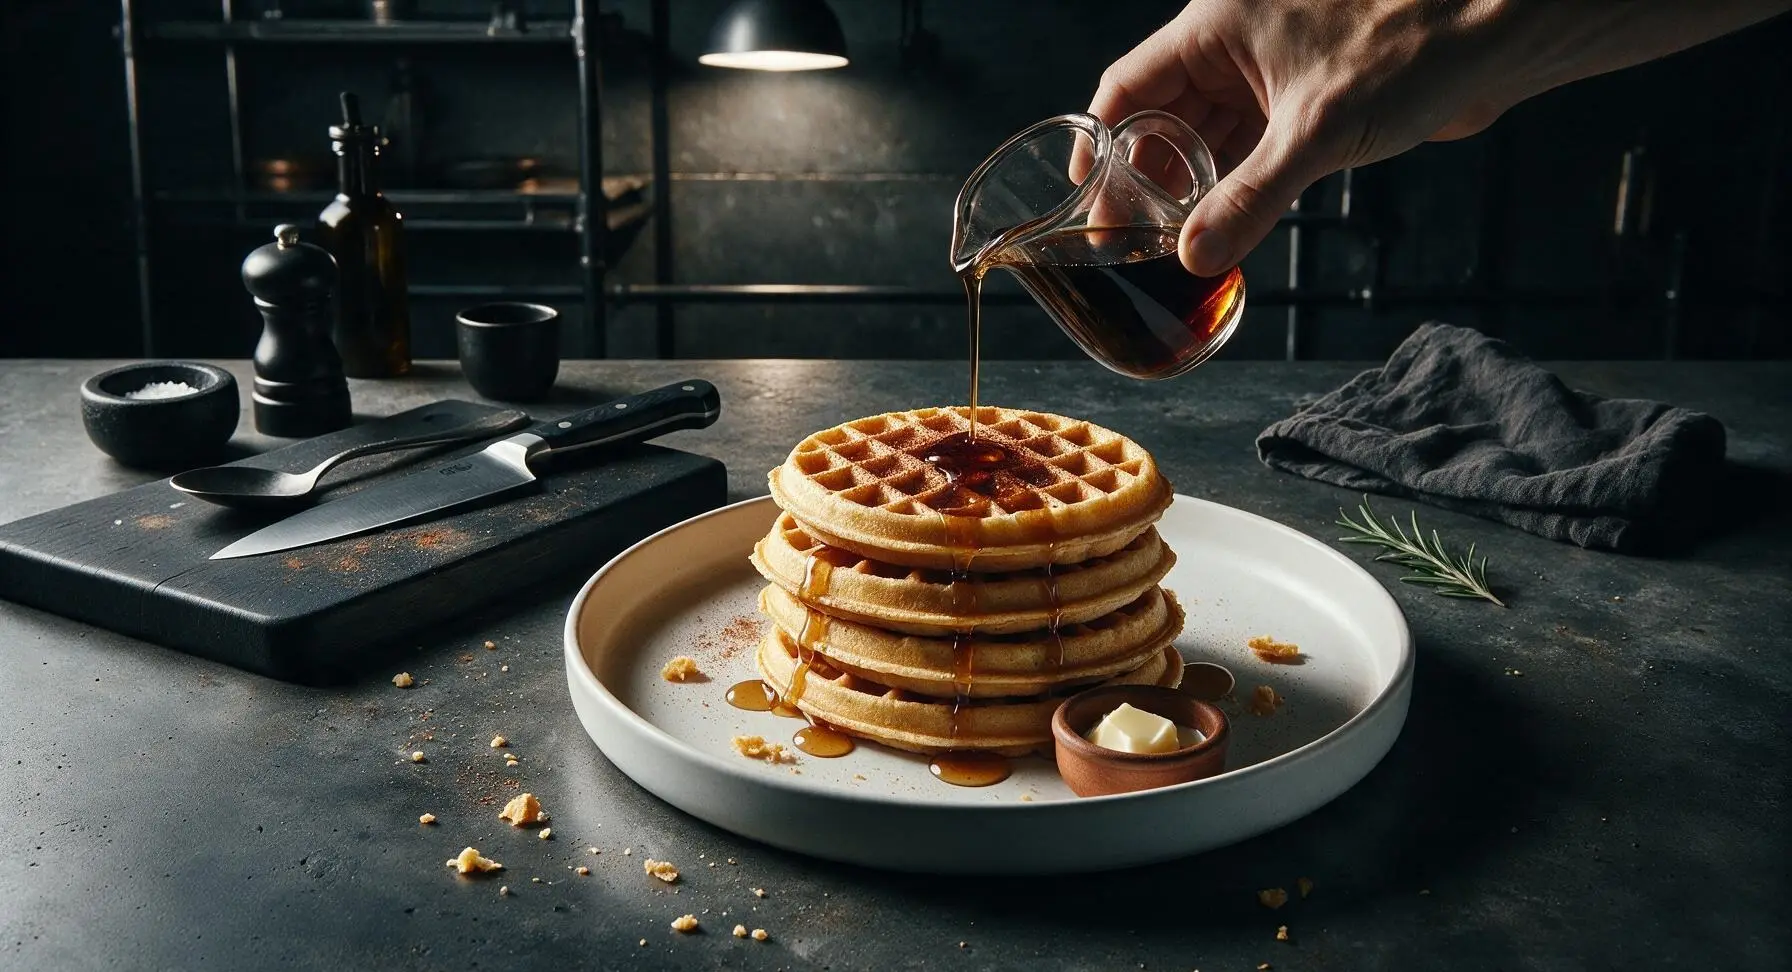






OMG these waffles are SO good! My 3 and 5 year old gobbled them up before I even got syrup on the table. I swapped regular oat milk for vanilla oat milk and it added the perfect little extra sweetness. 10/10 will be making these every Sunday brunch from now on.
Made these before heading out on an early morning trail last weekend and they held up perfectly! I packed them with a little peanut butter slathered on top and they kept me full for 4 hours of hiking. Super easy to throw together even before coffee, which is a huge win for me.
Quick note for my GF folks: I swapped the all purpose flour for a 1:1 gluten free baking blend and they turned out light and crispy, no weird texture at all! So happy to have a quick vegan waffle recipe that doesn’t require 20 random specialty ingredients.
I live in a tiny dorm with a super basic waffle iron I got off Facebook Marketplace and these still turned out great! I didn’t even have vanilla extract so I used a dash of cinnamon instead and they slapped. Way cheaper than buying the frozen vegan waffles from the campus grocery store too.
Brought a double batch of these to our neighborhood potluck last week and even the non-vegan guests were asking for the recipe! I topped them with a little fresh strawberry compote and coconut whipped cream and they were gone in 10 minutes flat. Total crowd pleaser.
Wait, do I need to let the batter rest at all before pouring it into the waffle maker? I’ve had vegan waffle recipes turn out gummy before when I didn’t rest the batter, so I want to make sure I get these right!
Has anyone tried freezing these after cooking? I’m looking for easy weekday breakfast options I can just pop in the toaster on my way out the door.
Idk what I did wrong but mine came out super soft and not crispy at all? I followed the measurements exactly, used a non-stick waffle iron, and cooked them for the recommended time. Bummed because the flavor was great!
My son has a soy allergy so I skipped the vanilla extract (since mine has soy in it) and used a little extra maple syrup in the batter, and the kids still devoured them. Such a forgiving recipe, I love how flexible it is for different allergy needs!
Game changer!! I added a tablespoon of instant espresso powder to the dry ingredients and it made these taste like the fancy coffee shop waffles that cost $12 a plate. My partner thought I picked them up from our local vegan cafe, lmao.
Love that this only uses 7 ingredients, means I don’t end up with half-used random pantry items going to waste after making brunch! I used homemade oat flour I ground up from old rolled oats and it worked perfectly.
Wait, can I make this batter the night before and keep it in the fridge? I host brunch for my friends every Sunday and would love to cut down on morning prep time.
First time making vegan waffles and I’m obsessed! I was worried they’d be dense or weirdly chewy like other vegan recipes I’ve tried, but these were light and crispy on the outside, fluffy inside. Topped mine with blueberries and maple syrup, chef’s kiss.
Made these for my kids’ breakfast before school this week and it was such a win! 15 minute cook time is exactly what I need on chaotic weekday mornings. The only issue is my middle kid keeps begging for them every single morning now 😂
Has anyone tried making these savory? I’m not a huge sweet breakfast person, so I’m thinking of cutting the maple syrup a little and adding garlic powder, chives, and nutritional yeast to pair with vegan fried chicken for a chicken and waffles night.
Uh, quick stupid question… do I need to spray my waffle iron with oil even if it’s non-stick? I just got my first waffle iron last week and I’m terrified of the batter sticking and ruining it before I even get to eat waffles lmao
Added a scoop of vanilla vegan protein powder to the batter to bump up the protein count after my morning gym sessions, and these hit so hard! They kept me full straight through my work meeting at 10am without that mid-morning sugar crash I get from regular waffles.
So excited to try these! I’m on a super tight grocery budget this month and I already have all 7 ingredients in my pantry right now. No random fancy ingredients = perfect for me. Will report back how they turn out!