
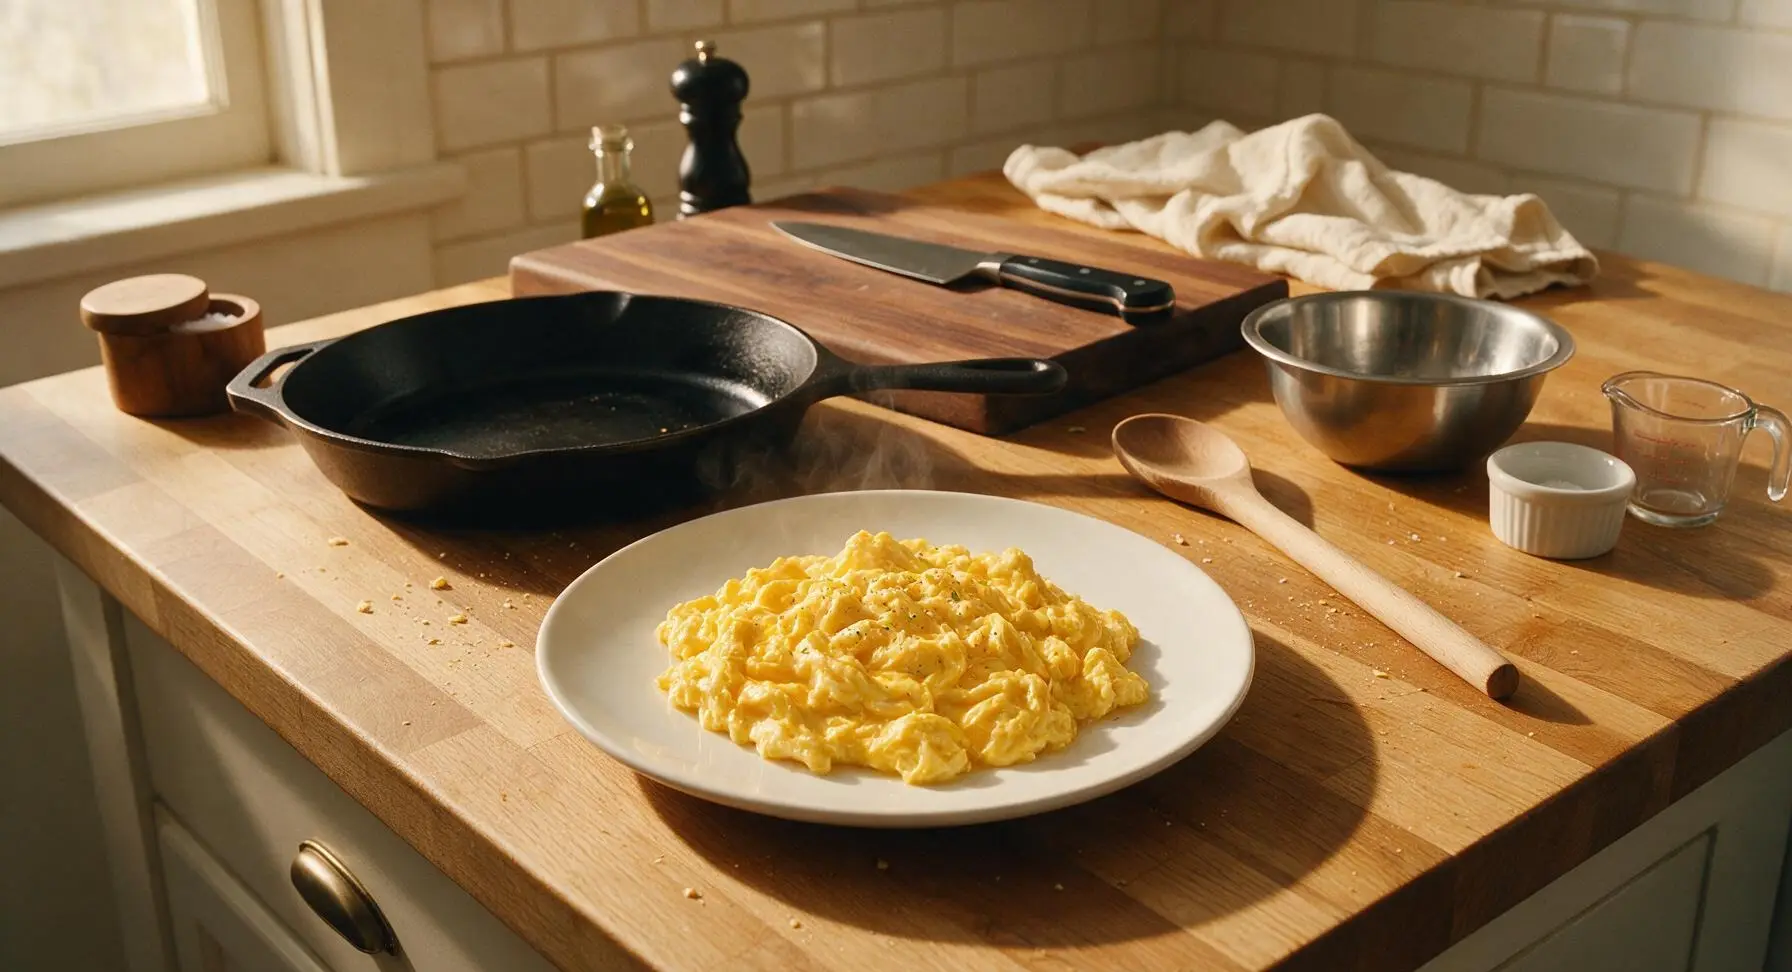
Miso Scrambled Eggs

title 1
Miso Scrambled Eggs
⏱️ cook time 3 minutes
🍽️ servings 2
⚡ Difficulty easy

intro

Silky, umami-packed soft scrambled eggs laced with mellow white miso, light and fluffy, ready in under 10 minutes for a satisfying, flavor-forward quick meal.

Ingredients
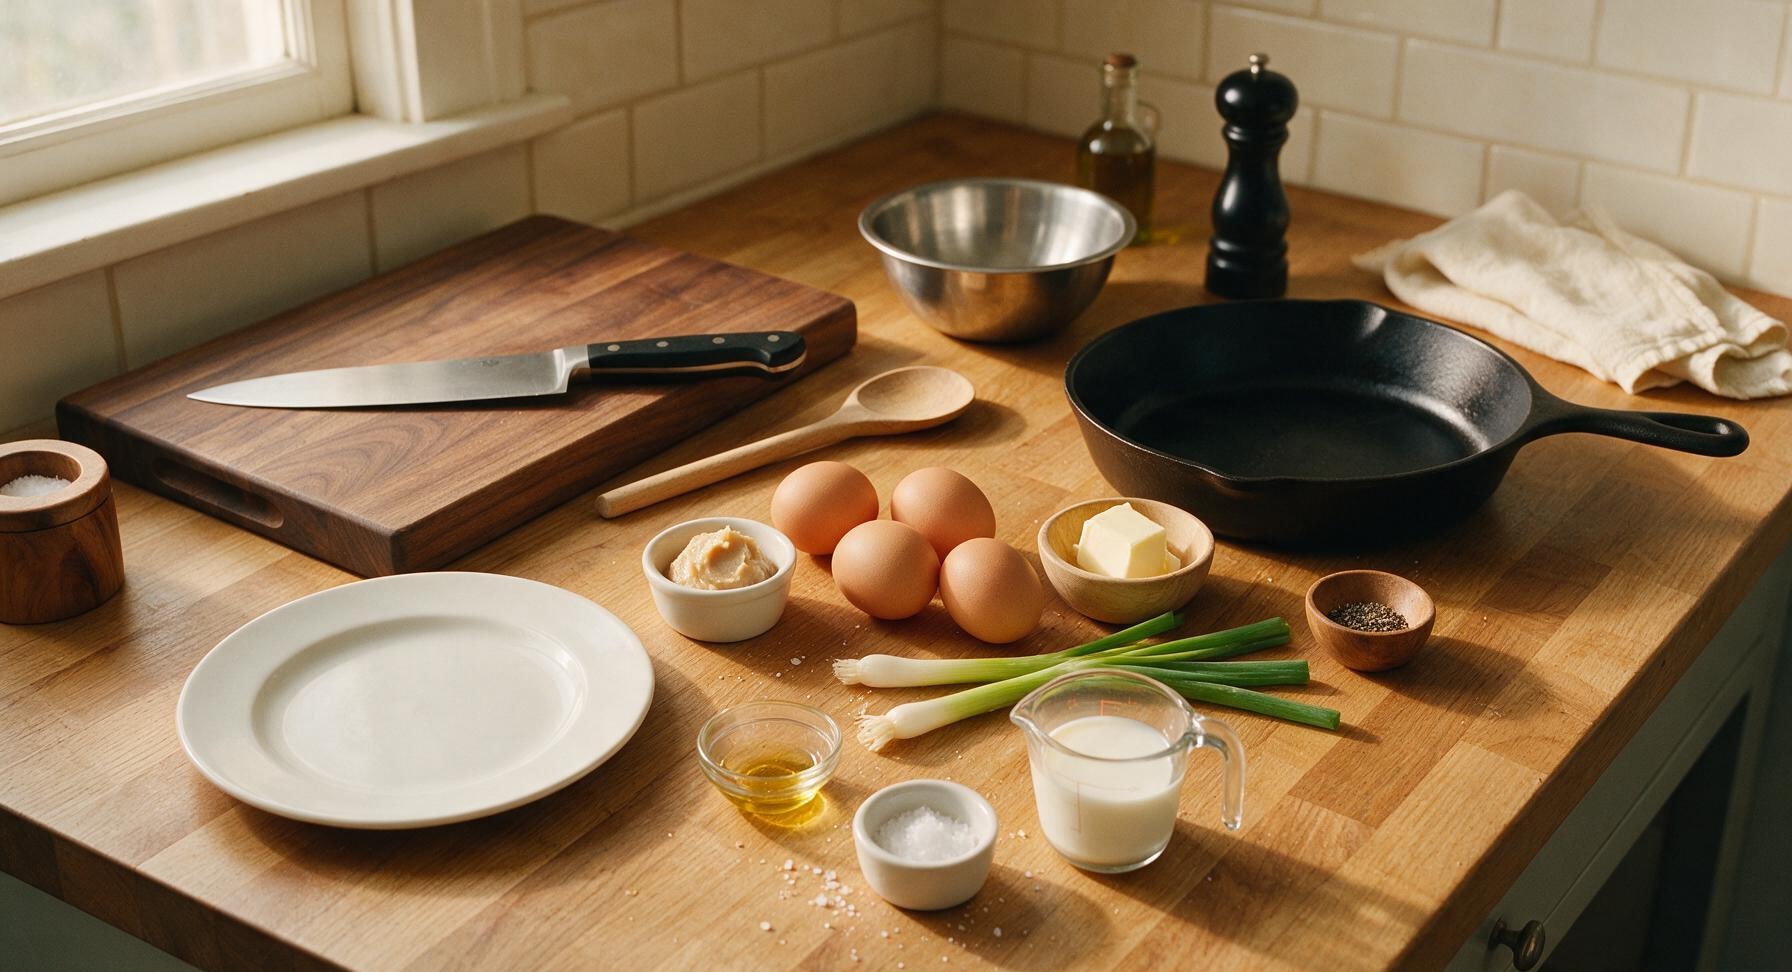
Large eggs 4 large
White (shiro) miso paste 1 tablespoon
Unsalted butter 1 tablespoon
Whole milk 2 tablespoons
Scallions (green onions) 2 stalks
Toasted sesame oil 1/4 teaspoon
Flaky sea salt 1 pinch
Freshly ground black pepper 1 pinch

Steps

1

Prep Scallion Garnish

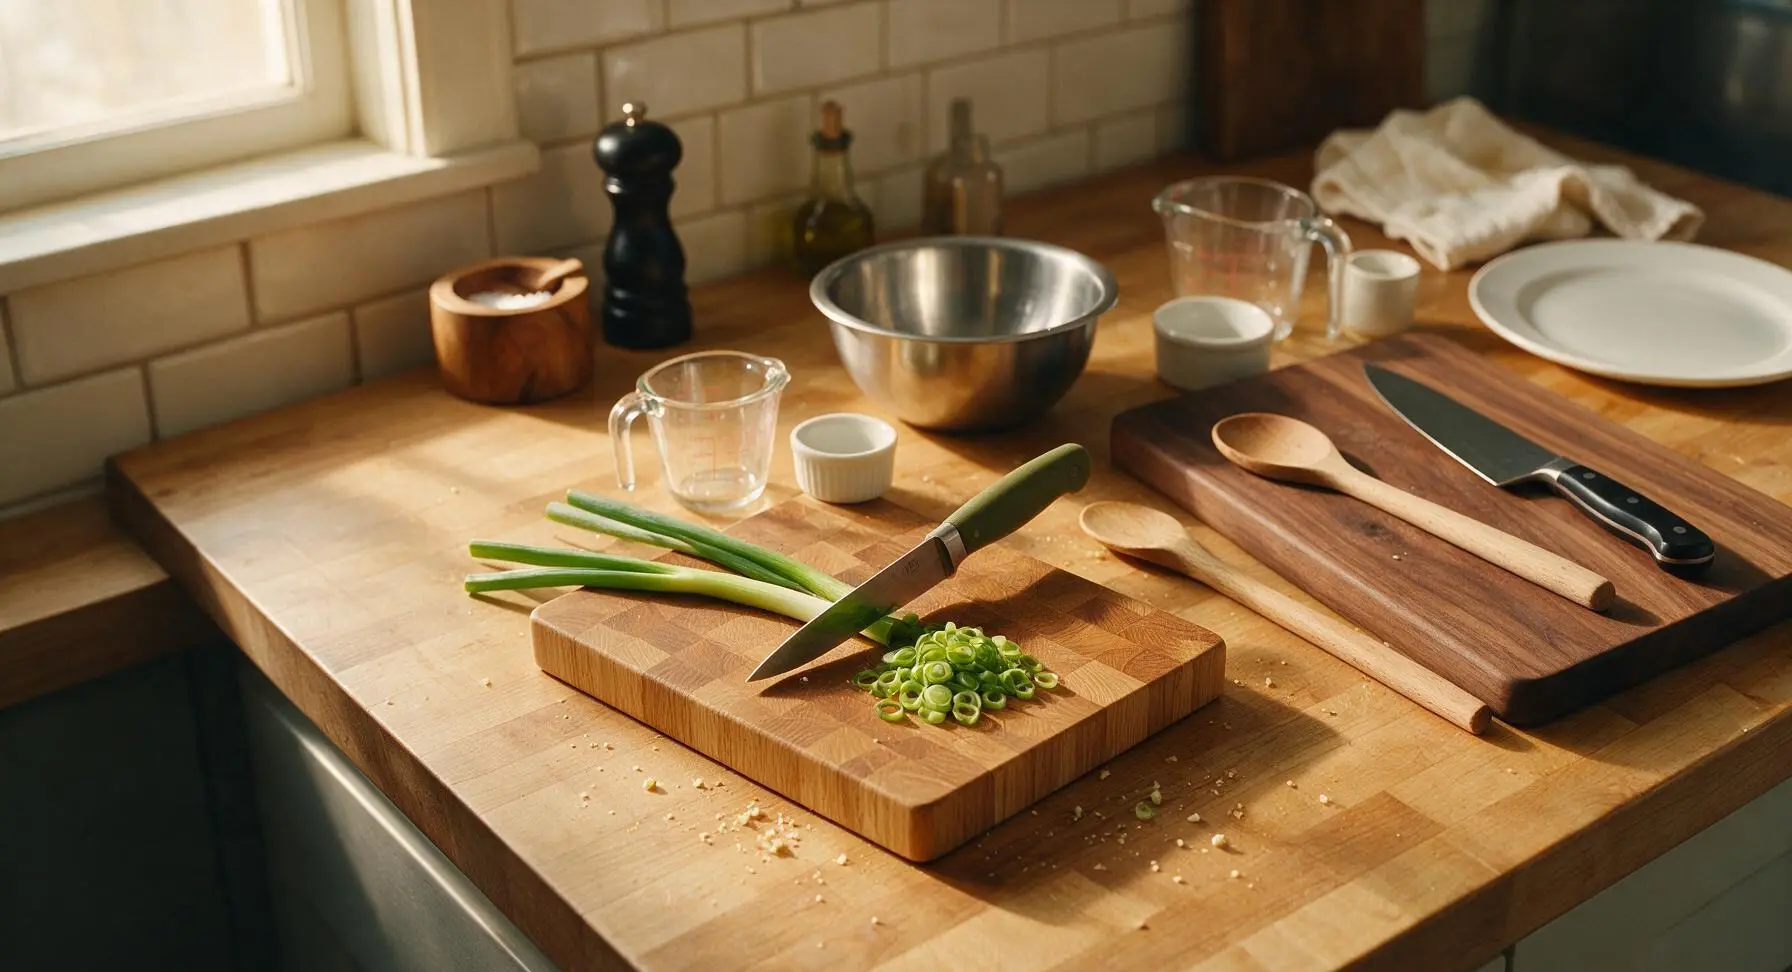
Place the 2 whole scallions on the small honey oak end-grain cutting board. Use the 8cm paring knife with matte olive green handle to trim off the dry, stringy root ends and any wilted, yellowed green tips. Finely slice the bright green top sections into 2mm thin rings, piling them to one side of the board; set aside 1 tablespoon of sliced greens for garnish, and reserve the firm pale white sections for another use if desired. This prep takes roughly 1 minute.
Step 1
step1:Prep Scallion Garnish
2

Loosen Miso Paste

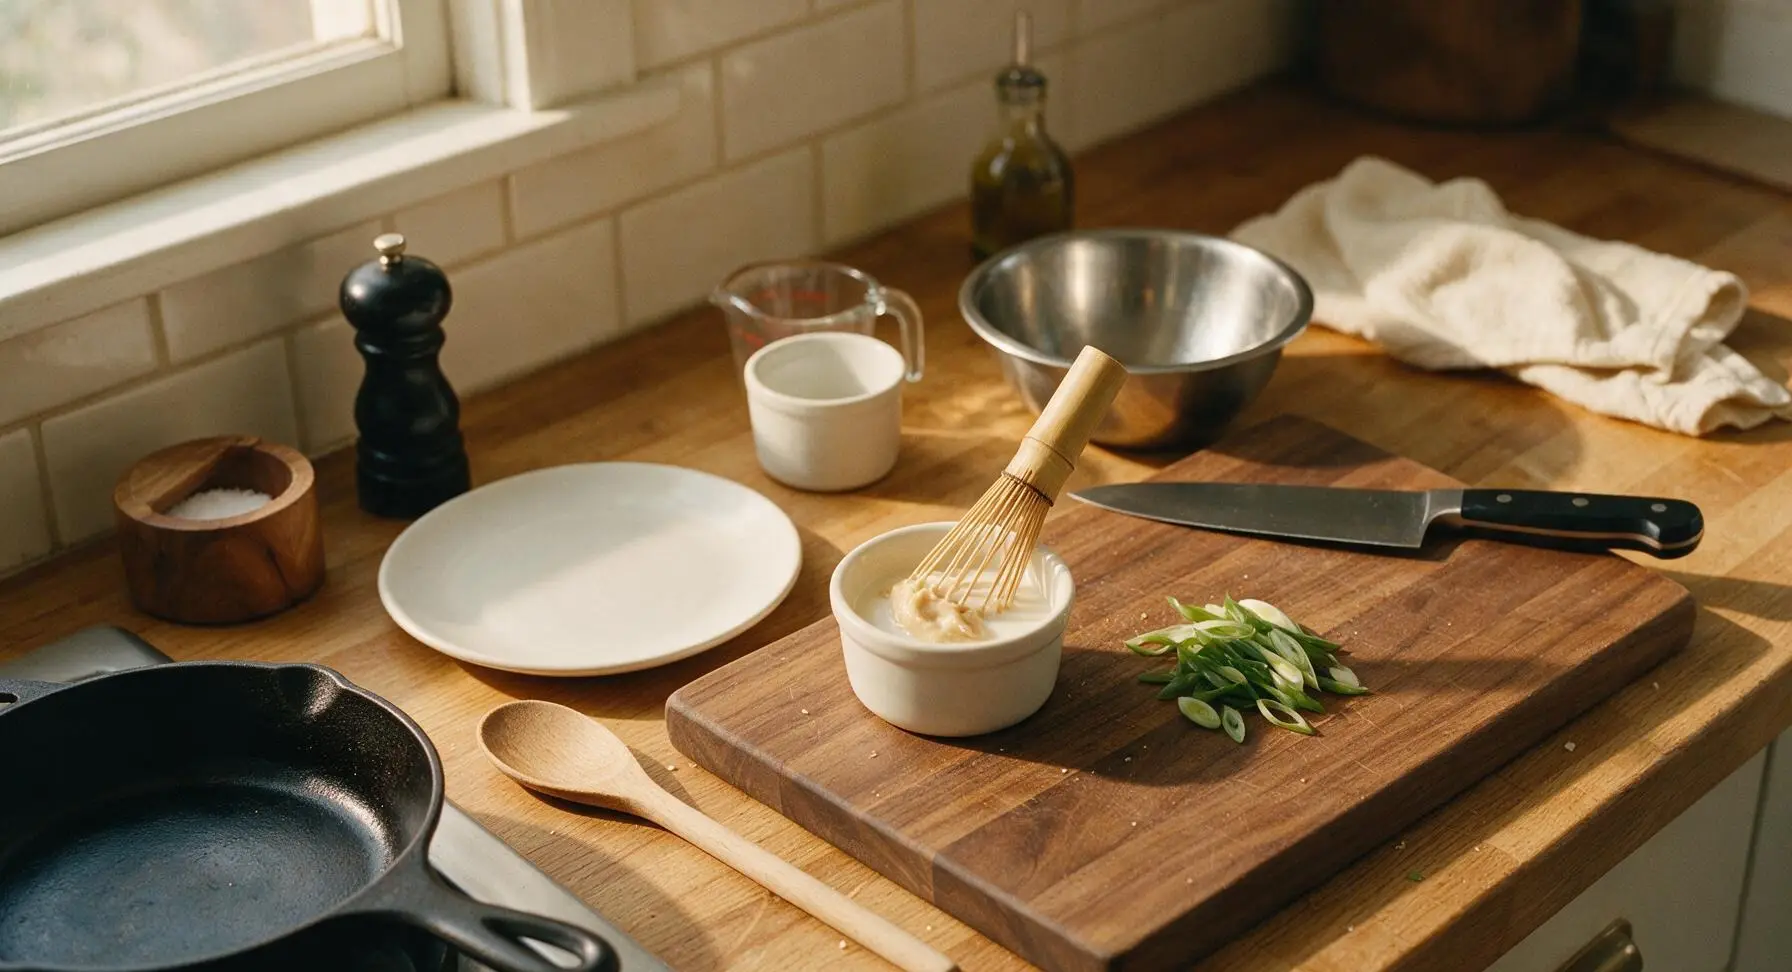
Scoop 1 tablespoon of smooth white shiro miso paste into the small matte white ceramic ramekin. Add 1 teaspoon of the measured whole milk from the glass measuring cup to the ramekin, and stir with the tip of the small bamboo whisk until the miso thins into a completely smooth, pourable paste with no dry lumps, about 30 seconds. Pre-loosening the miso prevents clumps of concentrated, salty miso from forming in the finished eggs.
Step 2
step2:Loosen Miso Paste
3

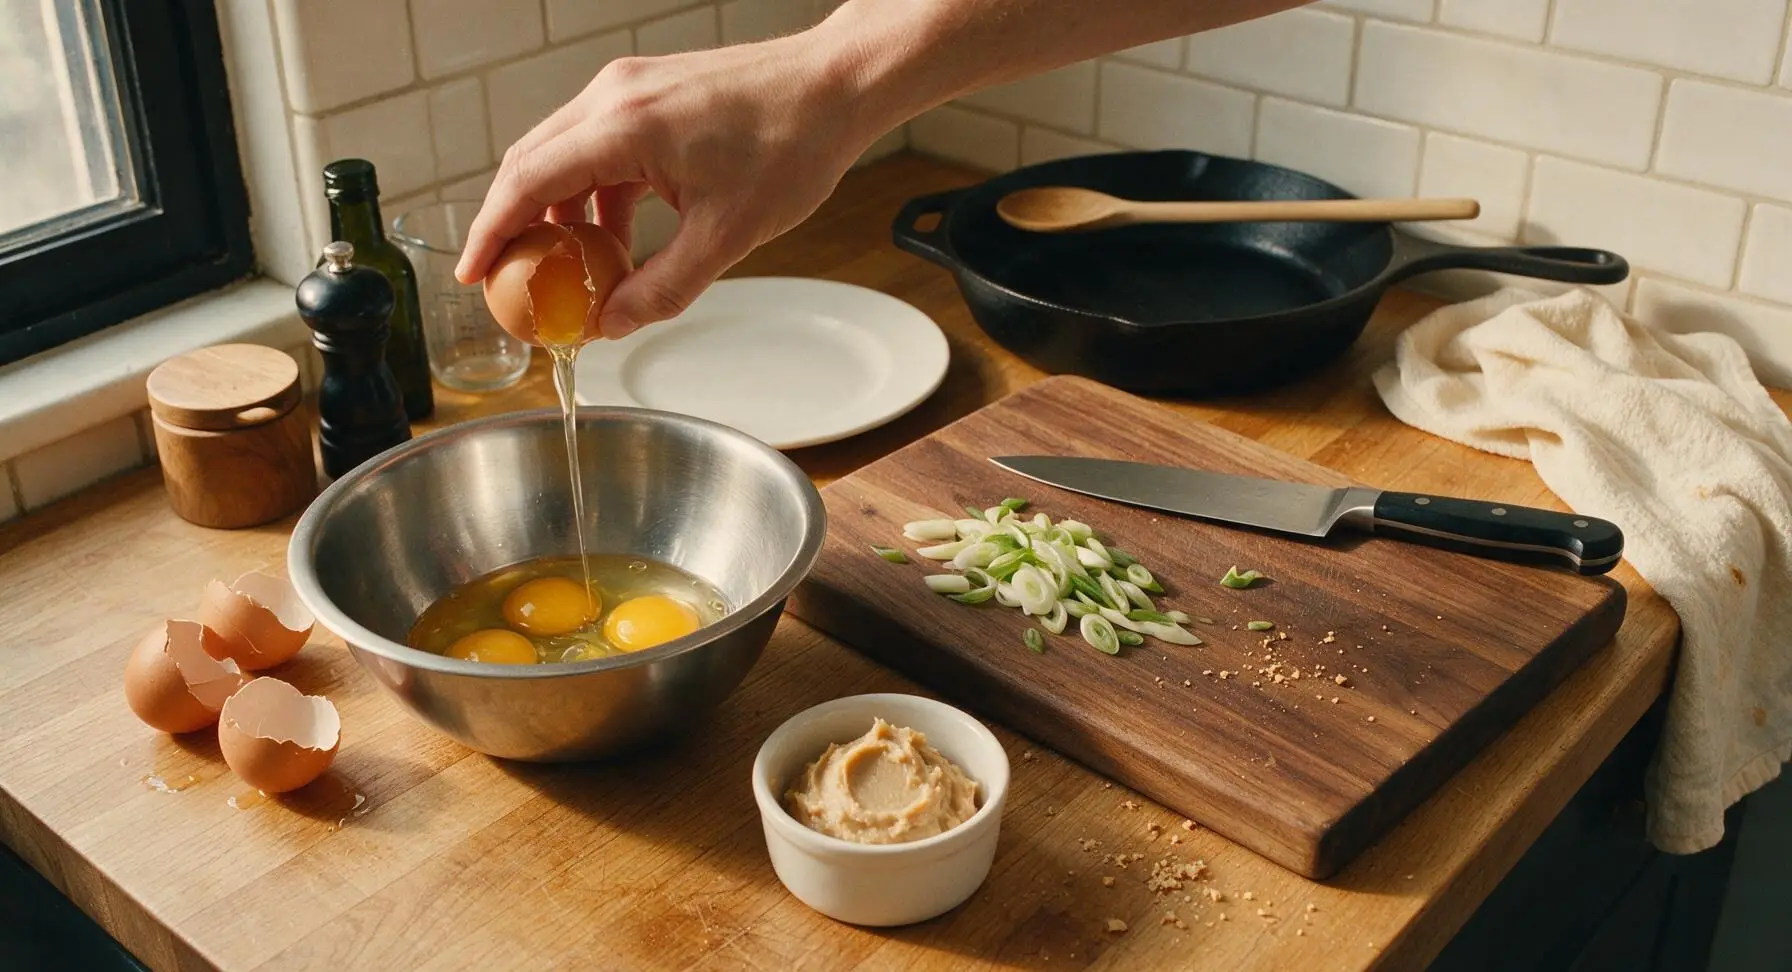
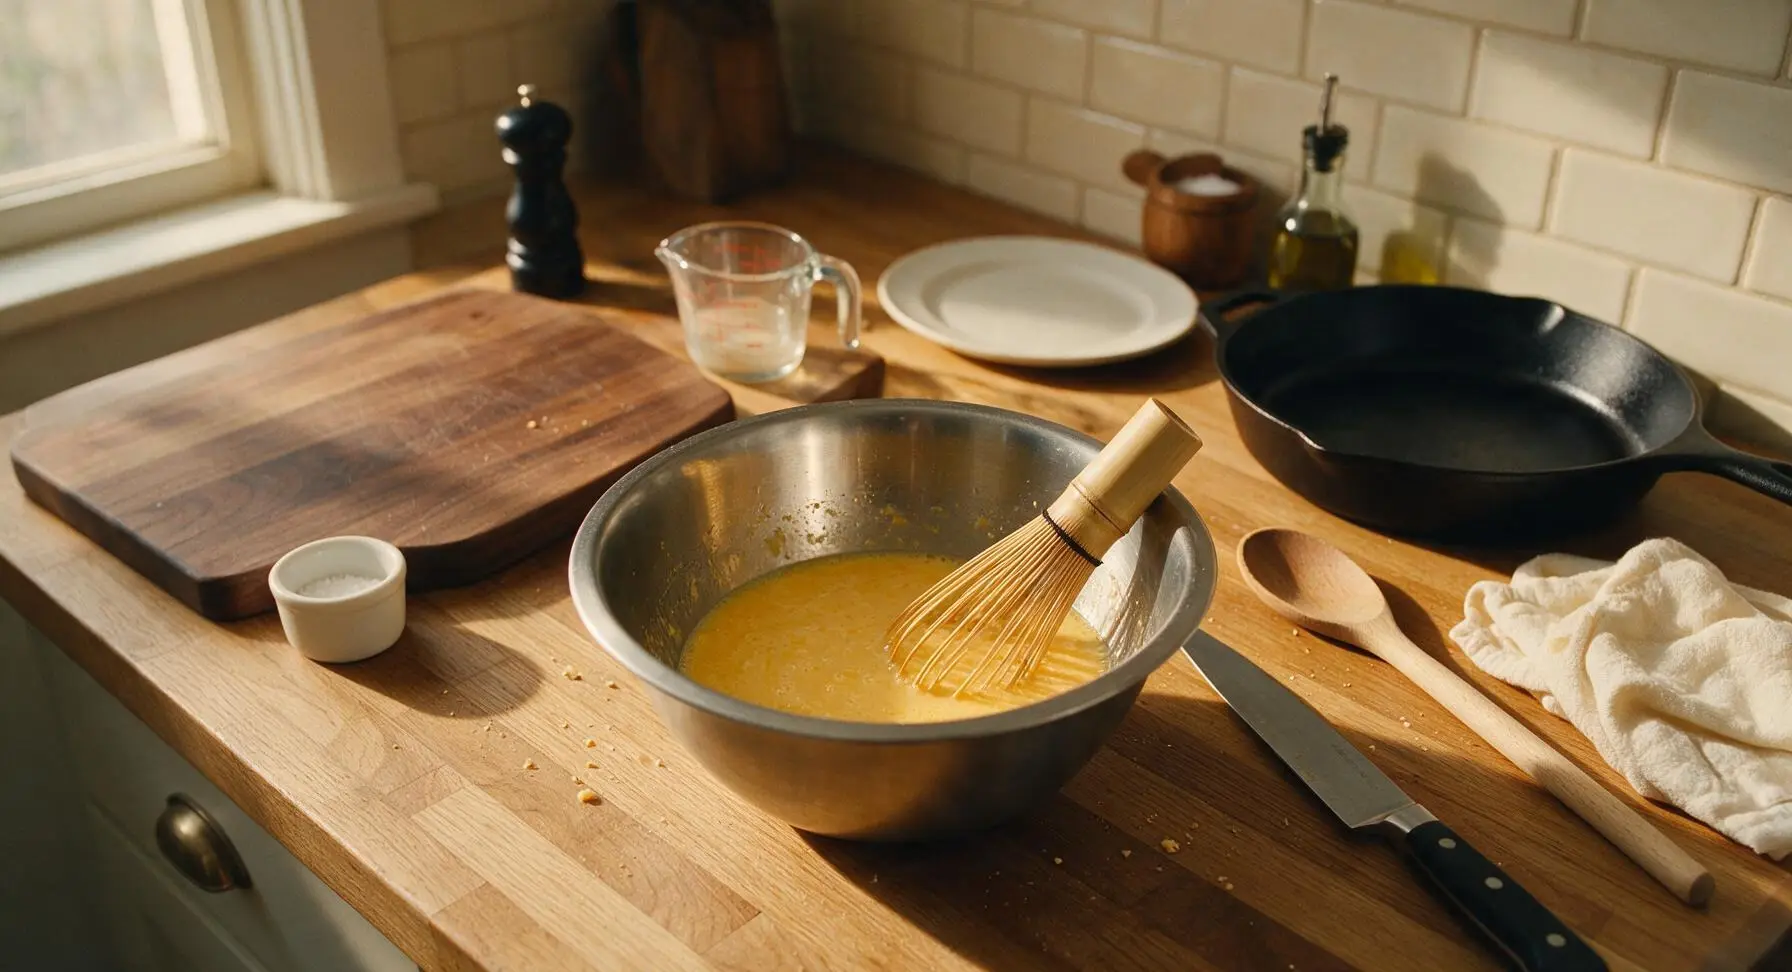
Whisk Egg Mixture

Crack all 4 large eggs into the medium brushed stainless steel mixing bowl. Add the remaining measured whole milk and the fully loosened, smooth miso paste from the ramekin. Use the bamboo whisk to gently whisk the mixture just until the yolks, whites, and miso are fully combined—do not over-whisk to avoid incorporating excess air, which can create tough, spongy eggs. Stop whisking when the mixture is a uniform pale golden color with no streaks of clear egg white or miso lumps, about 20 seconds.
Step 3
step3:Whisk Egg Mixture
Step 3
step3:Whisk Egg Mixture
4

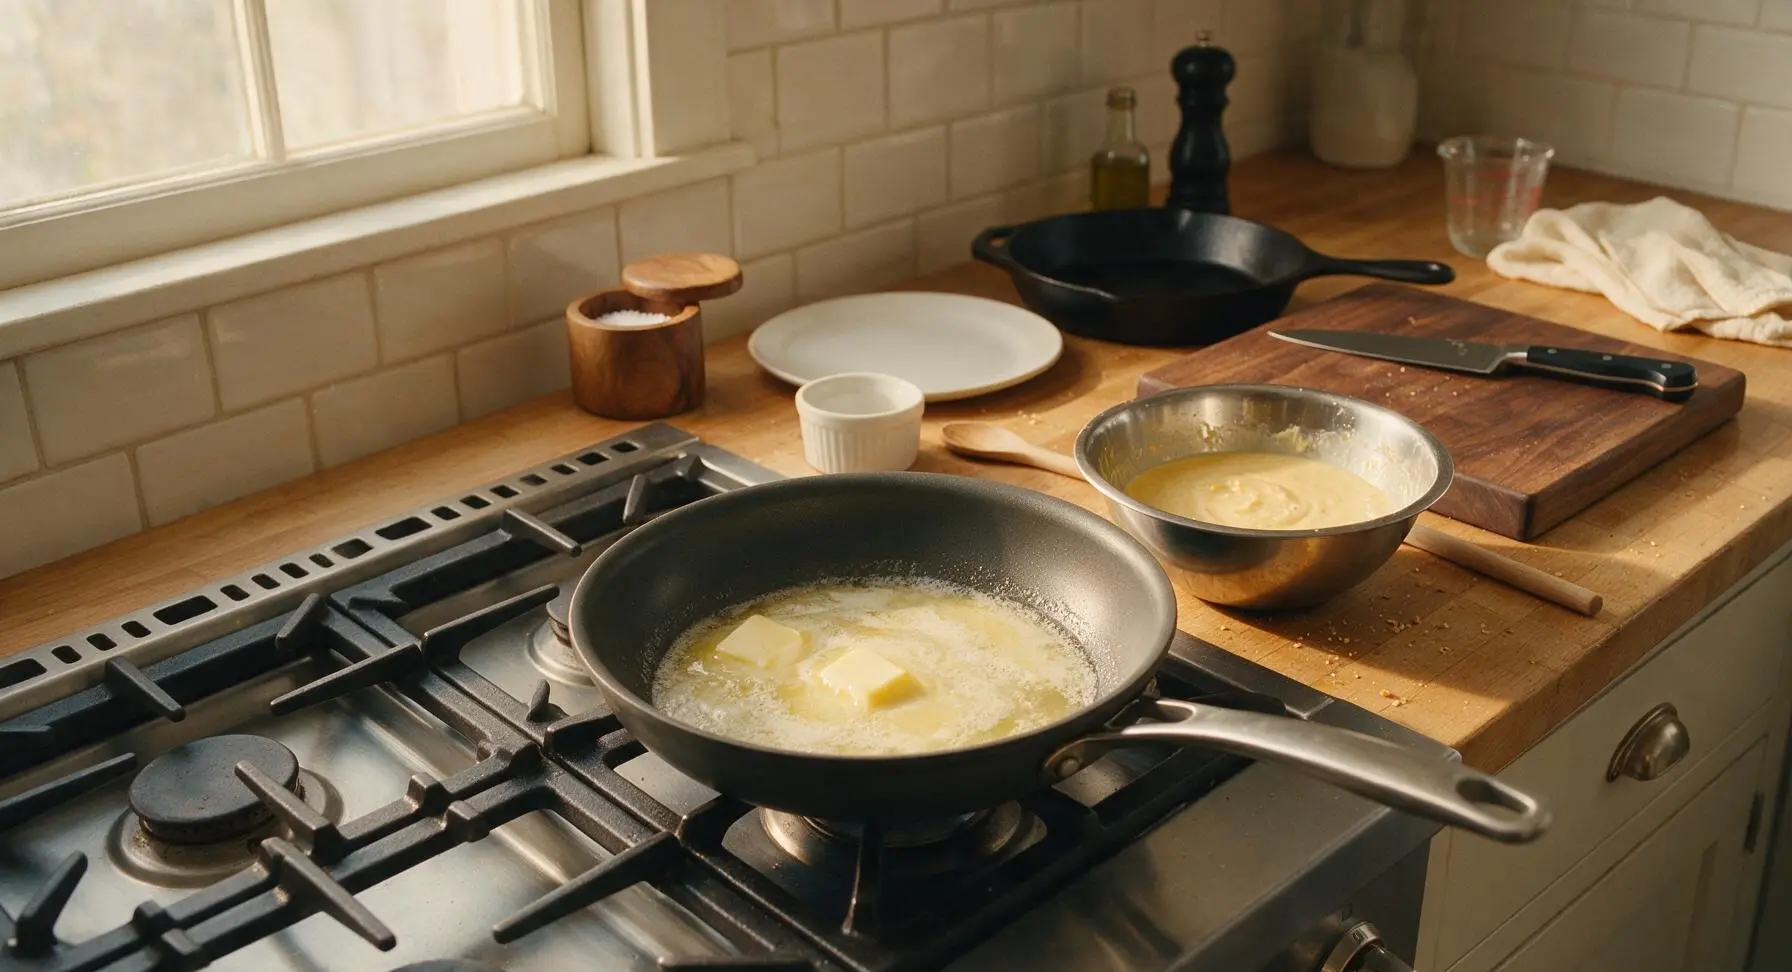
Preheat Skillet Gently

Retrieve the 20cm matte charcoal non-stick skillet and place it on the stovetop over the lowest possible heat setting. Add 1 tablespoon of unsalted butter to the pan, and let it melt slowly over 1 minute until it forms a glossy, foamy pool that does not sizzle or brown. If the butter immediately sizzles and pops when added, the pan is too hot—remove it from the heat for 30 seconds to cool slightly, as high heat will produce rubbery, dry eggs and can burn the miso.
Step 4
step4:Preheat Skillet Gently
5

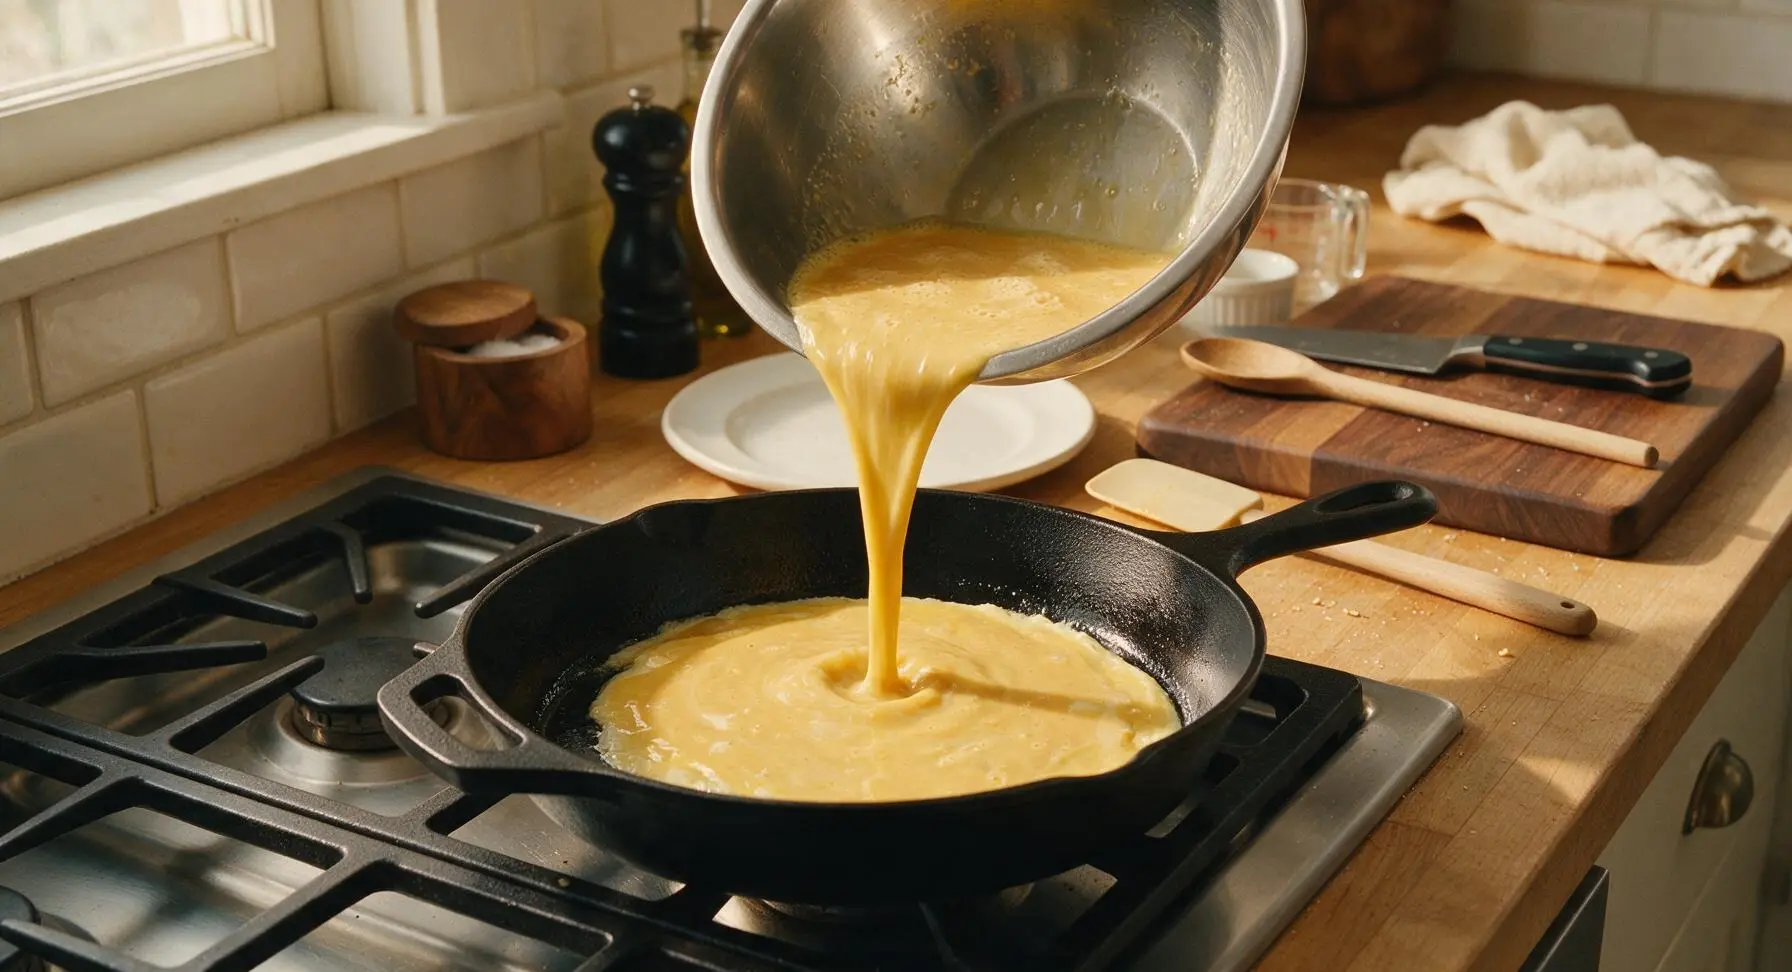
Cook Eggs Low and Slow

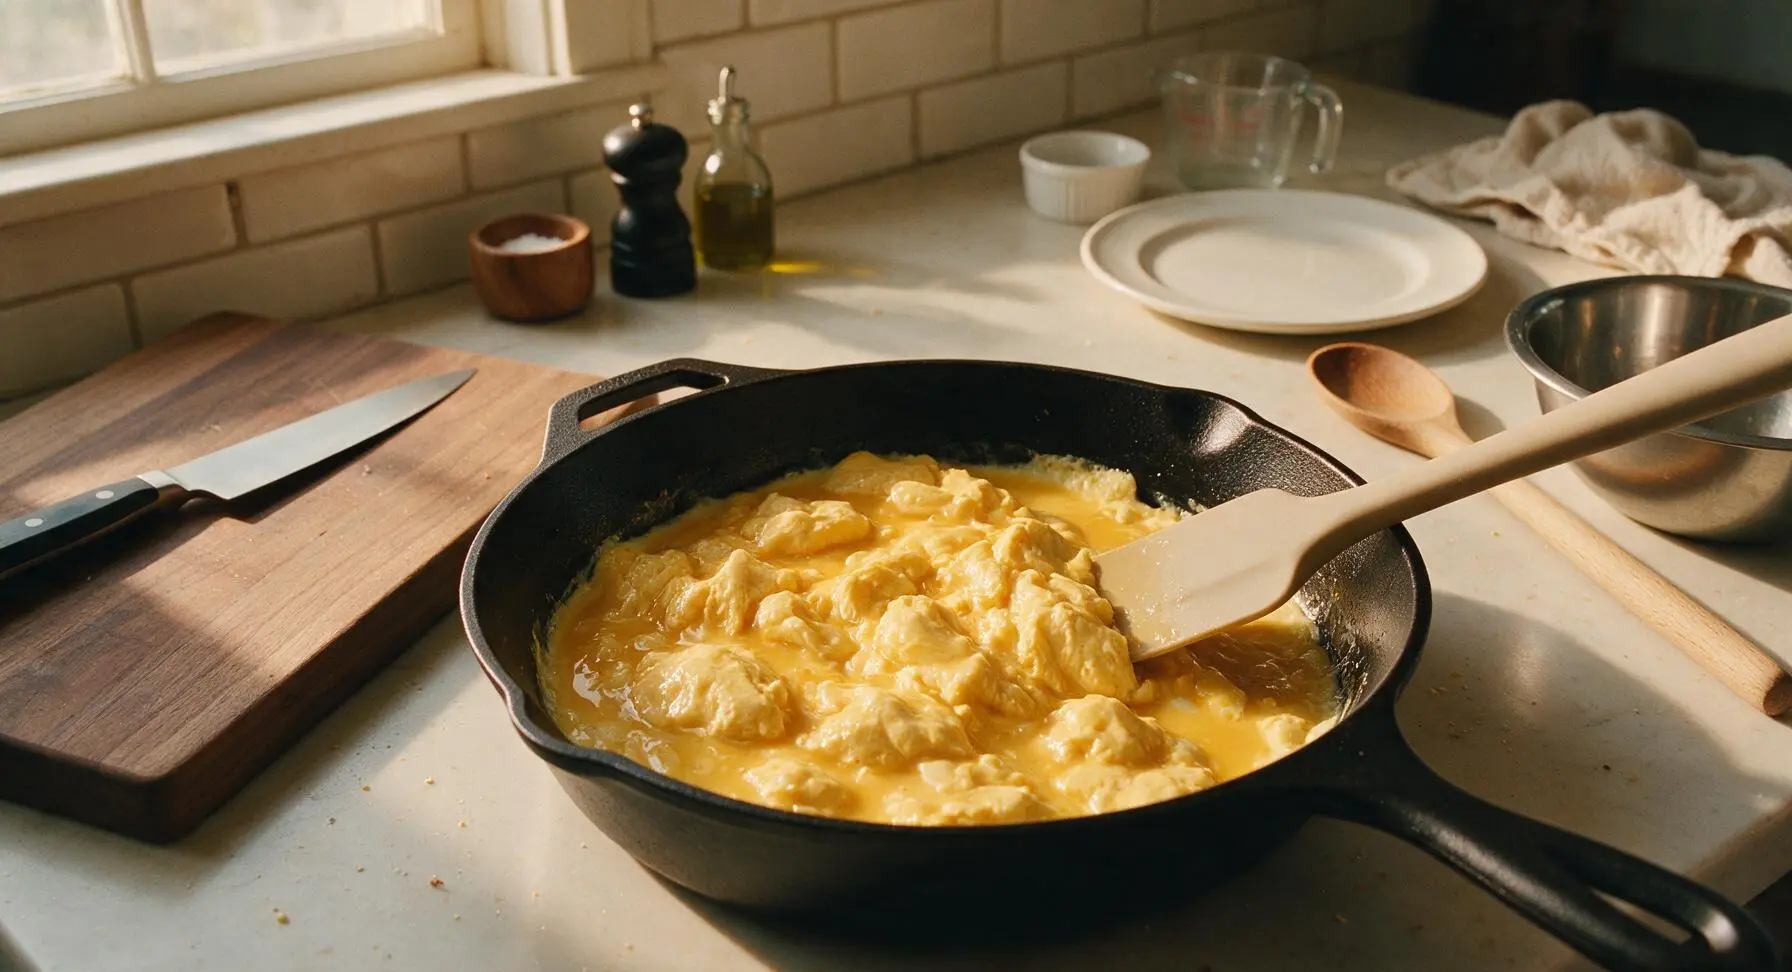
Pour the entire egg and miso mixture into the preheated, buttered skillet. Let the eggs sit undisturbed for 15 seconds until the very edges start to set into soft, pale curds. Use the flexible light beige silicone spatula to gently push the set curds from the edge of the pan toward the center, tilting the pan slightly to let uncooked, runny egg flow into the empty pan spaces. Repeat this gentle push-and-tilt motion continuously for 2 minutes, until the eggs form soft, large, moist curds that are just barely set—they will look slightly underdone in the center, as residual heat will finish cooking them off the heat. Do not stir rapidly or break curds into small, crumbly pieces.
Step 5
step5:Cook Eggs Low and Slow
Step 5
step5:Cook Eggs Low and Slow
6

Rest Eggs Briefly

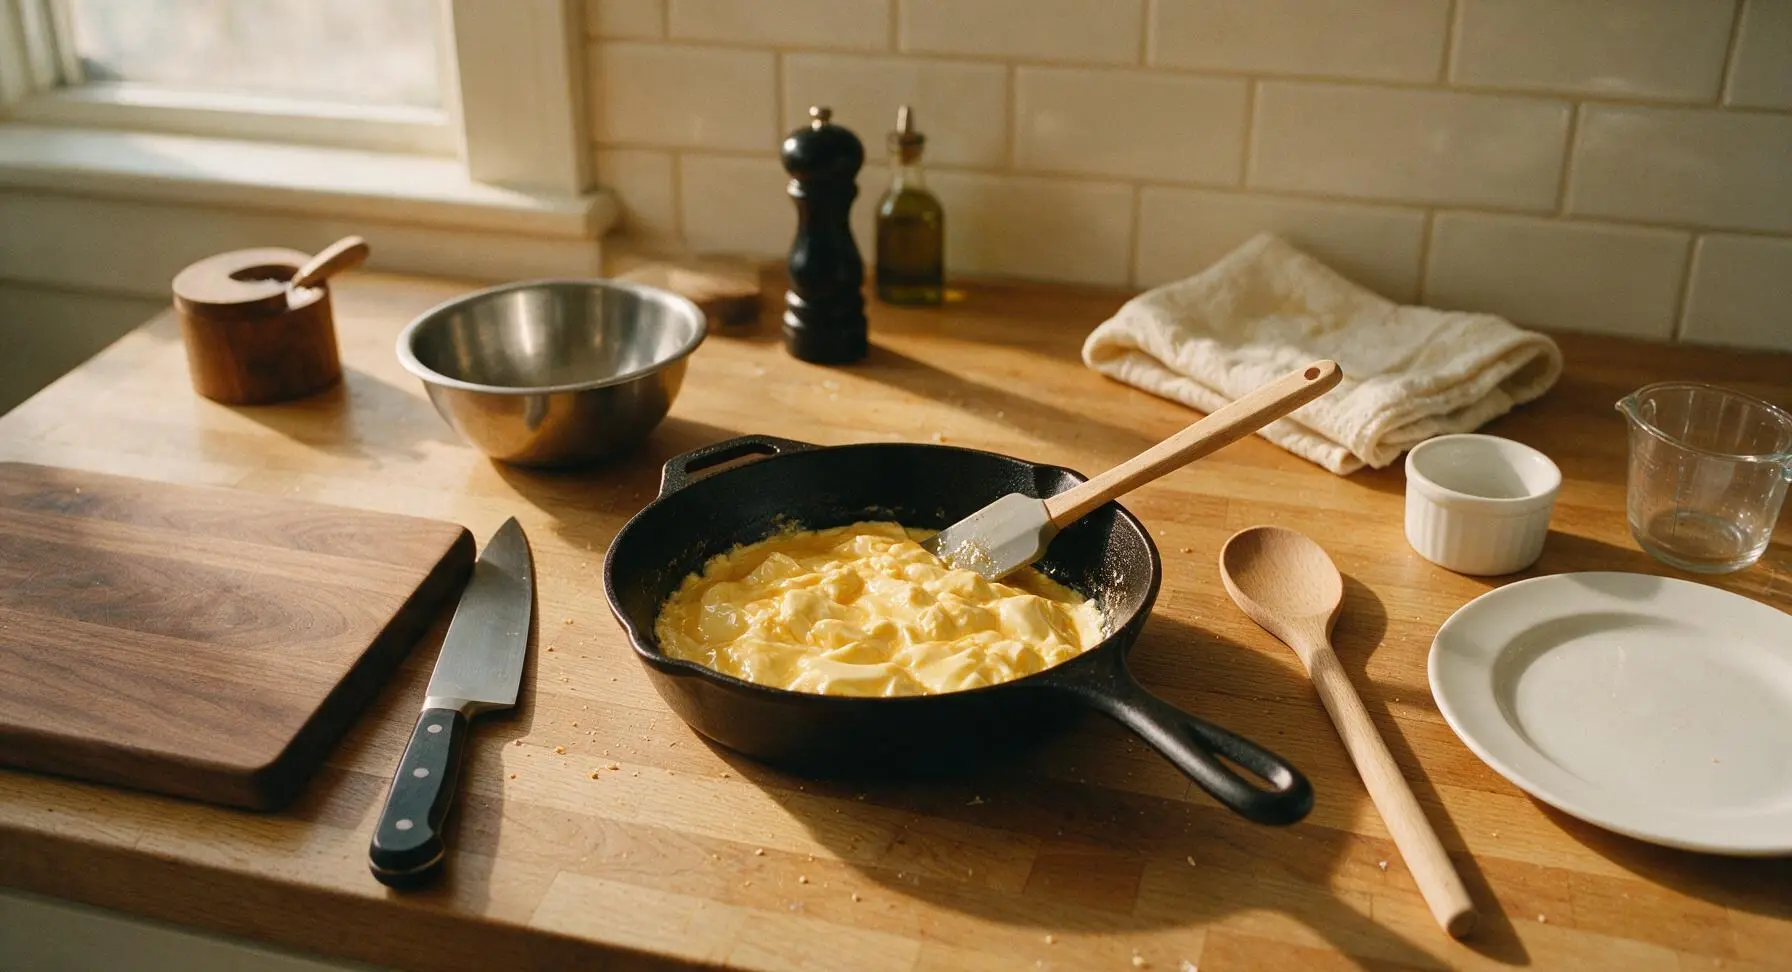
Turn off the stovetop heat once the eggs are 90% set, with just a small amount of soft, wet-looking curd remaining in the center. Let the eggs rest undisturbed in the warm skillet for 30 seconds, allowing residual pan heat to finish cooking them to a silky, soft texture without drying out. Avoid leaving the eggs on active heat, as miso can develop a bitter, burnt taste if overcooked.
Step 6
step6:Rest Eggs Briefly
7

Plate and Garnish

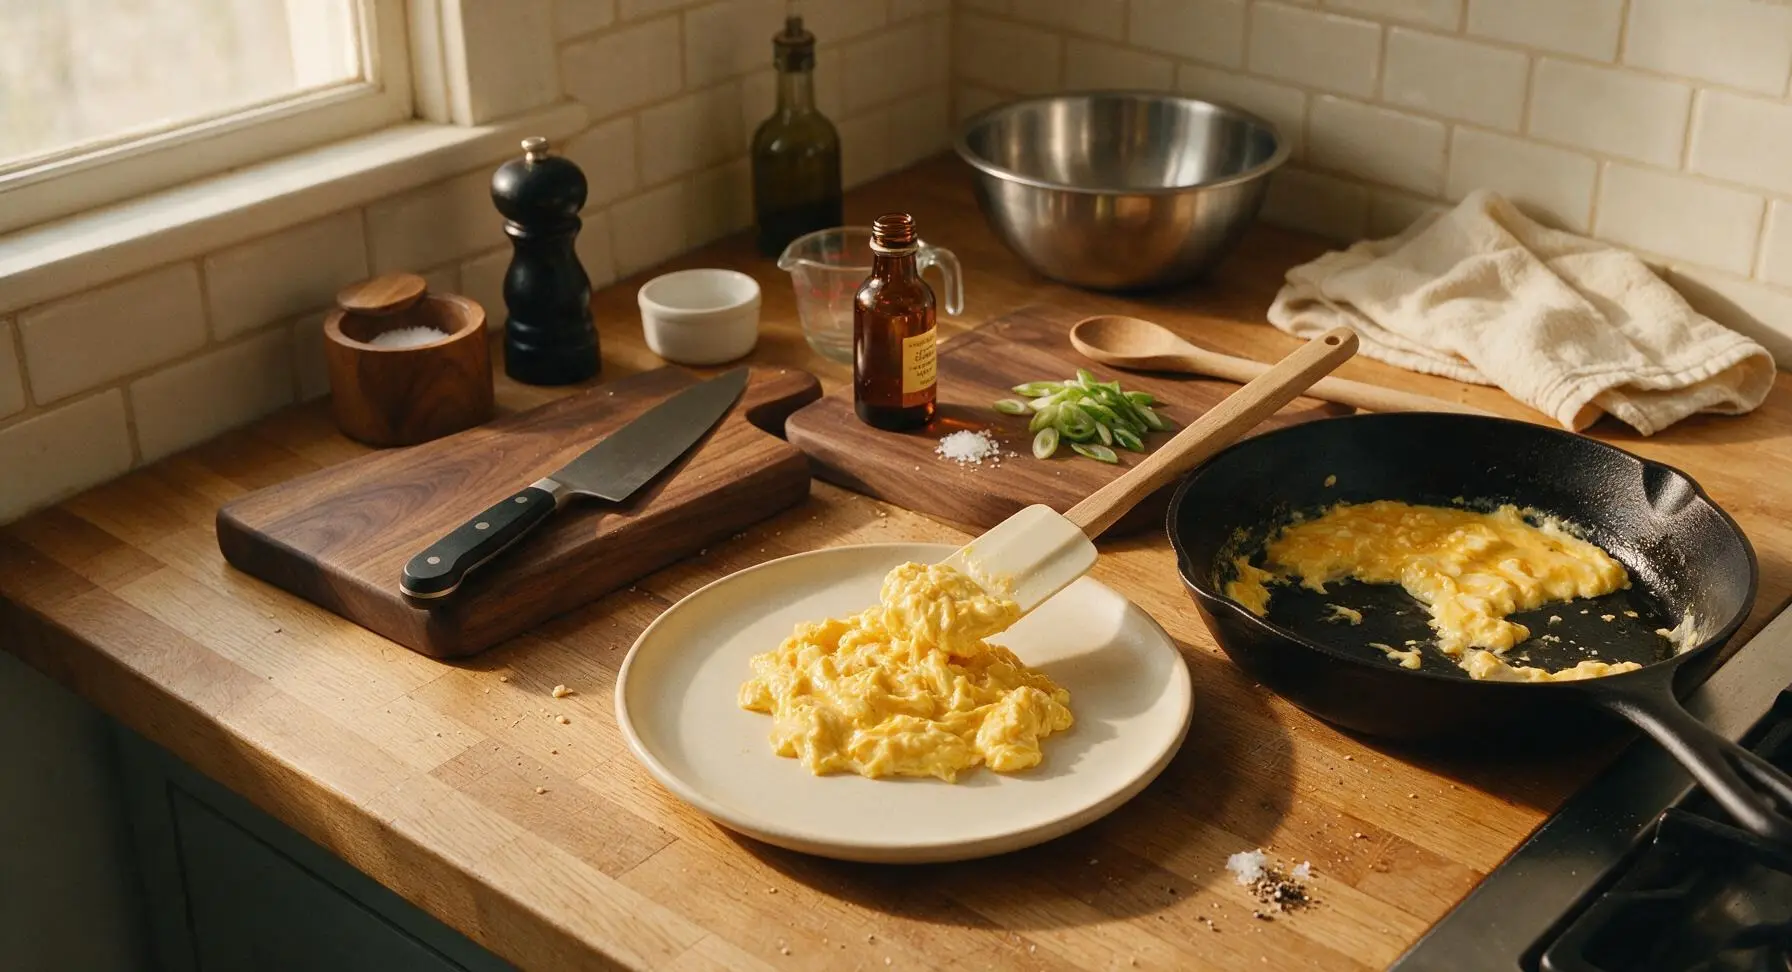
Gently slide the soft scrambled eggs from the skillet onto the center of the 24cm cream ceramic breakfast plate, mounding them slightly in a natural, loose pile (do not press them flat or compact the curds). Drizzle with 1/4 teaspoon of toasted sesame oil from the amber bottle, scatter the reserved sliced scallion greens over the top, and add a tiny pinch of flaky sea salt and freshly ground black pepper to taste. Serve immediately while the eggs are warm and soft.
Step 7
step7:Plate and Garnish

Tips

1.Stick to white (shiro) miso for this recipe: darker red (aka) or barley (mugi) miso is much saltier and has a stronger, fermented flavor that will overpower the delicate, creamy taste of the eggs instead of adding subtle, savory umami.
2.Never cook scrambled eggs over medium or high heat: high heat causes egg proteins to tighten rapidly into rubbery, dry curds, and can burn the miso paste leading to a harsh, bitter aftertaste. Low, slow heat is the key to silky curds.
3.Pull the eggs off the heat before they look fully done: eggs continue to cook for 30-60 seconds after being removed from direct heat (called carryover cooking), so removing them when slightly soft and under-set ensures you get a creamy, melt-in-your-mouth texture instead of dry, crumbly eggs.


✨ You May Also Like

Breakfast
🍜 United States

Crisp-edged, fluffy lard griddle cakes are a nostalgic homestyle staple, with rich savoriness from rendered lard, perfect topped with maple syrup or savory gravy.

⏱️ 25 minuteBreakfast ★ 4.8
Breakfast
🍜 United States

Flaky, buttery homemade buttermilk biscuits smothered in creamy, peppery pork sausage gravy: a beloved, hearty Southern American comfort food classic.

⏱️ 35 minuteBreakfast ★ 4.8
Breakfast
🍜 United States

Golden, custardy brioche stuffed with sweet cream cheese and fresh berries, pan-fried to crisp perfection. An indulgent, cozy breakfast perfect for slow weekend mornings.

⏱️ 30 minuteBreakfast ★ 4.7
Breakfast
🍜 United States

Flaky, buttery Southern-style biscuits stuffed with savory salty country ham, a portable, satisfying classic perfect for casual on-the-go meals.

⏱️ 25 minuteBreakfast ★ 4.8
Breakfast
🍜 United States

Iconic puffy baked pancake popularized in Seattle, with crisp golden edges and soft custardy center, served warm with classic sweet toppings.

⏱️ 35 minuteBreakfast ★ 4.6
Breakfast
🍜 United States

Fluffy, golden pancakes studded with juicy peak-summer mixed berries, drizzled with maple syrup for a bright, comforting, crowd-pleasing family breakfast.

⏱️ 25 minuteBreakfast ★ 4.7

Miso Scrambled Eggs:Frequently Asked Questions

1.What type of miso is best for miso scrambled eggs, and can I use darker miso varieties? ▾
Stick to mellow white (shiro) miso for this recipe, as its mild, salty-sweet, relatively low-sodium profile won’t overpower the delicate, creamy eggs. If you only have red or other darker miso, cut the called-for amount by half, since it is far saltier and more pungent, and taste as you go to avoid overly briny finished eggs.
2.How do I keep my miso scrambled eggs silky and fluffy instead of rubbery? ▾
The key is low, gentle heat and slow, constant stirring. Melt your unsalted butter over medium-low heat, pour in the combined egg-miso-milk mixture, then stir slowly with a silicone spatula, pushing soft curds from the pan edge to the center. Pull the pan off heat right when soft, slightly wet curds form—residual heat will finish cooking them without toughness.
3.How do I mix miso into the eggs without leaving dry, salty clumps? ▾
Never toss solid miso paste straight into your beaten egg bowl! First, whisk the measured miso with a splash of your whole milk until it forms a completely smooth, lump-free slurry, then add that slurry to your beaten eggs and whisk to fully combine. This step eliminates random, overly salty miso clumps trapped in cooked egg curds.
4.Can I make this recipe dairy-free? ▾
Absolutely. Swap the unsalted butter for a neutral, high-smoke-point plant-based butter or refined coconut oil, and replace whole milk with unsweetened oat milk or soy milk for the closest creamy texture. Skip strongly flavored plant milks like almond or hemp, as they will compete with and mask the warm, savory umami notes from the white miso.
5.How long does this recipe take to make from start to finish? ▾
This is designed as an ultra-quick, 10-minute-max meal, perfect for busy weekday breakfasts or fast light lunches. Prep work—whisking eggs, mixing the miso slurry, slicing scallions—takes 3 to 4 minutes, and the eggs cook in just 3 to 5 minutes over low heat, so you can have a hot, satisfying meal on the table fast.
6.What should I serve with miso scrambled eggs to make a full, balanced meal? ▾
These umami-rich eggs pair beautifully with buttered sourdough toast, steamed short-grain rice, or crispy roasted breakfast potatoes. For extra texture and flavor, top with a sprinkle of toasted sesame seeds, a dash of furikake, or a pinch of red pepper flakes, and add a side of quick pickled cucumbers for a bright, tangy contrast.
7.Can I add extra mix-ins to these eggs, or will that ruin the soft texture? ▾
You can absolutely add gentle mix-ins, just avoid heavy, watery ingredients that will make your eggs soggy. Great options include a handful of tender baby spinach, finely diced sautéed mushrooms, a sprinkle of shredded mild white cheddar, or crispy crumbled bacon. Add mix-ins right as the eggs are almost done to preserve soft, fluffy curds.
8.Why does this recipe call for whole milk instead of heavy cream or water? ▾
Whole milk strikes the perfect balance of creaminess and lightness for these soft eggs. Heavy cream will make the final dish overly rich and dense, masking the subtle umami from the white miso, while water will make curds watery and dilute flavor. If you prefer extra luxury, swap 1 tablespoon of milk for heavy cream, but don’t replace all of it.
9.How do I store leftover miso scrambled eggs, and how long will they keep? ▾
Let leftover eggs cool completely to room temperature within 2 hours of cooking, then transfer them to an airtight container and refrigerate for up to 3 days. To reheat, warm them gently in a nonstick pan over the lowest heat, stirring occasionally, or microwave in 20-second bursts, taking care not to overcook them into rubbery curds.
10.Do I need to add extra salt to these miso scrambled eggs? ▾
You likely won’t need any extra added salt! White miso paste is naturally salty and packed with umami, so it seasons the eggs fully on its own. Always taste a small bite of the finished eggs right before serving, and only add a tiny pinch of flaky sea salt if flavor feels flat, rather than salting the egg mixture upfront.
11.What kind of pan works best for making perfectly soft miso scrambled eggs? ▾
A heavy-bottomed nonstick skillet is your best bet here, as it prevents delicate egg curds from sticking and distributes heat evenly to avoid hot spots that burn or overcook eggs. If you don’t have a nonstick pan, use a well-seasoned carbon steel or cast iron skillet, and add a tiny extra pat of butter to create a nonstick surface first.
12.Can I meal prep these miso scrambled eggs for quick weekday breakfasts? ▾
These eggs work great for light meal prep, though they are at their silkiest best when freshly cooked. Make a batch on Sunday, portion into airtight containers with a side of toast or rice, and refrigerate for up to 3 days. Pull them off heat a touch underdone when prepping to account for extra firming during reheating.
13.What part of the scallions should I use, and when do I add them to the recipe? ▾
Use both the tender green tops and the pale white/light green parts of the scallions for the best balanced flavor. Slice them thin, add the firmer white/light green parts to the pan right as you melt the butter to soften them slightly, then reserve the delicate green tops to sprinkle over finished eggs for a bright, fresh pop.
14.Why did my miso scrambled eggs turn out watery when I made them? ▾
Watery eggs usually stem from one of three common mistakes: cooking over too-high heat which causes eggs to separate and release moisture, not fully mixing the miso slurry so excess liquid pools, or adding watery mix-ins (like undrained tomatoes or raw spinach) that leach water as they cook. Cook low and slow, mix miso fully, and sauté watery veggies first to fix this.
15.Can I scale this recipe to make miso scrambled eggs for a crowd at brunch? ▾
You can absolutely scale this recipe for a group, just cook the eggs in smaller 2 to 3-serving batches rather than dumping a huge volume of egg mixture into one large pan. Small batches ensure every serving stays silky and fluffy, rather than turning watery or overcooked, and you can keep finished batches warm in a 200°F oven while you cook.

Comments (9)

2 days ago

OMG these miso scrambled eggs are a total game changer for my weekday breakfast meal prep! I threw a little extra green onion on top and my 7 year old asked for seconds before I even sat down. SO good, way more flavorful than regular plain scrambled eggs. Cook time really is only 3 minutes too, perfect for rushed school mornings.

1 week ago

Made these for a little potluck brunch with my roommates last weekend and everyone was begging for the recipe! I used white miso because that’s what I had in the fridge, added a tiny sprinkle of furikake on top, and paired it with crispy rice. 10/10, will be making this every Sunday from now on.

30 minutes ago

So happy this recipe is naturally gluten free! I’ve been looking for quick, easy high-protein breakfasts that don’t require a million ingredients, and this hits the spot. I did add a splash of oat milk to make them extra fluffy, turned out perfect.

5 minutes ago

Wait, can I use red miso instead of white? I only have red miso paste in my fridge from making ramen last week and I don’t wanna run to the store just for this.

just now

Great question! Red miso works totally fine here, it just has a deeper, saltier flavor so you might want to use about 25% less than the recipe calls for to keep the eggs from getting too salty. Enjoy!

yesterday

I burned my first batch because I had the heat up too high 😂 but the second batch on medium-low came out so creamy and delicious! The umami from the miso is unreal, I’ll never make plain scrambled eggs again.

yesterday

Oh I did the exact same thing my first try! Low and slow is definitely the move for these, so worth the extra 30 seconds of patience lol

3 days ago

How long do these keep in the fridge for meal prep? I wanna make a big batch on Sunday to take to work for breakfast all week.

3 days ago

These stay great in an airtight container in the fridge for up to 4 days! Just reheat them in 20 second bursts in the microwave, stirring between each, to keep them from getting rubbery.

5 days ago

I added a tiny drizzle of chili crisp on top of mine and oh my GOD, that combo is insane. Sweet, salty, umami, a little kick? 10/10, no notes.

3 days ago

Chili crisp is such a good call! I did that last time too and my partner thought I was a professional chef lmao, it’s the easiest upgrade ever

2 days ago

Chili crisp is such a chef’s kiss addition! We love seeing all the fun customizations people come up with, that sounds absolutely delicious.

2 weeks ago

I was so skeptical about putting miso in eggs but this is literally the best breakfast I’ve made all semester. I didn’t even have to buy anything special, I grabbed a single serve miso packet from the dining hall and it worked perfectly. 10/10 for broke college kids

2 weeks ago

Wait the single serve miso packet hack is genius! I never thought to grab those from the dining hall, I’ve been buying whole tubs that go bad before I can use them lmao

1 week ago

Love the dining hall miso hack! So glad this worked out for you, quick budget-friendly meals are what we’re all about.

2 hours ago

Made these for my family’s Sunday breakfast yesterday and even my super picky teen who hates ‘weird food’ loved them! I served them with toast and avocado slices, and everyone cleaned their plates. So easy, so flavorful, this is going into our regular rotation.

30 minutes ago

Oh I feel this! My kid turns his nose up at anything that isn’t frozen waffles, I’m definitely testing this on him tomorrow morning. Fingers crossed it works!

5 minutes ago

There’s no better compliment than a picky eater cleaning their plate! So stoked this was a hit with your family, thanks for giving it a try.



