
Mission Style Burrito

Mission Style Burrito
⏱️ cook time 35 minutes
🍽️ servings 4
⚡ Difficulty easy

intro

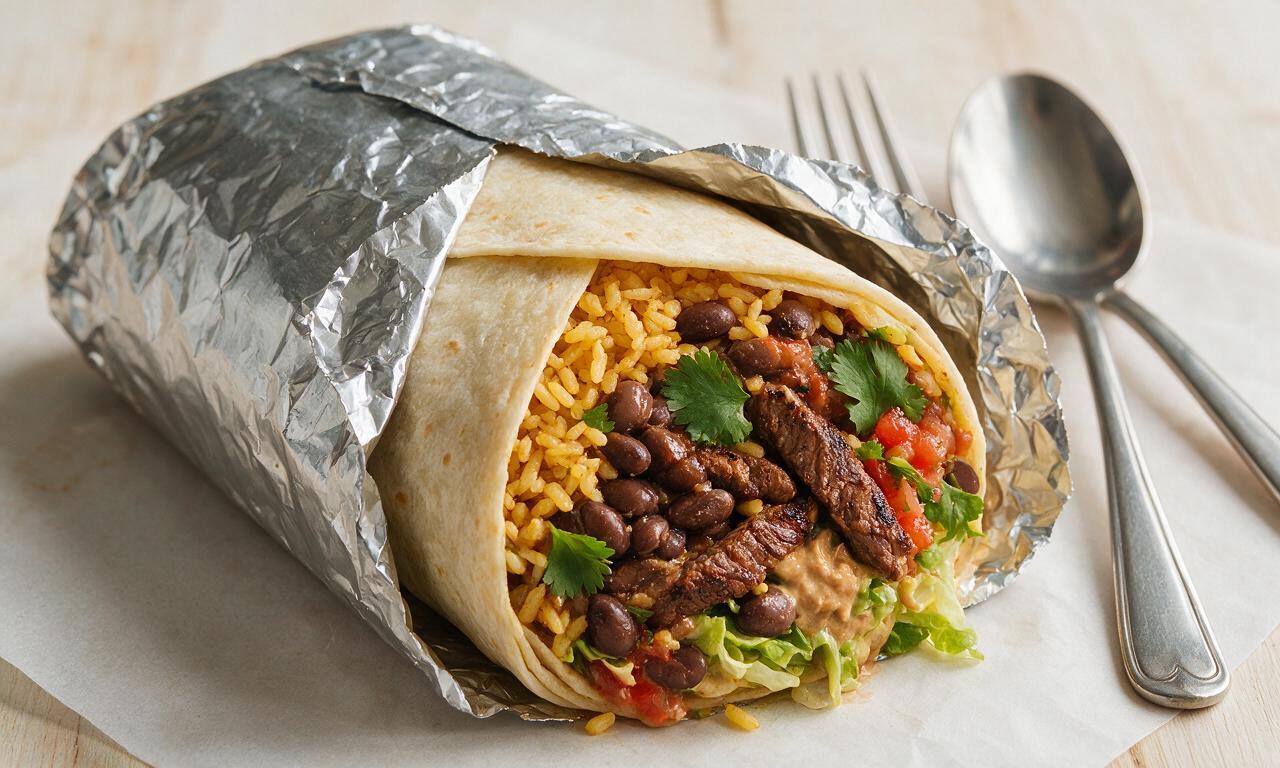
Originating in San Francisco’s Mission District, this oversized, foil-wrapped burrito packs seasoned rice, beans, steak, and fresh fillings into a soft flour tortilla for a hearty, portable meal.

Ingredients

12-inch flour tortillas 4 pieces (120g each)
Skirt steak 450g, trimmed, sliced 0.5cm thick against the grain
Long-grain white rice (uncooked) 200g
Canned pinto beans 400g, drained and rinsed
Water 400ml (for cooking rice)
Fresh cilantro 15g, finely chopped, divided
Fresh lime 2 pieces (30ml total juice, divided)
Ground cumin 1.5 tsp (3g), divided
Chili powder 1 tsp (2.5g)
Garlic powder 1 tsp (3g)
Kosher salt 1.5 tsp (9g), divided
Ground black pepper 0.5 tsp (1g)
Neutral cooking oil (canola/avocado) 2 tbsp (30ml), divided
Full-fat sour cream 120g
Shredded Monterey Jack cheese 100g
Pico de gallo 150g, drained of excess juice
Ripe avocado 1 large (150g), pitted and sliced
Aluminum foil 4 sheets (30cm x 30cm each)

Steps

1

Make cilantro-lime rice

Rinse 200g long-grain white rice under cold running water until the water runs clear. Heat 1 tbsp (15ml) neutral oil in a medium saucepan over medium heat, add rice, and toast for 2 minutes until it smells faintly nutty. Pour in 400ml water and 1 tsp (6g) kosher salt, bring to a rolling boil, then reduce heat to the lowest setting, cover tightly, and simmer for 18 minutes without lifting the lid. Remove from heat, let rest covered for 5 minutes, then fluff with a fork. Stir in 10g finely chopped cilantro and 15ml (1 tbsp) fresh lime juice, then set aside to cool slightly.
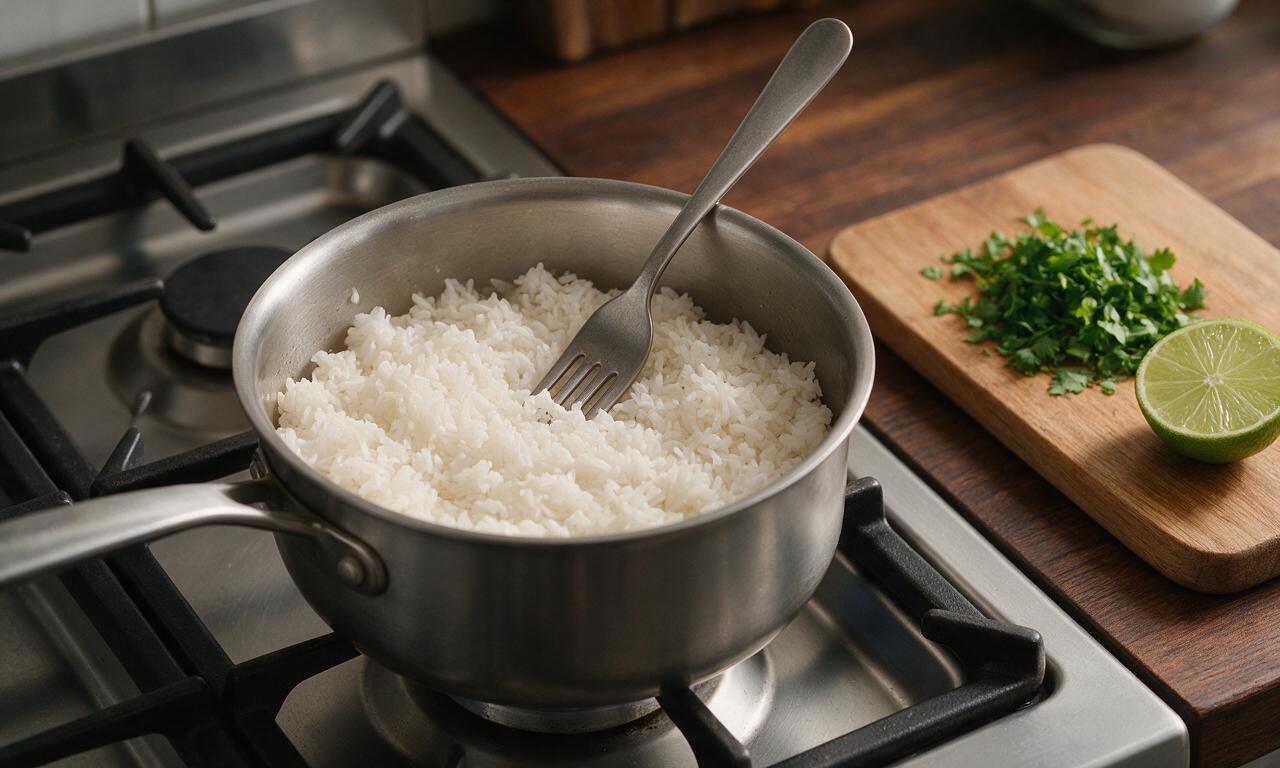
Step 1
step1:Make cilantro-lime rice
2

Sear seasoned skirt steak

Pat 450g 0.5cm-thick sliced skirt steak completely dry with paper towels. Toss with 1 tsp (2.5g) chili powder, 1 tsp (3g) garlic powder, 1 tsp (2g) ground cumin, 0.5 tsp (1g) black pepper, and 0.25 tsp (1.5g) kosher salt until evenly coated. Heat the remaining 1 tbsp (15ml) neutral oil in a large cast-iron skillet over medium-high heat (200°C/400°F pan surface). Add steak in a single layer, working in two batches if needed to avoid crowding the pan, and sear for 1.5 minutes per side until deep golden brown and cooked to medium (63°C/145°F internal temperature). Transfer seared steak to a plate, squeeze 5ml (1 tsp) fresh lime juice over top, and let rest for 5 minutes.
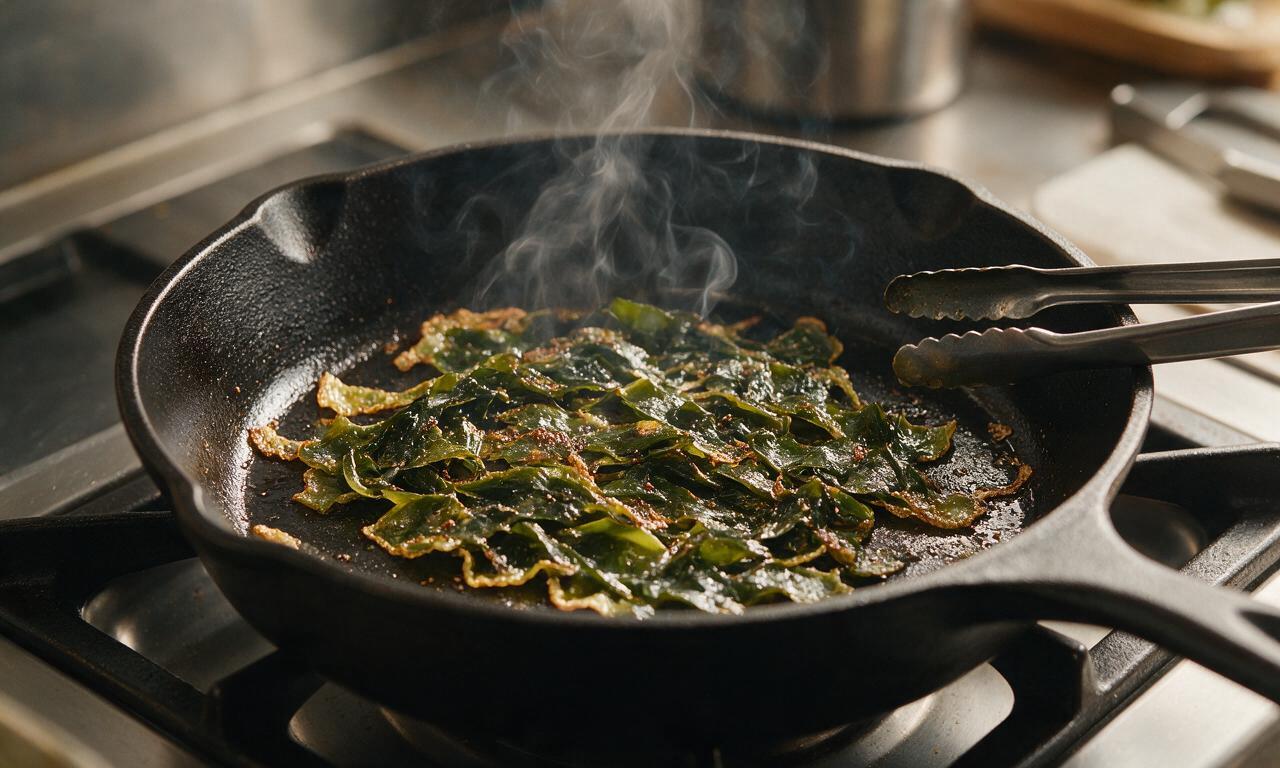
Step 2
step2:Sear seasoned skirt steak
3

Warm seasoned pinto beans

Add 400g drained, rinsed canned pinto beans to a small saucepan over medium-low heat. Stir in the remaining 0.5 tsp (1g) ground cumin, remaining 0.25 tsp (1.5g) kosher salt, and remaining 10ml (2 tsp) fresh lime juice. Cook for 4 minutes, stirring occasionally, until beans are fully heated through. Use the back of a wooden spoon to mash roughly 1/3 of the beans to create a creamy, thick texture, then set aside and keep warm.
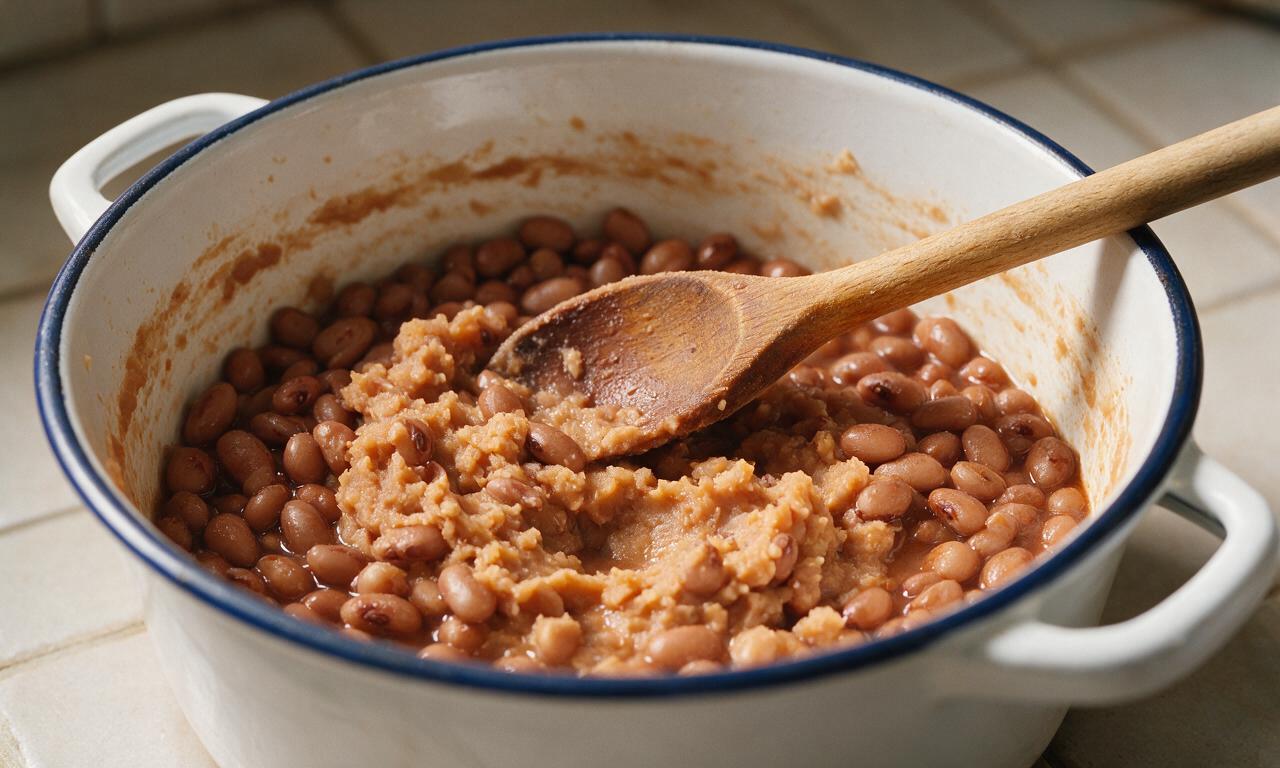
Step 3
step3:Warm seasoned pinto beans
4

Warm flour tortillas

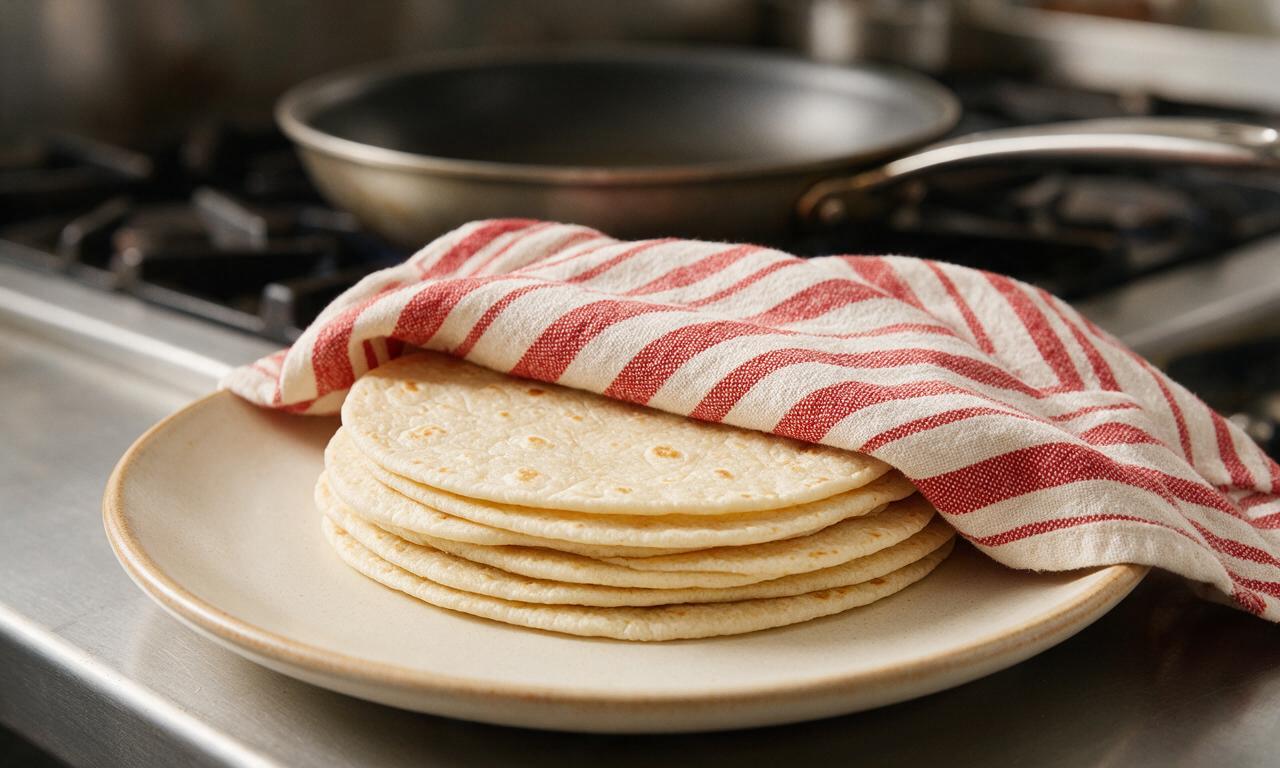
Heat each 12-inch (120g) flour tortilla one at a time in a dry, ungreased skillet over medium heat for 15 seconds per side, until soft and flexible with faint light brown speckles. Alternatively, wrap all tortillas in a damp paper towel and microwave on high power for 30 seconds. Stack warmed tortillas on a ceramic plate and cover with a clean cotton kitchen towel to retain heat and prevent cracking during assembly.
Step 4
step4:Warm flour tortillas
5

Layer burrito fillings

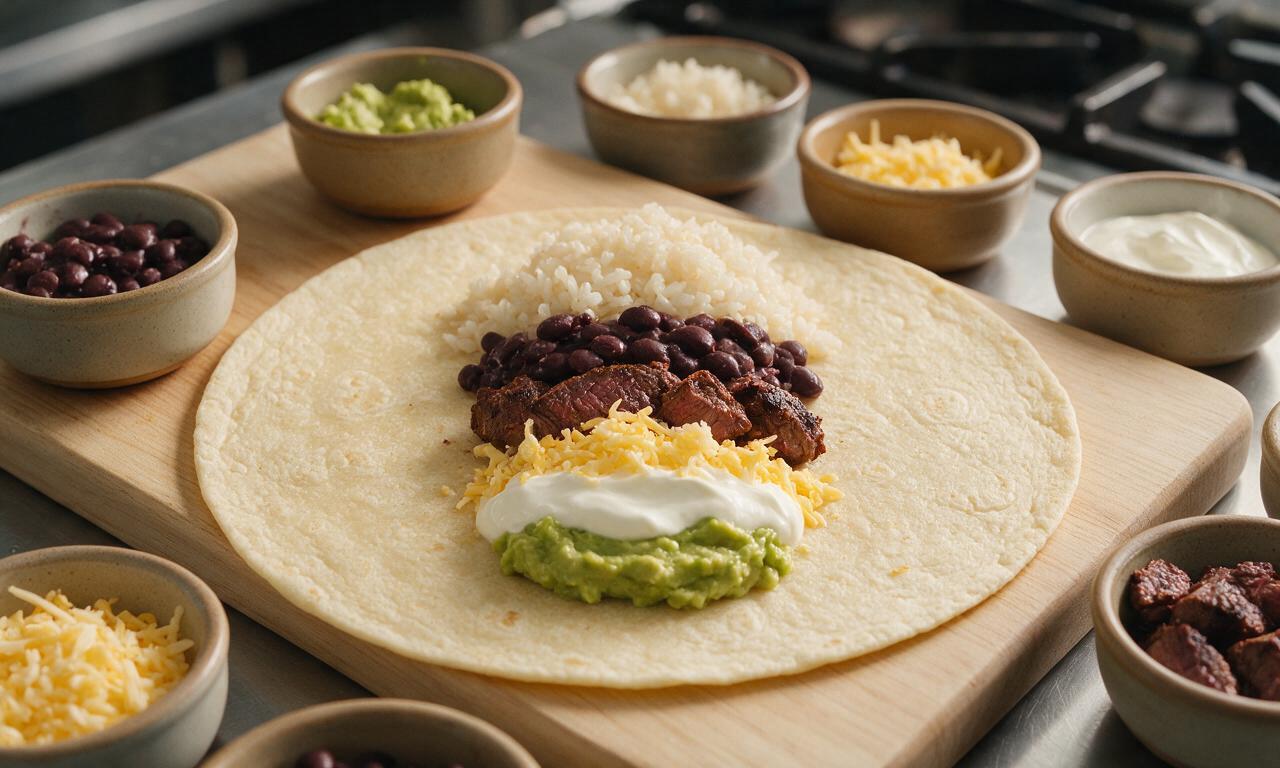
Lay one warm tortilla flat on a clean wooden cutting board. Add fillings in a tight vertical line down the center of the tortilla, leaving a 5cm (2-inch) border at the top and bottom edges: 120g (approx 1/2 cup) cilantro-lime rice, 100g (approx 1/3 cup) seasoned pinto beans, 1/4 of the seared skirt steak, 25g (1/4 cup) shredded Monterey Jack cheese, 30g (2 tbsp) sour cream, 37.5g (1/4 cup) drained pico de gallo, 3-4 slices of fresh avocado, and a pinch of the remaining chopped cilantro. Avoid overfilling, as this will cause the tortilla to tear during rolling.
Step 5
step5:Layer burrito fillings
6

Roll and wrap burritos

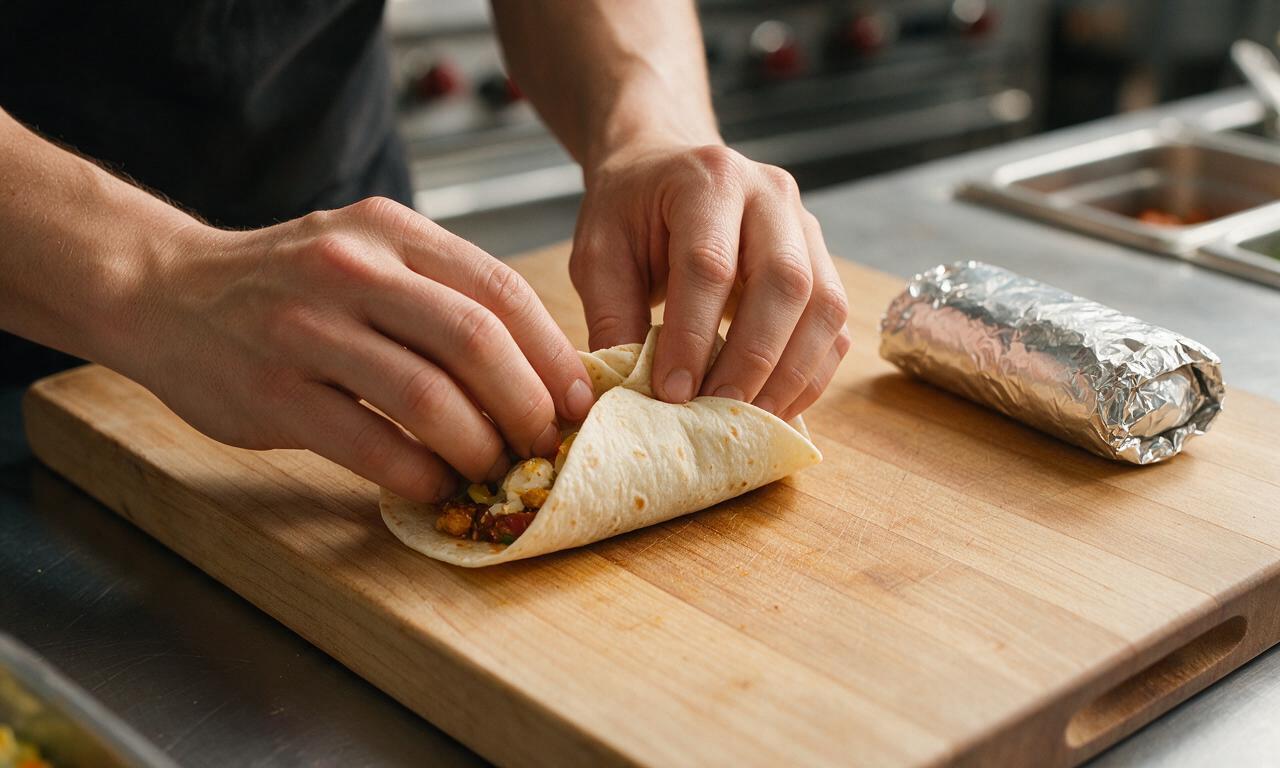
Fold the top and bottom 5cm borders of the tortilla in over the ends of the filling line. Next, fold one long side of the tortilla tightly over the fillings, tucking the edge under the ingredients to eliminate trapped air gaps, then roll firmly away from you to create a tight, sealed cylinder. Wrap each rolled burrito tightly in a 30cm x 30cm sheet of aluminum foil, twisting the open ends to secure, and let rest for 2 minutes to allow the cheese to melt slightly and fillings to set. Cut in half diagonally through the foil to serve.
Step 6
step6:Roll and wrap burritos

Tips

1.Always drain excess liquid from pico de gallo and canned beans before adding fillings—watery ingredients will soak through the tortilla, causing sogginess and tears when rolling.
2.Resist the urge to overstuff your burrito; leaving extra tortilla space makes rolling easy and prevents fillings from leaking out while you eat.
3.Keep tortillas warm under a towel until the moment you assemble each burrito—cold tortillas are stiff and will crack when folded, even if they were initially warmed properly.


✨ You May Also Like

Main Course
🍜 United Kingdom

A showstopping classic of tender seared beef, savory mushroom duxelles, and crisp prosciutto wrapped in flaky golden puff pastry, baked to juicy perfection.

⏱️ 2 hours 1Main Course ★ 4.7
Main Course
🍜 India

Tender charred marinated chicken simmered in a rich, spiced creamy tomato sauce, this iconic Anglo-Indian curry pairs perfectly with basmati rice or warm naan.

⏱️ 50 minuteMain Course ★ 4.8
Main Course
🍜 Thailand

Classic tangy, sweet, and savory Thai stir-fried rice noodles with shrimp, tofu, and crunchy garnishes, balancing all five core Thai flavor profiles.

⏱️ 30 minuteMain Course ★ 4.6
Main Course
🍜 United Kingdom

Crispy golden beer-battered cod and fluffy double-fried chips, served with tangy tartar sauce and malt vinegar: the timeless, beloved British pub comfort classic.

⏱️ 45 minuteMain Course ★ 4.9
Main Course
🍜 Mexico

Smoky, chile-marinated pork tacos with caramelized pineapple, fresh cilantro, and lime: a beloved classic Mexican street food perfect for casual summer gatherings.

⏱️ 1 hour 45Main Course ★ 4.7
Main Course
🍜 United States

Crunchy Fritos corn chips layered with savory beef chili and melted cheddar, topped with cool, zesty fixings for a beloved, cozy Tex-Mex comfort food.

⏱️ 35 minuteMain Course ★ 4.9

Mission Style Burrito:Frequently Asked Questions

1.Why is a 12-inch flour tortilla required for an authentic Mission-style burrito? Can I use a smaller tortilla instead?
A 12-inch flour tortilla is non-negotiable for a true Mission burrito, as this oversized wrap is built to hold heaping portions of rice, beans, steak, and extra fillings without tearing. Warm it for 10 seconds on a dry griddle or microwave first to boost pliability; smaller tortillas will split mid-wrap and can’t deliver that signature hearty, fully stuffed, portable experience.
2.Skirt steak is listed as the meat—how do I cook it so it stays tender instead of turning chewy?
Skirt steak is the traditional, bold-flavored pick for Mission burritos, but it gets chewy fast if prepped wrong. Sear it over high heat to medium-rare (135°F internal), then let it rest 5 minutes before slicing against the grain into thin strips. Never overcook it—skirt steak has little fat marbling, so it turns tough and dry if cooked past medium.
3.Can I swap the long-grain white rice for brown rice or short-grain sushi rice?
Long-grain white rice is the classic choice for authentic Mission burritos because it cooks up light, fluffy, and separate when simmered with the standard 2:1 water to rice ratio, with no clumping that would make the filling mushy. Short-grain rice is too starchy and sticky, while brown rice has a chewy, nutty profile that doesn’t match the traditional texture, though it works as a non-classic swap if you prefer it.
4.The recipe uses canned pinto beans—do I need to prep them, or can I add them straight from the can?
Never dump canned pinto beans straight into your burrito—excess canning liquid will make the wrap soggy, and plain beans taste flat. Drain half the liquid, then simmer the beans 5 minutes with a pinch of cumin, garlic, and salt, mashing 1/3 of them to create the creamy, cohesive texture that defines classic Mission burrito fillings.
5.Why are Mission burritos traditionally wrapped in foil? Is that step really necessary?
Foil wrapping isn’t just a retro takeout trick—it’s core to the Mission burrito identity, which originated in San Francisco’s Mission District. Tight foil holds the overstuffed wrap together so no filling spills as you eat, traps gentle steam to meld the tortilla with fillings, and keeps the burrito warm for 20+ minutes for easy, portable eating.
6.I keep tearing my tortilla when rolling these overstuffed burritos—what’s the trick to a perfect wrap?
Start with your warmed 12-inch tortilla laid flat, and pile all fillings in a tight horizontal line across the lower third, not spread across the whole surface. Fold the left and right edges in first, then tuck the bottom flap tightly over the fillings, compacting them gently as you roll upward. Leave a 1-inch border to avoid blowouts as you roll.

Comments (14)

2 days ago

OMG these were SO good! Made them for my kid’s post-practice team dinner last night and every single burrito was gone in 10 minutes. I stuffed mine with extra cilantro lime rice and the kids loaded theirs up with cheese and sour cream. Total game changer for busy weeknights!

yesterday

Did you make the rice ahead of time? I’m thinking of prepping all the fillings Sunday for the week!

yesterday

Great question! You can absolutely prep the rice, beans, and seasoned meat 2-3 days ahead and assemble burritos when you’re ready to eat — they hold up perfectly for meal prep too! So glad the team loved them :)

3 days ago

Grew up eating Mission burritos every time my family drove out to SF in the 90s, and this recipe tastes exactly like the ones I remember from that tiny spot on Mission St. The giant, tightly wrapped size? *Chef’s kiss* No sad, falling apart burritos here. Already made this twice this week.

1 week ago

This is my new go-to Sunday meal prep! I wrap each burrito in foil and toss them in the freezer, they reheat perfectly in the oven in 20 minutes for work lunches. Saved me so much money on takeout this week.

1 week ago

Love the freezer prep hack! Pro tip: Let them cool completely before wrapping and freezing to avoid soggy tortillas, and they’ll stay good for up to 3 months. Thanks for sharing how you make them work for you!

5 days ago

Solid recipe, tastes just like my local taqueria’s burrito! My only note is I added a little extra chili powder to the meat for more heat, since I like mine spicier. Wrapping technique took me one try to get right, no leaks!

3 days ago

Same! I tossed in a diced pickled jalapeño into the filling mix and it took it to the next level. 10/10 would recommend for fellow heat lovers.

2 days ago

Love that customization! Adjusting the spice level to your taste is totally encouraged — the base recipe is meant to be a starting point so you can add all your favorite fillings and heat levels. Great call on the extra chili powder!

2 weeks ago

Brought these to our neighborhood potluck last weekend and people were asking me for the recipe before they even finished their first bite! I did a mix of chicken and carne asada fillings so there was something for everyone, and the large flour tortillas held all the fillings without tearing. Will absolutely be making these again for our next cookout.

yesterday

I was today years old when I realized how easy it is to make a proper Mission style burrito at home! I’ve been overpaying for delivery burritos for years and these taste better, no cap. The sour cream and guac spread on the tortilla before adding fillings? Game changer, no dry bites at all.

2 hours ago

Bro that guac spread trick changed my life too! I used to just plop guac in the middle and it would all fall out when I took a bite, this method is foolproof.

30 minutes ago

I was worried this wouldn’t work with gluten free large tortillas, but I followed the wrapping tip to warm the tortilla first and it didn’t tear at all! My whole family loved these, even my teen who swears only takeout burritos are good. Thank you for the easy, approachable recipe!

5 minutes ago

So happy the gluten free swap worked for you! Warming the tortilla (whether regular or GF) for 10 seconds in the microwave or on a dry skillet makes it so much more pliable and less likely to tear, it’s our favorite trick for perfect wraps every time. Tell your teen we said hi! :)

3 days ago

Made these on a tight grocery budget this week and the whole meal cost me less than $12 to make 6 giant burritos! Way cheaper than buying them out, and they taste way fresher. I used pinto beans instead of black beans because that’s what I had in the pantry, turned out amazing.

2 days ago

Pinto beans are my go-to too! I also toss in a handful of frozen corn when I make the filling to add a little sweetness, no extra cost since I always have frozen corn on hand.

2 days ago

Love the budget-friendly swaps! Pinto beans are totally traditional in lots of Mission burrito spots, so that’s a perfect call. Using what you have in the pantry is exactly what home cooking is all about — so glad it worked out for you!

1 week ago

I’ve been making burritos for my grandkids for years, but I never did the tight wrap trick where you tuck the ends in first. No more fillings falling all over the kids’ shirts (and my floor!) when they eat them. They kept saying these were the best burritos Pop-Pop ever made. Can’t beat that.

2 hours ago

Swapped the meat for roasted sweet potato and extra fajita veggies to make these vegan, and they came out insane! Even my meat-eating roommate stole half a burrito and said it was better than the carne asada ones he gets down the street. 10/10, easy to customize.

30 minutes ago

The roasted sweet potato swap is genius! I’m definitely trying that next time, I usually do impossible meat but sweet potato sounds so much better with the cilantro rice.

just now

This was the first real meal I’ve ever cooked by myself and it came out perfect! I was so nervous I’d mess up the wrap or season the meat wrong, but the steps were so easy to follow. My roommate said it tasted like restaurant quality, I feel so proud right now.

just now

This makes our day! There’s no better first cooking win than a perfect burrito, and we’re so proud of you for nailing it on the first try. Can’t wait to hear what you cook next!

5 days ago

Made a big batch of these for our Browns watch party last Sunday and they were the perfect tailgate food. We set up a little build-your-own burrito bar with all the toppings and people went crazy for it. Way easier than grilling burgers for the whole crew.

3 days ago

The build your own bar idea is brilliant! I’m stealing that for my boyfriend’s birthday watch party next weekend, did you keep the fillings in slow cookers to stay warm?

2 days ago

A build-your-own burrito bar is such a fun party move! Keeping the rice, beans, and meat in small slow cookers on the warm setting works perfectly to keep everything at the right temp while people build their plates. Hope the birthday party is a hit!

5 minutes ago

Made these at 1am after a night out with friends and they hit DIFFERENT. Way better than the fast food burrito we were gonna order, and the whole kitchen smelled amazing. 10/10, will be my new late night go-to instead of spending money on drive thru.

2 weeks ago

I live 10 minutes from the Mission and I swear this recipe is better than half the spots within walking distance of my apartment. I love that it doesn’t skimp on the fillings, and the ratio of rice to beans to meat is exactly what a Mission burrito should be. No skimpy portions here!

1 week ago

I moved from SF to NYC 3 years ago and have been chasing a good Mission burrito this whole time. Can’t wait to make these this weekend, I’ve been missing that giant, stuffed burrito vibe so bad.



