
Mochi Scrambled Eggs
intro
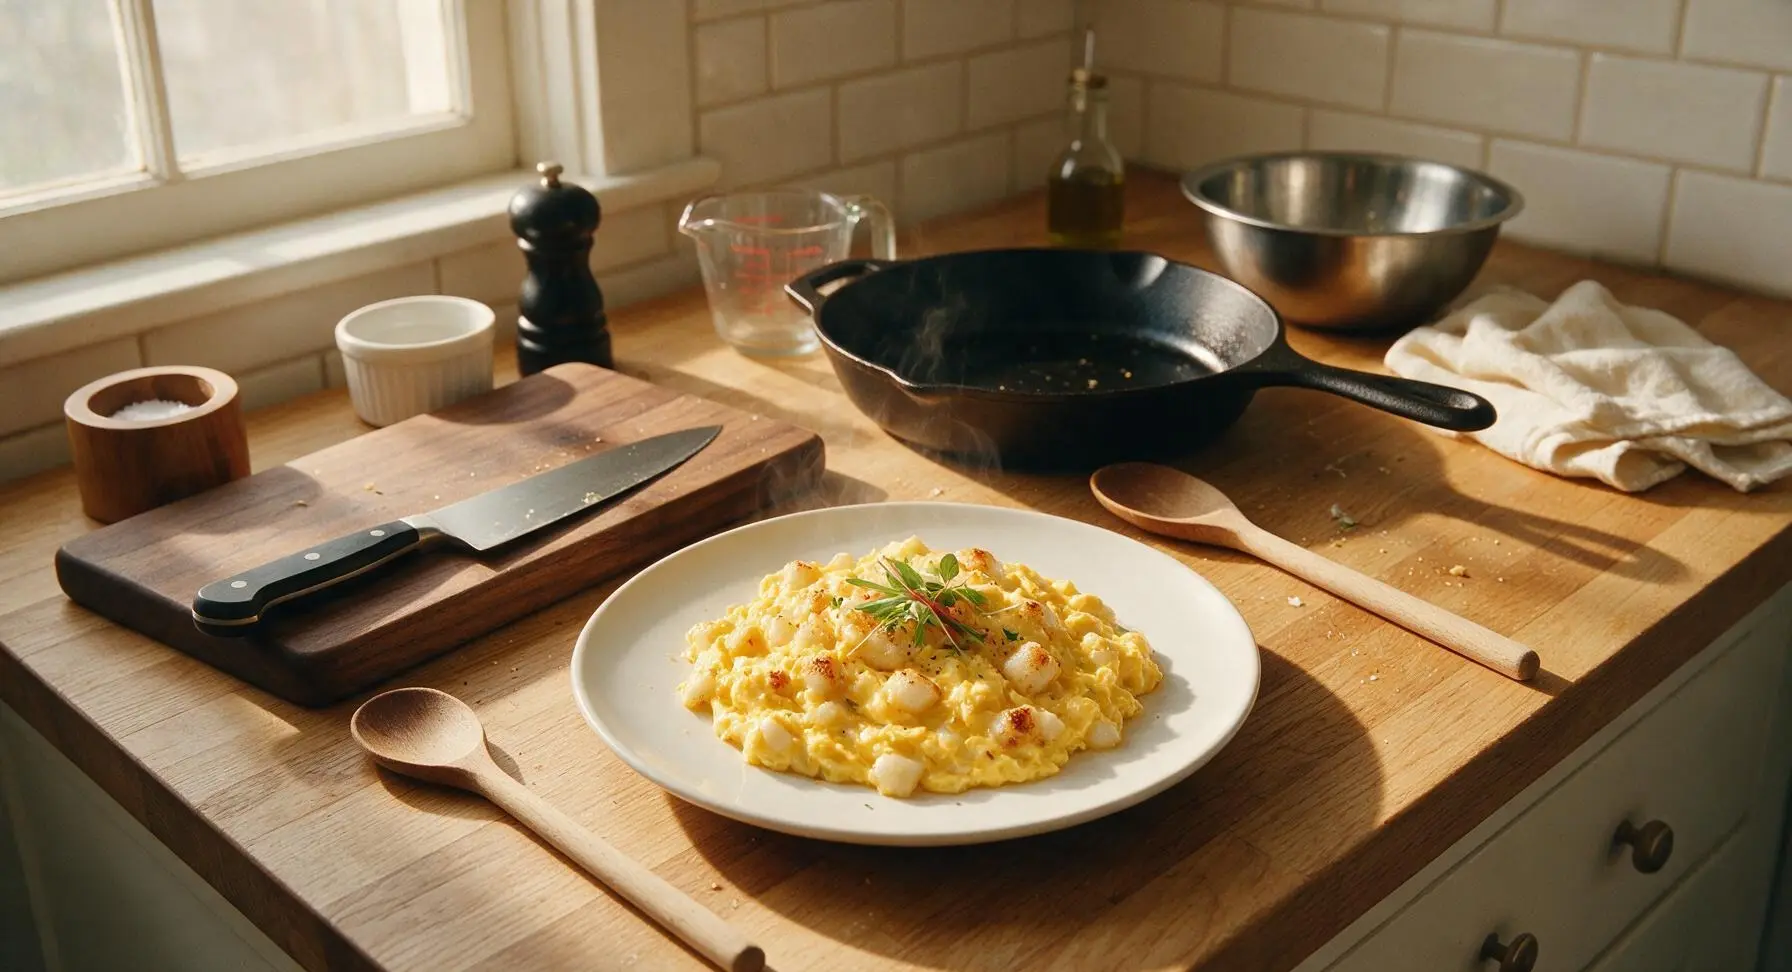
Silky, creamy soft-scrambled eggs studded with chewy, toasty mochi bits—salty, umami-rich, and perfectly comforting, ready in under 15 minutes.
Ingredients
Steps
Cut Mochi and Scallions
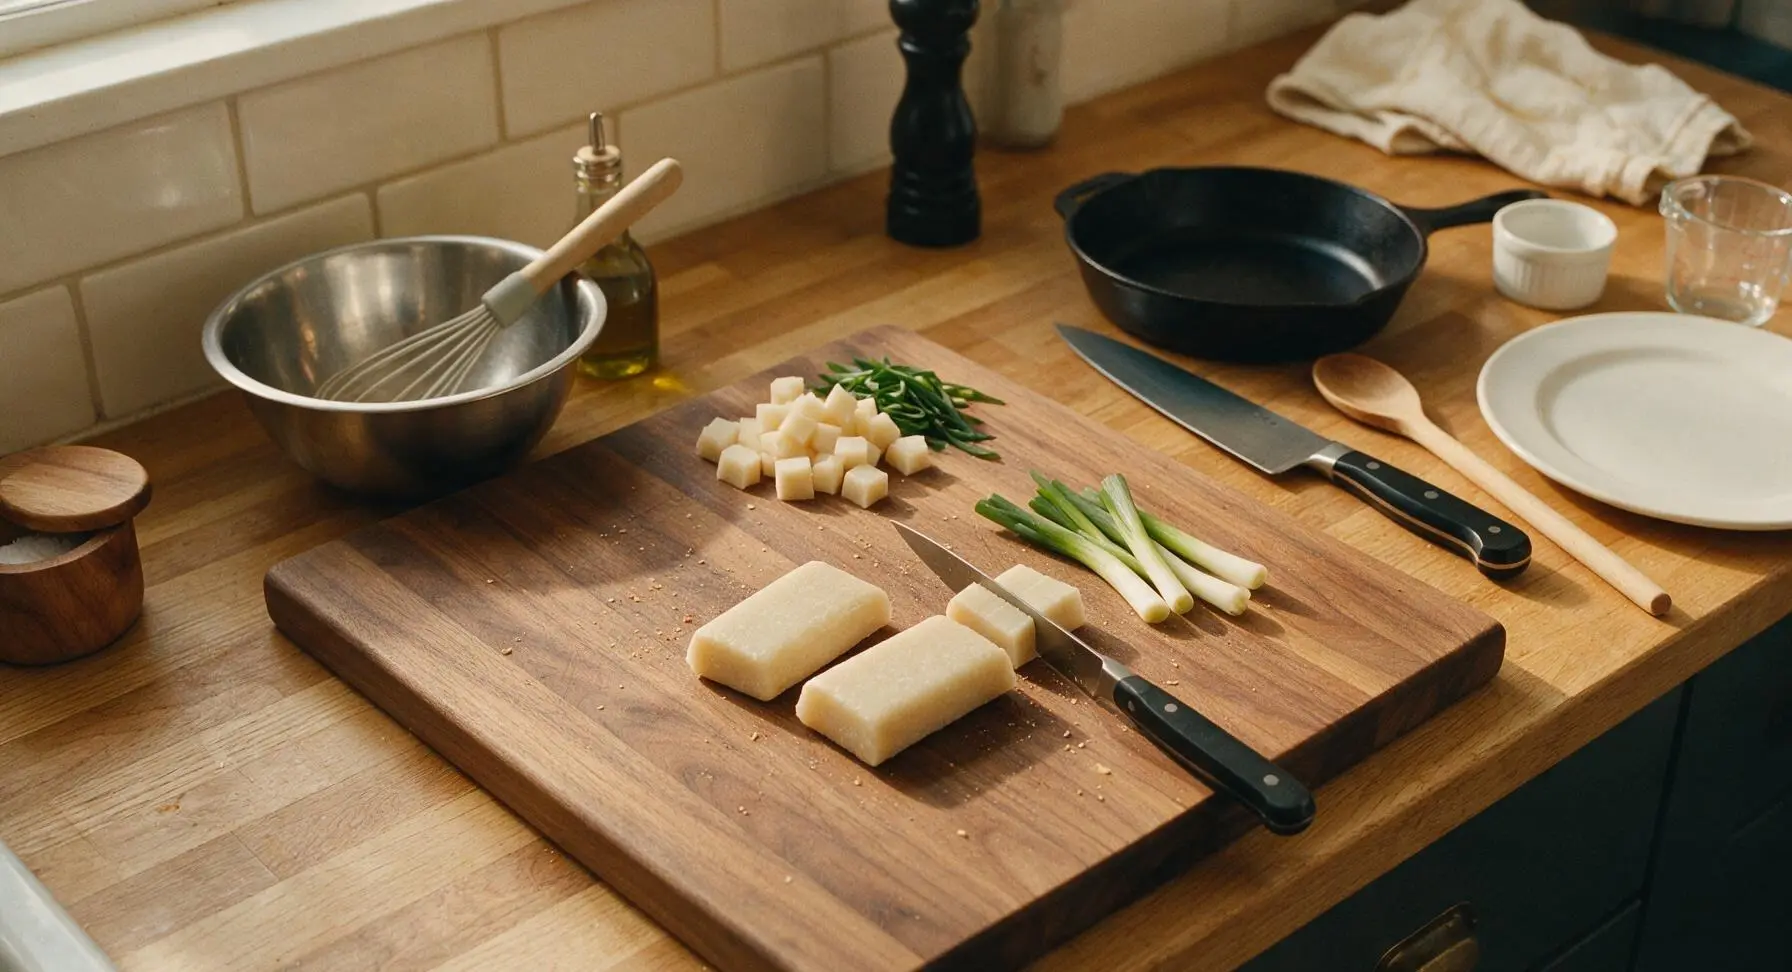
Place the 2 kirimochi pieces on the bamboo cutting board. Use the paring knife to cut each mochi piece into uniform 1cm (1/2 inch) cubes, then gather the cut cubes in a small pile at one corner of the board. Trim the dry root ends off the 2 scallions, then thinly slice the stalks into 2mm rings, separating the firmer white/pale green sections for cooking and the thin dark green tops for garnish. This prep step takes approximately 3 minutes.
Whisk Egg Base
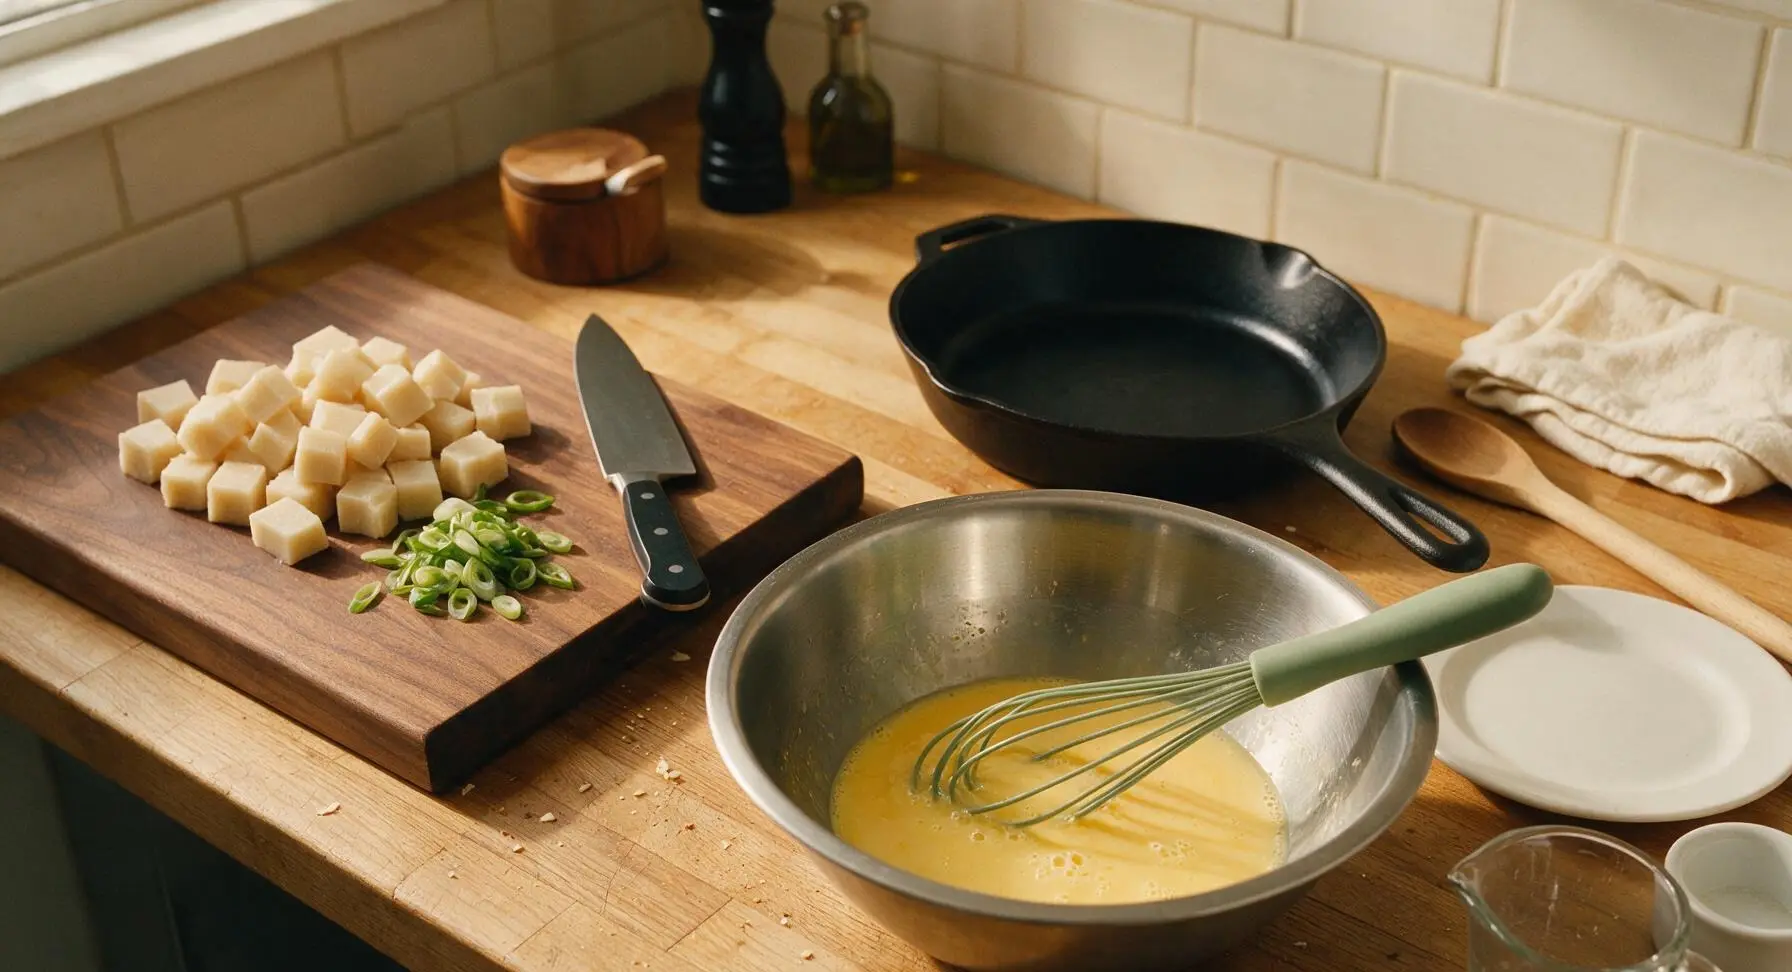
Crack the 4 large eggs into the medium stainless steel mixing bowl. Add the 1 teaspoon mirin, 1/2 tablespoon of the soy sauce, and 1/8 teaspoon flaky sea salt. Use the sage green silicone whisk to beat the eggs steadily for 45 seconds, until yolks and whites are fully incorporated with no streaks of clear egg white remaining, and the surface is covered in tiny uniform bubbles. Avoid over-whisking, as this incorporates too much air and leads to watery, fragile eggs that break apart easily.
Toast Mochi Cubes
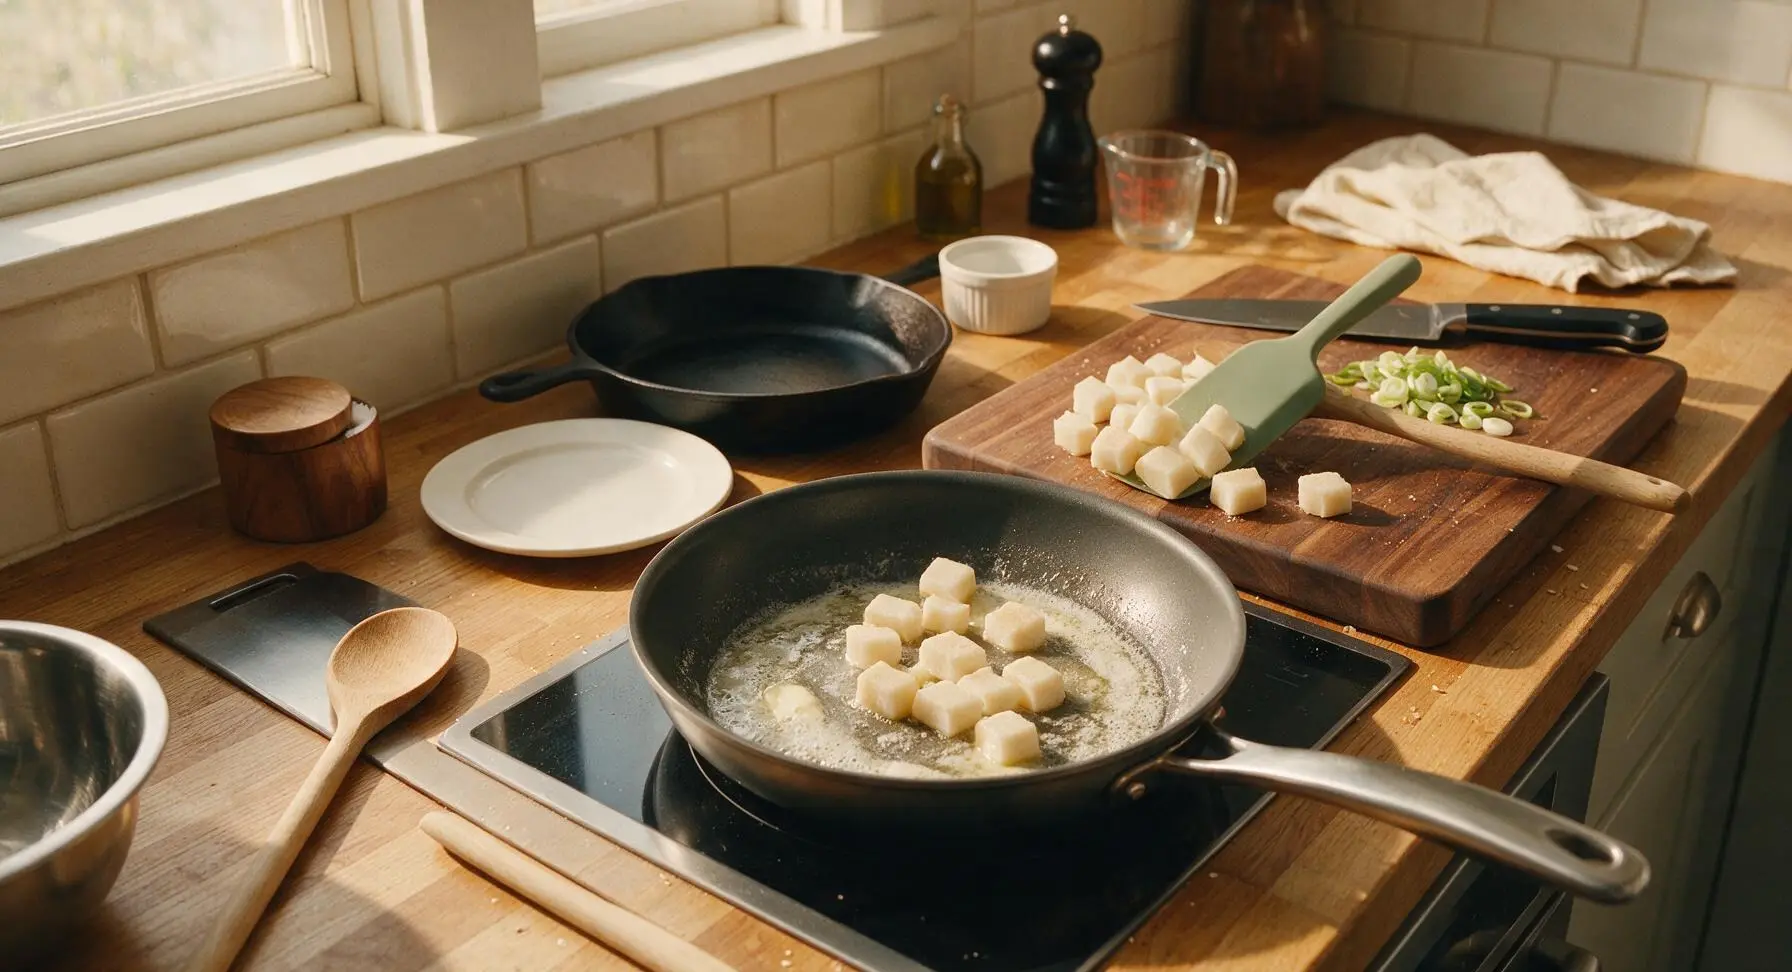
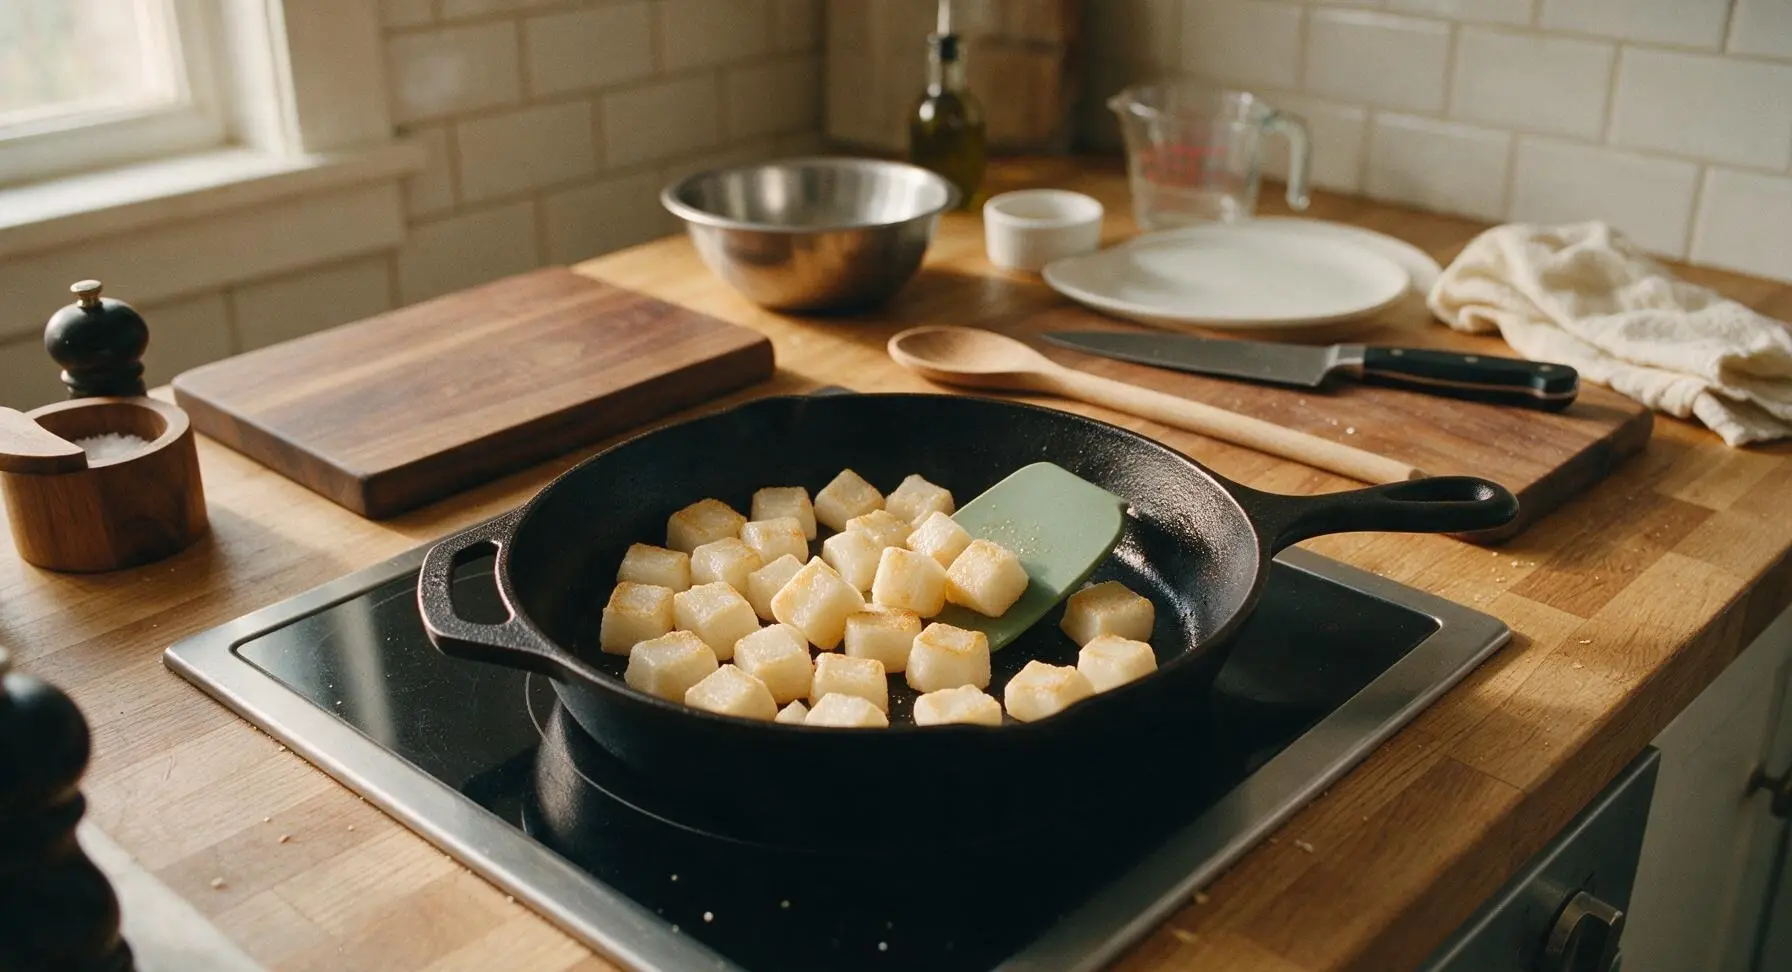
Place the 10-inch non-stick frying pan on the center induction zone of the counter, set heat to medium-low (150°C / 300°F). Add 1 tablespoon of the unsalted butter to the pan, and wait 30 seconds for it to melt and form a thin, gently foaming layer across the pan bottom (do not let the butter brown). Add the cut mochi cubes to the pan, tossing gently with the sage green silicone spatula for 2-3 minutes, until the mochi softens, puffs slightly, and develops pale golden toasty edges on all sides. Watch closely, as mochi burns quickly on high heat.
Cook Eggs Low and Slow
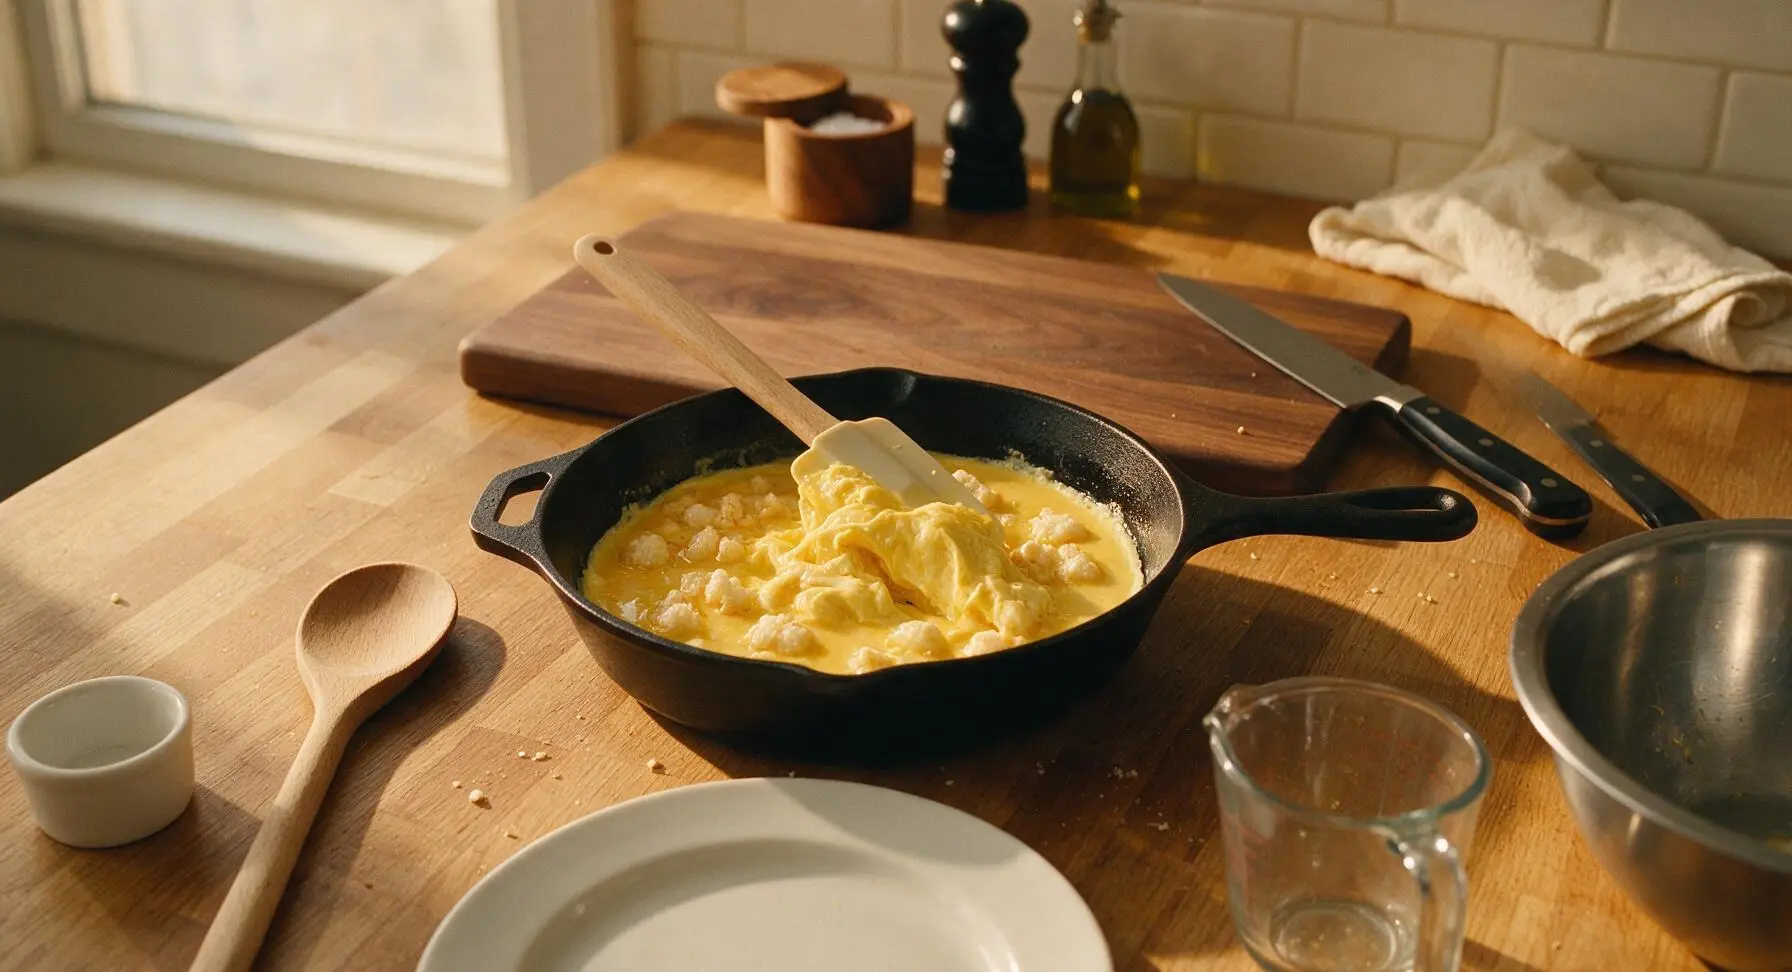
Reduce the induction heat to low (95°C / 200°F). Pour the full bowl of whisked egg mixture over the toasted mochi in the pan. Let the eggs rest undisturbed for 15 seconds to allow the edges to set slightly, then use the silicone spatula to gently push the fully set egg curds from the pan edges toward the center, tilting the pan to let uncooked runny egg flow into the empty gaps left by the pushed curds. Continue this slow, gentle pushing motion for 3-4 minutes, until the eggs are 80% set—soft, slightly runny, and tender, with no browned edges. The eggs will finish cooking from residual pan heat after the heat is turned off.
Season and Finish Eggs
Turn off the induction heat. Add the remaining 1/2 tablespoon soy sauce, the reserved firmer white/pale green scallion slices, and a light crack of fresh black pepper to the pan. Use the silicone spatula to gently fold the egg mixture exactly two times to evenly distribute the scallions and seasoning, taking care not to smash or break apart the soft mochi pieces. The eggs should be fully soft-set, creamy, and tender, with no dry, crumbly curds.
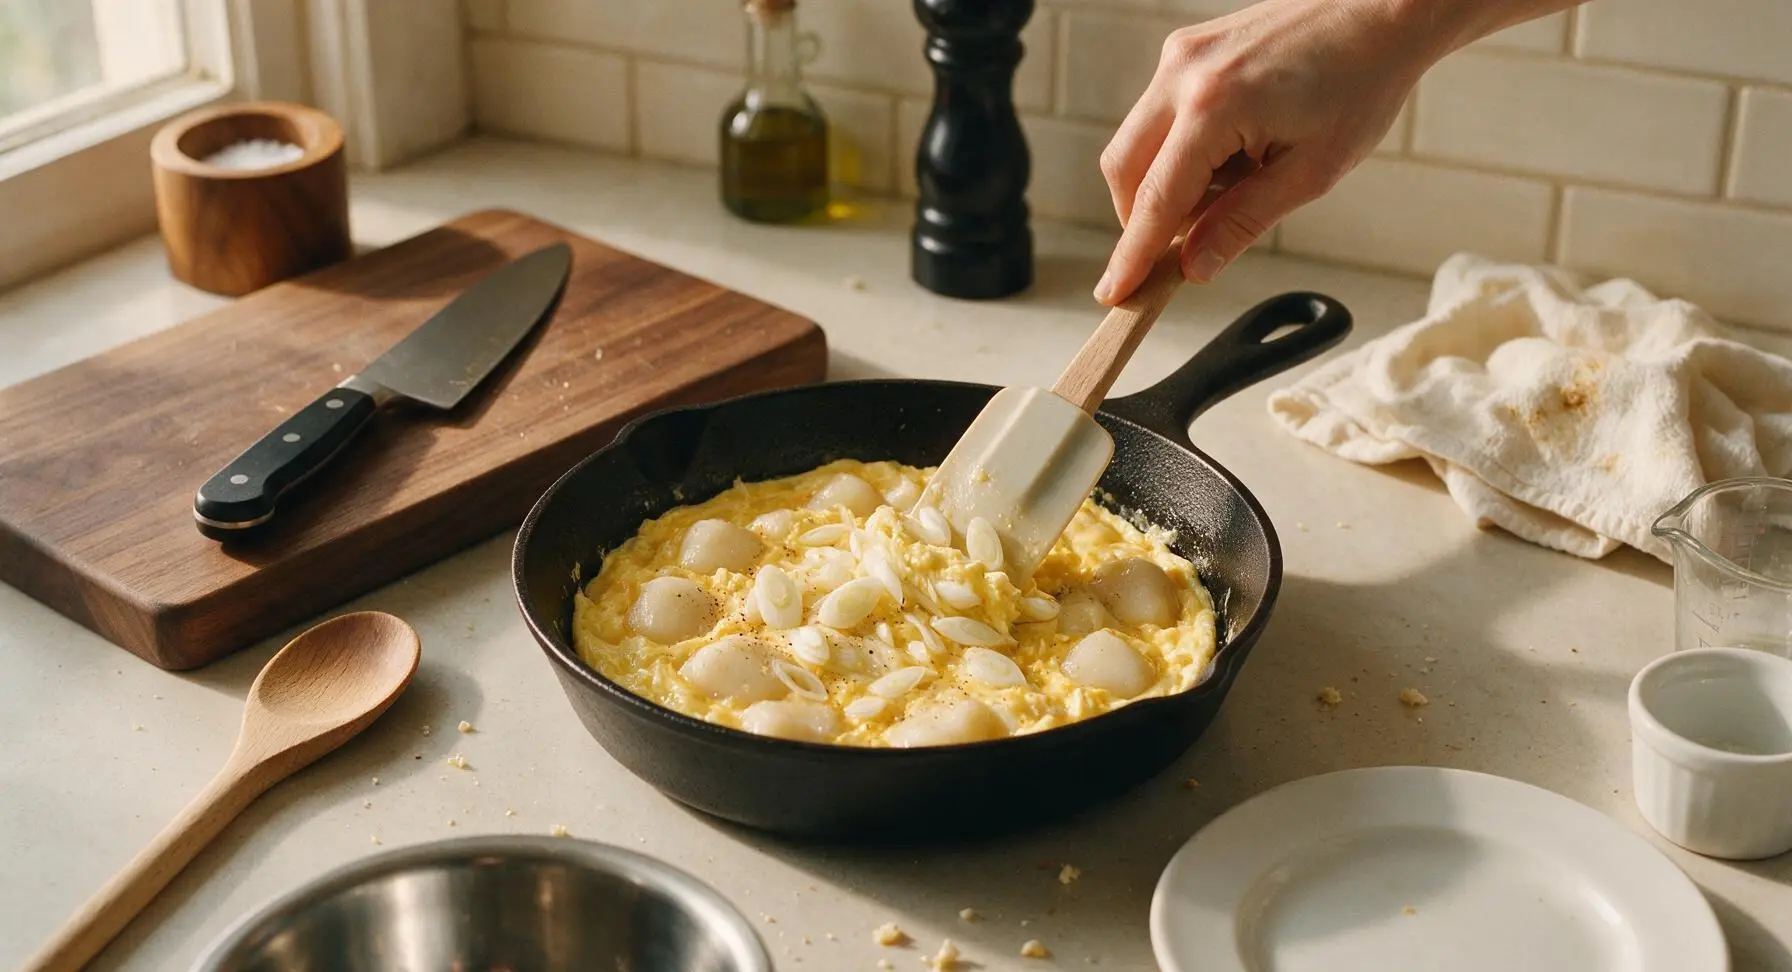
Plate and Garnish
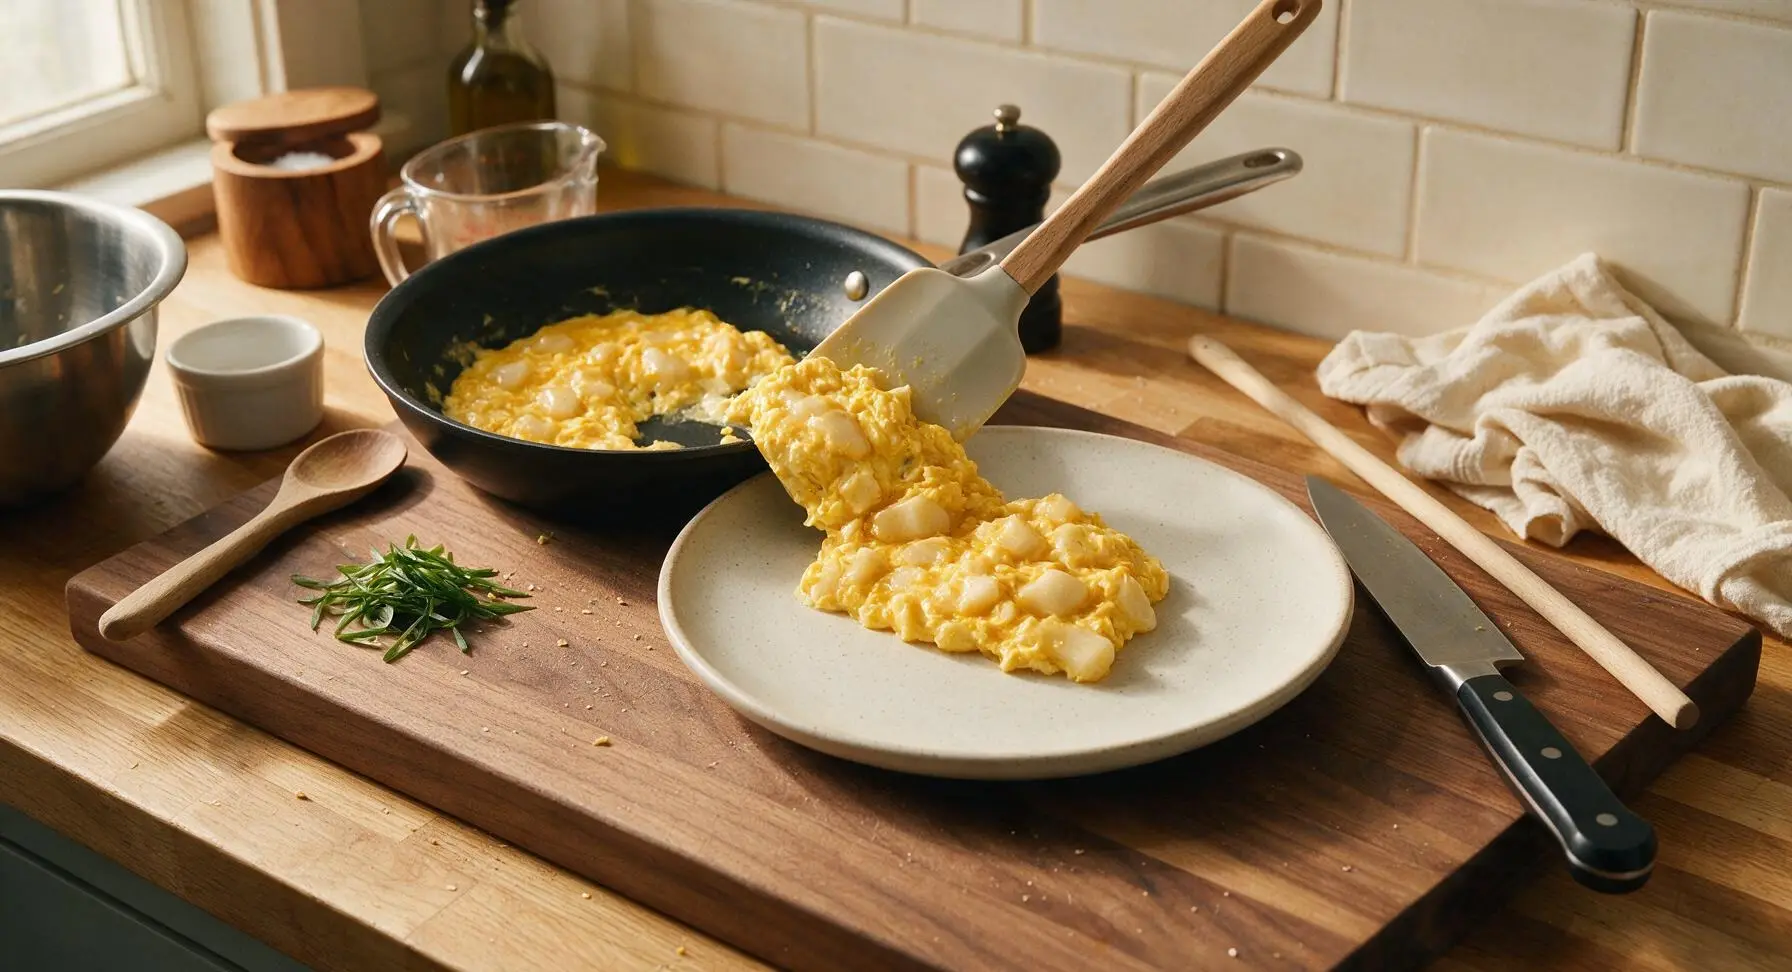
Gently slide and guide the finished mochi scrambled eggs from the pan onto the center of the matte off-white speckled ceramic breakfast plate. Scatter the reserved thin dark green scallion tops evenly across the surface of the eggs. Add a tiny pinch of flaky sea salt if desired, and serve immediately while the mochi is still chewy and stretchy and the eggs are warm.
Tips
2.Use the slow-push method for eggs: Stirring eggs constantly on high heat creates small, dry, rubbery curds. Pushing set edges to the center on low heat creates large, silky curds that wrap perfectly around each mochi piece for a balanced texture in every bite.
3.Serve immediately after plating: Mochi firms up rapidly as it cools, losing its chewy, slightly stretchy texture within 5 minutes of being removed from heat. Unlike regular scrambled eggs, this dish does not hold well, so plate and eat right away for the best experience.






OMG y’all, this mochi scrambled eggs recipe is a total game changer! I made it for my kids before school this morning and they begged for seconds. The chewy mochi bits mixed with fluffy eggs? SO good, I never would’ve thought to combine these two. Cook time was actually 8 minutes like it says, perfect for busy weekday mornings!
I added a handful of shredded cheddar and a sprinkle of everything bagel seasoning to this and WOW. Meal prepped a batch for my work breakfasts this week and it reheats way better than regular scrambled eggs. The mochi keeps it from getting rubbery? Wild. Only knocked off a star because I burned the first batch of mochi when I had the heat too high lmao
Brought this to our neighborhood brunch potluck last weekend and everyone was asking for the recipe! People thought I spent forever on a fancy breakfast but it was literally 8 minutes of cooking. Will absolutely be making this again for our next gathering, might even add some green onions next time for a little extra zing.
Wait this is so easy even I can make it in my dorm kitchen? I only have a tiny hot plate and a nonstick pan, no fancy equipment. Tried it last night for a late night snack and it hit so hard. 10/10, added a splash of soy sauce and it tasted exactly like the breakfast my grandma used to make, weirdly enough.
As someone who’s gluten free and always hunting for quick breakfasts that don’t taste like cardboard, this is chef’s kiss. The mochi adds such a fun, chewy texture without any weird fillers or aftertaste. I topped mine with a little drizzle of tamari and toasted sesame seeds and it tasted like something from a fancy downtown brunch spot. 10/10, no notes.
Made this for my teenage daughter this morning and she didn’t even roll her eyes when I told her it was ‘egg-stra special’ with the mochi. Total win for dad life. Only thing is I think I cut my mochi too big, some chunks were harder than others in the finished eggs. Any tips for next time?
Y’all I added a spoonful of chili crisp to this and it’s insane. The savory, spicy, garlicky oil pairs so perfectly with the chewy mochi and soft, creamy eggs. I’ve made this three days in a row now. My roommate is making fun of me for eating the same breakfast on repeat but I don’t even care, it’s that good.
Tried this for my Sunday brunch with friends yesterday and everyone was obsessed. I served it with crispy bacon and sliced avocado on the side, and it was the perfect low-fuss spread. Cook time was so fast I got to hang out with my guests instead of being stuck in the kitchen the whole time. Only complaint is I wish I made a double batch, it was gone in 5 minutes flat!
I was super skeptical about mochi in eggs at first, but this is such a great high-protein breakfast that actually keeps me full through my entire morning workout. No mid-gym hunger pangs! I used egg whites for half the eggs to cut a few calories and it still turned out super fluffy, no weird texture at all.