
moist waffle
intro
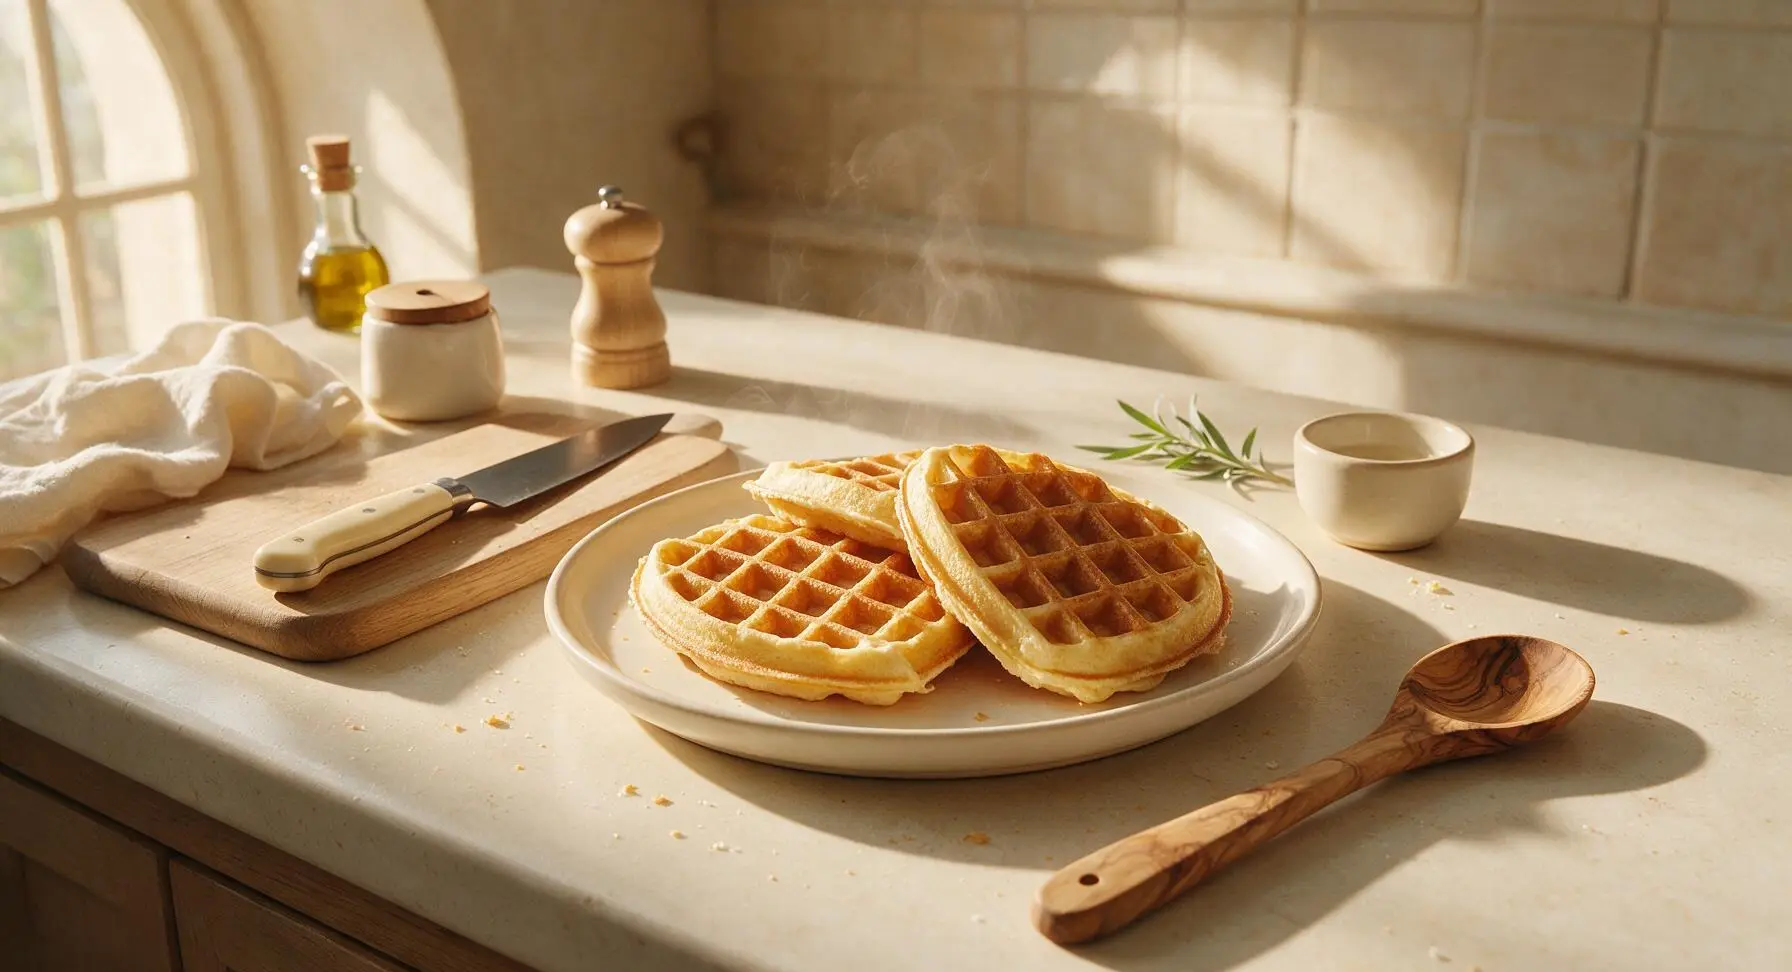
Crisp golden edges give way to a luxuriously moist, tender crumb in these easy buttermilk waffles, far better than any boxed mix for a fast, cozy meal.
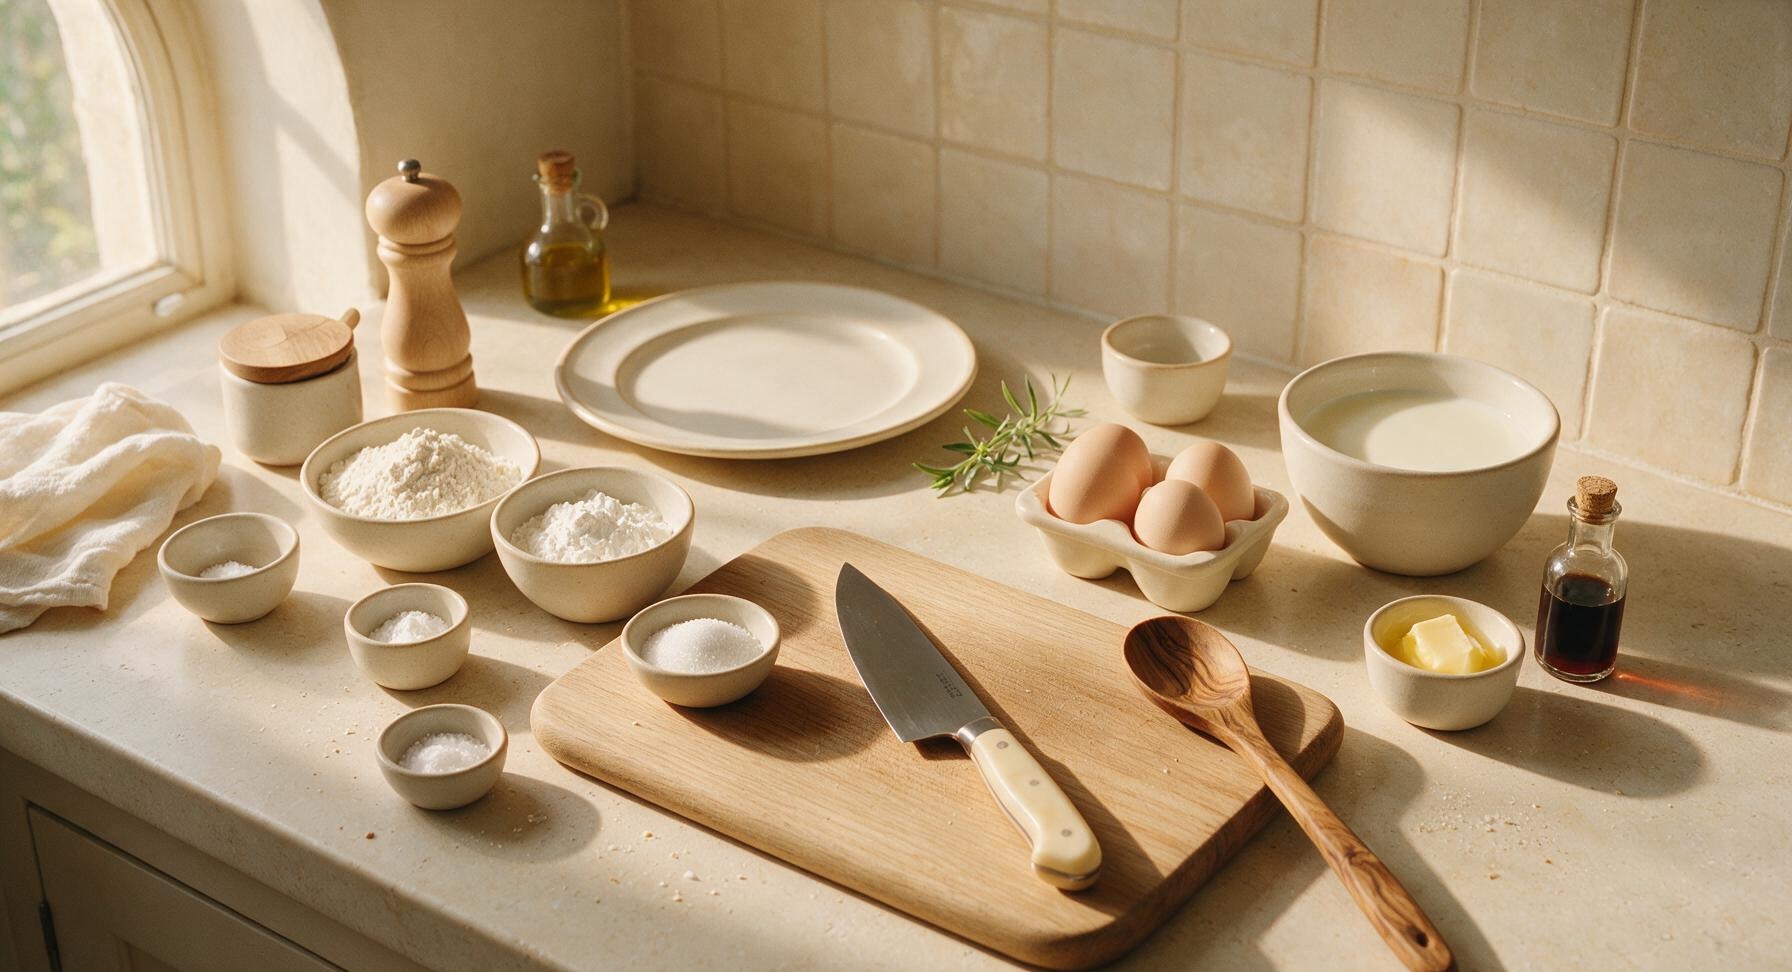
Ingredients
Steps
Preheat Waffle Maker
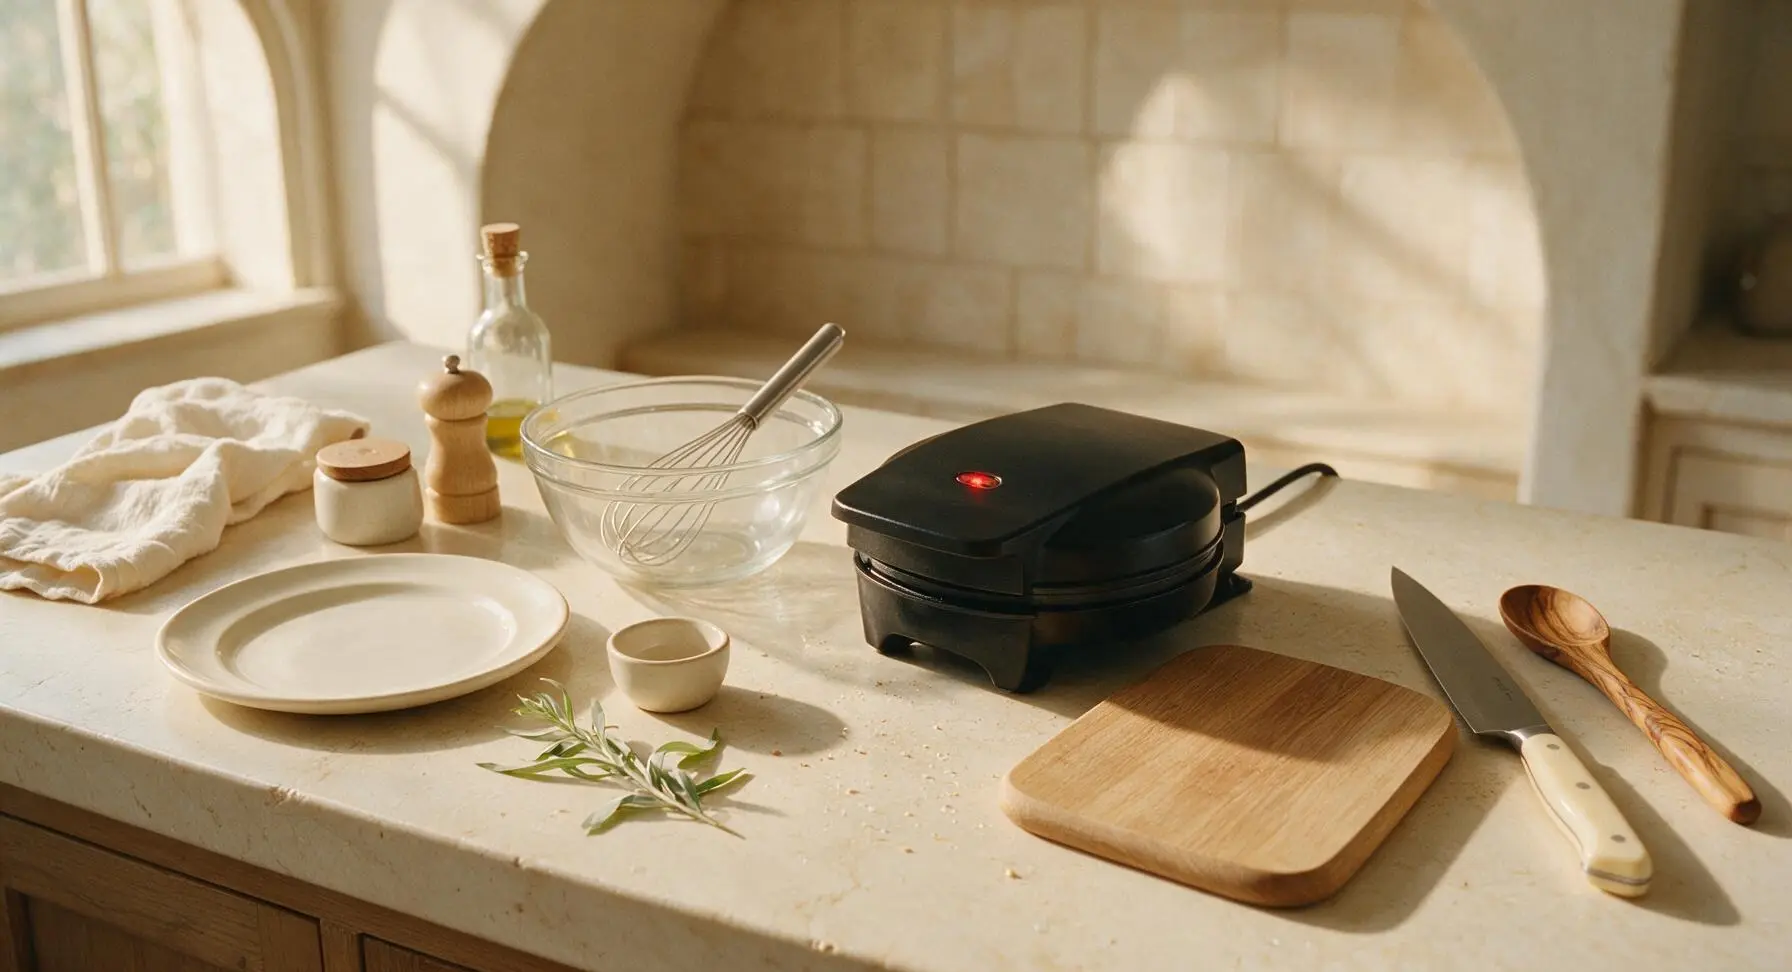
Plug in the matte black waffle maker and preheat to medium-high setting (375°F/190°C). Close the lid while you mix the batter; the indicator light will turn green when it reaches the correct temperature. Lightly coat the plates with a thin layer of melted butter if your waffle maker is not well-seasoned, to prevent sticking.
Whisk Dry Ingredients
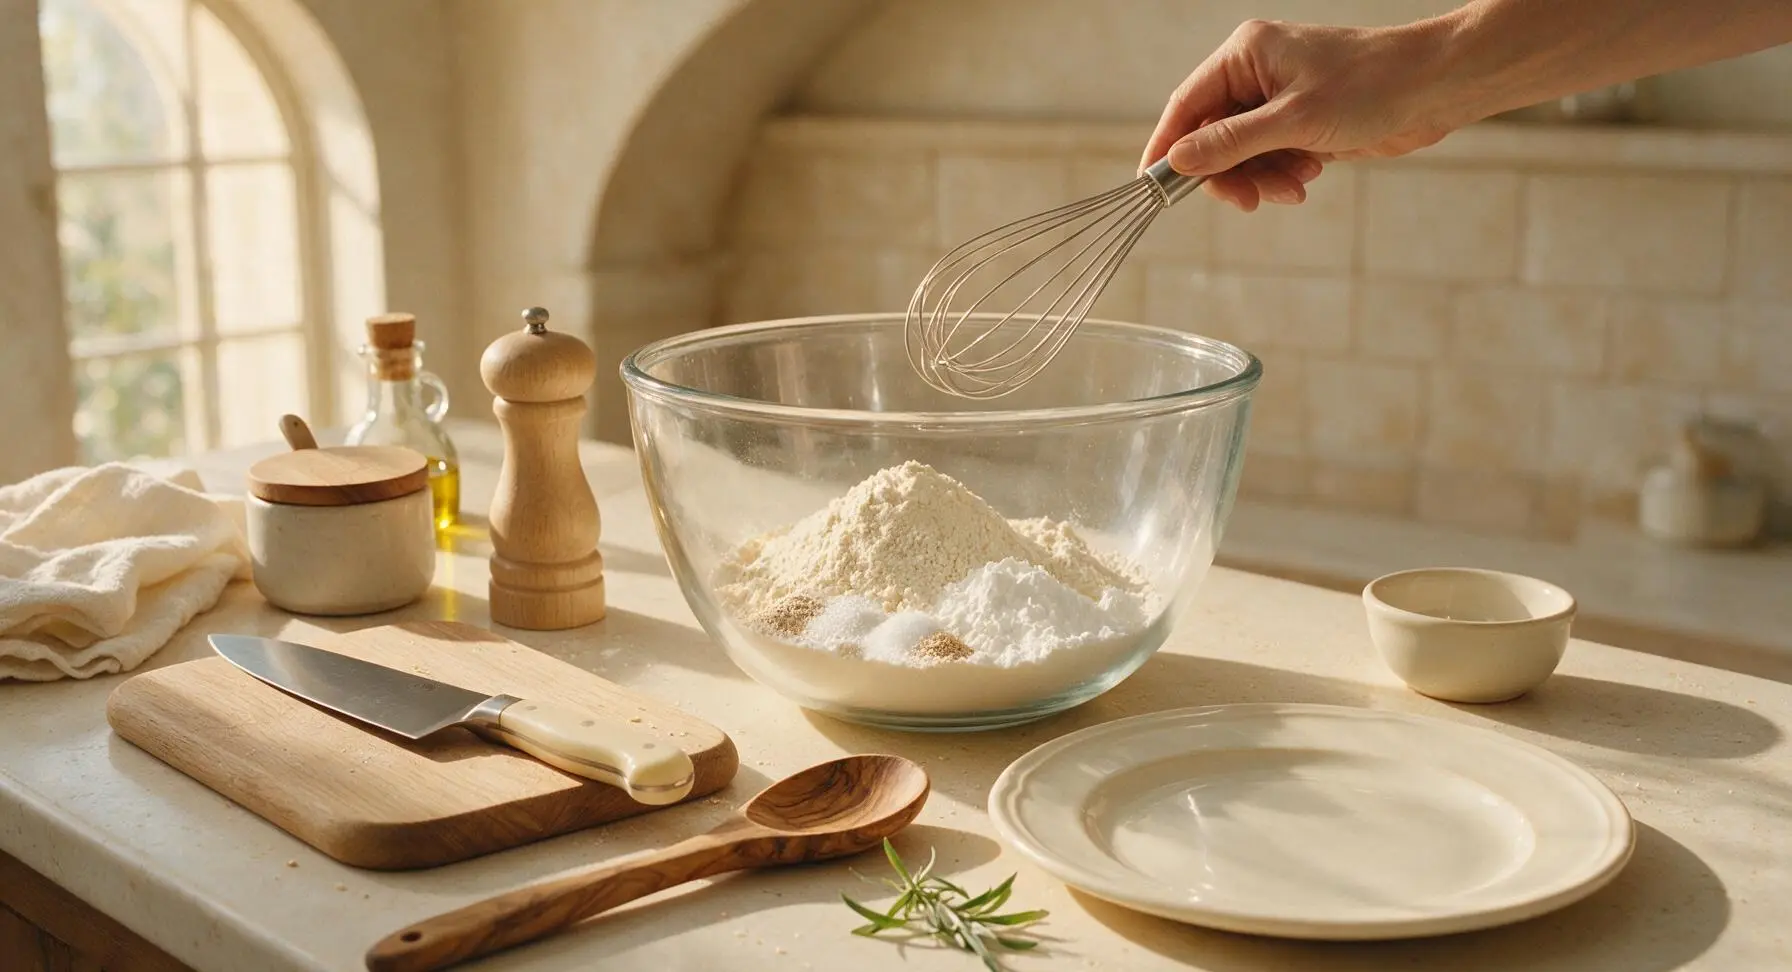
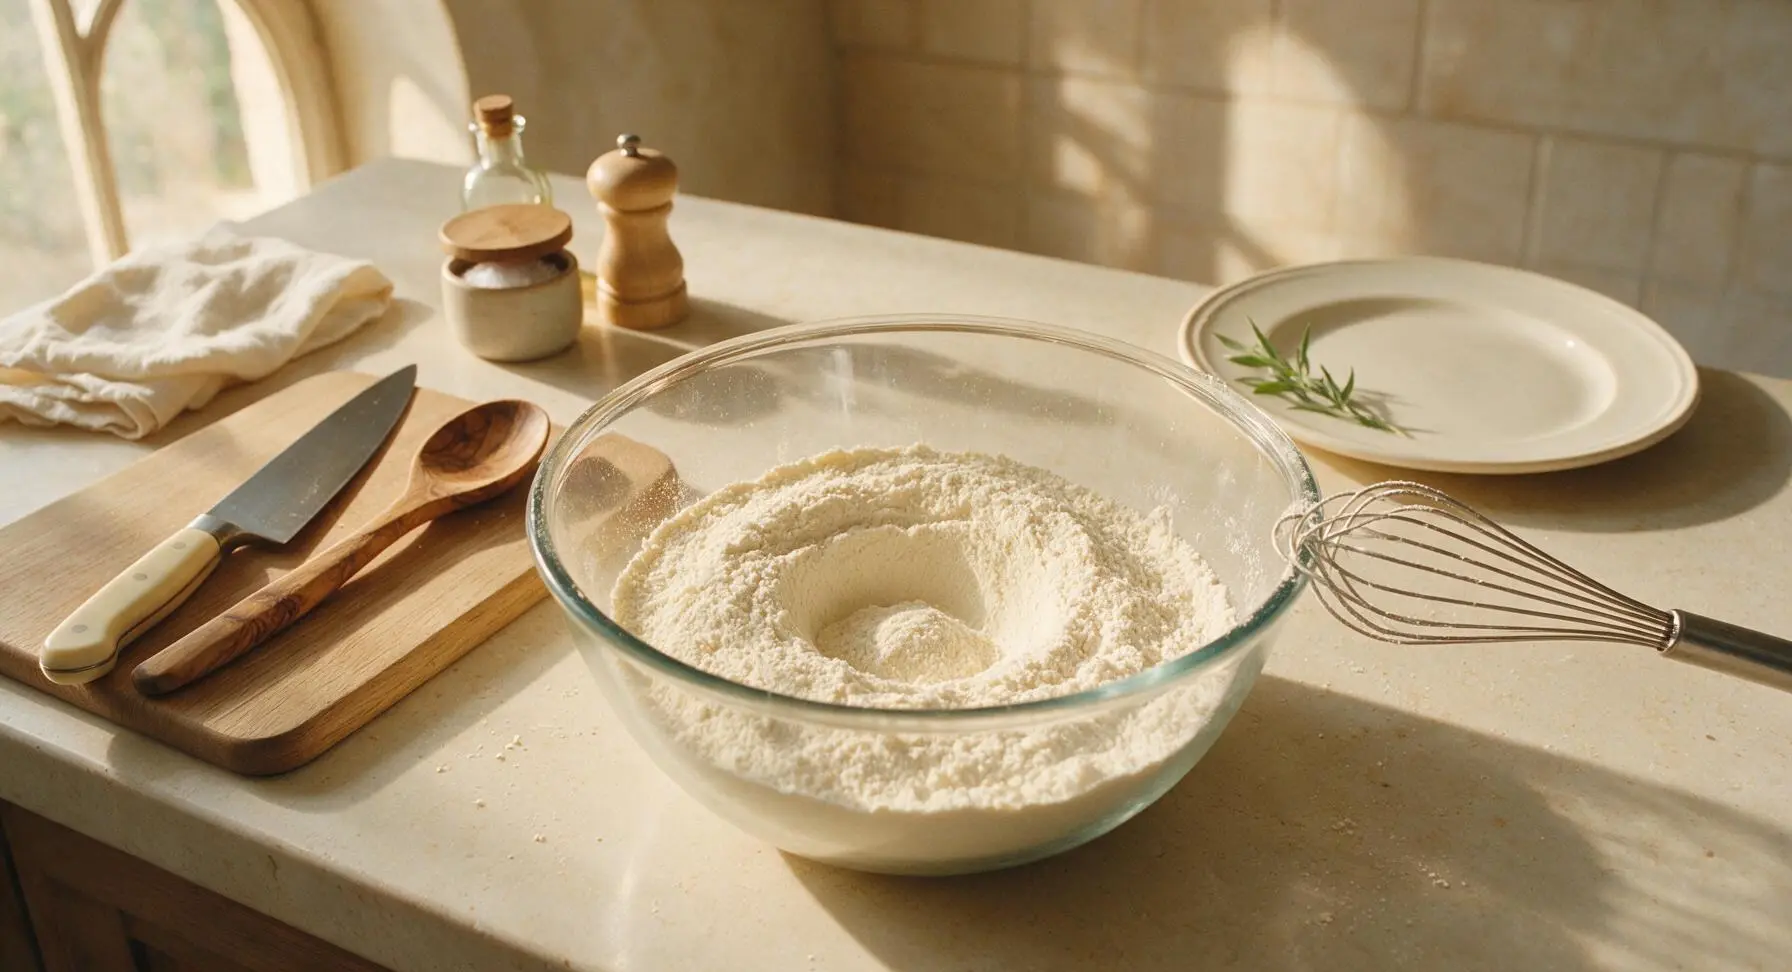
Add the all-purpose flour, cornstarch, baking powder, baking soda, fine sea salt, and granulated sugar to the large clear glass mixing bowl. Use the stainless steel wire whisk to stir for 30 seconds until all dry ingredients are fully combined, with no clumps of baking powder or cornstarch visible. Create a small well in the center of the dry mix for the wet ingredients.
Mix Wet Ingredients
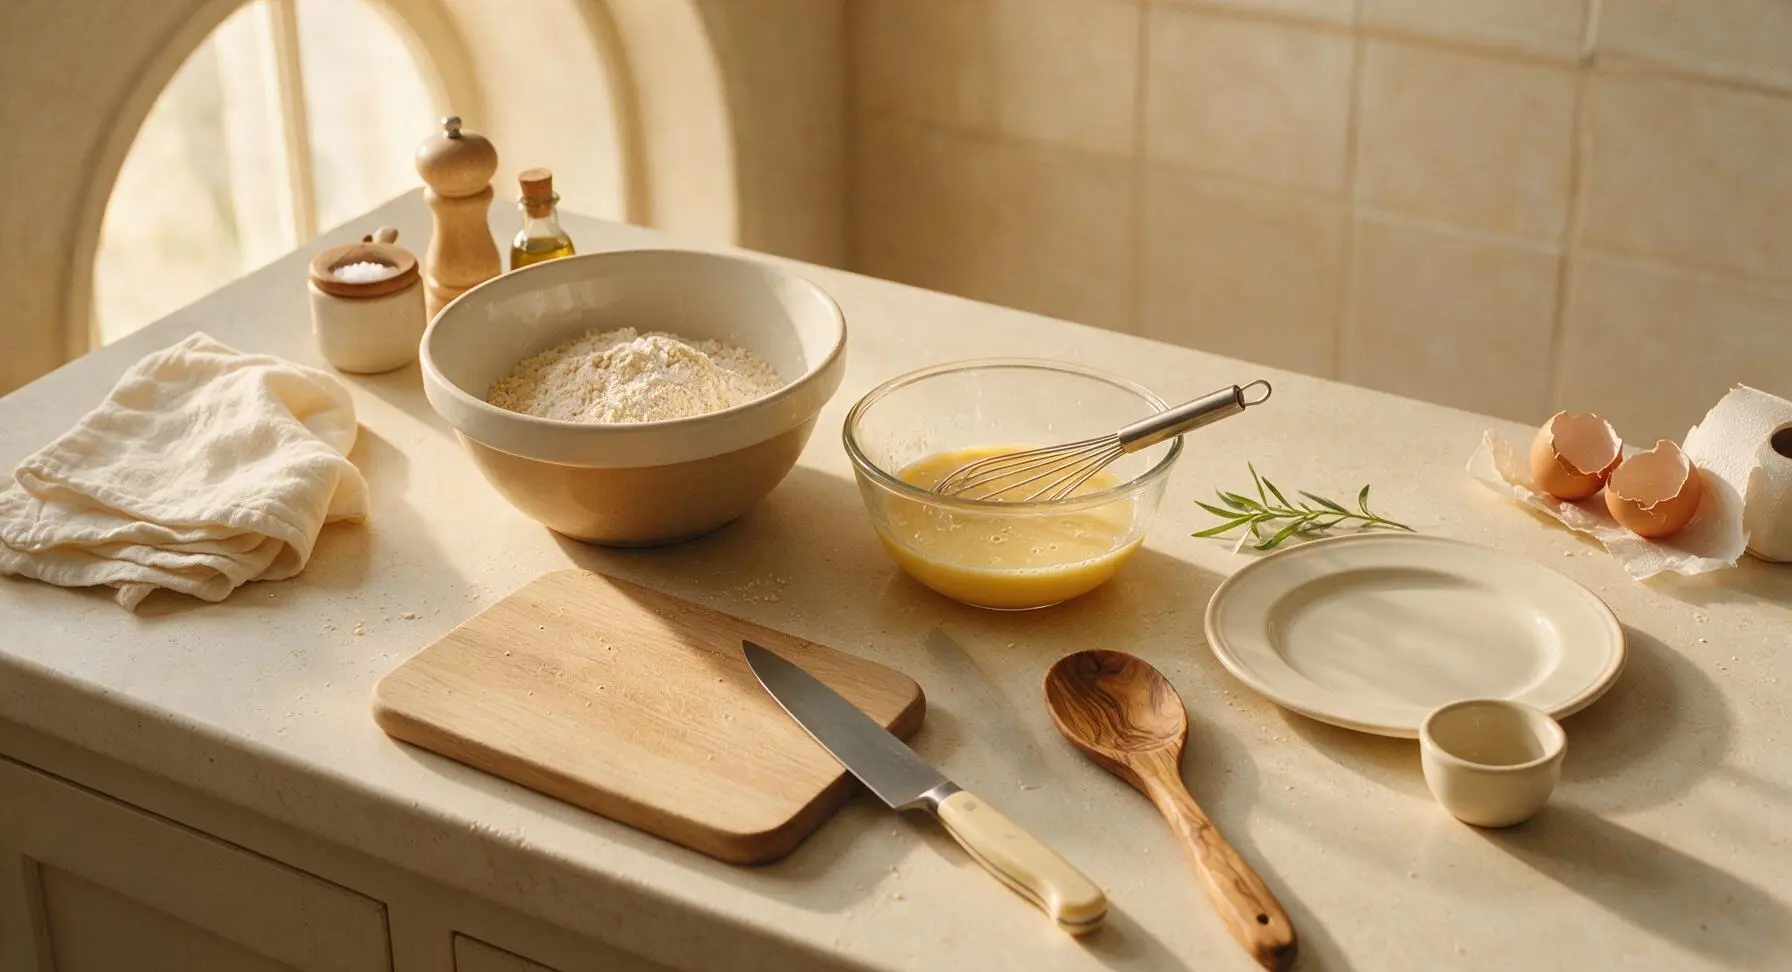
Crack the two room-temperature eggs into the small clear glass prep bowl, and whisk gently until the yolks and whites are fully combined, no streaks of clear white remaining. Add the room-temperature buttermilk, cooled melted butter, and vanilla extract to the prep bowl, and whisk for 20 seconds until the mixture is smooth and pale golden, with tiny bubbles on the surface.
Fold Batter Lightly
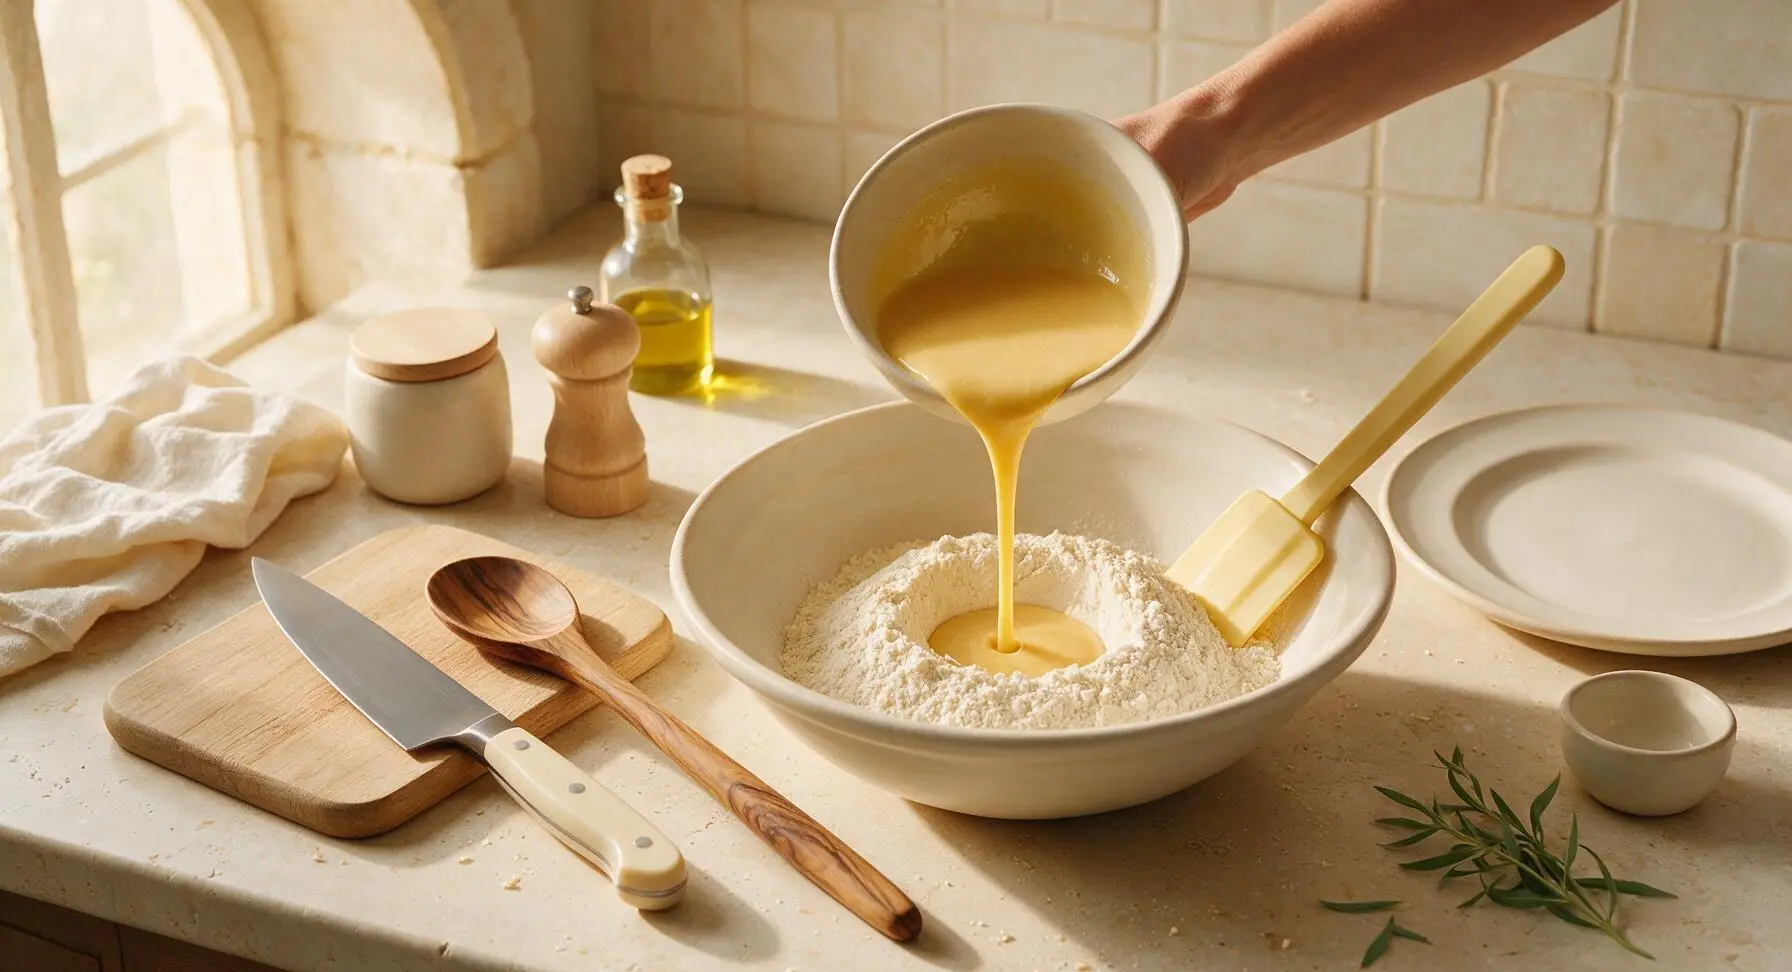
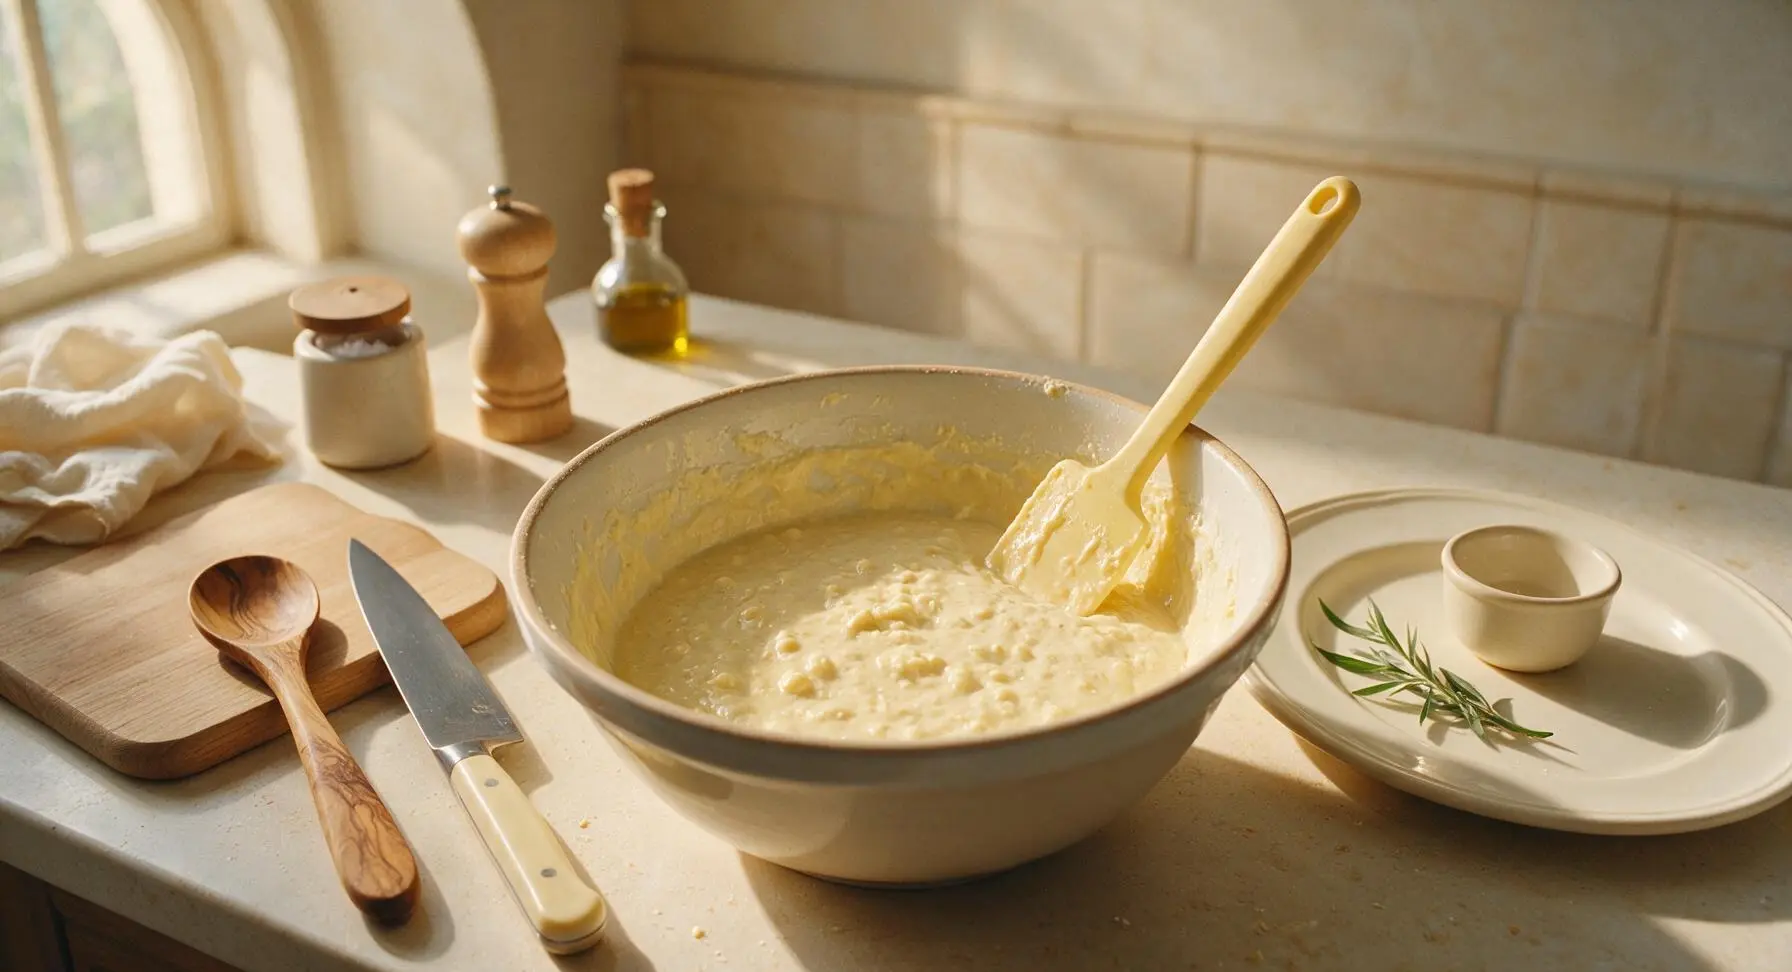
Pour the entire wet ingredient mixture into the well in the dry ingredients. Use the pale yellow rubber spatula to fold the batter together slowly, scraping the bottom and sides of the bowl, just until no large streaks of dry flour remain. Stop mixing as soon as the batter comes together; lumps the size of small peas are totally normal, and overmixing will make tough, dry waffles. The batter will be thick but pourable, not runny.
Rest Batter Briefly
Let the batter rest for 5 full minutes at room temperature, without stirring. This allows the flour to hydrate fully and the leavening to activate, creating a lighter, more moist crumb instead of a dense, dry waffle. You will see tiny bubbles start to pop up on the batter surface as it rests.
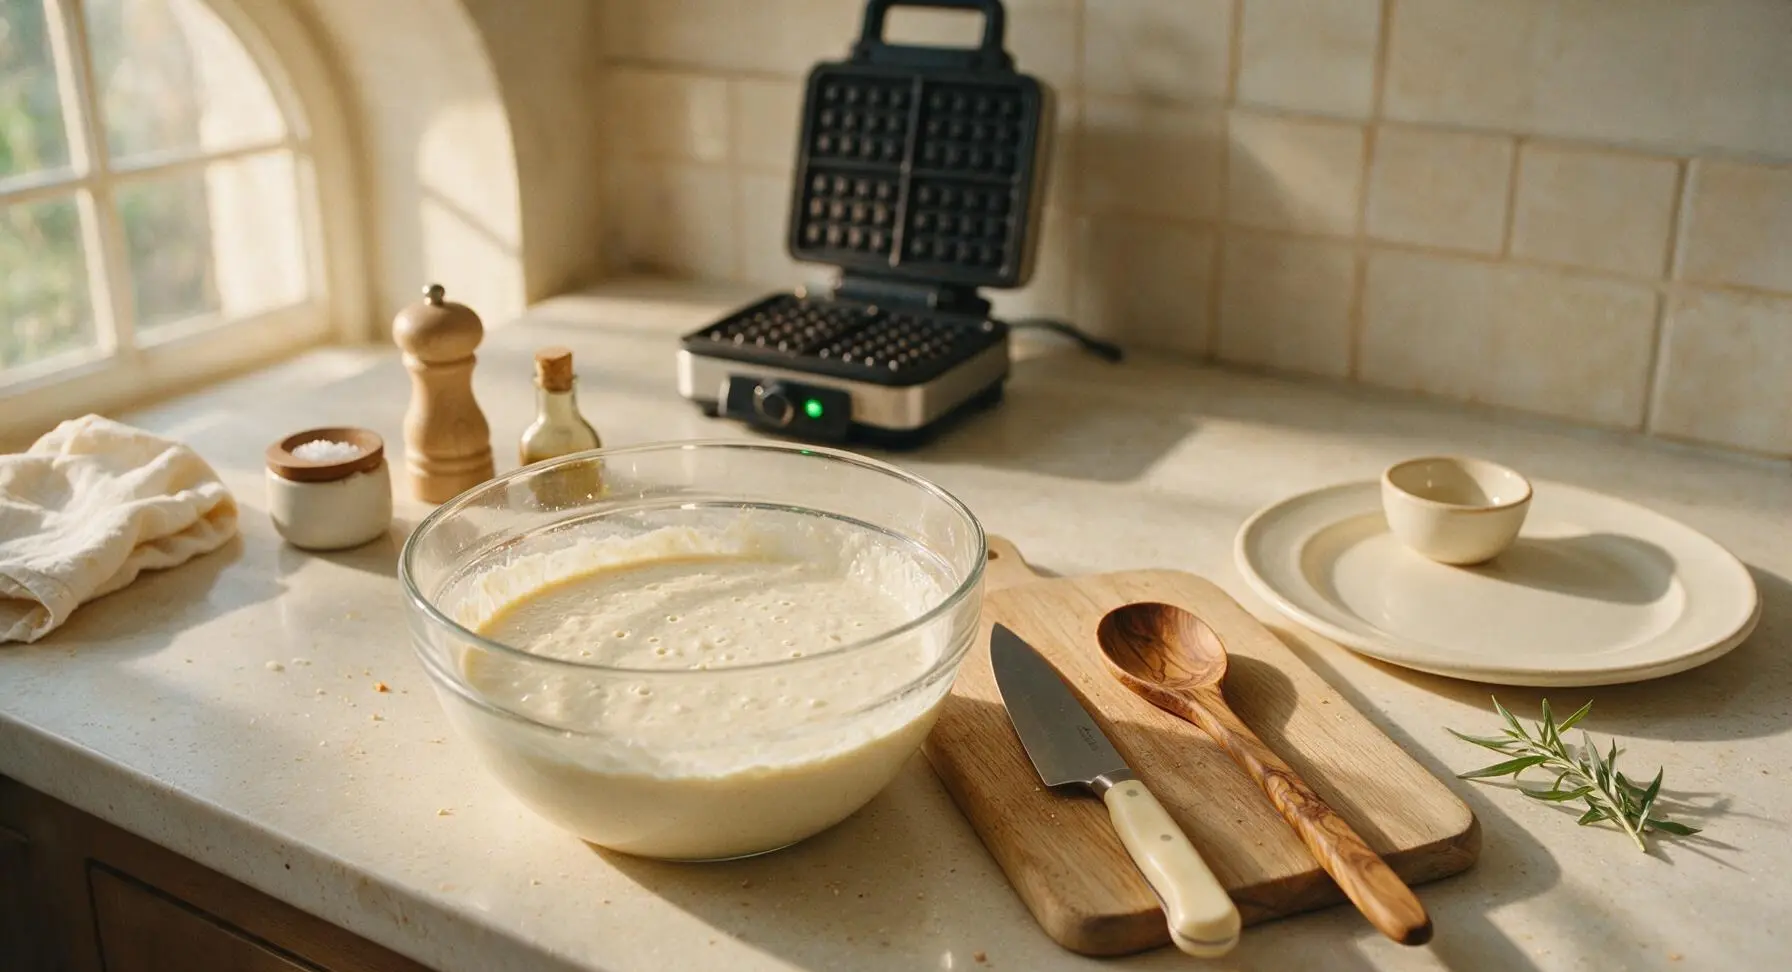
Pour Batter Onto Iron
Open the preheated waffle maker lid. Pour 3/4 cup (180ml) of batter directly onto the center of the lower waffle plate; do not spread it, as it will spread evenly as the lid closes. Close the lid immediately, and do not open it for the first 2 minutes of cooking, to prevent the waffle from splitting or sticking.
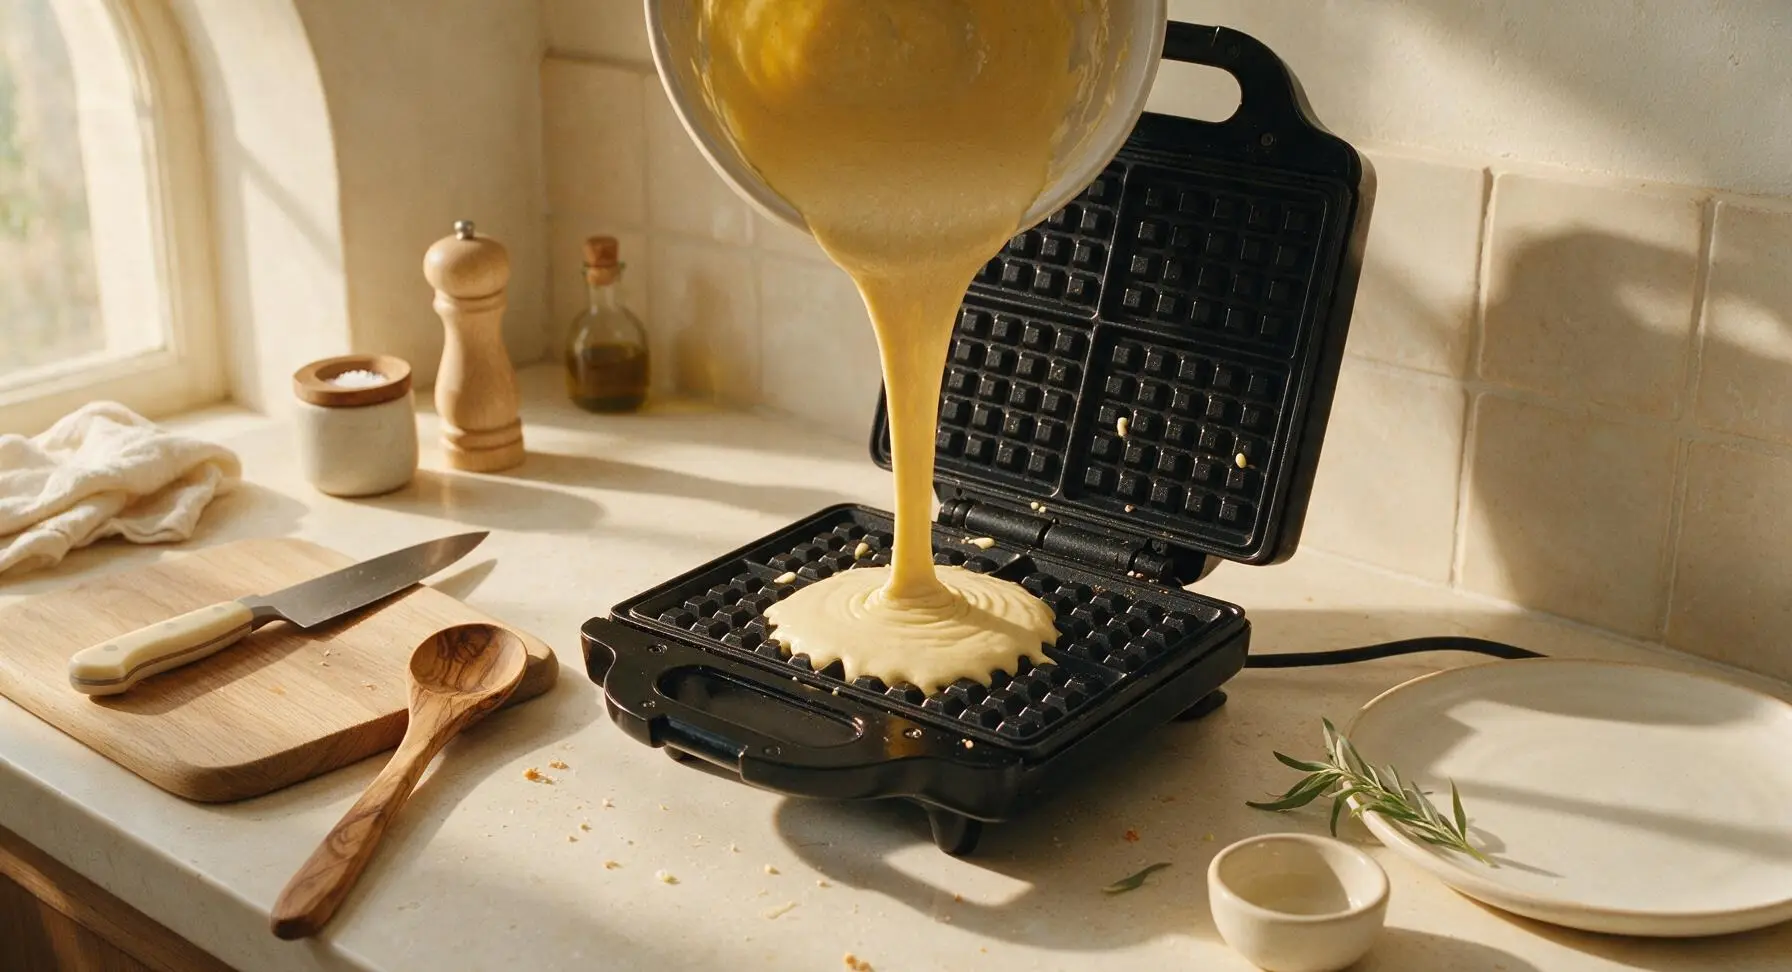
Cook Until Golden
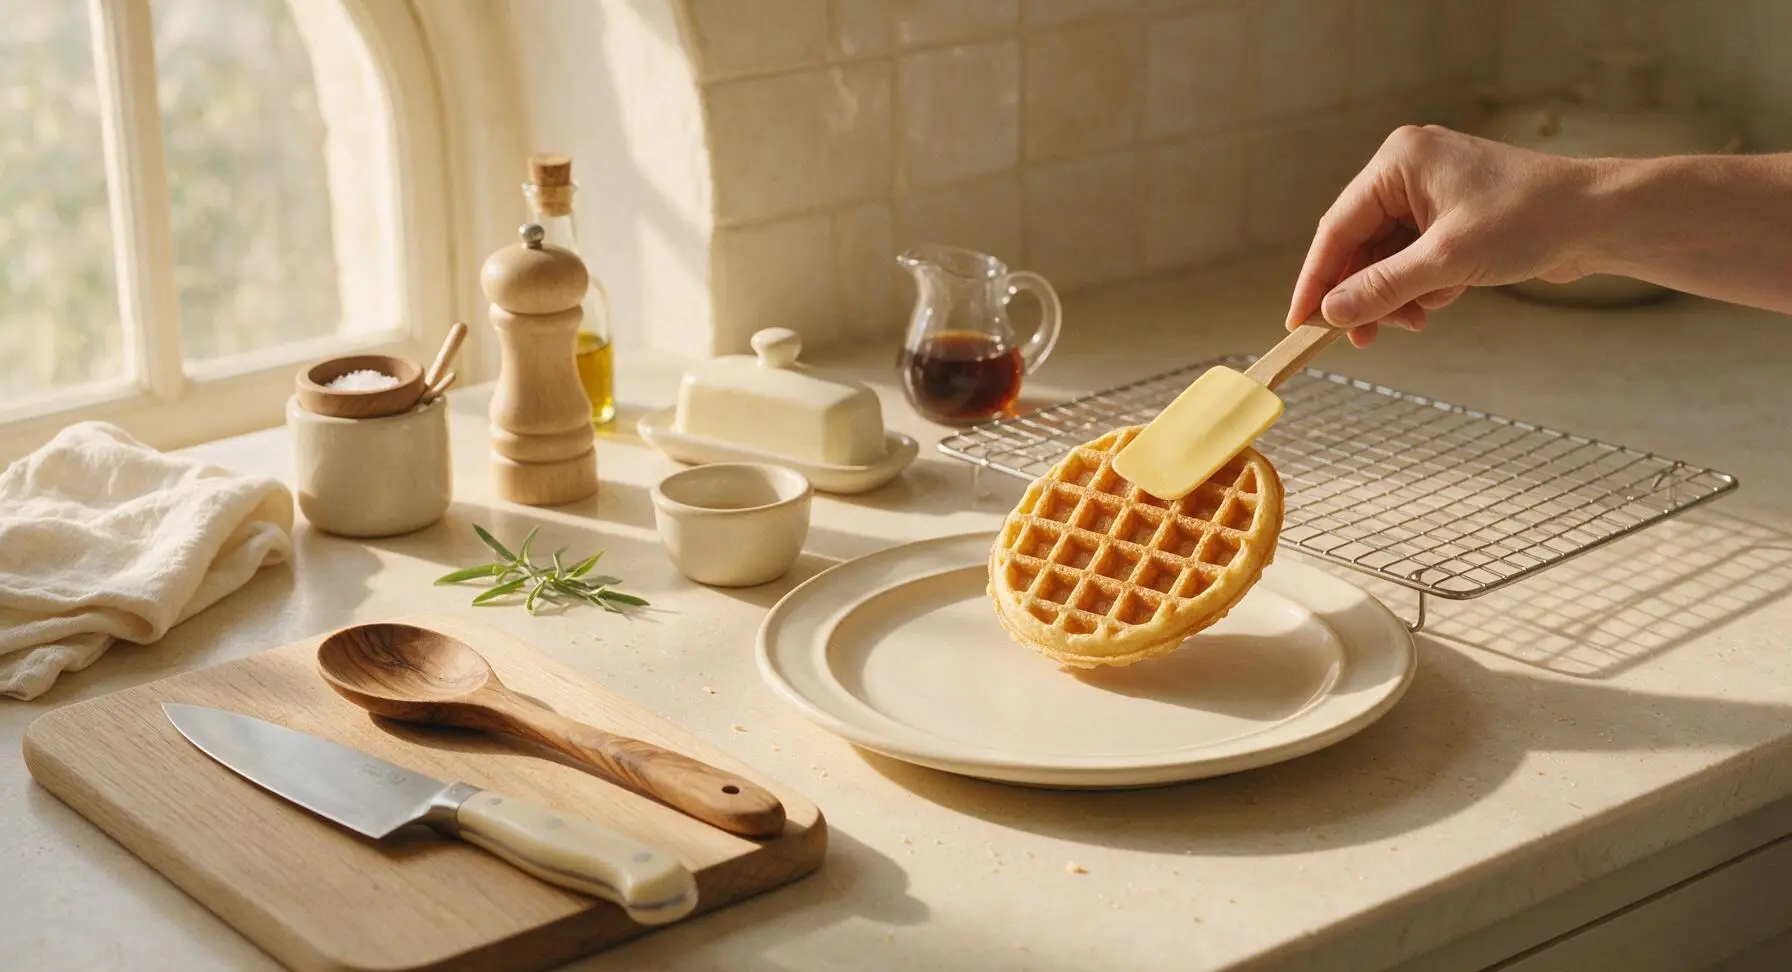
Cook each waffle for 3 to 4 minutes total, until the waffle maker stops releasing visible steam, and the waffle is deep golden brown on the outside, with crisp edges. Do not overcook, as this will dry out the moist center. Use the rubber spatula to gently lift the waffle from the plates, transferring it to the stainless steel wire cooling rack for 1 minute before serving, to keep the edges crisp while the center stays moist. Repeat with remaining batter, making 4 total waffles.
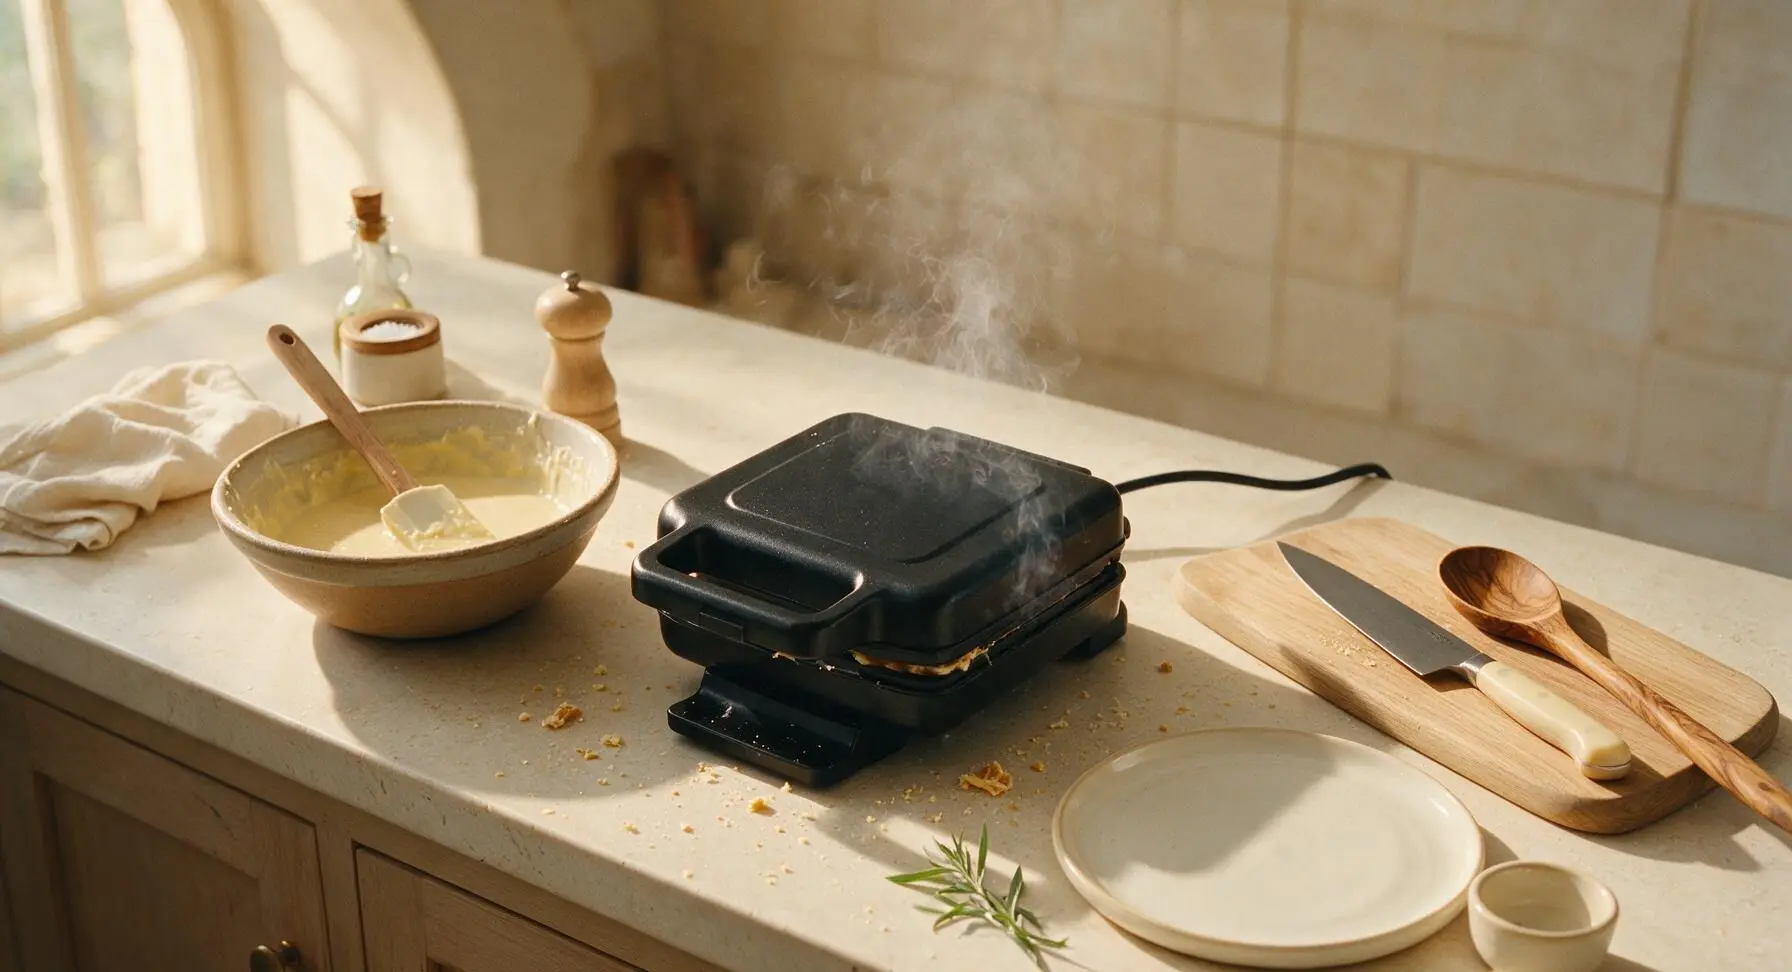
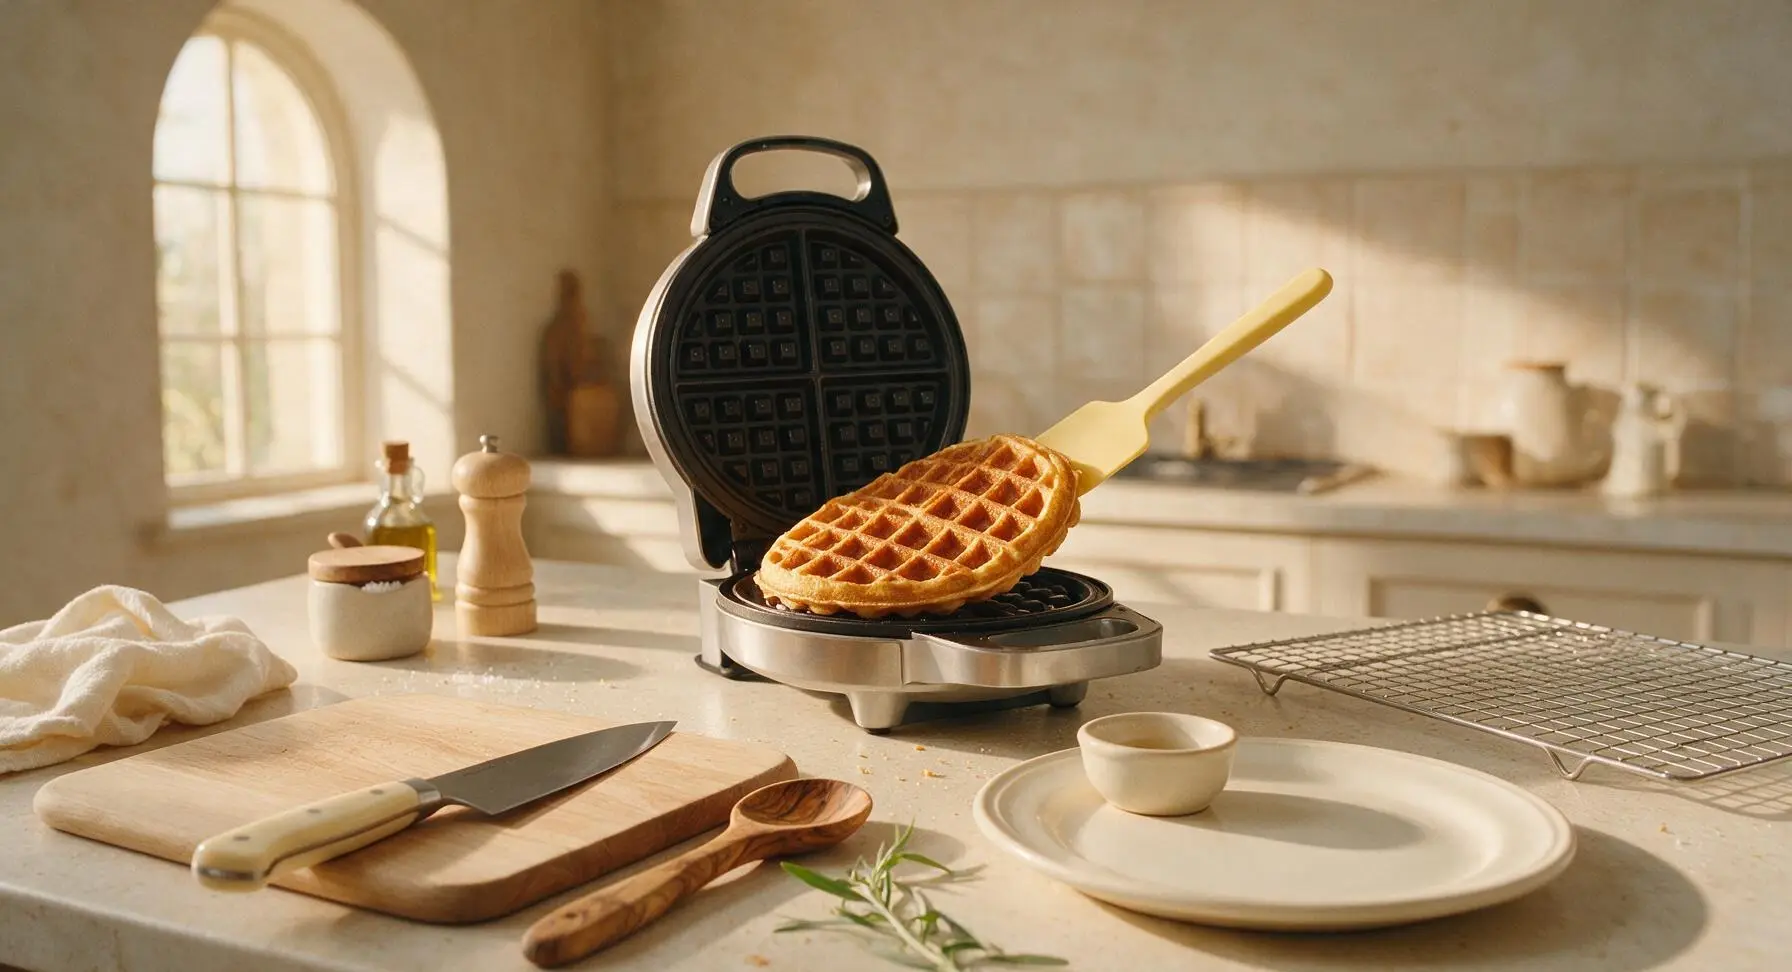
Plate and Serve
Place one warm waffle on the matte cream white dinner plate. Split the top slightly with a fork to reveal the moist crumb, then top with a 1-tablespoon pat of salted butter, drizzle with 2 tablespoons of warm maple syrup, and garnish with fresh raspberries and a mint sprig. Serve immediately, while the waffle is warm and the butter is melting.
Tips
2.Never overmix the batter: Overworking the flour develops tough gluten strands that lead to chewy, dry waffles. Stopping as soon as dry flour disappears, even if small pea-sized lumps remain, ensures a tender, melt-in-your-mouth moist texture.
3.Rest cooked waffles on the wire rack instead of stacking them directly on a plate between batches: Stacking traps condensed steam between waffles, turning crisp edges soggy, while the open wire rack allows air flow to keep edges crisp without drying out the soft, moist center.






OMG these buttermilk waffles are a total game changer for our Saturday morning routine! I’ve tried so many waffle recipes that come out dry and crumbly, but these stayed perfectly moist even after I kept a batch warm in the oven while my kids finished soccer practice. Drizzled with a little maple syrup and fresh strawberries, and there were zero leftovers. 10/10 will make every weekend from now on!
Super easy recipe for a beginner like me! I was worried I’d mess up the buttermilk substitute (I didn’t have actual buttermilk so I used milk + lemon juice like I saw people mention online) and they still turned out SO fluffy and moist. My roommates devoured half the batch before I even got a second one. Will absolutely make again for our late-night study snack sessions.
I brought a double batch of these to our neighborhood potluck last weekend and people were asking for the recipe before I even set the platter down! I set out little toppings: whipped cream, chocolate chips, berry compote, chopped pecans, so everyone could customize theirs. They stayed moist even sitting out for a couple hours, which I was shocked by. Absolute crowd pleaser.
Wait, has anyone tried making these with a 1:1 gluten free flour blend? I’m dying to make them for my brunch next weekend but don’t want to waste ingredients if they turn out gummy!
Made these for Father’s Day brunch this year and honestly? They were better than the diner waffles we usually drive 20 minutes for. Crisp on the outside, so moist on the inside, not too sweet so you can load up on toppings without it being cloying. My only complaint is my waffle iron makes tiny waffles so I had to cook twice as many, but that’s not the recipe’s fault lol.
I make a big batch of these every Sunday for quick weekday breakfasts for me and my partner. I pop them in the toaster straight from the freezer on busy mornings and they taste just as fresh and moist as the day I made them. No more sad frozen grocery store waffles for us! Saved me so much money and time.
Okay full transparency I’ve never made waffles from scratch before, I’ve only ever used the box mix. These were so easy! Only took 15 minutes total like the recipe said, no fancy ingredients, and they came out so moist I couldn’t believe it. My little cousin said they’re “better than Mickey waffles at Disney” which is the highest possible compliment tbh.
Wait, am I the only person who eats these with savory toppings? I skipped adding extra sugar to the batter and topped mine with fried chicken, a little hot honey, and pickles and it was *chef’s kiss*. The moist, tangy buttermilk flavor pairs so perfectly with savory stuff too!
I have a really hard time with heavy, greasy breakfast foods that leave me feeling bloated, and these waffles are perfect! They’re light but still so moist and flavorful, I didn’t feel weighed down at all after eating two. I used low-fat buttermilk and they still came out great, no texture issues at all.
I am notoriously terrible at baking, like I burn cookies and mess up boxed brownies level bad. I followed this recipe exactly (no random tweaks, I swear!) and my waffles came out perfect. Golden and crisp on the edges, moist in the middle, no weird burnt spots, no raw batter. I’m actually so proud of myself lmao. 10/10 for fellow terrible bakers.
Has anyone tested this with vegan buttermilk? I’m trying to make more plant-based breakfasts for my daughter but I don’t want to give up that super moist texture the regular buttermilk gives.
I have three super picky kids who turn their nose up at literally every new breakfast I make, and they went crazy for these waffles! Even my youngest who refuses anything “soft and squishy” ate three of them with a little Nutella and banana slices. I can’t believe I found a breakfast everyone in the house agrees on, this is a miracle recipe tbh.
I host a monthly brunch for my friend group and these waffles are now the permanent main dish! I set up a whole waffle bar with different toppings and everyone raves about how moist and flavorful they are, even when we’re all sipping mimosas and chatting for an hour before we eat. Way better than the fancy brunch spot down the street that charges $18 for a single waffle.
I made a batch of these before our cross-country road trip last week and they were the perfect travel snack! I wrapped them individually in parchment paper and we ate them on the drive with peanut butter slathered on top, and they stayed moist for three whole days in the cooler. No sad gas station breakfasts for us this trip! Saved us so much time and money.