
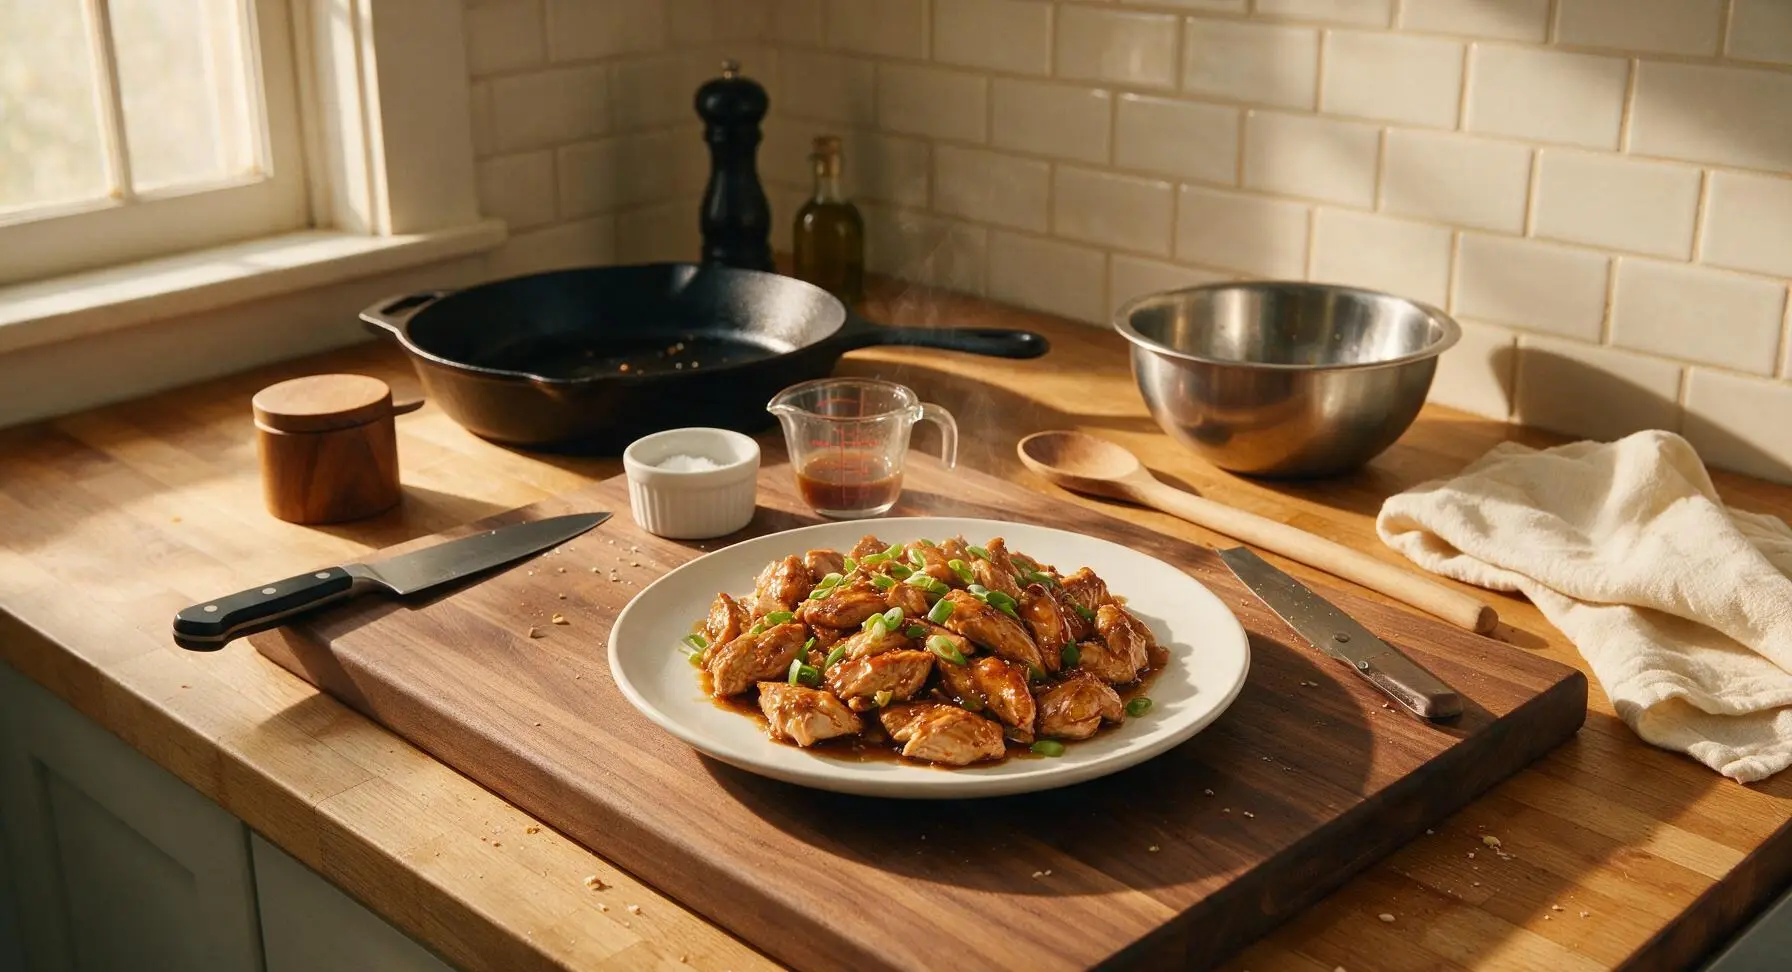
Mongolian Turkey

title 1
Mongolian Turkey
⏱️ cook time 15 minutes
🍽️ servings 4
⚡ Difficulty easy

intro

A lighter, speedy take on classic takeout, featuring tender turkey tossed in glossy sweet-savory soy-ginger sauce, finished with bright scallions for fast, cozy weeknight flavor.

Ingredients
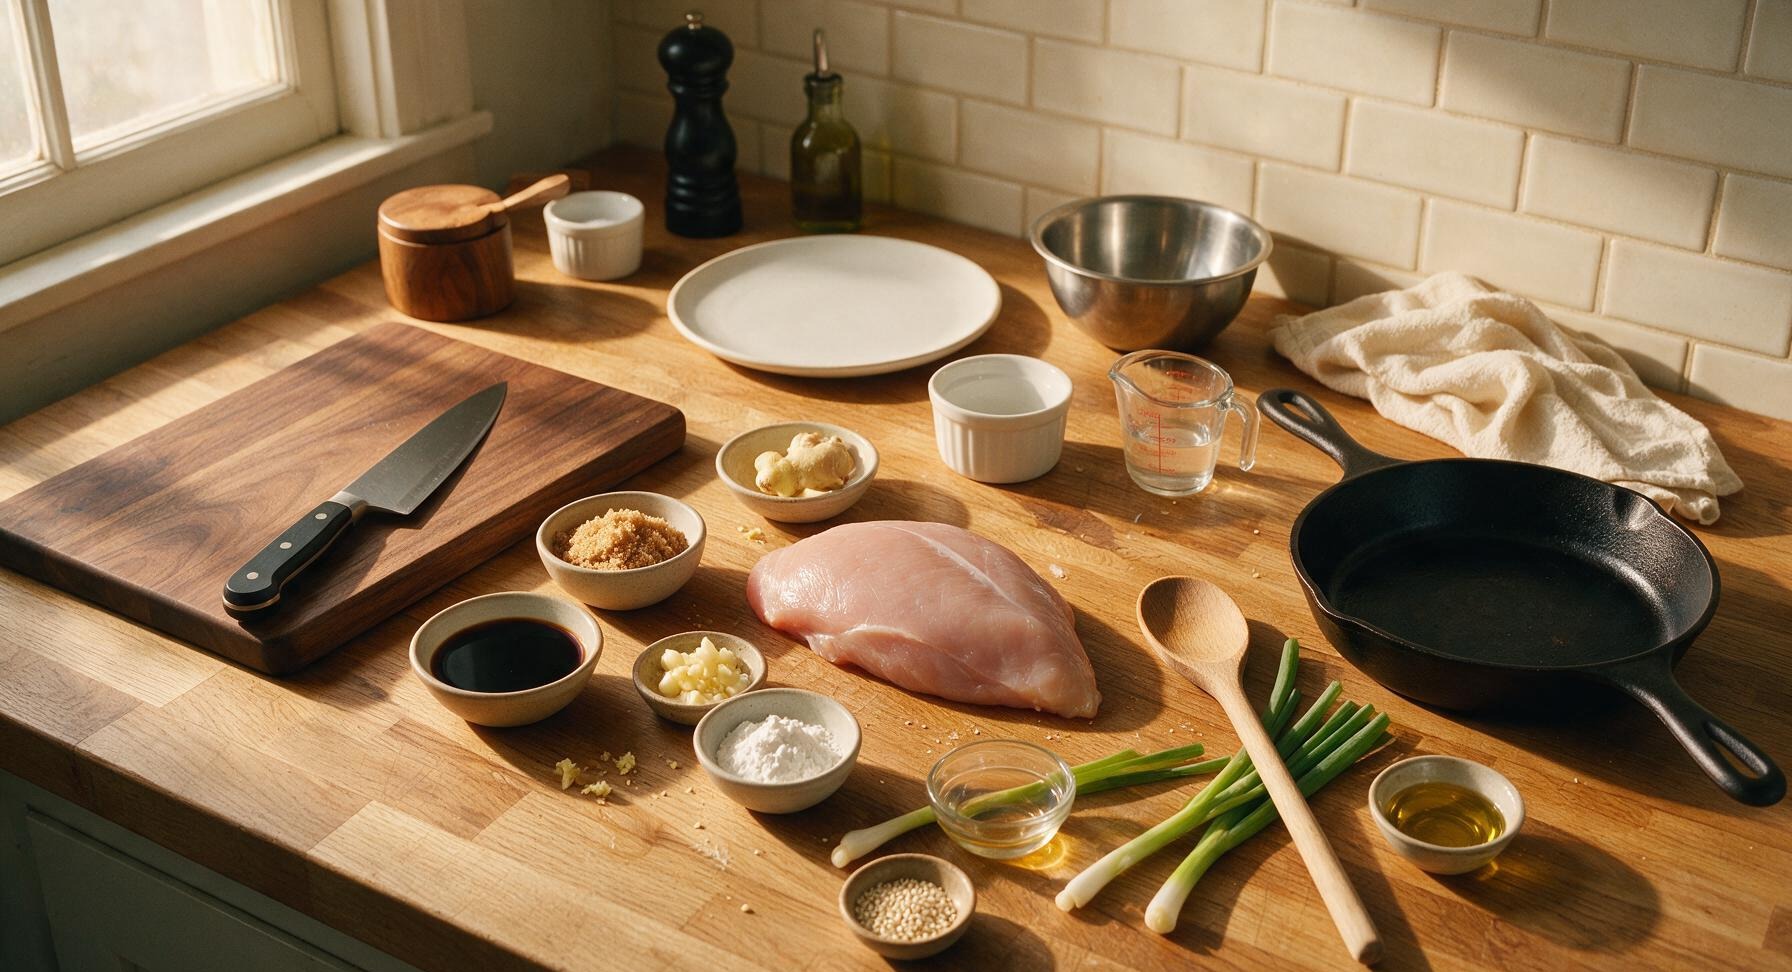
Boneless skinless turkey breast 450g
Low-sodium soy sauce 60ml (1/4 cup)
Light brown sugar (packed) 3 tbsp
Fresh ginger (grated) 1 tbsp (2cm knob)
Garlic cloves (minced) 3 cloves
Cornstarch 2 tbsp
Cold water 2 tbsp
Toasted sesame oil 1 tsp
Scallions 6 stalks
Neutral vegetable oil (canola/avocado) 2 tbsp
Toasted white sesame seeds 1 tsp

Steps

1

Slice Turkey Thin

Place 450g boneless, skinless turkey breast on the maple cutting board. Use the 8-inch chef knife to slice the turkey against the grain into 0.5cm thick, 5cm long strips. For cleaner, more even slices, freeze the turkey for 10 minutes prior to slicing to firm it up. Slicing against the grain guarantees tender, non-chewy bites in the finished dish.
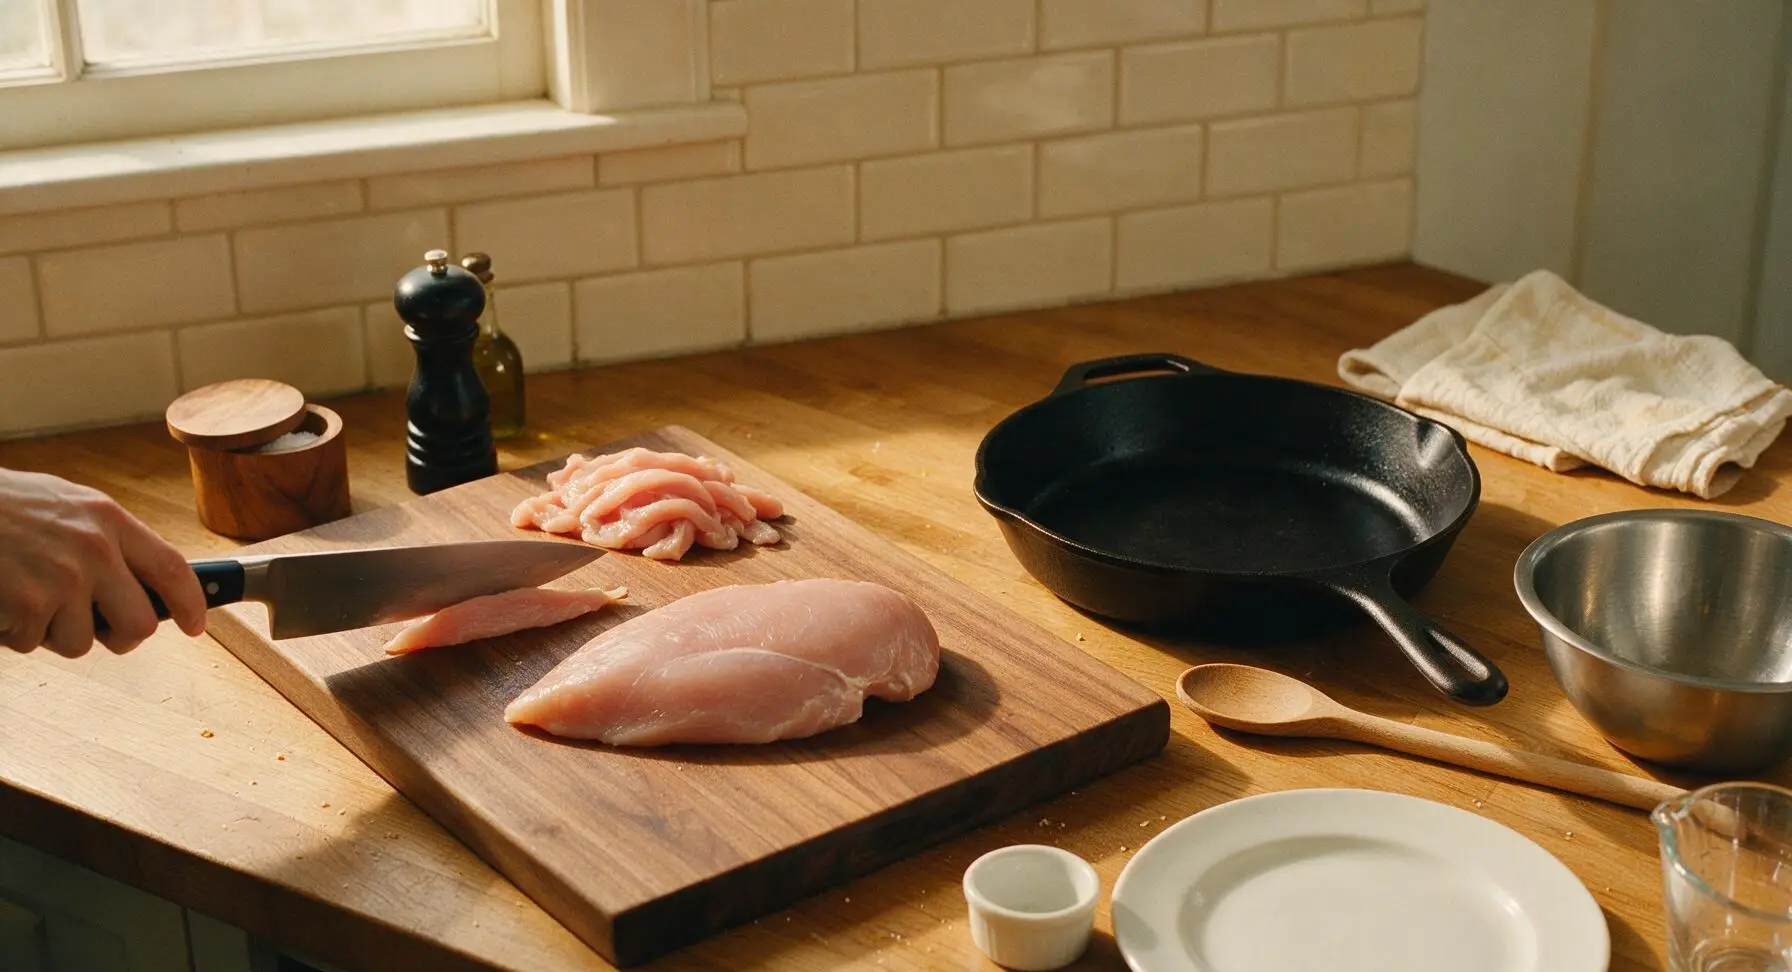
Step 1
step1:Slice Turkey Thin
2

Coat with Cornstarch

Transfer all sliced turkey strips to the medium brushed stainless steel mixing bowl. Sprinkle 2 tbsp cornstarch over the strips, then toss gently with clean hands until every strip is coated in a thin, even dusting of cornstarch. Set the bowl aside for 5 minutes to let the cornstarch adhere; this creates a velvety texture on the turkey that locks in moisture and holds the glossy sauce.
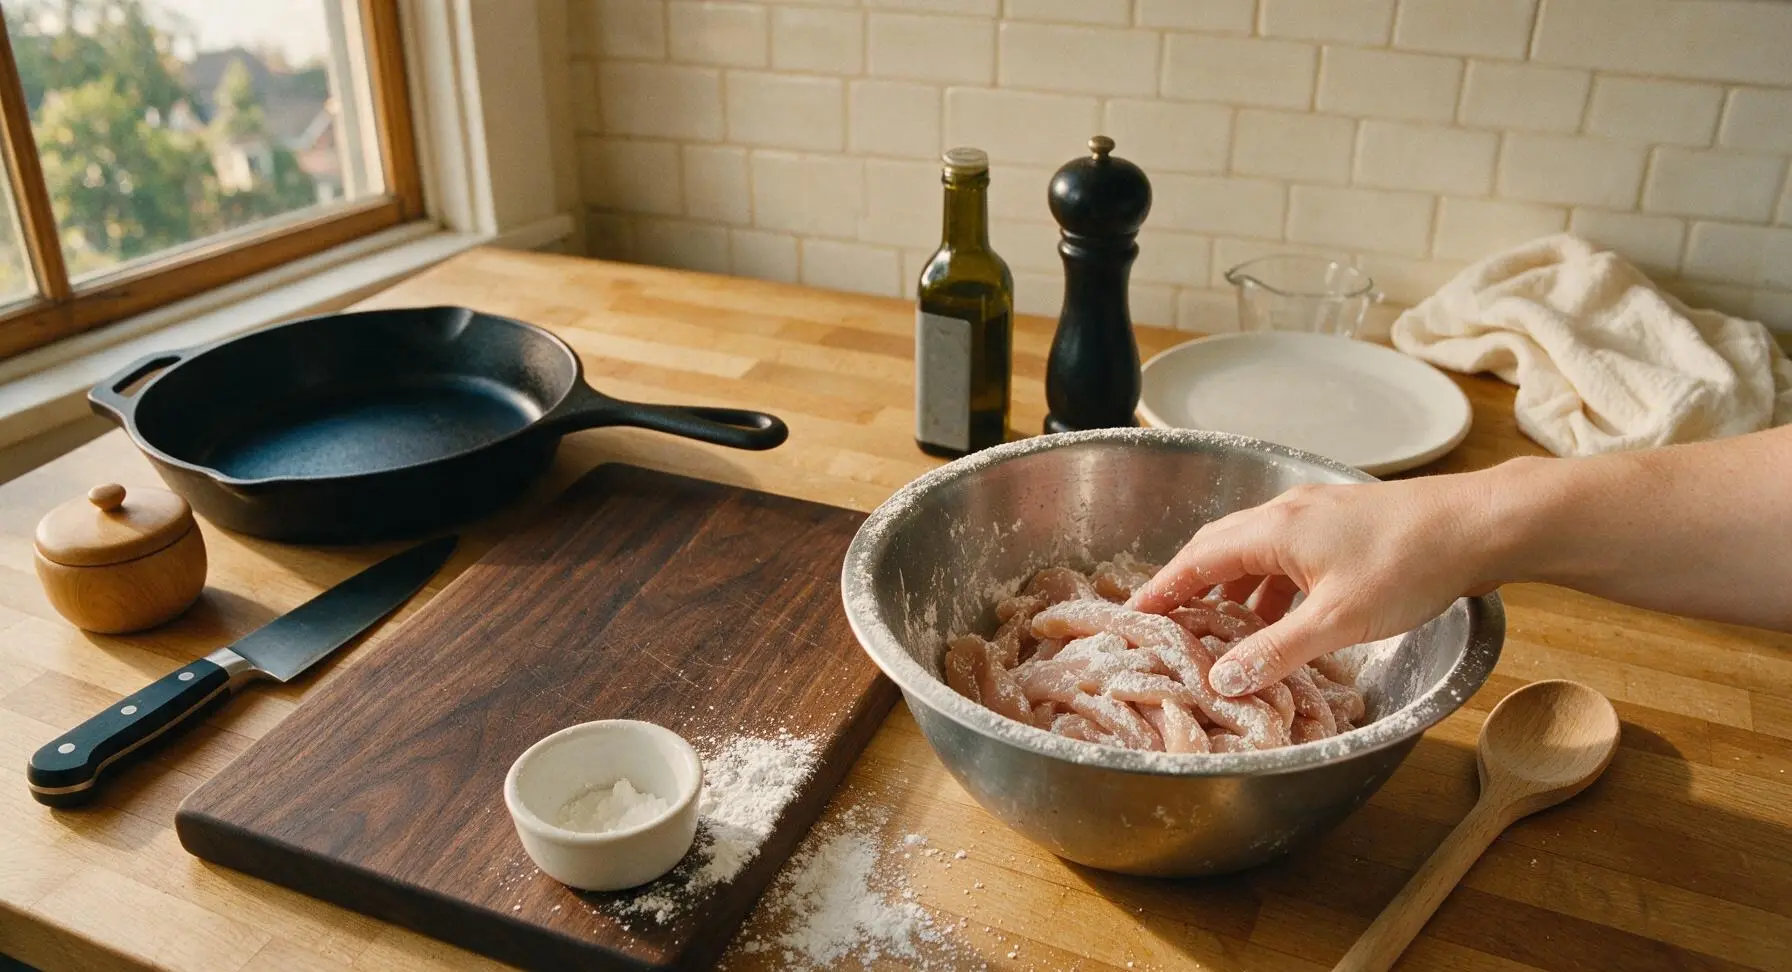
Step 2
step2:Coat with Cornstarch
3

Whisk Stir-Fry Sauce

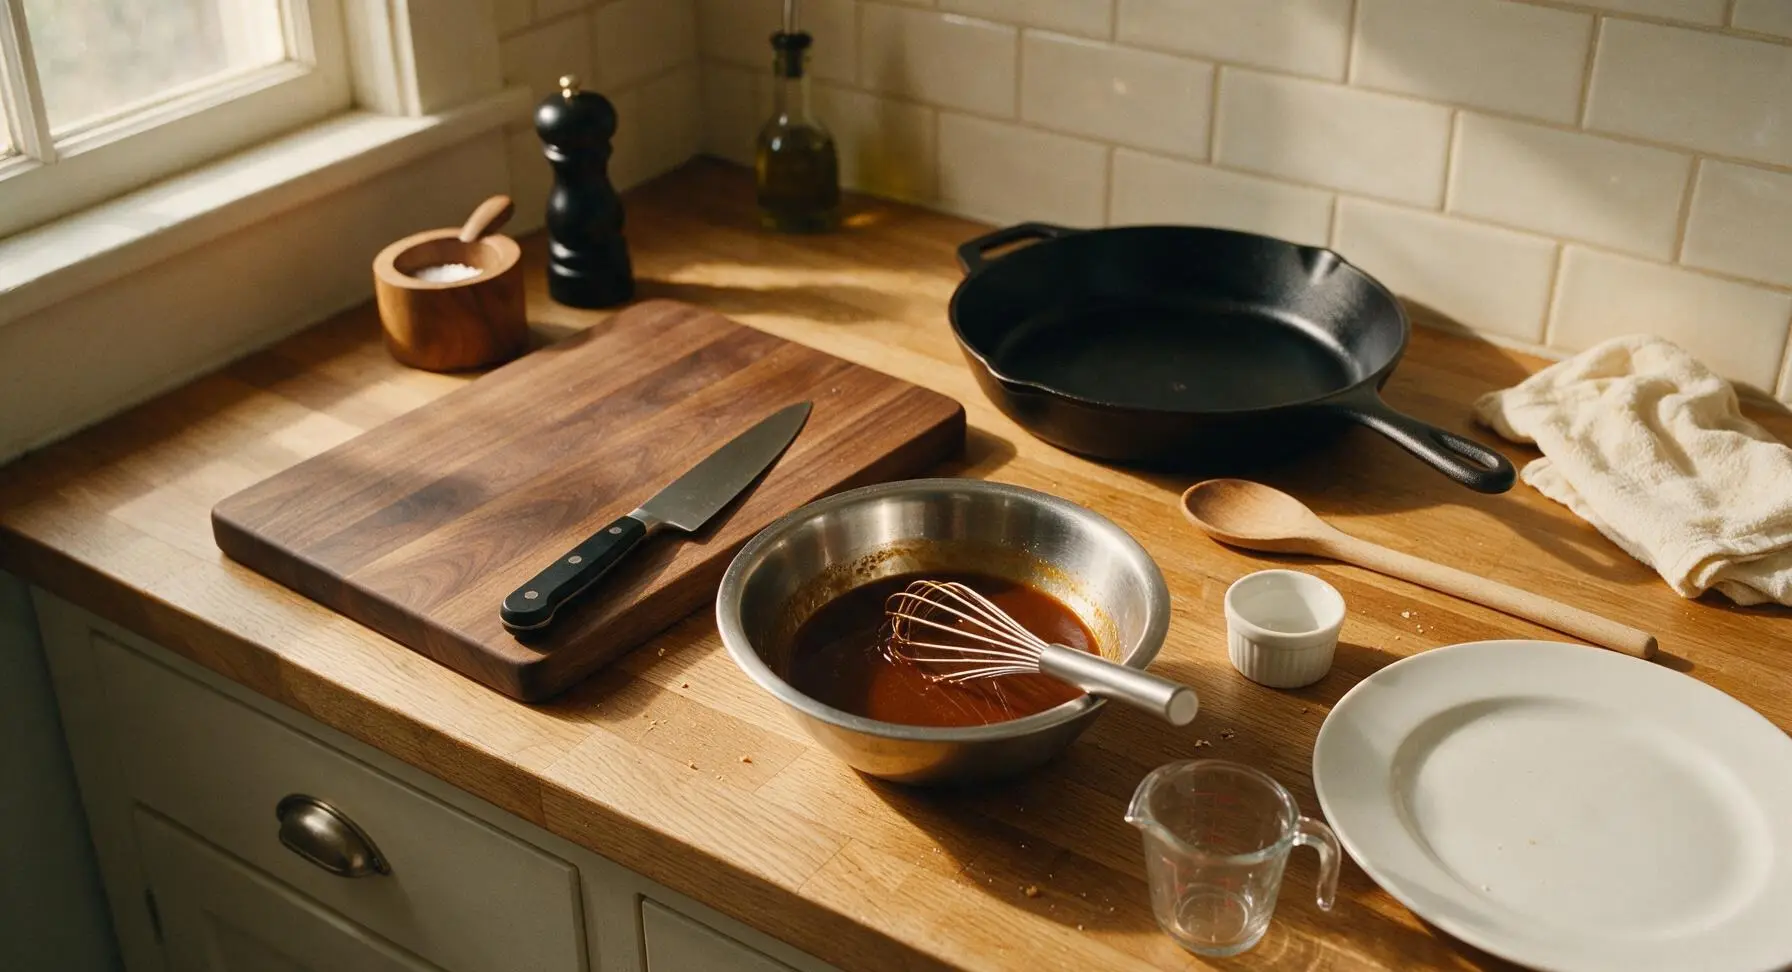
Add 60ml low-sodium soy sauce, 3 tbsp packed light brown sugar, 1 tbsp grated fresh ginger, 3 minced garlic cloves, 2 tbsp cold water, and 1 tsp toasted sesame oil to the small stainless steel mixing bowl. Use the small stainless steel whisk to stir the mixture until the brown sugar fully dissolves, creating a smooth, uniform dark amber sauce with no lumps.
Step 3
step3:Whisk Stir-Fry Sauce
4

Preheat Carbon Steel Wok

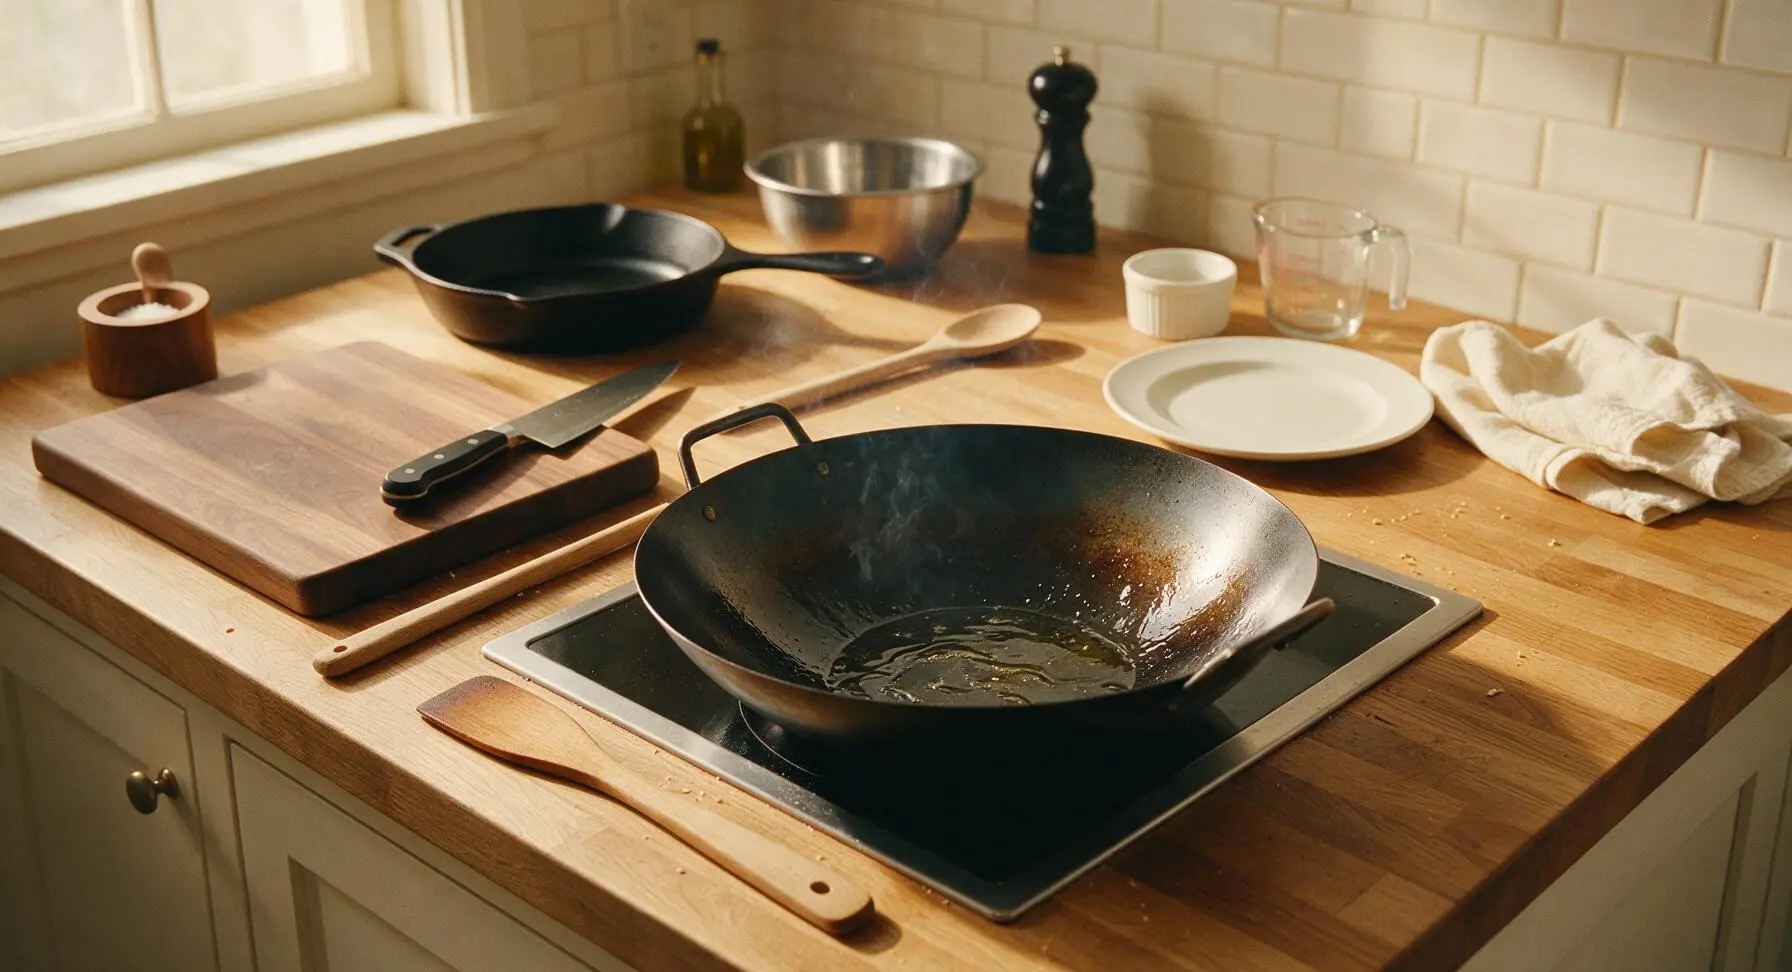
Set the 12-inch matte black carbon steel wok on the recessed stovetop over medium-high heat. Add 2 tbsp neutral vegetable oil to the wok, and heat for 2 minutes until the oil shimmers and sends up thin, wispy trails of smoke. A fully preheated wok prevents turkey strips from sticking and creates a light, crisp sear.
Step 4
step4:Preheat Carbon Steel Wok
5

Sear Turkey Strips

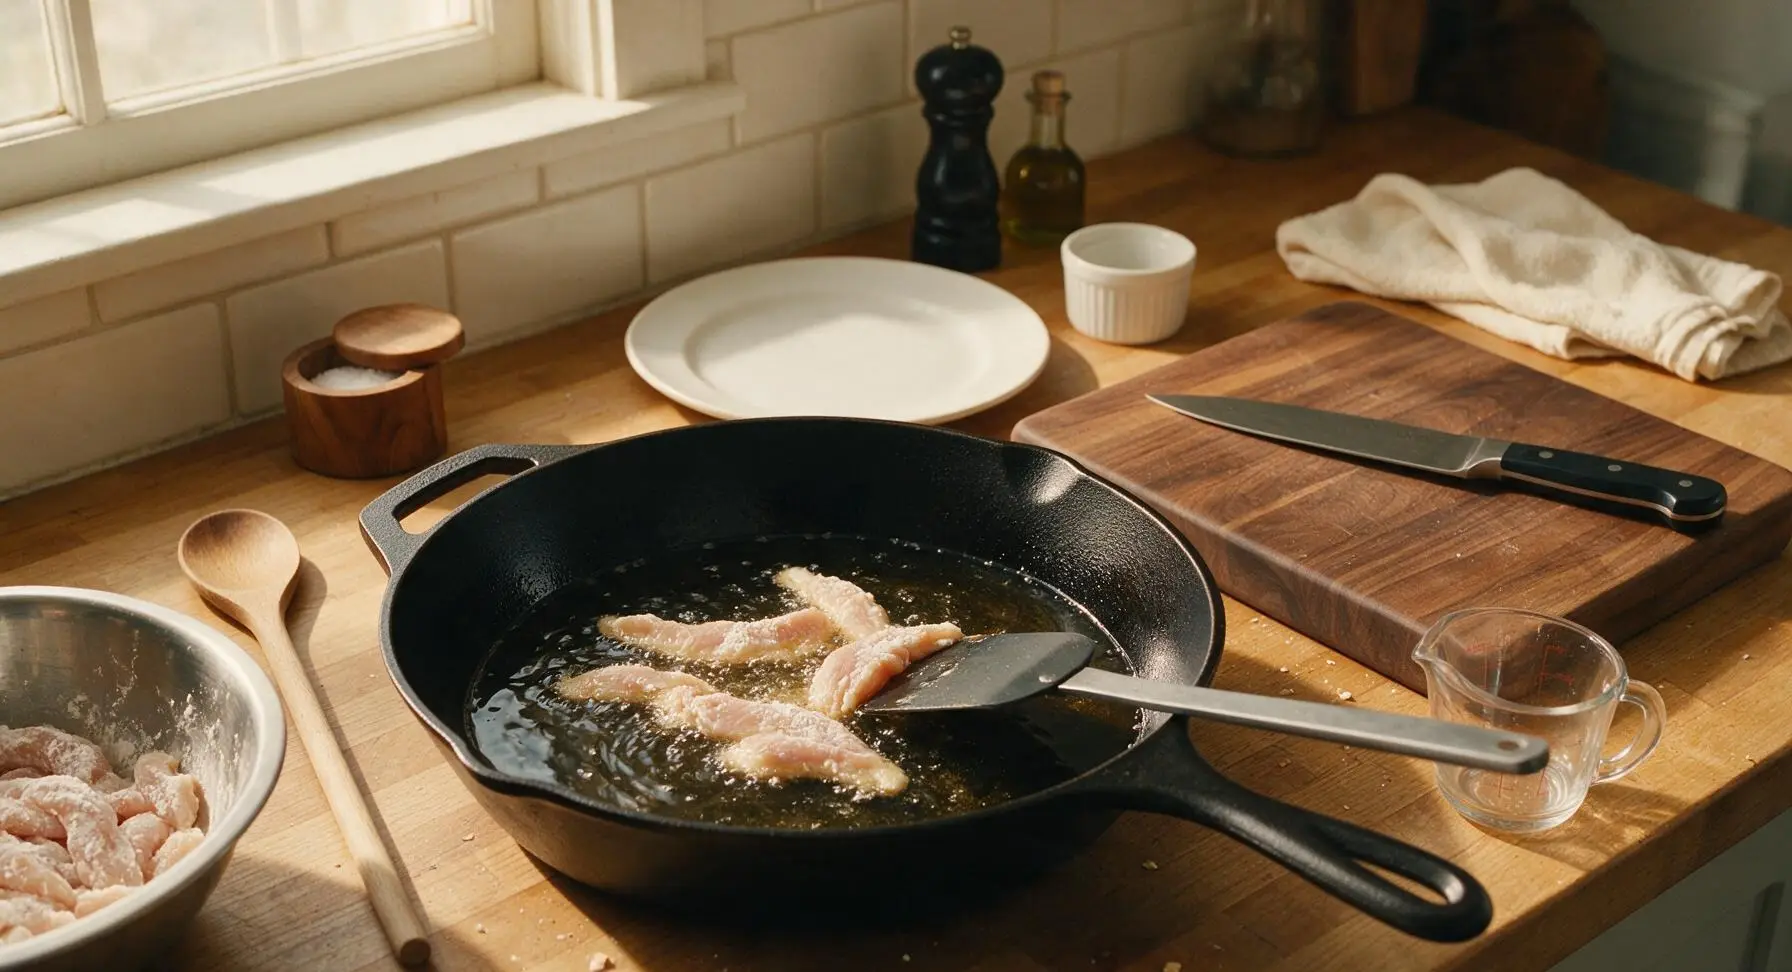
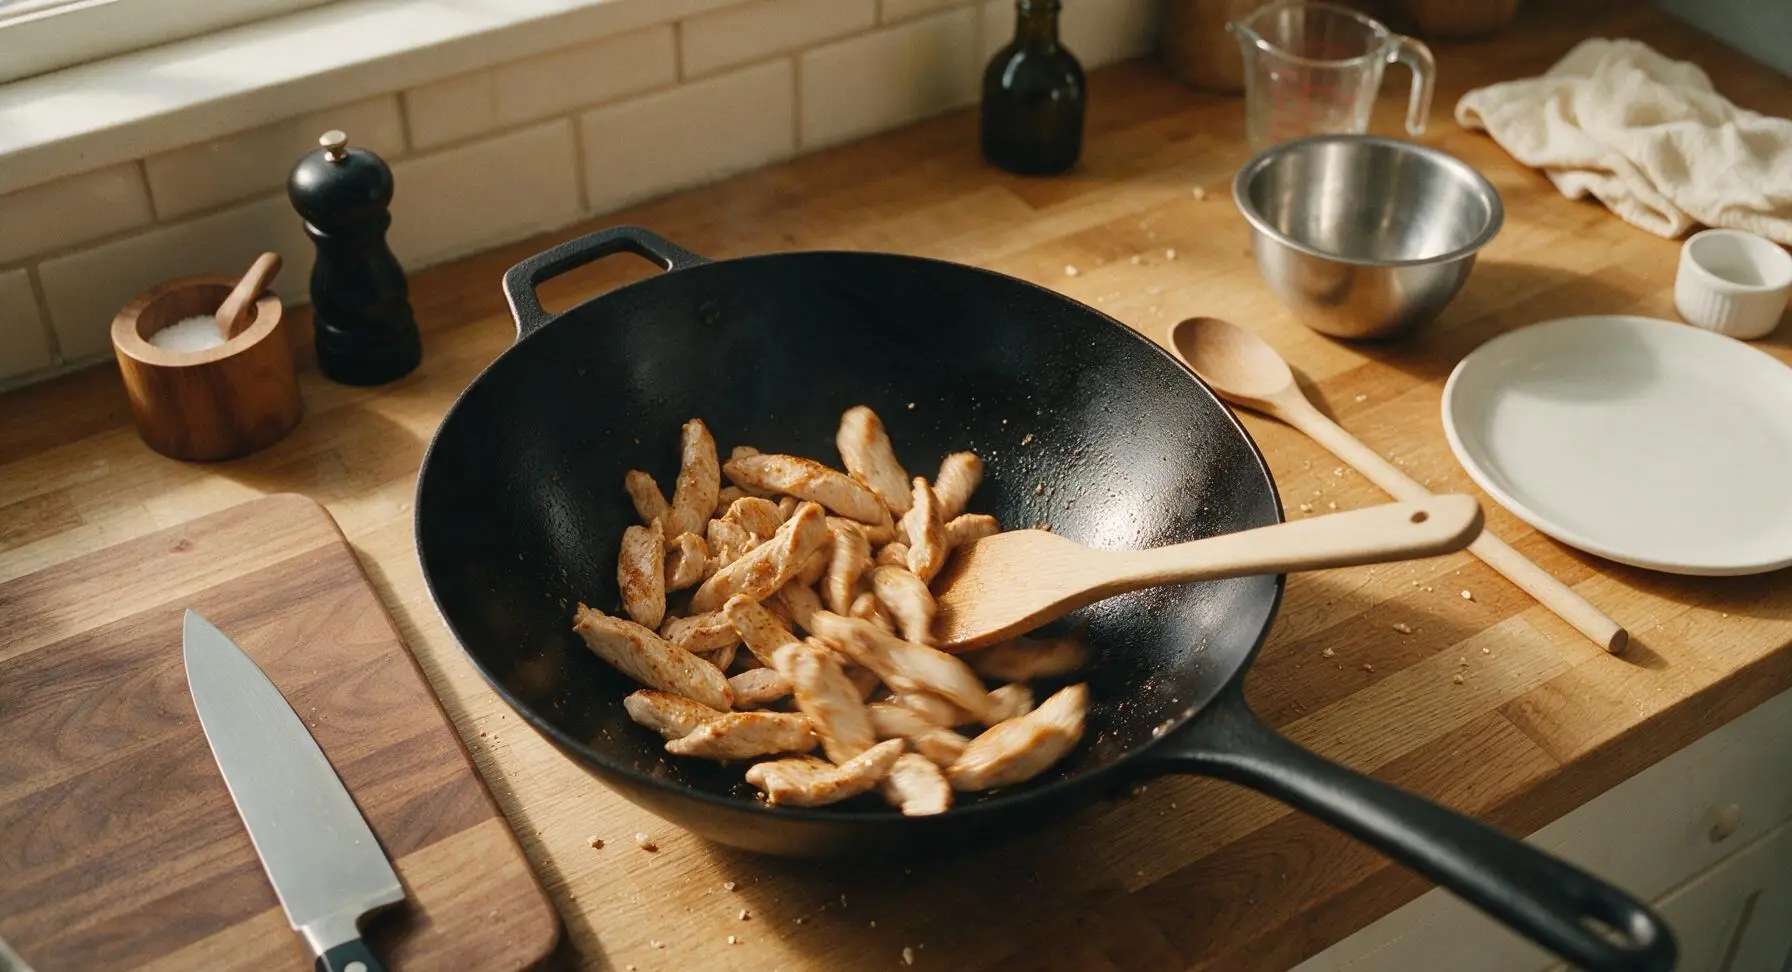
Add the cornstarch-coated turkey strips to the hot wok in a single even layer, working in two small batches if needed to avoid overcrowding (overcrowding causes steaming instead of searing). Let the turkey sear undisturbed for 1 minute, then toss with the wok spatula for another 2 minutes, until strips are lightly golden on all sides and almost cooked through, with only a faint hint of pink remaining at the center.
Step 5
step5:Sear Turkey Strips
Step 5
step5:Sear Turkey Strips
6

Add Sauce to Wok

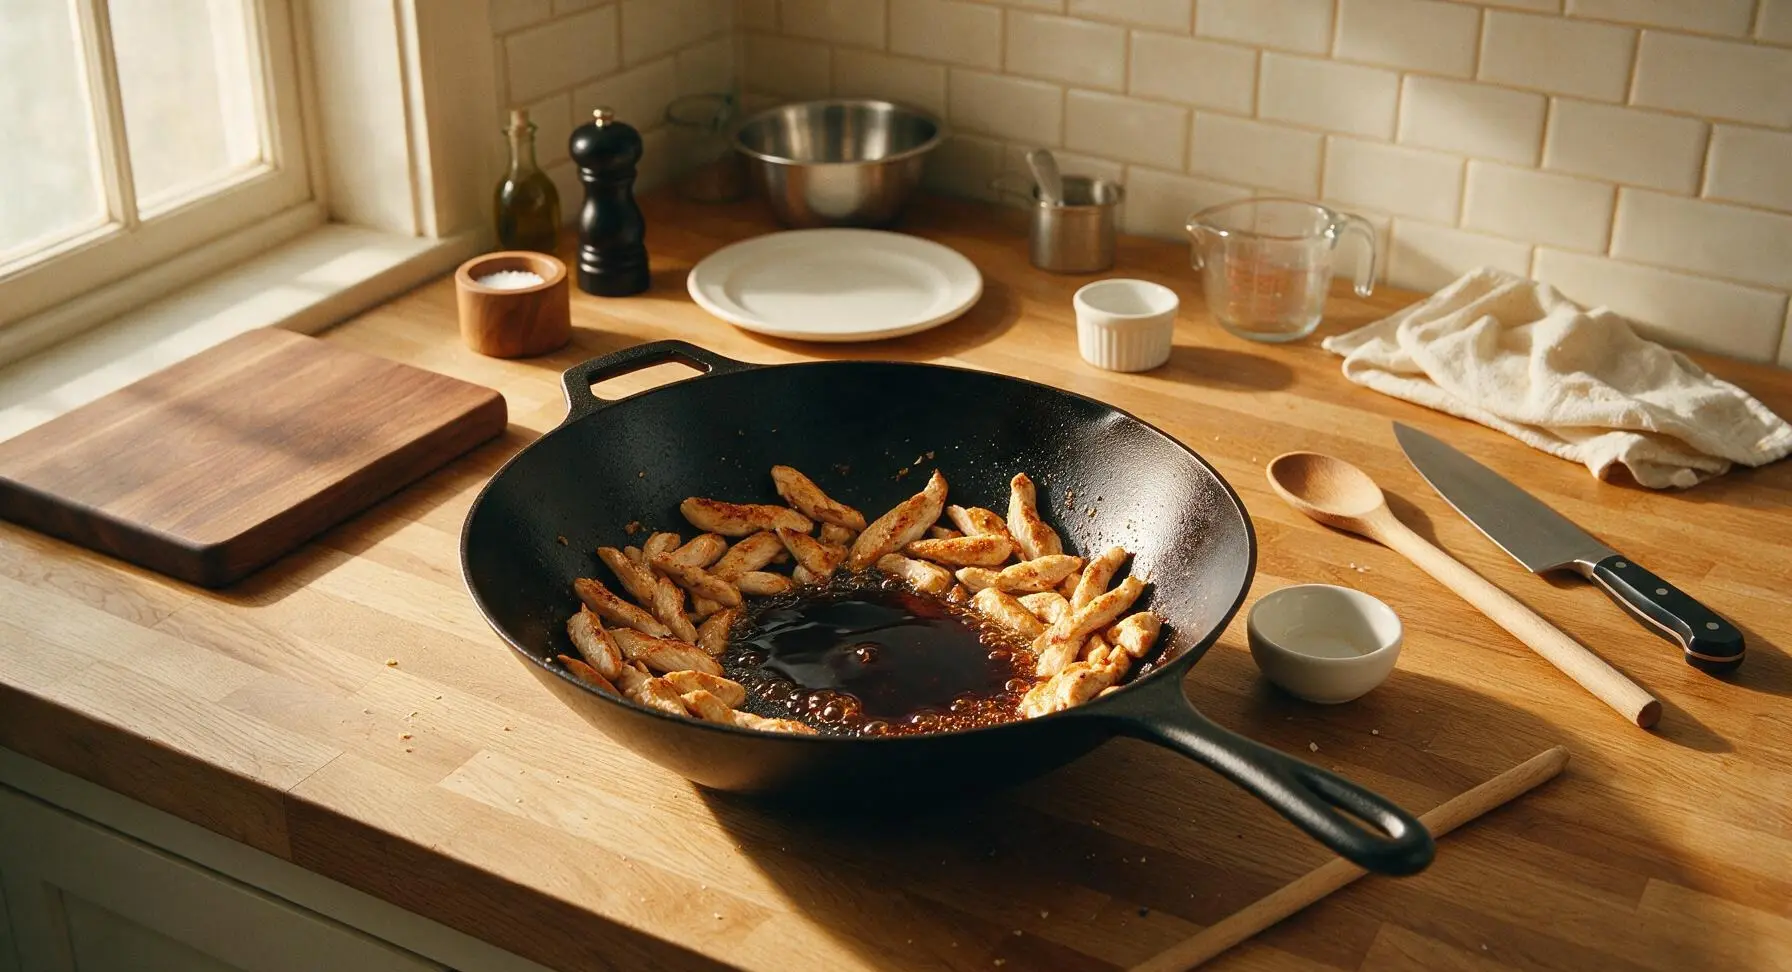
Push the seared turkey strips to the outer edges of the wok, leaving the hot center exposed. Pour the pre-mixed soy-ginger sauce into the center of the wok. Bring the sauce to a gentle simmer, stirring constantly, for 1 minute until it starts to thicken slightly from residual cornstarch left by the turkey.
Step 6
step6:Add Sauce to Wok
7

Toss to Coat Evenly

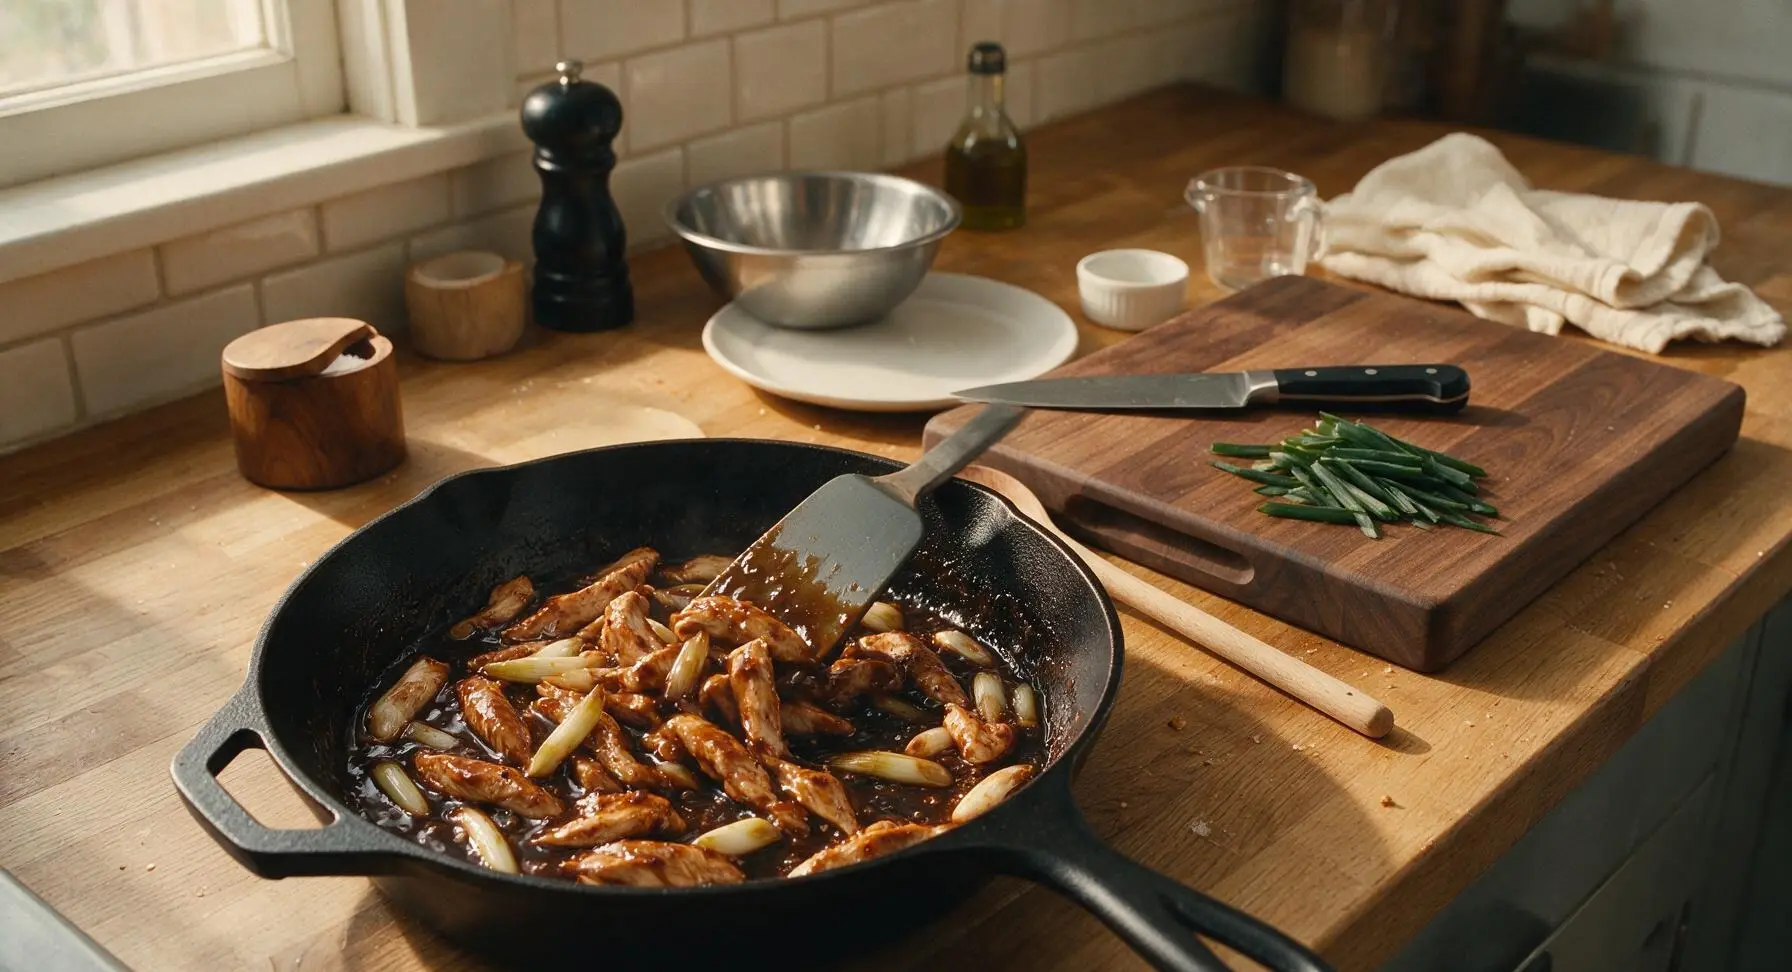
Slice the 6 scallion stalks, separating the firm white/light green sections from the tender dark green tops (reserve the dark tops for garnish). Add the white/light green scallion pieces to the wok, then toss all ingredients continuously with the spatula for 60-90 seconds, until the sauce reduces to a thick, glossy glaze that clings tightly to every turkey strip, and the turkey reaches a safe internal temperature of 74C/165F.
Step 7
step7:Toss to Coat Evenly
8

Plate and Garnish

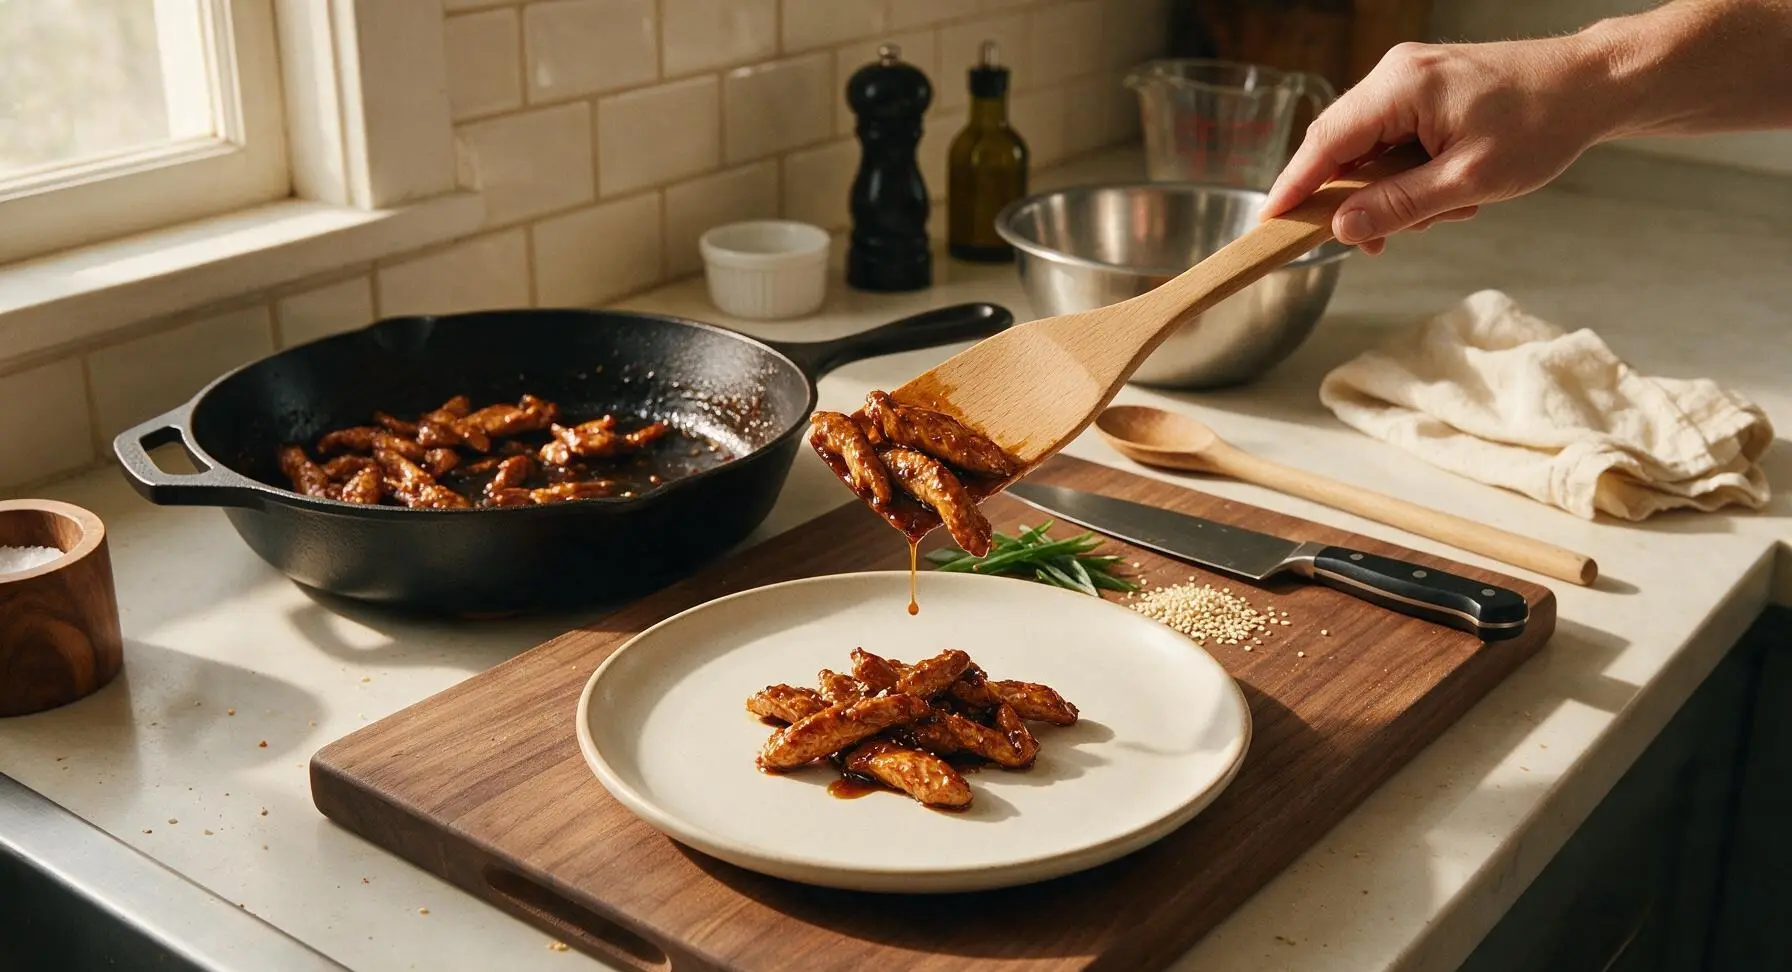
Turn off the heat under the wok. Transfer the sauced turkey to the waiting off-white ceramic dinner plate, mounding it gently in the center. Sprinkle the reserved dark green scallion tops and 1 tsp toasted white sesame seeds evenly over the top. Serve immediately while hot, ideally alongside steamed white rice.
Step 8
step8:Plate and Garnish

Tips

1.Don’t skip the 5-minute rest after coating turkey in cornstarch: this lets the cornstarch absorb surface moisture from the meat so it doesn’t slide off during searing, creating a velvety sauce-grabbing texture instead of a gummy, starchy coating.
2.Sear turkey in small batches if your wok is narrow: overcrowding the wok drops the oil temperature too quickly, causing turkey to steam instead of sear, resulting in soggy, pale strips that don’t hold sauce well.
3.Reserve dark green scallion tops for garnish only: adding them during cooking wilts them into mushy, bitter bits, while sprinkling them on at the end preserves their bright color and fresh, mild onion flavor.


✨ You May Also Like

Main Course
🍜 United Kingdom

A showstopping classic of tender seared beef, savory mushroom duxelles, and crisp prosciutto wrapped in flaky golden puff pastry, baked to juicy perfection.

⏱️ 2 hours 1Main Course ★ 4.7
Main Course
🍜 India

Tender charred marinated chicken simmered in a rich, spiced creamy tomato sauce, this iconic Anglo-Indian curry pairs perfectly with basmati rice or warm naan.

⏱️ 50 minuteMain Course ★ 4.6
Main Course
🍜 Thailand

Classic tangy, sweet, and savory Thai stir-fried rice noodles with shrimp, tofu, and crunchy garnishes, balancing all five core Thai flavor profiles.

⏱️ 30 minuteMain Course ★ 4.5
Main Course
🍜 United Kingdom

Crispy golden beer-battered cod and fluffy double-fried chips, served with tangy tartar sauce and malt vinegar: the timeless, beloved British pub comfort classic.

⏱️ 45 minuteMain Course ★ 4.7
Main Course
🍜 Mexico

Smoky, chile-marinated pork tacos with caramelized pineapple, fresh cilantro, and lime: a beloved classic Mexican street food perfect for casual summer gatherings.

⏱️ 1 hour 45Main Course ★ 4.8
Main Course
🍜 United States

Crunchy Fritos corn chips layered with savory beef chili and melted cheddar, topped with cool, zesty fixings for a beloved, cozy Tex-Mex comfort food.

⏱️ 35 minuteMain Course ★ 4.8

Mongolian Turkey:Frequently Asked Questions

1.How is Mongolian Turkey different from classic takeout Mongolian beef? ▾
This recipe is a lighter, faster weeknight twist on the takeout staple. It swaps marinated, often deep-fried flank steak for quick-cooking lean turkey breast, keeps the iconic glossy sweet-savory soy-ginger sauce, cuts total cook time to under 30 minutes, and delivers that same cozy, craveable flavor with less fat and prep work.
2.Can I use turkey thigh instead of boneless skinless turkey breast? ▾
Absolutely! Boneless, skinless turkey thigh works beautifully if you prefer juicier, slightly richer meat. Slice it against the grain into uniform ¼-inch thick pieces just like you would turkey breast, and note it may add 1-2 minutes of cook time to reach the safe 165°F internal temp, with no other recipe adjustments needed.
3.Do I need to marinate the turkey before cooking it? ▾
No long marination is required for this speedy recipe, which is part of what makes it perfect for busy weeknights. You can toss sliced turkey in 1 tablespoon of soy sauce for 10 minutes while you prep sauce ingredients for extra depth if you’d like, but that step is totally optional for great, flavorful results.
4.My sauce turned out too thin—how do I fix that? ▾
If your sauce doesn’t thicken to that signature glossy coating consistency, mix 1 teaspoon of cornstarch with 1 tablespoon of cold water to make a slurry. Stir it into the simmering sauce 30 seconds at a time, stopping once the sauce coats the back of a spoon, since it will thicken quickly as it bubbles.
5.Can I adapt this recipe to be gluten-free? ▾
Yes, this recipe is super easy to adjust for gluten-free diets. Simply swap the low-sodium regular soy sauce for a certified gluten-free low-sodium tamari. Most standard light brown sugars, fresh ginger, and garlic are naturally gluten-free, so that single swap is almost always all you need for a safe, delicious meal.
6.How do I keep turkey breast from turning out dry and tough? ▾
The biggest trick to juicy turkey is slicing it against the grain into uniform ¼-inch thick pieces, and avoiding overcooking. Sear slices over medium-high heat for just 1-2 minutes per side until barely opaque, then let them finish cooking gently in the warm sauce for 1 minute to lock in moisture instead of searing until tough.
7.Can I reduce the amount of brown sugar to make the sauce less sweet? ▾
Of course! The packed light brown sugar balances salty soy and sharp ginger, but you can cut it by 1 to 2 tablespoons if you prefer a more savorily forward sauce. Avoid cutting it entirely, though, since a small amount of sugar helps create that signature glossy, sticky takeout-style coating on the turkey pieces.
8.What’s the best way to grate fresh ginger for this recipe? ▾
For the smoothest, most evenly distributed ginger flavor with no stringy bits, use a Microplane zester to grate peeled fresh ginger right over your sauce mixing bowl. If you don’t have a Microplane, finely mince the ginger with a sharp knife, scraping it into a soft paste as you chop to break down tough fibers.
9.How spicy is the base version of Mongolian Turkey? ▾
The base recipe is not spicy at all, making it totally family-friendly for kids and folks who avoid heat. If you want to add a kick, stir in ¼ teaspoon of red pepper flakes to the sauce, or toss in a thinly sliced fresh serrano when you add garlic and ginger, adjusting heat to match your preference.
10.What side dishes pair best with Mongolian Turkey? ▾
This dish pairs perfectly with fluffy steamed white rice, jasmine rice, or riced cauliflower for a lower-carb option. Steamed or stir-fried bok choy, broccoli, or snap peas make great veggie sides to cut the richness of the sauce, and extra scallions on top add a bright, fresh finishing touch.
11.Can I use ground turkey instead of sliced turkey breast? ▾
Yes, ground turkey makes an even faster, convenient swap! Skip the slicing step, crumble 93/7 lean ground turkey into a hot pan, cook until browned and cooked through, then toss with the prepared sauce. Note the texture will be crumbly, perfect for rice bowls, rather than the classic sliced takeout texture.
12.How long does this recipe take to make from start to finish? ▾
This is designed to be a 25-minute total weeknight meal. Prep takes about 10 minutes: slicing turkey, grating ginger, mincing garlic, mixing sauce, and chopping scallions. Cooking takes just 15 minutes total, from searing turkey to simmering sauce, so you can eat faster than waiting for takeout delivery.
13.Can I prep recipe components ahead for faster weeknight cooking? ▾
Definitely! You can slice the turkey, mix the sauce, grate ginger, mince garlic, and chop scallions up to 3 days ahead, storing each component in separate airtight containers in the fridge. When you’re ready to cook, all you have to do is sear the turkey and toss with sauce, cutting active cook time to under 10 minutes.
14.Why does the recipe call for low-sodium soy sauce instead of regular? ▾
Low-sodium soy sauce lets you control the dish’s salt level much better, since regular full-sodium soy sauce can make the finished sauce overly salty once it reduces and coats the turkey. If you only have regular soy sauce on hand, cut the amount by 1 tablespoon and replace it with water to keep salt levels balanced.
15.How should I store leftover Mongolian Turkey? ▾
Store cooled leftovers in an airtight container in the refrigerator for up to 4 days. The sauce will thicken as it chills, so when you reheat, add a tiny splash of water or soy sauce to loosen it back up, and warm gently in the microwave or on the stovetop over low heat until the turkey hits 165°F internally.
16.Can I freeze leftover Mongolian Turkey for later? ▾
Yes, this dish freezes well for up to 3 months. Let it cool completely, then transfer to a freezer-safe airtight bag or container, squeezing out excess air to prevent freezer burn. Thaw overnight in the fridge before reheating, and add fresh scallions on top when serving, since cooked scallions soften after freezing.
17.My garlic burned when I cooked it—what did I do wrong? ▾
Garlic burns very quickly, especially over the high heat used to sear turkey, so it only needs 30 seconds of cook time before you add the sauce. If you add it too early or leave it unattended in the hot pan, it will turn bitter and ruin the sauce flavor. Add it right after searing turkey, just before pouring in sauce, for mellow, sweet garlic flavor.
18.Do I need a wok to make authentic-tasting Mongolian Turkey? ▾
No, you don’t need any special equipment! A large, heavy-bottomed skillet works perfectly if you don’t have a wok. Just make sure your pan is hot before adding turkey to get a nice light sear on slices, and work in small batches if your pan is crowded to avoid steaming turkey instead of searing it for best texture.
19.When should I add the scallions to the dish? ▾
Add most of your chopped scallions (green and light green parts) during the last 30 seconds of cooking, tossing them with the sauced turkey so they just barely wilt and release their bright, fresh flavor. Reserve a small handful of raw, thinly sliced scallion greens to sprinkle on top of each serving for a pop of color and crisp, oniony bite.

Comments (20)

2 days ago

OMG this Mongolian Turkey was an absolute game changer for our weeknight dinner rotation! 15 minute cook time is no joke, I threw it together after soccer practice and even my kid who hates all ‘saucy meat’ cleaned his plate. Served it over jasmine rice with a side of steamed broccoli, 10/10.

yesterday

Same! I meal prepped 4 portions on Sunday and it held up perfectly all week for work lunches, the sauce doesn’t get soggy at all!

yesterday

So glad it was a hit with the whole family! Pro tip: add a pinch of red pepper flakes if you want a tiny kick to cut the sweetness!

3 days ago

Was skeptical turkey would work instead of beef for Mongolian style but wow, it’s so much lighter and didn’t leave me feeling bloated after dinner. Only tweak I made was adding an extra tablespoon of hoisin because I love that deep umami flavor.

2 days ago

Love that tweak! Extra hoisin is such a good call for folks who prefer a richer, sweeter sauce profile.

5 days ago

SO good, made this in my tiny dorm kitchen with a single hot plate and it still turned out perfect. Way cheaper than ordering takeout and tastes almost identical, saved me like $15 this week.

1 week ago

Brought this to my neighborhood potluck last weekend and people were hovering over the crockpot (I kept it warm on low after cooking) asking for the recipe the whole time! A couple people thought it was regular Mongolian beef and were shocked it was turkey.

5 days ago

Ooh keeping it warm in the crockpot is such a smart potluck hack, I’m stealing that for my next church dinner!

30 minutes ago

Quick question! Can I swap the regular soy sauce for tamari to make this gluten free? I’ve been looking for easy takeout dupes that fit my diet and this looks perfect.

15 minutes ago

I did that last week! Used low sodium tamari and it tasted exactly the same, no weird aftertaste at all, my celiac husband had zero issues.

5 minutes ago

Great question! Tamari works perfectly as a 1:1 swap for soy sauce here, just make sure to double check your hoisin is gluten free too if you’re strictly avoiding it!

1 week ago

Perfect high protein, low fat weeknight meal! I tracked it and it’s like 32g of protein per serving, way better than the greasy takeout version that leaves me sluggish for my morning runs. Will be making this bi-weekly for sure.

6 days ago

So stoked this fits your fitness goals! If you want to cut a little extra sugar, you can swap half the brown sugar for monk fruit sweetener without losing that classic Mongolian sauce flavor.

2 weeks ago

The sauce on this is insane! I licked the bowl clean no joke. The balance of sweet, salty, and a tiny hint of ginger is chef’s kiss. Only thing I’ll do next time is make a double batch of sauce so I can drizzle extra over my rice.

yesterday

First time cooking anything that wasn’t frozen pizza or microwave mac and cheese and this was so easy! I didn’t burn anything, it tasted like actual restaurant food, my roommate thought I ordered takeout lmao. Only mistake I made was not cutting the turkey into small enough pieces, but it still slapped.

10 hours ago

Dude same! I’m also a total beginner and this was the first recipe I didn’t mess up, it’s impossible to screw up honestly.

8 hours ago

Love to hear this! It’s such a great starter recipe for new cooks – pro tip, pop the turkey tenderloin in the freezer for 15 minutes before slicing and it’ll be way easier to cut into even, bite-sized pieces!

2 days ago

Made this for my boyfriend for our at home date night last night and he asked if we can have it every Friday from now on. Paired it with garlic edamame and some crispy chow mein noodles on top, so fancy but so little work.

yesterday

The crispy chow mein noodle topping is such a good call! I never thought to add that for crunch, that would take it to the next level.

5 days ago

Has anyone tried freezing this after cooking? I like to make big batches of meals to freeze for busy weeks when I don’t have time to cook at all.

3 days ago

Froze 3 portions 2 weeks ago, thawed one in the fridge overnight and reheated it in the microwave last night! The turkey was a tiny bit softer than fresh but the flavor was totally still there, no weird freezer burn.

2 days ago

Great question! It freezes really well for up to 3 months in an airtight container – just let it cool completely before popping it in the freezer to avoid excess ice crystals.

1 week ago

I left out the ginger because I can’t stand the taste of fresh ginger and this still came out amazing! Super versatile, even if you pick out ingredients you don’t like it still works. Served it over cauliflower rice to keep it low carb.

2 weeks ago

Used leftover Thanksgiving turkey for this and it was *chef’s kiss*. Chopped it up into small pieces, tossed it in the sauce for 5 minutes, and I had a whole new meal that didn’t taste like sad leftover turkey at all. Total game changer for post-holiday leftovers.

2 weeks ago

What a brilliant use for leftover turkey! That’s such a smart way to repurpose holiday leftovers so they don’t feel boring, I’ll have to add that tip to the recipe notes!

3 days ago

Threw in a handful of chopped bell peppers and snap peas with the turkey to add some veggies and it worked perfectly! The sauce coated all the veggies so well, made it a full one pan meal with zero extra work.

2 days ago

Adding mushrooms next time! I love sneaking extra veggies into meals so my kid eats them without complaining, the sauce will totally hide the mushroom texture for him.

yesterday

Love that veggie addition! Bell peppers and snap peas are such a great call, they add the perfect crunch to balance the soft turkey and sticky sauce.

2 hours ago

I order Mongolian beef from my local Chinese spot at least once a week and this is almost identical, but cheaper and faster to make at home. I was shocked how quick it came together, no weird hard to find ingredients either, I had everything in my pantry already.

30 minutes ago

Same! I thought I’d miss the beef but the turkey is so much juicier? I don’t think I’m going back to the takeout version honestly.

just now

15 minute cook time is not a lie, people. I got home late from work, had this on the table in 18 minutes total including boiling the rice. My wife and two teens all went back for seconds, that’s the highest review a recipe can get in my house.

yesterday

Wondering if this works with low sodium soy sauce? I have high blood pressure so I have to watch my salt intake, but I’ve been craving Mongolian takeout so bad.

12 hours ago

I used low sodium soy sauce and added an extra half teaspoon of brown sugar to balance it, turned out perfect! You can’t even tell it’s low sodium.

6 hours ago

Absolutely! Low sodium soy sauce works great here – just taste the sauce before adding it to the turkey and add a tiny extra splash of rice vinegar or brown sugar if you feel like it’s missing depth.

5 minutes ago

Wait has anyone tried crisping the turkey in the air fryer first before tossing it in the sauce? I feel like that would give it that little crispy edge takeout has.

1 minute ago

Such a fun hack! If you toss the turkey bites in a tiny bit of cornstarch and air fry at 400F for 6 minutes before tossing in sauce, you get that perfect crispy exterior that’s just like takeout.

1 week ago

I added an extra teaspoon of brown sugar because I like my Mongolian sauce extra sweet and it was perfect for my taste. Don’t be scared to tweak the sauce ratios to match what you like, this recipe is super forgiving.

2 days ago

Made this last night, my cat kept jumping on the counter trying to steal a bite of turkey lmao. It smelled so good I can’t even blame him, I probably would’ve tried to steal a bite off someone else’s plate too. Served it over lo mein noodles instead of rice, so good.

yesterday

My dog did the exact same thing! He was sitting by the oven the whole time it cooked begging for a piece, I had to give him a tiny plain bite of turkey to get him to leave me alone.

3 days ago

Added this to my weekly meal prep rotation for the next month, it’s so quick to throw together, doesn’t require fancy ingredients, and tastes good hot or cold. Perfect for busy work days when I don’t have time to run out for lunch.



