
Multigrain Toast
intro
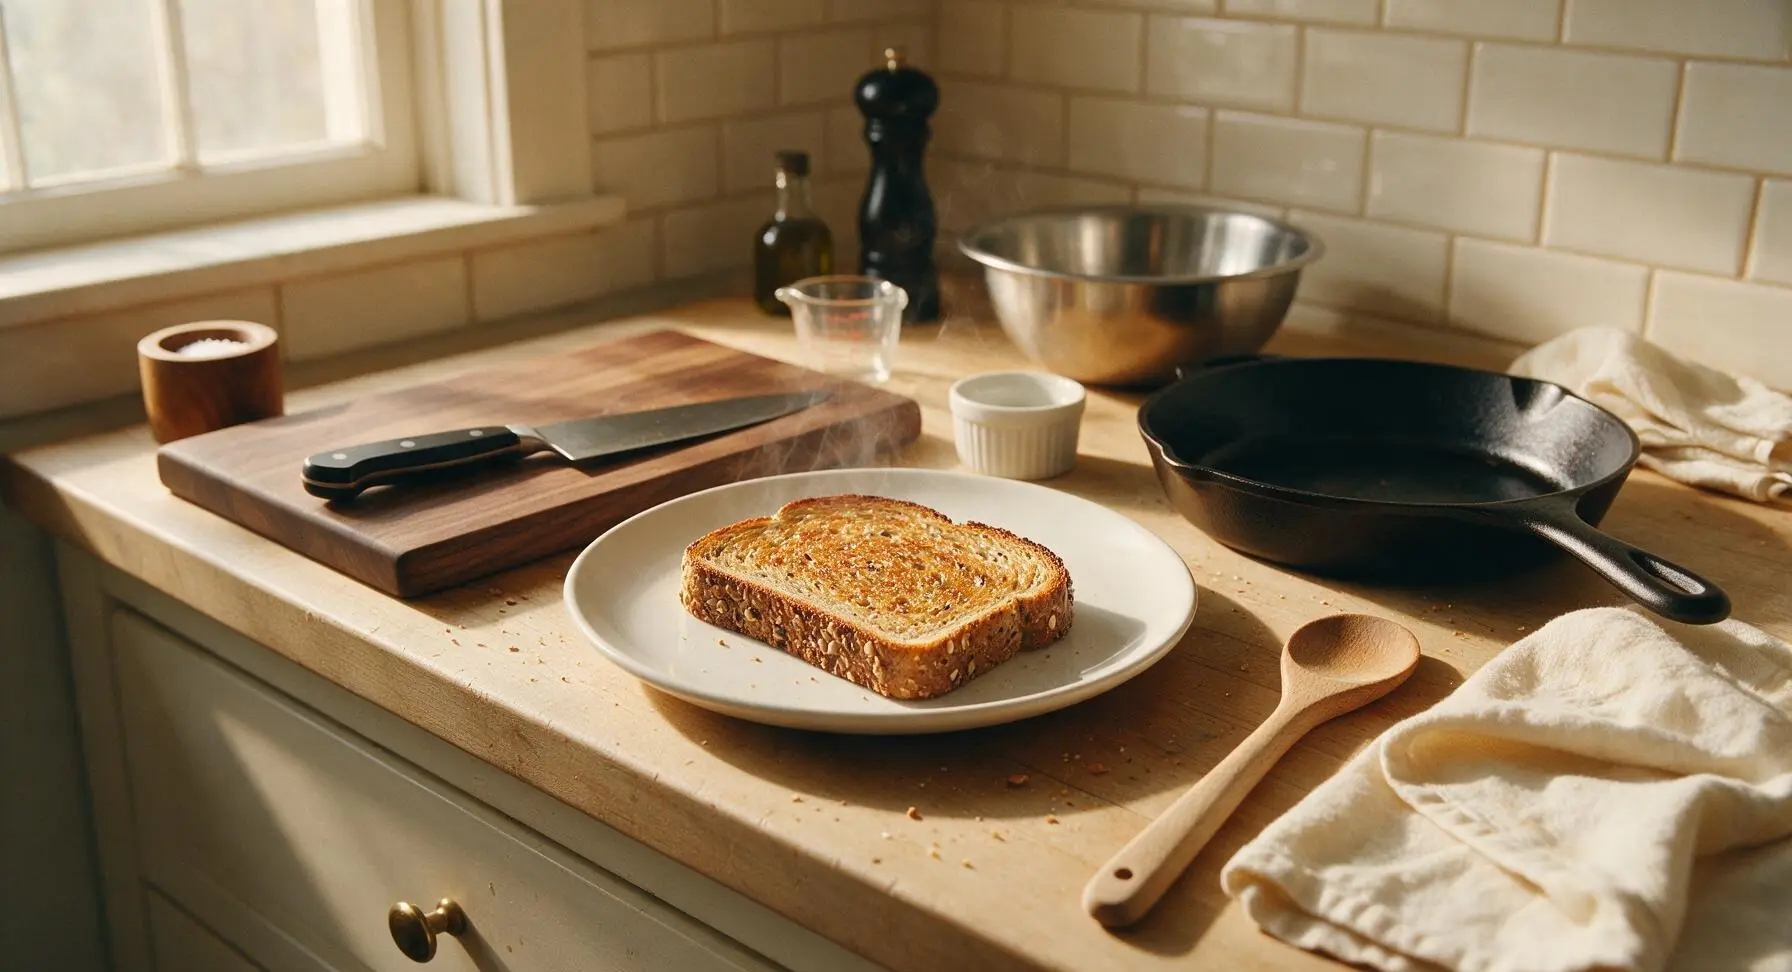
Hearty, nutty multigrain toast with a crisp golden crust and seedy, tender crumb, perfect for quick topping for a fast, fiber-rich, satisfying bite.
Ingredients
Steps
Prep Oven and Ingredients
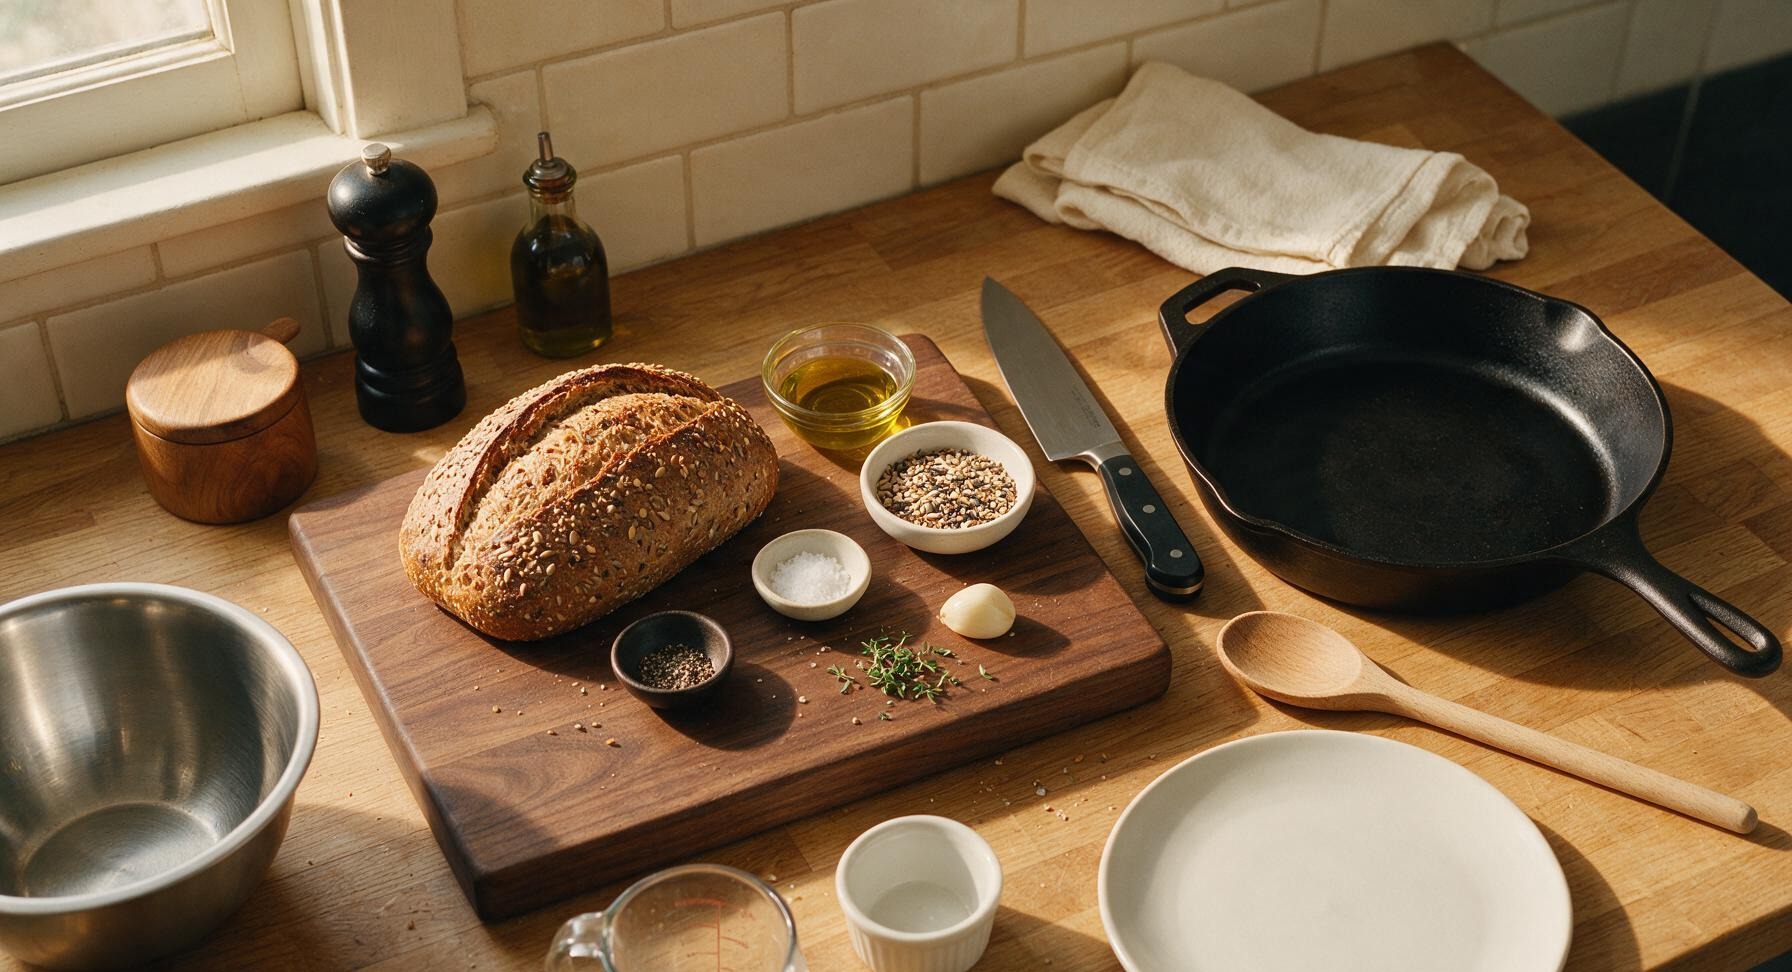
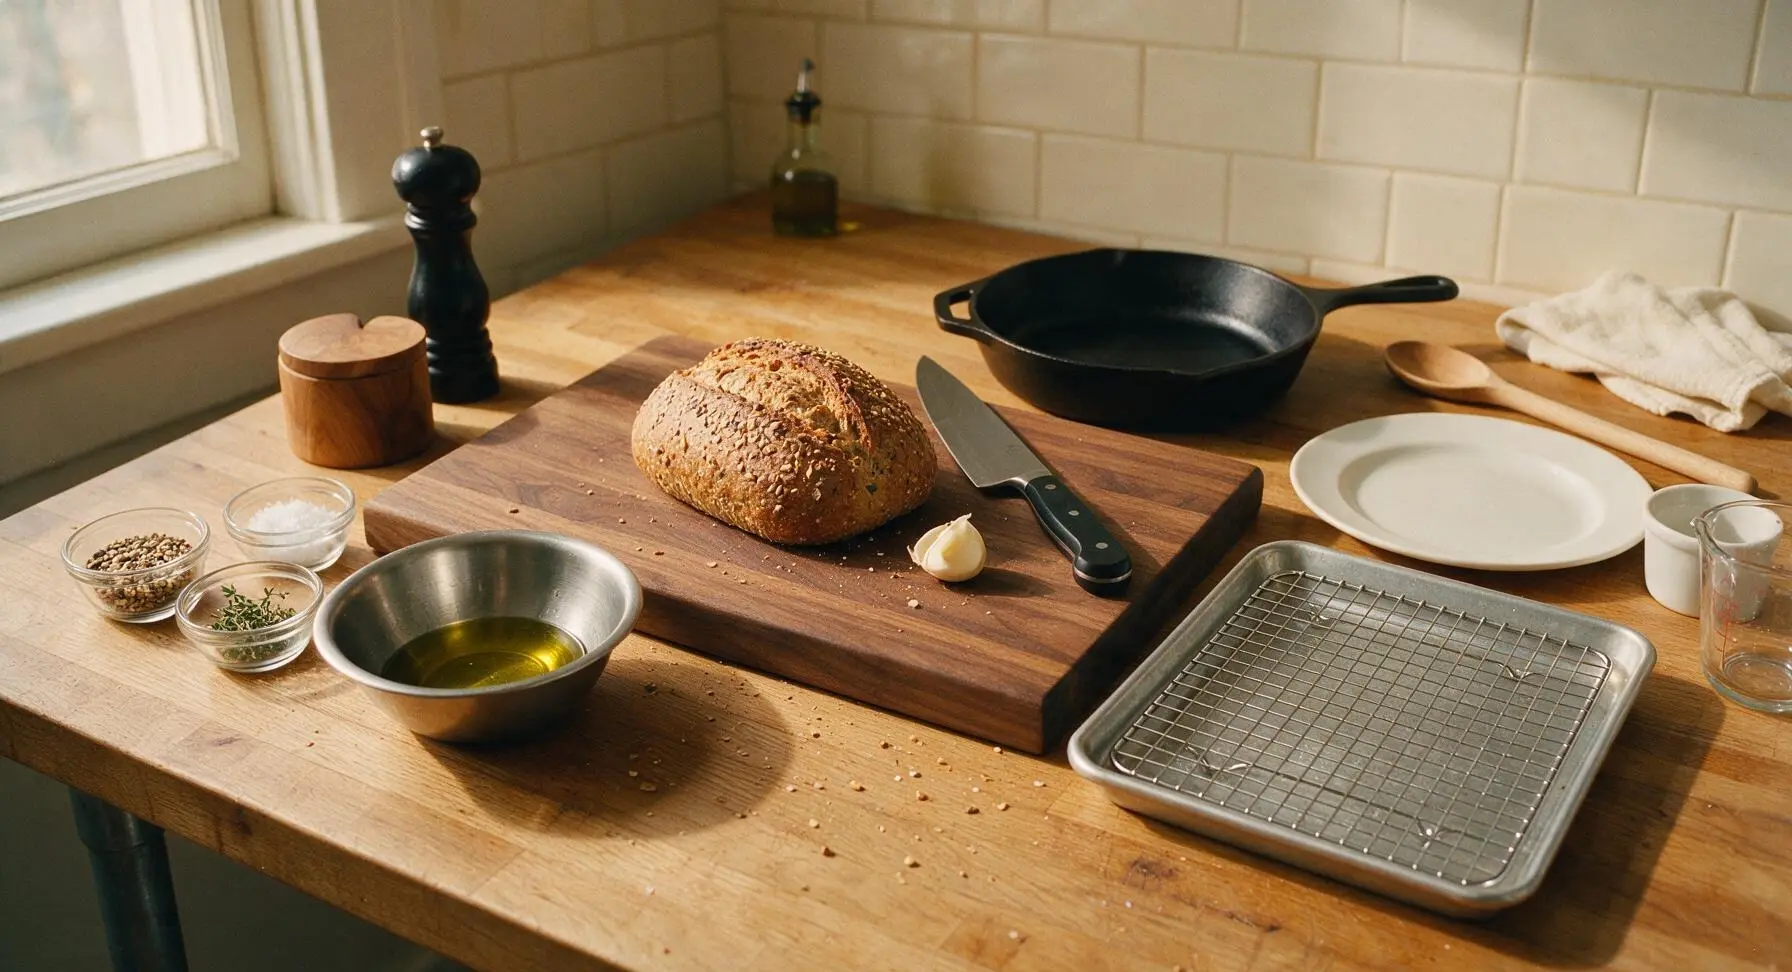
Gather all ingredients on the counter. Preheat oven to 200C (400F). Set the chrome-plated wire cooling rack inside the rimmed aluminum baking sheet to elevate bread during toasting, which prevents sogginess by allowing even air flow. Pour 2 tablespoons of extra-virgin olive oil into the small brushed stainless steel mixing bowl, and portion mixed seeds, flaky salt, and cracked pepper into the three small clear glass ramekins. Peel the garlic clove, cut in half crosswise, and set aside with picked thyme leaves.
Slice Bread Evenly
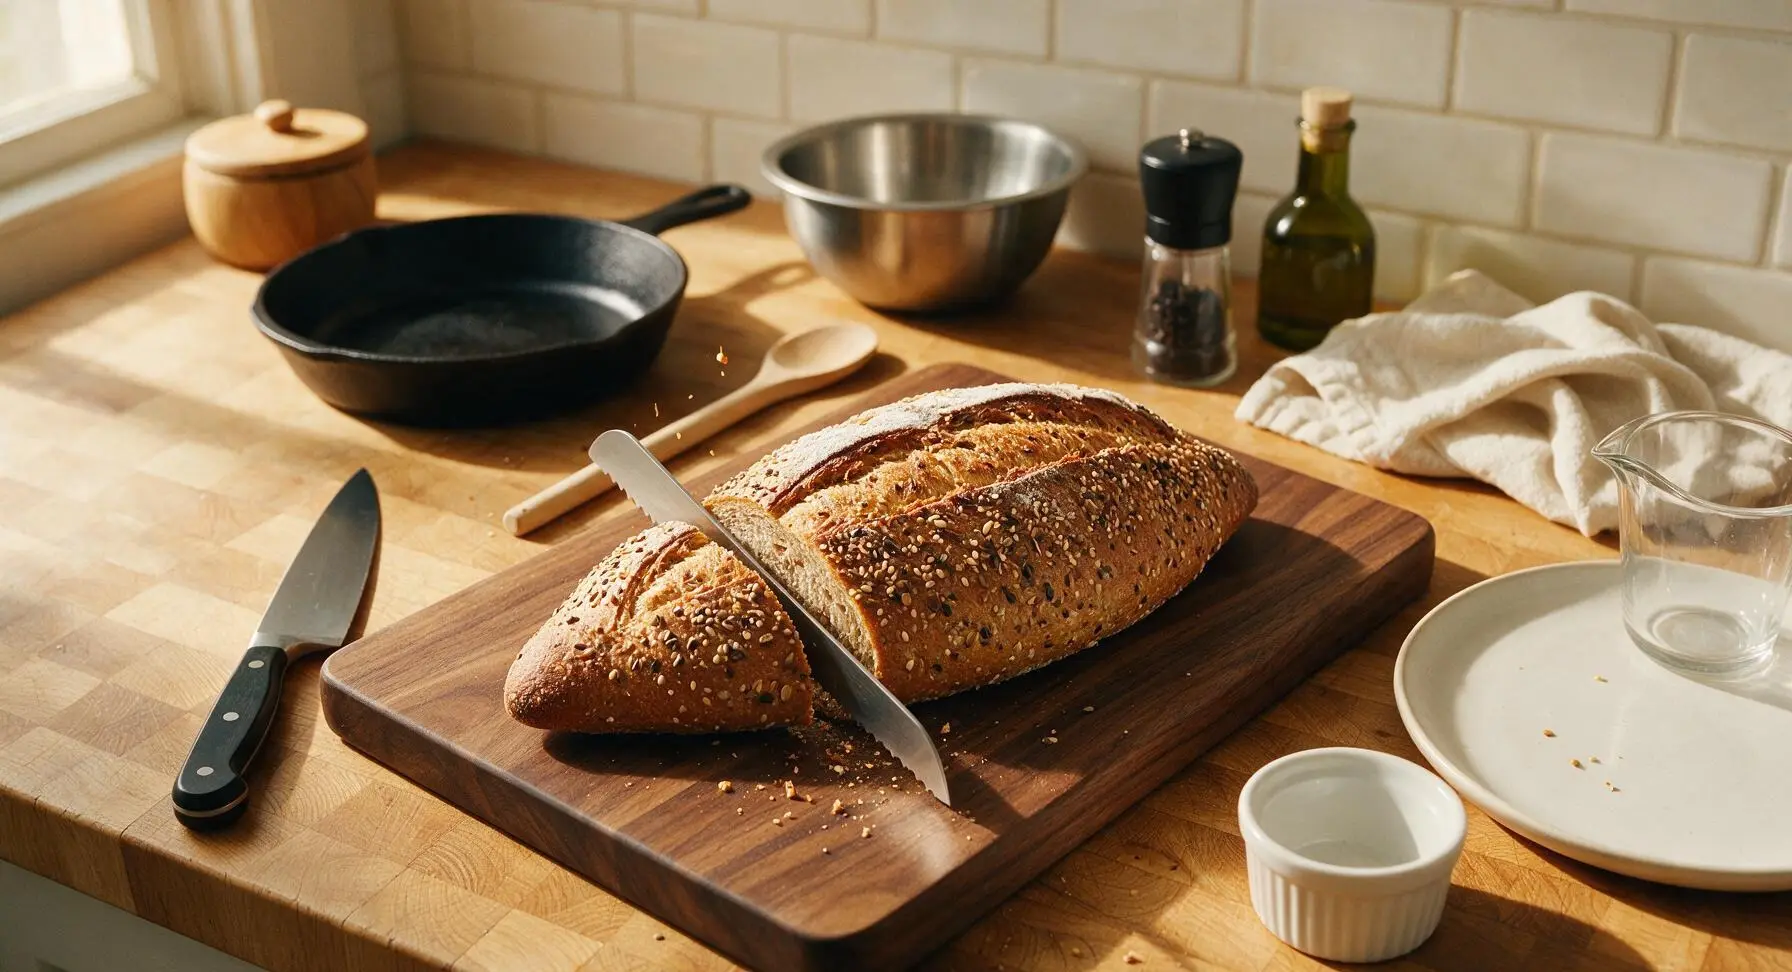
Set the whole multigrain loaf on the acacia cutting board. Using the serrated bread knife, cut 8 uniform slices, each 2.5cm (1 inch) thick, using a gentle sawing motion to avoid compressing the soft seedy crumb. Uniform thickness ensures even toasting; slices thinner than 2cm will burn quickly, while slices thicker than 3cm will remain soft in the center. Collect loose crumbs on the board as you cut.
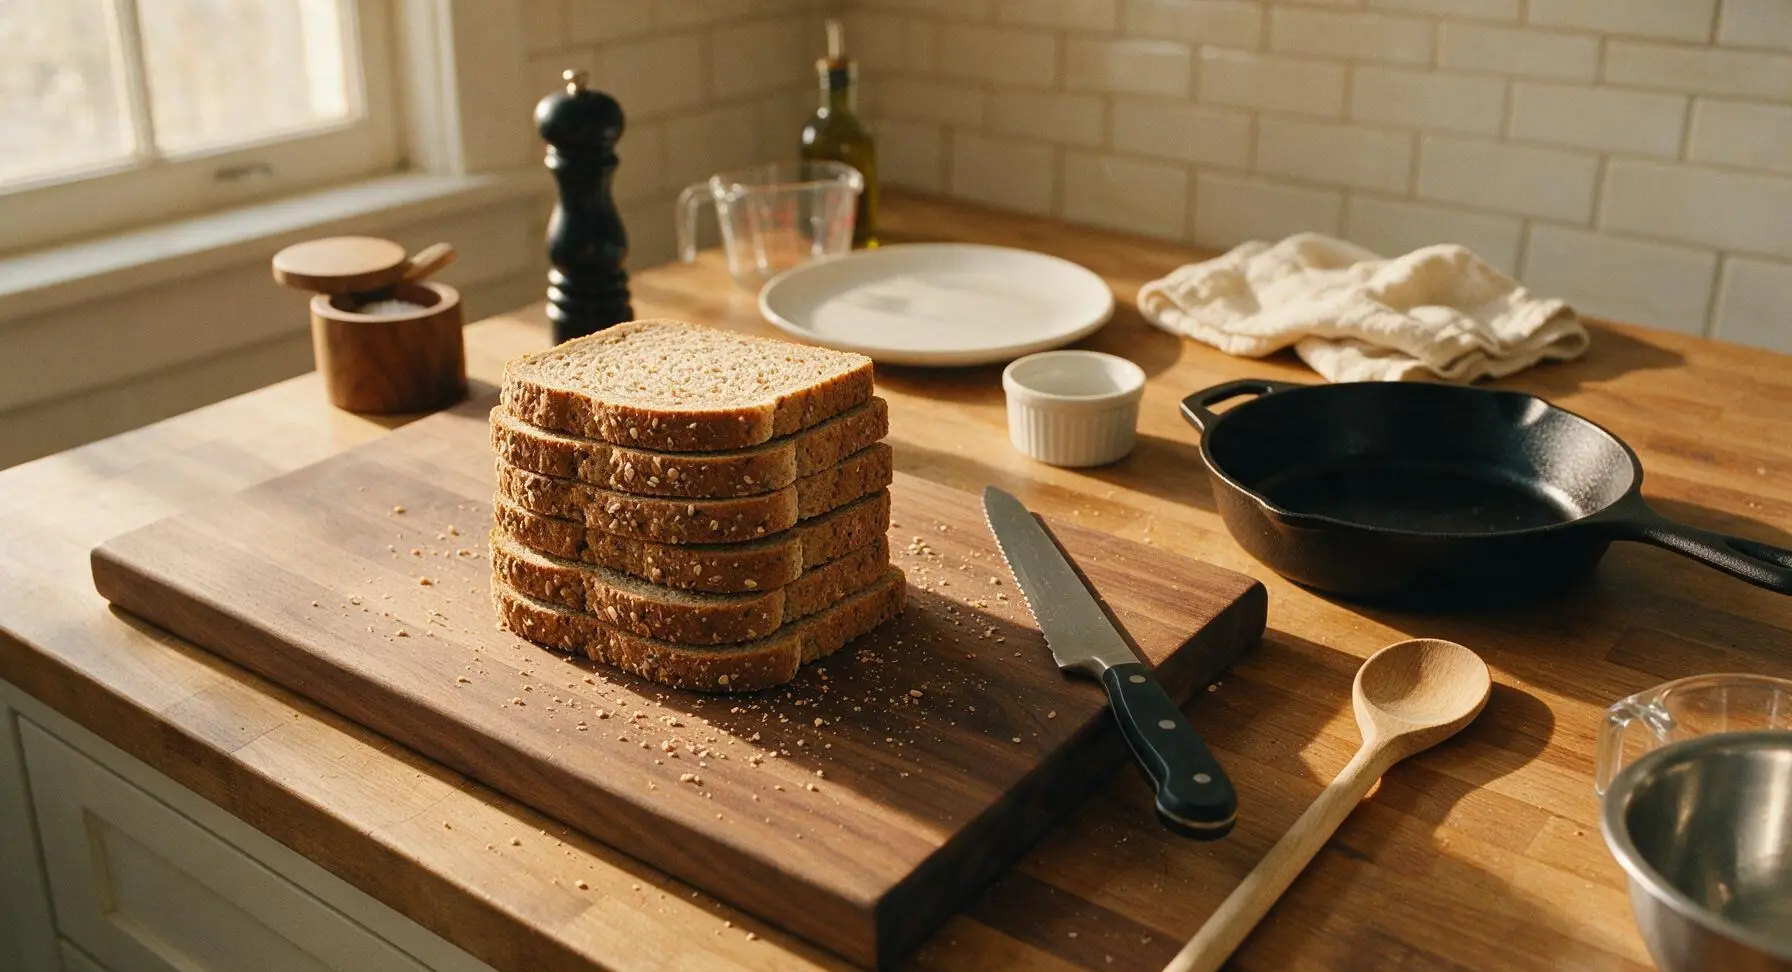
Arrange Slices on Rack
Lay the cut bread slices in a single, even layer across the wire rack set inside the baking sheet. Leave a 5mm gap between each slice to allow hot oven air to circulate around every edge, ensuring all sides crisp evenly. Do not overlap slices, as overlapping areas will steam instead of toasting, leaving soft, chewy patches.
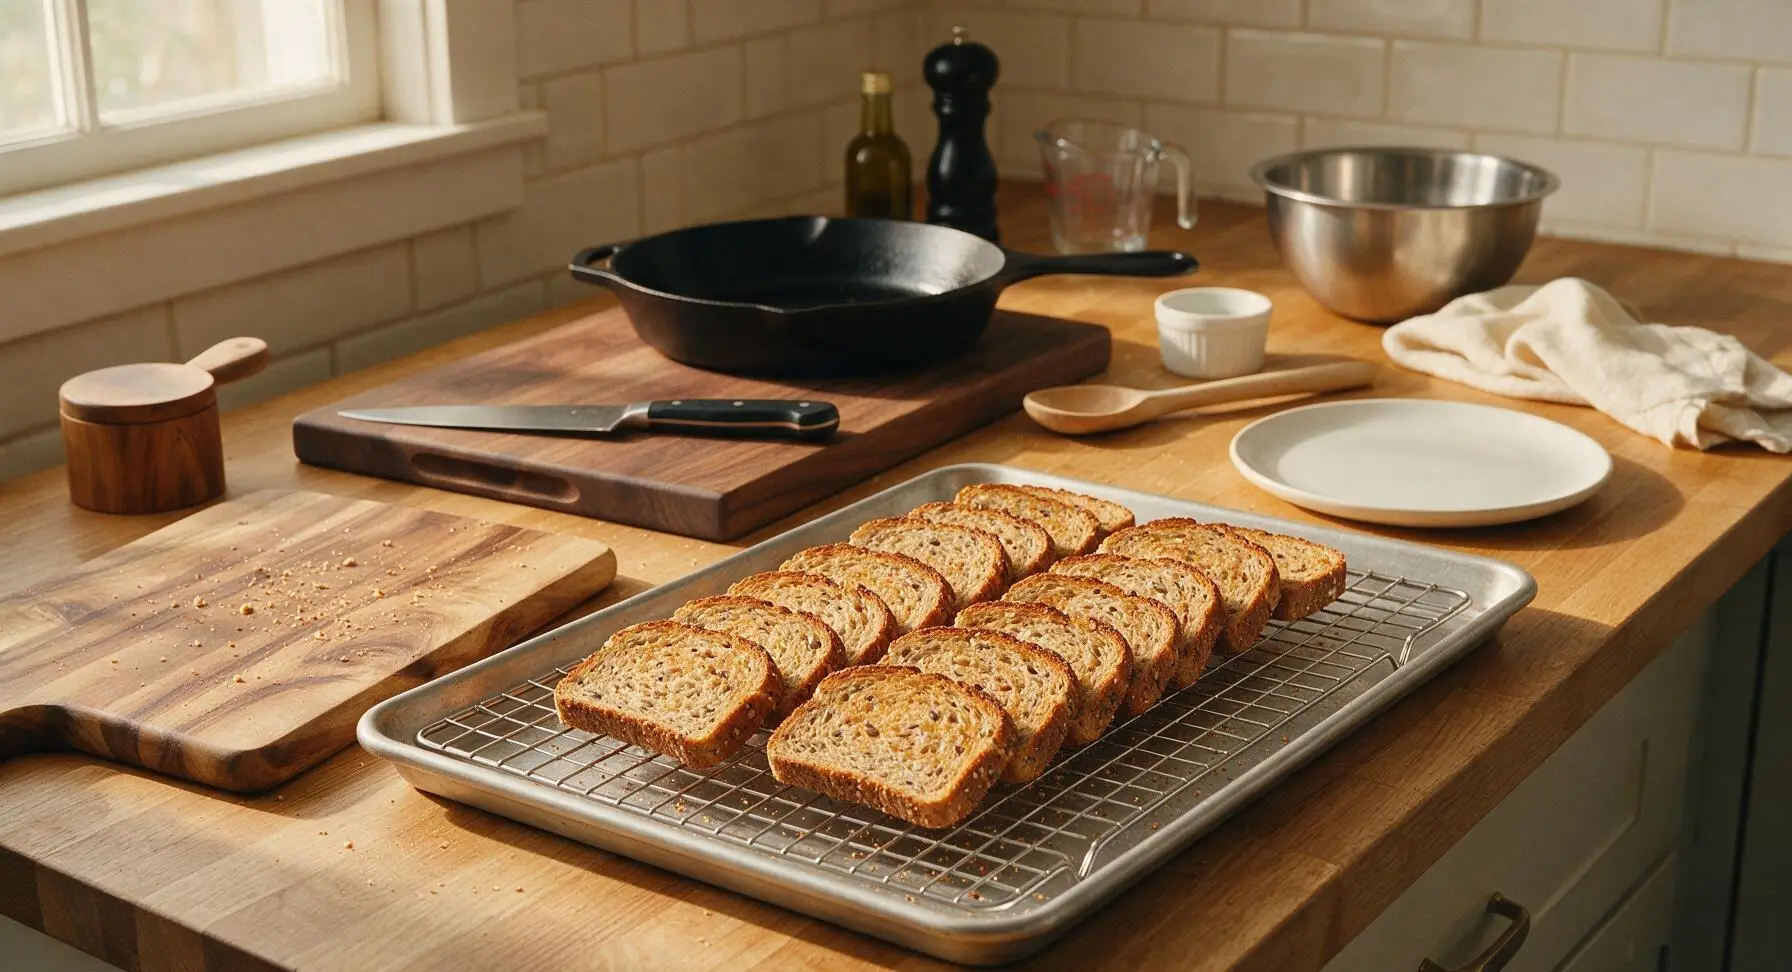
Brush Slices with Oil
Dip the natural boar bristle pastry brush into the olive oil in the small stainless steel bowl, then lightly brush the top surface of each bread slice with a thin, even coat of oil. Use a light hand: you want a subtle glisten on the bread surface, not soggy, oil-soaked crumb. Use approximately half the olive oil for this first side, reserving the rest for the second side after flipping.
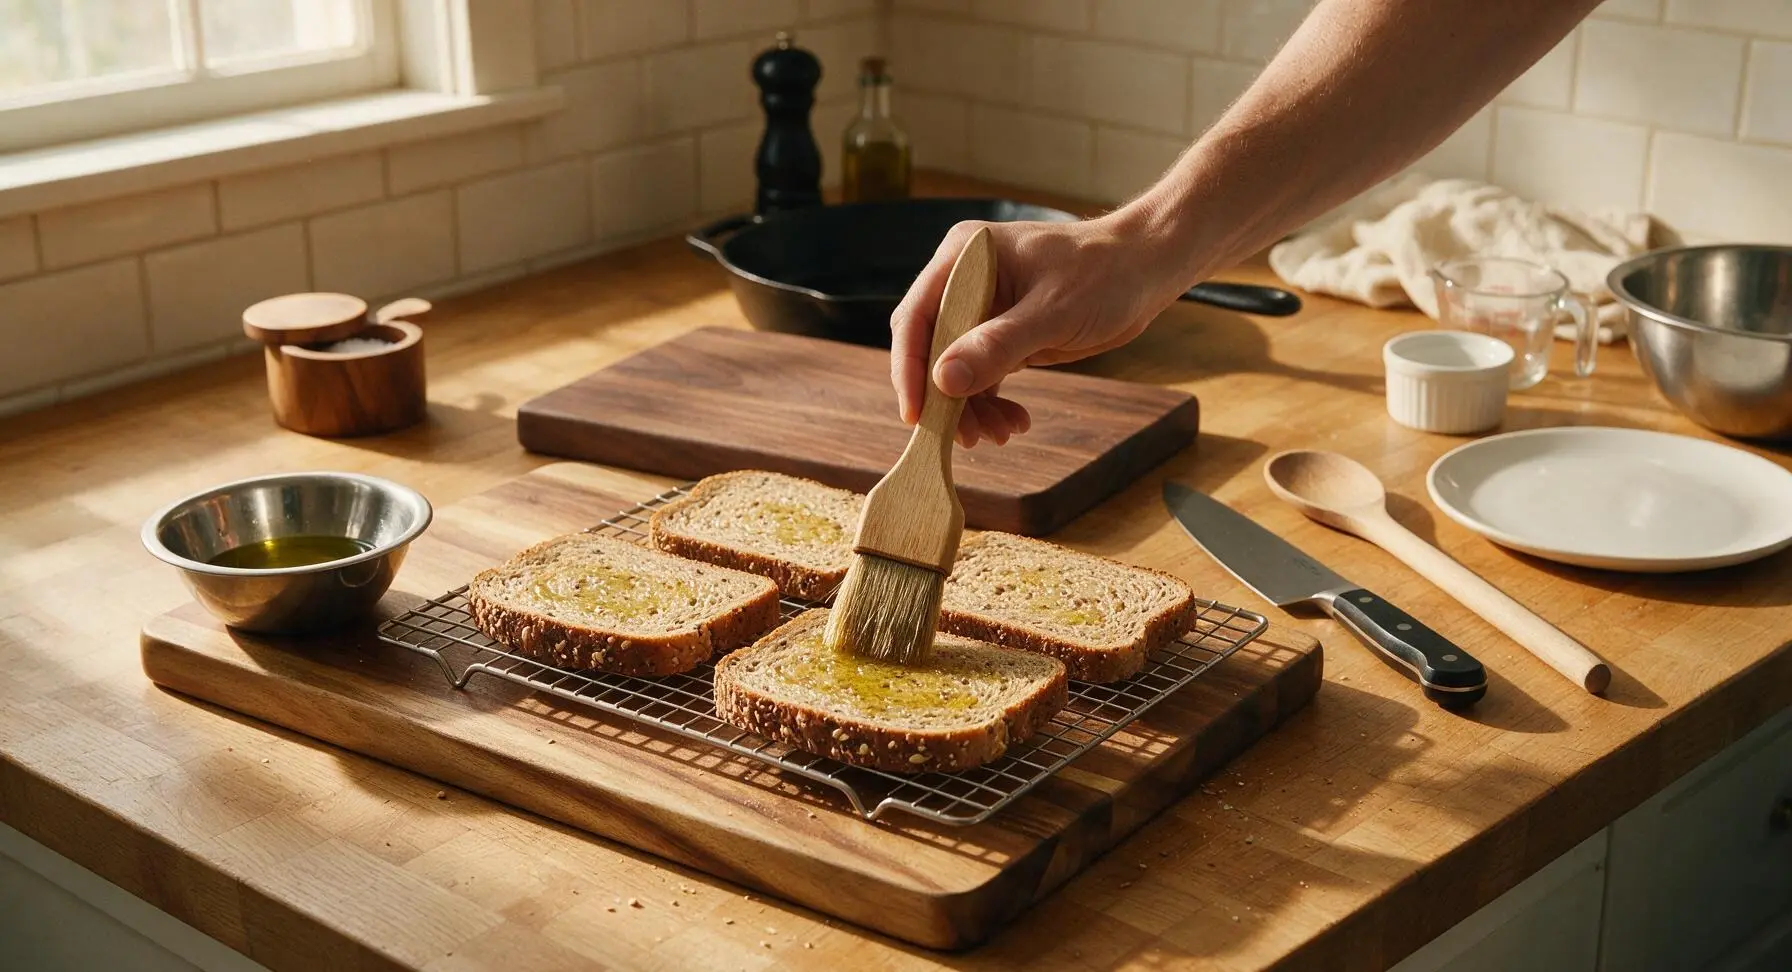
Toast First Side Golden
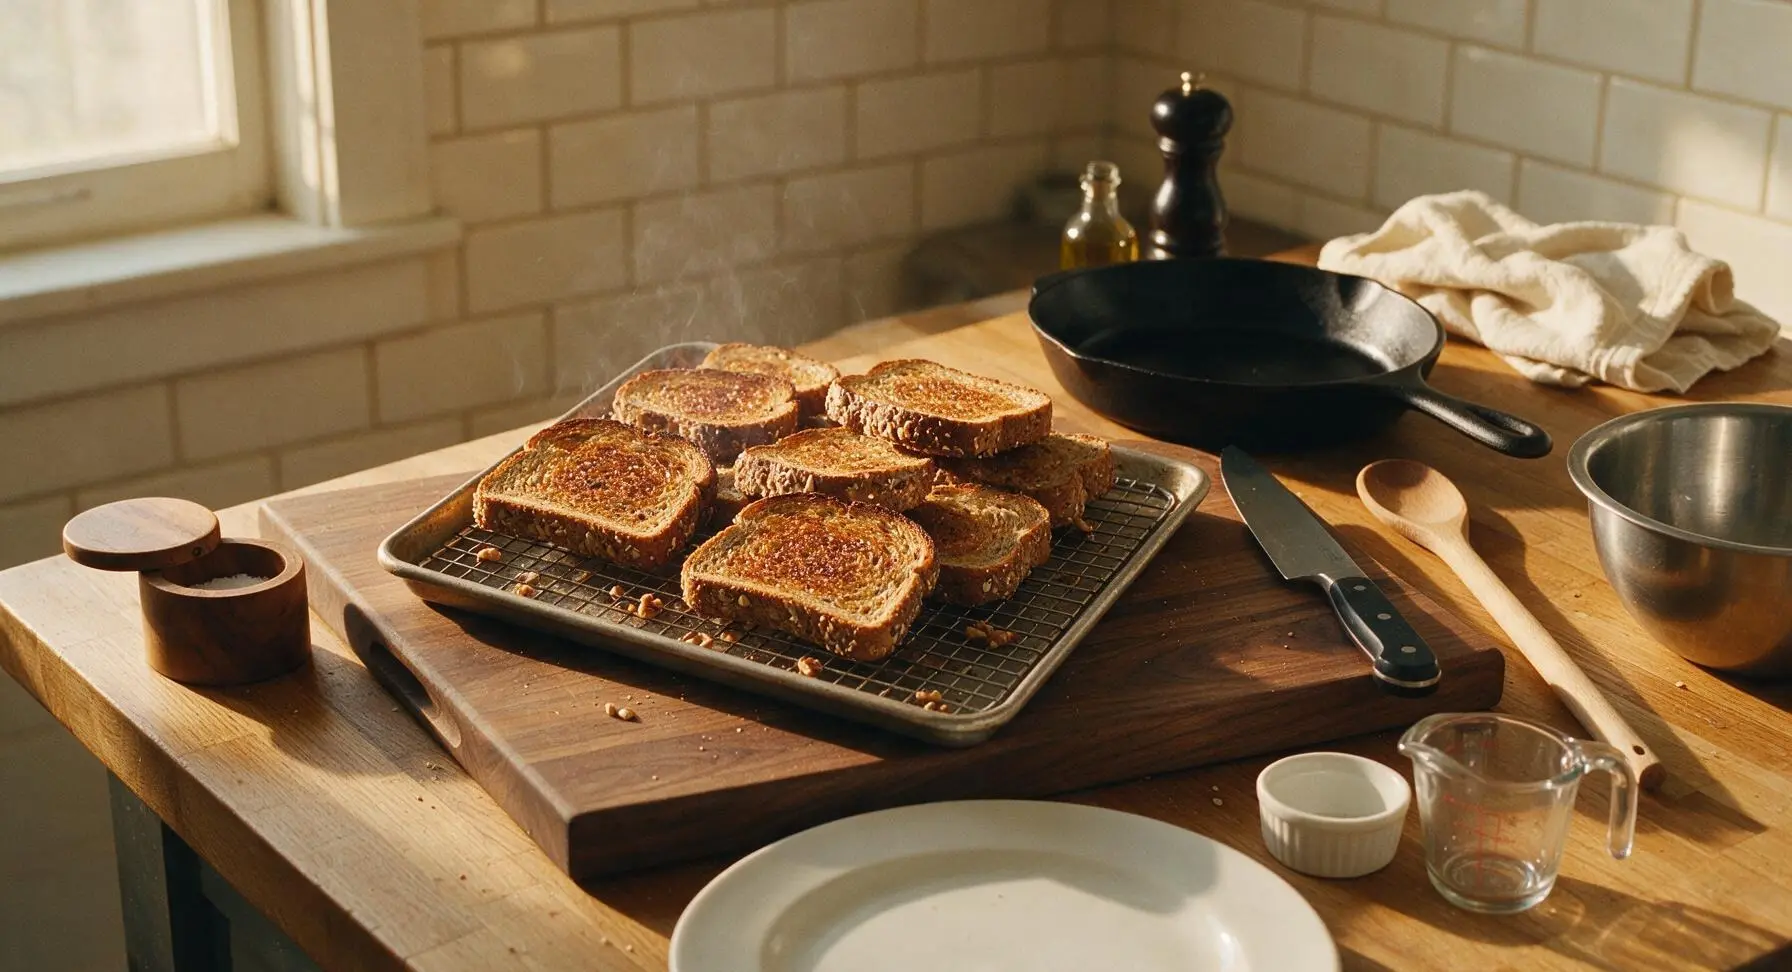
Carefully transfer the baking sheet to the middle rack of the preheated 200C (400F) oven. Toast for 5 minutes, until the top surface is deep golden brown, edges are crisp, and embedded seeds release a warm, nutty aroma. Watch closely during the final 60 seconds, as seeded multigrain bread browns much faster than plain white bread and can burn in seconds.
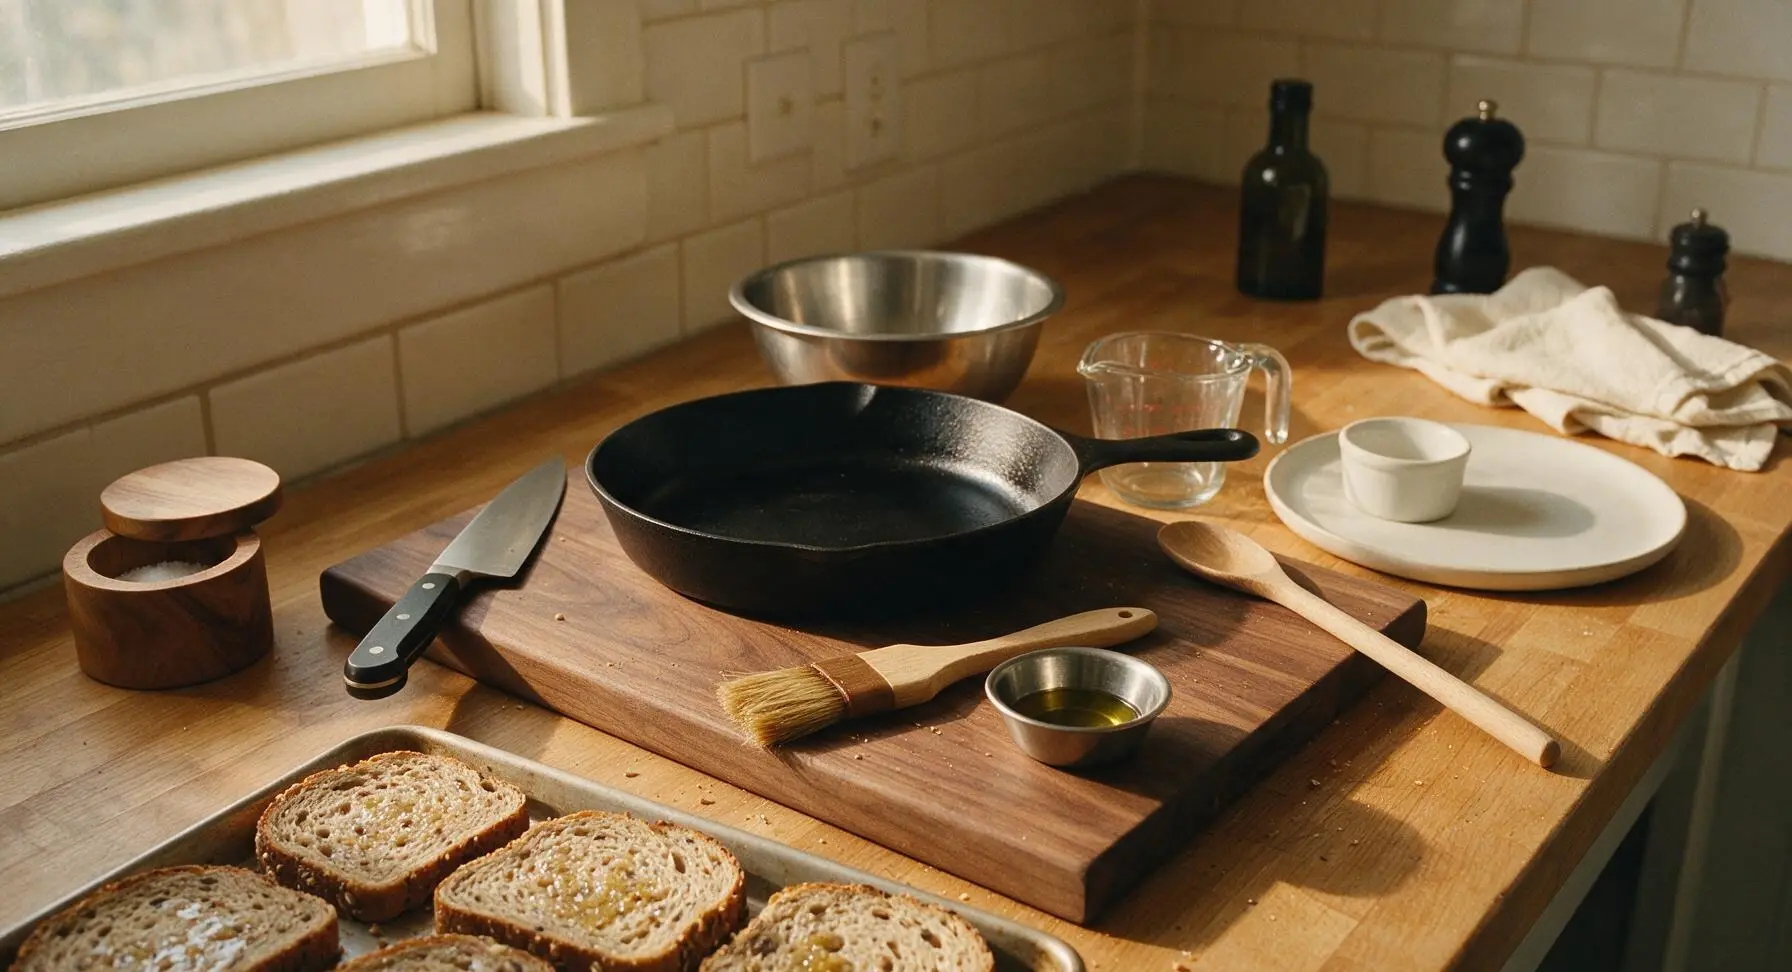
Flip and Season Second Side
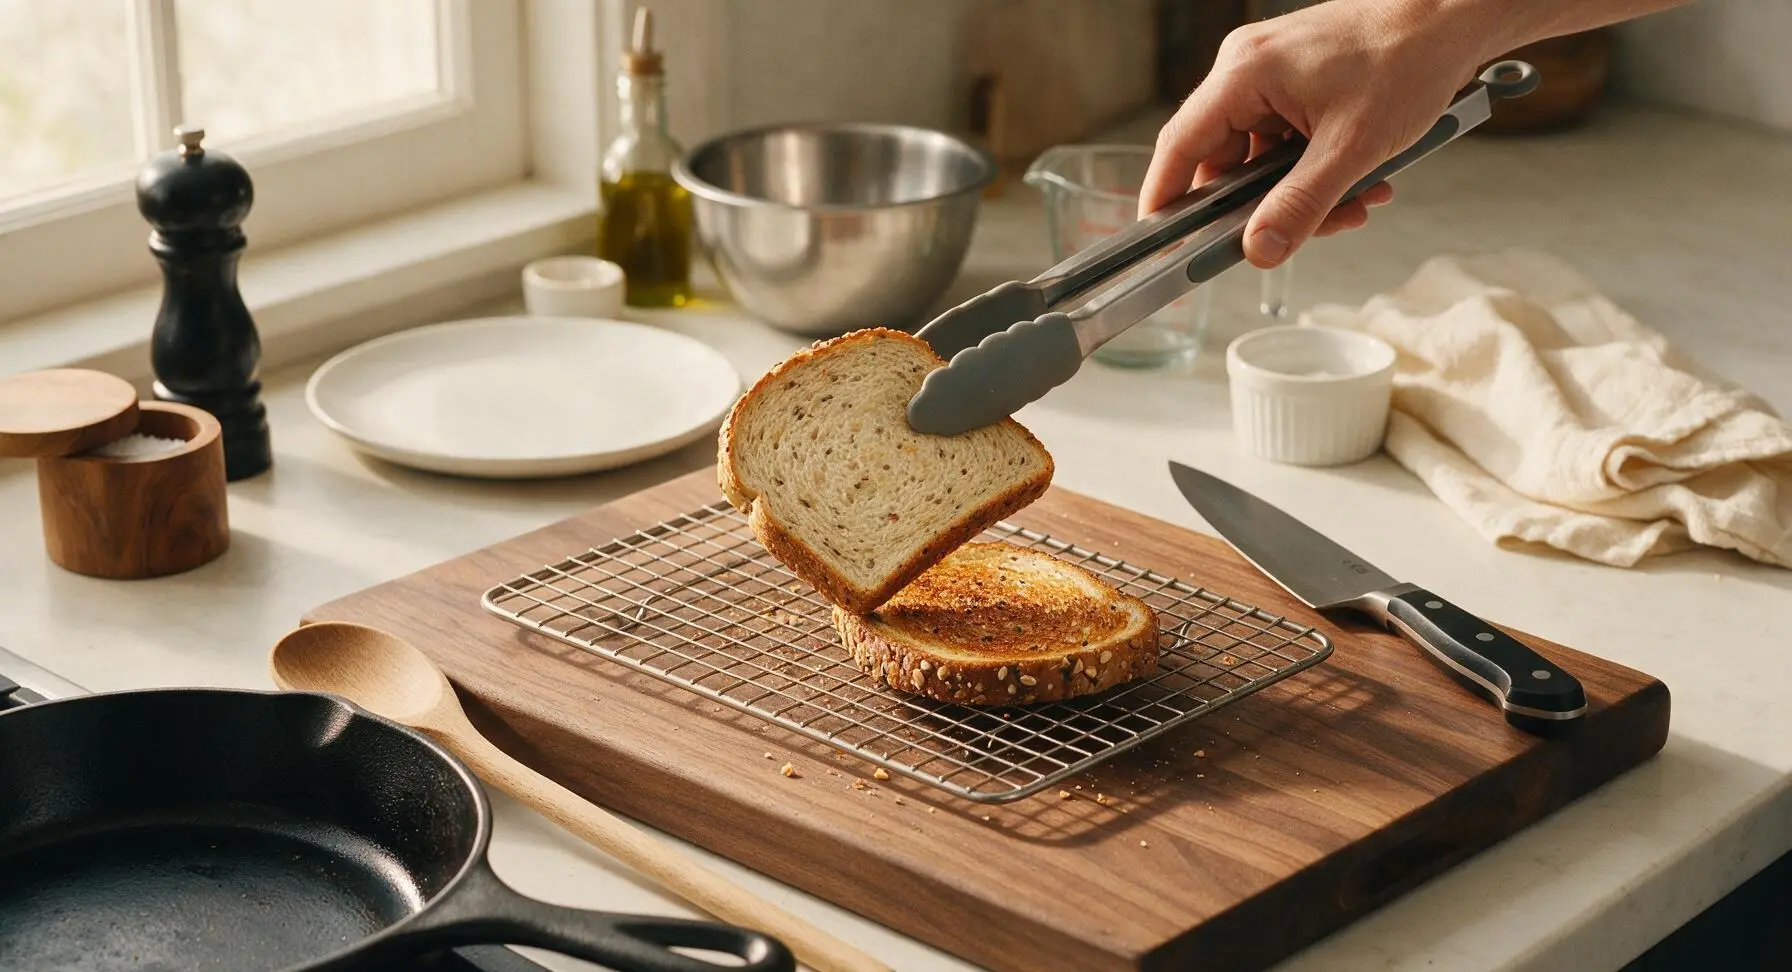
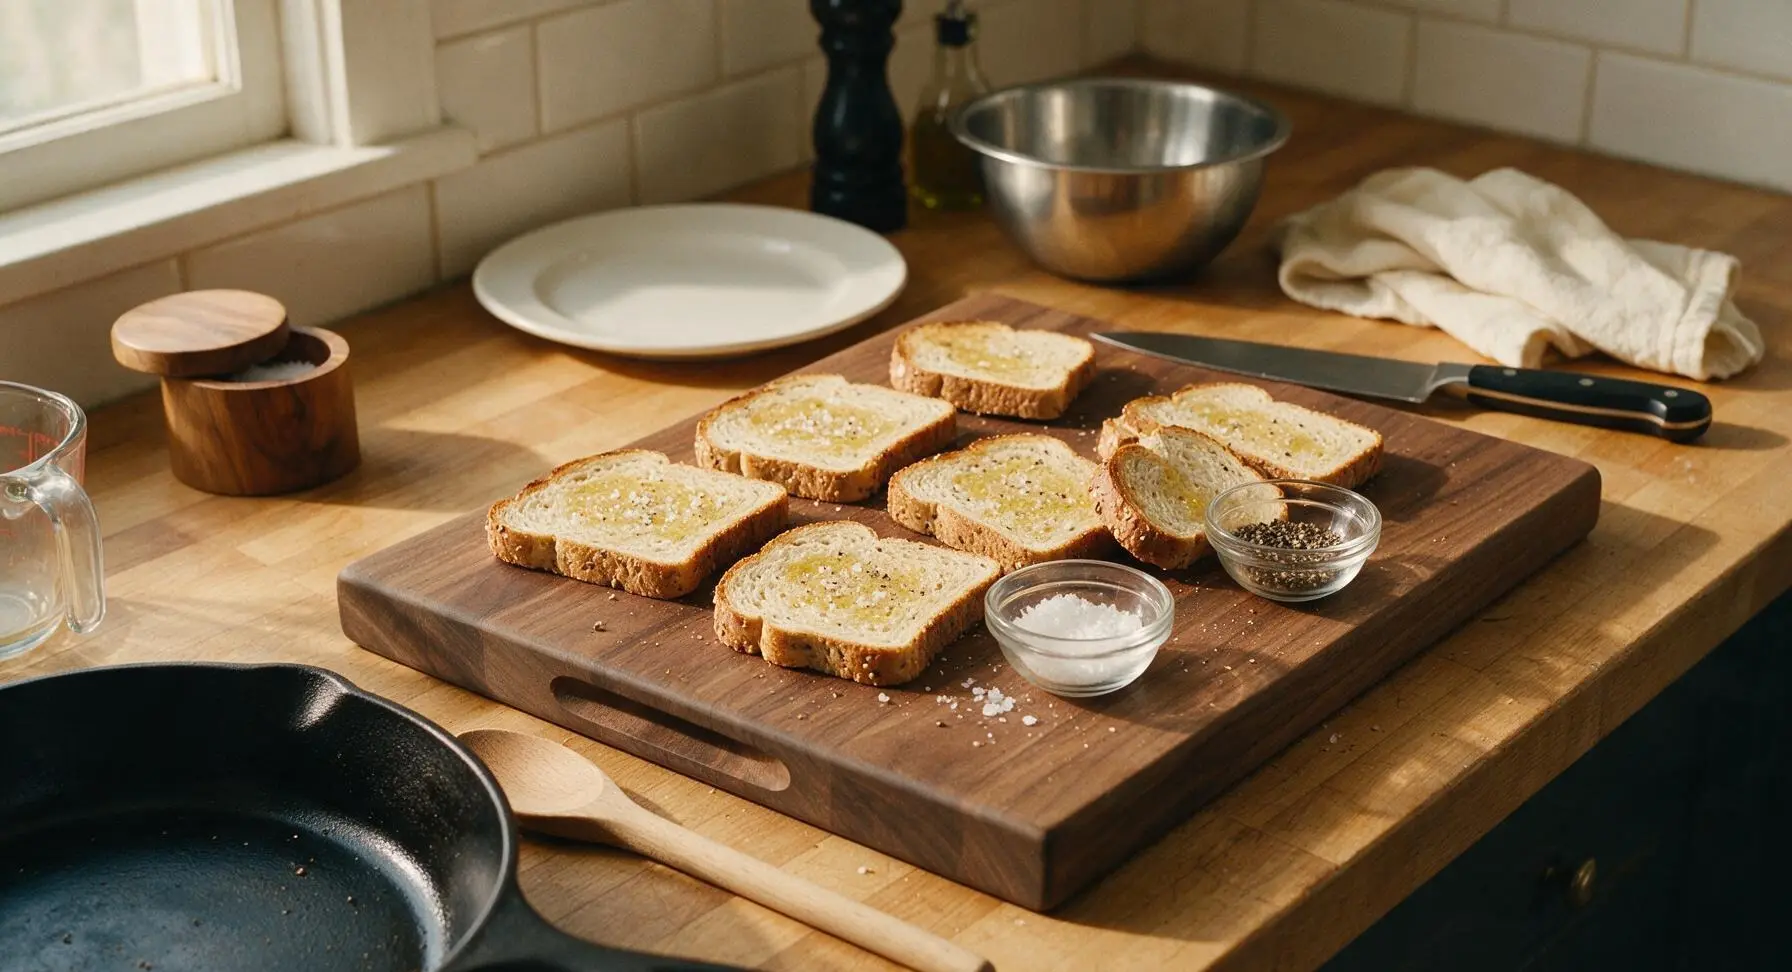
Using the silicone-tipped stainless steel tongs, carefully flip each toast slice to reveal the pale untoasted side. Brush the second side with the remaining reserved olive oil, then sprinkle lightly with half the flaky sea salt and half the cracked black pepper. Return the baking sheet to the oven for an additional 4-5 minutes, until the second side is equally golden and crisp.
Rub Toast with Garlic
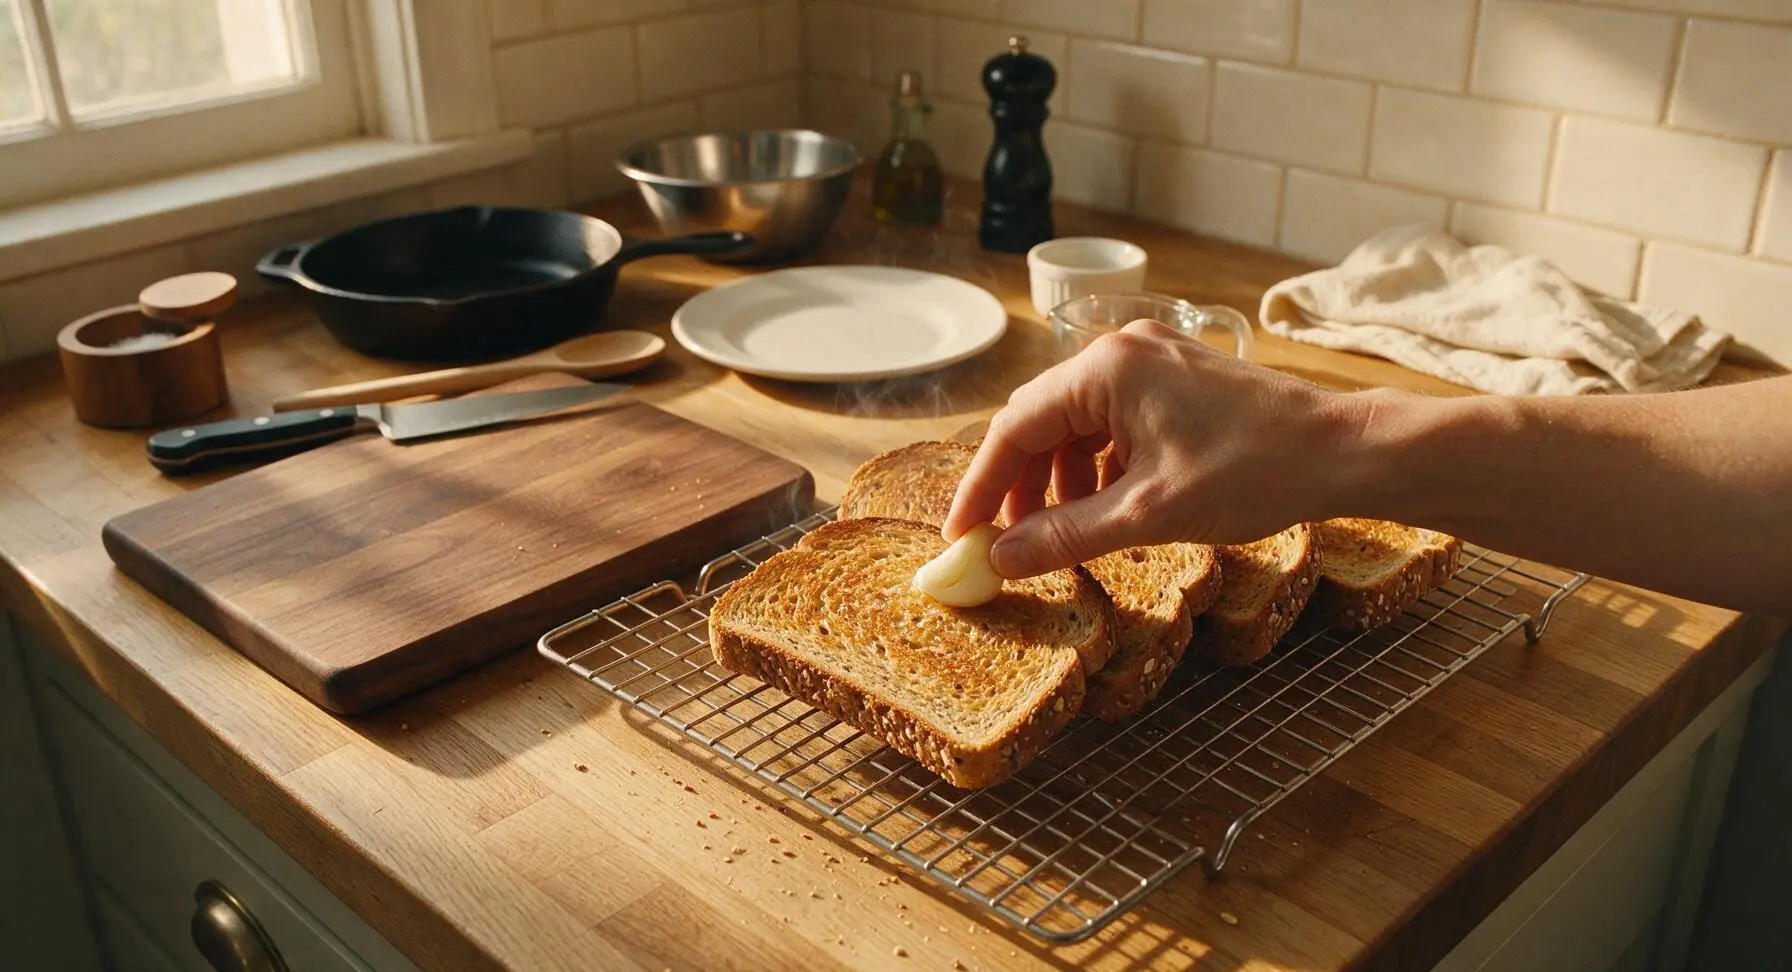
Remove the baking sheet from the oven once both sides are evenly golden and crisp. While the toast is still piping hot, rub the cut side of the halved garlic clove lightly across the top surface of each slice. The heat of the toast will soften the garlic and release its aromatic oils, leaving a subtle savoriness without the harsh bite of raw garlic. Do not over-rub, as this will make the garlic flavor too strong.
Plate, Garnish, Serve
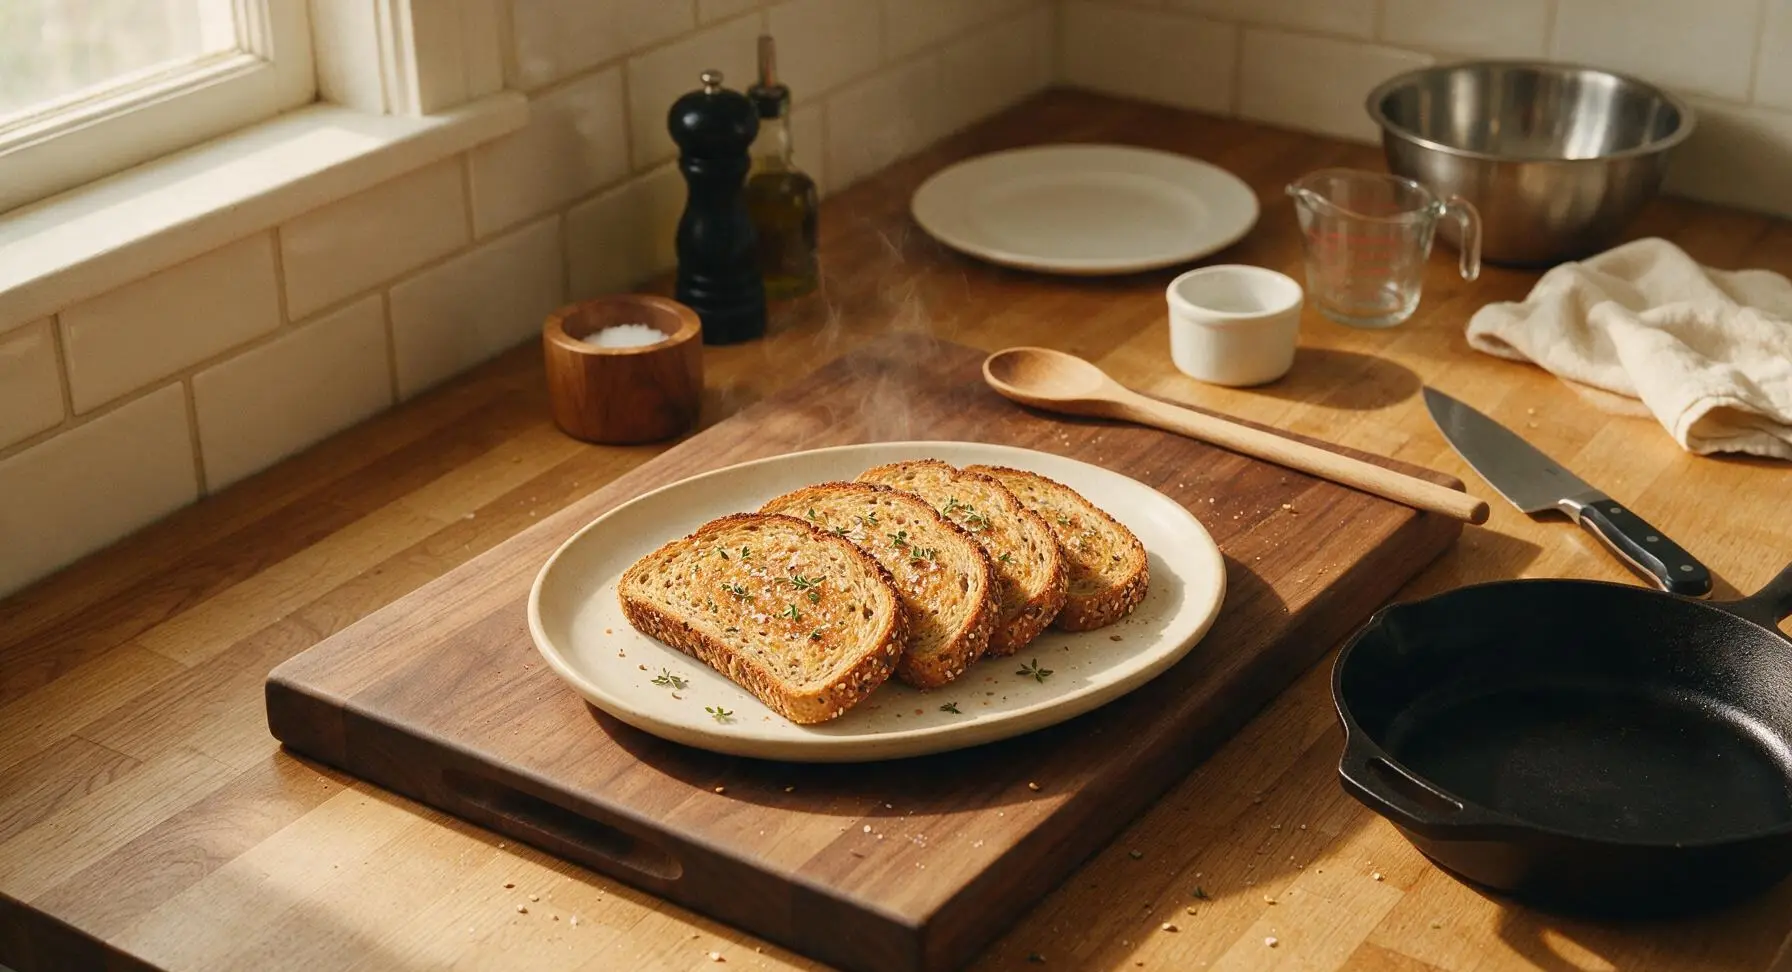
Transfer the warm toast slices to the matte cream ceramic serving platter, arranging slices in a slightly overlapping fan. Sprinkle the top with the mixed seeds, remaining flaky sea salt, and scattered fresh thyme leaves. Serve immediately while warm and crisp, paired with desired toppings like avocado, jam, or soft scrambled eggs.
Tips
2.Rub garlic on toast only while it is still piping hot: The residual heat gently cooks the raw garlic as it rubs, mellowing its sharp bite and releasing aromatic oils, so you get a warm, savory garlic flavor without harsh, bitter raw garlic taste.
3.Avoid over-brushing bread with olive oil: Too much oil will soak into the crumb and make toast greasy instead of crisp; aim for a light, even sheen across the surface, and blot any excess oil with a corner of the linen towel if you accidentally apply too much.






OMG this is such a game changer! I’ve been messing up multigrain toast for years, always either burnt or soggy in the middle. Followed the exact timing and it came out perfectly crispy, no crumbs everywhere when I topped it with avocado. My whole family ate it for breakfast this morning, even my super picky 7 year old asked for seconds!
Tried this last night when I got home late from work, 12 minutes exactly in my countertop toaster oven and it was *chef’s kiss*. Crunchy all the way through, no weird soft spots, held up great when I slathered on peanut butter and banana slices. SO good, I already texted the recipe to my roommate.
Made this for my kids’ before-school breakfast today and they all loved it! I set out different toppings — jam, cream cheese, Nutella, avocado — and they got to pick their own. No complaints about soggy toast for once, which is a miracle in this house. Will be adding this to our weekly breakfast rotation for sure.
I swapped in a homemade multigrain loaf I baked over the weekend instead of store-bought, and this method still worked perfectly! I was worried the denser homemade bread wouldn’t crisp up right, but it had that perfect crunch on the outside and was still soft inside. Great easy recipe, no fancy tools needed.
Game changer for meal prep! I make a batch of this toast at the start of the week, store it in an airtight container, and it stays crispy enough to grab for quick breakfasts on my commute. Way better than the sad frozen waffles I used to eat every morning. Only note: I cooked mine 1 minute less because my oven runs hot, so keep that in mind!
Okay I was skeptical because toast seems so basic, why do I need a recipe for toast? But wow, I’ve been doing it wrong my whole life. The even crispness, no burnt edges, no raw chewy bits — this is the toast I’ve been chasing my whole adult life. I ate three slices this morning with butter and homemade jam, no regrets.
Brought this to a neighborhood potluck last weekend as part of a bruschetta platter, and people kept asking where I got the bread! It was sturdy enough to hold all the tomato and basil topping without getting soggy, even after sitting out for an hour and a half. Total win, I felt so fancy even though it was so easy to make.
Made this for brunch with my friends yesterday, paired with smoked salmon, cream cheese, and capers. Everyone was raving about how the toast had the perfect crunch, not too hard that it cuts the roof of your mouth (you know what I mean?) but crispy enough that it didn’t get mushy under the toppings. 10/10, will be my go-to toast method from now on.
Perfect quick snack to make before heading out on trail! I made a couple slices before my morning hike yesterday, topped with almond butter and chia seeds, and it held up in my pack no problem — no crumbs everywhere, no sogginess from the almond butter, gave me the perfect carb boost for the climb. Only took 12 minutes total, which is way faster than my usual pre-hike meal prep.
Added this to my weekly meal prep lineup and it’s been a total time saver. I make a batch on Sunday, top with different things each morning — avocado and red pepper flakes one day, egg and cheese the next, honey and cinnamon for a sweet treat. So easy, 12 minutes is nothing, and it’s way cheaper than buying breakfast out on my way to work. Estimate I’m saving almost $30 a week just by making this at home!
Tried this in my air fryer because I don’t have a toaster oven, and it worked! 375 degrees for 6 minutes, flipped halfway, and it came out just as crispy as the recipe says. I was worried I’d have to go out and buy new kitchen gear to make this work, but nope, my trusty air fryer did the trick. So crispy, SO good.
My teen son makes himself this toast every single morning before school now, no more asking me to make him breakfast! He said it’s way better than the toast he used to burn in the toaster. Super easy recipe for a kid his age to follow, no complicated steps, no fancy ingredients. Win for everyone in the house.
Took this to my tailgate last weekend before the game, made a whole bunch of slices to go with chili and cheese dip, and it was a hit! Sturdy enough to scoop up dip without breaking, crispy enough that it didn’t get soggy even when dipped in warm chili. Everyone was asking for the recipe, I felt like a total cooking pro even though it was literally just toast, haha.
Love that this is easy enough to make even on my super busy mornings when I’m rushing to get to yoga class. Just made a slice before heading out, topped with a little mashed avocado, a sprinkle of everything bagel seasoning, and a fried egg — I know it’ll keep me full straight through my morning yoga class and my first couple work meetings. No mid-morning crash, just perfect crunchy toast. Obsessed.
I’ve been making my multigrain toast wrong for years — I always cranked the toaster to the highest setting to get it crispy, which just left the edges burnt and the middle soft. This lower, slower method (wait 12 minutes is so fast still!) makes every bite evenly crispy. Made it for book club last night, served with a trio of spreads, and everyone loved it.
Super easy recipe for a college kid with barely any kitchen supplies! All I have is a tiny toaster oven in my dorm, and this came out perfect first try. Way better than the dining hall toast that’s either rock hard or floppy. I’ve been making it for breakfast, lunch, even a late night snack when I’m up studying for midterms. 10/10, no notes.
I know what you’re thinking — toast on a grill? Wait hear me out, I tried this method on my outdoor gas grill on medium heat, watched it closely, and it came out with that perfect crispy texture plus a little smoky flavor that was insane. Topped it with leftover brisket, it was the best quick lunch I’ve had all month. Don’t knock it till you try it!
Made this for a cozy lunch today, topped with melted brie and a little fig jam, and it was heavenly. The crisp toast held up to the melted cheese perfectly, no sogginess, just that perfect crunch against the creamy brie. I even dropped an extra slice off for my neighbor who brought over their leftover garden tomatoes yesterday, and they texted me 10 minutes later asking for the recipe!
I was so tired of spending $8 on fancy avocado toast at the coffee shop down the street, so I tried this recipe to make it at home, and it’s actually better than the coffee shop version! Perfect crunch, evenly cooked, and it costs me like 50 cents a slice to make. I’ve already saved so much money making this at home instead of buying it out, I can’t believe I didn’t try this sooner.